 ## Assigning policies
You assign a policy at three scopes from the monitor tree on the **Monitors** page. Right-click an **environment**, an **API spec** or a single **monitor** and choose **Assign Alert Policy**. Only enabled policies appear in the picker, and the default policy is labeled **(Default)**.
Because a monitor can be covered by assignments at more than one level, Routebase resolves an **effective policy** per monitor, with the most specific scope winning. A direct monitor assignment beats its spec, which beats its environment, which beats the project default. When an incident opens, its detail names which policy triggered it.
Note that the winning policy **replaces** the less specific one entirely rather than merging with it. A spec-scoped policy with only a drift rule therefore leaves that spec's monitors with no downtime alerting at all, which is why the one Routebase creates for you brings its own downtime rule along.
### The "Contract Drift Watch" policy
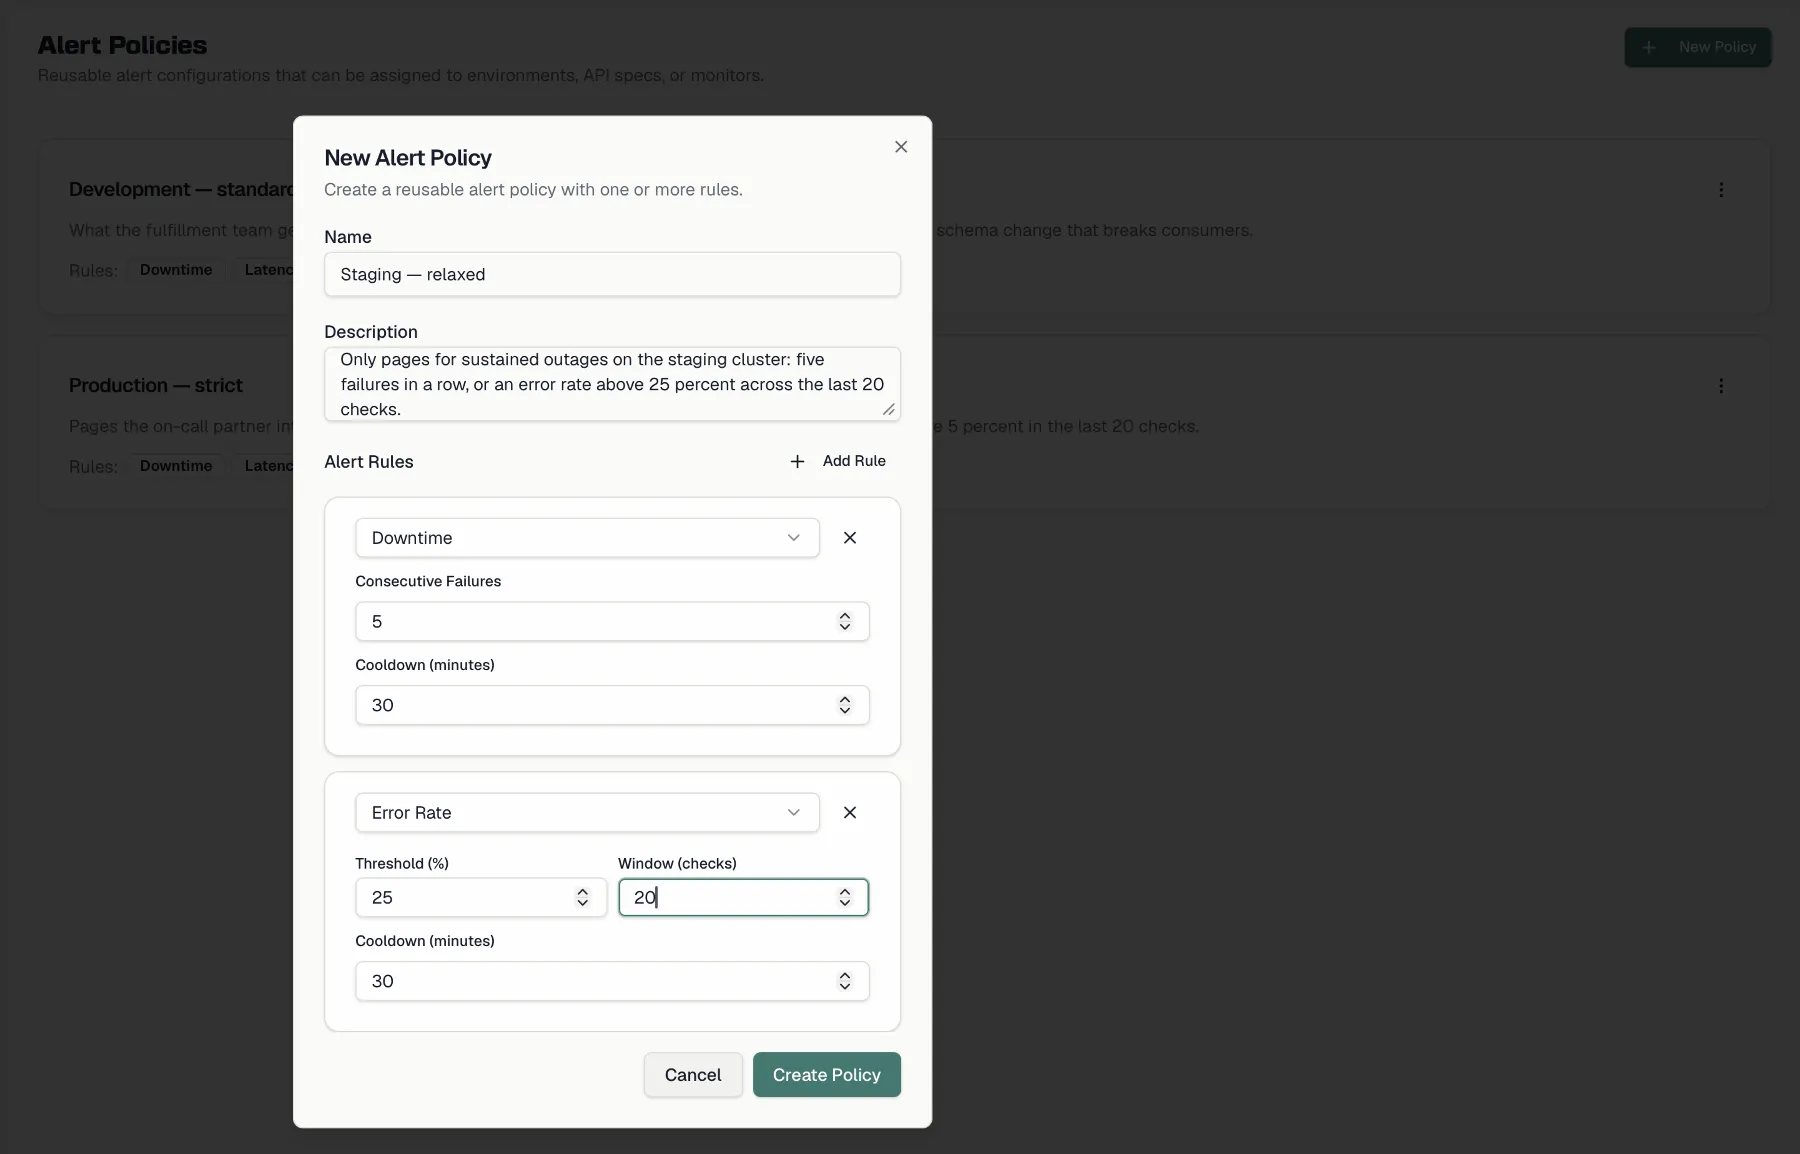
If you find a policy by that name in the list without having created it, [drift watch](https://docs.routebase.dev/contract-drift/) made it. Choosing **Any contract deviation** as the alert sharpness there needs a warning-severity drift rule, and the seeded default policy alerts on errors only. A spec-scoped policy is therefore created and assigned to that specification, carrying two rules:
- **Schema Drift** at warning severity with a 60-minute cooldown, which is the reason the policy exists.
- **Downtime** after 3 consecutive failures, which mirrors the default rule and is present because a spec-scoped policy replaces the project default wholesale.
Choosing **Breaking changes only** creates nothing, because the default policy already covers error-severity drift and drift watch never modifies it. Re-running the dialog with a different sharpness updates the same policy instead of adding a second one. Disabling drift watch leaves the policy in place, and without validation results its drift rule cannot fire anyway.
## Per-monitor custom alerts
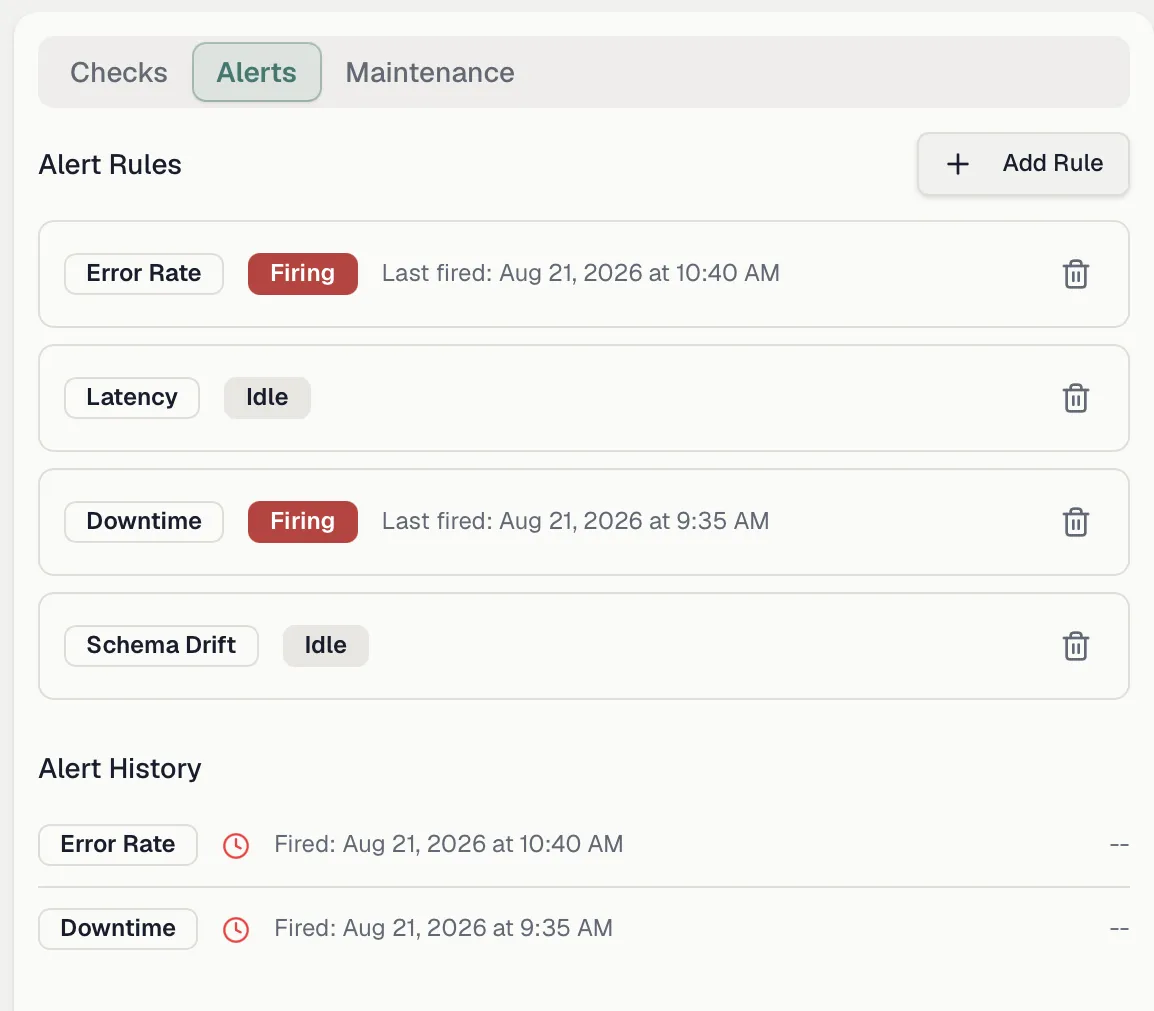
When one monitor needs something its policy does not cover, add rules directly on the monitor. Open the monitor's detail page, switch to the **Alerts** tab, then click **Add Rule**. The **New Alert Rule** dialog offers the same four alert types with slider-based conditions:
| Alert type | Ranges |
| --- | --- |
| **Downtime** | Consecutive failures 1–10 |
| **Latency Threshold** | Threshold 100–30000 ms, window 1–20 checks |
| **Error Rate** | 1–100%, window 5–50 checks |
| **Schema Drift** | Minimum severity Error, Warning or Info |
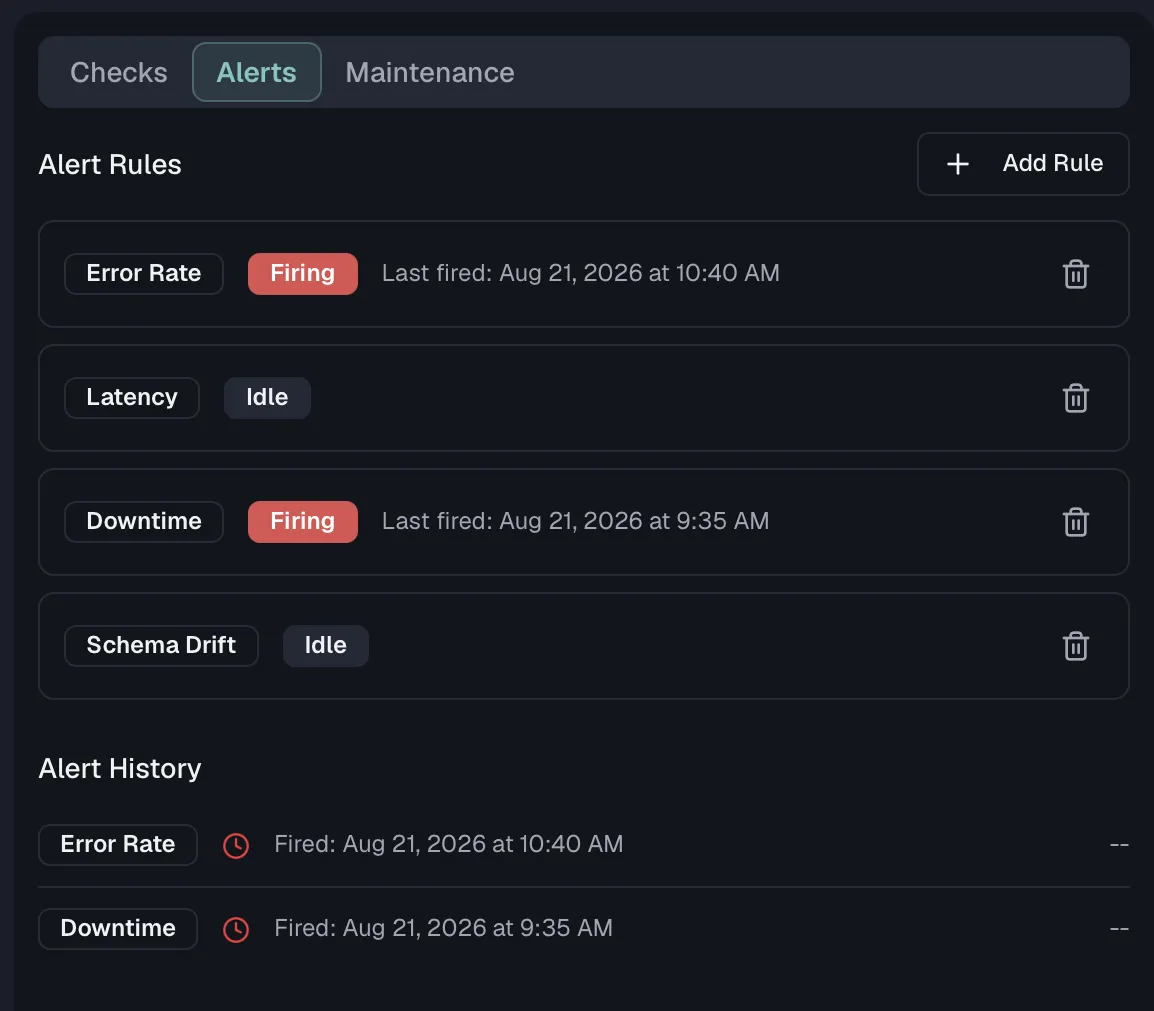
Cooldown is set in 5-minute steps from 5 to 120 minutes. Each rule in the list shows when it last fired, plus its current state as **Idle**, **Firing** or **Acknowledged**. Click a rule to edit it, where you can toggle **Enabled** and adjust the cooldown, or use the trash icon to delete it.
Below the rules, **Alert History** lists past firings with when each alert fired, when it resolved, and how long it lasted.
## Assigning policies
You assign a policy at three scopes from the monitor tree on the **Monitors** page. Right-click an **environment**, an **API spec** or a single **monitor** and choose **Assign Alert Policy**. Only enabled policies appear in the picker, and the default policy is labeled **(Default)**.
Because a monitor can be covered by assignments at more than one level, Routebase resolves an **effective policy** per monitor, with the most specific scope winning. A direct monitor assignment beats its spec, which beats its environment, which beats the project default. When an incident opens, its detail names which policy triggered it.
Note that the winning policy **replaces** the less specific one entirely rather than merging with it. A spec-scoped policy with only a drift rule therefore leaves that spec's monitors with no downtime alerting at all, which is why the one Routebase creates for you brings its own downtime rule along.
### The "Contract Drift Watch" policy
If you find a policy by that name in the list without having created it, [drift watch](https://docs.routebase.dev/contract-drift/) made it. Choosing **Any contract deviation** as the alert sharpness there needs a warning-severity drift rule, and the seeded default policy alerts on errors only. A spec-scoped policy is therefore created and assigned to that specification, carrying two rules:
- **Schema Drift** at warning severity with a 60-minute cooldown, which is the reason the policy exists.
- **Downtime** after 3 consecutive failures, which mirrors the default rule and is present because a spec-scoped policy replaces the project default wholesale.
Choosing **Breaking changes only** creates nothing, because the default policy already covers error-severity drift and drift watch never modifies it. Re-running the dialog with a different sharpness updates the same policy instead of adding a second one. Disabling drift watch leaves the policy in place, and without validation results its drift rule cannot fire anyway.
## Per-monitor custom alerts
When one monitor needs something its policy does not cover, add rules directly on the monitor. Open the monitor's detail page, switch to the **Alerts** tab, then click **Add Rule**. The **New Alert Rule** dialog offers the same four alert types with slider-based conditions:
| Alert type | Ranges |
| --- | --- |
| **Downtime** | Consecutive failures 1–10 |
| **Latency Threshold** | Threshold 100–30000 ms, window 1–20 checks |
| **Error Rate** | 1–100%, window 5–50 checks |
| **Schema Drift** | Minimum severity Error, Warning or Info |
Cooldown is set in 5-minute steps from 5 to 120 minutes. Each rule in the list shows when it last fired, plus its current state as **Idle**, **Firing** or **Acknowledged**. Click a rule to edit it, where you can toggle **Enabled** and adjust the cooldown, or use the trash icon to delete it.
Below the rules, **Alert History** lists past firings with when each alert fired, when it resolved, and how long it lasted.
 ## How alerts reach you
Fired alerts and the incidents they open appear in the in-app notification center under the **Monitoring** category. Whether you also get them by email is controlled per category in your [notification preferences](https://docs.routebase.dev/notifications/).
They can also land in a chat channel. Slack and Microsoft Teams are first-class delivery targets with their own **Contract drift** and **Incidents & recovery** categories, formatted for the client rather than posted as raw JSON. A drift alert arrives with the affected route, the concrete changes and a link straight back into Routebase. Set one up under **Settings → Messaging**, which [Messaging](https://docs.routebase.dev/messaging/) describes.
## Related
- [Incidents](https://docs.routebase.dev/incidents/) — what opens when downtime persists
- [Monitors](https://docs.routebase.dev/monitors/) — the checks your rules evaluate
- [Schema Drift](https://docs.routebase.dev/schema-drift/) — the drift severities the Schema Drift alert type keys on
- [Contract Drift](https://docs.routebase.dev/contract-drift/) — where the Contract Drift Watch policy comes from
- [Messaging](https://docs.routebase.dev/messaging/) — sending alerts to Slack or Microsoft Teams
- [Maintenance Windows](https://docs.routebase.dev/maintenance-windows/) — muting alerts during planned work
---
## API Design Settings
Source: https://docs.routebase.dev/api-design-settings/
Most of the API Designer needs no configuration, and this page covers the settings worth knowing about when the defaults do not fit. They sit at three levels. Personal editor preferences follow you across projects and affect nobody else, per-specification settings belong to a single spec, and a third set of choices is made when you create or import a spec. Those last ones cover the OpenAPI version and, later on, the release target and export formats of each version.
## Personal preferences
Open **Settings → API Designer** to configure your personal editor preferences. Changes are saved automatically, apply immediately and are stored locally per user, so they don't affect teammates. A **Reset to Defaults** button restores everything.
### Editor
| Setting | Description | Default |
| --- | --- | --- |
| **Auto-Save** | Automatically save changes after editing. | On |
| **Save Delay** | How long after your last edit auto-save triggers (0.5s–5s). | Shown when Auto-Save is on |
| **Default HTTP Method** | Method preselected for new endpoints (GET, POST, PUT, PATCH, DELETE, HEAD, OPTIONS). | GET |
| **Default Content Type** | Content type preselected for new bodies (`application/json`, `application/xml`, `application/x-www-form-urlencoded`, `multipart/form-data`, `text/plain`). | `application/json` |
| **Path Parameter Warnings** | Show warnings for undocumented path parameters. | On |
### Display
| Setting | Description | Default |
| --- | --- | --- |
| **Property Descriptions** | Show descriptions inline in schema properties. | On |
| **Code Preview Font Size** | 12px Small / 14px Default / 16px Large. | 14px |
| **JSON Indentation** | 2 or 4 spaces. | 2 |
| **Reset Panel Sizes** | Restore the default layout of resizable panels. | — |
### Validation
| Setting | Description | Default |
| --- | --- | --- |
| **Validation Strictness** | **Relaxed** (show only critical errors), **Normal** (show errors and important warnings), or **Strict** (show all issues including best practice suggestions). | Normal |
| **Show Warnings** | Include warnings in validation output. | On |
| **Real-time Validation** | Validate as you type (may affect performance). | On |
### Shortcuts
This tab holds a searchable list of every keyboard shortcut. Rebind any shortcut by recording a new key combination, and modified shortcuts get a **Modified** badge while conflicts are flagged. You can reset shortcuts individually or all at once, and **Import**/**Export** your bindings as a JSON file.
## How alerts reach you
Fired alerts and the incidents they open appear in the in-app notification center under the **Monitoring** category. Whether you also get them by email is controlled per category in your [notification preferences](https://docs.routebase.dev/notifications/).
They can also land in a chat channel. Slack and Microsoft Teams are first-class delivery targets with their own **Contract drift** and **Incidents & recovery** categories, formatted for the client rather than posted as raw JSON. A drift alert arrives with the affected route, the concrete changes and a link straight back into Routebase. Set one up under **Settings → Messaging**, which [Messaging](https://docs.routebase.dev/messaging/) describes.
## Related
- [Incidents](https://docs.routebase.dev/incidents/) — what opens when downtime persists
- [Monitors](https://docs.routebase.dev/monitors/) — the checks your rules evaluate
- [Schema Drift](https://docs.routebase.dev/schema-drift/) — the drift severities the Schema Drift alert type keys on
- [Contract Drift](https://docs.routebase.dev/contract-drift/) — where the Contract Drift Watch policy comes from
- [Messaging](https://docs.routebase.dev/messaging/) — sending alerts to Slack or Microsoft Teams
- [Maintenance Windows](https://docs.routebase.dev/maintenance-windows/) — muting alerts during planned work
---
## API Design Settings
Source: https://docs.routebase.dev/api-design-settings/
Most of the API Designer needs no configuration, and this page covers the settings worth knowing about when the defaults do not fit. They sit at three levels. Personal editor preferences follow you across projects and affect nobody else, per-specification settings belong to a single spec, and a third set of choices is made when you create or import a spec. Those last ones cover the OpenAPI version and, later on, the release target and export formats of each version.
## Personal preferences
Open **Settings → API Designer** to configure your personal editor preferences. Changes are saved automatically, apply immediately and are stored locally per user, so they don't affect teammates. A **Reset to Defaults** button restores everything.
### Editor
| Setting | Description | Default |
| --- | --- | --- |
| **Auto-Save** | Automatically save changes after editing. | On |
| **Save Delay** | How long after your last edit auto-save triggers (0.5s–5s). | Shown when Auto-Save is on |
| **Default HTTP Method** | Method preselected for new endpoints (GET, POST, PUT, PATCH, DELETE, HEAD, OPTIONS). | GET |
| **Default Content Type** | Content type preselected for new bodies (`application/json`, `application/xml`, `application/x-www-form-urlencoded`, `multipart/form-data`, `text/plain`). | `application/json` |
| **Path Parameter Warnings** | Show warnings for undocumented path parameters. | On |
### Display
| Setting | Description | Default |
| --- | --- | --- |
| **Property Descriptions** | Show descriptions inline in schema properties. | On |
| **Code Preview Font Size** | 12px Small / 14px Default / 16px Large. | 14px |
| **JSON Indentation** | 2 or 4 spaces. | 2 |
| **Reset Panel Sizes** | Restore the default layout of resizable panels. | — |
### Validation
| Setting | Description | Default |
| --- | --- | --- |
| **Validation Strictness** | **Relaxed** (show only critical errors), **Normal** (show errors and important warnings), or **Strict** (show all issues including best practice suggestions). | Normal |
| **Show Warnings** | Include warnings in validation output. | On |
| **Real-time Validation** | Validate as you type (may affect performance). | On |
### Shortcuts
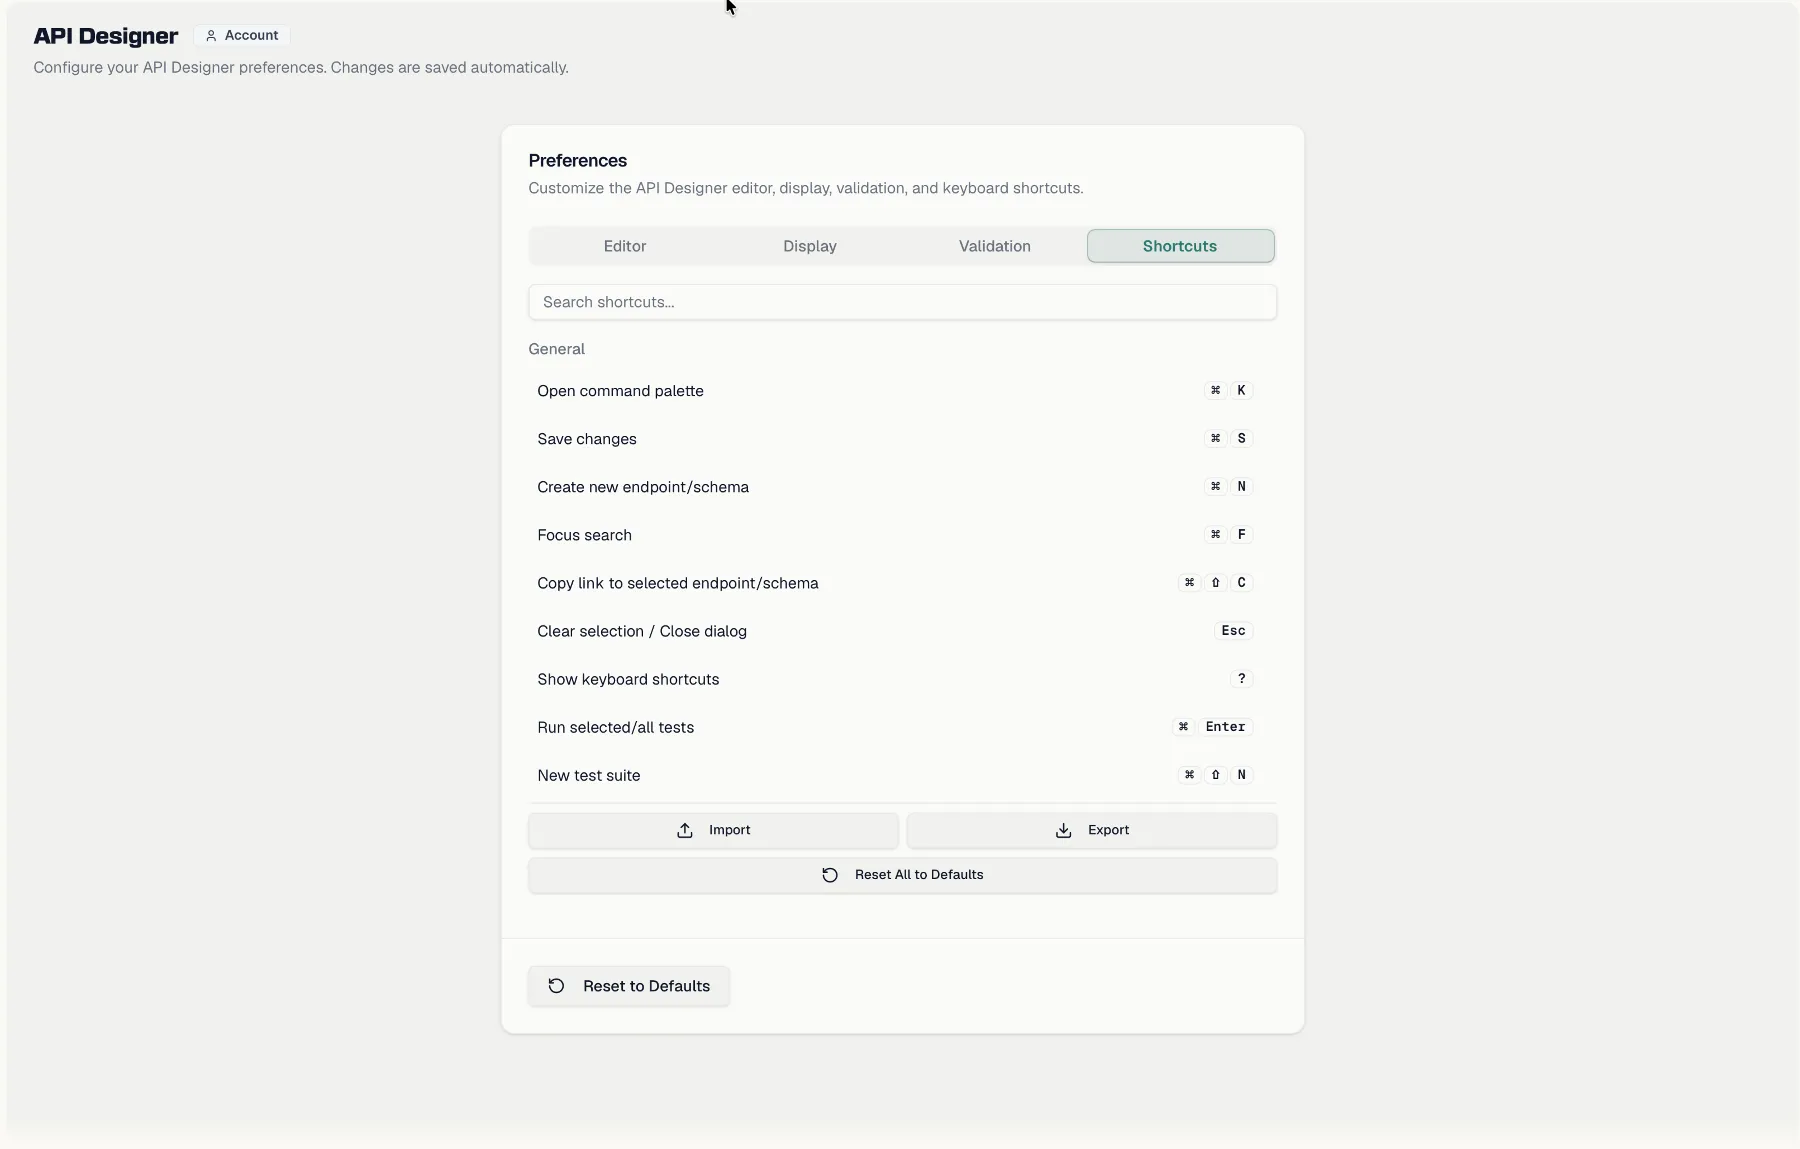
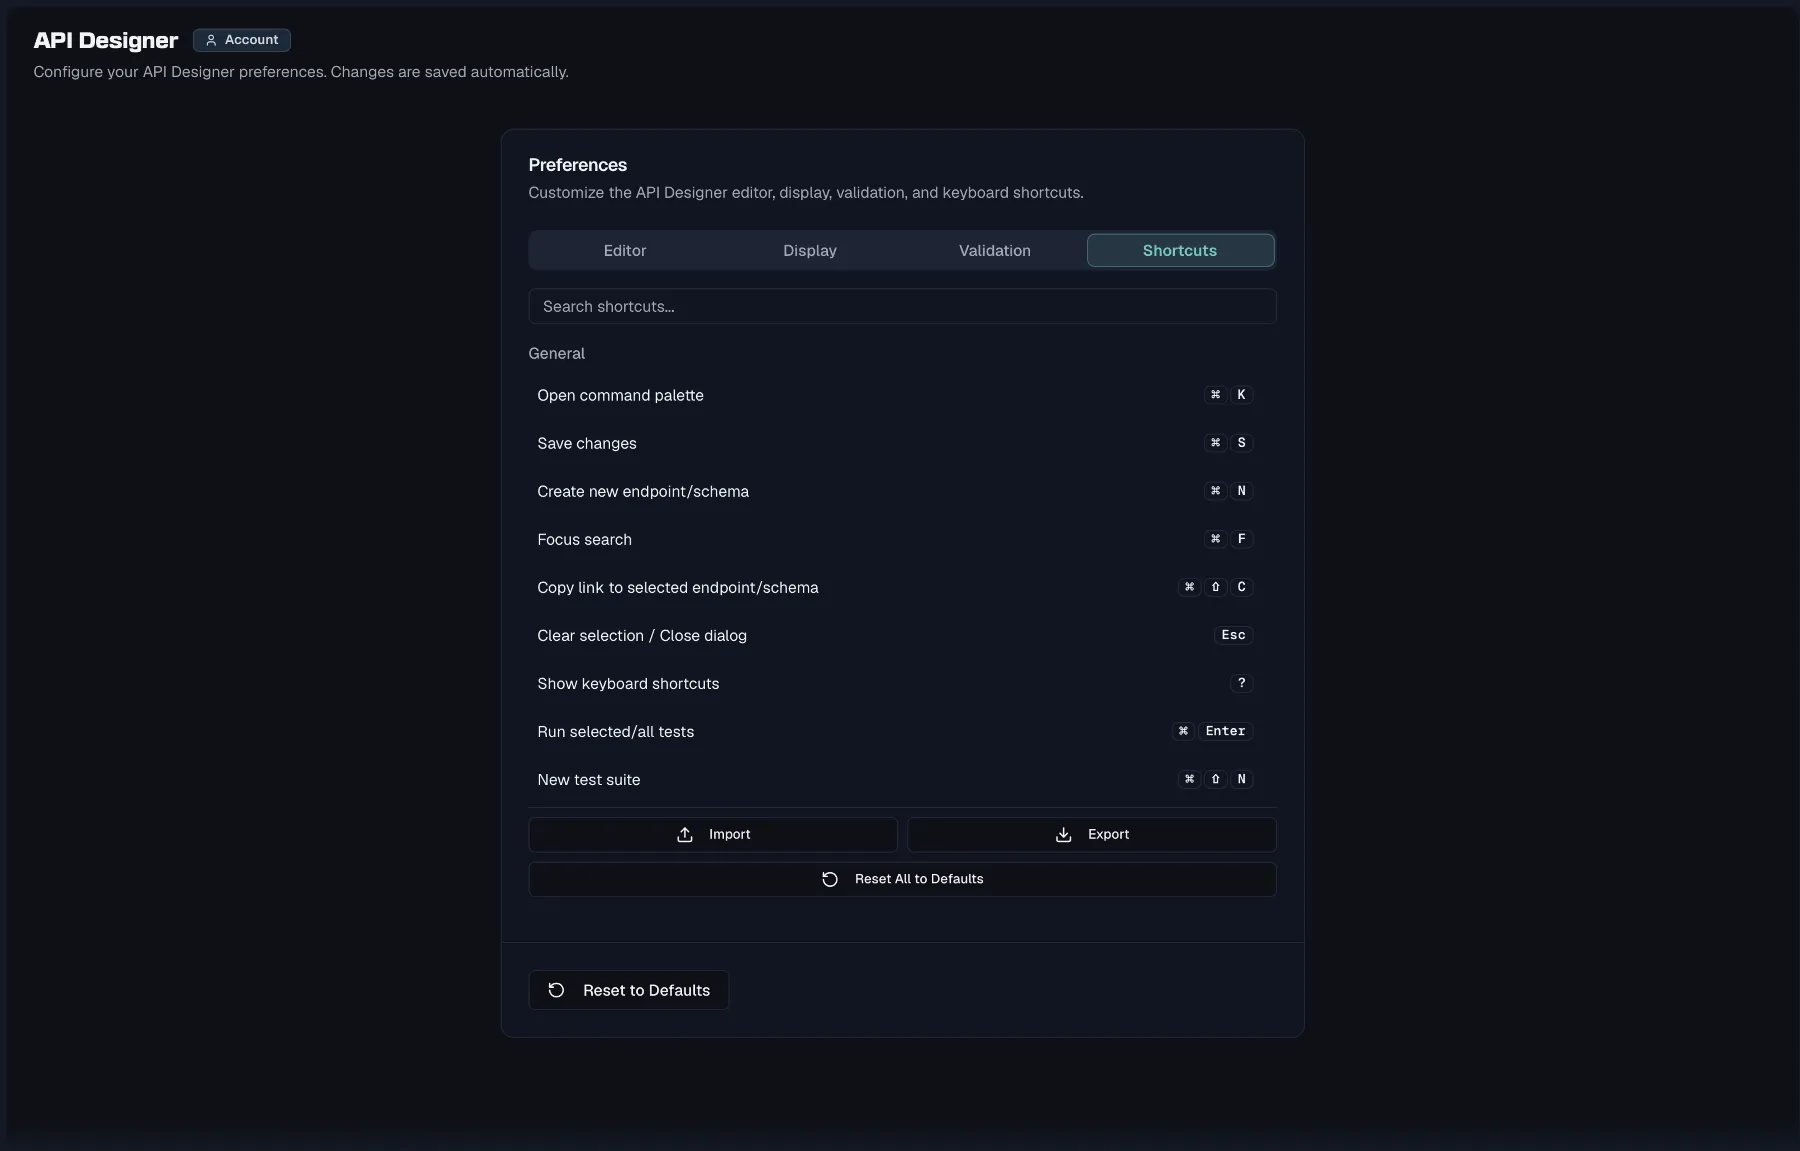
This tab holds a searchable list of every keyboard shortcut. Rebind any shortcut by recording a new key combination, and modified shortcuts get a **Modified** badge while conflicts are flagged. You can reset shortcuts individually or all at once, and **Import**/**Export** your bindings as a JSON file.
 ### Quick settings
The **Quick Settings** popover in the designer toolbar exposes the two most-used preferences, Auto-Save and validation strictness, and it links to **All API Designer Settings**.
## Per-spec settings
Open **Spec Settings** from within a specification. The sheet contains four cards (editing requires **specs:write**):
- **General** holds the spec's **Name**, its **Base Path**, which is a path prefix for all endpoints such as `/billing/v1`, and its **Server URL**. On an OpenAPI 3.2 specification it also holds the **Document URI ($self)**, which the export writes as `$self`, the URI other documents use to reference this one and the base for its relative references.
- **Versioning Strategy** sets how consumers select a version, through the URL path, a header, a query parameter or content negotiation, and it also holds version aliases and sunset dates. Covered in detail in [Versioning](https://docs.routebase.dev/versioning/).
- **Editor Preferences** is a shortcut to your personal Auto-Save and validation settings ("Personal editor settings. These apply immediately and are stored locally.").
- **Danger Zone** offers **Delete this specification**, which permanently deletes the spec and all its versions, endpoints and schemas after a confirmation dialog. It requires the **specs:delete** permission, which Admins and Owners hold.
A sticky **Save Changes** button appears once you've modified anything.
## Creating a specification
Click to create a new spec and the **New API Specification** wizard asks how you want to start:
| Mode | Description |
| --- | --- |
| **Import** | Import OpenAPI, Postman, or Insomnia files. |
| **Empty Specification** | Start with a blank canvas and add endpoints. |
| **Use Template** | Start with a pre-built template (CRUD, Auth). |
For **Empty** and **Template** modes you fill in the spec's **Name**, **Version**, **OpenAPI Version**, **Base Path** and **Description**. Semantic versioning is expected, so the wizard warns if the version isn't `MAJOR.MINOR.PATCH`, because publishing and diffing rely on it. The available templates are **REST CRUD**, **Authentication** and **Blank**, and each one lists how many endpoints it scaffolds.
### OpenAPI version
Specs are authored as **OpenAPI 3.0**, **OpenAPI 3.1** or **OpenAPI 3.2**, and new specs default to 3.2. Some style-guide rules apply to 3.0 documents only, and the version affects how nullability and numeric bounds are expressed.
### Importing an existing API
Choose **Import** in the wizard to bring in an OpenAPI file, a Postman collection or an Insomnia export. [Import & Export](https://docs.routebase.dev/import-export/) has the full flow, covering the entry points, the preview, the import options and what to do when validation fails.
## Renaming and deleting
- **Rename API Specification** changes the spec's **Name** and **Base Path**.
- **Delete API Specification** permanently removes the spec, warning that *"All endpoints, schemas, and versions associated with this specification will also be deleted."* It requires **specs:delete**.
## Releasing and exporting
A version is released through the **Release Version** wizard, which **freezes** it and optionally **promotes** it into an [environment](https://docs.routebase.dev/environments/). The environment's roles decide whether the release also feeds the public documentation. See [Versioning](https://docs.routebase.dev/versioning/) for the full release flow.
Freezing is also what makes a version exportable, in YAML, JSON, Postman or Insomnia form. See [Import & Export](https://docs.routebase.dev/import-export/) for the download flow.
## Related
- [Versioning](https://docs.routebase.dev/versioning/) — versioning strategy, publishing, and exports
- [Endpoints](https://docs.routebase.dev/endpoints/) — working inside the designer
- [Style Guide](https://docs.routebase.dev/style-guide/) — validation rules behind the strictness settings
- [Projects](https://docs.routebase.dev/projects/) — where specifications live
---
## API Keys
Source: https://docs.routebase.dev/api-keys/
API keys give machines access to your organization without a browser login, which covers CI/CD pipelines, the CLI and AI agents via MCP. Each key carries its own set of permissions and can be restricted to a single project, so you can grant exactly the access an integration needs and nothing more.
API keys live under **Settings → API Keys**. Managing them requires the **org:manage-security** permission (Admins and Owners), and creating a key requires that your own email address is verified.
## Creating an API key
1. Click **Create Key**.
2. Enter a **Name** that identifies the integration (e.g. "GitHub Actions CI").
3. Choose an **Expiration** of **Never**, **30 days**, **60 days**, **90 days**, **180 days** or **1 year**.
4. Configure **Permissions** (see below).
5. Click **Create Key**.
The full key is displayed **once**, immediately after creation, so copy it and store it securely in a CI secret, a password manager or an environment variable. It will not be shown again, so if you lose it, revoke the key and create a new one.
Keys start with the `rb_live_` prefix. In the key list, only this short prefix is shown, never the full key.
## Permissions and project restriction
Every key is either full-access or scoped:
- **Full Access** is the default, and it grants unrestricted access to all permissions and projects.
- **Granular scopes** appear when you turn the **Full Access** switch off, so you can tick individual permissions grouped by area. The groups are Projects, API Specs, Testing, Security, Mock Server, Documentation, Monitoring, Notifications, Billing and Organization. These are the same permissions used by [roles](https://docs.routebase.dev/roles-permissions/), such as `specs:read`, `tests:execute` and `docs:manage-portal`.
For each selected permission you can additionally choose **All Projects** or restrict it to a **single project**. A key scoped to one project cannot touch the rest of your organization, no matter what the caller asks it to do.
A scoped key needs at least one permission selected.
### Quick settings
The **Quick Settings** popover in the designer toolbar exposes the two most-used preferences, Auto-Save and validation strictness, and it links to **All API Designer Settings**.
## Per-spec settings
Open **Spec Settings** from within a specification. The sheet contains four cards (editing requires **specs:write**):
- **General** holds the spec's **Name**, its **Base Path**, which is a path prefix for all endpoints such as `/billing/v1`, and its **Server URL**. On an OpenAPI 3.2 specification it also holds the **Document URI ($self)**, which the export writes as `$self`, the URI other documents use to reference this one and the base for its relative references.
- **Versioning Strategy** sets how consumers select a version, through the URL path, a header, a query parameter or content negotiation, and it also holds version aliases and sunset dates. Covered in detail in [Versioning](https://docs.routebase.dev/versioning/).
- **Editor Preferences** is a shortcut to your personal Auto-Save and validation settings ("Personal editor settings. These apply immediately and are stored locally.").
- **Danger Zone** offers **Delete this specification**, which permanently deletes the spec and all its versions, endpoints and schemas after a confirmation dialog. It requires the **specs:delete** permission, which Admins and Owners hold.
A sticky **Save Changes** button appears once you've modified anything.
## Creating a specification
Click to create a new spec and the **New API Specification** wizard asks how you want to start:
| Mode | Description |
| --- | --- |
| **Import** | Import OpenAPI, Postman, or Insomnia files. |
| **Empty Specification** | Start with a blank canvas and add endpoints. |
| **Use Template** | Start with a pre-built template (CRUD, Auth). |
For **Empty** and **Template** modes you fill in the spec's **Name**, **Version**, **OpenAPI Version**, **Base Path** and **Description**. Semantic versioning is expected, so the wizard warns if the version isn't `MAJOR.MINOR.PATCH`, because publishing and diffing rely on it. The available templates are **REST CRUD**, **Authentication** and **Blank**, and each one lists how many endpoints it scaffolds.
### OpenAPI version
Specs are authored as **OpenAPI 3.0**, **OpenAPI 3.1** or **OpenAPI 3.2**, and new specs default to 3.2. Some style-guide rules apply to 3.0 documents only, and the version affects how nullability and numeric bounds are expressed.
### Importing an existing API
Choose **Import** in the wizard to bring in an OpenAPI file, a Postman collection or an Insomnia export. [Import & Export](https://docs.routebase.dev/import-export/) has the full flow, covering the entry points, the preview, the import options and what to do when validation fails.
## Renaming and deleting
- **Rename API Specification** changes the spec's **Name** and **Base Path**.
- **Delete API Specification** permanently removes the spec, warning that *"All endpoints, schemas, and versions associated with this specification will also be deleted."* It requires **specs:delete**.
## Releasing and exporting
A version is released through the **Release Version** wizard, which **freezes** it and optionally **promotes** it into an [environment](https://docs.routebase.dev/environments/). The environment's roles decide whether the release also feeds the public documentation. See [Versioning](https://docs.routebase.dev/versioning/) for the full release flow.
Freezing is also what makes a version exportable, in YAML, JSON, Postman or Insomnia form. See [Import & Export](https://docs.routebase.dev/import-export/) for the download flow.
## Related
- [Versioning](https://docs.routebase.dev/versioning/) — versioning strategy, publishing, and exports
- [Endpoints](https://docs.routebase.dev/endpoints/) — working inside the designer
- [Style Guide](https://docs.routebase.dev/style-guide/) — validation rules behind the strictness settings
- [Projects](https://docs.routebase.dev/projects/) — where specifications live
---
## API Keys
Source: https://docs.routebase.dev/api-keys/
API keys give machines access to your organization without a browser login, which covers CI/CD pipelines, the CLI and AI agents via MCP. Each key carries its own set of permissions and can be restricted to a single project, so you can grant exactly the access an integration needs and nothing more.
API keys live under **Settings → API Keys**. Managing them requires the **org:manage-security** permission (Admins and Owners), and creating a key requires that your own email address is verified.
## Creating an API key
1. Click **Create Key**.
2. Enter a **Name** that identifies the integration (e.g. "GitHub Actions CI").
3. Choose an **Expiration** of **Never**, **30 days**, **60 days**, **90 days**, **180 days** or **1 year**.
4. Configure **Permissions** (see below).
5. Click **Create Key**.
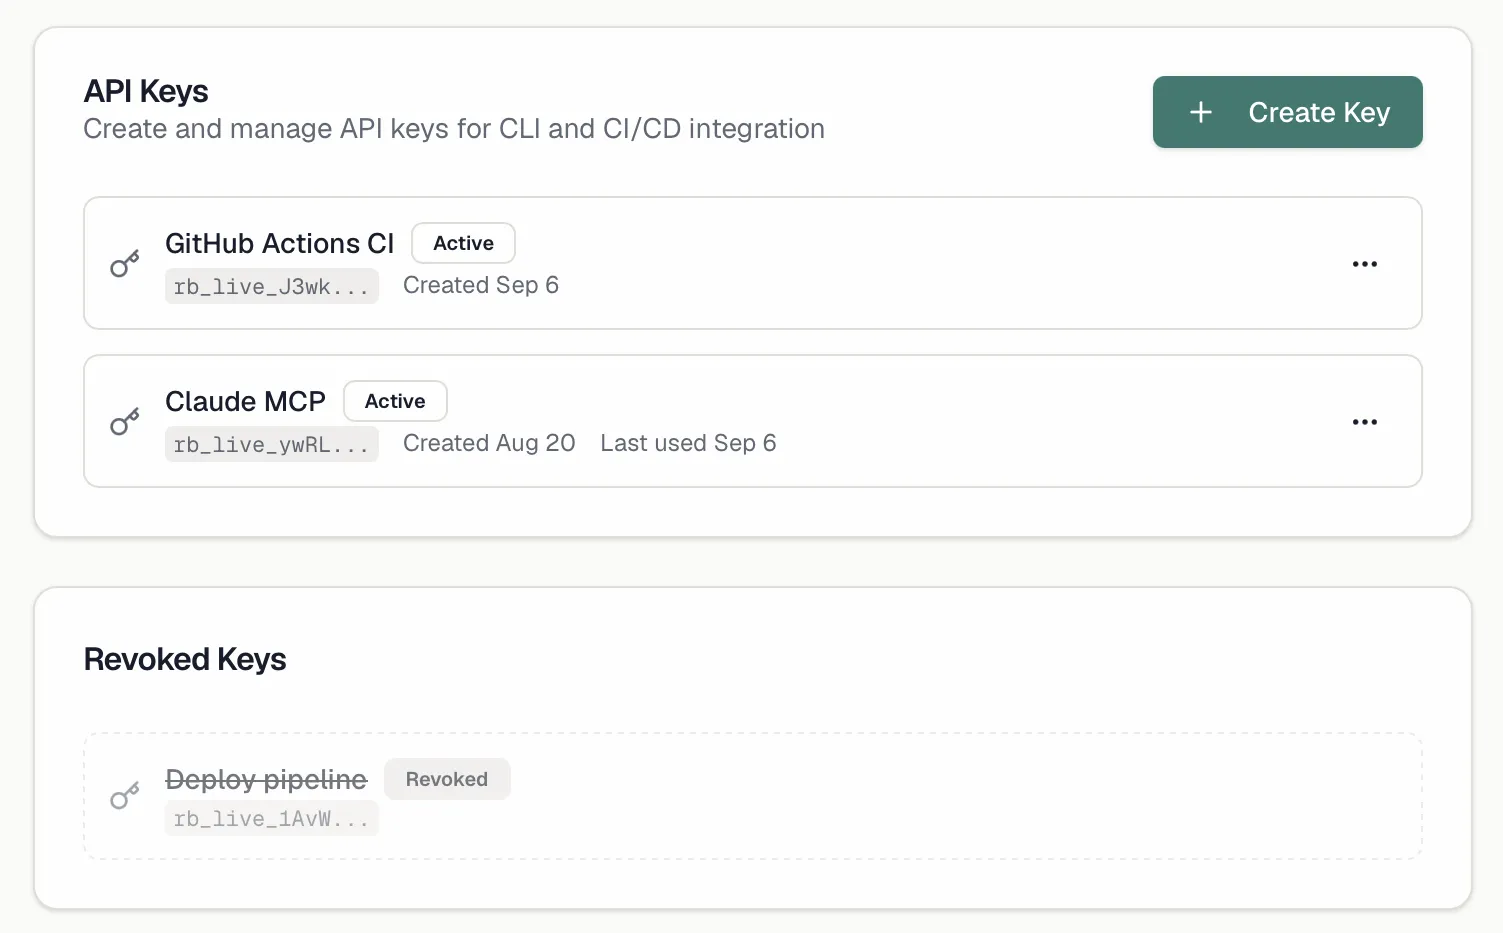
The full key is displayed **once**, immediately after creation, so copy it and store it securely in a CI secret, a password manager or an environment variable. It will not be shown again, so if you lose it, revoke the key and create a new one.
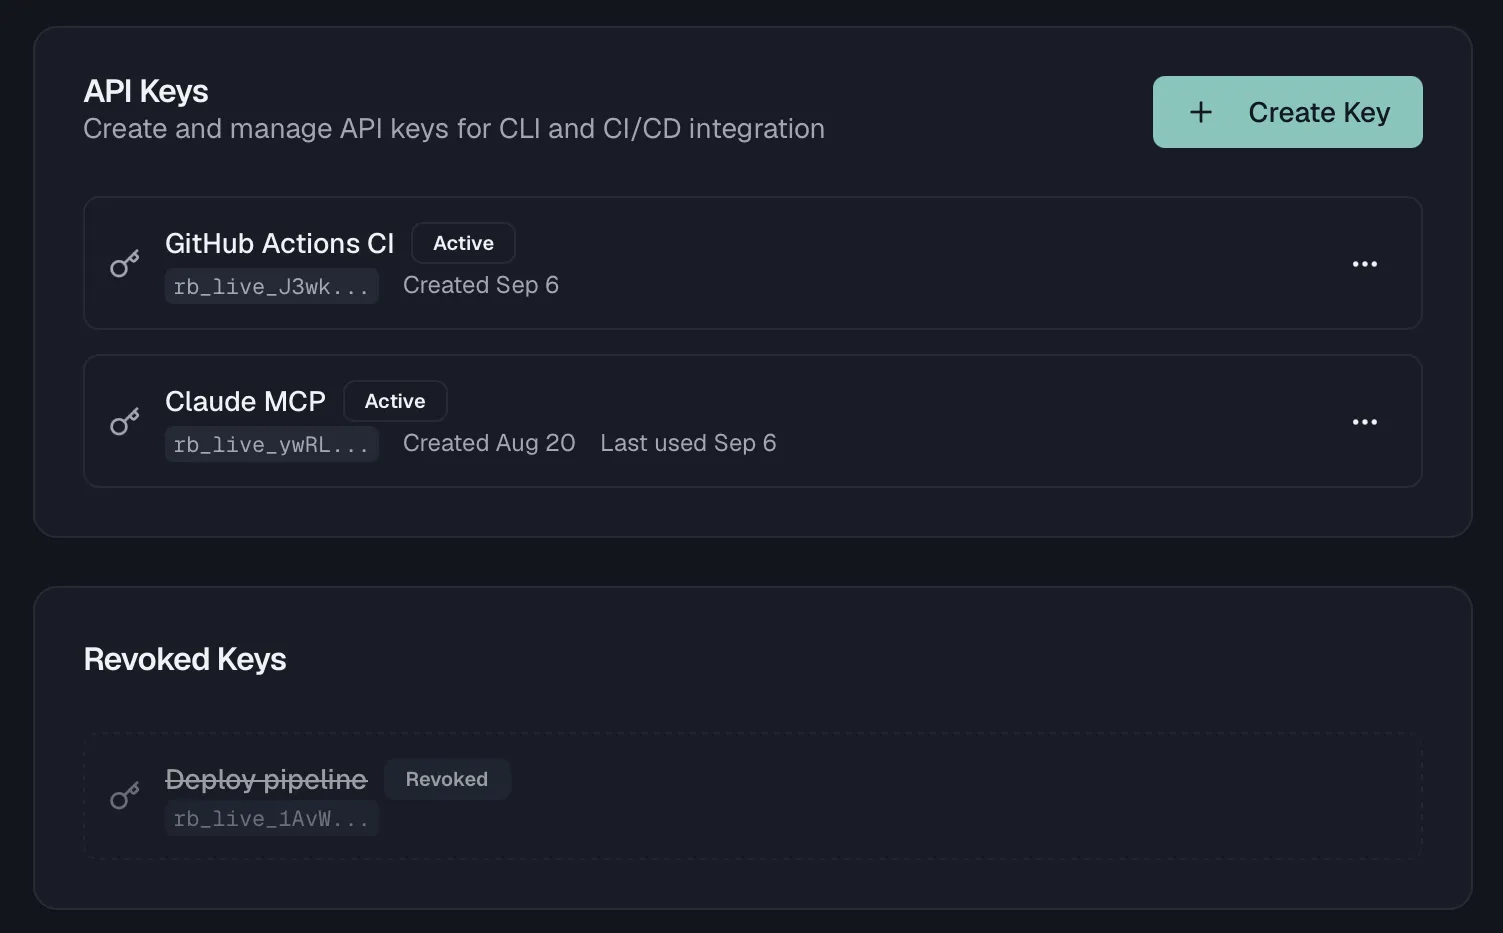
Keys start with the `rb_live_` prefix. In the key list, only this short prefix is shown, never the full key.
## Permissions and project restriction
Every key is either full-access or scoped:
- **Full Access** is the default, and it grants unrestricted access to all permissions and projects.
- **Granular scopes** appear when you turn the **Full Access** switch off, so you can tick individual permissions grouped by area. The groups are Projects, API Specs, Testing, Security, Mock Server, Documentation, Monitoring, Notifications, Billing and Organization. These are the same permissions used by [roles](https://docs.routebase.dev/roles-permissions/), such as `specs:read`, `tests:execute` and `docs:manage-portal`.
For each selected permission you can additionally choose **All Projects** or restrict it to a **single project**. A key scoped to one project cannot touch the rest of your organization, no matter what the caller asks it to do.
A scoped key needs at least one permission selected.
 ## Where API keys authenticate
An API key authenticates against the same API surface in two ways:
- **REST API** access works by sending the key as an `X-API-Key` header on requests to `https://api.routebase.dev`.
- **MCP (AI agents)** use the Routebase MCP server, which accepts the same header on `https://mcp.routebase.dev`. When you use the stdio CLI you can set the `ROUTEBASE_API_KEY` environment variable instead. Tool discovery and every tool call are checked against the key's scopes. See [MCP Authentication](https://docs.routebase.dev/mcp-authentication/) and the [MCP Quickstart](https://docs.routebase.dev/mcp-quickstart/).
## What the REST API covers
The [API Reference](https://docs.routebase.dev/api/routebase-public-api/) section of these docs lists the endpoints Routebase commits to. Those are the ones the test CLI, the GitHub Action and SCIM identity providers already call, so build your own integrations against them.
Everything else under `/api/` exists for the Routebase web app. Those paths can change or disappear without notice, so treat them as internal even though a key with matching scopes reaches them today.
## Good hygiene
- **Never commit keys**, and keep them in CI secrets or environment variables.
- **Set an expiry** where your workflow allows it, and rotate keys regularly.
- **One key per integration**, so revoking one doesn't break the others, and "last used" tells you what's still alive.
- **Revoke immediately** if a key is exposed, then create a replacement.
## Related
- [API Reference](https://docs.routebase.dev/api/routebase-public-api/) — the endpoints an API key can call
- [MCP Authentication](https://docs.routebase.dev/mcp-authentication/) — scopes and key handling for AI agents
- [MCP Quickstart](https://docs.routebase.dev/mcp-quickstart/) — connect an AI agent to Routebase
- [Roles & Permissions](https://docs.routebase.dev/roles-permissions/) — the permission model behind key scopes
- [Audit Log](https://docs.routebase.dev/audit-log/) — trace security-relevant activity in your organization
---
## API Specifications — MCP Tools
Source: https://docs.routebase.dev/api-specifications-mcp-tools/
The tools below belong to the **API Specifications** group of the Routebase MCP server.
## create_spec
Create a new API specification in the active project. Returns the id of the automatically created initial draft version — use it as versionId when creating endpoints. Use this for a new empty spec; to bring an existing OpenAPI document into the project use import_spec. Requires project context.
**Required scope:** `specs:write`
| Parameter | Type | Required | Description |
| --- | --- | --- | --- |
| `name` | string | Yes | Name of the API specification |
| `version` | string | Yes | Version string (e.g., '1.0.0') |
| `openApiVersion` | string | No (default `"v3_2"`) | OpenAPI version: 'v3_0', 'v3_1' or 'v3_2' (default 'v3_2') |
| `description` | string | No | Optional description of the API |
## delete_spec
Delete an API specification and everything under it — versions, endpoints, schemas, folders and tags. Use this to remove the whole spec; to drop a single version only use delete_version. Requires project context.
**Required scope:** `specs:delete`
| Parameter | Type | Required | Description |
| --- | --- | --- | --- |
| `specId` | string | Yes | Public ID (GUID) of the API specification to delete |
## export_spec
Export an API specification as OpenAPI YAML, JSON, or Postman Collection. Use this to get the finished document out; to check it against the standard first use validate_spec. Requires project context.
**Required scope:** `specs:read`
| Parameter | Type | Required | Description |
| --- | --- | --- | --- |
| `specId` | string | Yes | Public ID (GUID) of the API specification to export |
| `format` | string | No (default `"yaml"`) | Export format: 'yaml' (default), 'json', or 'postman' |
## get_spec
Get detailed information about an API specification, including whether its documentation is internal, authenticated or public and under which slug. Includes the spec's versions (newest first, up to 10) — use their id as versionId for create_endpoint and other version-scoped tools. Use this when you already have the spec id; to browse the project's specs or find an id use list_specs. Requires project context.
**Required scope:** `specs:read`
| Parameter | Type | Required | Description |
| --- | --- | --- | --- |
| `specId` | string | Yes | Public ID (GUID) of the API specification |
## import_spec
Import an OpenAPI specification from YAML or JSON content into the active project. Use this to bring an existing OpenAPI document in; to start from an empty spec use create_spec. Requires project context.
**Required scope:** `specs:write`
| Parameter | Type | Required | Description |
| --- | --- | --- | --- |
| `content` | string | Yes | The OpenAPI specification content (YAML or JSON string) |
| `format` | string | No | Format hint: 'yaml', 'json', or omit for auto-detection |
| `validateOnly` | boolean | No (default `false`) | If true, only validate without importing (default false) |
| `convertToOpenApi31` | boolean | No (default `false`) | Convert OpenAPI 3.0 to 3.1 during import (default false) |
| `createFoldersFromTags` | boolean | No (default `false`) | Create folders from OpenAPI tags (default false) |
| `shortenSchemaNames` | boolean | No (default `false`) | Shorten schema names to the last dot-segment when unique within the spec (default false) |
| `discardOriginalSchemaNames` | boolean | No (default `false`) | With shortenSchemaNames: permanently discard the cut namespace segments — original names are not stored; re-imports/diffs against the source file will report renames (default false) |
## list_specs
List all API specifications in the active project. Set scope to 'org' to list the published APIs across every project in the organization instead — each entry carries the projectId and specId to pass to set_context. Use this to browse specs or find a spec id; for one spec by id use get_spec. Requires project context for scope 'project'.
**Required scope:** `specs:read`
| Parameter | Type | Required | Description |
| --- | --- | --- | --- |
| `skip` | integer | No (default `0`) | Number of specs to skip (for pagination, default 0) |
| `take` | integer | No (default `50`) | Number of specs to return (default 50, max 100) |
| `scope` | string | No (default `"project"`) | What to list: 'project' (default) or 'org' |
## update_spec
Update an API specification's metadata: name, version string, description, base path or server URL. Omit a field to keep its current value; pass an empty string to clear description, basePath or serverUrl (name and version cannot be empty). Get the spec's rowVersion from get_spec. Requires project context.
**Required scope:** `specs:write`
| Parameter | Type | Required | Description |
| --- | --- | --- | --- |
| `specId` | string | Yes | Public ID (GUID) of the API specification |
| `rowVersion` | string | Yes | Base64-encoded row version of the spec (for concurrency control), from get_spec |
| `name` | string | No | New name, or omit to keep the current name |
| `version` | string | No | New version string (e.g. '2.0.0'), or omit to keep the current one |
| `description` | string | No | New description; empty string clears it, omit to keep the current one |
| `basePath` | string | No | New base path (e.g. '/v2'); empty string clears it, omit to keep the current one |
| `serverUrl` | string | No | New server URL (absolute HTTPS); empty string clears it, omit to keep the current one |
| `selfUri` | string | No | 3.2 only: document $self URI; omit keeps, empty string clears |
## validate_spec
Validate an OpenAPI specification against the standard. Provide either content to validate directly, or specId to validate an existing spec. Set mode to 'import' for a dry run of import_spec instead: same errors and warnings, plus what would be created (endpoint, schema and folder counts), the detected format and whether a 3.0 → 3.1 conversion happened. Nothing is written either way.
**Required scope:** `specs:read`
| Parameter | Type | Required | Description |
| --- | --- | --- | --- |
| `content` | string | No | The OpenAPI specification content to validate (YAML or JSON). Provide either content or specId, not both. |
| `specId` | string | No | Public ID (GUID) of an existing spec to validate. If provided, the spec is exported first and then validated. |
| `format` | string | No | Format hint: 'yaml', 'json', or omit for auto-detection |
| `mode` | string | No (default `"openapi"`) | What to check: 'openapi' (default) or 'import' |
| `convertToOpenApi31` | boolean | No (default `false`) | For mode 'import': convert a 3.0 document to 3.1 (default false) |
| `shortenSchemaNames` | boolean | No (default `false`) | For mode 'import': shorten generated schema names (default false) |
---
## Audit Log
Source: https://docs.routebase.dev/audit-log/
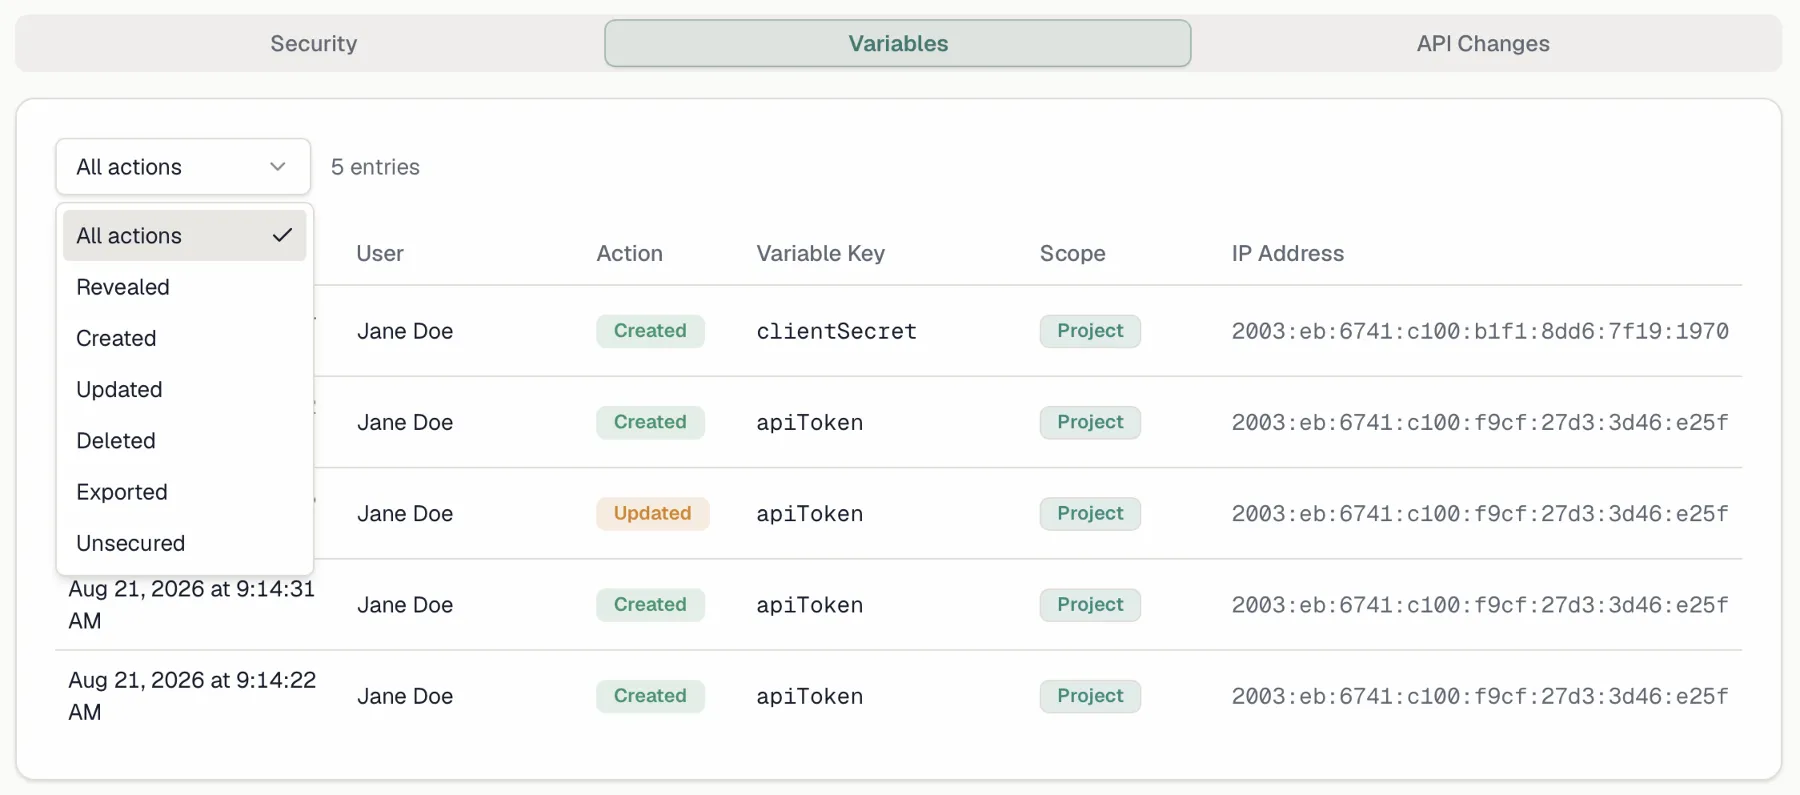
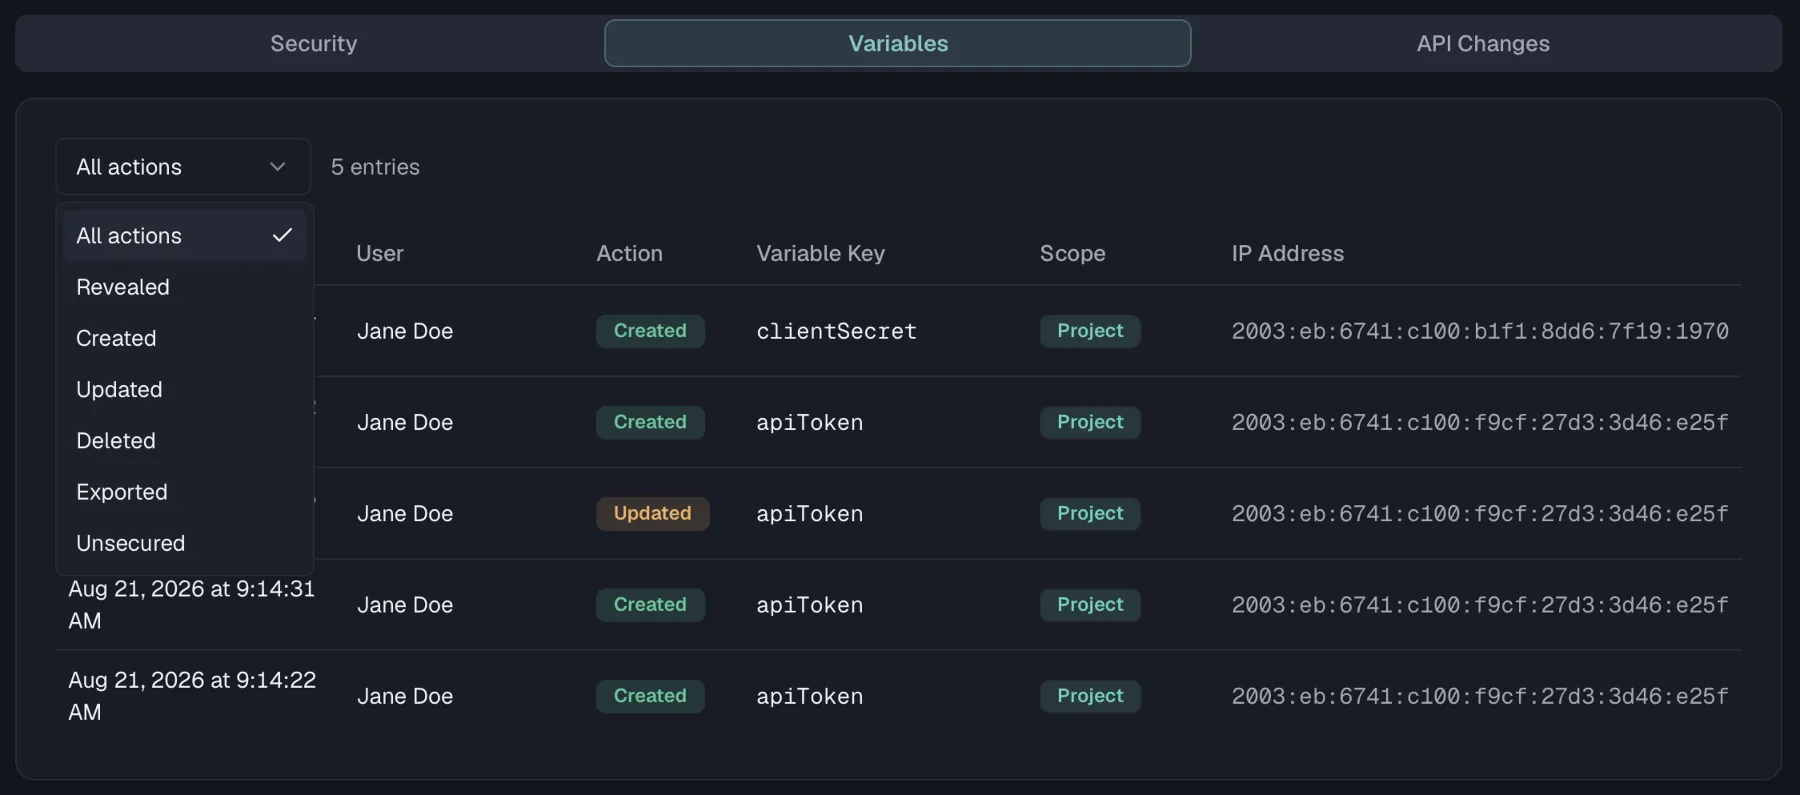
The audit log gives Admins and Owners a chronological record of security-relevant activity across the organization, covering who signed in, who changed a role, who revealed a secret variable, and more. You'll find it under **Settings → Audit Log**, in the **Security** group of the settings sidebar, described as "Track security events, secret variable access, and API changes across your organization."
The audit log is available on the **Pro** plan and up, so on lower plans the page shows an upgrade card. Viewing it requires the **org:manage-members** permission, which Admins and Owners have.
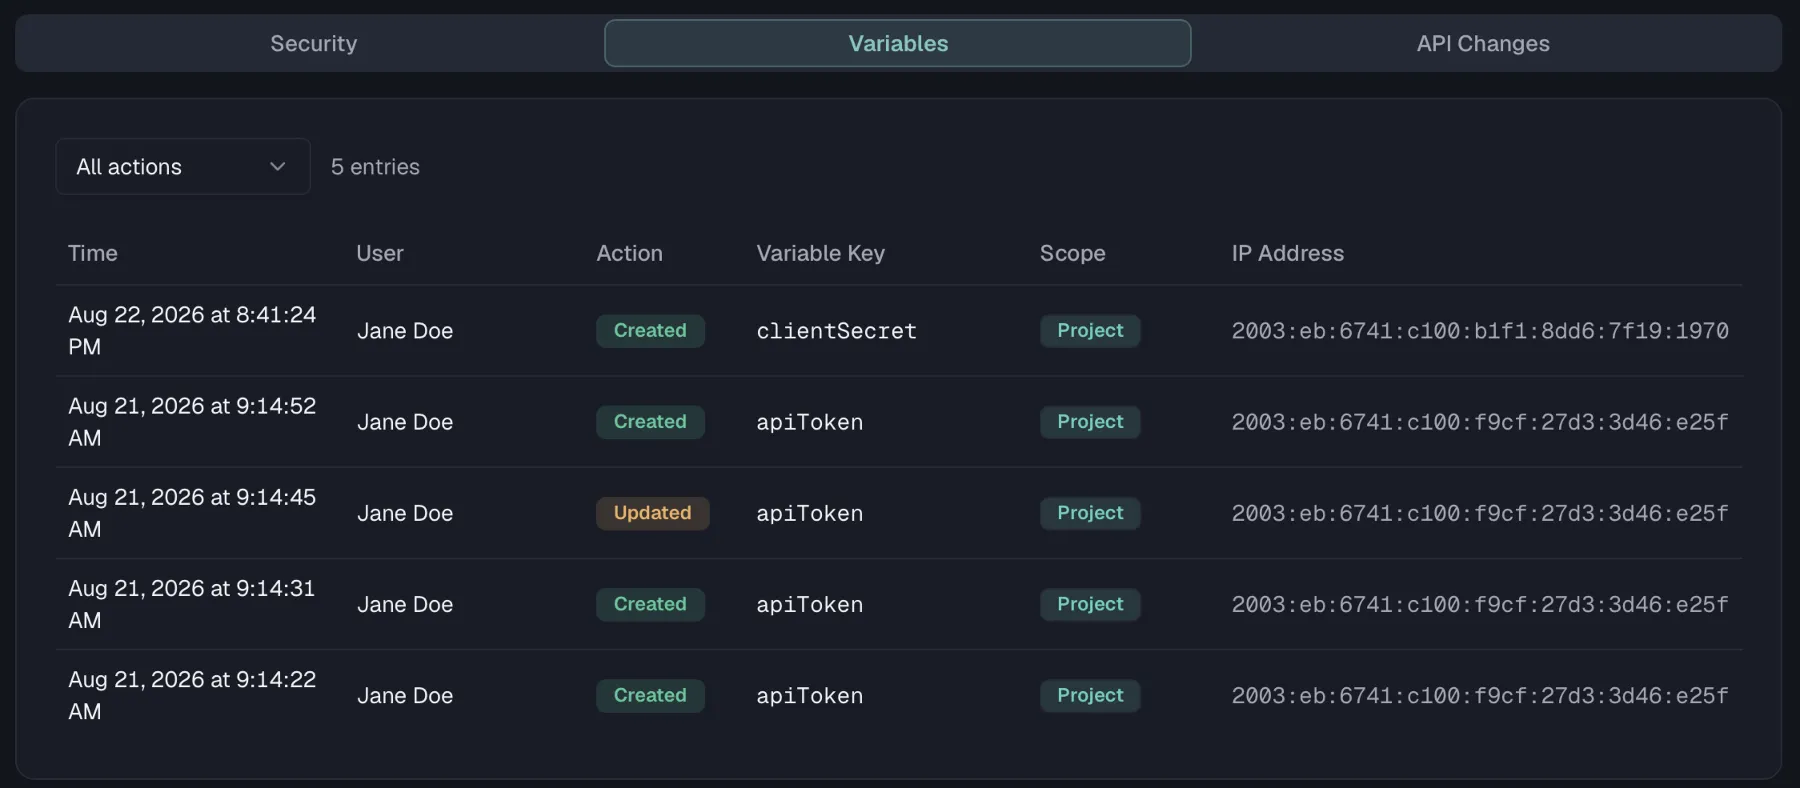
The page has three tabs, named **Security**, **Variables** and **API Changes**.
## Where API keys authenticate
An API key authenticates against the same API surface in two ways:
- **REST API** access works by sending the key as an `X-API-Key` header on requests to `https://api.routebase.dev`.
- **MCP (AI agents)** use the Routebase MCP server, which accepts the same header on `https://mcp.routebase.dev`. When you use the stdio CLI you can set the `ROUTEBASE_API_KEY` environment variable instead. Tool discovery and every tool call are checked against the key's scopes. See [MCP Authentication](https://docs.routebase.dev/mcp-authentication/) and the [MCP Quickstart](https://docs.routebase.dev/mcp-quickstart/).
## What the REST API covers
The [API Reference](https://docs.routebase.dev/api/routebase-public-api/) section of these docs lists the endpoints Routebase commits to. Those are the ones the test CLI, the GitHub Action and SCIM identity providers already call, so build your own integrations against them.
Everything else under `/api/` exists for the Routebase web app. Those paths can change or disappear without notice, so treat them as internal even though a key with matching scopes reaches them today.
## Good hygiene
- **Never commit keys**, and keep them in CI secrets or environment variables.
- **Set an expiry** where your workflow allows it, and rotate keys regularly.
- **One key per integration**, so revoking one doesn't break the others, and "last used" tells you what's still alive.
- **Revoke immediately** if a key is exposed, then create a replacement.
## Related
- [API Reference](https://docs.routebase.dev/api/routebase-public-api/) — the endpoints an API key can call
- [MCP Authentication](https://docs.routebase.dev/mcp-authentication/) — scopes and key handling for AI agents
- [MCP Quickstart](https://docs.routebase.dev/mcp-quickstart/) — connect an AI agent to Routebase
- [Roles & Permissions](https://docs.routebase.dev/roles-permissions/) — the permission model behind key scopes
- [Audit Log](https://docs.routebase.dev/audit-log/) — trace security-relevant activity in your organization
---
## API Specifications — MCP Tools
Source: https://docs.routebase.dev/api-specifications-mcp-tools/
The tools below belong to the **API Specifications** group of the Routebase MCP server.
## create_spec
Create a new API specification in the active project. Returns the id of the automatically created initial draft version — use it as versionId when creating endpoints. Use this for a new empty spec; to bring an existing OpenAPI document into the project use import_spec. Requires project context.
**Required scope:** `specs:write`
| Parameter | Type | Required | Description |
| --- | --- | --- | --- |
| `name` | string | Yes | Name of the API specification |
| `version` | string | Yes | Version string (e.g., '1.0.0') |
| `openApiVersion` | string | No (default `"v3_2"`) | OpenAPI version: 'v3_0', 'v3_1' or 'v3_2' (default 'v3_2') |
| `description` | string | No | Optional description of the API |
## delete_spec
Delete an API specification and everything under it — versions, endpoints, schemas, folders and tags. Use this to remove the whole spec; to drop a single version only use delete_version. Requires project context.
**Required scope:** `specs:delete`
| Parameter | Type | Required | Description |
| --- | --- | --- | --- |
| `specId` | string | Yes | Public ID (GUID) of the API specification to delete |
## export_spec
Export an API specification as OpenAPI YAML, JSON, or Postman Collection. Use this to get the finished document out; to check it against the standard first use validate_spec. Requires project context.
**Required scope:** `specs:read`
| Parameter | Type | Required | Description |
| --- | --- | --- | --- |
| `specId` | string | Yes | Public ID (GUID) of the API specification to export |
| `format` | string | No (default `"yaml"`) | Export format: 'yaml' (default), 'json', or 'postman' |
## get_spec
Get detailed information about an API specification, including whether its documentation is internal, authenticated or public and under which slug. Includes the spec's versions (newest first, up to 10) — use their id as versionId for create_endpoint and other version-scoped tools. Use this when you already have the spec id; to browse the project's specs or find an id use list_specs. Requires project context.
**Required scope:** `specs:read`
| Parameter | Type | Required | Description |
| --- | --- | --- | --- |
| `specId` | string | Yes | Public ID (GUID) of the API specification |
## import_spec
Import an OpenAPI specification from YAML or JSON content into the active project. Use this to bring an existing OpenAPI document in; to start from an empty spec use create_spec. Requires project context.
**Required scope:** `specs:write`
| Parameter | Type | Required | Description |
| --- | --- | --- | --- |
| `content` | string | Yes | The OpenAPI specification content (YAML or JSON string) |
| `format` | string | No | Format hint: 'yaml', 'json', or omit for auto-detection |
| `validateOnly` | boolean | No (default `false`) | If true, only validate without importing (default false) |
| `convertToOpenApi31` | boolean | No (default `false`) | Convert OpenAPI 3.0 to 3.1 during import (default false) |
| `createFoldersFromTags` | boolean | No (default `false`) | Create folders from OpenAPI tags (default false) |
| `shortenSchemaNames` | boolean | No (default `false`) | Shorten schema names to the last dot-segment when unique within the spec (default false) |
| `discardOriginalSchemaNames` | boolean | No (default `false`) | With shortenSchemaNames: permanently discard the cut namespace segments — original names are not stored; re-imports/diffs against the source file will report renames (default false) |
## list_specs
List all API specifications in the active project. Set scope to 'org' to list the published APIs across every project in the organization instead — each entry carries the projectId and specId to pass to set_context. Use this to browse specs or find a spec id; for one spec by id use get_spec. Requires project context for scope 'project'.
**Required scope:** `specs:read`
| Parameter | Type | Required | Description |
| --- | --- | --- | --- |
| `skip` | integer | No (default `0`) | Number of specs to skip (for pagination, default 0) |
| `take` | integer | No (default `50`) | Number of specs to return (default 50, max 100) |
| `scope` | string | No (default `"project"`) | What to list: 'project' (default) or 'org' |
## update_spec
Update an API specification's metadata: name, version string, description, base path or server URL. Omit a field to keep its current value; pass an empty string to clear description, basePath or serverUrl (name and version cannot be empty). Get the spec's rowVersion from get_spec. Requires project context.
**Required scope:** `specs:write`
| Parameter | Type | Required | Description |
| --- | --- | --- | --- |
| `specId` | string | Yes | Public ID (GUID) of the API specification |
| `rowVersion` | string | Yes | Base64-encoded row version of the spec (for concurrency control), from get_spec |
| `name` | string | No | New name, or omit to keep the current name |
| `version` | string | No | New version string (e.g. '2.0.0'), or omit to keep the current one |
| `description` | string | No | New description; empty string clears it, omit to keep the current one |
| `basePath` | string | No | New base path (e.g. '/v2'); empty string clears it, omit to keep the current one |
| `serverUrl` | string | No | New server URL (absolute HTTPS); empty string clears it, omit to keep the current one |
| `selfUri` | string | No | 3.2 only: document $self URI; omit keeps, empty string clears |
## validate_spec
Validate an OpenAPI specification against the standard. Provide either content to validate directly, or specId to validate an existing spec. Set mode to 'import' for a dry run of import_spec instead: same errors and warnings, plus what would be created (endpoint, schema and folder counts), the detected format and whether a 3.0 → 3.1 conversion happened. Nothing is written either way.
**Required scope:** `specs:read`
| Parameter | Type | Required | Description |
| --- | --- | --- | --- |
| `content` | string | No | The OpenAPI specification content to validate (YAML or JSON). Provide either content or specId, not both. |
| `specId` | string | No | Public ID (GUID) of an existing spec to validate. If provided, the spec is exported first and then validated. |
| `format` | string | No | Format hint: 'yaml', 'json', or omit for auto-detection |
| `mode` | string | No (default `"openapi"`) | What to check: 'openapi' (default) or 'import' |
| `convertToOpenApi31` | boolean | No (default `false`) | For mode 'import': convert a 3.0 document to 3.1 (default false) |
| `shortenSchemaNames` | boolean | No (default `false`) | For mode 'import': shorten generated schema names (default false) |
---
## Audit Log
Source: https://docs.routebase.dev/audit-log/
The audit log gives Admins and Owners a chronological record of security-relevant activity across the organization, covering who signed in, who changed a role, who revealed a secret variable, and more. You'll find it under **Settings → Audit Log**, in the **Security** group of the settings sidebar, described as "Track security events, secret variable access, and API changes across your organization."
The audit log is available on the **Pro** plan and up, so on lower plans the page shows an upgrade card. Viewing it requires the **org:manage-members** permission, which Admins and Owners have.
The page has three tabs, named **Security**, **Variables** and **API Changes**.
 ## Security tab
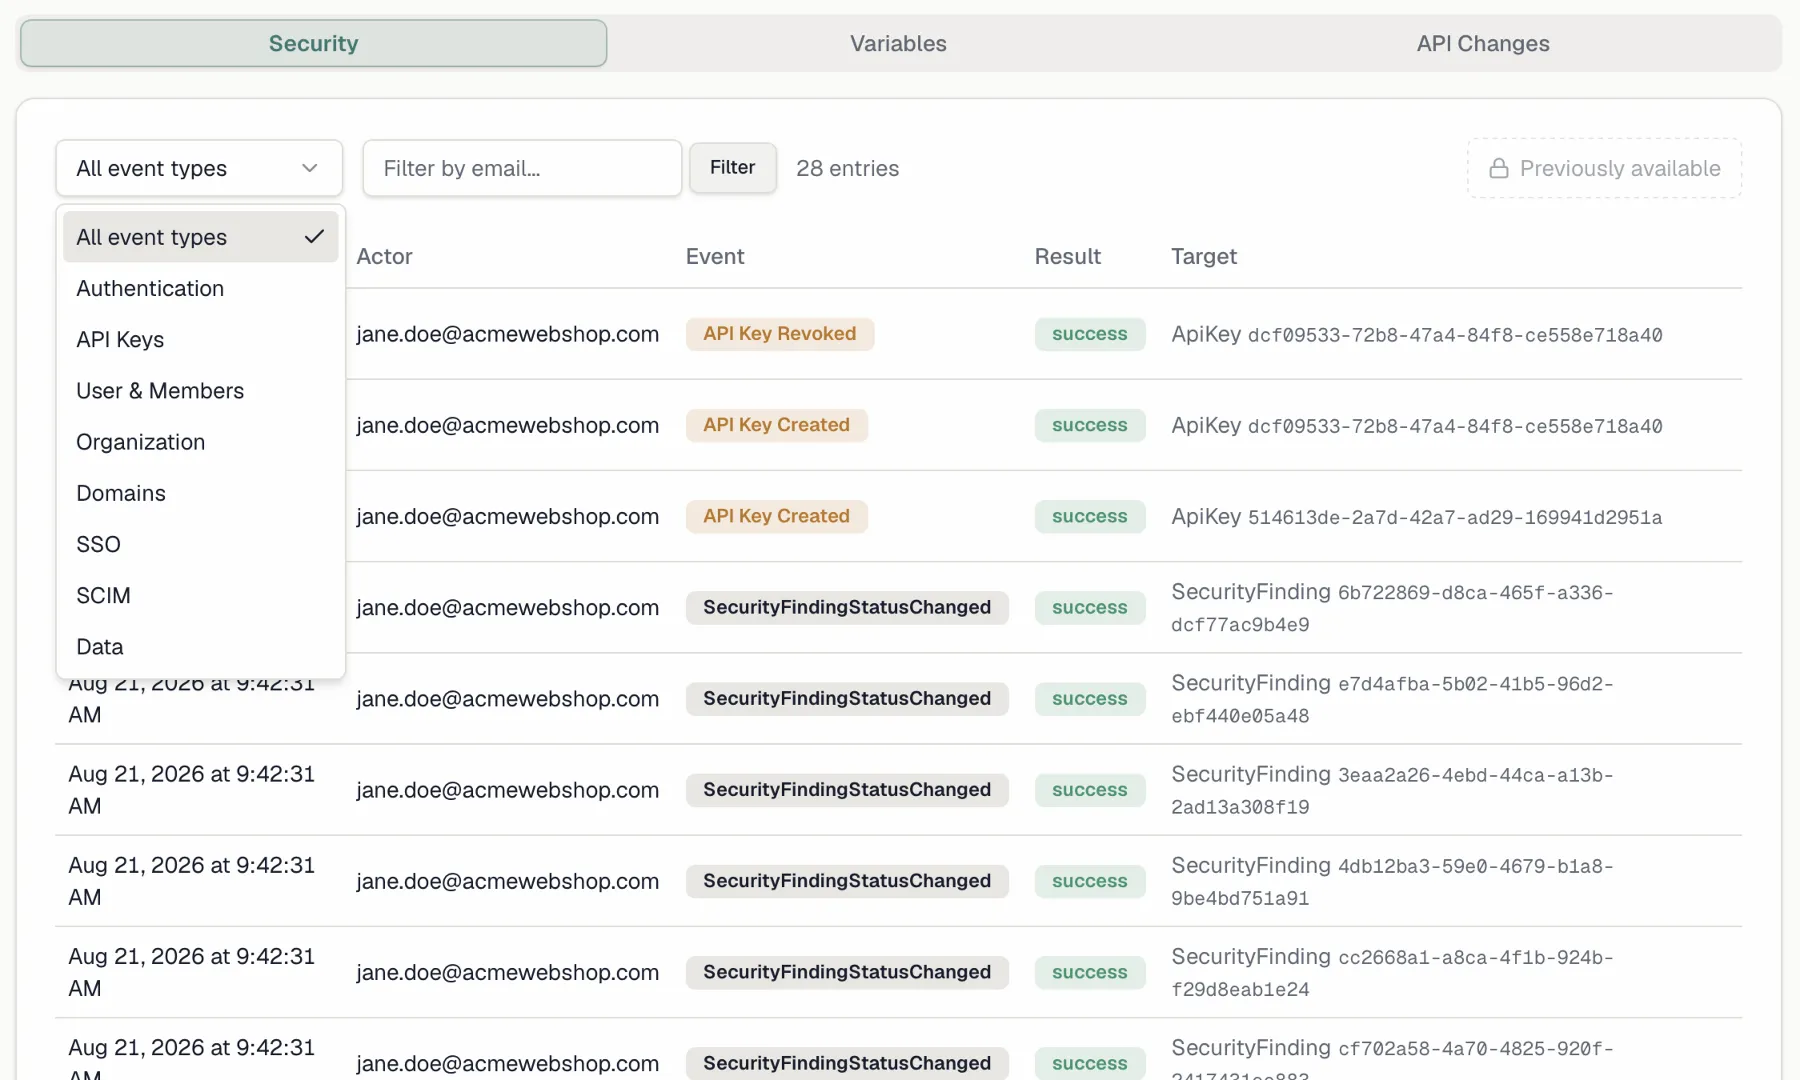
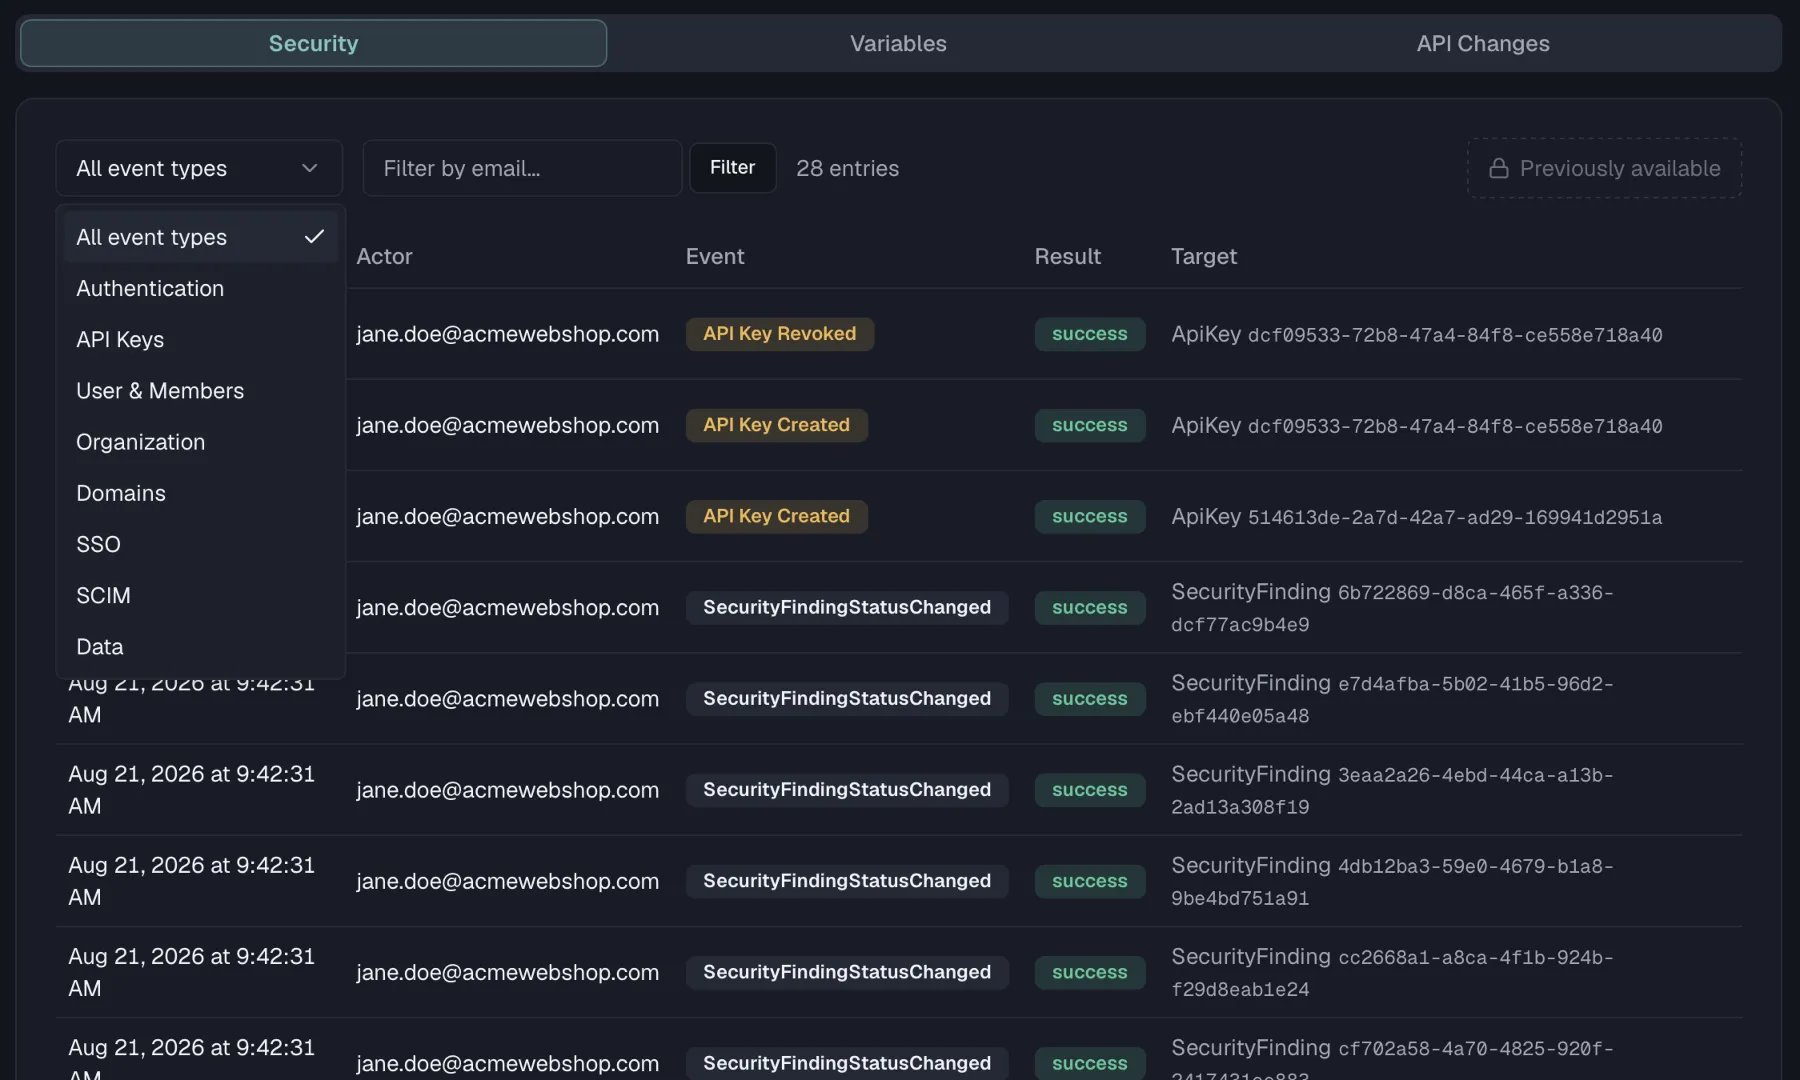
The **Security** tab lists organization-wide security events in a table with five columns. They are **Time**, **Actor** with the user's email, **Event**, **Result** with success or failure, and **Target** with the affected entity where applicable.
Events are grouped into eight categories:
| Category | Events |
| --- | --- |
| **Authentication** | Login, Logout, Token Refresh |
| **API Keys** | API Key Created, API Key Revoked, API Key Used |
| **User & Members** | User Invited, User Removed, User Onboarded, Role Changed, Member Left |
| **Organization** | Org Created, Org Updated, Org Deleted |
| **Domains** | Domain Added, Domain Verified, Domain Verification Failed, Domain Removed, Domain SSO Enforced, Domain SSO Unenforced |
| **SSO** | Single sign-on configuration and sign-in events |
| **SCIM** | Directory-sync provisioning events |
| **Data** | Data Export, Data Import |
### Filtering
- **Event type** is the dropdown at the top, which filters to one of the eight categories or to **All event types**.
- **Actor email** works by typing an email into **Filter by email...** and clicking **Filter**, or pressing Enter, to see only that user's activity.
The entry count next to the filters shows how many events match. Results are paginated at 25 entries per page with **Previous**/**Next** buttons. If nothing matches your filters, the table shows "No entries match the selected filters."
### Export
On the **Enterprise** plan an **Export** button sits at the end of the filter row. It downloads the currently filtered Security events, meaning the same event-type and actor-email filters you have applied, as either **Export as CSV** or **Export as JSON**. The file is named `audit-logs-
## Security tab
The **Security** tab lists organization-wide security events in a table with five columns. They are **Time**, **Actor** with the user's email, **Event**, **Result** with success or failure, and **Target** with the affected entity where applicable.
Events are grouped into eight categories:
| Category | Events |
| --- | --- |
| **Authentication** | Login, Logout, Token Refresh |
| **API Keys** | API Key Created, API Key Revoked, API Key Used |
| **User & Members** | User Invited, User Removed, User Onboarded, Role Changed, Member Left |
| **Organization** | Org Created, Org Updated, Org Deleted |
| **Domains** | Domain Added, Domain Verified, Domain Verification Failed, Domain Removed, Domain SSO Enforced, Domain SSO Unenforced |
| **SSO** | Single sign-on configuration and sign-in events |
| **SCIM** | Directory-sync provisioning events |
| **Data** | Data Export, Data Import |
### Filtering
- **Event type** is the dropdown at the top, which filters to one of the eight categories or to **All event types**.
- **Actor email** works by typing an email into **Filter by email...** and clicking **Filter**, or pressing Enter, to see only that user's activity.
The entry count next to the filters shows how many events match. Results are paginated at 25 entries per page with **Previous**/**Next** buttons. If nothing matches your filters, the table shows "No entries match the selected filters."
### Export
On the **Enterprise** plan an **Export** button sits at the end of the filter row. It downloads the currently filtered Security events, meaning the same event-type and actor-email filters you have applied, as either **Export as CSV** or **Export as JSON**. The file is named `audit-logs-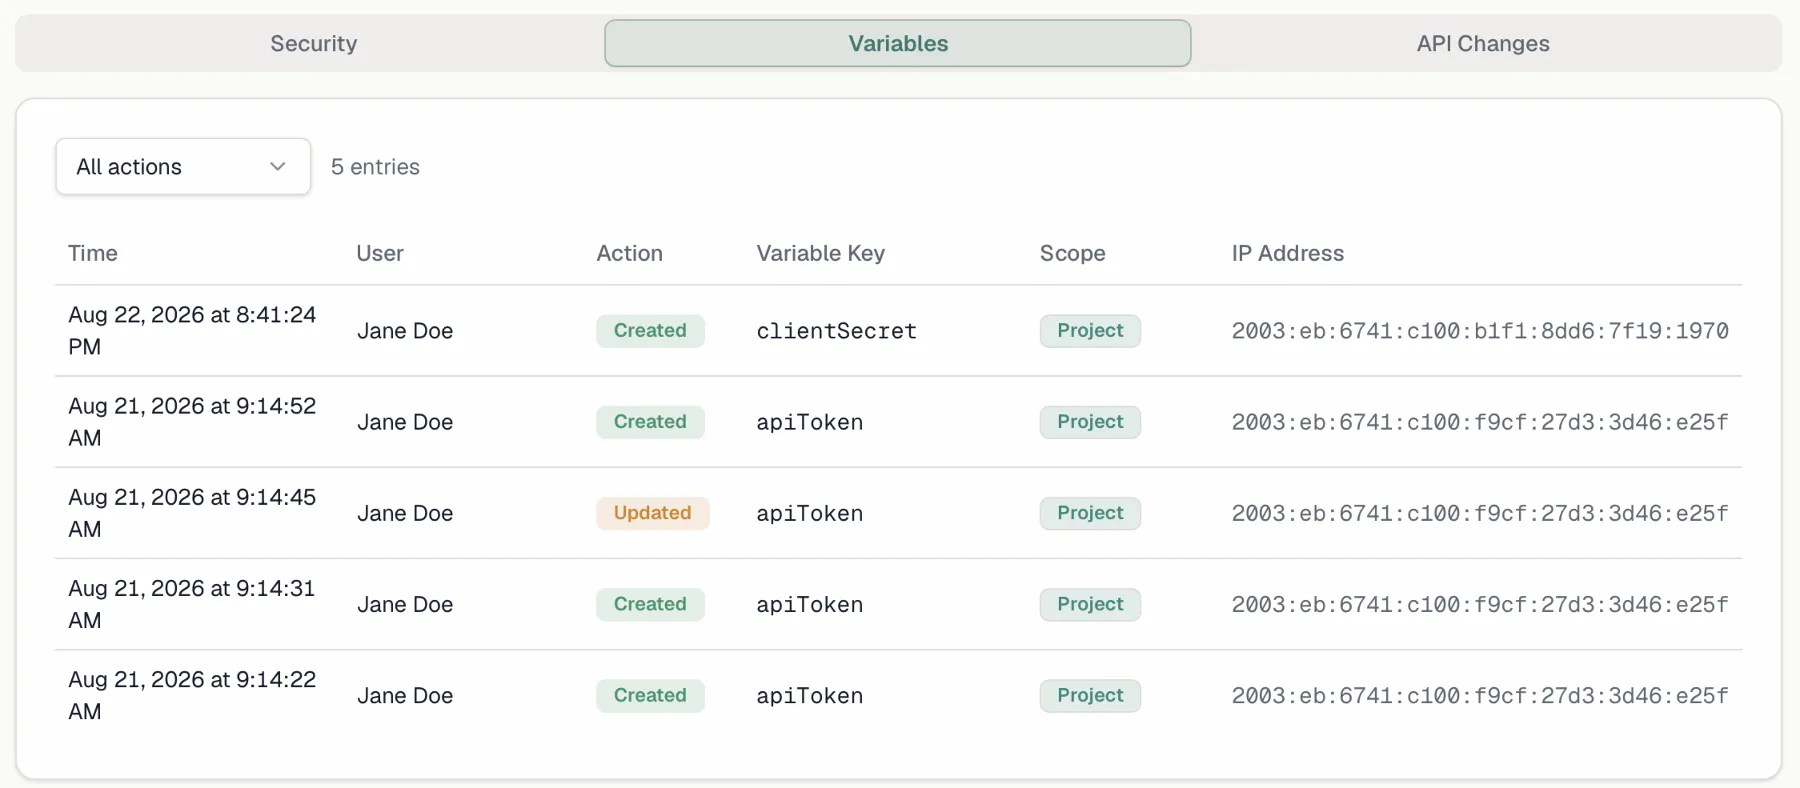
 ## API Changes tab
The **API Changes** tab is the design history of your API specifications, so it answers who changed an endpoint or a schema and what they touched. This tab needs the **specs:read** permission instead of **org:manage-members**, and all three built-in roles hold it. A custom role without **specs:read** sees the other two tabs only.
The card is titled **Audit Trail** and carries the total number of entries next to the title. Every specification in your organization feeds it, with the newest change at the top. Each row names the action, the entity type and the specification the change happened in, then the person who made it and how long ago.
### What gets recorded
| Entity type | Recorded actions |
| --- | --- |
| **Endpoint** | `created`, `updated`, `moved` to another folder, `deleted` and `restored`, plus the finer edits such as `parameter.added`, `response.updated`, `response-header.linked`, `request-body.added` and `security-scheme.added` |
| **Schema** | `created`, `updated`, `deleted` and `restored` |
| **SpecVersion** | `published` and `deprecated` |
| **ApiSpecification** | `endpoints.reordered` and `tags.reordered` |
| **DeprecationPlan** | `force_advance_deprecation`, written when someone advances a deprecation phase by hand |
Importing a specification records one entry for every endpoint and schema it creates, and merging a branch records the changes it carries into the target. Five actions get a colored icon, which are `created` in green, `updated` in blue, `deleted` in red, `published` in purple and `deprecated` in amber. Every other action shows a neutral document icon.
### Reading a single change
Click a row to open its detail popover. It repeats the action, the entity type, the specification and the full timestamp, names the actor again, and shows the first eight characters of the changed entity's ID. Where the change carried them, the popover adds **Changed Fields:** with one badge per field and a **Details:** block holding the raw JSON that was recorded.
### Who made the change
A badge behind the actor name marks every change that did not come from someone working in the browser:
- **API key** means the change arrived over the REST API with an [API key](https://docs.routebase.dev/api-keys/), and the tooltip names that key.
- **MCP** means an AI agent made the change through the MCP server, and the tooltip names the key where the agent authenticated with one.
An interactive edit carries no badge, and neither do entries written before this marking existed. If the person behind a change has since deleted their account, the actor reads **Deleted user**, because the entry itself stays.
### Filtering and paging
The dropdown in the card header filters by entity type and offers **All Types**, **Endpoint**, **Schema**, **Version** and **Folder**. The tab shows 20 entries at a time, and **Load more...** moves on to the next 20.
## Retention
How long Security events are kept before the automatic cleanup removes them depends on your plan:
| Plan | Retention |
| --- | --- |
| **Free**, **Starter**, **Pro** | 30 days |
| **Enterprise** | 365 days |
A note below the table restates it as *"Entries older than {n} days are deleted automatically based on your plan."*, where {n} matches your current plan.
The other two tabs do not follow the plan. Secret variable entries and API change entries are kept for **365 days** on every plan. A nightly cleanup at 03:00 UTC removes whatever is past its age on all three trails.
## Troubleshooting
- **The Folder filter on API Changes stays empty.** Folder changes are not written to this trail, so that option returns nothing. Moving an endpoint into another folder is recorded on the endpoint as `moved`, so filter by **Endpoint** to find it.
## Related
- [Variables](https://docs.routebase.dev/variables/) — the secret variables the Variables tab tracks
- [API Keys](https://docs.routebase.dev/api-keys/) — key creation, revocation, and usage all appear in the log
- [Members & Invitations](https://docs.routebase.dev/members/) — membership changes recorded as User & Members events
- [Single Sign-On](https://docs.routebase.dev/sso/) — enforce how the sign-ins in this log happen
- [Deprecation](https://docs.routebase.dev/deprecation/) — the deprecation phases that show up as API changes
---
## Auth Configuration — MCP Tools
Source: https://docs.routebase.dev/auth-configuration-mcp-tools/
The tools below belong to the **Auth Configuration** group of the Routebase MCP server.
## delete_environment_auth
Remove the environment-level authentication configuration. Use this to clear the environment layer; for one suite or case use set_suite_auth or set_testcase_auth. Requires organization context.
**Required scope:** `tests:write`
| Parameter | Type | Required | Description |
| --- | --- | --- | --- |
| `environmentId` | string | Yes | Public ID (GUID) of the environment |
| `projectId` | string | No | Public ID (GUID) of the project. If omitted, uses the active project context. |
## get_environment_auth
Get the environment-level authentication configuration for an environment. Secret values are always masked. Returns {configured:false} when no auth is set. Requires organization context (call set_context first).
**Required scope:** `tests:read`
| Parameter | Type | Required | Description |
| --- | --- | --- | --- |
| `environmentId` | string | Yes | Public ID (GUID) of the environment |
| `projectId` | string | No | Public ID (GUID) of the project. If omitted, uses the active project context. |
## set_environment_auth
Set (upsert) the environment-level authentication configuration. Applies to all test suites/cases running against this environment unless they override it. Common types are configured via simple parameters: 'none' (no auth); 'basic' (username/password); 'bearer' (token); 'apiKey' (keyName/keyValue/in). Any value may contain environment-variable references like '{{apiKey}}' — these are stored verbatim and resolved at run time (not encrypted). Literal secret values are encrypted at rest and masked in responses. Advanced types (oauth2, jwt, awsSigv4, oauth1, digest, hawk, ntlm) are configured by passing the full JSON config as 'advancedConfigJson' (same shape as the REST SetAuthConfigRequest, including its own 'type' field). Use this for the whole environment; for one suite or case use set_suite_auth or set_testcase_auth. Requires organization context.
**Required scope:** `tests:write`
| Parameter | Type | Required | Description |
| --- | --- | --- | --- |
| `environmentId` | string | Yes | Public ID (GUID) of the environment |
| `type` | string | No | Auth type: 'none', 'basic', 'bearer', 'apiKey' (for advanced types use advancedConfigJson) |
| `username` | string | No | Basic auth: username (also used for digest/ntlm via advancedConfigJson) |
| `password` | string | No | Basic auth: password |
| `token` | string | No | Bearer auth: the token value (may be a '{{VAR}}' reference) |
| `keyName` | string | No | API key auth: the header/query parameter name (e.g. 'X-API-Key') |
| `keyValue` | string | No | API key auth: the key value (may be a '{{VAR}}' reference) |
| `in` | string | No | API key auth: where to place the key — 'header' (default) or 'query' |
| `advancedConfigJson` | string | No | Full JSON auth config for advanced types (oauth2, jwt, awsSigv4, …); must include its own 'type' field. When provided, the simple parameters are ignored. |
| `projectId` | string | No | Public ID (GUID) of the project. If omitted, uses the active project context. |
## set_suite_auth
Set the authentication override for a test suite. authMode 'inherit' clears the override (the suite inherits the environment/project auth); authMode 'override' sets a suite-specific auth config (provide 'type' plus simple parameters, or 'advancedConfigJson' for advanced types — same shape as set_environment_auth). Returns the resolved auth with its inheritance source. Requires project context.
**Required scope:** `tests:write`
| Parameter | Type | Required | Description |
| --- | --- | --- | --- |
| `testSuiteId` | string | Yes | Public ID (GUID) of the test suite |
| `authMode` | string | Yes | Auth mode: 'inherit' (clear override) or 'override' (set suite-specific auth) |
| `type` | string | No | Auth type (required for 'override'): 'none', 'basic', 'bearer', 'apiKey' |
| `username` | string | No | Basic auth: username |
| `password` | string | No | Basic auth: password |
| `token` | string | No | Bearer auth: the token value (may be a '{{VAR}}' reference) |
| `keyName` | string | No | API key auth: the header/query parameter name |
| `keyValue` | string | No | API key auth: the key value (may be a '{{VAR}}' reference) |
| `in` | string | No | API key auth: 'header' (default) or 'query' |
| `advancedConfigJson` | string | No | Full JSON auth config for advanced types; must include its own 'type' field. |
## set_testcase_auth
Set the authentication override for a test case. authMode 'inherit' clears the override (the case inherits the suite/environment auth); authMode 'override' sets a case-specific auth config (provide 'type' plus simple parameters, or 'advancedConfigJson' for advanced types). Returns the resolved auth with its inheritance source. Use this for one case; for every case in the suite use set_suite_auth. Requires project context.
**Required scope:** `tests:write`
| Parameter | Type | Required | Description |
| --- | --- | --- | --- |
| `testCaseId` | string | Yes | Public ID (GUID) of the test case |
| `authMode` | string | Yes | Auth mode: 'inherit' (clear override) or 'override' (set case-specific auth) |
| `type` | string | No | Auth type (required for 'override'): 'none', 'basic', 'bearer', 'apiKey' |
| `username` | string | No | Basic auth: username |
| `password` | string | No | Basic auth: password |
| `token` | string | No | Bearer auth: the token value (may be a '{{VAR}}' reference) |
| `keyName` | string | No | API key auth: the header/query parameter name |
| `keyValue` | string | No | API key auth: the key value (may be a '{{VAR}}' reference) |
| `in` | string | No | API key auth: 'header' (default) or 'query' |
| `advancedConfigJson` | string | No | Full JSON auth config for advanced types; must include its own 'type' field. |
---
## Billing & Plans
Source: https://docs.routebase.dev/billing/
Routebase bills per organization. Your plan sets how much you can do across projects, specs, test runs and mock requests, and it decides which advanced features are unlocked. You can change it at any time. This guide explains the plans, the trial, usage limits, and how to manage your subscription.
Everything here lives under **Settings → Billing**, which requires the **billing:manage** permission. The Owner holds it by default, and custom roles can grant it to others. Payments and invoicing are processed through Stripe. Organizations in the EU region are billed in **EUR**, and all others in **USD**.
The Billing page is organized into four tabs named **Plan & Usage**, **Billing Details**, **Invoices** and **Plans**.
## Plans
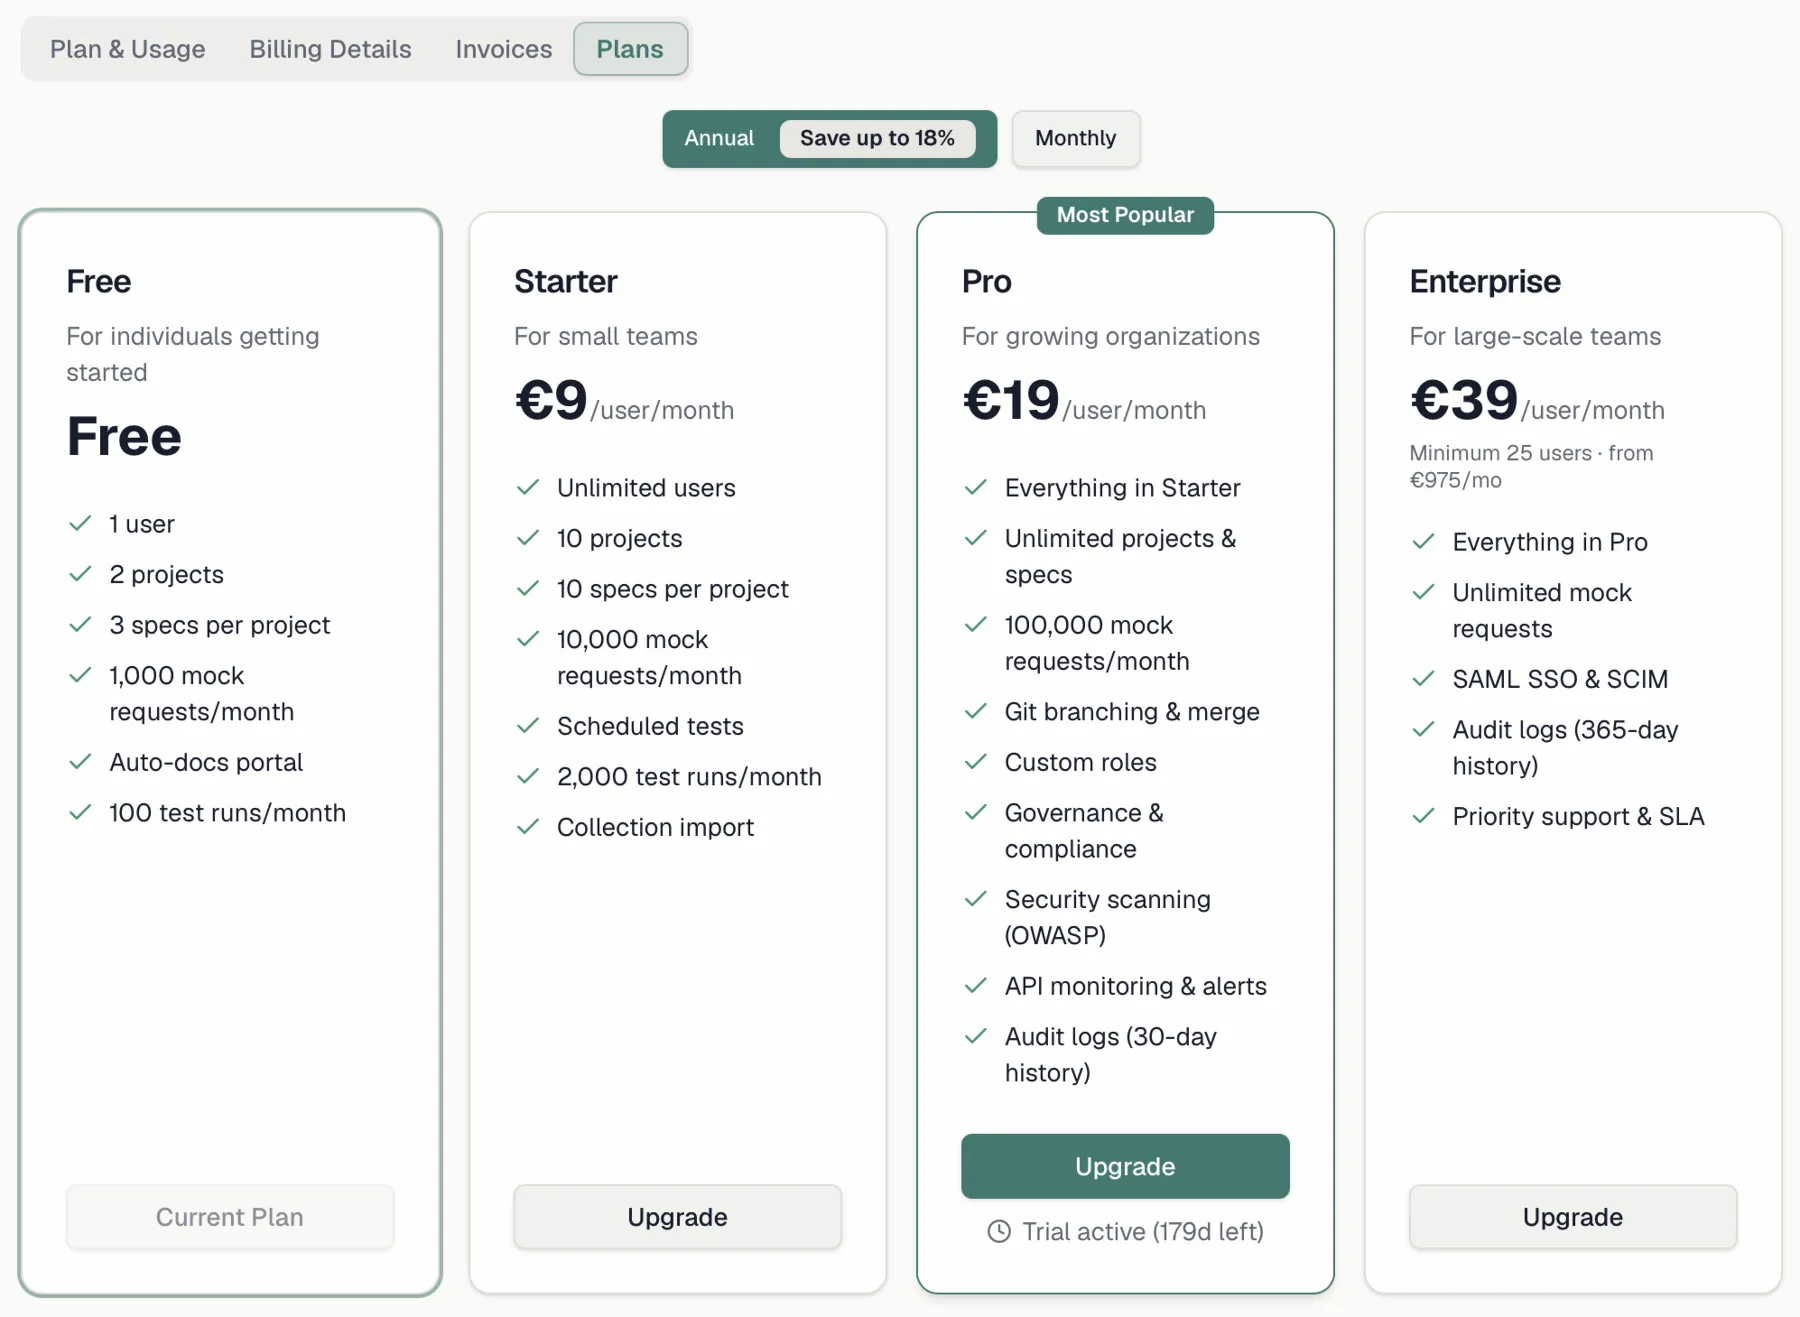
Routebase offers four plans. Pricing is **per user, per month**, and the annual option saves you 20% over monthly billing.
| Plan | Best for | Highlights |
| --- | --- | --- |
| **Free** | Individuals getting started | 1 user, 2 projects, 3 specs per project, 1,000 mock requests/month, 100 test runs/month, and the auto-docs portal |
| **Starter** | Small teams | Unlimited users, 10 projects, 10 specs per project, 10,000 mock requests/month, 2,000 test runs/month, scheduled tests, and collection import |
| **Pro** | Growing organizations | Everything in Starter, plus unlimited projects and specs, 100,000 mock requests/month, Git branching and merge, custom roles, governance and compliance, OWASP security scanning, and API monitoring and alerts |
| **Enterprise** | Large-scale teams | Everything in Pro, plus unlimited mock requests, SAML SSO and SCIM, 365-day audit log history, and priority support with an SLA |
The **Enterprise** plan requires a **minimum of 25 seats**, and the plan card shows the floor with the resulting starting price. Enterprise is available to **Business** accounts only. Personal accounts see the other three plans plus a hint to switch to a Business account in [Organization settings](https://docs.routebase.dev/organization/).
### Comparing and choosing a plan
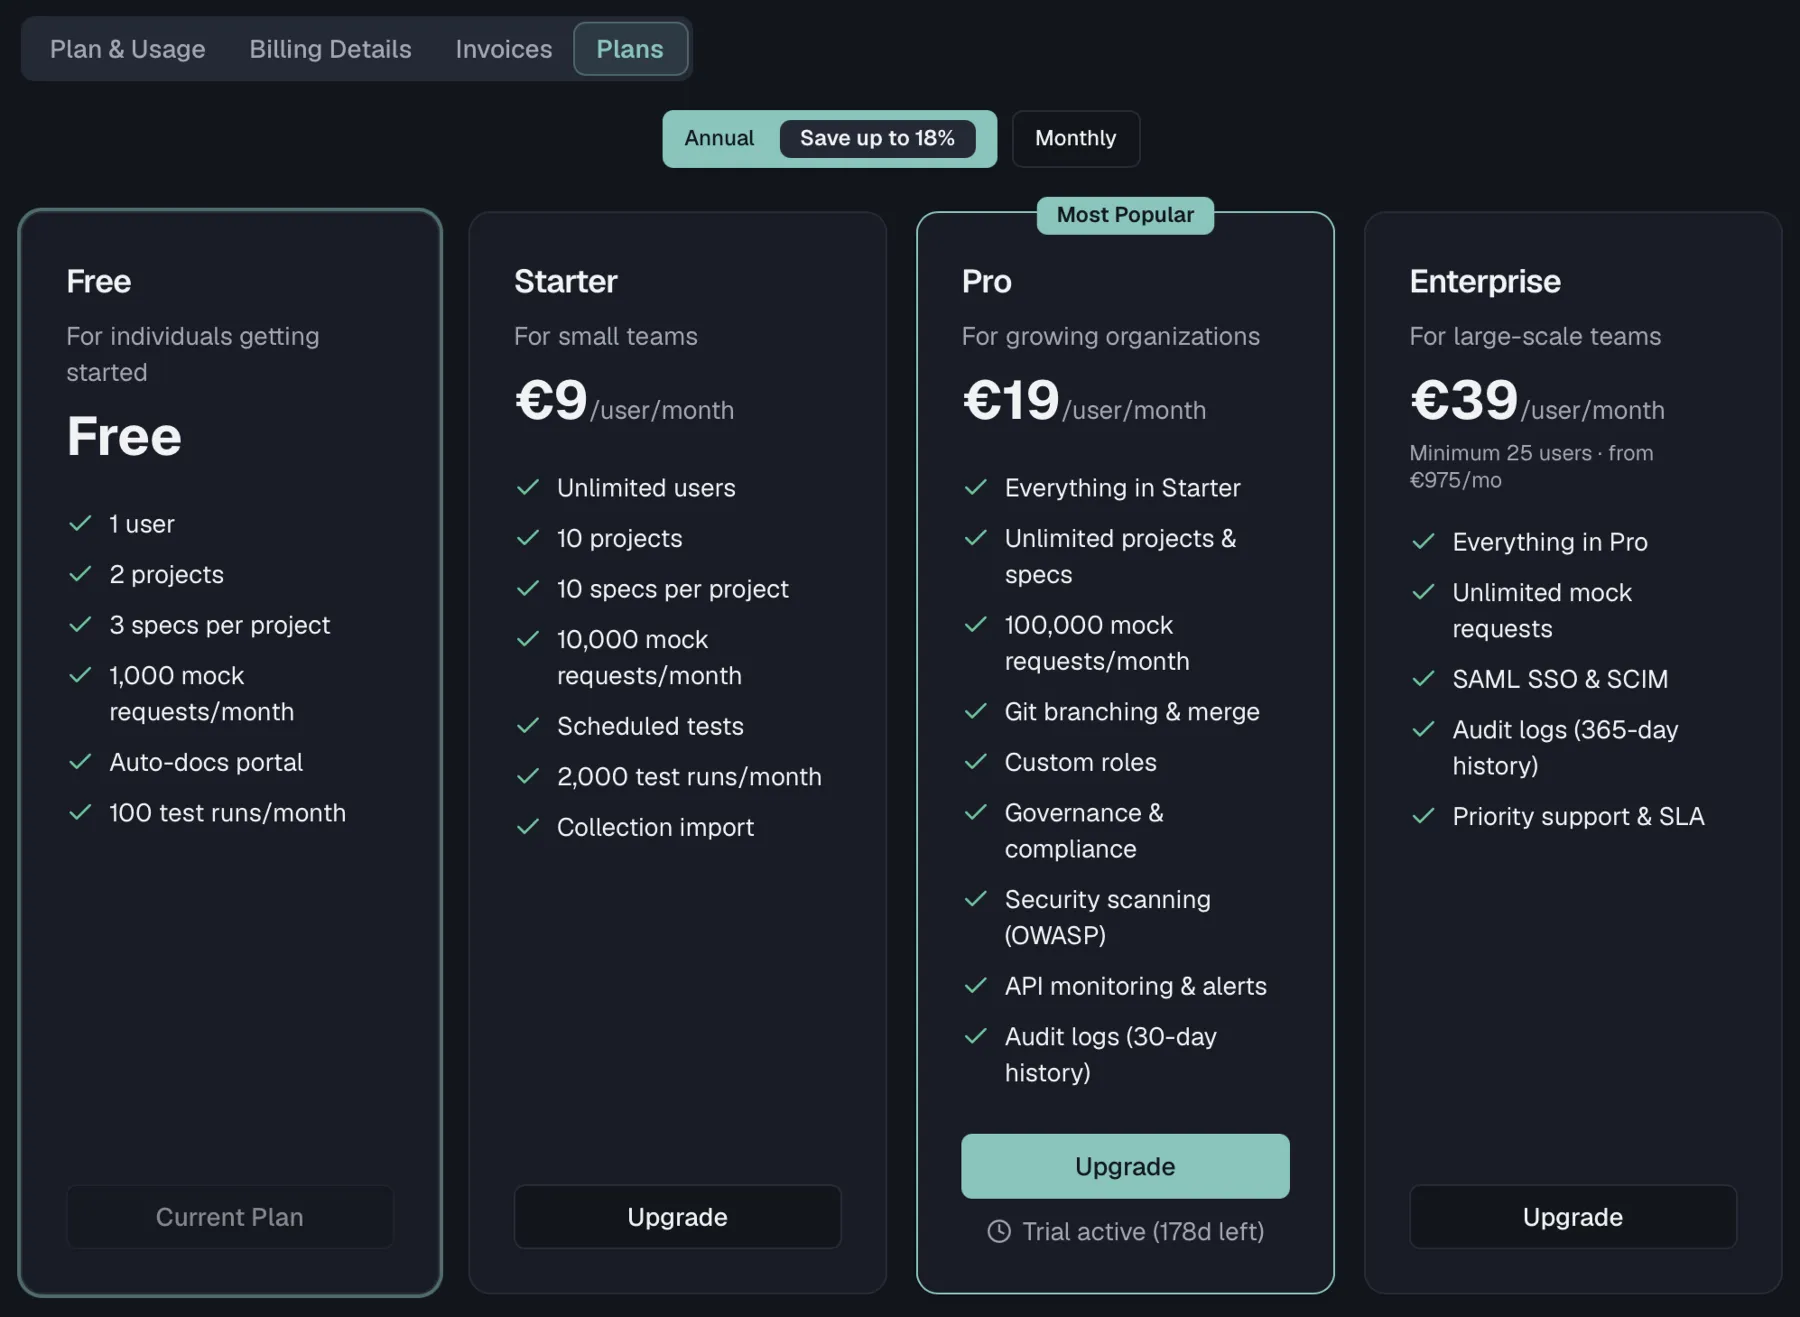
The **Plans** tab shows a card for every plan with its full feature list, a **Most Popular** badge on Pro, and an **Annual / Monthly** billing toggle where annual carries a **Save 20%** badge. Your current plan is highlighted and its button reads **Current Plan**, while every other card reads **Upgrade** or **Downgrade**, so you always know where you stand.
## API Changes tab
The **API Changes** tab is the design history of your API specifications, so it answers who changed an endpoint or a schema and what they touched. This tab needs the **specs:read** permission instead of **org:manage-members**, and all three built-in roles hold it. A custom role without **specs:read** sees the other two tabs only.
The card is titled **Audit Trail** and carries the total number of entries next to the title. Every specification in your organization feeds it, with the newest change at the top. Each row names the action, the entity type and the specification the change happened in, then the person who made it and how long ago.
### What gets recorded
| Entity type | Recorded actions |
| --- | --- |
| **Endpoint** | `created`, `updated`, `moved` to another folder, `deleted` and `restored`, plus the finer edits such as `parameter.added`, `response.updated`, `response-header.linked`, `request-body.added` and `security-scheme.added` |
| **Schema** | `created`, `updated`, `deleted` and `restored` |
| **SpecVersion** | `published` and `deprecated` |
| **ApiSpecification** | `endpoints.reordered` and `tags.reordered` |
| **DeprecationPlan** | `force_advance_deprecation`, written when someone advances a deprecation phase by hand |
Importing a specification records one entry for every endpoint and schema it creates, and merging a branch records the changes it carries into the target. Five actions get a colored icon, which are `created` in green, `updated` in blue, `deleted` in red, `published` in purple and `deprecated` in amber. Every other action shows a neutral document icon.
### Reading a single change
Click a row to open its detail popover. It repeats the action, the entity type, the specification and the full timestamp, names the actor again, and shows the first eight characters of the changed entity's ID. Where the change carried them, the popover adds **Changed Fields:** with one badge per field and a **Details:** block holding the raw JSON that was recorded.
### Who made the change
A badge behind the actor name marks every change that did not come from someone working in the browser:
- **API key** means the change arrived over the REST API with an [API key](https://docs.routebase.dev/api-keys/), and the tooltip names that key.
- **MCP** means an AI agent made the change through the MCP server, and the tooltip names the key where the agent authenticated with one.
An interactive edit carries no badge, and neither do entries written before this marking existed. If the person behind a change has since deleted their account, the actor reads **Deleted user**, because the entry itself stays.
### Filtering and paging
The dropdown in the card header filters by entity type and offers **All Types**, **Endpoint**, **Schema**, **Version** and **Folder**. The tab shows 20 entries at a time, and **Load more...** moves on to the next 20.
## Retention
How long Security events are kept before the automatic cleanup removes them depends on your plan:
| Plan | Retention |
| --- | --- |
| **Free**, **Starter**, **Pro** | 30 days |
| **Enterprise** | 365 days |
A note below the table restates it as *"Entries older than {n} days are deleted automatically based on your plan."*, where {n} matches your current plan.
The other two tabs do not follow the plan. Secret variable entries and API change entries are kept for **365 days** on every plan. A nightly cleanup at 03:00 UTC removes whatever is past its age on all three trails.
## Troubleshooting
- **The Folder filter on API Changes stays empty.** Folder changes are not written to this trail, so that option returns nothing. Moving an endpoint into another folder is recorded on the endpoint as `moved`, so filter by **Endpoint** to find it.
## Related
- [Variables](https://docs.routebase.dev/variables/) — the secret variables the Variables tab tracks
- [API Keys](https://docs.routebase.dev/api-keys/) — key creation, revocation, and usage all appear in the log
- [Members & Invitations](https://docs.routebase.dev/members/) — membership changes recorded as User & Members events
- [Single Sign-On](https://docs.routebase.dev/sso/) — enforce how the sign-ins in this log happen
- [Deprecation](https://docs.routebase.dev/deprecation/) — the deprecation phases that show up as API changes
---
## Auth Configuration — MCP Tools
Source: https://docs.routebase.dev/auth-configuration-mcp-tools/
The tools below belong to the **Auth Configuration** group of the Routebase MCP server.
## delete_environment_auth
Remove the environment-level authentication configuration. Use this to clear the environment layer; for one suite or case use set_suite_auth or set_testcase_auth. Requires organization context.
**Required scope:** `tests:write`
| Parameter | Type | Required | Description |
| --- | --- | --- | --- |
| `environmentId` | string | Yes | Public ID (GUID) of the environment |
| `projectId` | string | No | Public ID (GUID) of the project. If omitted, uses the active project context. |
## get_environment_auth
Get the environment-level authentication configuration for an environment. Secret values are always masked. Returns {configured:false} when no auth is set. Requires organization context (call set_context first).
**Required scope:** `tests:read`
| Parameter | Type | Required | Description |
| --- | --- | --- | --- |
| `environmentId` | string | Yes | Public ID (GUID) of the environment |
| `projectId` | string | No | Public ID (GUID) of the project. If omitted, uses the active project context. |
## set_environment_auth
Set (upsert) the environment-level authentication configuration. Applies to all test suites/cases running against this environment unless they override it. Common types are configured via simple parameters: 'none' (no auth); 'basic' (username/password); 'bearer' (token); 'apiKey' (keyName/keyValue/in). Any value may contain environment-variable references like '{{apiKey}}' — these are stored verbatim and resolved at run time (not encrypted). Literal secret values are encrypted at rest and masked in responses. Advanced types (oauth2, jwt, awsSigv4, oauth1, digest, hawk, ntlm) are configured by passing the full JSON config as 'advancedConfigJson' (same shape as the REST SetAuthConfigRequest, including its own 'type' field). Use this for the whole environment; for one suite or case use set_suite_auth or set_testcase_auth. Requires organization context.
**Required scope:** `tests:write`
| Parameter | Type | Required | Description |
| --- | --- | --- | --- |
| `environmentId` | string | Yes | Public ID (GUID) of the environment |
| `type` | string | No | Auth type: 'none', 'basic', 'bearer', 'apiKey' (for advanced types use advancedConfigJson) |
| `username` | string | No | Basic auth: username (also used for digest/ntlm via advancedConfigJson) |
| `password` | string | No | Basic auth: password |
| `token` | string | No | Bearer auth: the token value (may be a '{{VAR}}' reference) |
| `keyName` | string | No | API key auth: the header/query parameter name (e.g. 'X-API-Key') |
| `keyValue` | string | No | API key auth: the key value (may be a '{{VAR}}' reference) |
| `in` | string | No | API key auth: where to place the key — 'header' (default) or 'query' |
| `advancedConfigJson` | string | No | Full JSON auth config for advanced types (oauth2, jwt, awsSigv4, …); must include its own 'type' field. When provided, the simple parameters are ignored. |
| `projectId` | string | No | Public ID (GUID) of the project. If omitted, uses the active project context. |
## set_suite_auth
Set the authentication override for a test suite. authMode 'inherit' clears the override (the suite inherits the environment/project auth); authMode 'override' sets a suite-specific auth config (provide 'type' plus simple parameters, or 'advancedConfigJson' for advanced types — same shape as set_environment_auth). Returns the resolved auth with its inheritance source. Requires project context.
**Required scope:** `tests:write`
| Parameter | Type | Required | Description |
| --- | --- | --- | --- |
| `testSuiteId` | string | Yes | Public ID (GUID) of the test suite |
| `authMode` | string | Yes | Auth mode: 'inherit' (clear override) or 'override' (set suite-specific auth) |
| `type` | string | No | Auth type (required for 'override'): 'none', 'basic', 'bearer', 'apiKey' |
| `username` | string | No | Basic auth: username |
| `password` | string | No | Basic auth: password |
| `token` | string | No | Bearer auth: the token value (may be a '{{VAR}}' reference) |
| `keyName` | string | No | API key auth: the header/query parameter name |
| `keyValue` | string | No | API key auth: the key value (may be a '{{VAR}}' reference) |
| `in` | string | No | API key auth: 'header' (default) or 'query' |
| `advancedConfigJson` | string | No | Full JSON auth config for advanced types; must include its own 'type' field. |
## set_testcase_auth
Set the authentication override for a test case. authMode 'inherit' clears the override (the case inherits the suite/environment auth); authMode 'override' sets a case-specific auth config (provide 'type' plus simple parameters, or 'advancedConfigJson' for advanced types). Returns the resolved auth with its inheritance source. Use this for one case; for every case in the suite use set_suite_auth. Requires project context.
**Required scope:** `tests:write`
| Parameter | Type | Required | Description |
| --- | --- | --- | --- |
| `testCaseId` | string | Yes | Public ID (GUID) of the test case |
| `authMode` | string | Yes | Auth mode: 'inherit' (clear override) or 'override' (set case-specific auth) |
| `type` | string | No | Auth type (required for 'override'): 'none', 'basic', 'bearer', 'apiKey' |
| `username` | string | No | Basic auth: username |
| `password` | string | No | Basic auth: password |
| `token` | string | No | Bearer auth: the token value (may be a '{{VAR}}' reference) |
| `keyName` | string | No | API key auth: the header/query parameter name |
| `keyValue` | string | No | API key auth: the key value (may be a '{{VAR}}' reference) |
| `in` | string | No | API key auth: 'header' (default) or 'query' |
| `advancedConfigJson` | string | No | Full JSON auth config for advanced types; must include its own 'type' field. |
---
## Billing & Plans
Source: https://docs.routebase.dev/billing/
Routebase bills per organization. Your plan sets how much you can do across projects, specs, test runs and mock requests, and it decides which advanced features are unlocked. You can change it at any time. This guide explains the plans, the trial, usage limits, and how to manage your subscription.
Everything here lives under **Settings → Billing**, which requires the **billing:manage** permission. The Owner holds it by default, and custom roles can grant it to others. Payments and invoicing are processed through Stripe. Organizations in the EU region are billed in **EUR**, and all others in **USD**.
The Billing page is organized into four tabs named **Plan & Usage**, **Billing Details**, **Invoices** and **Plans**.
## Plans
Routebase offers four plans. Pricing is **per user, per month**, and the annual option saves you 20% over monthly billing.
| Plan | Best for | Highlights |
| --- | --- | --- |
| **Free** | Individuals getting started | 1 user, 2 projects, 3 specs per project, 1,000 mock requests/month, 100 test runs/month, and the auto-docs portal |
| **Starter** | Small teams | Unlimited users, 10 projects, 10 specs per project, 10,000 mock requests/month, 2,000 test runs/month, scheduled tests, and collection import |
| **Pro** | Growing organizations | Everything in Starter, plus unlimited projects and specs, 100,000 mock requests/month, Git branching and merge, custom roles, governance and compliance, OWASP security scanning, and API monitoring and alerts |
| **Enterprise** | Large-scale teams | Everything in Pro, plus unlimited mock requests, SAML SSO and SCIM, 365-day audit log history, and priority support with an SLA |
The **Enterprise** plan requires a **minimum of 25 seats**, and the plan card shows the floor with the resulting starting price. Enterprise is available to **Business** accounts only. Personal accounts see the other three plans plus a hint to switch to a Business account in [Organization settings](https://docs.routebase.dev/organization/).
### Comparing and choosing a plan
The **Plans** tab shows a card for every plan with its full feature list, a **Most Popular** badge on Pro, and an **Annual / Monthly** billing toggle where annual carries a **Save 20%** badge. Your current plan is highlighted and its button reads **Current Plan**, while every other card reads **Upgrade** or **Downgrade**, so you always know where you stand.
 Changing your plan requires a **verified email address**, and unverified accounts see a prompt to verify first.
## The 14-day Pro trial
Every new organization automatically starts on a **14-day Pro trial**, so all Pro features are unlocked from day one and no payment method is required. There is one exception. **Custom Domains require a paid Pro or Enterprise subscription** and are not available during the trial, so a trial org sees an **Available on Pro** prompt instead.
- For the first day, a welcome banner reads *"Welcome! You have 14 days of Pro to explore."*
- After that, a compact pill in the header shows how many days are left, with a **Subscribe** shortcut to Billing.
- The **Current Plan** card shows a **Pro Trial** badge with the remaining days and the exact expiry date. Add a payment method before the trial ends to keep access.
When a trial expires without an upgrade, your organization returns to the Free plan. **Your data is preserved**, and anything above Free limits becomes read-only until you upgrade. A banner and a one-time dialog offer **Upgrade plan** or **Continue on Free**.
The trial is granted once per organization **and** once per person, so creating a second organization does not start a second trial. If your organization is on Free and has not used its trial, the Starter and Pro plan cards additionally offer **Try free for 14 days**.
## Usage & limits
The **Plan & Usage** tab shows a live **Usage** panel. Every organization-wide category appears as *current / limit* with a progress bar, covering projects, users, teams, test suites, test runs per month, monitors, webhooks, custom domains and scan profiles. Categories without a cap on your plan are labeled **Unlimited**, and categories your plan does not include at all are left out.
Limits that apply per parent resource rather than per organization are not in this panel. That covers specs per project, endpoints per spec, fixtures per owner, and custom pages per documentation version, because a single organization-wide number would say nothing about the individual project or version you are working in. They are enforced where you run into them, with an upgrade hint at that spot.
Changing your plan requires a **verified email address**, and unverified accounts see a prompt to verify first.
## The 14-day Pro trial
Every new organization automatically starts on a **14-day Pro trial**, so all Pro features are unlocked from day one and no payment method is required. There is one exception. **Custom Domains require a paid Pro or Enterprise subscription** and are not available during the trial, so a trial org sees an **Available on Pro** prompt instead.
- For the first day, a welcome banner reads *"Welcome! You have 14 days of Pro to explore."*
- After that, a compact pill in the header shows how many days are left, with a **Subscribe** shortcut to Billing.
- The **Current Plan** card shows a **Pro Trial** badge with the remaining days and the exact expiry date. Add a payment method before the trial ends to keep access.
When a trial expires without an upgrade, your organization returns to the Free plan. **Your data is preserved**, and anything above Free limits becomes read-only until you upgrade. A banner and a one-time dialog offer **Upgrade plan** or **Continue on Free**.
The trial is granted once per organization **and** once per person, so creating a second organization does not start a second trial. If your organization is on Free and has not used its trial, the Starter and Pro plan cards additionally offer **Try free for 14 days**.
## Usage & limits
The **Plan & Usage** tab shows a live **Usage** panel. Every organization-wide category appears as *current / limit* with a progress bar, covering projects, users, teams, test suites, test runs per month, monitors, webhooks, custom domains and scan profiles. Categories without a cap on your plan are labeled **Unlimited**, and categories your plan does not include at all are left out.
Limits that apply per parent resource rather than per organization are not in this panel. That covers specs per project, endpoints per spec, fixtures per owner, and custom pages per documentation version, because a single organization-wide number would say nothing about the individual project or version you are working in. They are enforced where you run into them, with an upgrade hint at that spot.
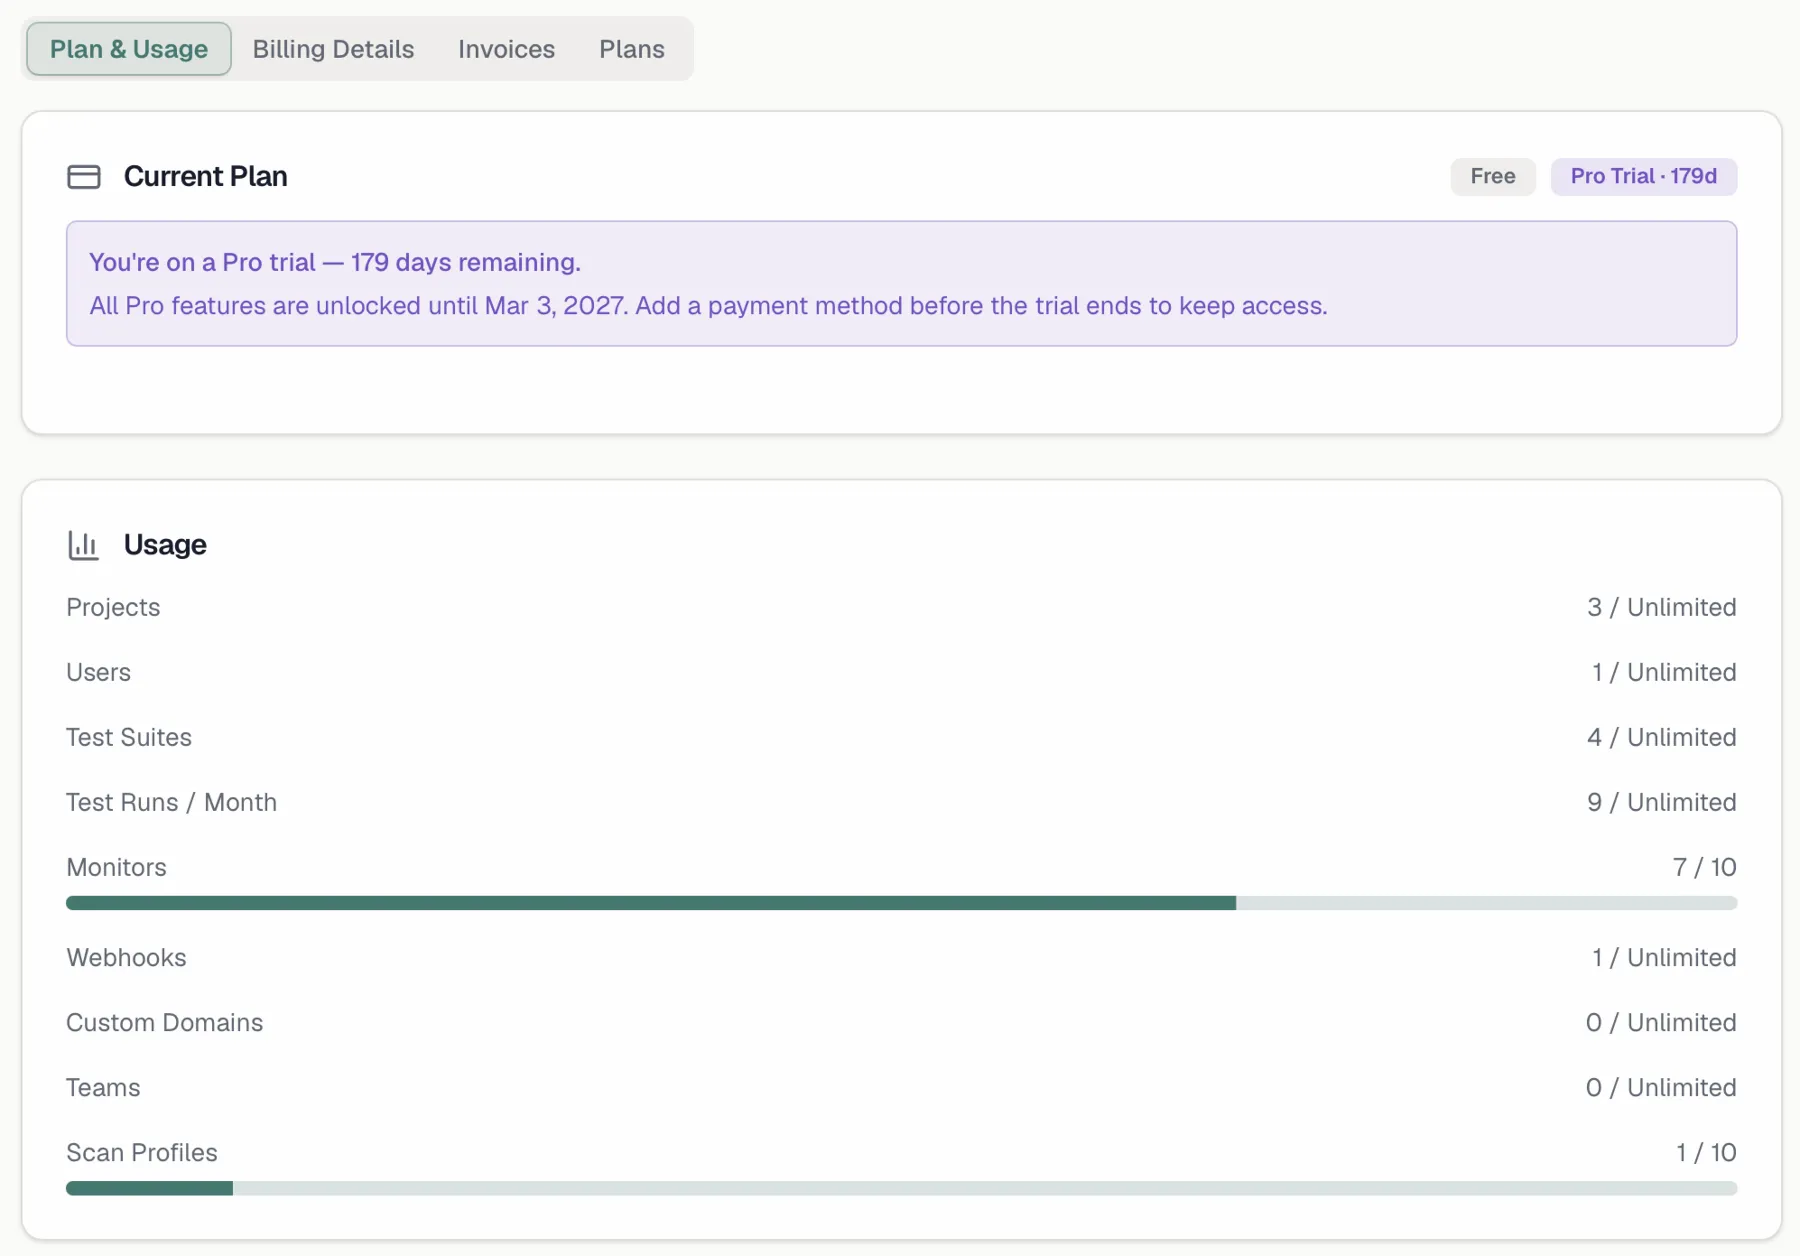
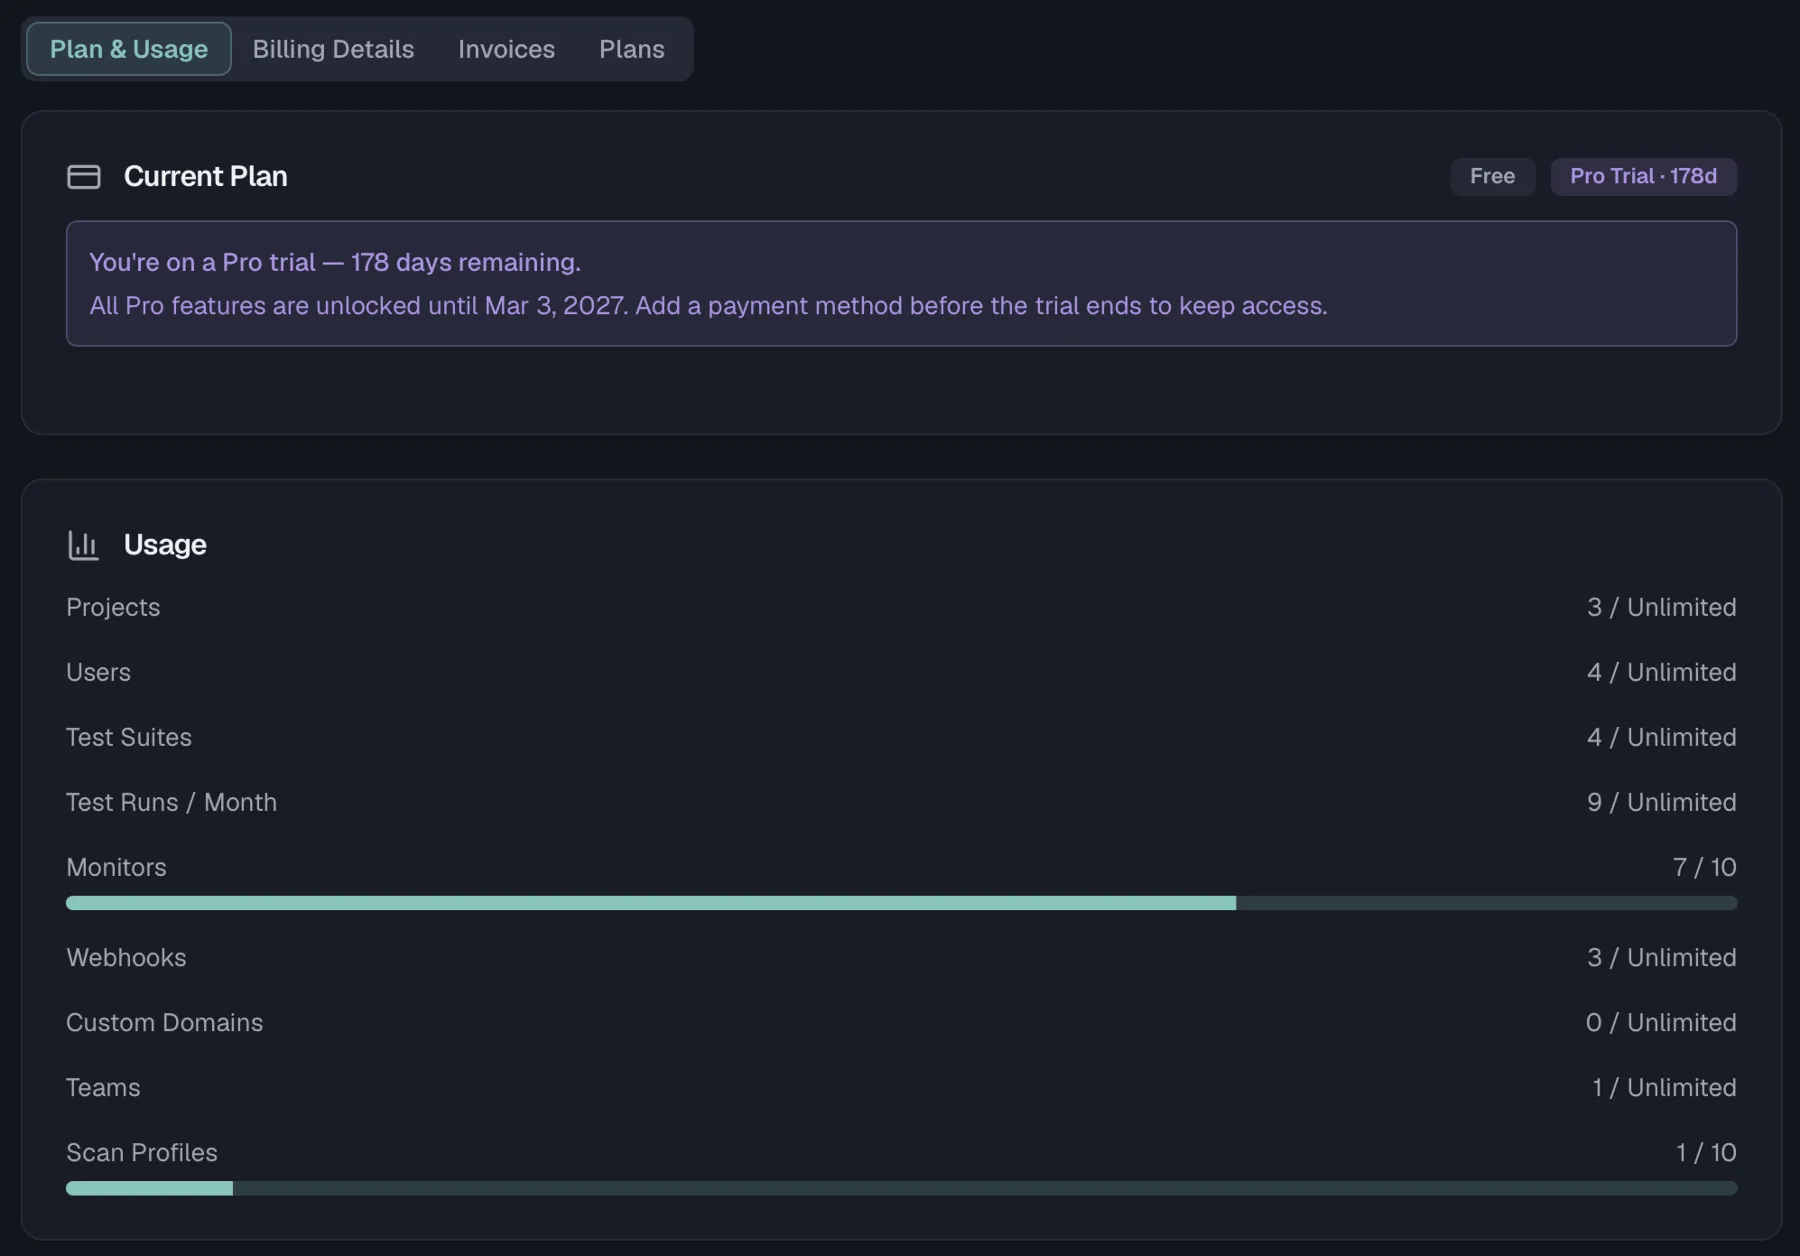 As you approach a limit the bar turns amber at 80%. Once you reach the limit, it turns red and the category is marked **(read-only)** with an **Upgrade** link right next to it. Reaching a limit never deletes anything, because existing data stays intact and viewable. You simply cannot add more in that category until you upgrade or free up space. On the Free plan, the Current Plan card additionally calls out exactly which categories are capped.
## Managing your subscription
### Upgrading and downgrading
From the **Plans** tab, pick the plan you want:
- **Upgrading from Free** opens a secure Stripe checkout in a new tab. When you complete it and return, your plan updates within a few seconds and a confirmation appears.
- **Switching between paid plans** shows a confirmation dialog first, carrying the exact amount you will be charged now as a proration including tax. Nothing is charged until you click **Confirm & pay**, and upgrades take effect immediately.
- **Downgrading** is scheduled for the end of your current billing period, so you keep your current features until then and no credit is issued for the remaining time. The scheduled change is shown on the **Current Plan** card, where a **Cancel** button lets you revert it before it takes effect.
- **Moving to Enterprise** always goes through a seat-picker dialog, so you can set a seat count at or above the 25-seat minimum and see the resulting price before confirming. Coming from a paid plan, that dialog also shows the exact proration.
The Stripe checkout always shows an **Add promotion code** field, so you can apply a promotion code before completing payment.
### The Current Plan card
On a paid plan, the **Current Plan** card summarizes your **billing interval**, **seats**, **current period**, and the **next invoice** date and amount. From here you can also:
- **Manage Payment** opens the secure billing portal in a new tab, where you update your card and review payment history.
- **Cancel Subscription** is covered below.
If a payment fails, the card shows a notice with a grace-period date. Update your payment method before then to avoid an automatic downgrade to Free.
### Seats
On a paid plan, the **Seat Management** card lets you adjust how many seats your subscription includes, with a live *seats × price/seat/month* preview.
- **Adding seats** charges the prorated difference immediately, and you confirm the exact amount in the **Add seats** dialog first.
- **Reducing seats** is scheduled for the end of the current billing period through **Schedule Reduction**, with no mid-period credit.
- On Enterprise, the 25-seat minimum is enforced here as well.
#### Seats also follow your team automatically
The card is not the only thing that moves your seat count. On a paid plan Routebase keeps the paid quantity in step with the number of **activated** members. Those are people who have accepted an invitation and signed in at least once, plus users provisioned through SSO or SCIM:
- **Someone new becomes active and there is no free seat.** The seat count goes up **immediately**, and Stripe charges the prorated difference for the rest of the current period. There is no confirmation step, because the person is already in.
- **A member is removed or deactivated.** The reduction is **scheduled for the end of the current billing period**, exactly like a manual reduction. There is no mid-period credit. If someone takes the freed seat before the period ends, the scheduled reduction is dropped again.
- **Unused seats are filled first.** If you deliberately bought more seats than you have people, new members occupy them at no extra cost until they are used up. The automatic sync never shrinks seats you bought ahead.
- A seat change you scheduled yourself always wins, because the automatic sync leaves a pending manual change alone rather than overwriting it.
- **Free and trial organizations are unaffected**, since there is no subscription to update. The correct member count is picked up when you check out.
You see the same rule stated where it matters. The **Invite** dialog shows how many unused seats are left. When all seats are in use, it says that each invitee adds a paid seat on joining, with the approximate prorated amount per seat.
### Cancelling
**Cancel Subscription** keeps your plan active until the end of the current billing period. After that, your organization is downgraded to Free and Free limits apply. The confirmation dialog offers **Cancel at Period End** or **Keep Subscription**, and a notice on the Current Plan card shows the cancellation date afterwards.
## Billing details
The **Billing Details** tab holds the information that appears on your invoices. A note at the top shows your **account type**, either Personal or Business. That type determines which plans are available, and the note links to Organization Settings to change it.
### Billing address
Enter your **legal company name**, which defaults to your organization name, then the address lines, city, state or province, postal code and country. The country is required. Once complete, the card shows a read-only summary with an **Edit Address** button. A status indicator in the header shows whether the address is **Synced with Stripe**, still syncing, or failed, and a failure carries a **Retry** button.
### Tax ID
Add a tax ID for tax-compliant invoices. The available ID types depend on your billing-address country, so set the address first. Each entry is validated and reports **Validating…**, **Verified**, **Invalid** or **Verification unavailable**. For EU countries, a **verified EU VAT ID enables reverse charge**, so no VAT is charged on your invoices and the card says so explicitly. Use **Change Tax ID** or **Remove Tax ID** to update it, and both ask for confirmation.
### Invoice emails
Invoices are sent automatically when payment is processed. You can toggle **Send invoice emails**, see the read-only **primary email**, which is your organization's billing email, and add up to **10 additional recipients** such as your accounting inbox.
## Invoices
The **Invoices** tab lists your invoice history in a table with **Date**, **Subtotal**, **Tax**, **Total** and **Status**. The tax column carries the rate, or "Reverse charge" where it applies, and the status reads **Paid**, **Open**, **Draft**, **Uncollectible** or **Void**. Each row offers **View** for the hosted invoice and **PDF** for a download, and rows with tax details expand to show the bill-to address, tax ID and tax breakdown.
Before your first paid subscription the tab shows **No invoices yet**.
## Related
- [Organization](https://docs.routebase.dev/organization/) — account type, and org-wide settings
- [Members](https://docs.routebase.dev/members/) — the users occupying your seats
- [Roles & Permissions](https://docs.routebase.dev/roles-permissions/) — who can manage billing
- [Region Selection](https://docs.routebase.dev/region-selection/) — determines your billing currency (EUR in the EU, USD elsewhere)
---
## Branches & Merge Requests — MCP Tools
Source: https://docs.routebase.dev/branches-merge-requests-mcp-tools/
The tools below belong to the **Branches & Merge Requests** group of the Routebase MCP server.
## get_branch
Get one branch with how many endpoints, schemas and folders live on it. Set includeDiff for the change summary against main, the conflicts and the classified (breaking / non-breaking) changes — that is the read to trust before merging. Set includeRebasePreview to see how far the branch is behind main and what a rebase would have to resolve. Requires project context.
**Required scope:** `specs:read`
| Parameter | Type | Required | Description |
| --- | --- | --- | --- |
| `specId` | string | Yes | Public ID (GUID) of the API specification |
| `branchId` | string | Yes | Public ID (GUID) of the branch |
| `includeDiff` | boolean | No (default `false`) | Also return the diff against main: counts, conflicts, classified changes (default false) |
| `includeRebasePreview` | boolean | No (default `false`) | Also return the rebase preview: behind count and conflicting clones (default false) |
## get_merge_policy
Get the merge policy of a spec: how many reviewers a merge request needs and which guards apply. isDefault true means no policy was configured and these are the defaults. Use this to read the policy; to change it use update_merge_policy. Requires project context.
**Required scope:** `specs:read`
| Parameter | Type | Required | Description |
| --- | --- | --- | --- |
| `specId` | string | Yes | Public ID (GUID) of the API specification |
## get_merge_request
Get one merge request with its reviewers, their decisions and the comment thread. The userId values under reviewers are what manage_merge_request('create') expects. Set includeAuditTrail for the who-did-what history of the spec's merge requests. For what the merge would actually change, use get_branch(includeDiff). Use this when you already have the merge request id; to browse them use list_merge_requests. Requires project context.
**Required scope:** `specs:read`
| Parameter | Type | Required | Description |
| --- | --- | --- | --- |
| `specId` | string | Yes | Public ID (GUID) of the API specification |
| `mergeRequestId` | string | Yes | Public ID (GUID) of the merge request |
| `includeAuditTrail` | boolean | No (default `false`) | Also return the audit trail of this spec's merge requests (default false) |
## list_branches
List the branches of a draft version, with their status (active, merged or closed). Use this to browse branches or find a branch id; for one branch with its diff use get_branch. Requires project context.
**Required scope:** `specs:read`
| Parameter | Type | Required | Description |
| --- | --- | --- | --- |
| `specId` | string | Yes | Public ID (GUID) of the API specification |
| `versionId` | string | Yes | Public ID (GUID) of the spec version the branches belong to |
## list_merge_requests
List the merge requests of a spec with their status (open, inReview, approved, merged, rejected, closed) and how many of the assigned reviewers have approved. Requires project context. Use this to browse merge requests or find an id; for one with its reviews use get_merge_request.
**Required scope:** `specs:read`
| Parameter | Type | Required | Description |
| --- | --- | --- | --- |
| `specId` | string | Yes | Public ID (GUID) of the API specification |
## manage_branch
Work with a branch of a draft version. 'create' needs versionId and name — the version must be in draft. 'merge' applies the branch to main and fails while any conflict is left. 'rebase' pulls main's newer changes in and needs one resolution per conflicting clone from get_branch(includeRebasePreview) — pass them as 'cloneId=keepMain,cloneId=keepBranch'. 'resolve_conflicts' records field-level decisions for the audit trail but does NOT clear them for the merge — edit the branch entities or rebase for that. 'close' abandons the branch and soft-deletes everything on it; it does not check for open merge requests. Requires project context.
**Required scope:** `specs:branch`
| Parameter | Type | Required | Description |
| --- | --- | --- | --- |
| `specId` | string | Yes | Public ID (GUID) of the API specification |
| `action` | string | Yes | What to do: 'create', 'merge', 'rebase', 'resolve_conflicts' or 'close' |
| `branchId` | string | No | Public ID (GUID) of the branch — required for everything except 'create' |
| `versionId` | string | No | Public ID (GUID) of the draft version to branch from — required for 'create' |
| `name` | string | No | Branch name, unique within the version — required for 'create' |
| `description` | string | No | Optional branch description |
| `resolutions` | string | No | For 'rebase': one entry per conflicting clone, as 'cloneId=keepMain,cloneId=keepBranch'. The clone IDs come from get_branch(includeRebasePreview) → rebasePreview.conflicts[].cloneId |
| `resolutionsJson` | string | No | For 'resolve_conflicts': the decisions as a JSON array of {entityPublicId, entityType, field, resolutionType: 'keepMain'\|'keepBranch'\|'custom', customValue?} — take entity, type and field from get_branch(includeDiff) → diff.conflicts |
## manage_merge_request
Open or close a merge request for a branch. 'create' needs branchId, title and at least one reviewer — pass reviewerUserIds as a comma-separated list of the userId values from list_members. Reviewers must be members of the same organization. Only one open merge request per branch is allowed. 'close' abandons it without merging. Reviewing is review_merge_request, merging is merge_merge_request. Requires project context.
**Required scope:** `specs:branch`
| Parameter | Type | Required | Description |
| --- | --- | --- | --- |
| `specId` | string | Yes | Public ID (GUID) of the API specification |
| `action` | string | Yes | What to do: 'create' or 'close' |
| `branchId` | string | No | Public ID (GUID) of the branch — required for 'create' |
| `mergeRequestId` | string | No | Public ID (GUID) of the merge request — required for 'close' |
| `title` | string | No | Title — required for 'create' |
| `description` | string | No | Optional description |
| `reviewerUserIds` | string | No | Public IDs (GUIDs) of the reviewers from list_members, comma-separated — required for 'create' |
## merge_merge_request
Merge an approved merge request into main. The merge request must already be approved — that happens through review_merge_request, there is no separate approve step — and the merge policy must be satisfied. Requires project context.
**Required scope:** `specs:merge`
| Parameter | Type | Required | Description |
| --- | --- | --- | --- |
| `specId` | string | Yes | Public ID (GUID) of the API specification |
| `mergeRequestId` | string | Yes | Public ID (GUID) of the merge request |
## review_merge_request
Review a merge request. 'approve' and 'request_changes' count as your review decision and you must be one of its assigned reviewers; the merge request flips to approved once enough reviewers approved (see get_merge_policy → minReviewers). 'comment' only adds to the thread and can anchor on an entity and field. Requires project context.
**Required scope:** `specs:review`
| Parameter | Type | Required | Description |
| --- | --- | --- | --- |
| `specId` | string | Yes | Public ID (GUID) of the API specification |
| `mergeRequestId` | string | Yes | Public ID (GUID) of the merge request |
| `action` | string | Yes | What to do: 'approve', 'request_changes' or 'comment' |
| `comment` | string | No | Review note, or the comment body — required for 'comment' |
| `parentCommentId` | string | No | For 'comment': public ID (GUID) of the comment being replied to |
| `entityType` | string | No | For 'comment': the entity the comment is about, e.g. 'endpoint' or 'schema' |
| `entityId` | string | No | For 'comment': public ID (GUID) of that entity |
| `field` | string | No | For 'comment': the field the comment is about |
## update_merge_policy
Change the merge policy of a spec. This REPLACES the policy — values you omit are carried over from the current one, so you can change minReviewers alone. Use this to change the policy; to read the current one use get_merge_policy. Requires project context.
**Required scope:** `specs:write`
| Parameter | Type | Required | Description |
| --- | --- | --- | --- |
| `specId` | string | Yes | Public ID (GUID) of the API specification |
| `minReviewers` | integer | No | How many reviewers must approve before a merge request can be merged |
| `requireAdminForBreaking` | boolean | No | Require an Admin or Owner approval when the branch diff carries breaking changes |
---
## Branching
Source: https://docs.routebase.dev/branching/
Editing a spec directly is fine for small corrections. Anything larger is different, whether that is a new resource, a reshaped schema, or a redesign you want a colleague to look at before it lands. Such a change should exist somewhere other people are not affected by until it is ready, and that is what branches are for.
A branch in Routebase works the way it does in Git, with one difference worth internalizing up front. **A branch is taken from a draft version and merges back into that same draft version.** It is not a way to change a published version. Published versions are frozen, and nothing reopens them, a merge included. See [Spec Versioning](https://docs.routebase.dev/versioning/) for the version lifecycle this sits inside.
Branching is available on the **Pro plan and above** and requires the **specs:branch** permission.
## The workflow at a glance
| Step | Where | Permission |
| --- | --- | --- |
| Create a branch | Branch switcher in the header → **New Branch** | `specs:branch` |
| Edit on the branch | The API Designer, as usual | `specs:write` |
| Pull main's newer changes in | Branch banner → **Rebase** | `specs:branch` |
| Open a merge request | Branch banner → **Create Merge Request** | `specs:write` |
| Review it | Merge request → **Reviews** tab | `specs:review` |
| Merge it | Merge request → **Merge** | `specs:merge` |
Reviewing and merging are separate permissions on purpose. A Member can propose a change and comment on someone else's, while an Admin or Owner decides what lands.
## The branch switcher
The branch switcher sits in the app header next to the version switcher, and appears once you have a project, a spec and a version in context. It always shows which branch you are on, reading `main` when you are on none.
Opening it gives you:
- **main** switches back to the main draft.
- **Branches** lists every *active* branch of the current version, each with a status badge. Merged and closed branches are not listed, because they are history rather than somewhere you can go.
- **View Merge Requests** opens the merge request list for this spec. When merge requests are open, the entry carries a count badge and the switcher itself gets a small red dot, so an open request is visible without opening the menu.
- **Manage Branches** opens the branch list for the current version. It holds every branch including the merged and closed ones, it filters by status, and it is the one place a branch can be closed.
- **New Branch** opens the create dialog. On Free and Starter this entry shows a lock and a **Pro** hint, and selecting it opens the upgrade dialog instead of the create dialog.
As you approach a limit the bar turns amber at 80%. Once you reach the limit, it turns red and the category is marked **(read-only)** with an **Upgrade** link right next to it. Reaching a limit never deletes anything, because existing data stays intact and viewable. You simply cannot add more in that category until you upgrade or free up space. On the Free plan, the Current Plan card additionally calls out exactly which categories are capped.
## Managing your subscription
### Upgrading and downgrading
From the **Plans** tab, pick the plan you want:
- **Upgrading from Free** opens a secure Stripe checkout in a new tab. When you complete it and return, your plan updates within a few seconds and a confirmation appears.
- **Switching between paid plans** shows a confirmation dialog first, carrying the exact amount you will be charged now as a proration including tax. Nothing is charged until you click **Confirm & pay**, and upgrades take effect immediately.
- **Downgrading** is scheduled for the end of your current billing period, so you keep your current features until then and no credit is issued for the remaining time. The scheduled change is shown on the **Current Plan** card, where a **Cancel** button lets you revert it before it takes effect.
- **Moving to Enterprise** always goes through a seat-picker dialog, so you can set a seat count at or above the 25-seat minimum and see the resulting price before confirming. Coming from a paid plan, that dialog also shows the exact proration.
The Stripe checkout always shows an **Add promotion code** field, so you can apply a promotion code before completing payment.
### The Current Plan card
On a paid plan, the **Current Plan** card summarizes your **billing interval**, **seats**, **current period**, and the **next invoice** date and amount. From here you can also:
- **Manage Payment** opens the secure billing portal in a new tab, where you update your card and review payment history.
- **Cancel Subscription** is covered below.
If a payment fails, the card shows a notice with a grace-period date. Update your payment method before then to avoid an automatic downgrade to Free.
### Seats
On a paid plan, the **Seat Management** card lets you adjust how many seats your subscription includes, with a live *seats × price/seat/month* preview.
- **Adding seats** charges the prorated difference immediately, and you confirm the exact amount in the **Add seats** dialog first.
- **Reducing seats** is scheduled for the end of the current billing period through **Schedule Reduction**, with no mid-period credit.
- On Enterprise, the 25-seat minimum is enforced here as well.
#### Seats also follow your team automatically
The card is not the only thing that moves your seat count. On a paid plan Routebase keeps the paid quantity in step with the number of **activated** members. Those are people who have accepted an invitation and signed in at least once, plus users provisioned through SSO or SCIM:
- **Someone new becomes active and there is no free seat.** The seat count goes up **immediately**, and Stripe charges the prorated difference for the rest of the current period. There is no confirmation step, because the person is already in.
- **A member is removed or deactivated.** The reduction is **scheduled for the end of the current billing period**, exactly like a manual reduction. There is no mid-period credit. If someone takes the freed seat before the period ends, the scheduled reduction is dropped again.
- **Unused seats are filled first.** If you deliberately bought more seats than you have people, new members occupy them at no extra cost until they are used up. The automatic sync never shrinks seats you bought ahead.
- A seat change you scheduled yourself always wins, because the automatic sync leaves a pending manual change alone rather than overwriting it.
- **Free and trial organizations are unaffected**, since there is no subscription to update. The correct member count is picked up when you check out.
You see the same rule stated where it matters. The **Invite** dialog shows how many unused seats are left. When all seats are in use, it says that each invitee adds a paid seat on joining, with the approximate prorated amount per seat.
### Cancelling
**Cancel Subscription** keeps your plan active until the end of the current billing period. After that, your organization is downgraded to Free and Free limits apply. The confirmation dialog offers **Cancel at Period End** or **Keep Subscription**, and a notice on the Current Plan card shows the cancellation date afterwards.
## Billing details
The **Billing Details** tab holds the information that appears on your invoices. A note at the top shows your **account type**, either Personal or Business. That type determines which plans are available, and the note links to Organization Settings to change it.
### Billing address
Enter your **legal company name**, which defaults to your organization name, then the address lines, city, state or province, postal code and country. The country is required. Once complete, the card shows a read-only summary with an **Edit Address** button. A status indicator in the header shows whether the address is **Synced with Stripe**, still syncing, or failed, and a failure carries a **Retry** button.
### Tax ID
Add a tax ID for tax-compliant invoices. The available ID types depend on your billing-address country, so set the address first. Each entry is validated and reports **Validating…**, **Verified**, **Invalid** or **Verification unavailable**. For EU countries, a **verified EU VAT ID enables reverse charge**, so no VAT is charged on your invoices and the card says so explicitly. Use **Change Tax ID** or **Remove Tax ID** to update it, and both ask for confirmation.
### Invoice emails
Invoices are sent automatically when payment is processed. You can toggle **Send invoice emails**, see the read-only **primary email**, which is your organization's billing email, and add up to **10 additional recipients** such as your accounting inbox.
## Invoices
The **Invoices** tab lists your invoice history in a table with **Date**, **Subtotal**, **Tax**, **Total** and **Status**. The tax column carries the rate, or "Reverse charge" where it applies, and the status reads **Paid**, **Open**, **Draft**, **Uncollectible** or **Void**. Each row offers **View** for the hosted invoice and **PDF** for a download, and rows with tax details expand to show the bill-to address, tax ID and tax breakdown.
Before your first paid subscription the tab shows **No invoices yet**.
## Related
- [Organization](https://docs.routebase.dev/organization/) — account type, and org-wide settings
- [Members](https://docs.routebase.dev/members/) — the users occupying your seats
- [Roles & Permissions](https://docs.routebase.dev/roles-permissions/) — who can manage billing
- [Region Selection](https://docs.routebase.dev/region-selection/) — determines your billing currency (EUR in the EU, USD elsewhere)
---
## Branches & Merge Requests — MCP Tools
Source: https://docs.routebase.dev/branches-merge-requests-mcp-tools/
The tools below belong to the **Branches & Merge Requests** group of the Routebase MCP server.
## get_branch
Get one branch with how many endpoints, schemas and folders live on it. Set includeDiff for the change summary against main, the conflicts and the classified (breaking / non-breaking) changes — that is the read to trust before merging. Set includeRebasePreview to see how far the branch is behind main and what a rebase would have to resolve. Requires project context.
**Required scope:** `specs:read`
| Parameter | Type | Required | Description |
| --- | --- | --- | --- |
| `specId` | string | Yes | Public ID (GUID) of the API specification |
| `branchId` | string | Yes | Public ID (GUID) of the branch |
| `includeDiff` | boolean | No (default `false`) | Also return the diff against main: counts, conflicts, classified changes (default false) |
| `includeRebasePreview` | boolean | No (default `false`) | Also return the rebase preview: behind count and conflicting clones (default false) |
## get_merge_policy
Get the merge policy of a spec: how many reviewers a merge request needs and which guards apply. isDefault true means no policy was configured and these are the defaults. Use this to read the policy; to change it use update_merge_policy. Requires project context.
**Required scope:** `specs:read`
| Parameter | Type | Required | Description |
| --- | --- | --- | --- |
| `specId` | string | Yes | Public ID (GUID) of the API specification |
## get_merge_request
Get one merge request with its reviewers, their decisions and the comment thread. The userId values under reviewers are what manage_merge_request('create') expects. Set includeAuditTrail for the who-did-what history of the spec's merge requests. For what the merge would actually change, use get_branch(includeDiff). Use this when you already have the merge request id; to browse them use list_merge_requests. Requires project context.
**Required scope:** `specs:read`
| Parameter | Type | Required | Description |
| --- | --- | --- | --- |
| `specId` | string | Yes | Public ID (GUID) of the API specification |
| `mergeRequestId` | string | Yes | Public ID (GUID) of the merge request |
| `includeAuditTrail` | boolean | No (default `false`) | Also return the audit trail of this spec's merge requests (default false) |
## list_branches
List the branches of a draft version, with their status (active, merged or closed). Use this to browse branches or find a branch id; for one branch with its diff use get_branch. Requires project context.
**Required scope:** `specs:read`
| Parameter | Type | Required | Description |
| --- | --- | --- | --- |
| `specId` | string | Yes | Public ID (GUID) of the API specification |
| `versionId` | string | Yes | Public ID (GUID) of the spec version the branches belong to |
## list_merge_requests
List the merge requests of a spec with their status (open, inReview, approved, merged, rejected, closed) and how many of the assigned reviewers have approved. Requires project context. Use this to browse merge requests or find an id; for one with its reviews use get_merge_request.
**Required scope:** `specs:read`
| Parameter | Type | Required | Description |
| --- | --- | --- | --- |
| `specId` | string | Yes | Public ID (GUID) of the API specification |
## manage_branch
Work with a branch of a draft version. 'create' needs versionId and name — the version must be in draft. 'merge' applies the branch to main and fails while any conflict is left. 'rebase' pulls main's newer changes in and needs one resolution per conflicting clone from get_branch(includeRebasePreview) — pass them as 'cloneId=keepMain,cloneId=keepBranch'. 'resolve_conflicts' records field-level decisions for the audit trail but does NOT clear them for the merge — edit the branch entities or rebase for that. 'close' abandons the branch and soft-deletes everything on it; it does not check for open merge requests. Requires project context.
**Required scope:** `specs:branch`
| Parameter | Type | Required | Description |
| --- | --- | --- | --- |
| `specId` | string | Yes | Public ID (GUID) of the API specification |
| `action` | string | Yes | What to do: 'create', 'merge', 'rebase', 'resolve_conflicts' or 'close' |
| `branchId` | string | No | Public ID (GUID) of the branch — required for everything except 'create' |
| `versionId` | string | No | Public ID (GUID) of the draft version to branch from — required for 'create' |
| `name` | string | No | Branch name, unique within the version — required for 'create' |
| `description` | string | No | Optional branch description |
| `resolutions` | string | No | For 'rebase': one entry per conflicting clone, as 'cloneId=keepMain,cloneId=keepBranch'. The clone IDs come from get_branch(includeRebasePreview) → rebasePreview.conflicts[].cloneId |
| `resolutionsJson` | string | No | For 'resolve_conflicts': the decisions as a JSON array of {entityPublicId, entityType, field, resolutionType: 'keepMain'\|'keepBranch'\|'custom', customValue?} — take entity, type and field from get_branch(includeDiff) → diff.conflicts |
## manage_merge_request
Open or close a merge request for a branch. 'create' needs branchId, title and at least one reviewer — pass reviewerUserIds as a comma-separated list of the userId values from list_members. Reviewers must be members of the same organization. Only one open merge request per branch is allowed. 'close' abandons it without merging. Reviewing is review_merge_request, merging is merge_merge_request. Requires project context.
**Required scope:** `specs:branch`
| Parameter | Type | Required | Description |
| --- | --- | --- | --- |
| `specId` | string | Yes | Public ID (GUID) of the API specification |
| `action` | string | Yes | What to do: 'create' or 'close' |
| `branchId` | string | No | Public ID (GUID) of the branch — required for 'create' |
| `mergeRequestId` | string | No | Public ID (GUID) of the merge request — required for 'close' |
| `title` | string | No | Title — required for 'create' |
| `description` | string | No | Optional description |
| `reviewerUserIds` | string | No | Public IDs (GUIDs) of the reviewers from list_members, comma-separated — required for 'create' |
## merge_merge_request
Merge an approved merge request into main. The merge request must already be approved — that happens through review_merge_request, there is no separate approve step — and the merge policy must be satisfied. Requires project context.
**Required scope:** `specs:merge`
| Parameter | Type | Required | Description |
| --- | --- | --- | --- |
| `specId` | string | Yes | Public ID (GUID) of the API specification |
| `mergeRequestId` | string | Yes | Public ID (GUID) of the merge request |
## review_merge_request
Review a merge request. 'approve' and 'request_changes' count as your review decision and you must be one of its assigned reviewers; the merge request flips to approved once enough reviewers approved (see get_merge_policy → minReviewers). 'comment' only adds to the thread and can anchor on an entity and field. Requires project context.
**Required scope:** `specs:review`
| Parameter | Type | Required | Description |
| --- | --- | --- | --- |
| `specId` | string | Yes | Public ID (GUID) of the API specification |
| `mergeRequestId` | string | Yes | Public ID (GUID) of the merge request |
| `action` | string | Yes | What to do: 'approve', 'request_changes' or 'comment' |
| `comment` | string | No | Review note, or the comment body — required for 'comment' |
| `parentCommentId` | string | No | For 'comment': public ID (GUID) of the comment being replied to |
| `entityType` | string | No | For 'comment': the entity the comment is about, e.g. 'endpoint' or 'schema' |
| `entityId` | string | No | For 'comment': public ID (GUID) of that entity |
| `field` | string | No | For 'comment': the field the comment is about |
## update_merge_policy
Change the merge policy of a spec. This REPLACES the policy — values you omit are carried over from the current one, so you can change minReviewers alone. Use this to change the policy; to read the current one use get_merge_policy. Requires project context.
**Required scope:** `specs:write`
| Parameter | Type | Required | Description |
| --- | --- | --- | --- |
| `specId` | string | Yes | Public ID (GUID) of the API specification |
| `minReviewers` | integer | No | How many reviewers must approve before a merge request can be merged |
| `requireAdminForBreaking` | boolean | No | Require an Admin or Owner approval when the branch diff carries breaking changes |
---
## Branching
Source: https://docs.routebase.dev/branching/
Editing a spec directly is fine for small corrections. Anything larger is different, whether that is a new resource, a reshaped schema, or a redesign you want a colleague to look at before it lands. Such a change should exist somewhere other people are not affected by until it is ready, and that is what branches are for.
A branch in Routebase works the way it does in Git, with one difference worth internalizing up front. **A branch is taken from a draft version and merges back into that same draft version.** It is not a way to change a published version. Published versions are frozen, and nothing reopens them, a merge included. See [Spec Versioning](https://docs.routebase.dev/versioning/) for the version lifecycle this sits inside.
Branching is available on the **Pro plan and above** and requires the **specs:branch** permission.
## The workflow at a glance
| Step | Where | Permission |
| --- | --- | --- |
| Create a branch | Branch switcher in the header → **New Branch** | `specs:branch` |
| Edit on the branch | The API Designer, as usual | `specs:write` |
| Pull main's newer changes in | Branch banner → **Rebase** | `specs:branch` |
| Open a merge request | Branch banner → **Create Merge Request** | `specs:write` |
| Review it | Merge request → **Reviews** tab | `specs:review` |
| Merge it | Merge request → **Merge** | `specs:merge` |
Reviewing and merging are separate permissions on purpose. A Member can propose a change and comment on someone else's, while an Admin or Owner decides what lands.
## The branch switcher
The branch switcher sits in the app header next to the version switcher, and appears once you have a project, a spec and a version in context. It always shows which branch you are on, reading `main` when you are on none.
Opening it gives you:
- **main** switches back to the main draft.
- **Branches** lists every *active* branch of the current version, each with a status badge. Merged and closed branches are not listed, because they are history rather than somewhere you can go.
- **View Merge Requests** opens the merge request list for this spec. When merge requests are open, the entry carries a count badge and the switcher itself gets a small red dot, so an open request is visible without opening the menu.
- **Manage Branches** opens the branch list for the current version. It holds every branch including the merged and closed ones, it filters by status, and it is the one place a branch can be closed.
- **New Branch** opens the create dialog. On Free and Starter this entry shows a lock and a **Pro** hint, and selecting it opens the upgrade dialog instead of the create dialog.
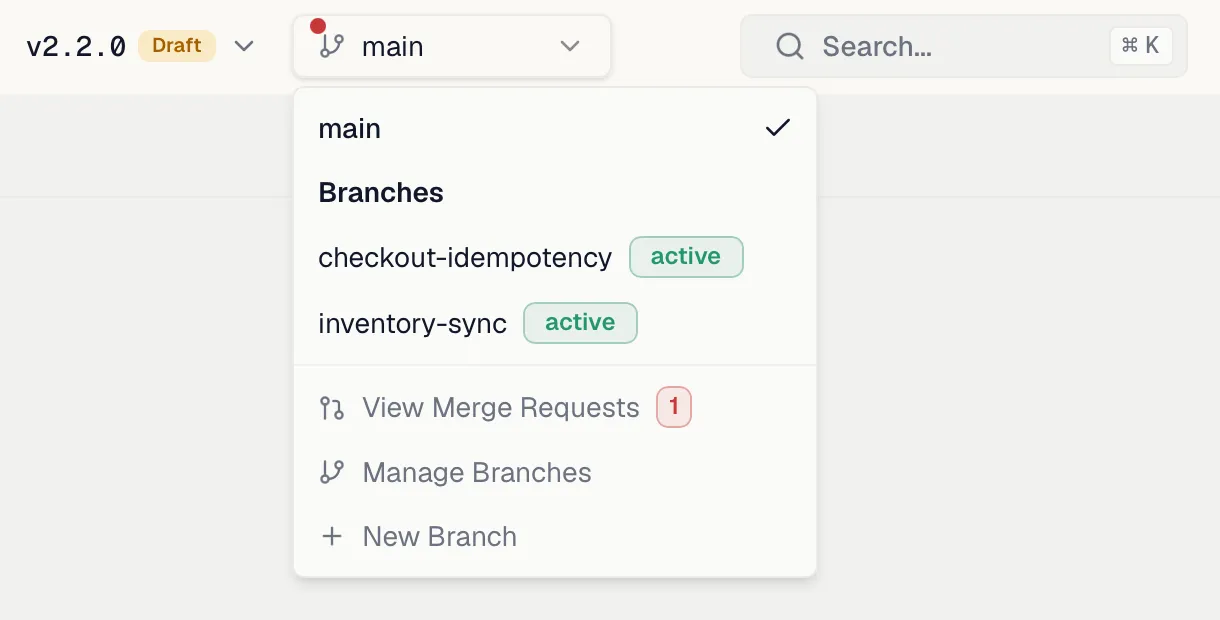
 ## Creating a branch
Choose **New Branch** and fill in:
- **Branch name** is required and takes letters, digits, hyphens and underscores only. The name has to be unique among the branches of that version, and reusing one fails with *"A branch named '{name}' already exists for this version."*
- **Description** is optional, and the field asks *"What changes will this branch contain?"*
Creating a branch takes a **snapshot** of the version at that moment. That snapshot is the reference point for everything that follows. The diff you see later is computed against it, and so is the answer to whether something changed on the branch, on main, or on both. You do not interact with the snapshot directly, but it explains why a branch that sits open for a long time accumulates conflicts. Main keeps moving while the snapshot does not.
After creating, the switcher moves you onto the new branch.
## Working on a branch
While you are on a branch, a banner sits above the designer:
> You are editing branch: **{name}**. Changes will not affect the main spec until merged.
Everything you edit is stored against the branch, whether that is endpoints, schemas or folders. The main draft is untouched until a merge.
The banner also carries the exits:
- **Rebase** appears only when the branch is behind main, together with the hint *"Branch is behind main (N changes)."*
- **Create Merge Request** opens the merge request dialog.
- **Discard** closes the branch after a confirmation. Its changes never reach the main spec, and this cannot be undone.
- **×** is *Switch back to main*. It leaves the branch as it is and discards nothing.
## Creating a branch
Choose **New Branch** and fill in:
- **Branch name** is required and takes letters, digits, hyphens and underscores only. The name has to be unique among the branches of that version, and reusing one fails with *"A branch named '{name}' already exists for this version."*
- **Description** is optional, and the field asks *"What changes will this branch contain?"*
Creating a branch takes a **snapshot** of the version at that moment. That snapshot is the reference point for everything that follows. The diff you see later is computed against it, and so is the answer to whether something changed on the branch, on main, or on both. You do not interact with the snapshot directly, but it explains why a branch that sits open for a long time accumulates conflicts. Main keeps moving while the snapshot does not.
After creating, the switcher moves you onto the new branch.
## Working on a branch
While you are on a branch, a banner sits above the designer:
> You are editing branch: **{name}**. Changes will not affect the main spec until merged.
Everything you edit is stored against the branch, whether that is endpoints, schemas or folders. The main draft is untouched until a merge.
The banner also carries the exits:
- **Rebase** appears only when the branch is behind main, together with the hint *"Branch is behind main (N changes)."*
- **Create Merge Request** opens the merge request dialog.
- **Discard** closes the branch after a confirmation. Its changes never reach the main spec, and this cannot be undone.
- **×** is *Switch back to main*. It leaves the branch as it is and discards nothing.
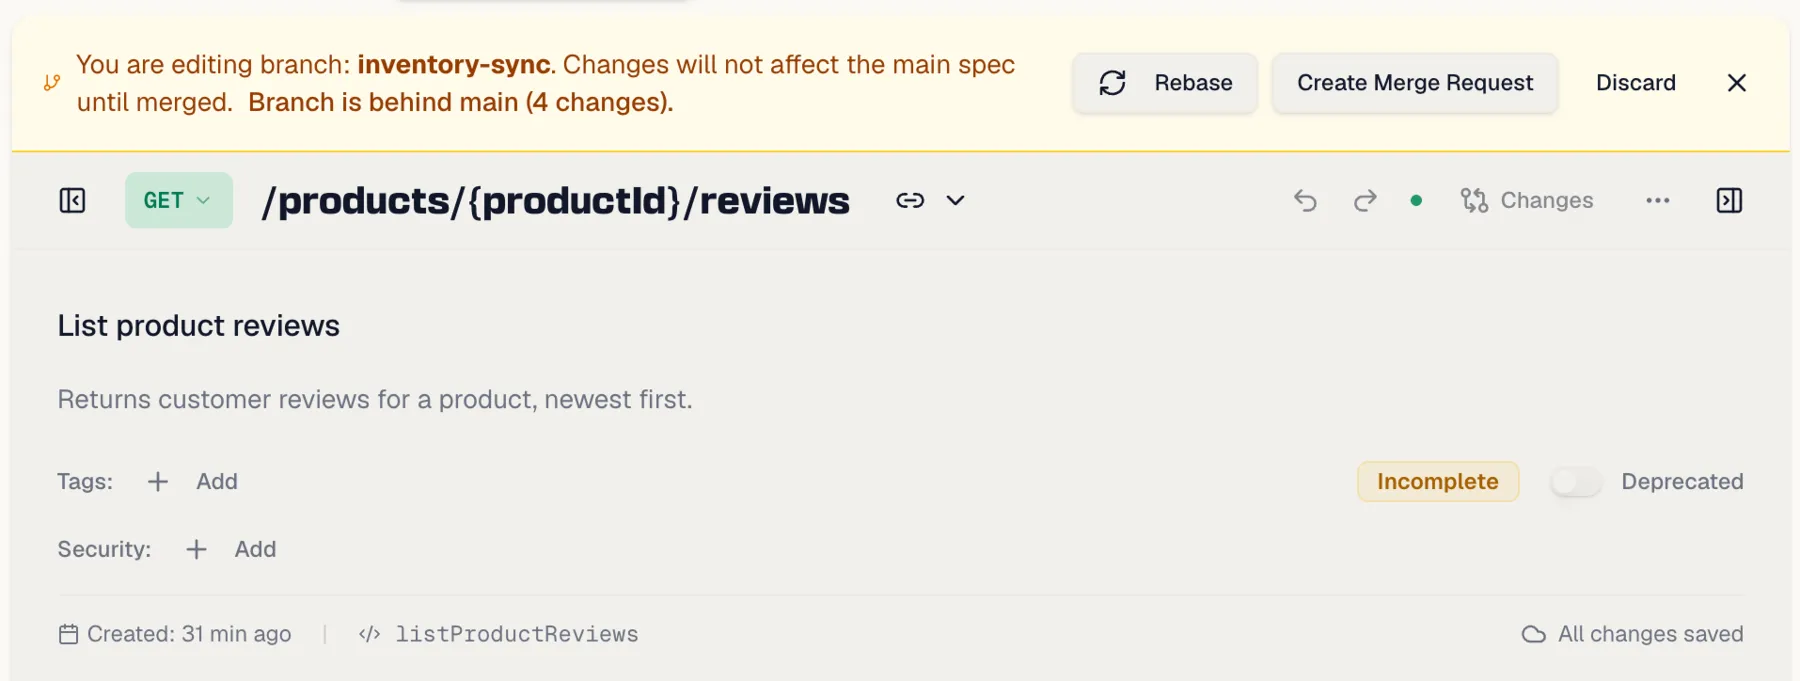
 ## Rebasing
A branch that stays open while main moves on drifts away from it. Rebasing pulls main's newer changes into the branch, so the difference between the two shrinks back to just your work.
**Rebase early and often.** A rebase resolves divergence *while there is little of it*. More importantly, it is the only place in the product where a conflict between main and a branch is put in front of you. The merge itself never asks, because whatever the branch carries is written onto main, including over a change main made in the meantime. Rebasing is how you see that coming.
```mermaid
sequenceDiagram
participant B as Your branch
participant M as main
Note over B,M: you branch off
M->>M: someone else lands a change
B->>B: you edit your endpoints
B->>M: Rebase — what moved since I branched?
M-->>B: new, refreshed, removed
## Rebasing
A branch that stays open while main moves on drifts away from it. Rebasing pulls main's newer changes into the branch, so the difference between the two shrinks back to just your work.
**Rebase early and often.** A rebase resolves divergence *while there is little of it*. More importantly, it is the only place in the product where a conflict between main and a branch is put in front of you. The merge itself never asks, because whatever the branch carries is written onto main, including over a change main made in the meantime. Rebasing is how you see that coming.
```mermaid
sequenceDiagram
participant B as Your branch
participant M as main
Note over B,M: you branch off
M->>M: someone else lands a change
B->>B: you edit your endpoints
B->>M: Rebase — what moved since I branched?
M-->>B: new, refreshed, removedand anything we both touched Note over B: you decide every conflict:
Take main or Keep branch B->>M: Merge the request Note over M: the branch is written onto main.
This step never asks. ``` Selecting **Rebase** computes a plan and shows what it found: | Badge | Meaning | | --- | --- | | **N new on main** | Entities added on main since you branched. They come across. | | **N to refresh** | Entities main changed that you did not. They are updated on the branch. | | **N removed on main** | Entities deleted on main. | Anything both sides touched is listed separately as a conflict that needs a decision. Three kinds occur: | Conflict | What happened | | --- | --- | | **Changed on both sides** | You and main both edited the same entity. | | **Deleted on main, edited on branch** | You edited something main removed. | | **Changed on main, deleted on branch** | You removed something main edited. | For each one you choose **Take main** or **Keep branch**. The **Rebase** button stays disabled until every conflict has a decision, because there is no partial rebase. The plan is recomputed inside the transaction that applies it, so a preview you left open while somebody else pushed to main cannot apply stale decisions. You get the current state or nothing.
 ## Merge requests
A merge request is the review surface for a branch. Open one from the branch banner:
## Merge requests
A merge request is the review surface for a branch. Open one from the branch banner:
 - **Title** is required.
- **Description** is optional.
- **Reviewers** is required and takes at least one person, picked from your organization's members. Everyone you add is notified as soon as the merge request is open, apart from yourself if you assign your own merge request to you.
- **Title** is required.
- **Description** is optional.
- **Reviewers** is required and takes at least one person, picked from your organization's members. Everyone you add is notified as soon as the merge request is open, apart from yourself if you assign your own merge request to you.
 The merge request page opens on four figures for the spec. They are open requests, merges in the last 30 days, the share of merged requests that carried breaking changes, and the average time from opening to merge. Below them the page splits into two tabs. **Requests** is the list, and **History** is the merge timeline in the order things actually landed, where each entry shows the changes that were recorded at its merge.
Those figures and that timeline only cover merges recorded from this release onwards. Anything merged earlier is counted out and named as such rather than folded in.
A merge request always runs in one direction, which is `{branch} → main`, and it moves through six statuses:
| Status | What it means |
| --- | --- |
| **Open** | Created, no review submitted yet. |
| **In Review** | At least one review has been submitted. |
| **Approved** | Enough reviewers approved. Ready to merge. |
| **Merged** | Applied to the main draft. |
| **Rejected** | Turned down. |
| **Closed** | Withdrawn without merging. |
### Reviewing
The **Reviews** tab lists the assigned reviewers with their decision, which reads *Pending*, *Approved* or *Changes Requested*. If you are one of them, it also gives you **Approve** and **Request Changes** with an optional comment.
How many approvals are needed comes from the spec's **merge policy**, and the default is one. A merge request flips to *Approved* automatically the moment the number of approvals reaches that threshold, so nobody promotes it by hand.
The policy has a second rule, which is to **require an Admin or Owner approval when the branch carries breaking changes**. With it on, an approval from a Member is not enough for a breaking merge. The merge is refused with *"Breaking changes detected — at least one Admin or Owner must approve."* until someone with the standing signs off. Whether the branch counts as breaking is decided from the live diff at merge time, by the same rules the [Classified Changes](#changes) tab uses, so reworking the branch can clear the requirement on its own.
New policies have this rule switched on. Policies that already existed keep it off, so nothing that was mergeable before became unmergeable.
The policy is read and written through the API and through the MCP tools `get_merge_policy` and `update_merge_policy`. There is no settings page for it yet.
### Changes
The **Changes** tab is a full diff of the branch against main, computed live rather than stored:
- A summary banner with the counts and the branch name.
- **Endpoints**, **Schemas** and **Folders** tabs, each listing what was added, modified or removed.
- A **Classified Changes** tab, which appears when the diff contains breaking changes and sorts them by the [breaking-change rules](https://docs.routebase.dev/versioning/).
The Changes tab does not list conflicts. Divergence between main and a branch is detected during a [rebase](#rebasing) and decided there, which is the one place in the product where it surfaces at all.
The same live diff drives the red **Breaking Changes** badge beside the status in the merge request header. Because it is computed rather than stored, it always describes the branch as it stands right now, so reworking the branch makes the badge disappear on its own.
### Comments
The **Comments** tab is a threaded discussion on the merge request, with comments, replies to comments, and a count on the tab.
### History
The **History** tab is the trail of the merge request. It records who opened it and when, every approval and every change request in the order they happened, and the merge itself. A reviewer who has not answered yet does not appear here, because the **Reviews** tab is where pending assignments are listed.
The merge request page opens on four figures for the spec. They are open requests, merges in the last 30 days, the share of merged requests that carried breaking changes, and the average time from opening to merge. Below them the page splits into two tabs. **Requests** is the list, and **History** is the merge timeline in the order things actually landed, where each entry shows the changes that were recorded at its merge.
Those figures and that timeline only cover merges recorded from this release onwards. Anything merged earlier is counted out and named as such rather than folded in.
A merge request always runs in one direction, which is `{branch} → main`, and it moves through six statuses:
| Status | What it means |
| --- | --- |
| **Open** | Created, no review submitted yet. |
| **In Review** | At least one review has been submitted. |
| **Approved** | Enough reviewers approved. Ready to merge. |
| **Merged** | Applied to the main draft. |
| **Rejected** | Turned down. |
| **Closed** | Withdrawn without merging. |
### Reviewing
The **Reviews** tab lists the assigned reviewers with their decision, which reads *Pending*, *Approved* or *Changes Requested*. If you are one of them, it also gives you **Approve** and **Request Changes** with an optional comment.
How many approvals are needed comes from the spec's **merge policy**, and the default is one. A merge request flips to *Approved* automatically the moment the number of approvals reaches that threshold, so nobody promotes it by hand.
The policy has a second rule, which is to **require an Admin or Owner approval when the branch carries breaking changes**. With it on, an approval from a Member is not enough for a breaking merge. The merge is refused with *"Breaking changes detected — at least one Admin or Owner must approve."* until someone with the standing signs off. Whether the branch counts as breaking is decided from the live diff at merge time, by the same rules the [Classified Changes](#changes) tab uses, so reworking the branch can clear the requirement on its own.
New policies have this rule switched on. Policies that already existed keep it off, so nothing that was mergeable before became unmergeable.
The policy is read and written through the API and through the MCP tools `get_merge_policy` and `update_merge_policy`. There is no settings page for it yet.
### Changes
The **Changes** tab is a full diff of the branch against main, computed live rather than stored:
- A summary banner with the counts and the branch name.
- **Endpoints**, **Schemas** and **Folders** tabs, each listing what was added, modified or removed.
- A **Classified Changes** tab, which appears when the diff contains breaking changes and sorts them by the [breaking-change rules](https://docs.routebase.dev/versioning/).
The Changes tab does not list conflicts. Divergence between main and a branch is detected during a [rebase](#rebasing) and decided there, which is the one place in the product where it surfaces at all.
The same live diff drives the red **Breaking Changes** badge beside the status in the merge request header. Because it is computed rather than stored, it always describes the branch as it stands right now, so reworking the branch makes the badge disappear on its own.
### Comments
The **Comments** tab is a threaded discussion on the merge request, with comments, replies to comments, and a count on the tab.
### History
The **History** tab is the trail of the merge request. It records who opened it and when, every approval and every change request in the order they happened, and the merge itself. A reviewer who has not answered yet does not appear here, because the **Reviews** tab is where pending assignments are listed.
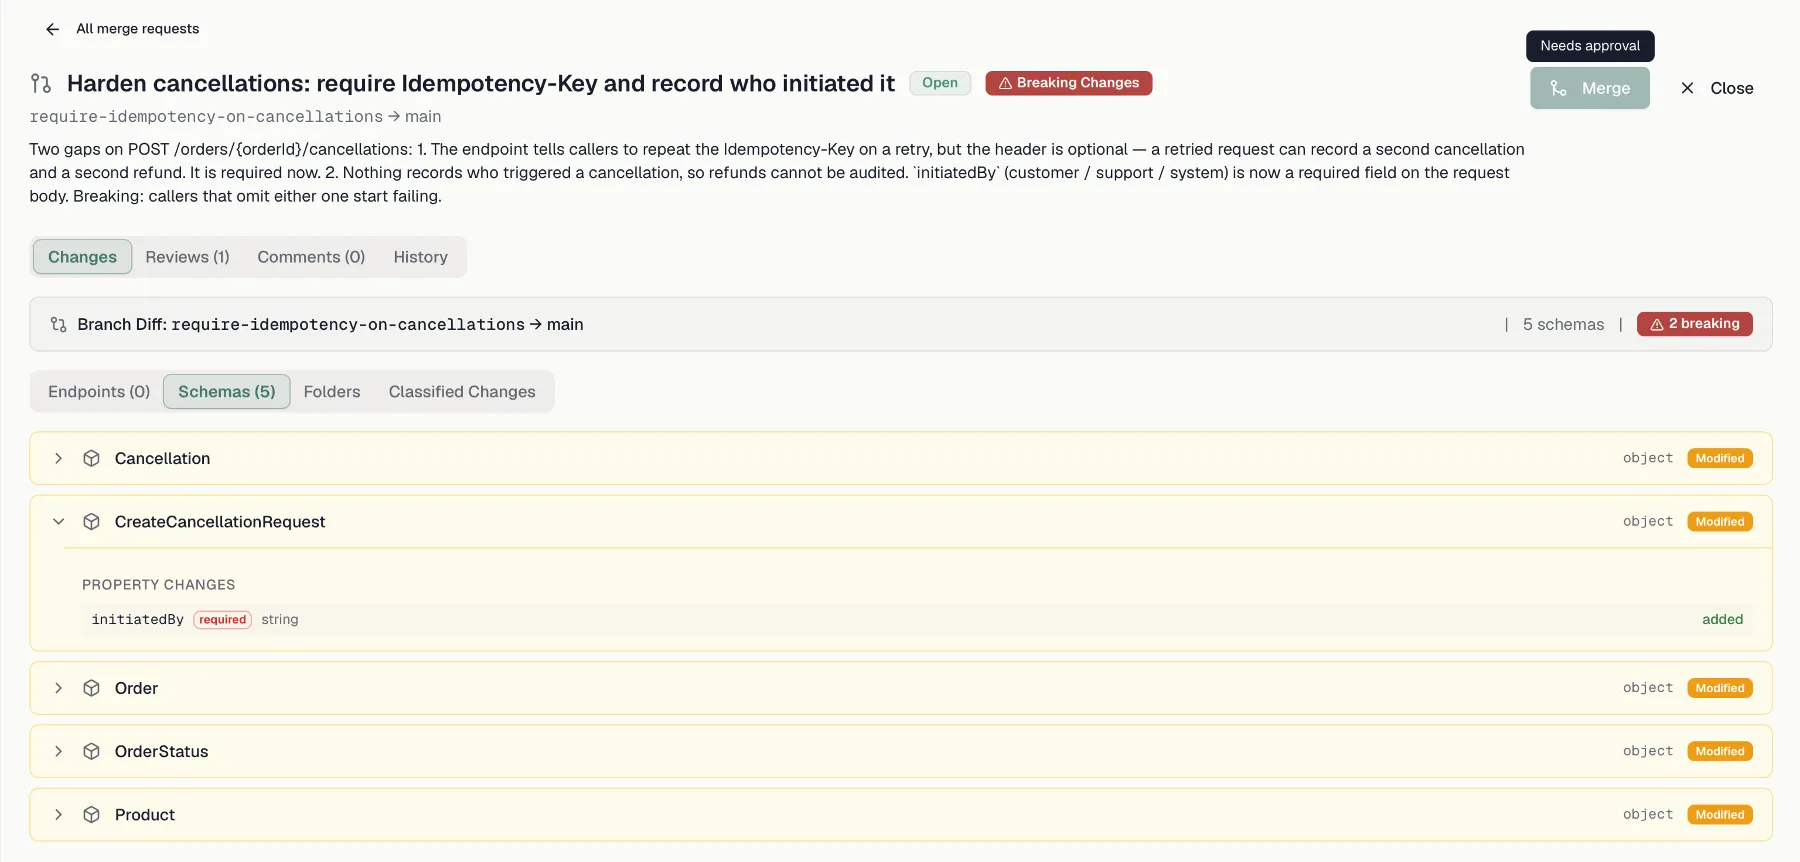
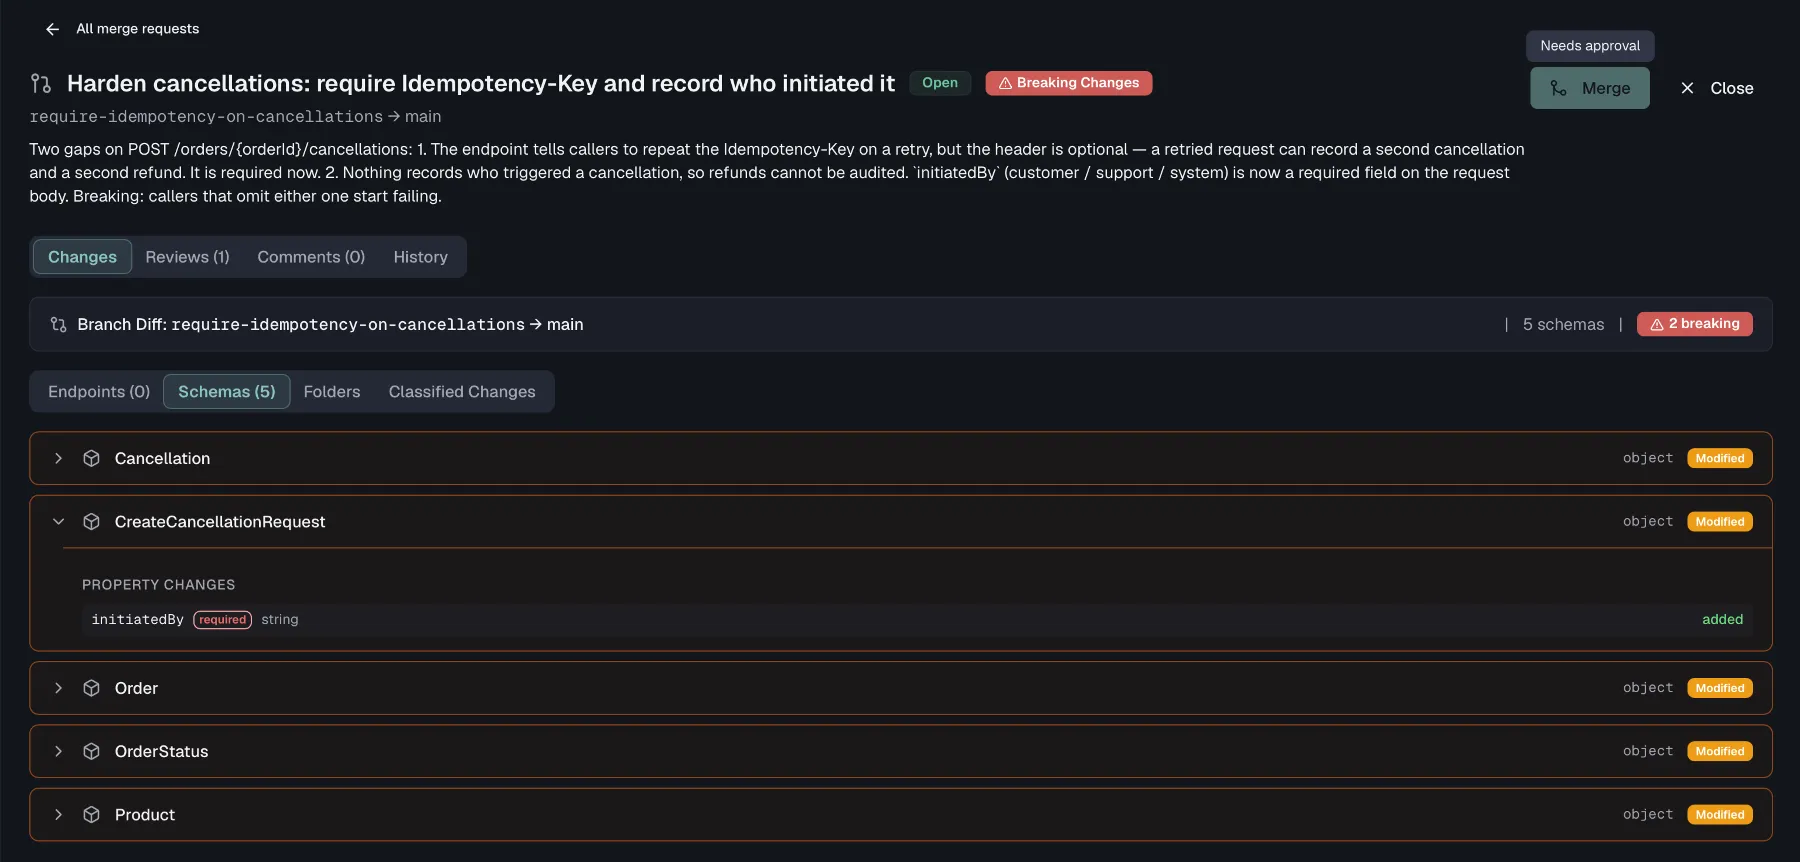 ## Merging
**Merge** is enabled once the merge request is *Approved*, and requires **specs:merge**. A confirmation dialog asks before anything is applied, and warns explicitly when the branch carries breaking changes.
Three conditions have to hold, and each produces a distinct message when it does not:
- The merge request is approved, or you get *"Only approved merge requests can be merged."*
- The branch is still active, or you get *"Only active branches can be merged."*
- The target version is still a **draft**, or you get *"Branches can only be merged into draft versions."* If the version was released while the branch was open, the merge has nowhere to go. Create a new version and rebase the branch onto it.
The merge itself re-runs the diff and applies every change the branch carries. Where main moved on in the meantime, the branch wins, because the merge does not stop to ask. Rebase before merging if that matters to you, since the rebase is what puts a decision in front of you. Applying the changes and marking the branch merged happens in one transaction, so a merge either lands completely or not at all.
Once merged, the author and every reviewer are notified, and the event is available to [webhooks](https://docs.routebase.dev/webhooks/).
## Merging
**Merge** is enabled once the merge request is *Approved*, and requires **specs:merge**. A confirmation dialog asks before anything is applied, and warns explicitly when the branch carries breaking changes.
Three conditions have to hold, and each produces a distinct message when it does not:
- The merge request is approved, or you get *"Only approved merge requests can be merged."*
- The branch is still active, or you get *"Only active branches can be merged."*
- The target version is still a **draft**, or you get *"Branches can only be merged into draft versions."* If the version was released while the branch was open, the merge has nowhere to go. Create a new version and rebase the branch onto it.
The merge itself re-runs the diff and applies every change the branch carries. Where main moved on in the meantime, the branch wins, because the merge does not stop to ask. Rebase before merging if that matters to you, since the rebase is what puts a decision in front of you. Applying the changes and marking the branch merged happens in one transaction, so a merge either lands completely or not at all.
Once merged, the author and every reviewer are notified, and the event is available to [webhooks](https://docs.routebase.dev/webhooks/).
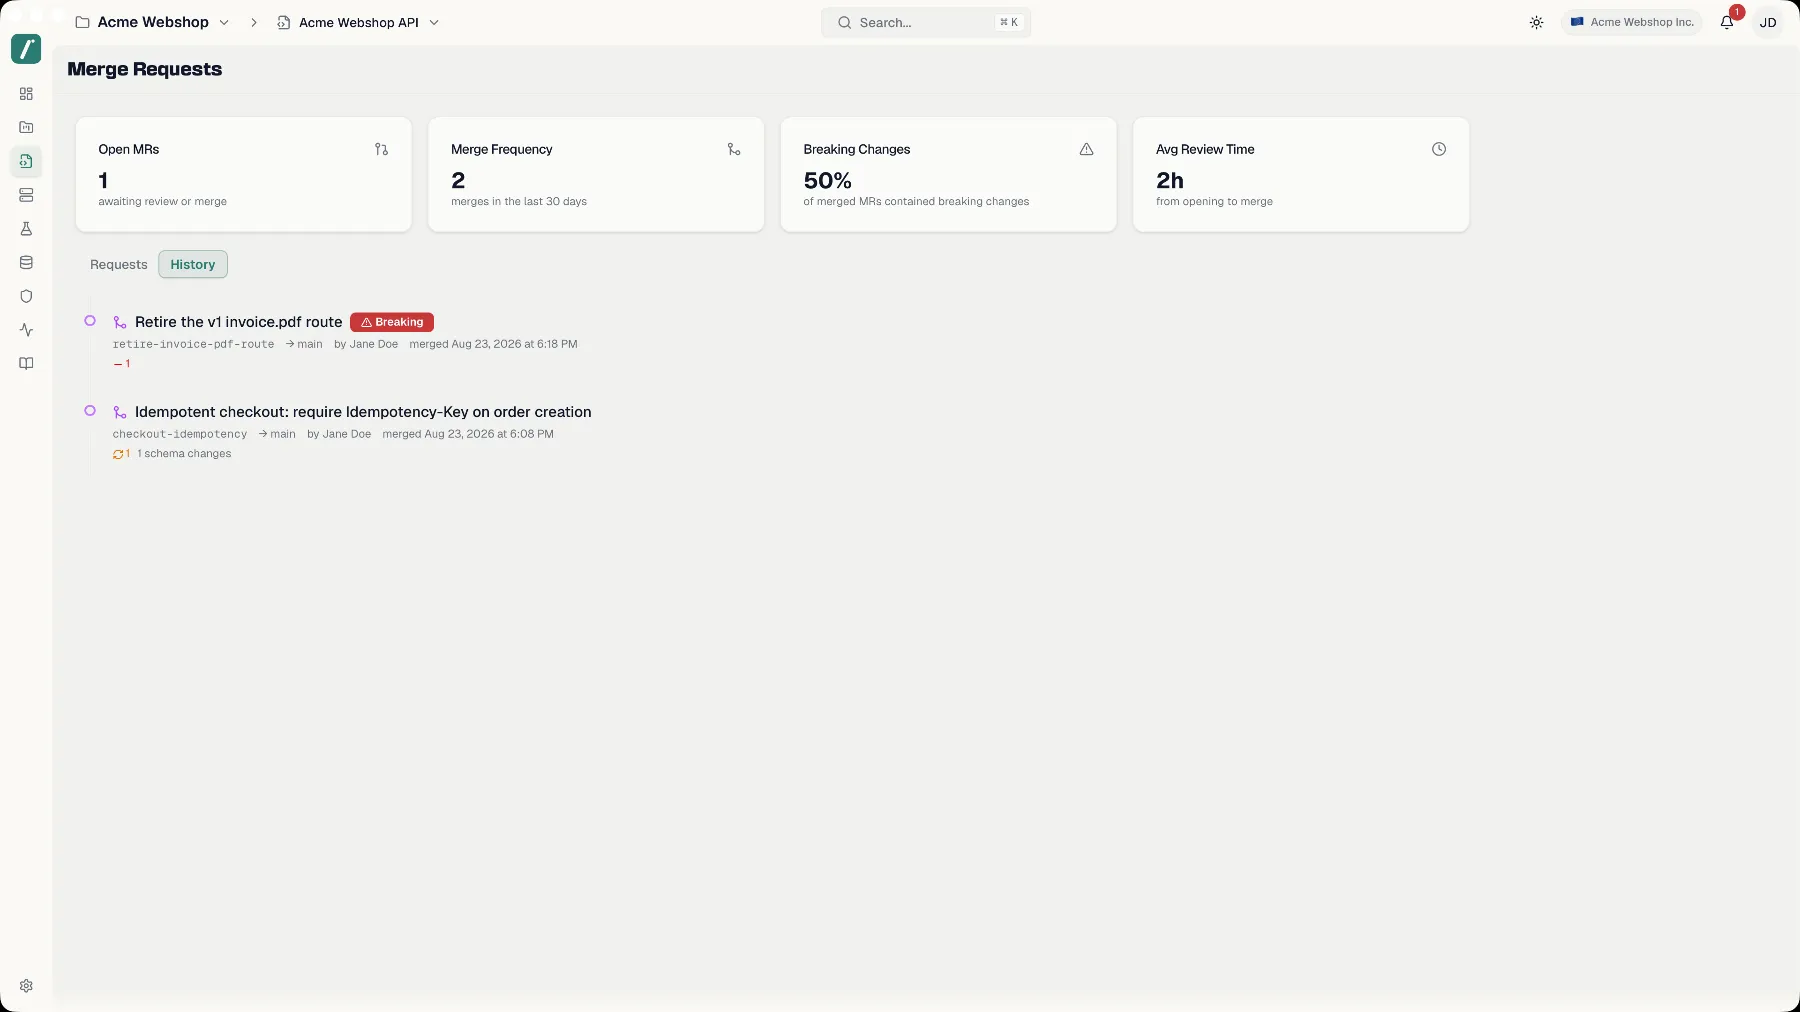
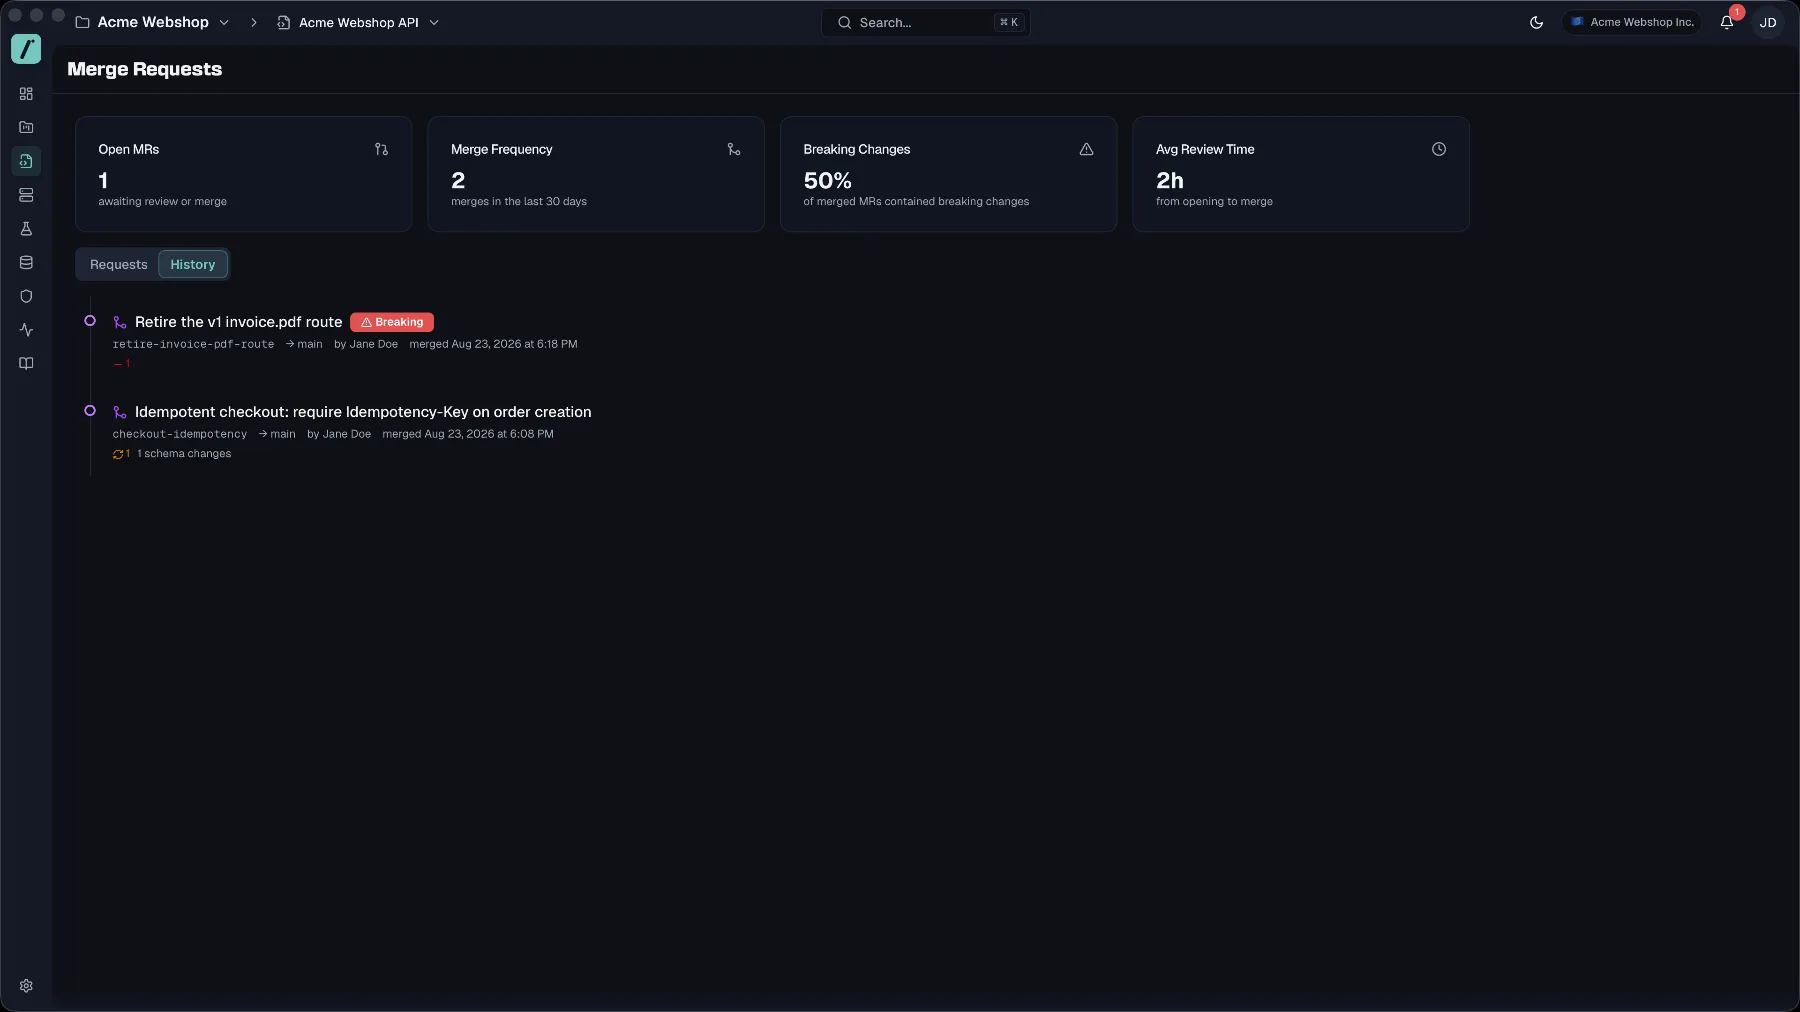 ## What a branch does not cover
Two limits are worth stating plainly, because both surprise people who expect Git semantics:
- **A branch belongs to one version of one spec.** You cannot merge across specs, and you cannot merge into a version other than the one you branched from.
- **A branch is not a release.** Merging puts your changes into the main *draft*. Making them official is still a release, as described under [Spec Versioning](https://docs.routebase.dev/versioning/).
---
## CLI in CI/CD
Source: https://docs.routebase.dev/cli-in-cicd/
Three commands cover the pipeline side of Routebase. `run` executes a test suite, `scan` runs a
security scan and gates the build on its findings, and `promote` records which spec version a
deployed environment is actually serving. All three set exit codes, so a pipeline can act on them
without parsing output.
This guide assumes the CLI is installed and configured, which
[CLI Overview](https://docs.routebase.dev/cli-overview/) covers. Note the region requirement there
if your organization is hosted in the US.
## Running a test suite
```bash
routebase run
## What a branch does not cover
Two limits are worth stating plainly, because both surprise people who expect Git semantics:
- **A branch belongs to one version of one spec.** You cannot merge across specs, and you cannot merge into a version other than the one you branched from.
- **A branch is not a release.** Merging puts your changes into the main *draft*. Making them official is still a release, as described under [Spec Versioning](https://docs.routebase.dev/versioning/).
---
## CLI in CI/CD
Source: https://docs.routebase.dev/cli-in-cicd/
Three commands cover the pipeline side of Routebase. `run` executes a test suite, `scan` runs a
security scan and gates the build on its findings, and `promote` records which spec version a
deployed environment is actually serving. All three set exit codes, so a pipeline can act on them
without parsing output.
This guide assumes the CLI is installed and configured, which
[CLI Overview](https://docs.routebase.dev/cli-overview/) covers. Note the region requirement there
if your organization is hosted in the US.
## Running a test suite
```bash
routebase run 
 ## Response components
A response component packages everything a response needs under a name like `NotFound` or `ValidationError`. That covers the description, content type, body as inline properties or a linked schema, headers, and example.
- **Create** one from the **Responses** subsection, or extract one from an existing endpoint response with **Extract to Component**, which re-links the endpoint to the new component automatically.
- **Use** it by dragging the component from the sidebar onto an endpoint's responses area. Dropping adds a response backed by the component, or replaces the one you drop it on. The response card then shows the component's badge, and clicking it jumps to the component editor.
- **Update** the component and every endpoint that references it reflects the change.
## Request body components
A request body component defines a **Content Type**, a **Required** flag, a description, and the body structure as inline properties or a linked schema. The content type is `application/json`, `application/xml`, or a form, text or binary type.
- **Create** one from the **Request Bodies** subsection, or extract from an endpoint with **Extract to Component** on the request body editor.
- **Use** it by dragging it onto an endpoint's request body area. The drop zone shows "Drop component here to link", or "Drop to replace with component" if a body already exists. The linked component appears as a badge on the endpoint.
## Media type components
OpenAPI 3.2 lets a specification define reusable media types under `components.mediaTypes`. A media type component holds the body **schema** as inline properties or a linked schema, the **item schema** of a sequential media type such as JSON Lines or Server-Sent Events, and an **example**. It carries no content type and no description, because the specification defines the Media Type Object without them, so the response or request body that uses the component keeps its own content type.
- **Create** one from the **Media Types** subsection, which appears once the specification is on version 3.2. The editor switches between **Schema** and **Item schema**, and both are kept.
- **Use** it from the content type row of a response, a request body, a response component or a request body component. The link icon opens a picker, the linked component appears as a badge, and the row's own schema and example become read-only while the link exists. The exported document writes the entry as a `$ref` to the component.
- **Unlink** with the badge's close button. The row keeps the schema, item schema and example it showed while the link existed, as its own copy, so nothing disappears from the endpoint.
## Parameter components
A parameter component captures a parameter definition, so recurring parameters like pagination or tenant headers have one source of truth. It holds a **Location** of Query, Path, Header or Cookie, plus **Schema Type**, **Format**, **Example Value**, **Default Value**, **Required** and **Deprecated**. Create them from the **Parameters** subsection. Specs imported from OpenAPI keep their `$ref` parameters as parameter components, and each component's **Used by** section lists the endpoints that reference it.
## Header components
Header components are reusable response-header definitions, carrying a name such as `X-Rate-Limit` plus a schema type, a required flag and a description. Link them from a response's headers table, or let [header policies](https://docs.routebase.dev/header-policies/) inject them across endpoints. Headers defined at the organization or project level in Settings appear here as inherited, read-only entries alongside your spec-level headers.
## Security schemes
Security scheme components describe how your API authenticates callers. Four types are supported, which are **HTTP**, **API Key**, **OAuth2** and **OpenID Connect**. Create a scheme such as `BearerAuth` from the **Security** subsection, then attach it to endpoints with the **Add** button next to the security badges in the endpoint editor header. Each endpoint lists its assigned schemes as removable badges.
An OAuth2 scheme carries its flows as a JSON object with the keys `authorizationCode`, `implicit`, `password` and `clientCredentials`. On an OpenAPI 3.2 specification the editor shows three more fields, because the specification introduced them in that version. A **Deprecated** switch marks a scheme of any type that consumers should stop using, and the component list and the endpoint badges show the mark. An **OAuth2 Metadata URL** points to the authorization server metadata document (RFC 8414). The flows object accepts a fifth key, `deviceAuthorization`, with `deviceAuthorizationUrl`, `tokenUrl` and `scopes` for the device authorization flow (RFC 8628). Saving any of the three on a 3.0 or 3.1 specification is rejected, so the exported document stays valid for its version.
### Assigning a scheme to many endpoints
Attaching `BearerAuth` to sixty endpoints one badge at a time is the kind of task people skip, and an endpoint nobody got around to securing looks exactly like one that is deliberately public. **Assign {scheme} to endpoints** does it in one step, with four ways to choose the targets:
## Response components
A response component packages everything a response needs under a name like `NotFound` or `ValidationError`. That covers the description, content type, body as inline properties or a linked schema, headers, and example.
- **Create** one from the **Responses** subsection, or extract one from an existing endpoint response with **Extract to Component**, which re-links the endpoint to the new component automatically.
- **Use** it by dragging the component from the sidebar onto an endpoint's responses area. Dropping adds a response backed by the component, or replaces the one you drop it on. The response card then shows the component's badge, and clicking it jumps to the component editor.
- **Update** the component and every endpoint that references it reflects the change.
## Request body components
A request body component defines a **Content Type**, a **Required** flag, a description, and the body structure as inline properties or a linked schema. The content type is `application/json`, `application/xml`, or a form, text or binary type.
- **Create** one from the **Request Bodies** subsection, or extract from an endpoint with **Extract to Component** on the request body editor.
- **Use** it by dragging it onto an endpoint's request body area. The drop zone shows "Drop component here to link", or "Drop to replace with component" if a body already exists. The linked component appears as a badge on the endpoint.
## Media type components
OpenAPI 3.2 lets a specification define reusable media types under `components.mediaTypes`. A media type component holds the body **schema** as inline properties or a linked schema, the **item schema** of a sequential media type such as JSON Lines or Server-Sent Events, and an **example**. It carries no content type and no description, because the specification defines the Media Type Object without them, so the response or request body that uses the component keeps its own content type.
- **Create** one from the **Media Types** subsection, which appears once the specification is on version 3.2. The editor switches between **Schema** and **Item schema**, and both are kept.
- **Use** it from the content type row of a response, a request body, a response component or a request body component. The link icon opens a picker, the linked component appears as a badge, and the row's own schema and example become read-only while the link exists. The exported document writes the entry as a `$ref` to the component.
- **Unlink** with the badge's close button. The row keeps the schema, item schema and example it showed while the link existed, as its own copy, so nothing disappears from the endpoint.
## Parameter components
A parameter component captures a parameter definition, so recurring parameters like pagination or tenant headers have one source of truth. It holds a **Location** of Query, Path, Header or Cookie, plus **Schema Type**, **Format**, **Example Value**, **Default Value**, **Required** and **Deprecated**. Create them from the **Parameters** subsection. Specs imported from OpenAPI keep their `$ref` parameters as parameter components, and each component's **Used by** section lists the endpoints that reference it.
## Header components
Header components are reusable response-header definitions, carrying a name such as `X-Rate-Limit` plus a schema type, a required flag and a description. Link them from a response's headers table, or let [header policies](https://docs.routebase.dev/header-policies/) inject them across endpoints. Headers defined at the organization or project level in Settings appear here as inherited, read-only entries alongside your spec-level headers.
## Security schemes
Security scheme components describe how your API authenticates callers. Four types are supported, which are **HTTP**, **API Key**, **OAuth2** and **OpenID Connect**. Create a scheme such as `BearerAuth` from the **Security** subsection, then attach it to endpoints with the **Add** button next to the security badges in the endpoint editor header. Each endpoint lists its assigned schemes as removable badges.
An OAuth2 scheme carries its flows as a JSON object with the keys `authorizationCode`, `implicit`, `password` and `clientCredentials`. On an OpenAPI 3.2 specification the editor shows three more fields, because the specification introduced them in that version. A **Deprecated** switch marks a scheme of any type that consumers should stop using, and the component list and the endpoint badges show the mark. An **OAuth2 Metadata URL** points to the authorization server metadata document (RFC 8414). The flows object accepts a fifth key, `deviceAuthorization`, with `deviceAuthorizationUrl`, `tokenUrl` and `scopes` for the device authorization flow (RFC 8628). Saving any of the three on a 3.0 or 3.1 specification is rejected, so the exported document stays valid for its version.
### Assigning a scheme to many endpoints
Attaching `BearerAuth` to sixty endpoints one badge at a time is the kind of task people skip, and an endpoint nobody got around to securing looks exactly like one that is deliberately public. **Assign {scheme} to endpoints** does it in one step, with four ways to choose the targets:
 | Scope | Targets |
| --- | --- |
| **All endpoints** | Everything in the specification. |
| **Folder** | One folder, which you pick from the list. |
| **Tag** | Everything carrying one tag. |
| **Manual** | Search and tick individual endpoints. |
Endpoints that already carry the scheme are marked **Already assigned** rather than silently skipped, and a preview shows what the assignment will touch before you confirm.
## Usage tracking and validation
Every component editor has a **Used by** section listing the endpoints that reference it, and clicking an entry jumps to that endpoint. In the sidebar, a link badge shows each component's reference count, and a colored status line surfaces validation errors and warnings. Components save automatically, just like endpoints.
## Deleting a component
Deleting a component is confirmed with a warning that endpoints referencing it will need to be updated. The deletion is not blocked, so check the **Used by** list first. Deleting cannot be undone.
## Seeing the whole project at once
Components live inside one specification, but the duplication you want to find usually happens *between* specifications, as with the same `Address` schema written three times because three teams needed it. The **project components** view answers that by listing endpoints and schemas across **every specification in the project**, with each row badged with the spec it belongs to.
Two tabs, each with its own filters:
| Tab | Filters |
| --- | --- |
| **Schemas** | **All**, **Duplicates**, **Unreferenced** |
| **Endpoints** | **All**, **Duplicates**, **Deprecated** |
**Duplicates** is the interesting one, and neither tab detects them by name:
- **Schemas** are grouped by their **structure**. `Address`, `PostalAddress` and `CustomerAddress` land in one group when their fields match, which is the case you would never find by searching. Each group can be promoted to the [shared library](https://docs.routebase.dev/shared-library/) in one step, turning three copies into one definition the specs reference.
- **Endpoints** are grouped by method and **normalized path**, where parameter names are ignored and duplicate and trailing slashes are collapsed. So `GET /items/{id}` and `GET /items/{itemId}` are the same endpoint, because the placeholder name is yours while the route is what callers see. Case is deliberately *not* normalized, because `/Users` and `/users` are different resources, so calling them duplicates would be wrong.
**Unreferenced** lists schemas nothing points at any more. They are the residue of refactorings, and the safest deletions you will ever make. The filter needs the usage counts to be loaded, so it stays disabled for a moment after opening the tab.
Filter by name, description, path or summary, and narrow to a single specification when a project has grown past the point where the full list is useful.
| Scope | Targets |
| --- | --- |
| **All endpoints** | Everything in the specification. |
| **Folder** | One folder, which you pick from the list. |
| **Tag** | Everything carrying one tag. |
| **Manual** | Search and tick individual endpoints. |
Endpoints that already carry the scheme are marked **Already assigned** rather than silently skipped, and a preview shows what the assignment will touch before you confirm.
## Usage tracking and validation
Every component editor has a **Used by** section listing the endpoints that reference it, and clicking an entry jumps to that endpoint. In the sidebar, a link badge shows each component's reference count, and a colored status line surfaces validation errors and warnings. Components save automatically, just like endpoints.
## Deleting a component
Deleting a component is confirmed with a warning that endpoints referencing it will need to be updated. The deletion is not blocked, so check the **Used by** list first. Deleting cannot be undone.
## Seeing the whole project at once
Components live inside one specification, but the duplication you want to find usually happens *between* specifications, as with the same `Address` schema written three times because three teams needed it. The **project components** view answers that by listing endpoints and schemas across **every specification in the project**, with each row badged with the spec it belongs to.
Two tabs, each with its own filters:
| Tab | Filters |
| --- | --- |
| **Schemas** | **All**, **Duplicates**, **Unreferenced** |
| **Endpoints** | **All**, **Duplicates**, **Deprecated** |
**Duplicates** is the interesting one, and neither tab detects them by name:
- **Schemas** are grouped by their **structure**. `Address`, `PostalAddress` and `CustomerAddress` land in one group when their fields match, which is the case you would never find by searching. Each group can be promoted to the [shared library](https://docs.routebase.dev/shared-library/) in one step, turning three copies into one definition the specs reference.
- **Endpoints** are grouped by method and **normalized path**, where parameter names are ignored and duplicate and trailing slashes are collapsed. So `GET /items/{id}` and `GET /items/{itemId}` are the same endpoint, because the placeholder name is yours while the route is what callers see. Case is deliberately *not* normalized, because `/Users` and `/users` are different resources, so calling them duplicates would be wrong.
**Unreferenced** lists schemas nothing points at any more. They are the residue of refactorings, and the safest deletions you will ever make. The filter needs the usage counts to be loaded, so it stays disabled for a moment after opening the tab.
Filter by name, description, path or summary, and narrow to a single specification when a project has grown past the point where the full list is useful.
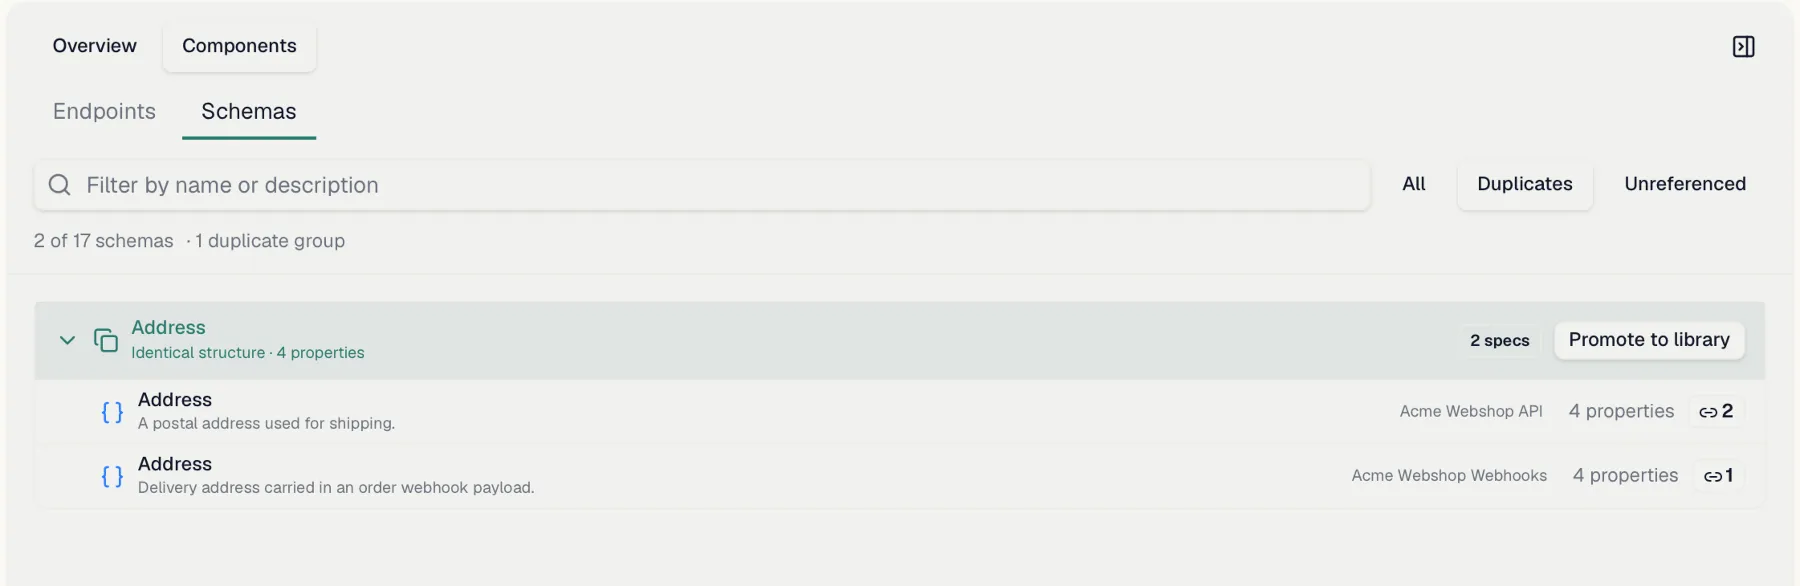
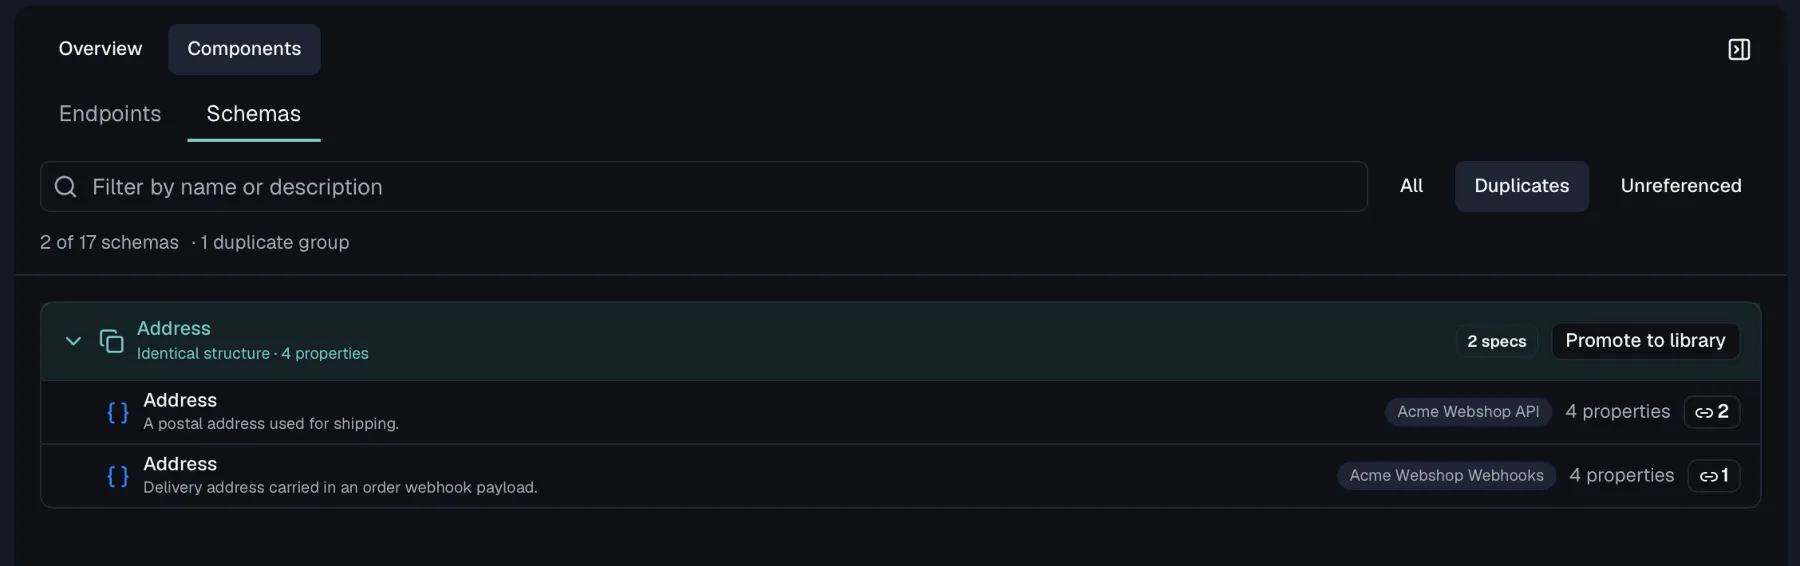 ## Shared library
Components that should be identical across projects, such as a company-wide error response or schema, live in the [shared library](https://docs.routebase.dev/shared-library/). Use **Promote to Library** on a schema or response component to publish it, and the **Shared** subsection's **+** button to link library components into a spec. Linked components carry an **Org** or **Project** badge and show a pulsing indicator when a newer library version is available, which you accept with one click. They can be unlinked at any time.
## Permissions
Creating and editing components requires **specs:write**, which the Member role includes. Deleting components requires **specs:delete**, and promoting to the library requires **specs:write**. The corresponding menu items are hidden without the permission. On a published, locked version all component editing is read-only.
## Related
- [Schemas](https://docs.routebase.dev/schemas/) — reusable data structures in depth
- [Responses](https://docs.routebase.dev/responses/) — where response components are used
- [Parameters](https://docs.routebase.dev/parameters/) — where parameter definitions are used
- [Header policies](https://docs.routebase.dev/header-policies/) — inject headers across endpoints
- [Shared library](https://docs.routebase.dev/shared-library/) — share components across projects
---
## Context & Session — MCP Tools
Source: https://docs.routebase.dev/context-session-mcp-tools/
The tools below belong to the **Context & Session** group of the Routebase MCP server.
## enable_toolset
Enable one or more toolsets for this session so their tools appear in tools/list. Pass a comma-separated list of toolset slugs (see list_toolsets). Sends a tools/list_changed notification; clients that ignore it can still call hidden tools directly.
_No special scope — available to any authenticated key._
| Parameter | Type | Required | Description |
| --- | --- | --- | --- |
| `names` | string | Yes | Comma-separated toolset slugs to enable, e.g. 'testing,mock-server' |
## get_session_usage
Return usage metrics for the current MCP session: total tool calls, error count, aggregate duration and response size, per-tool call counts, and session timestamps. Metrics are in-memory and reset when the server restarts or the session goes idle. Use this for what this session has spent; for which toolsets exist at all use list_toolsets.
_No special scope — available to any authenticated key._
_No parameters._
## list_organizations
List all organizations the authenticated user is a member of, including their role in each. Use this to find an organization id; to make one active use set_context.
_No special scope — available to any authenticated key._
_No parameters._
## list_projects
List all projects in the active organization. Use this to browse projects or find a project id; for one project in full use get_project. Requires organization context (call set_context first).
**Required scope:** `projects:read`
| Parameter | Type | Required | Description |
| --- | --- | --- | --- |
| `skip` | integer | No (default `0`) | Number of projects to skip (for pagination, default 0) |
| `take` | integer | No (default `50`) | Number of projects to return (default 50, max 100) |
## list_toolsets
List all toolsets (tool groups) with slug, tool count and whether they are visible in this session. Core toolsets are always visible; enable others with enable_toolset. Full-access API keys see every tool; scoped keys and OAuth sessions automatically see every tool their scopes or role allow. Hidden tools stay callable — enabling only affects what tools/list advertises.
_No special scope — available to any authenticated key._
_No parameters._
## set_context
Set the active organization and optionally a project for this session. Must be called before using any module-specific tools. Pass the organization's public ID (GUID) and optionally a project's public ID. Two areas are deliberately incomplete: billing and organization/access are read-only (an agent must not grant rights or trigger cost), and gateway, service catalog and AI assist have no tools at all while they are not generally available. Most toolsets start hidden — call list_toolsets to see them and enable_toolset to add them.
_No special scope — available to any authenticated key._
| Parameter | Type | Required | Description |
| --- | --- | --- | --- |
| `organizationId` | string | Yes | Public ID (GUID) of the organization to set as active context |
| `projectId` | string | No | Public ID (GUID) of the project to set as active context (optional) |
---
## Contract Drift
Source: https://docs.routebase.dev/contract-drift/
Contract drift is what happens between two deploys. Your specification still promises one thing, and production has quietly started returning another. Nothing is down, every check is green, and the mismatch only surfaces when a consumer breaks.
Routebase watches for it continuously. Every monitor check that gets a response validates that response against the contract its environment is supposed to be serving. A deviation that keeps showing up becomes a **drift event**, which is a record with a first-seen date, an observation count, and a lifecycle you can acknowledge and close.
```mermaid
sequenceDiagram
participant M as Monitor check
participant A as Your API
participant C as The contract
participant D as Drift event
Note over C: the version the environment pins —
## Shared library
Components that should be identical across projects, such as a company-wide error response or schema, live in the [shared library](https://docs.routebase.dev/shared-library/). Use **Promote to Library** on a schema or response component to publish it, and the **Shared** subsection's **+** button to link library components into a spec. Linked components carry an **Org** or **Project** badge and show a pulsing indicator when a newer library version is available, which you accept with one click. They can be unlinked at any time.
## Permissions
Creating and editing components requires **specs:write**, which the Member role includes. Deleting components requires **specs:delete**, and promoting to the library requires **specs:write**. The corresponding menu items are hidden without the permission. On a published, locked version all component editing is read-only.
## Related
- [Schemas](https://docs.routebase.dev/schemas/) — reusable data structures in depth
- [Responses](https://docs.routebase.dev/responses/) — where response components are used
- [Parameters](https://docs.routebase.dev/parameters/) — where parameter definitions are used
- [Header policies](https://docs.routebase.dev/header-policies/) — inject headers across endpoints
- [Shared library](https://docs.routebase.dev/shared-library/) — share components across projects
---
## Context & Session — MCP Tools
Source: https://docs.routebase.dev/context-session-mcp-tools/
The tools below belong to the **Context & Session** group of the Routebase MCP server.
## enable_toolset
Enable one or more toolsets for this session so their tools appear in tools/list. Pass a comma-separated list of toolset slugs (see list_toolsets). Sends a tools/list_changed notification; clients that ignore it can still call hidden tools directly.
_No special scope — available to any authenticated key._
| Parameter | Type | Required | Description |
| --- | --- | --- | --- |
| `names` | string | Yes | Comma-separated toolset slugs to enable, e.g. 'testing,mock-server' |
## get_session_usage
Return usage metrics for the current MCP session: total tool calls, error count, aggregate duration and response size, per-tool call counts, and session timestamps. Metrics are in-memory and reset when the server restarts or the session goes idle. Use this for what this session has spent; for which toolsets exist at all use list_toolsets.
_No special scope — available to any authenticated key._
_No parameters._
## list_organizations
List all organizations the authenticated user is a member of, including their role in each. Use this to find an organization id; to make one active use set_context.
_No special scope — available to any authenticated key._
_No parameters._
## list_projects
List all projects in the active organization. Use this to browse projects or find a project id; for one project in full use get_project. Requires organization context (call set_context first).
**Required scope:** `projects:read`
| Parameter | Type | Required | Description |
| --- | --- | --- | --- |
| `skip` | integer | No (default `0`) | Number of projects to skip (for pagination, default 0) |
| `take` | integer | No (default `50`) | Number of projects to return (default 50, max 100) |
## list_toolsets
List all toolsets (tool groups) with slug, tool count and whether they are visible in this session. Core toolsets are always visible; enable others with enable_toolset. Full-access API keys see every tool; scoped keys and OAuth sessions automatically see every tool their scopes or role allow. Hidden tools stay callable — enabling only affects what tools/list advertises.
_No special scope — available to any authenticated key._
_No parameters._
## set_context
Set the active organization and optionally a project for this session. Must be called before using any module-specific tools. Pass the organization's public ID (GUID) and optionally a project's public ID. Two areas are deliberately incomplete: billing and organization/access are read-only (an agent must not grant rights or trigger cost), and gateway, service catalog and AI assist have no tools at all while they are not generally available. Most toolsets start hidden — call list_toolsets to see them and enable_toolset to add them.
_No special scope — available to any authenticated key._
| Parameter | Type | Required | Description |
| --- | --- | --- | --- |
| `organizationId` | string | Yes | Public ID (GUID) of the organization to set as active context |
| `projectId` | string | No | Public ID (GUID) of the project to set as active context (optional) |
---
## Contract Drift
Source: https://docs.routebase.dev/contract-drift/
Contract drift is what happens between two deploys. Your specification still promises one thing, and production has quietly started returning another. Nothing is down, every check is green, and the mismatch only surfaces when a consumer breaks.
Routebase watches for it continuously. Every monitor check that gets a response validates that response against the contract its environment is supposed to be serving. A deviation that keeps showing up becomes a **drift event**, which is a record with a first-seen date, an observation count, and a lifecycle you can acknowledge and close.
```mermaid
sequenceDiagram
participant M as Monitor check
participant A as Your API
participant C as The contract
participant D as Drift event
Note over C: the version the environment pins —or the latest published one, if nothing is pinned M->>A: a request, on its schedule A-->>M: 200, with a body M->>C: validate the body against it alt the body matches C-->>M: no deviation M->>D: an open event resolves itself else the body deviates C-->>M: the deviating field paths M->>D: first sighting opens an event,
later ones raise its count end ``` This guide covers the project-wide drift surface, which means switching drift watching on for a whole API, reading the **Contract Drift** page, and the triage detail behind a single event. For the per-monitor mechanics, see [Schema Drift](https://docs.routebase.dev/schema-drift/). That guide explains how a monitor gets a schema, what **Warn** and **Strict** do, and which change types exist. ## Watch a whole API for drift The turnkey path configures every endpoint of one spec in one environment at once, instead of setting up monitors endpoint by endpoint. It sits behind a single dialog called **Watch this API for drift**, which you reach from two places: - In the **API Designer**, open the spec, then the toolbar's **⋯** menu labelled *More actions* and choose **Watch for drift**. The entry only appears with the **monitoring:write** permission. - Under **Monitoring → Contract Drift**, the page's empty state offers the same dialog through its **Watch for drift** button while nothing in the project is watched yet. | Field | Notes | | --- | --- | | **API specification** | Shown only when the dialog is opened without a spec context — from the Designer the current spec is already set. | | **Environment** | Environments without a base URL are listed but disabled: monitors need somewhere to send the request. | | **Validation mode** | **Warn** — drift is recorded and alerted, checks stay green. **Strict** — breaking drift fails the check and can open [incidents](https://docs.routebase.dev/incidents/). | | **Alert sharpness** | **Breaking changes only** (recommended) — missing fields and type changes. **Any contract deviation** — also unexpected extra fields, which is noisier. See [Alerting on drift](#alerting-on-drift). | Before you commit, the dialog names the contract these monitors will check against. It reads *"Will validate against 2.1.0 — the version this environment is pinned to"*, or it notes that nothing is pinned and validation will follow the latest published version. It also previews the scope, so you see how many endpoints will be watched and how many already have a monitor that will be updated. The spec needs at least one published version. Without one the dialog refuses with *"This specification has no published version yet. Publish it first to enable drift watch."*
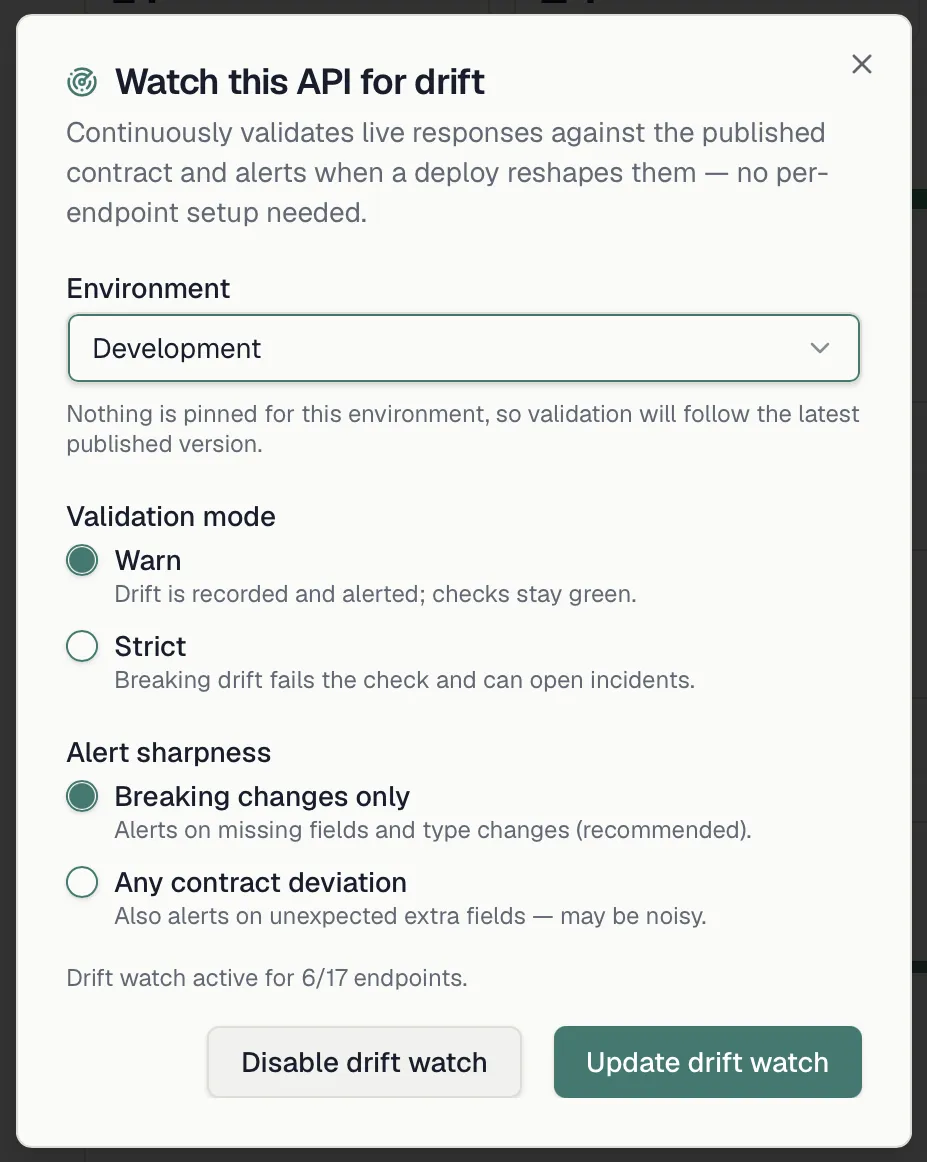
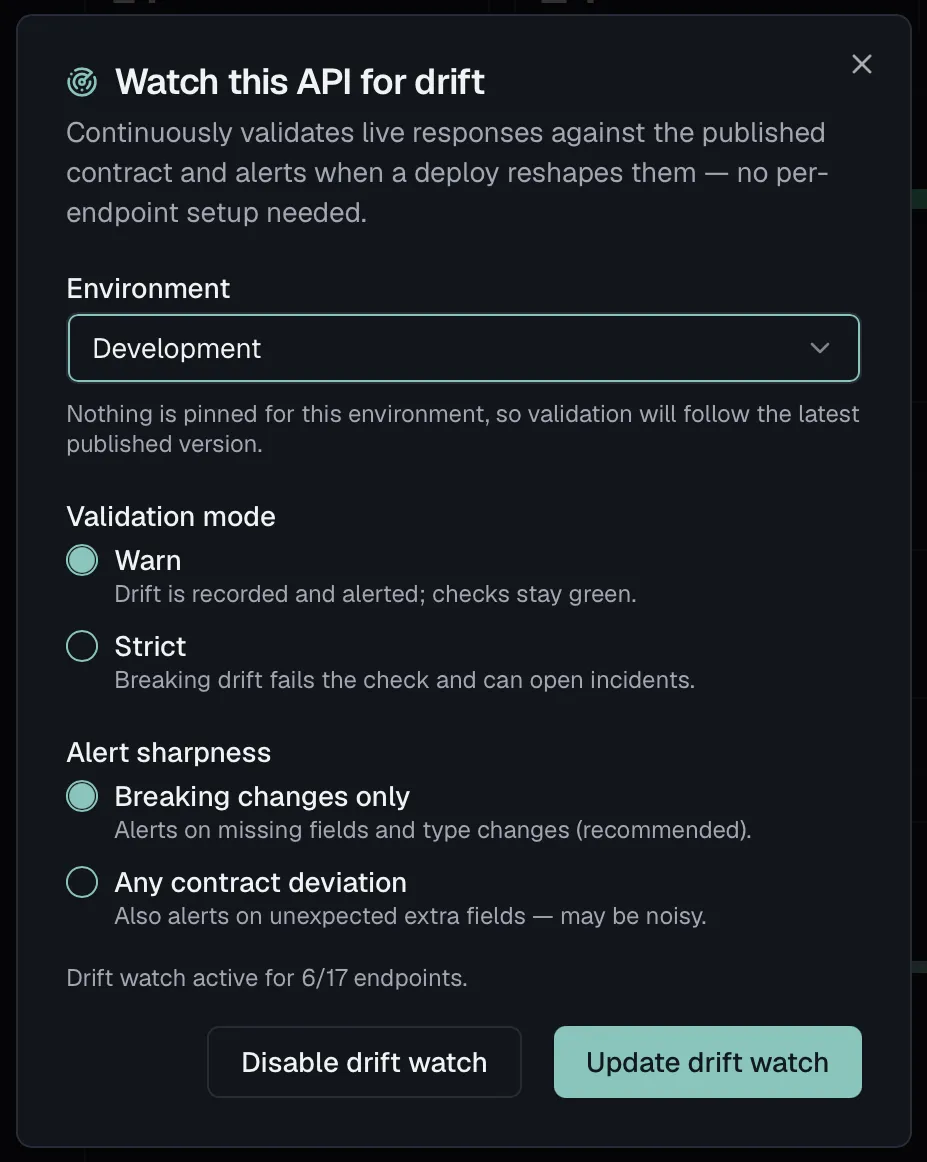 ### What enabling it does
**Enable drift watch** provisions an endpoint-linked monitor with schema validation for every endpoint of the spec, in the selected environment. It is idempotent, because existing monitors are reused and updated rather than duplicated, so you can re-run it after adding endpoints and only the gaps get filled. The result panel reports how many monitors were **created**, **updated** and **skipped** against the endpoint total, plus any warnings.
One line in that result deserves attention, and it reads **waiting for a path parameter value**. A monitor whose target URL still contains an unresolved `{id}` has nothing meaningful to request, so it runs no checks and can report no drift. Those monitors are named separately rather than folded into the counts, and they start checking on their own once the placeholder resolves. See [Monitor states](https://docs.routebase.dev/monitoring-overview/) for the full list.
If no Slack or Microsoft Teams channel is connected yet, the result panel offers a shortcut to set one up. See [Messaging](https://docs.routebase.dev/messaging/).
### Turning it off again
Re-opening the dialog for a spec that is already watched turns the primary button into **Update drift watch** and adds **Disable drift watch**.
Disabling sets schema validation to **Off** on that spec's endpoint-linked monitors in that environment. The monitors are deliberately **not** deleted, so they keep running as plain uptime checks and your uptime history stays intact. A **Contract Drift Watch** policy stays as well if one was created, because without validation results its drift rule can never fire, and it still carries the downtime rule described under [Alerting on drift](#alerting-on-drift).
## Which contract a check is compared against
A monitor validates against the contract its environment is **expected** to fulfil, which is the version that environment is pinned to. See [environments](https://docs.routebase.dev/environments/) for how pinning works. Where nothing is pinned, which happens with an unpinned environment or a monitor pointed at a raw URL, validation falls back to the spec's latest published version.
Every drift record names its baseline, so history stays honest when the pin later moves:
| Label | Meaning |
| --- | --- |
| *checked against 2.1.0 (environment pin)* | The environment pins that version. A snowflake marks a frozen version whose contract can no longer change. |
| *checked against 2.1.0 (latest published)* | Nothing is pinned, so validation follows whatever gets published next. |
| *Validated against 2.0.0 (environment pin) · 2.1.0 is published* | Amber warning on the monitor's detail page: the pin has fallen behind. The monitor keeps checking the old contract, and drift against the newer one stays invisible until you re-pin — a **Re-pin** button next to it does that. |
## The Contract Drift page
**Monitoring → Contract Drift** answers what is drifting in this project. Its sidebar entry carries an amber badge with the number of endpoints whose drift nobody has picked up yet. Acknowledged events stop counting, which is what makes acknowledging worth anything.
Three figures head the page:
- **Drifting endpoints** reads *N of M watched*. A watched monitor is one that could report drift at all, meaning it is linked to an endpoint, has validation on, and is not parked on an unresolved path parameter.
- **Error severity** and **Warning severity** give the deviation totals across all unresolved events.
Four filters narrow the list. Minimum **severity** offers all, error only, or warning and above. **Environment** appears once monitors are grouped into environments. **Status** and a **lookback** period complete the set.
Status and lookback work together in a way worth knowing. **Still drifting** is the default and hides resolved events entirely. Switch to **Including resolved** and the lookback appears, offering 24 hours, 7 days or 30 days, and it bounds the *resolved* history only. Open and acknowledged events are always shown however old they are, because a drift that has been running for six weeks is exactly the one you must not hide behind a time filter.
Results are grouped **per endpoint**, showing method, path and the specification it belongs to, whose name opens that spec in the API Designer. Underneath sits one row per monitor that saw it, since the same endpoint is usually watched in several environments. Each row shows the environment, *first seen*, *last*, how many checks have observed it, the status and severity badges, the baseline, and the deviations themselves.
### What enabling it does
**Enable drift watch** provisions an endpoint-linked monitor with schema validation for every endpoint of the spec, in the selected environment. It is idempotent, because existing monitors are reused and updated rather than duplicated, so you can re-run it after adding endpoints and only the gaps get filled. The result panel reports how many monitors were **created**, **updated** and **skipped** against the endpoint total, plus any warnings.
One line in that result deserves attention, and it reads **waiting for a path parameter value**. A monitor whose target URL still contains an unresolved `{id}` has nothing meaningful to request, so it runs no checks and can report no drift. Those monitors are named separately rather than folded into the counts, and they start checking on their own once the placeholder resolves. See [Monitor states](https://docs.routebase.dev/monitoring-overview/) for the full list.
If no Slack or Microsoft Teams channel is connected yet, the result panel offers a shortcut to set one up. See [Messaging](https://docs.routebase.dev/messaging/).
### Turning it off again
Re-opening the dialog for a spec that is already watched turns the primary button into **Update drift watch** and adds **Disable drift watch**.
Disabling sets schema validation to **Off** on that spec's endpoint-linked monitors in that environment. The monitors are deliberately **not** deleted, so they keep running as plain uptime checks and your uptime history stays intact. A **Contract Drift Watch** policy stays as well if one was created, because without validation results its drift rule can never fire, and it still carries the downtime rule described under [Alerting on drift](#alerting-on-drift).
## Which contract a check is compared against
A monitor validates against the contract its environment is **expected** to fulfil, which is the version that environment is pinned to. See [environments](https://docs.routebase.dev/environments/) for how pinning works. Where nothing is pinned, which happens with an unpinned environment or a monitor pointed at a raw URL, validation falls back to the spec's latest published version.
Every drift record names its baseline, so history stays honest when the pin later moves:
| Label | Meaning |
| --- | --- |
| *checked against 2.1.0 (environment pin)* | The environment pins that version. A snowflake marks a frozen version whose contract can no longer change. |
| *checked against 2.1.0 (latest published)* | Nothing is pinned, so validation follows whatever gets published next. |
| *Validated against 2.0.0 (environment pin) · 2.1.0 is published* | Amber warning on the monitor's detail page: the pin has fallen behind. The monitor keeps checking the old contract, and drift against the newer one stays invisible until you re-pin — a **Re-pin** button next to it does that. |
## The Contract Drift page
**Monitoring → Contract Drift** answers what is drifting in this project. Its sidebar entry carries an amber badge with the number of endpoints whose drift nobody has picked up yet. Acknowledged events stop counting, which is what makes acknowledging worth anything.
Three figures head the page:
- **Drifting endpoints** reads *N of M watched*. A watched monitor is one that could report drift at all, meaning it is linked to an endpoint, has validation on, and is not parked on an unresolved path parameter.
- **Error severity** and **Warning severity** give the deviation totals across all unresolved events.
Four filters narrow the list. Minimum **severity** offers all, error only, or warning and above. **Environment** appears once monitors are grouped into environments. **Status** and a **lookback** period complete the set.
Status and lookback work together in a way worth knowing. **Still drifting** is the default and hides resolved events entirely. Switch to **Including resolved** and the lookback appears, offering 24 hours, 7 days or 30 days, and it bounds the *resolved* history only. Open and acknowledged events are always shown however old they are, because a drift that has been running for six weeks is exactly the one you must not hide behind a time filter.
Results are grouped **per endpoint**, showing method, path and the specification it belongs to, whose name opens that spec in the API Designer. Underneath sits one row per monitor that saw it, since the same endpoint is usually watched in several environments. Each row shows the environment, *first seen*, *last*, how many checks have observed it, the status and severity badges, the baseline, and the deviations themselves.
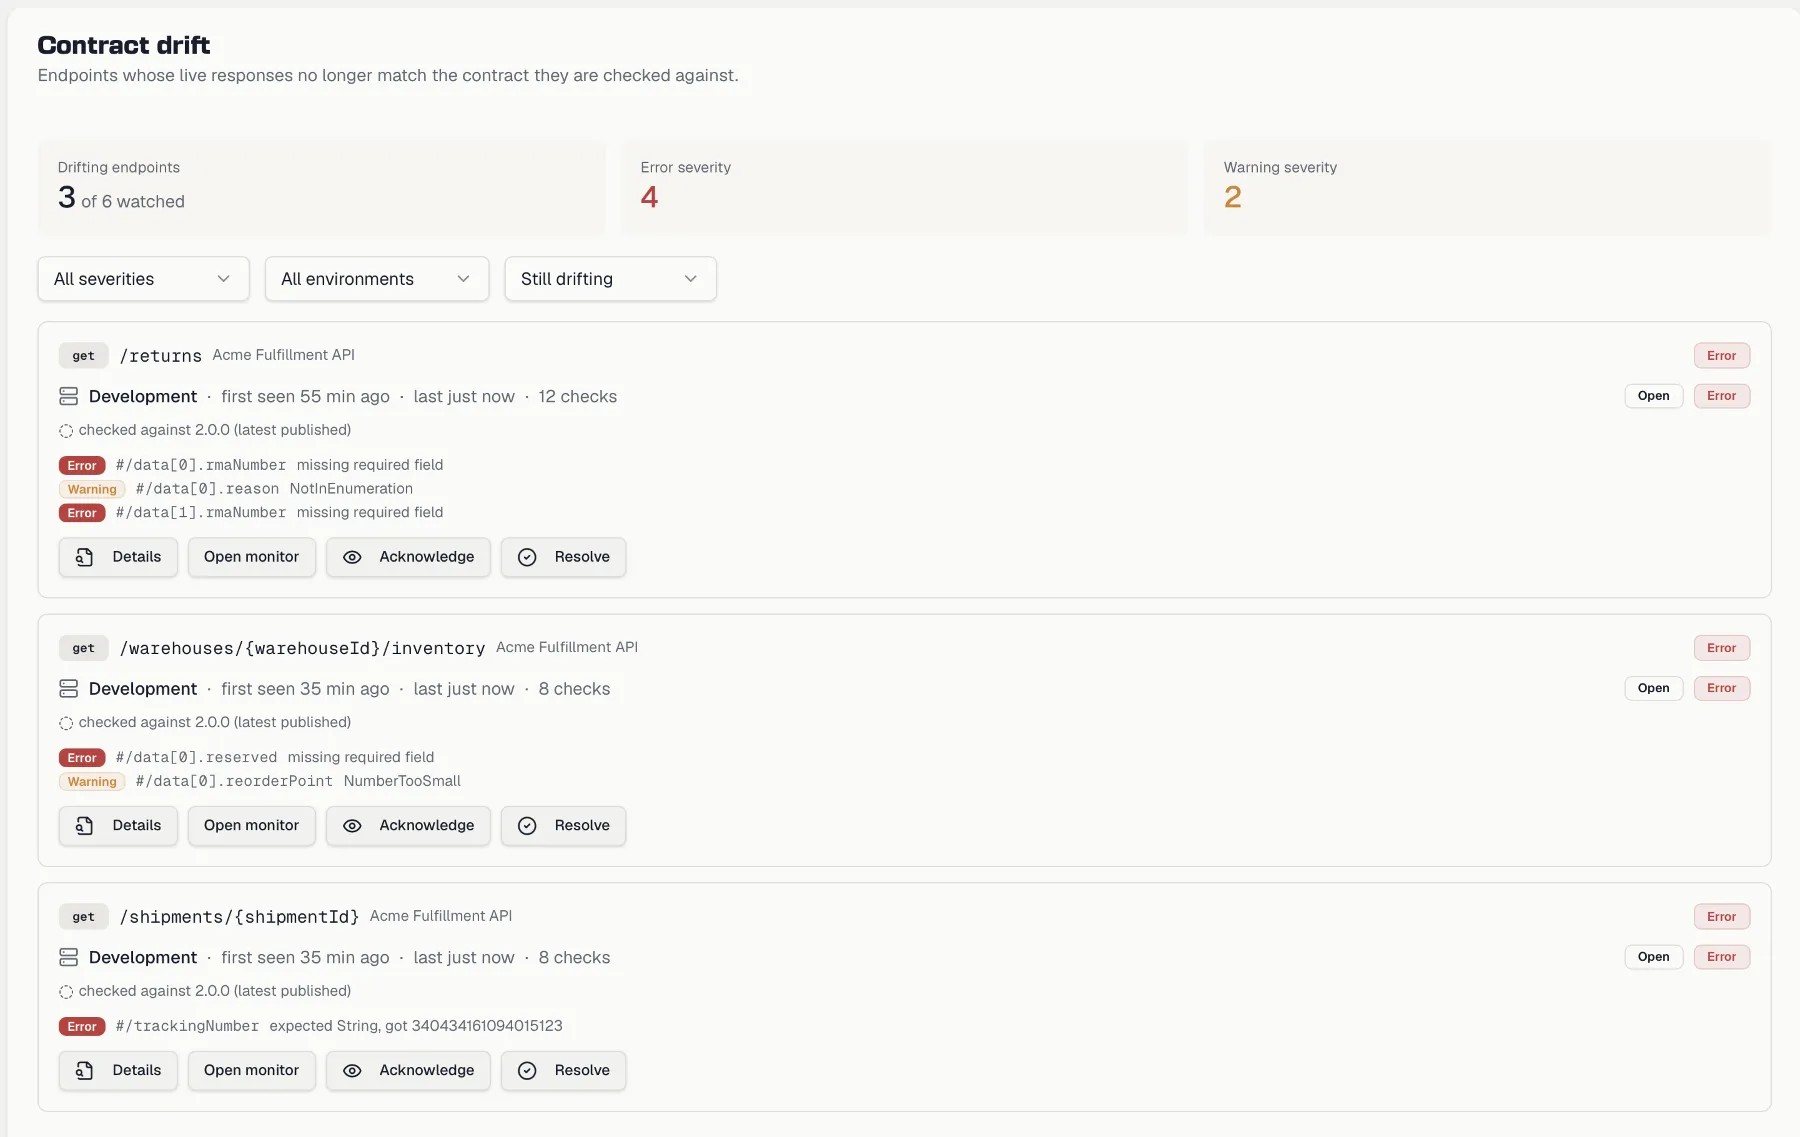
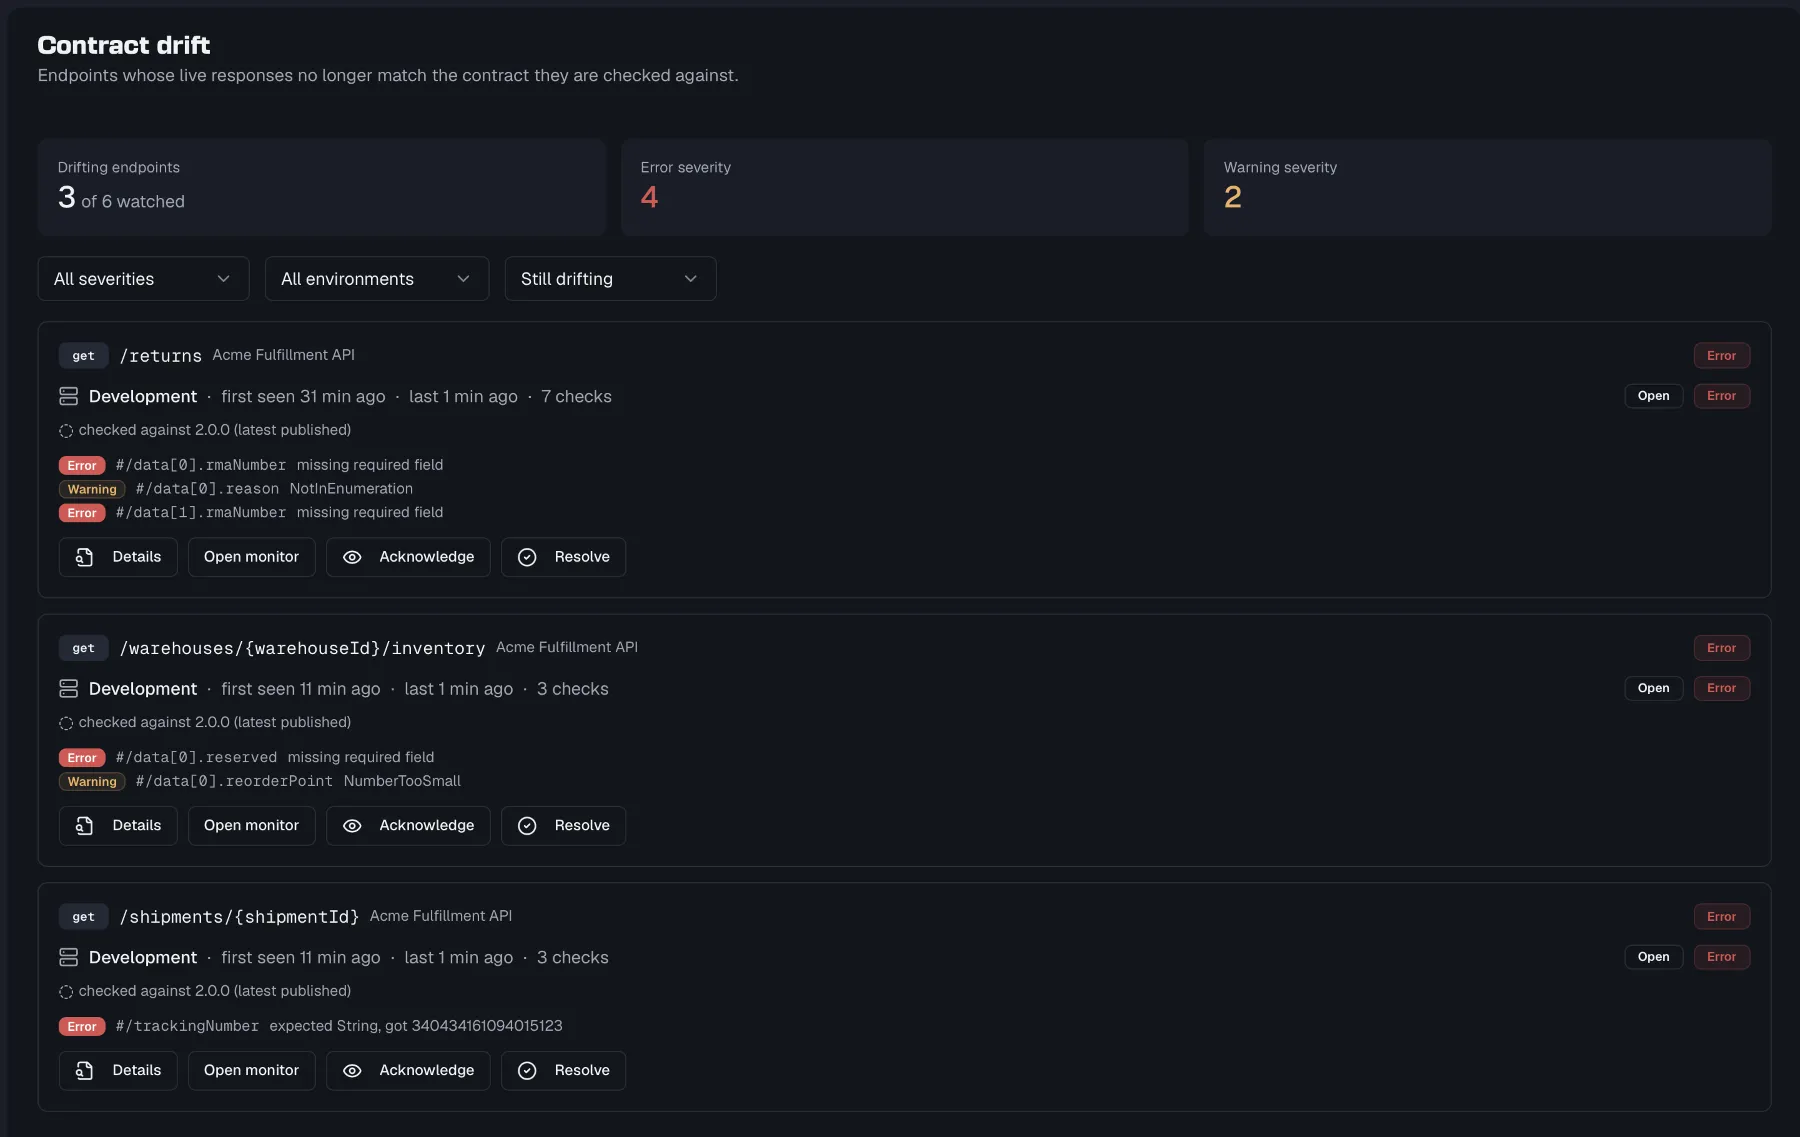 Three different empty states are on purpose, because they call for opposite actions:
| What you see | What it means |
| --- | --- |
| *No endpoint is being watched for drift* | Nothing is configured yet. This is the state that comes with the **Watch for drift** button. |
| *No contract check has run yet* | Endpoints are watched, but their checks are not getting a successful response, so nothing has been compared to a contract. It links to the monitors page. |
| *No contract drift detected* | *All N checked endpoints match their contract on the latest check.* This is the only one of the three that is actually good news. |
## The lifecycle of a drift event
A drift event is a run of the *same* deviations on one monitor. Its identity is the monitor plus the set of deviating field paths, so if a later deploy changes *which* fields deviate, that is a new event rather than a silent extension of the old one.
| Status | Meaning |
| --- | --- |
| **Open** | Seen, nobody has taken it on. Counts towards the sidebar badge. |
| **Acknowledged** | Someone owns it. Further sightings do not reset this, and the event keeps counting checks while staying acknowledged. |
| **Resolved** | Closed, either by a person or by the endpoint itself. |
Two things are recorded rather than inferred. **First seen** is set once and never moves, so re-opening a resolved event keeps the original date and "drifting since Tuesday" does not reset every time someone closes it. The **observation count** is the honest answer to how confident you should be, because a deviation seen on 69 checks across two days is a deploy while one seen once is a blip. There is deliberately no confidence score.
Events also close themselves. When a later check finds the endpoint matching its contract again, the event is resolved automatically and the row says *"Recovered on its own — a later check matched the contract again."* The same happens to an event whose deviations are no longer among what the check sees, even if the endpoint still drifts in some other way, because otherwise it would stay open forever.
With **monitoring:write** you can **Acknowledge**, **Resolve** and **Re-open** an event, from the list row or from the detail sheet, where an optional note can be attached to the change.
A drift event is deliberately *not* an [incident](https://docs.routebase.dev/incidents/). A drifting endpoint still answers with a `200`, and counting that against uptime would hollow out the number you publish to your customers. The exception is a monitor in **Strict** mode, where error-severity drift fails the check itself. Those failures count like any other and can open an incident.
## The drift detail
**Details** on any row opens a sheet with everything triage needs.
- **How persistent it is** reads *Seen on 34 checks*, with first-seen and last-seen timestamps.
- **The baseline** names what it was checked against.
- **Contract changes** gives one row per deviation, in four columns because those are the four questions. **Field** is the path in the response, **Change** is one of missing required field, type mismatch, extra field or format mismatch, and **Expected** and **Received** hold the two values. A field the response did not carry at all reads *not present* rather than `null`, because absent and explicitly null are different bugs and naming the wrong one sends the triage in the wrong direction.
- **Open in API Designer** jumps straight to that endpoint in the spec, so you can compare against what the contract says or change it.
- **Open monitor** goes to the monitor's detail page with its check history.
Three different empty states are on purpose, because they call for opposite actions:
| What you see | What it means |
| --- | --- |
| *No endpoint is being watched for drift* | Nothing is configured yet. This is the state that comes with the **Watch for drift** button. |
| *No contract check has run yet* | Endpoints are watched, but their checks are not getting a successful response, so nothing has been compared to a contract. It links to the monitors page. |
| *No contract drift detected* | *All N checked endpoints match their contract on the latest check.* This is the only one of the three that is actually good news. |
## The lifecycle of a drift event
A drift event is a run of the *same* deviations on one monitor. Its identity is the monitor plus the set of deviating field paths, so if a later deploy changes *which* fields deviate, that is a new event rather than a silent extension of the old one.
| Status | Meaning |
| --- | --- |
| **Open** | Seen, nobody has taken it on. Counts towards the sidebar badge. |
| **Acknowledged** | Someone owns it. Further sightings do not reset this, and the event keeps counting checks while staying acknowledged. |
| **Resolved** | Closed, either by a person or by the endpoint itself. |
Two things are recorded rather than inferred. **First seen** is set once and never moves, so re-opening a resolved event keeps the original date and "drifting since Tuesday" does not reset every time someone closes it. The **observation count** is the honest answer to how confident you should be, because a deviation seen on 69 checks across two days is a deploy while one seen once is a blip. There is deliberately no confidence score.
Events also close themselves. When a later check finds the endpoint matching its contract again, the event is resolved automatically and the row says *"Recovered on its own — a later check matched the contract again."* The same happens to an event whose deviations are no longer among what the check sees, even if the endpoint still drifts in some other way, because otherwise it would stay open forever.
With **monitoring:write** you can **Acknowledge**, **Resolve** and **Re-open** an event, from the list row or from the detail sheet, where an optional note can be attached to the change.
A drift event is deliberately *not* an [incident](https://docs.routebase.dev/incidents/). A drifting endpoint still answers with a `200`, and counting that against uptime would hollow out the number you publish to your customers. The exception is a monitor in **Strict** mode, where error-severity drift fails the check itself. Those failures count like any other and can open an incident.
## The drift detail
**Details** on any row opens a sheet with everything triage needs.
- **How persistent it is** reads *Seen on 34 checks*, with first-seen and last-seen timestamps.
- **The baseline** names what it was checked against.
- **Contract changes** gives one row per deviation, in four columns because those are the four questions. **Field** is the path in the response, **Change** is one of missing required field, type mismatch, extra field or format mismatch, and **Expected** and **Received** hold the two values. A field the response did not carry at all reads *not present* rather than `null`, because absent and explicitly null are different bugs and naming the wrong one sends the triage in the wrong direction.
- **Open in API Designer** jumps straight to that endpoint in the spec, so you can compare against what the contract says or change it.
- **Open monitor** goes to the monitor's detail page with its check history.
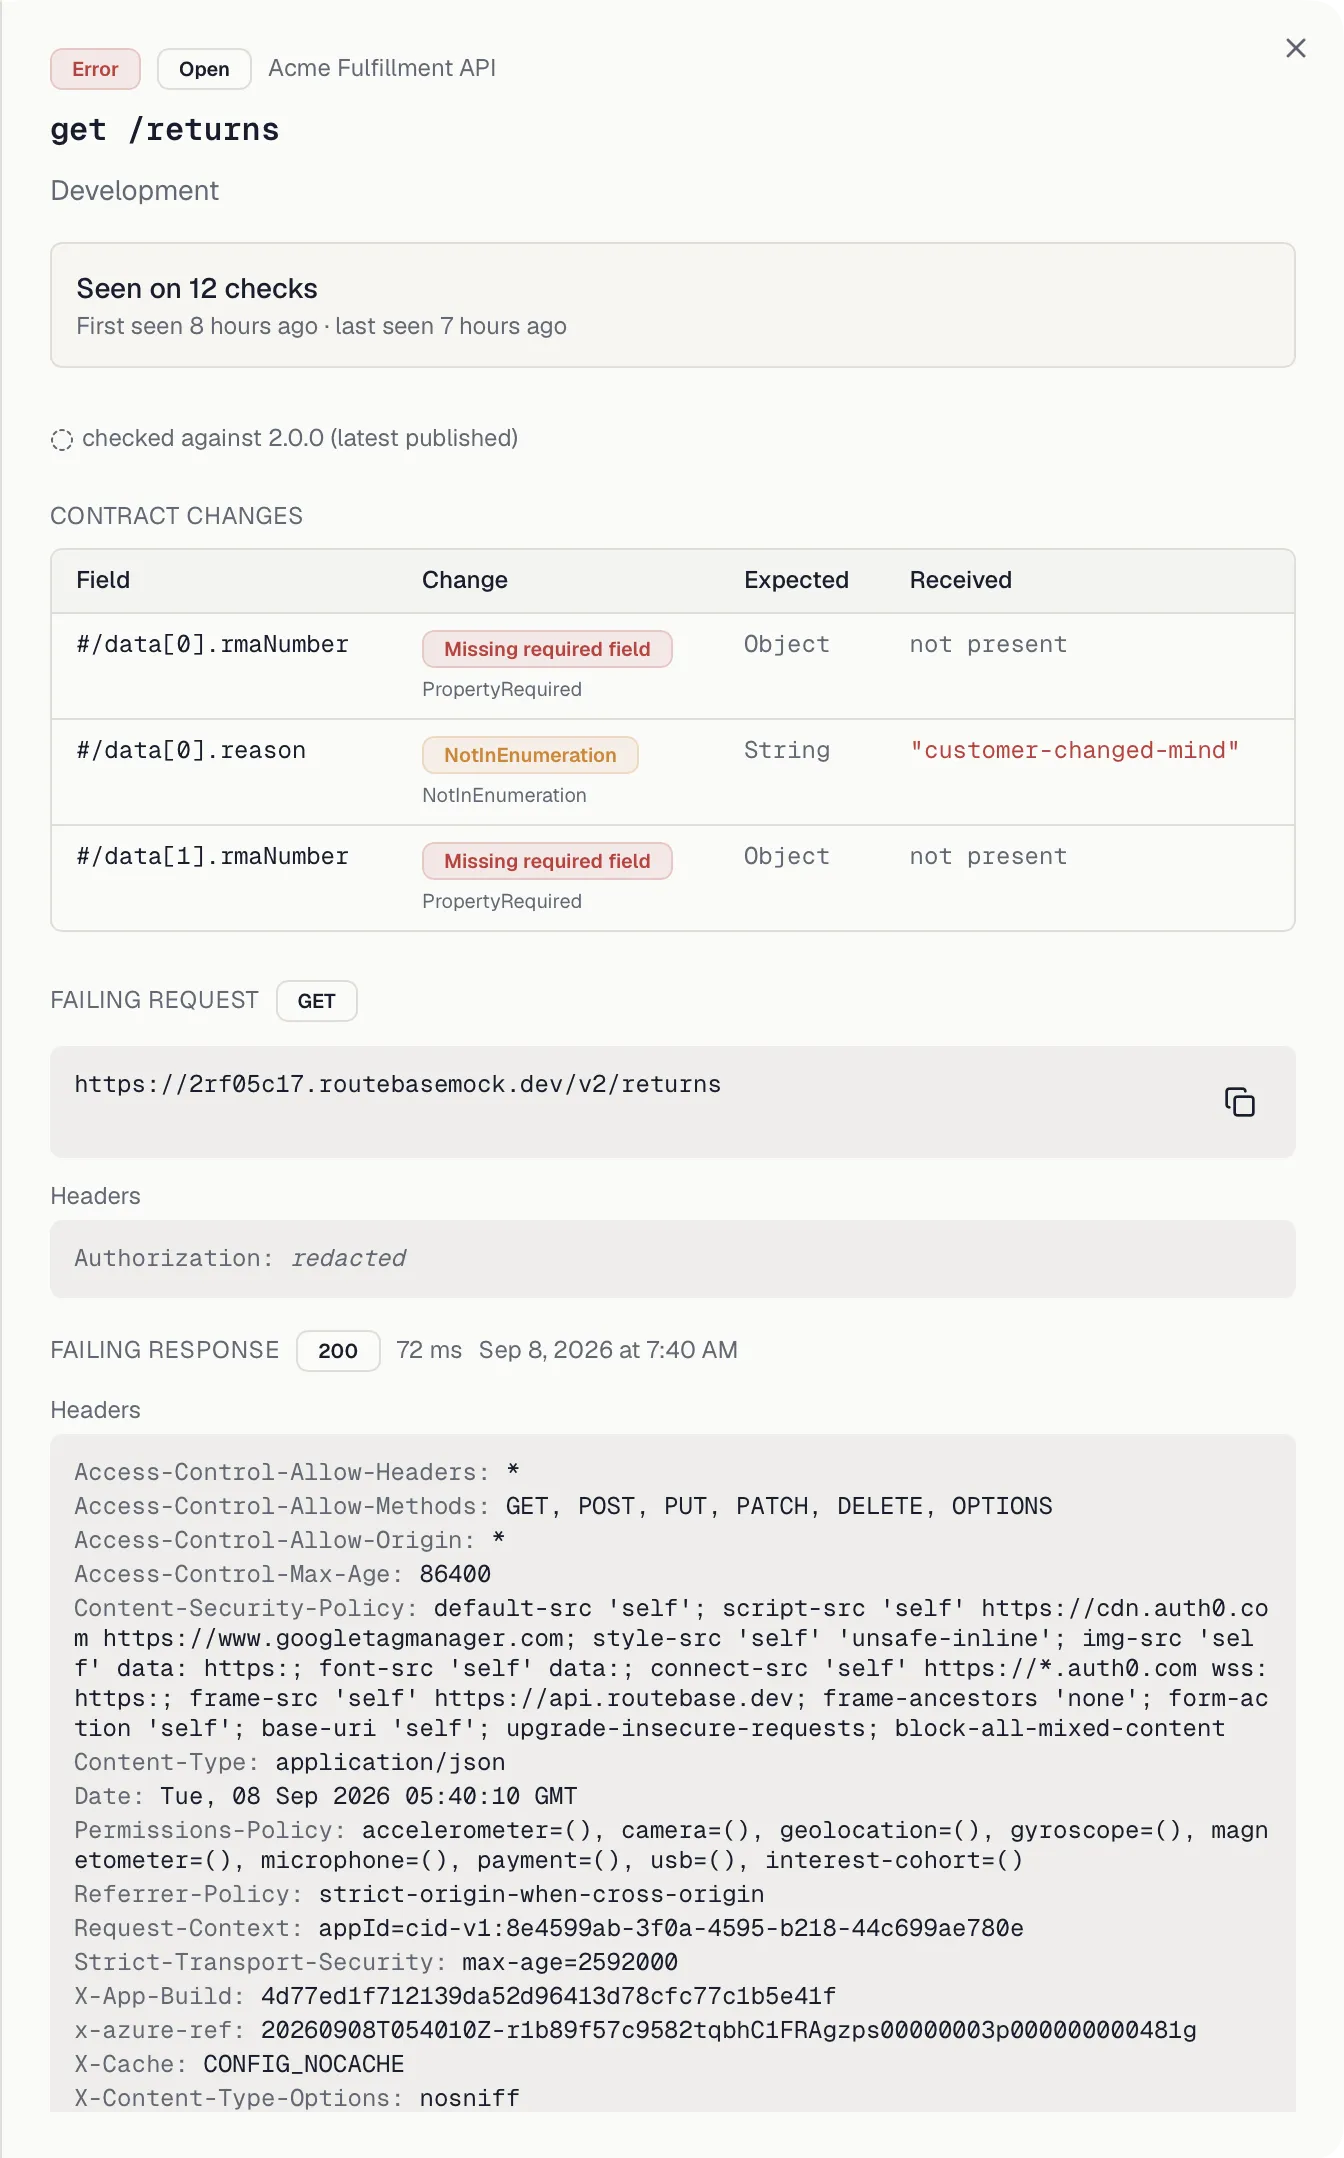
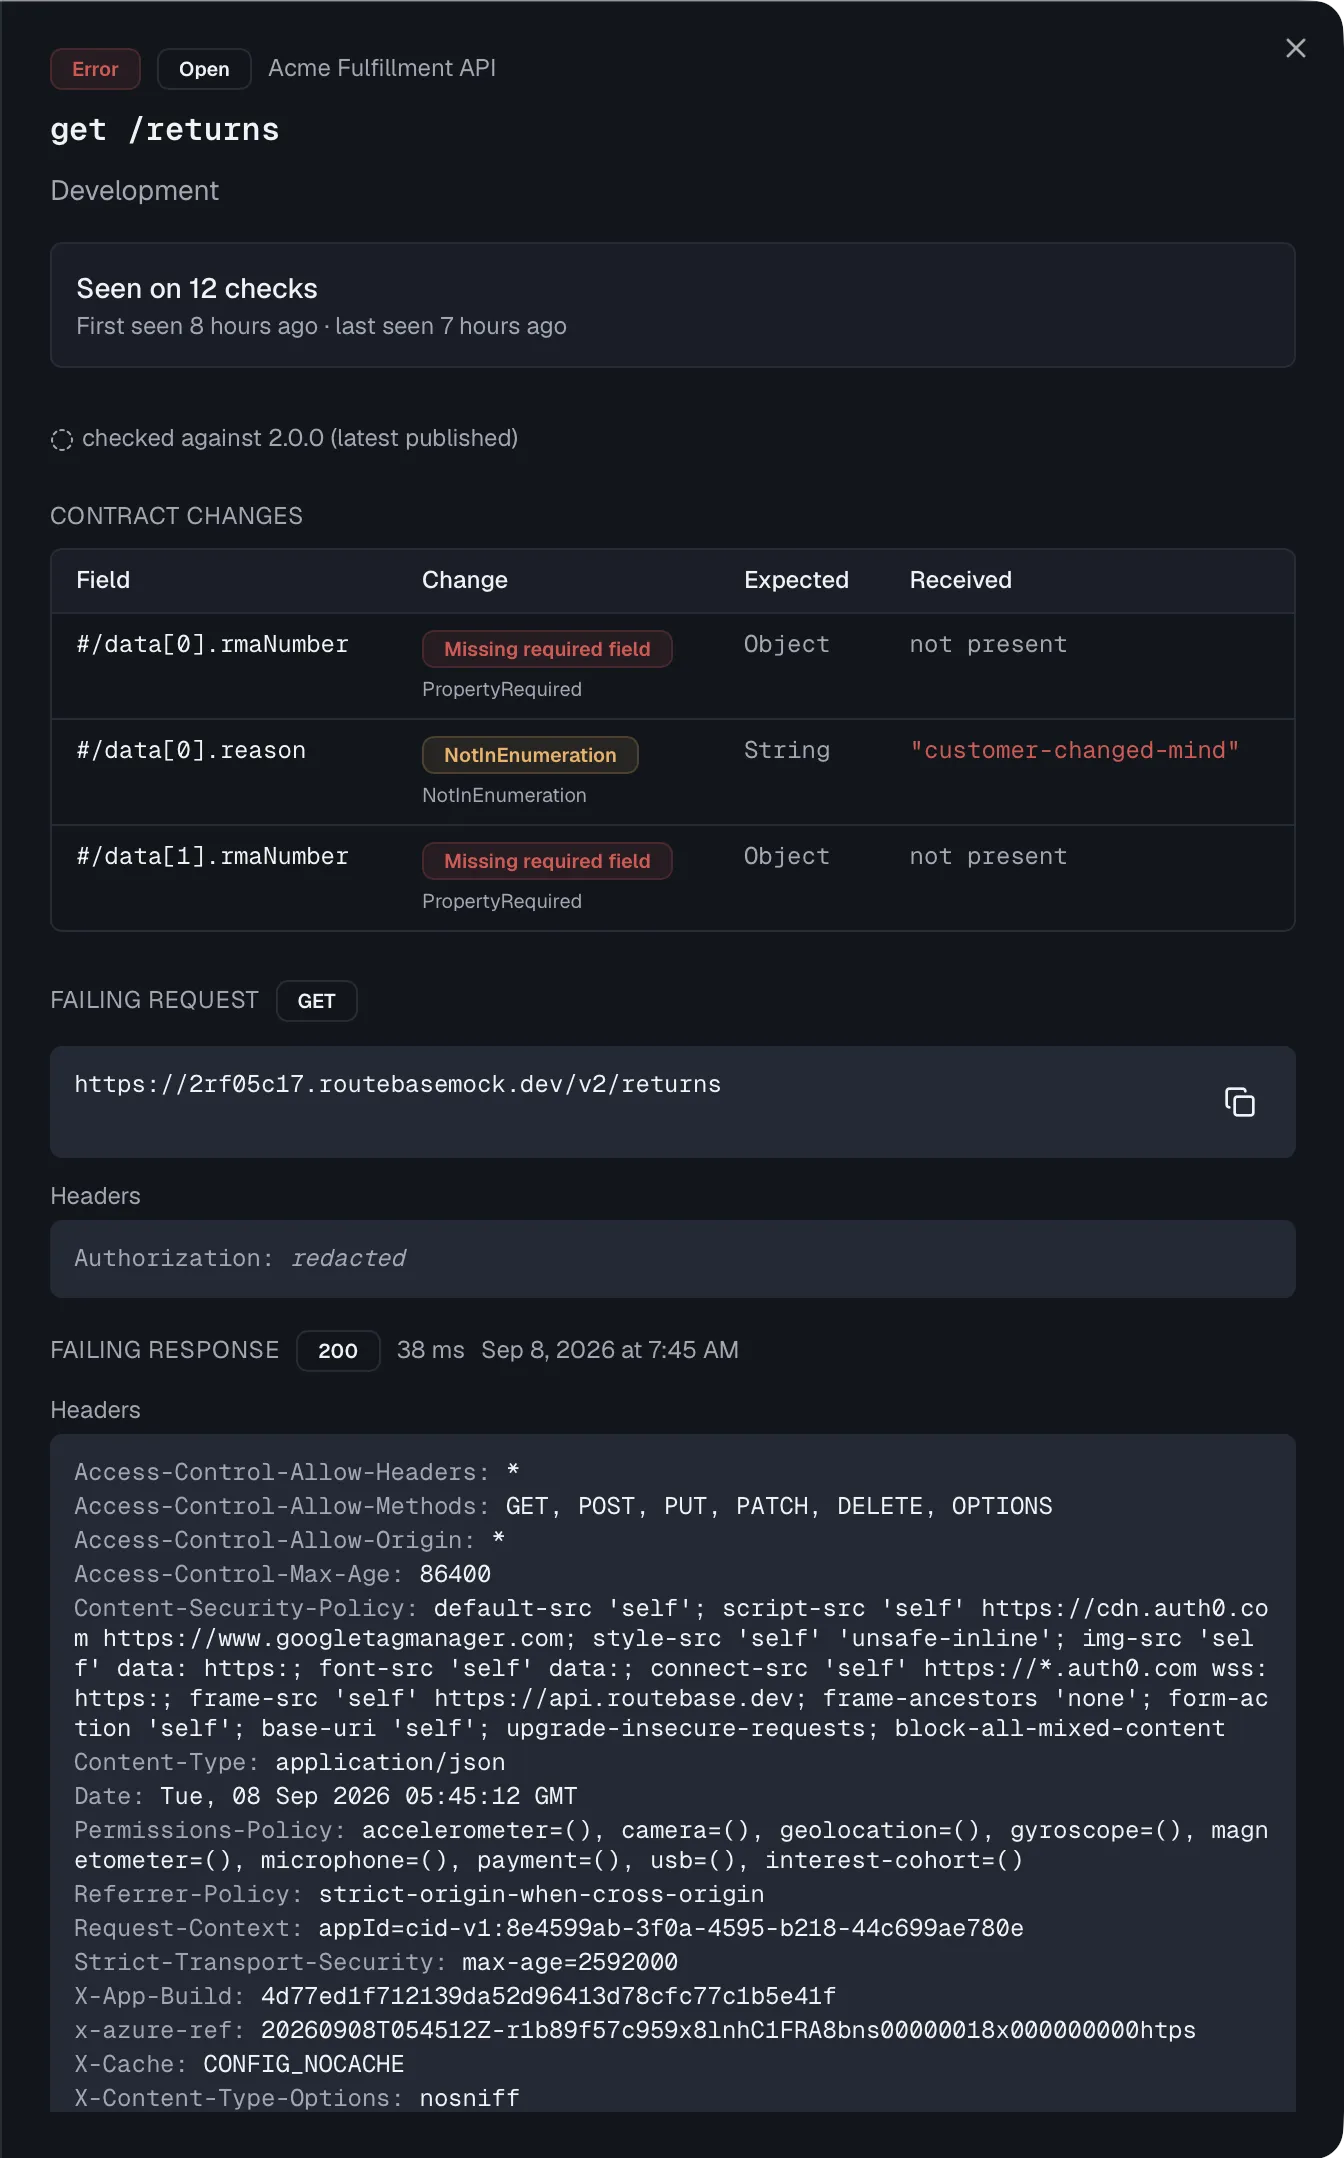 ### The request and the response that produced it
**Show request and response** loads the exchange the deviations were read from, and it loads both together because a request without its answer is half a story. It is fetched only when asked for, since the body sample alone can be 4 KB per event.
The **failing request** shows the method, the fully resolved URL, and the headers that were sent, with a note on any header that came from the environment's authentication. The **failing response** shows the status code, response time, timestamp, headers, and the first 4 KB of the body, pretty-printed when it is JSON. Both the URL and the body can be copied in one click.
A drift event outlives the check that produced it, because drift history is kept while individual checks are swept on the project's retention schedule. The exchange is therefore not always there, and the sheet says which case it is rather than showing an empty panel. The response is either *no longer retained*, or *no response was recorded* for that observation, or the observation *predates request capture* and the next check to see this drift will capture one.
#### Why nothing here can leak a credential
Everything shown is safe to paste into a ticket, and the mechanism matters more than the promise. **The protection is constructive rather than a filter applied afterwards.**
The stored URL and header values are resolved using your **non-secret** variables only. A value marked secret is never substituted in the first place, so its `{{name}}` placeholder survives into the record instead. A deny-list can have gaps, while a substitution that never happened cannot. This matters because a check materialises credentials in more than one place. Secret variables are decrypted for the live request, and API-key-in-query authentication is appended straight into the query string.
Around that core, four more rules:
- **Headers from environment authentication** are recorded by **name only**. That an `Authorization` header was sent is triage information, while its value is not.
- **Header names that can carry a credential** have their value withheld even when no secret variable was involved, which catches a credential pasted straight into a monitor's header config. That covers anything containing `auth`, `token`, `key`, `secret`, `credential`, `cookie`, `signature` or `password`. The name always stays visible. Something like `X-Idempotency-Key` is withheld needlessly, and that is the right direction to be wrong in.
- **Auth query parameters** are appended as `?apiKey=
### The request and the response that produced it
**Show request and response** loads the exchange the deviations were read from, and it loads both together because a request without its answer is half a story. It is fetched only when asked for, since the body sample alone can be 4 KB per event.
The **failing request** shows the method, the fully resolved URL, and the headers that were sent, with a note on any header that came from the environment's authentication. The **failing response** shows the status code, response time, timestamp, headers, and the first 4 KB of the body, pretty-printed when it is JSON. Both the URL and the body can be copied in one click.
A drift event outlives the check that produced it, because drift history is kept while individual checks are swept on the project's retention schedule. The exchange is therefore not always there, and the sheet says which case it is rather than showing an empty panel. The response is either *no longer retained*, or *no response was recorded* for that observation, or the observation *predates request capture* and the next check to see this drift will capture one.
#### Why nothing here can leak a credential
Everything shown is safe to paste into a ticket, and the mechanism matters more than the promise. **The protection is constructive rather than a filter applied afterwards.**
The stored URL and header values are resolved using your **non-secret** variables only. A value marked secret is never substituted in the first place, so its `{{name}}` placeholder survives into the record instead. A deny-list can have gaps, while a substitution that never happened cannot. This matters because a check materialises credentials in more than one place. Secret variables are decrypted for the live request, and API-key-in-query authentication is appended straight into the query string.
Around that core, four more rules:
- **Headers from environment authentication** are recorded by **name only**. That an `Authorization` header was sent is triage information, while its value is not.
- **Header names that can carry a credential** have their value withheld even when no secret variable was involved, which catches a credential pasted straight into a monitor's header config. That covers anything containing `auth`, `token`, `key`, `secret`, `credential`, `cookie`, `signature` or `password`. The name always stays visible. Something like `X-Idempotency-Key` is withheld needlessly, and that is the right direction to be wrong in.
- **Auth query parameters** are appended as `?apiKey=
 ## The Schema Validation assertion
**Schema Validation** is one of the assertion types in the assertions table. Unlike other assertions it needs no target or expected value, so the table shows it as *auto* and *schema match*. Its tooltip reads "Validates response against linked endpoint schema." When the case runs, the actual response body is validated against the linked endpoint's documented response schema. A mismatch fails the assertion, and the failure details appear in the assertion results like any other assertion.
This is the heart of contract testing. A field that changed type, a required property that went missing, or an undocumented shape all fail the run, even if the status code is still `200`.
A documented response can be a sequential media type with an OpenAPI 3.2 item schema, such as `application/jsonl` or `text/event-stream`. The assertion then splits the body into its items and validates every item against that schema. A passing run reports the item count, and a failing item is named by its position, for example `item[1]`.
Like any assertion, **Schema Validation** has an on/off checkbox, so you can keep the link and its drift detection while temporarily muting the schema check.
## Pending: the endpoint isn't there yet
Design-first has a failure mode. Generate a suite from a fresh spec and it is red from its very first run, and it stays red until the service catches up. People get used to red, and that is exactly when the first *real* red gets missed.
The two cases are machine-distinguishable, so Routebase distinguishes them:
| What the environment did | Result |
| --- | --- |
| Nobody answered, whether through a refused connection, a timeout or a DNS failure | **Pending**, meaning not implemented yet |
| It answered `404` on a path the contract says exists | **Pending**, meaning not implemented yet |
| It answered, but wrongly, with a failed assertion or a body that does not match the schema | **Failed**, red, exactly as before |
A pending case gets its own amber **Pending** pill and its own counter next to the run summary. Most importantly, **it does not fail the run**. Your new suite is not red, it is pending. As endpoints land, cases move from pending to passed one by one, and the day something goes red it means something is actually wrong.
Two guards keep this from swallowing real failures:
- **Only contract tests qualify.** A hand-written case with no spec link that fails is simply failing, because Routebase has no business deciding what its author expected.
- **A test that asked for what it got has passed.** A negative test asserting **Status Code equals** `404` is green rather than pending.
There is a third route into pending, from the contract side rather than the response. When the [version an environment pins](https://docs.routebase.dev/environments/) does not describe the linked endpoint at all, a run there reports the case as pending. That is the same statement as a `404` on a contractual path, established before the request goes out. The contract badge says so up front, reading *"This environment is pinned to 1.2.0, which does not describe GET /users. A run here reports this case as pending."* That route is deliberately narrowed to cases carrying a **Schema Validation** assertion. Without the narrowing, a case that only asserts `status == 200`, and is green against a running service, would turn pending because of a stale pin and drop out of the passed count.
Pending has a sibling. A case is reported as **blocked** when the target environment is marked read-only and the case's method writes. Nothing was sent, so it is neither a pass nor a failure either, and it gets its own muted badge and counter. See [Test Suites](https://docs.routebase.dev/test-suites/) for the read-only switch and what it refuses.
## Null handling
Imported specs often omit `nullable` on fields that can legitimately return null. Under strict validation, the **Schema Validation** assertion then fails on otherwise-valid responses, because a `null` arrives where the schema never marked the field nullable.
The **Testing settings** page, opened from the bottom of the Test Runner sidebar, sets how schema validation treats null across the whole project, under **Schema validation → Null handling**:
| Mode | Behavior |
| --- | --- |
| **Strict** | Reject null in fields the schema does not mark nullable. |
| **Allow null values** | Accept null anywhere, while still type-checking every present value against its declared type. |
The setting applies to every test in the project. Switch to **Allow null values** when you validate against imported specs whose nullability is not fully annotated. Real contract violations still fail, without null noise drowning them out.
## The Schema Validation assertion
**Schema Validation** is one of the assertion types in the assertions table. Unlike other assertions it needs no target or expected value, so the table shows it as *auto* and *schema match*. Its tooltip reads "Validates response against linked endpoint schema." When the case runs, the actual response body is validated against the linked endpoint's documented response schema. A mismatch fails the assertion, and the failure details appear in the assertion results like any other assertion.
This is the heart of contract testing. A field that changed type, a required property that went missing, or an undocumented shape all fail the run, even if the status code is still `200`.
A documented response can be a sequential media type with an OpenAPI 3.2 item schema, such as `application/jsonl` or `text/event-stream`. The assertion then splits the body into its items and validates every item against that schema. A passing run reports the item count, and a failing item is named by its position, for example `item[1]`.
Like any assertion, **Schema Validation** has an on/off checkbox, so you can keep the link and its drift detection while temporarily muting the schema check.
## Pending: the endpoint isn't there yet
Design-first has a failure mode. Generate a suite from a fresh spec and it is red from its very first run, and it stays red until the service catches up. People get used to red, and that is exactly when the first *real* red gets missed.
The two cases are machine-distinguishable, so Routebase distinguishes them:
| What the environment did | Result |
| --- | --- |
| Nobody answered, whether through a refused connection, a timeout or a DNS failure | **Pending**, meaning not implemented yet |
| It answered `404` on a path the contract says exists | **Pending**, meaning not implemented yet |
| It answered, but wrongly, with a failed assertion or a body that does not match the schema | **Failed**, red, exactly as before |
A pending case gets its own amber **Pending** pill and its own counter next to the run summary. Most importantly, **it does not fail the run**. Your new suite is not red, it is pending. As endpoints land, cases move from pending to passed one by one, and the day something goes red it means something is actually wrong.
Two guards keep this from swallowing real failures:
- **Only contract tests qualify.** A hand-written case with no spec link that fails is simply failing, because Routebase has no business deciding what its author expected.
- **A test that asked for what it got has passed.** A negative test asserting **Status Code equals** `404` is green rather than pending.
There is a third route into pending, from the contract side rather than the response. When the [version an environment pins](https://docs.routebase.dev/environments/) does not describe the linked endpoint at all, a run there reports the case as pending. That is the same statement as a `404` on a contractual path, established before the request goes out. The contract badge says so up front, reading *"This environment is pinned to 1.2.0, which does not describe GET /users. A run here reports this case as pending."* That route is deliberately narrowed to cases carrying a **Schema Validation** assertion. Without the narrowing, a case that only asserts `status == 200`, and is green against a running service, would turn pending because of a stale pin and drop out of the passed count.
Pending has a sibling. A case is reported as **blocked** when the target environment is marked read-only and the case's method writes. Nothing was sent, so it is neither a pass nor a failure either, and it gets its own muted badge and counter. See [Test Suites](https://docs.routebase.dev/test-suites/) for the read-only switch and what it refuses.
## Null handling
Imported specs often omit `nullable` on fields that can legitimately return null. Under strict validation, the **Schema Validation** assertion then fails on otherwise-valid responses, because a `null` arrives where the schema never marked the field nullable.
The **Testing settings** page, opened from the bottom of the Test Runner sidebar, sets how schema validation treats null across the whole project, under **Schema validation → Null handling**:
| Mode | Behavior |
| --- | --- |
| **Strict** | Reject null in fields the schema does not mark nullable. |
| **Allow null values** | Accept null anywhere, while still type-checking every present value against its declared type. |
The setting applies to every test in the project. Switch to **Allow null values** when you validate against imported specs whose nullability is not fully annotated. Real contract violations still fail, without null noise drowning them out.
 ## Generating contract tests from your spec
The **Import** button in the suite toolbar bulk-creates test cases from spec endpoints, and [Test Suites](https://docs.routebase.dev/test-suites/) covers the wizard flow. Each imported case comes with assertions derived from the endpoint's contract:
| Generated assertion | Based on |
| --- | --- |
| **Status Code equals** the documented success code | The endpoint's first 2xx response, falling back to 200 |
| **Body exists** | Whether the response defines content |
| **Header Content-Type contains** the documented media type | The response's content type |
| **JSON Path exists** for required fields such as `$.id` | Top-level required properties of the response schema, up to five of them |
| **Latency (ms) < 5000** | A baseline performance guard |
Imported case names follow the endpoint, as in `GET /users - List all users`, and URLs use a `{{baseUrl}}` placeholder so the same case runs against any [environment](https://docs.routebase.dev/environments/).
## Schema drift detection
The snapshot taken at link time lets Routebase detect **schema drift**, which means the spec endpoint has changed since the test was linked. Whenever you open a linked test case, Routebase compares its snapshot against the latest published version of the endpoint. If they diverge, a banner appears at the top of the case editor, reading something like "Schema changed (linked: v1.0.0, current: v2.1.0)".
The banner lists the detected changes across path, method, request-body schema and response schemas, each with its old and new values. It also flags an endpoint that was removed entirely. Comparison ignores internal identifiers, so only meaningful contract changes count as drift.
### Resolving drift
- **Sync from Spec** updates the test case to the current contract. The confirmation dialog spells out the consequences, because the case's URL, method and request body are updated to match the current spec endpoint. If the body changes you get a side-by-side **Current** and **New** diff before confirming, and manual edits to the body are overwritten. Syncing re-pins the snapshot to the latest published version, which clears the drift.
- **Check against linked version** is an optional toggle that compares the snapshot against the originally linked spec version instead of the latest one, which helps when diagnosing where a change was introduced.
Drift never fails a run by itself. It is an early warning that your test and your documentation have parted ways, so you can decide whether the spec change was intentional before consumers notice.
## Contract coverage on the suite dashboard
The suite's **Overview** view includes a **Contract Tests** card summarizing the suite's contract health:
- **Linked Tests** counts how many cases are linked to spec endpoints.
- **Coverage** counts how many distinct endpoints those links cover.
- **Schema Drift** shows a warning count when linked cases have drifted.
Use it to spot suites that assert plenty of status codes but validate few actual contracts.
## Related
- [Test Suites](https://docs.routebase.dev/test-suites/) — cases, assertions, runs, and results
- [Endpoints](https://docs.routebase.dev/endpoints/) — the operations your contract tests validate
- [Schemas](https://docs.routebase.dev/schemas/) — the structures responses are validated against
- [Versioning](https://docs.routebase.dev/versioning/) — how spec versions relate to linked tests
- [Schema Drift](https://docs.routebase.dev/schema-drift/) — continuous drift monitoring in the Monitoring module
---
## Coverage
Source: https://docs.routebase.dev/coverage/
Monitoring coverage tracks how much of each API spec is actually monitored, which is the share of a spec's endpoints that have a monitor. As your API grows, coverage keeps the question "did we forget to monitor the new endpoints?" answered automatically.
## The Spec Coverage card
The **Spec Coverage** card on the [Health Dashboard](https://docs.routebase.dev/monitoring-overview/) shows one row per spec in the project:
- The count and percentage, such as *12/18 endpoints (67%)*.
- A progress bar that is color-coded, with green above 80%, amber from 50–80% and red below 50%.
- A status line that reads **Fully covered** at 100% and otherwise says how many endpoints are not monitored.
- A **Generate Missing** button (requires **monitoring:write**) that opens the Generate-from-Spec wizard to fill the gaps. Endpoints that already have a monitor are marked and skipped, so re-running it never duplicates anything.
## Generating contract tests from your spec
The **Import** button in the suite toolbar bulk-creates test cases from spec endpoints, and [Test Suites](https://docs.routebase.dev/test-suites/) covers the wizard flow. Each imported case comes with assertions derived from the endpoint's contract:
| Generated assertion | Based on |
| --- | --- |
| **Status Code equals** the documented success code | The endpoint's first 2xx response, falling back to 200 |
| **Body exists** | Whether the response defines content |
| **Header Content-Type contains** the documented media type | The response's content type |
| **JSON Path exists** for required fields such as `$.id` | Top-level required properties of the response schema, up to five of them |
| **Latency (ms) < 5000** | A baseline performance guard |
Imported case names follow the endpoint, as in `GET /users - List all users`, and URLs use a `{{baseUrl}}` placeholder so the same case runs against any [environment](https://docs.routebase.dev/environments/).
## Schema drift detection
The snapshot taken at link time lets Routebase detect **schema drift**, which means the spec endpoint has changed since the test was linked. Whenever you open a linked test case, Routebase compares its snapshot against the latest published version of the endpoint. If they diverge, a banner appears at the top of the case editor, reading something like "Schema changed (linked: v1.0.0, current: v2.1.0)".
The banner lists the detected changes across path, method, request-body schema and response schemas, each with its old and new values. It also flags an endpoint that was removed entirely. Comparison ignores internal identifiers, so only meaningful contract changes count as drift.
### Resolving drift
- **Sync from Spec** updates the test case to the current contract. The confirmation dialog spells out the consequences, because the case's URL, method and request body are updated to match the current spec endpoint. If the body changes you get a side-by-side **Current** and **New** diff before confirming, and manual edits to the body are overwritten. Syncing re-pins the snapshot to the latest published version, which clears the drift.
- **Check against linked version** is an optional toggle that compares the snapshot against the originally linked spec version instead of the latest one, which helps when diagnosing where a change was introduced.
Drift never fails a run by itself. It is an early warning that your test and your documentation have parted ways, so you can decide whether the spec change was intentional before consumers notice.
## Contract coverage on the suite dashboard
The suite's **Overview** view includes a **Contract Tests** card summarizing the suite's contract health:
- **Linked Tests** counts how many cases are linked to spec endpoints.
- **Coverage** counts how many distinct endpoints those links cover.
- **Schema Drift** shows a warning count when linked cases have drifted.
Use it to spot suites that assert plenty of status codes but validate few actual contracts.
## Related
- [Test Suites](https://docs.routebase.dev/test-suites/) — cases, assertions, runs, and results
- [Endpoints](https://docs.routebase.dev/endpoints/) — the operations your contract tests validate
- [Schemas](https://docs.routebase.dev/schemas/) — the structures responses are validated against
- [Versioning](https://docs.routebase.dev/versioning/) — how spec versions relate to linked tests
- [Schema Drift](https://docs.routebase.dev/schema-drift/) — continuous drift monitoring in the Monitoring module
---
## Coverage
Source: https://docs.routebase.dev/coverage/
Monitoring coverage tracks how much of each API spec is actually monitored, which is the share of a spec's endpoints that have a monitor. As your API grows, coverage keeps the question "did we forget to monitor the new endpoints?" answered automatically.
## The Spec Coverage card
The **Spec Coverage** card on the [Health Dashboard](https://docs.routebase.dev/monitoring-overview/) shows one row per spec in the project:
- The count and percentage, such as *12/18 endpoints (67%)*.
- A progress bar that is color-coded, with green above 80%, amber from 50–80% and red below 50%.
- A status line that reads **Fully covered** at 100% and otherwise says how many endpoints are not monitored.
- A **Generate Missing** button (requires **monitoring:write**) that opens the Generate-from-Spec wizard to fill the gaps. Endpoints that already have a monitor are marked and skipped, so re-running it never duplicates anything.

 ## Coverage hints
When a spec has unmonitored endpoints, the dashboard also shows a hint banner above the charts reading *"N endpoints in \
## Coverage hints
When a spec has unmonitored endpoints, the dashboard also shows a hint banner above the charts reading *"N endpoints in \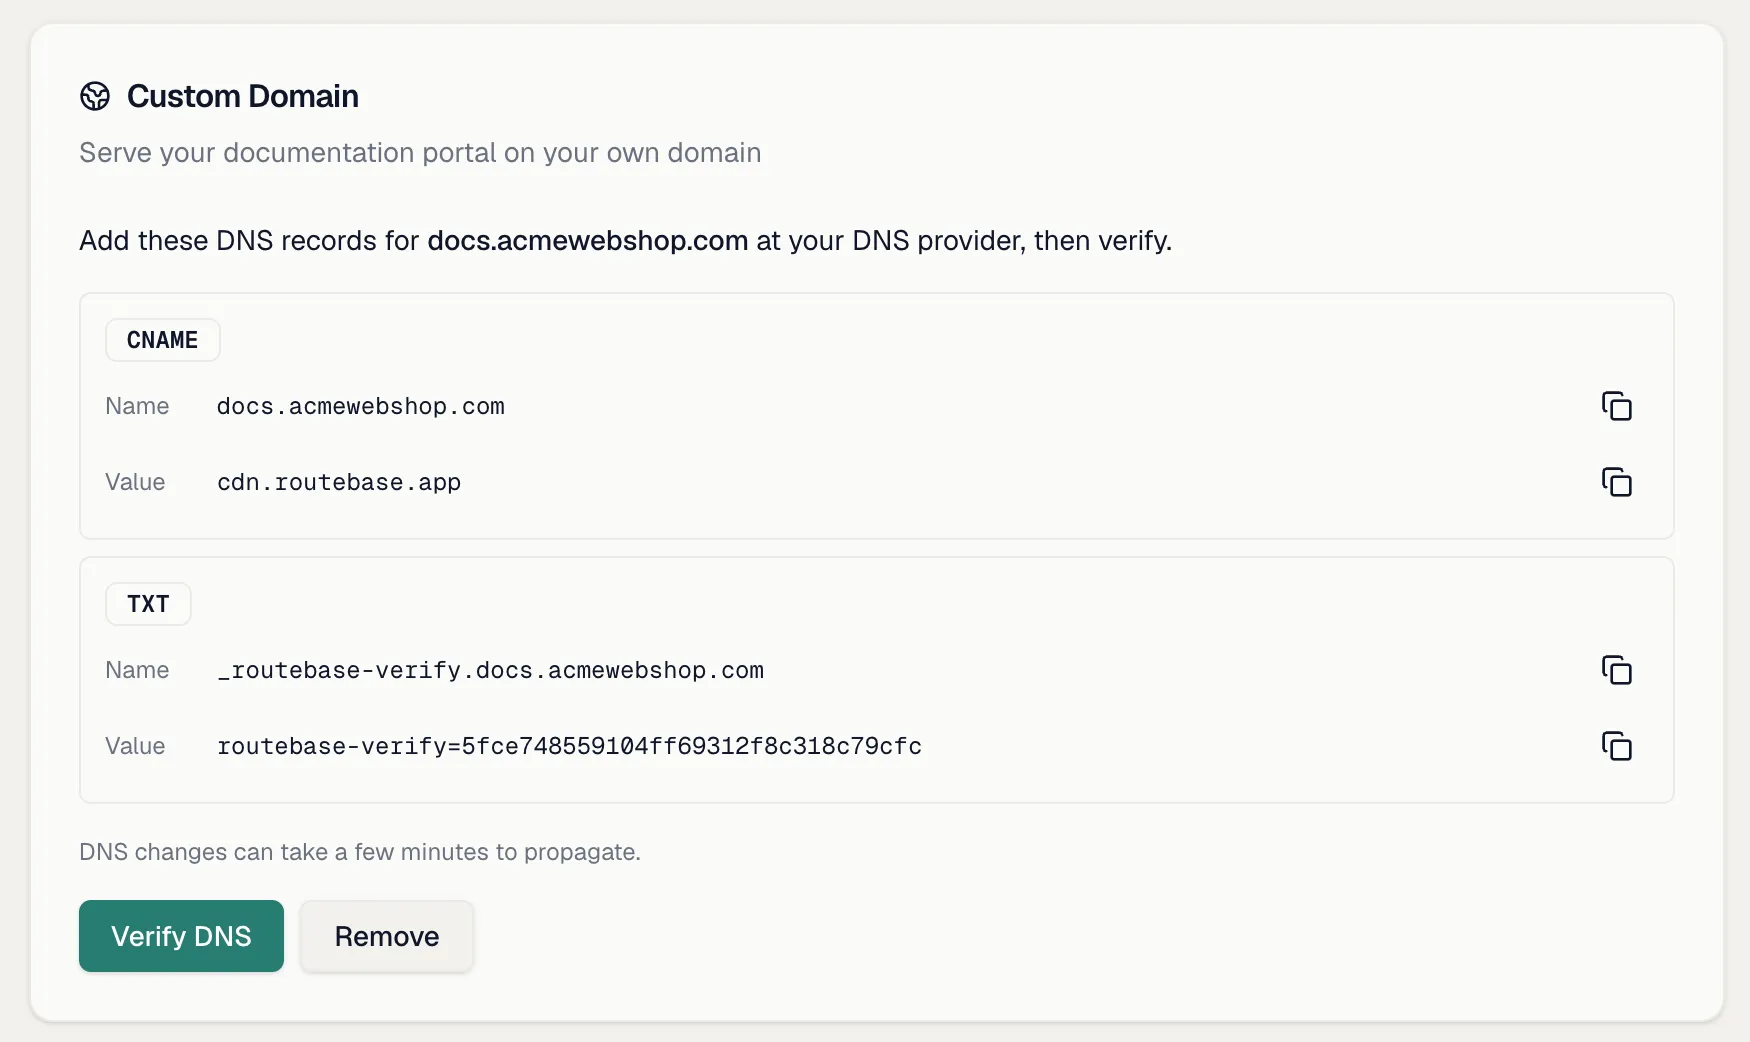
 #### If your plan changes
If your subscription later drops below Pro through a downgrade or a cancellation, the custom domain is **suspended** rather than deleted, and the portal falls back to its `{subdomain}.docs.routebase.dev` address. The card explains that your domain *"is suspended because your plan no longer includes custom domains. Upgrade to Pro to reactivate it automatically — your DNS records stay configured, no re-verification needed."* Re-upgrading reactivates the domain automatically. Because the DNS records stay in place, you do not have to verify DNS again.
## Related
- [Single Sign-On](https://docs.routebase.dev/sso/) — what verified domains unlock on Enterprise
- [Members & Invitations](https://docs.routebase.dev/members/) — the way people on your domain actually join
- [Publishing documentation](https://docs.routebase.dev/doc-publishing/) — building and publishing your docs portal
- [Documentation branding](https://docs.routebase.dev/doc-branding/) — make the portal at your address look like yours
---
## Dashboard
Source: https://docs.routebase.dev/dashboard/
The **Dashboard** is your workspace home page, and it answers what needs attention today before you open anything else. It pulls the health of every project into one place, so a failing suite, a drifting contract or an open incident surfaces without you visiting each project in turn. Top-line KPIs, health scores, a live activity feed, test trends and quick actions all sit on that single page.
## Header controls
| Control | What it does |
| --- | --- |
| **Time range** | Switch between **Last 7 days**, **Last 30 days**, and **Last 90 days**. Your choice is remembered as your default. |
| **Refresh** | Re-fetches every widget on the page. |
## KPI cards
Four stat cards sit at the top. Each is clickable and takes you to the matching area of the app.
| Card | Shows | Click target |
| --- | --- | --- |
| **Total APIs** | Number of active specifications, with a trend indicator. | Projects |
| **Test Pass Rate** | Pass rate over the last 30 days, color-coded — green at 90%+, amber at 70–89%, red below. | Test Runner |
| **Security Score** | Average security scan score, with a count of critical findings ("No critical findings" when clean). | Security |
| **Monitoring** | Number of monitors, plus how many are down and how many incidents are open ("All operational" when everything is fine). | Monitoring |
#### If your plan changes
If your subscription later drops below Pro through a downgrade or a cancellation, the custom domain is **suspended** rather than deleted, and the portal falls back to its `{subdomain}.docs.routebase.dev` address. The card explains that your domain *"is suspended because your plan no longer includes custom domains. Upgrade to Pro to reactivate it automatically — your DNS records stay configured, no re-verification needed."* Re-upgrading reactivates the domain automatically. Because the DNS records stay in place, you do not have to verify DNS again.
## Related
- [Single Sign-On](https://docs.routebase.dev/sso/) — what verified domains unlock on Enterprise
- [Members & Invitations](https://docs.routebase.dev/members/) — the way people on your domain actually join
- [Publishing documentation](https://docs.routebase.dev/doc-publishing/) — building and publishing your docs portal
- [Documentation branding](https://docs.routebase.dev/doc-branding/) — make the portal at your address look like yours
---
## Dashboard
Source: https://docs.routebase.dev/dashboard/
The **Dashboard** is your workspace home page, and it answers what needs attention today before you open anything else. It pulls the health of every project into one place, so a failing suite, a drifting contract or an open incident surfaces without you visiting each project in turn. Top-line KPIs, health scores, a live activity feed, test trends and quick actions all sit on that single page.
## Header controls
| Control | What it does |
| --- | --- |
| **Time range** | Switch between **Last 7 days**, **Last 30 days**, and **Last 90 days**. Your choice is remembered as your default. |
| **Refresh** | Re-fetches every widget on the page. |
## KPI cards
Four stat cards sit at the top. Each is clickable and takes you to the matching area of the app.
| Card | Shows | Click target |
| --- | --- | --- |
| **Total APIs** | Number of active specifications, with a trend indicator. | Projects |
| **Test Pass Rate** | Pass rate over the last 30 days, color-coded — green at 90%+, amber at 70–89%, red below. | Test Runner |
| **Security Score** | Average security scan score, with a count of critical findings ("No critical findings" when clean). | Security |
| **Monitoring** | Number of monitors, plus how many are down and how many incidents are open ("All operational" when everything is fine). | Monitoring |

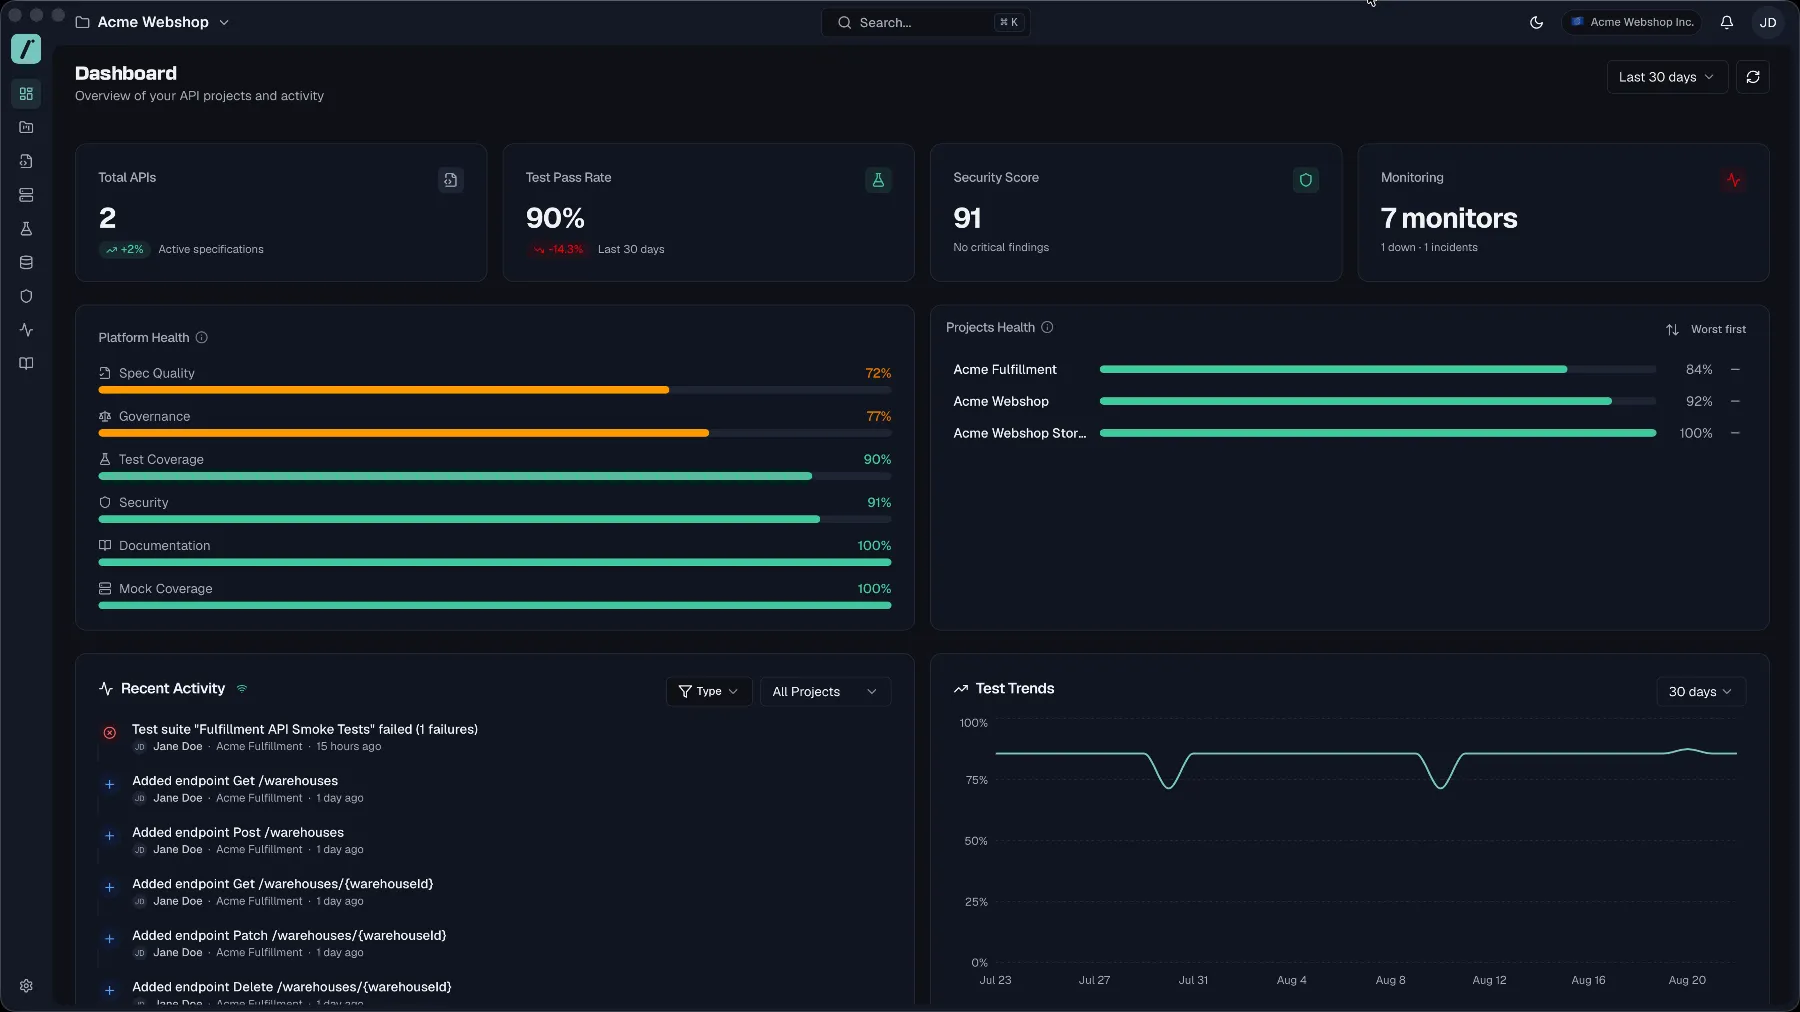 ## Platform Health
**Platform Health** breaks organization-wide quality into independent, individually scored dimensions, drawn as progress bars and sorted **worst first** so problems surface at the top. Green means 80%+, amber 50–79%, red below 50%. Hover a row for an explanation of what it measures.
| Dimension | What it measures |
| --- | --- |
| **Governance** | Compliance score across all specs — style guide, documentation, security and consistency, weighted into one number. |
| **Security** | Average security scan score across your projects. |
| **Documentation** | Share of documentation-hub pages that are published. |
| **Active Mock Rules** | Share of mock rules that are currently active. |
| **Spec Quality** | Style-guide linting score across all specs (errors, warnings, infos) — a subset of Governance, shown on its own. |
These are org-wide quality lenses, distinct from the per-project operational health below. The test pass rate has its own KPI card above, so Platform Health doesn't repeat it. To see how many endpoints your tests and mocks cover, open a project and check the **API Coverage** section of its overview.
## Projects Health
**Projects Health** lists your projects with an operational health score each. The bar per project combines test pass rate, documentation, security, endpoint completeness and mocks. A trend arrow next to each score shows whether the project is improving, declining, or steady.
- The sort toggle switches between **Worst first** and **Best first**.
- Click a project to open it; **View all projects** takes you to the full project list.
## Create with AI inside Routebase
Below the health widgets, before the activity feed, sits the MCP connection card, which reads "Design specs, run tests, and publish docs from Claude or your IDE." It is the shortest path to using Routebase from an agent, and it gives you a connection scoped to *this* workspace rather than a generic setup.
It has a tab per client:
- **Claude** — three steps: copy the MCP URL, add it under **Settings → Connectors → Add custom connector**, then authorize with your Routebase account. Your agent gets your exact permissions, no more.
- **IDE clients** — the same idea, but they authenticate with an API key instead. Step one creates one for you; if your role can't create keys, the card says to ask an org admin.
The URL it hands you already points at your organization's region, which removes the most common setup mistake. Dismiss the card once you're connected and it stays gone.
Full walkthrough: [MCP Quickstart](https://docs.routebase.dev/mcp-quickstart/).
## Platform Health
**Platform Health** breaks organization-wide quality into independent, individually scored dimensions, drawn as progress bars and sorted **worst first** so problems surface at the top. Green means 80%+, amber 50–79%, red below 50%. Hover a row for an explanation of what it measures.
| Dimension | What it measures |
| --- | --- |
| **Governance** | Compliance score across all specs — style guide, documentation, security and consistency, weighted into one number. |
| **Security** | Average security scan score across your projects. |
| **Documentation** | Share of documentation-hub pages that are published. |
| **Active Mock Rules** | Share of mock rules that are currently active. |
| **Spec Quality** | Style-guide linting score across all specs (errors, warnings, infos) — a subset of Governance, shown on its own. |
These are org-wide quality lenses, distinct from the per-project operational health below. The test pass rate has its own KPI card above, so Platform Health doesn't repeat it. To see how many endpoints your tests and mocks cover, open a project and check the **API Coverage** section of its overview.
## Projects Health
**Projects Health** lists your projects with an operational health score each. The bar per project combines test pass rate, documentation, security, endpoint completeness and mocks. A trend arrow next to each score shows whether the project is improving, declining, or steady.
- The sort toggle switches between **Worst first** and **Best first**.
- Click a project to open it; **View all projects** takes you to the full project list.
## Create with AI inside Routebase
Below the health widgets, before the activity feed, sits the MCP connection card, which reads "Design specs, run tests, and publish docs from Claude or your IDE." It is the shortest path to using Routebase from an agent, and it gives you a connection scoped to *this* workspace rather than a generic setup.
It has a tab per client:
- **Claude** — three steps: copy the MCP URL, add it under **Settings → Connectors → Add custom connector**, then authorize with your Routebase account. Your agent gets your exact permissions, no more.
- **IDE clients** — the same idea, but they authenticate with an API key instead. Step one creates one for you; if your role can't create keys, the card says to ask an org admin.
The URL it hands you already points at your organization's region, which removes the most common setup mistake. Dismiss the card once you're connected and it stays gone.
Full walkthrough: [MCP Quickstart](https://docs.routebase.dev/mcp-quickstart/).

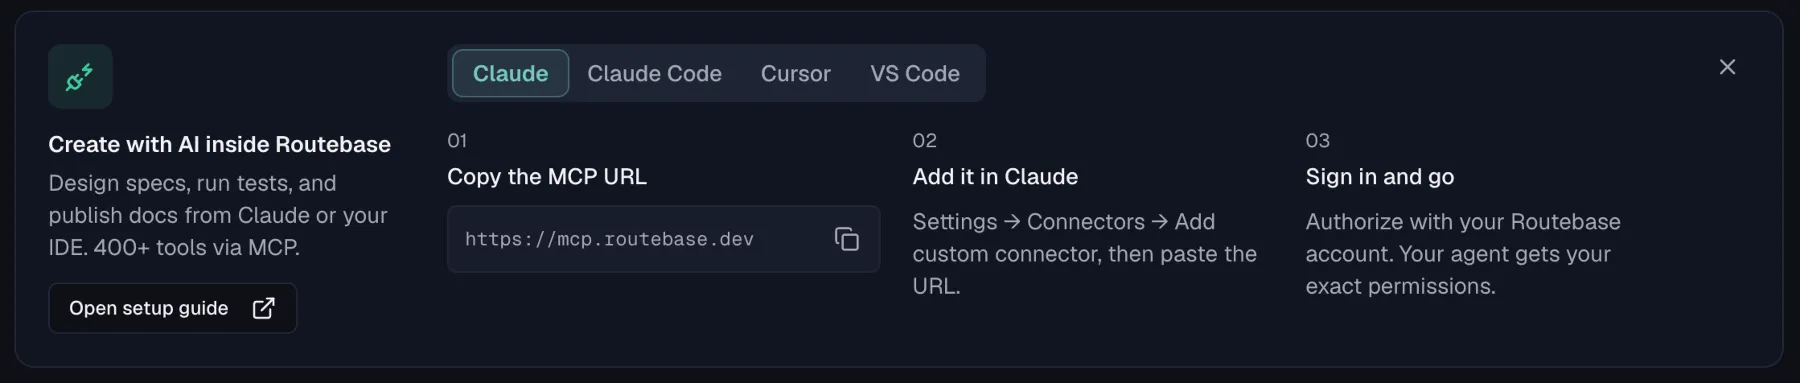 ## Recent Activity
The **Recent Activity** feed shows what's happening across your organization. Each entry carries a title, the user who triggered it, the project and a relative timestamp. Clicking an entry jumps to the relevant place in the app.
The feed updates **in real time**. The small indicator next to the title shows "Real-time updates active" when connected, and new activity also appears as a toast notification.
Filter the feed with the controls in the card header:
- **Type** — a multi-select of activity types, offering **Published**, **Test Passed**, **Test Failed** and **Endpoint Created**.
- **Project** — limit the feed to a single project (**All Projects** by default).
- The **X** button clears all active filters.
When there is nothing to show yet, the feed reads "Activity will appear here when you publish versions, run tests, or add endpoints."
## Recent Activity
The **Recent Activity** feed shows what's happening across your organization. Each entry carries a title, the user who triggered it, the project and a relative timestamp. Clicking an entry jumps to the relevant place in the app.
The feed updates **in real time**. The small indicator next to the title shows "Real-time updates active" when connected, and new activity also appears as a toast notification.
Filter the feed with the controls in the card header:
- **Type** — a multi-select of activity types, offering **Published**, **Test Passed**, **Test Failed** and **Endpoint Created**.
- **Project** — limit the feed to a single project (**All Projects** by default).
- The **X** button clears all active filters.
When there is nothing to show yet, the feed reads "Activity will appear here when you publish versions, run tests, or add endpoints."
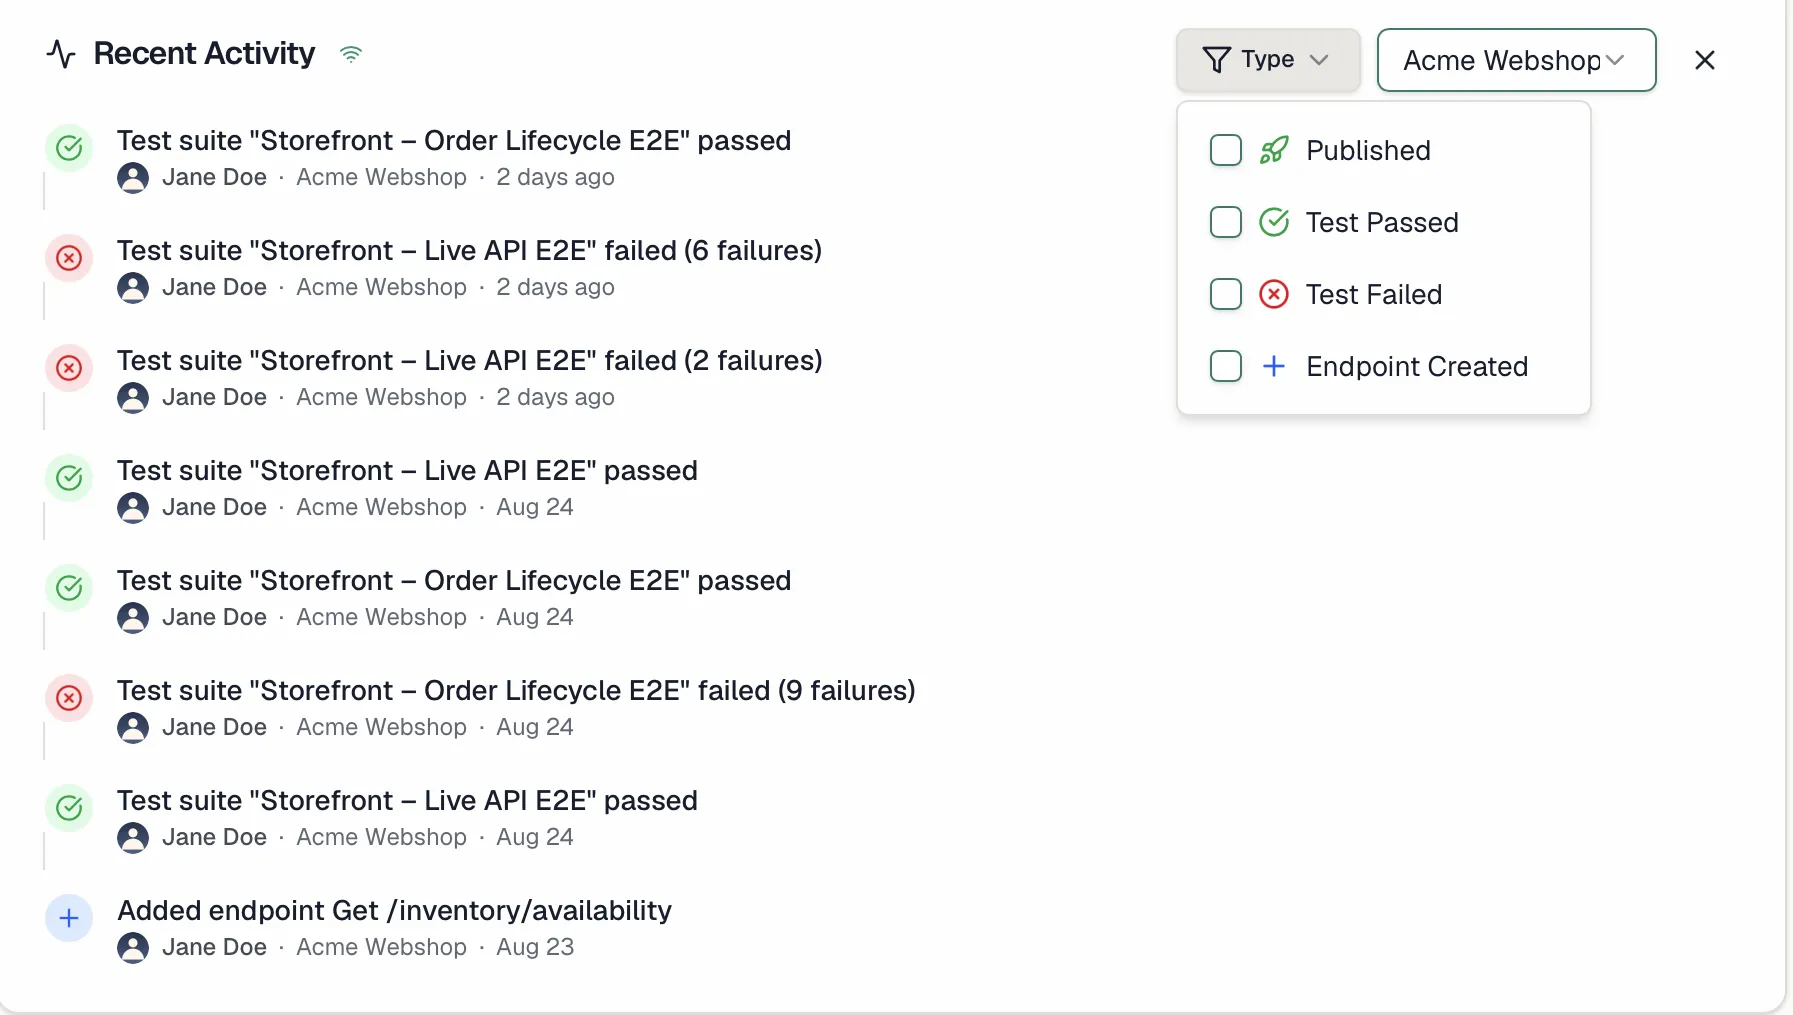
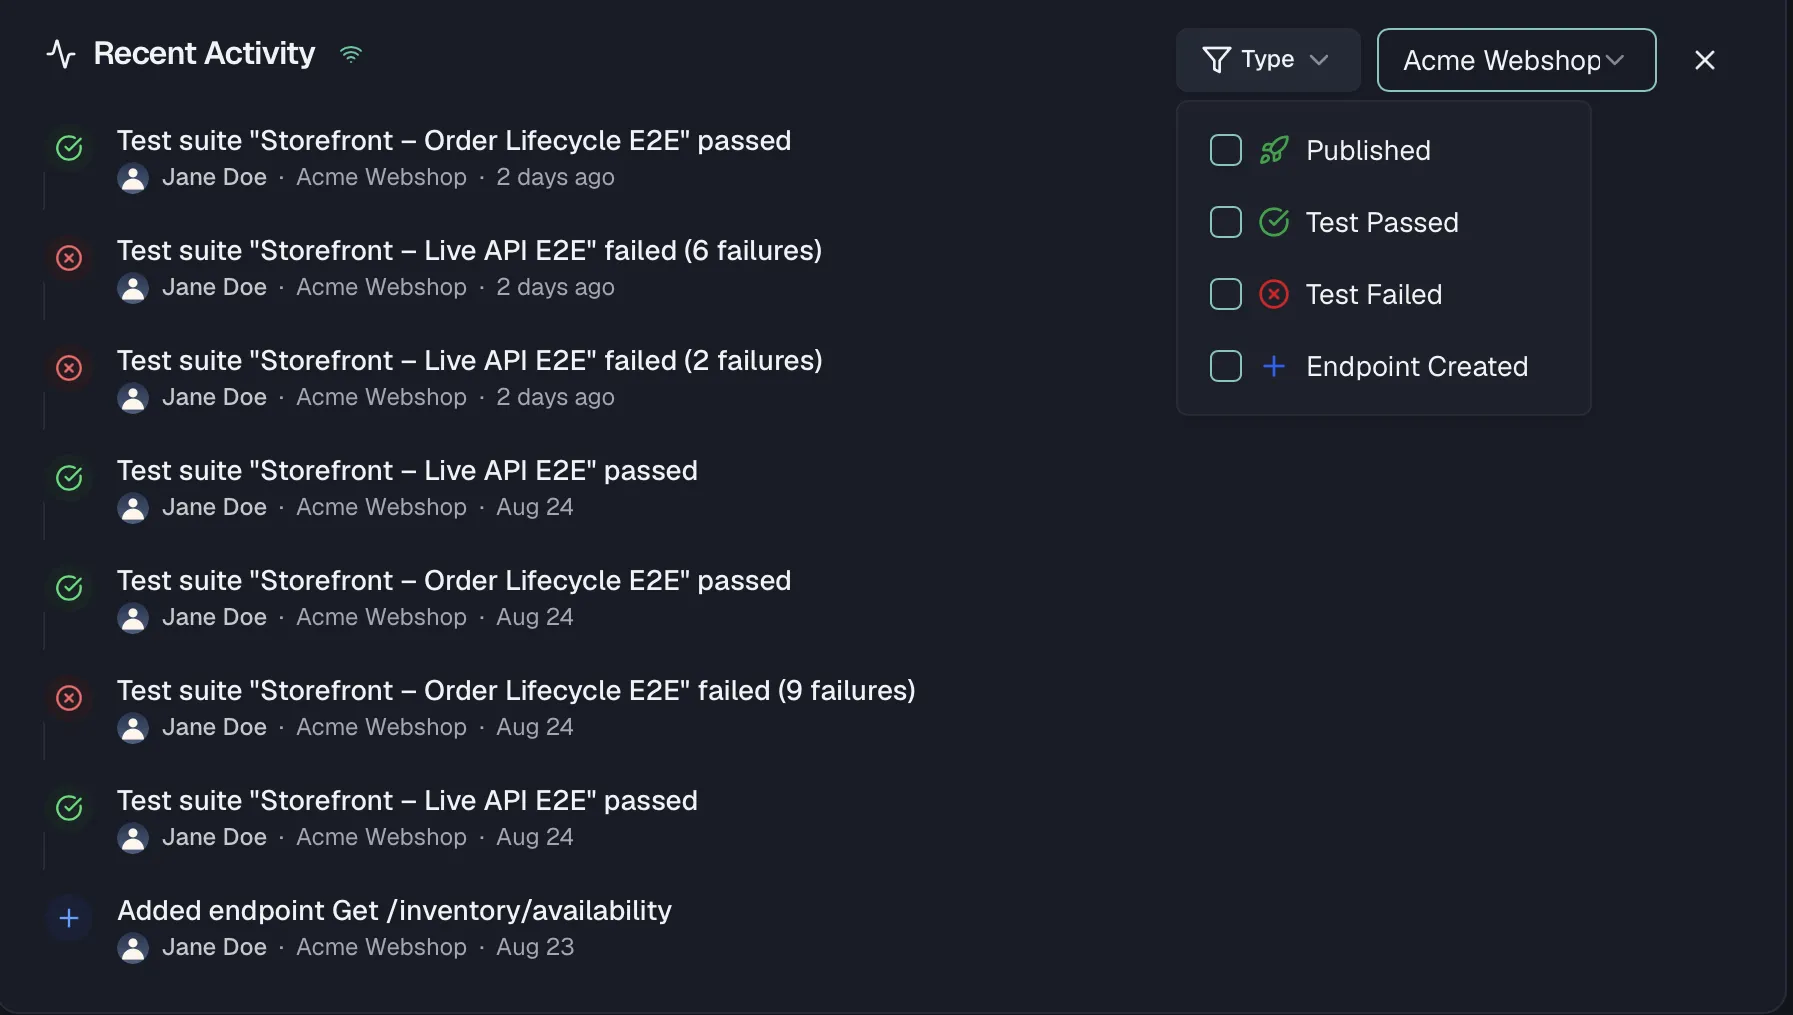 ## Test Trends
**Test Trends** charts your test pass rate over time as a line chart, with its own time range selector (**7 days**, **30 days**, **90 days**). Use it to spot regressions early, because a dipping line usually shows up before anyone files a bug.
## Quick Actions
A row of shortcuts for the most common tasks:
| Action | What it does |
| --- | --- |
| **New Project** | Opens the Create Project dialog. |
| **New Spec** | Creates an API specification in one of your projects (disabled until you have a project — "Create a project first"). |
| **Run Tests** | Opens the Test Runner. |
| **View Docs** | Opens this documentation in a new tab. |
## The empty dashboard
A brand-new workspace shows a **"Welcome to Routebase"** screen instead of widgets, with two ways to start. The **Create with AI inside Routebase** card sits below them deliberately, because a fresh workspace is exactly where connecting an agent pays off most.
The two starting points are:
- **Create Project** — start fresh with a new API project.
- **Import OpenAPI** — import an existing specification. The import dialog walks you through two phases:
1. Pick an OpenAPI file (`.yaml`, `.yml`, or `.json`) in the **Upload** phase. This dialog reads OpenAPI only, so Postman and Insomnia exports go through the specification wizard inside a project.
2. Check the **Review** phase, where Routebase pre-fills the **project name**, **spec name**, **description** and **version** from the file, and derives **environments** from the spec's servers. All of them stay editable before import, and the import options below apply as well. Click **Import** and you land directly in the API Designer with your spec loaded.
### Import options
| Option | Default | Effect |
| --- | --- | --- |
| **Convert to OpenAPI 3.1** | off | Only offered when the file is 3.0. Upgrades nullable syntax and exclusive min/max to the 3.1 form. |
| **Organize endpoints by tags** | **on** | Auto-creates folders from the OpenAPI tags and groups endpoints into them. |
| **Shorten schema names** | off | Uses only the last dot-segment of a schema name — `Acme.Orders.OrderLine` becomes `OrderLine` — where that short name is unique in the spec. |
Turning on **Shorten schema names** reveals one more choice, and it is the consequential one for specs generated from .NET or Java:
- **Keep original names internally** (default) — the full namespaced names are stored alongside the short ones. Recommended if you will re-import the file or diff against it later.
- **Discard namespaces permanently** — the original names are not kept. Later comparisons against the source file report every schema as renamed.
## Related
- [Getting Started](https://docs.routebase.dev/getting-started/) — from sign-up to your first spec
- [Projects](https://docs.routebase.dev/projects/) — creating and organizing projects
- [Global Search](https://docs.routebase.dev/global-search/) — find anything from anywhere with ⌘K
- [Monitoring Overview](https://docs.routebase.dev/monitoring-overview/) — the monitors behind the Monitoring card
- [Security Overview](https://docs.routebase.dev/security-overview/) — the scans behind the Security Score
---
## Data-Driven Tests
Source: https://docs.routebase.dev/data-driven-tests/
Data-driven testing runs an entire test suite once per row of a **test data set**, which is a simple table of columns and rows attached to the suite. Instead of duplicating a login case for ten user accounts, you write the case once, reference columns like `{{data.email}}`, and let Routebase iterate.
## Where data sets live
Data sets belong to a test suite. Open the suite in the **Test Runner**, click **Suite Settings** at the bottom of the sidebar, and scroll to the **Data Sets** section. Before you create one, the section shows **No test data sets yet** above the line "Create a data set to parameterize your test cases with different input values." and offers the **Import CSV/JSON** and **Create First Data Set** buttons.
Each data set card shows its name, its size (`2 cols · 10 rows`), and an optional description. Managing data sets requires the **tests:write** permission.
## Creating and editing a data set
1. In **Data Sets**, click **Add Data Set**.
2. Enter a **Name** (e.g. `User registration data`) and an optional **Description**, then click **Create Data Set**. A new set starts with one column and one empty row.
3. Expand the set and click **Edit Data** to open the inline table editor:
- Rename columns by typing into the header cells. Every column needs a name, and names must be unique, because the editor blocks saving otherwise.
- Add and remove columns with the column buttons (at least one column must remain).
- Click **Add Row** for more rows, and edit cells directly in the table.
4. Click **Save**. Use **Edit Name** to change the name or description later.
All cell values are stored as text, and type conversion happens where the value is used.
## Test Trends
**Test Trends** charts your test pass rate over time as a line chart, with its own time range selector (**7 days**, **30 days**, **90 days**). Use it to spot regressions early, because a dipping line usually shows up before anyone files a bug.
## Quick Actions
A row of shortcuts for the most common tasks:
| Action | What it does |
| --- | --- |
| **New Project** | Opens the Create Project dialog. |
| **New Spec** | Creates an API specification in one of your projects (disabled until you have a project — "Create a project first"). |
| **Run Tests** | Opens the Test Runner. |
| **View Docs** | Opens this documentation in a new tab. |
## The empty dashboard
A brand-new workspace shows a **"Welcome to Routebase"** screen instead of widgets, with two ways to start. The **Create with AI inside Routebase** card sits below them deliberately, because a fresh workspace is exactly where connecting an agent pays off most.
The two starting points are:
- **Create Project** — start fresh with a new API project.
- **Import OpenAPI** — import an existing specification. The import dialog walks you through two phases:
1. Pick an OpenAPI file (`.yaml`, `.yml`, or `.json`) in the **Upload** phase. This dialog reads OpenAPI only, so Postman and Insomnia exports go through the specification wizard inside a project.
2. Check the **Review** phase, where Routebase pre-fills the **project name**, **spec name**, **description** and **version** from the file, and derives **environments** from the spec's servers. All of them stay editable before import, and the import options below apply as well. Click **Import** and you land directly in the API Designer with your spec loaded.
### Import options
| Option | Default | Effect |
| --- | --- | --- |
| **Convert to OpenAPI 3.1** | off | Only offered when the file is 3.0. Upgrades nullable syntax and exclusive min/max to the 3.1 form. |
| **Organize endpoints by tags** | **on** | Auto-creates folders from the OpenAPI tags and groups endpoints into them. |
| **Shorten schema names** | off | Uses only the last dot-segment of a schema name — `Acme.Orders.OrderLine` becomes `OrderLine` — where that short name is unique in the spec. |
Turning on **Shorten schema names** reveals one more choice, and it is the consequential one for specs generated from .NET or Java:
- **Keep original names internally** (default) — the full namespaced names are stored alongside the short ones. Recommended if you will re-import the file or diff against it later.
- **Discard namespaces permanently** — the original names are not kept. Later comparisons against the source file report every schema as renamed.
## Related
- [Getting Started](https://docs.routebase.dev/getting-started/) — from sign-up to your first spec
- [Projects](https://docs.routebase.dev/projects/) — creating and organizing projects
- [Global Search](https://docs.routebase.dev/global-search/) — find anything from anywhere with ⌘K
- [Monitoring Overview](https://docs.routebase.dev/monitoring-overview/) — the monitors behind the Monitoring card
- [Security Overview](https://docs.routebase.dev/security-overview/) — the scans behind the Security Score
---
## Data-Driven Tests
Source: https://docs.routebase.dev/data-driven-tests/
Data-driven testing runs an entire test suite once per row of a **test data set**, which is a simple table of columns and rows attached to the suite. Instead of duplicating a login case for ten user accounts, you write the case once, reference columns like `{{data.email}}`, and let Routebase iterate.
## Where data sets live
Data sets belong to a test suite. Open the suite in the **Test Runner**, click **Suite Settings** at the bottom of the sidebar, and scroll to the **Data Sets** section. Before you create one, the section shows **No test data sets yet** above the line "Create a data set to parameterize your test cases with different input values." and offers the **Import CSV/JSON** and **Create First Data Set** buttons.
Each data set card shows its name, its size (`2 cols · 10 rows`), and an optional description. Managing data sets requires the **tests:write** permission.
## Creating and editing a data set
1. In **Data Sets**, click **Add Data Set**.
2. Enter a **Name** (e.g. `User registration data`) and an optional **Description**, then click **Create Data Set**. A new set starts with one column and one empty row.
3. Expand the set and click **Edit Data** to open the inline table editor:
- Rename columns by typing into the header cells. Every column needs a name, and names must be unique, because the editor blocks saving otherwise.
- Add and remove columns with the column buttons (at least one column must remain).
- Click **Add Row** for more rows, and edit cells directly in the table.
4. Click **Save**. Use **Edit Name** to change the name or description later.
All cell values are stored as text, and type conversion happens where the value is used.
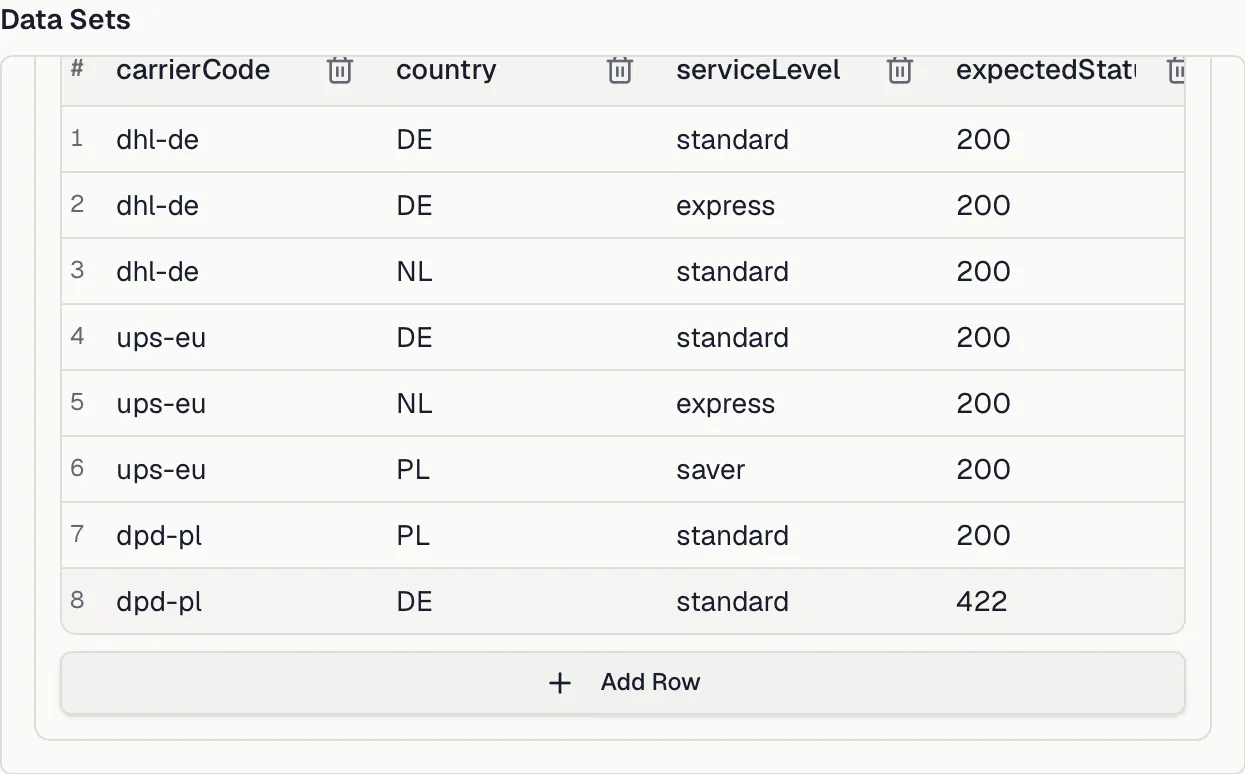
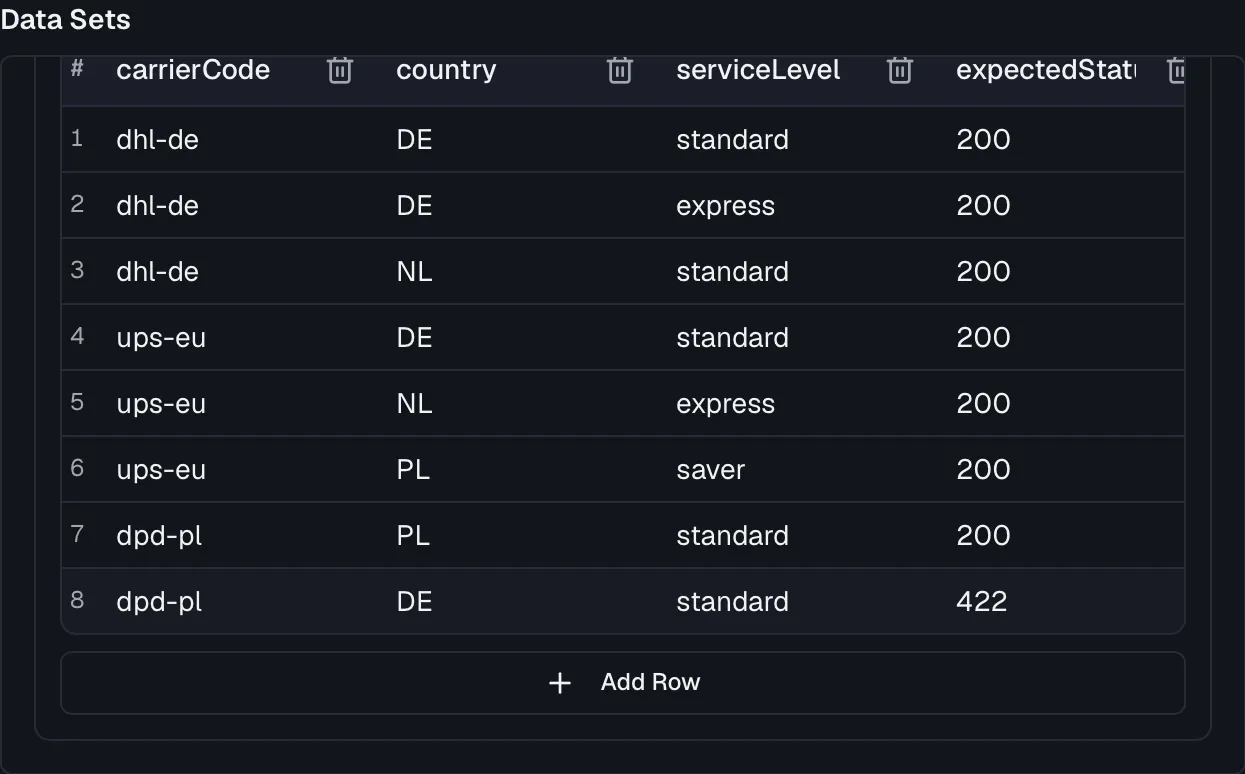 ## Importing data
Click **Import** to open the **Import Test Data** dialog, which reads "Upload a CSV or JSON file, or paste data directly to import into a test data set."
- **Upload File** supports CSV, JSON, and TSV files. The data set name is pre-filled from the filename.
- **Or Paste Data** accepts raw CSV or JSON, and the format is auto-detected and shown as a badge reading **CSV detected** or **JSON detected**.
- For CSV, the first row is treated as headers, and quoted fields and escaped quotes are handled.
- For JSON, the importer takes an array of objects whose keys become columns, an array of arrays, or an array of primitives that lands in a single `Value` column.
A **Preview** shows the first 10 rows. Then choose the **Import Mode**:
| Mode | Effect |
| --- | --- |
| **Create new data set** | Imports into a fresh data set (name required). |
| **Replace existing data set** | All existing data will be replaced with the imported data. |
| **Append to existing data set** | Imported rows will be added to the existing data. |
Click **Import Data** to finish.
## Referencing row values
Reference a column anywhere a request template accepts placeholders, which covers the URL, the headers, the body and assertion expected values:
```
{{data.
## Importing data
Click **Import** to open the **Import Test Data** dialog, which reads "Upload a CSV or JSON file, or paste data directly to import into a test data set."
- **Upload File** supports CSV, JSON, and TSV files. The data set name is pre-filled from the filename.
- **Or Paste Data** accepts raw CSV or JSON, and the format is auto-detected and shown as a badge reading **CSV detected** or **JSON detected**.
- For CSV, the first row is treated as headers, and quoted fields and escaped quotes are handled.
- For JSON, the importer takes an array of objects whose keys become columns, an array of arrays, or an array of primitives that lands in a single `Value` column.
A **Preview** shows the first 10 rows. Then choose the **Import Mode**:
| Mode | Effect |
| --- | --- |
| **Create new data set** | Imports into a fresh data set (name required). |
| **Replace existing data set** | All existing data will be replaced with the imported data. |
| **Append to existing data set** | Imported rows will be added to the existing data. |
Click **Import Data** to finish.
## Referencing row values
Reference a column anywhere a request template accepts placeholders, which covers the URL, the headers, the body and assertion expected values:
```
{{data.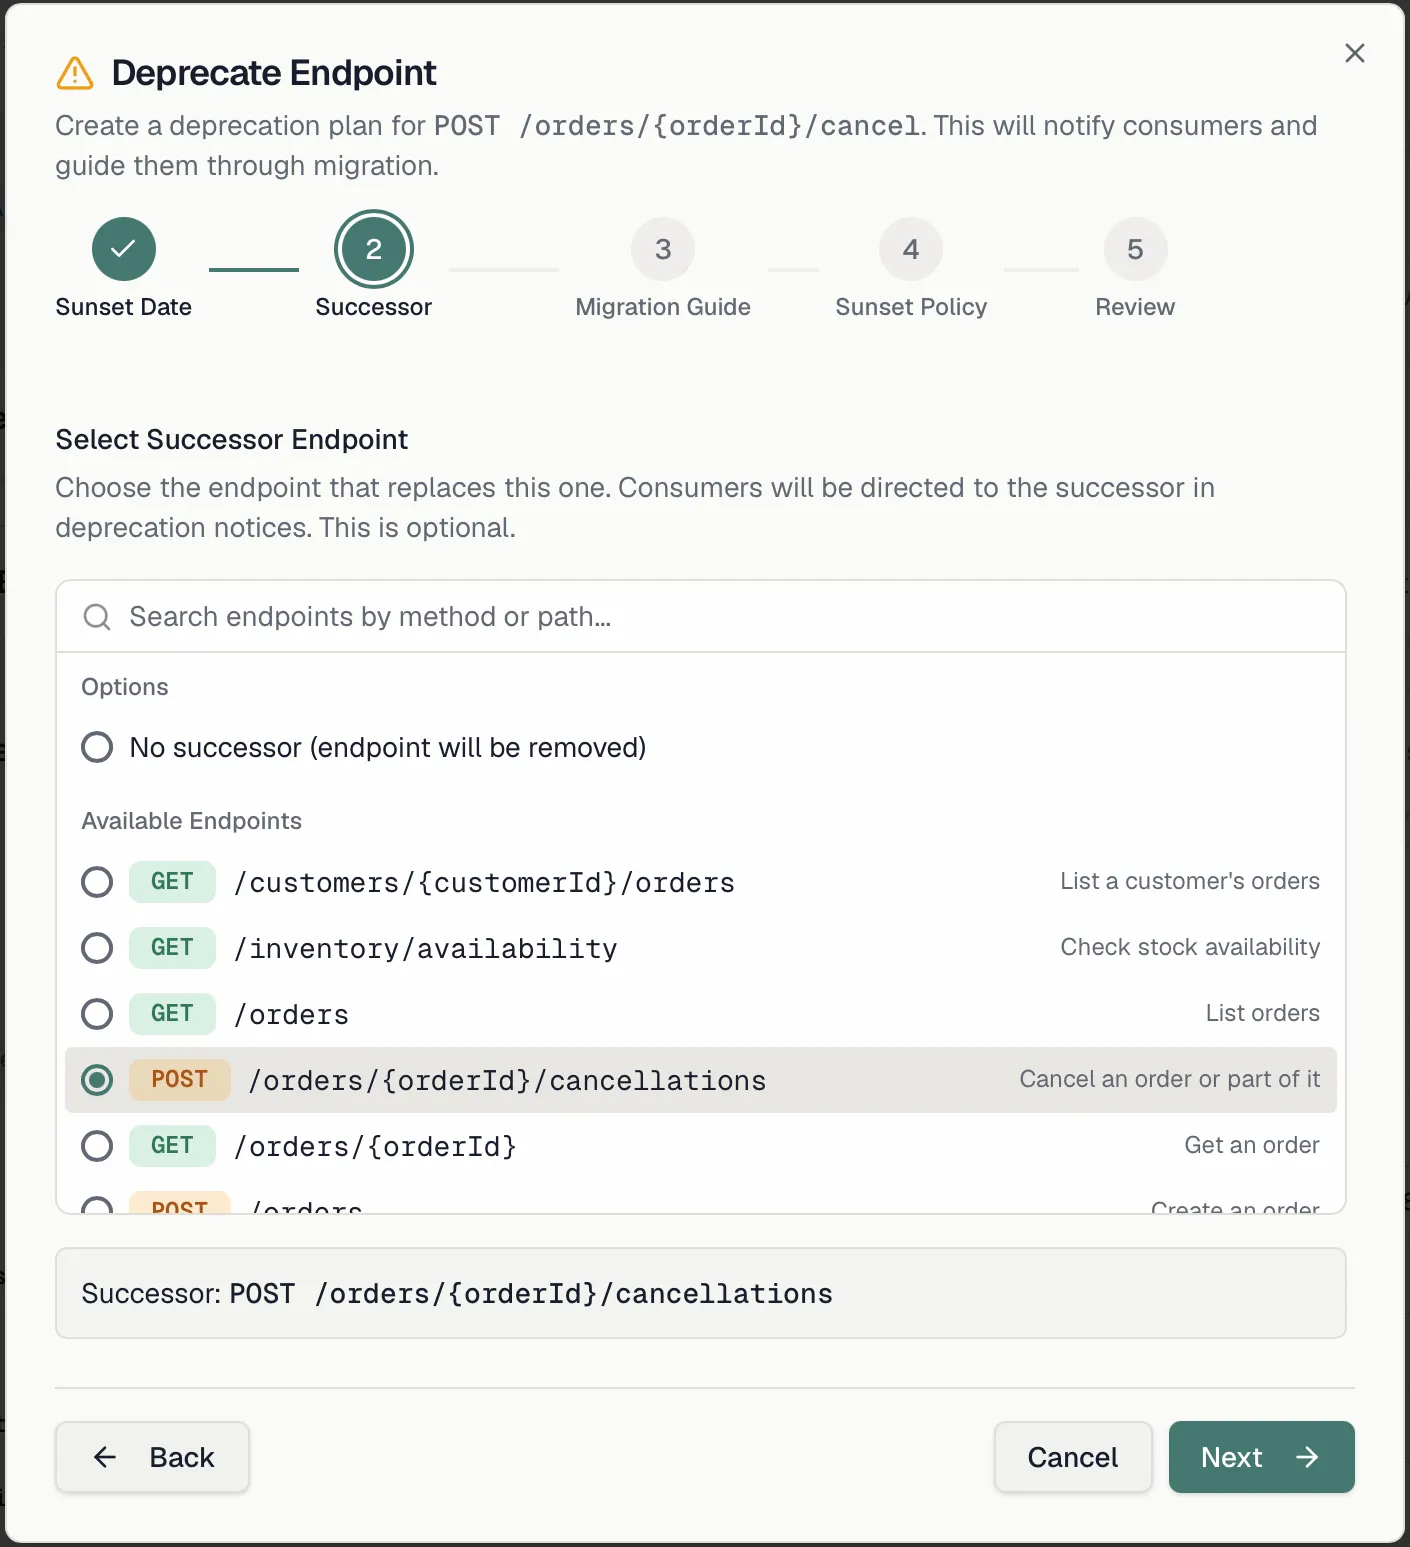
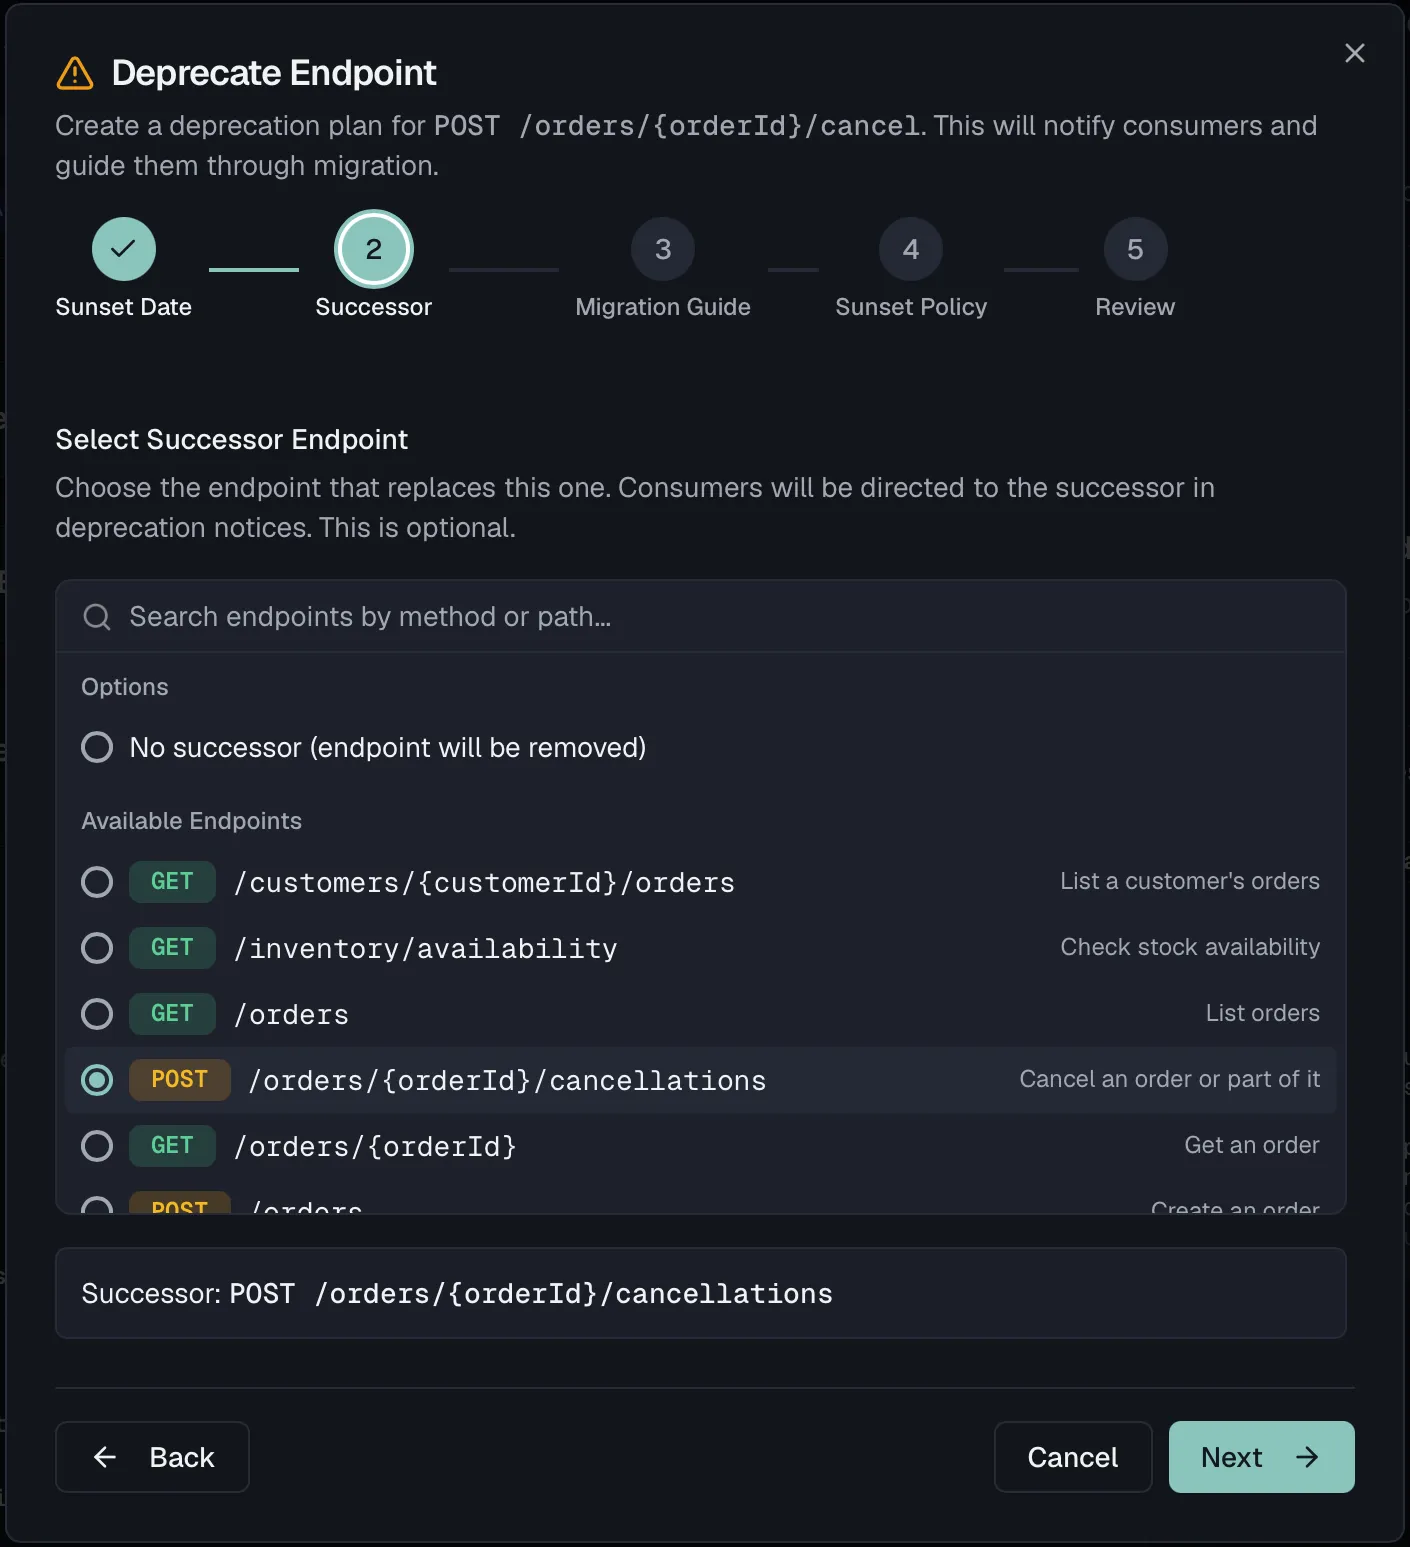 ### Sunset policy
Three switches take effect **in the sunset phase**, and all of them apply to requests against a **Routebase mock server** for this endpoint:
- **Deprecation Warning Header** adds a `Warning: 299` header naming the sunset date and, where one is set, the successor endpoint. The header field itself is obsolete, because RFC 9111 replaced RFC 7234 and dropped `Warning` on the grounds that it is not widely generated or surfaced to users. It is still sent for clients that read it. The machine-readable signals are the `Deprecation` header (RFC 9745) and the `Sunset` header (RFC 8594). Both go out regardless of this switch, as soon as the plan has a sunset date, so the switch only adds the human-readable warning on top.
- **Reduced Rate Limiting** cuts the mock rule's rate limit by the percentage on the slider for the whole sunset phase, and it marks throttled responses with `X-RateLimit-Deprecated: true`. The cut happens in one step when the phase begins rather than ramping up towards the sunset date. It only does something if the mock rule already has a rate limit configured, because without one there is nothing to reduce.
- **Automatic Shutdown** retires the plan on its own once the sunset date passes, instead of leaving it for a person. Its **soft shutdown** window is the number of days before sunset in which the mock starts answering `410 Gone` instead of the normal response. Consumers therefore hit the removal in testing before they hit it in production.
If your consumers do not use a Routebase mock, leave these off, because they will not do anything.
## Approval
When your organization requires approval, a new plan starts in **Pending approval** and the endpoint is *not* yet deprecated. The endpoint's deprecation panel says so explicitly, and it offers an admin **Approve** and **Reject**, where rejection requires a comment.
Approval moves the plan to announced and starts the clock. Rejection is terminal, so the plan is closed and a new one has to be created.
## Watching a plan
The endpoint's **Deprecation** panel in the designer shows the live state, which is the phase, the sunset date, the successor, and two numbers worth explaining:
- **Usage (last 30 days)** gives request counts and unique consumers.
- **Migration progress** shows as a bar how far usage has fallen from the first day the plan was tracked to the most recent one.
**Both numbers count requests against the Routebase mock server only.** They are a good signal when your consumers develop against your mocks, and they are silent about production traffic, because Routebase never sees it. A migration progress of 100% means nobody is calling the mock any more, not that nobody is calling your API.
Alongside them, Routebase flags a plan whose usage has been zero for 14 consecutive days, which is the closest thing to an "it is safe to remove this" signal the data can give.
### The deprecation dashboard
**Settings → Governance** carries a **Deprecation Dashboard** across the whole organization, and it needs Pro or above plus **org:manage-governance**. It shows totals per phase, then every plan grouped into sunset phase, grace period and announced, ordered by urgency. Selecting one opens its details.
### Sunset policy
Three switches take effect **in the sunset phase**, and all of them apply to requests against a **Routebase mock server** for this endpoint:
- **Deprecation Warning Header** adds a `Warning: 299` header naming the sunset date and, where one is set, the successor endpoint. The header field itself is obsolete, because RFC 9111 replaced RFC 7234 and dropped `Warning` on the grounds that it is not widely generated or surfaced to users. It is still sent for clients that read it. The machine-readable signals are the `Deprecation` header (RFC 9745) and the `Sunset` header (RFC 8594). Both go out regardless of this switch, as soon as the plan has a sunset date, so the switch only adds the human-readable warning on top.
- **Reduced Rate Limiting** cuts the mock rule's rate limit by the percentage on the slider for the whole sunset phase, and it marks throttled responses with `X-RateLimit-Deprecated: true`. The cut happens in one step when the phase begins rather than ramping up towards the sunset date. It only does something if the mock rule already has a rate limit configured, because without one there is nothing to reduce.
- **Automatic Shutdown** retires the plan on its own once the sunset date passes, instead of leaving it for a person. Its **soft shutdown** window is the number of days before sunset in which the mock starts answering `410 Gone` instead of the normal response. Consumers therefore hit the removal in testing before they hit it in production.
If your consumers do not use a Routebase mock, leave these off, because they will not do anything.
## Approval
When your organization requires approval, a new plan starts in **Pending approval** and the endpoint is *not* yet deprecated. The endpoint's deprecation panel says so explicitly, and it offers an admin **Approve** and **Reject**, where rejection requires a comment.
Approval moves the plan to announced and starts the clock. Rejection is terminal, so the plan is closed and a new one has to be created.
## Watching a plan
The endpoint's **Deprecation** panel in the designer shows the live state, which is the phase, the sunset date, the successor, and two numbers worth explaining:
- **Usage (last 30 days)** gives request counts and unique consumers.
- **Migration progress** shows as a bar how far usage has fallen from the first day the plan was tracked to the most recent one.
**Both numbers count requests against the Routebase mock server only.** They are a good signal when your consumers develop against your mocks, and they are silent about production traffic, because Routebase never sees it. A migration progress of 100% means nobody is calling the mock any more, not that nobody is calling your API.
Alongside them, Routebase flags a plan whose usage has been zero for 14 consecutive days, which is the closest thing to an "it is safe to remove this" signal the data can give.
### The deprecation dashboard
**Settings → Governance** carries a **Deprecation Dashboard** across the whole organization, and it needs Pro or above plus **org:manage-governance**. It shows totals per phase, then every plan grouped into sunset phase, grace period and announced, ordered by urgency. Selecting one opens its details.
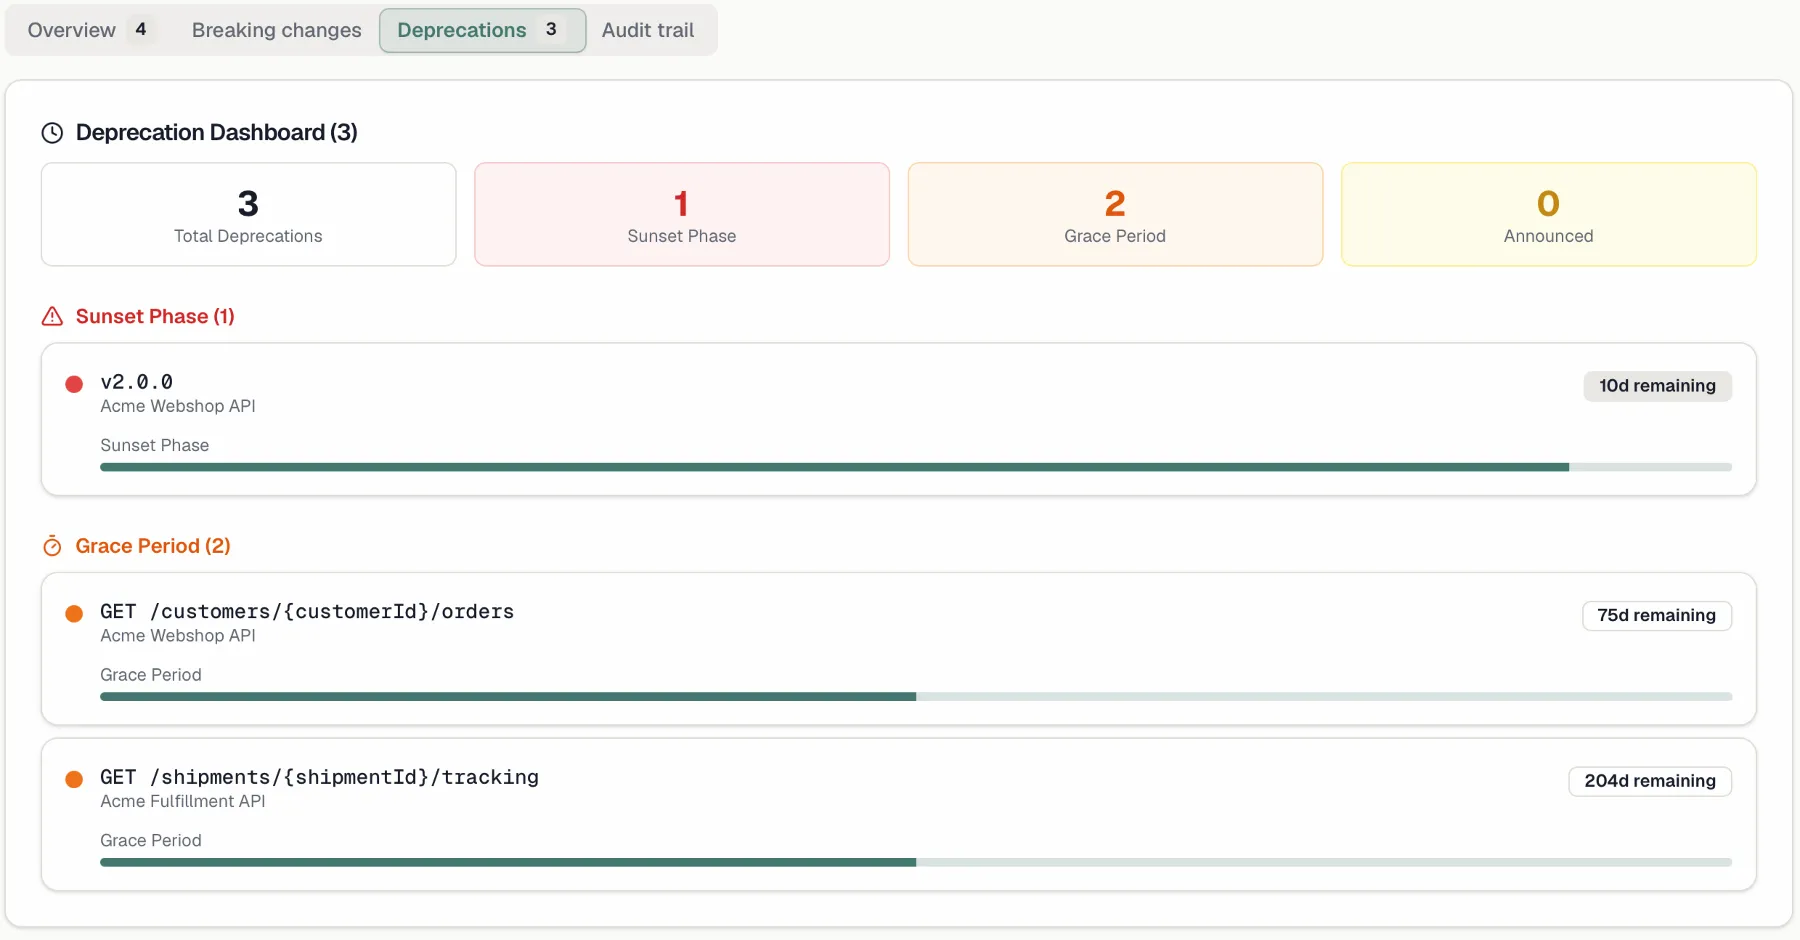
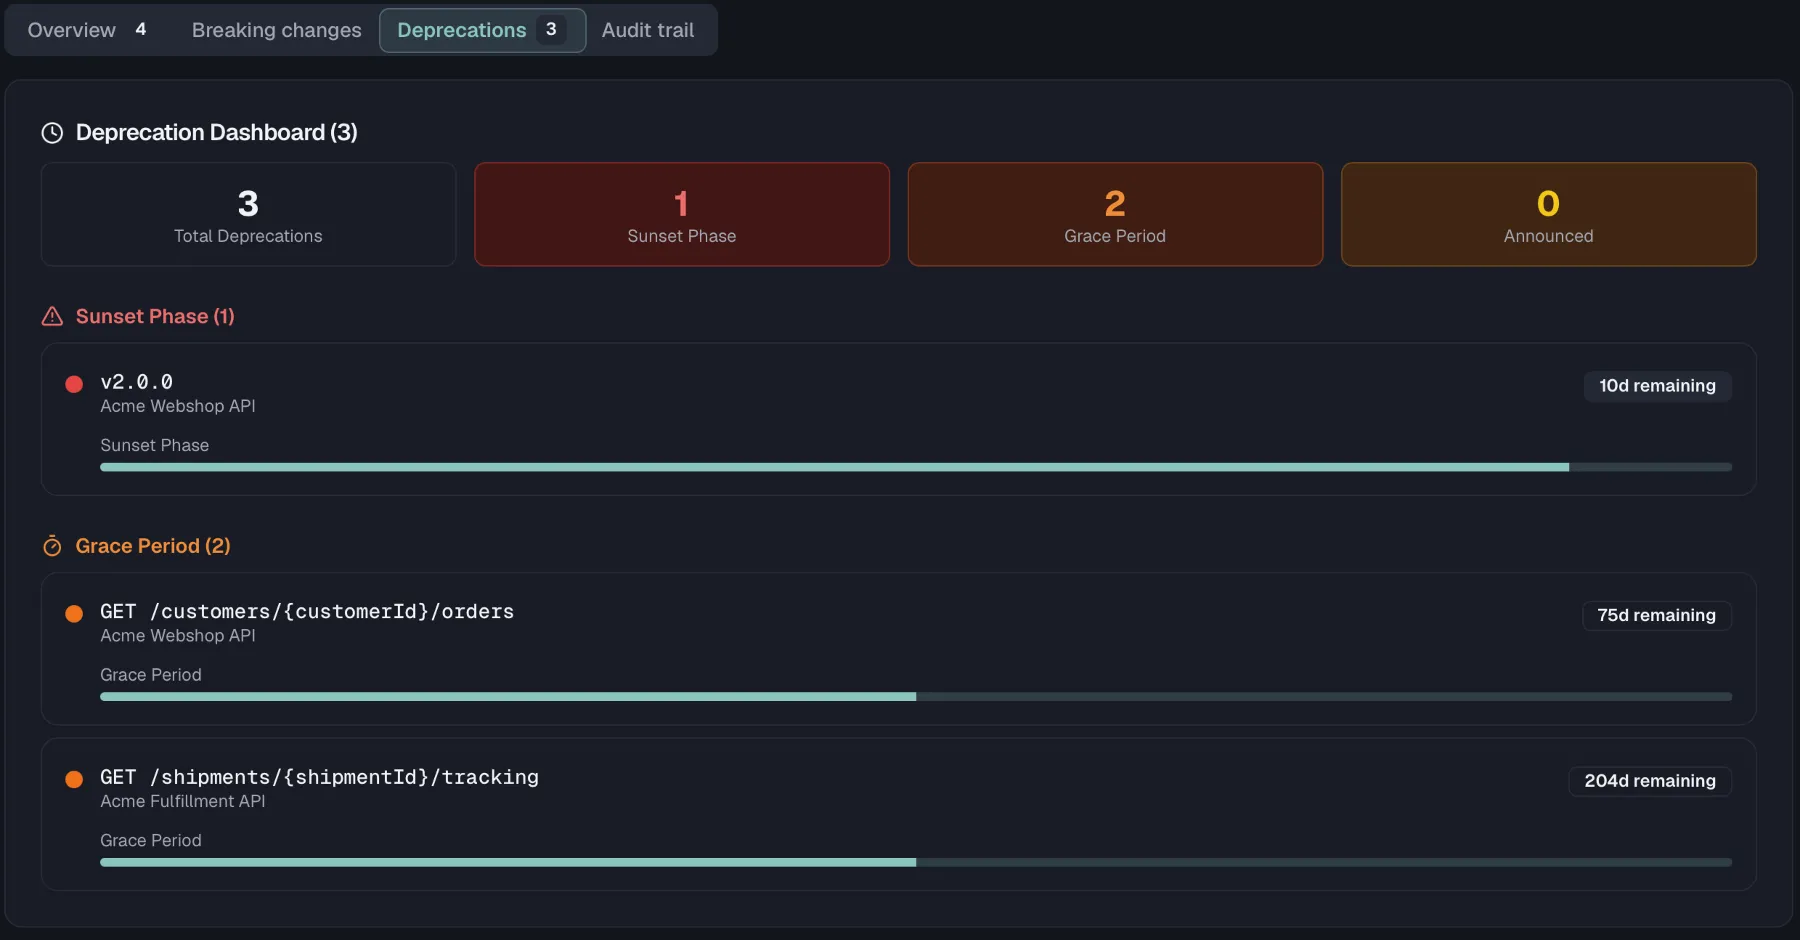 ## Changing, cancelling, and retiring
From the endpoint's deprecation panel you can:
- **Edit** the sunset date and the migration guide while the plan runs.
- **Cancel** the plan. The endpoint stays and the deprecation disappears from the portal.
Retiring a plan by hand is available through the API and the MCP tool `retire_deprecation`. That applies to a plan past its sunset date without automatic shutdown.
Retiring records that the deprecation ran its course. It does **not** delete the endpoint from your spec, because removing it is a separate and deliberate edit, and one that counts as a [breaking change](https://docs.routebase.dev/versioning/).
## What consumers see
On a published portal, a deprecated endpoint's page carries a banner with the sunset date, the number of days remaining, the rendered migration guide, and a link to the successor where one is set. This is why the migration guide is worth writing properly: it is the text a consumer reads at the moment they discover the problem.
The banner is controlled by the **Show deprecation info** switch in your portal settings, and only announced plans reach it, never pending ones. See [Portal Branding](https://docs.routebase.dev/doc-branding/) for the portal's feature switches.
Consumers on your team are notified as well. They get an announcement notification when the plan goes live, plus sunset reminders at 30, 14, 7 and 1 days before the date by default.
## Organization policy
**Settings → Deprecation Policy**, which needs **org:manage-governance**, sets the floor for every deprecation in the organization, so one person cannot rush one through on a Friday afternoon.
Start from a preset and adjust:
| Preset | Minimum grace period | Sunset phase | Requirements |
| --- | --- | --- | --- |
| **Relaxed** | 30 days | 7 days | none |
| **Standard** | 90 days | 14 days | migration guide |
| **Strict** | 180 days | 30 days | migration guide, successor link, approval |
The individual settings behind them:
- **Minimum grace period** is the shortest allowed gap between announcement and sunset. A wizard that proposes a closer date is refused.
- **Sunset phase** says how many days before the sunset date the sunset phase begins.
- **Require migration guide** and **Require successor link** make those wizard steps mandatory.
- **Require approval** decides whether plans start in pending approval.
- **Notify on announcement** and **Send sunset reminders** control the notifications, with the reminder schedule as a set of checkboxes for 60, 30, 14, 7, 3 and 1 days before sunset.
## Changing, cancelling, and retiring
From the endpoint's deprecation panel you can:
- **Edit** the sunset date and the migration guide while the plan runs.
- **Cancel** the plan. The endpoint stays and the deprecation disappears from the portal.
Retiring a plan by hand is available through the API and the MCP tool `retire_deprecation`. That applies to a plan past its sunset date without automatic shutdown.
Retiring records that the deprecation ran its course. It does **not** delete the endpoint from your spec, because removing it is a separate and deliberate edit, and one that counts as a [breaking change](https://docs.routebase.dev/versioning/).
## What consumers see
On a published portal, a deprecated endpoint's page carries a banner with the sunset date, the number of days remaining, the rendered migration guide, and a link to the successor where one is set. This is why the migration guide is worth writing properly: it is the text a consumer reads at the moment they discover the problem.
The banner is controlled by the **Show deprecation info** switch in your portal settings, and only announced plans reach it, never pending ones. See [Portal Branding](https://docs.routebase.dev/doc-branding/) for the portal's feature switches.
Consumers on your team are notified as well. They get an announcement notification when the plan goes live, plus sunset reminders at 30, 14, 7 and 1 days before the date by default.
## Organization policy
**Settings → Deprecation Policy**, which needs **org:manage-governance**, sets the floor for every deprecation in the organization, so one person cannot rush one through on a Friday afternoon.
Start from a preset and adjust:
| Preset | Minimum grace period | Sunset phase | Requirements |
| --- | --- | --- | --- |
| **Relaxed** | 30 days | 7 days | none |
| **Standard** | 90 days | 14 days | migration guide |
| **Strict** | 180 days | 30 days | migration guide, successor link, approval |
The individual settings behind them:
- **Minimum grace period** is the shortest allowed gap between announcement and sunset. A wizard that proposes a closer date is refused.
- **Sunset phase** says how many days before the sunset date the sunset phase begins.
- **Require migration guide** and **Require successor link** make those wizard steps mandatory.
- **Require approval** decides whether plans start in pending approval.
- **Notify on announcement** and **Send sunset reminders** control the notifications, with the reminder schedule as a set of checkboxes for 60, 30, 14, 7, 3 and 1 days before sunset.
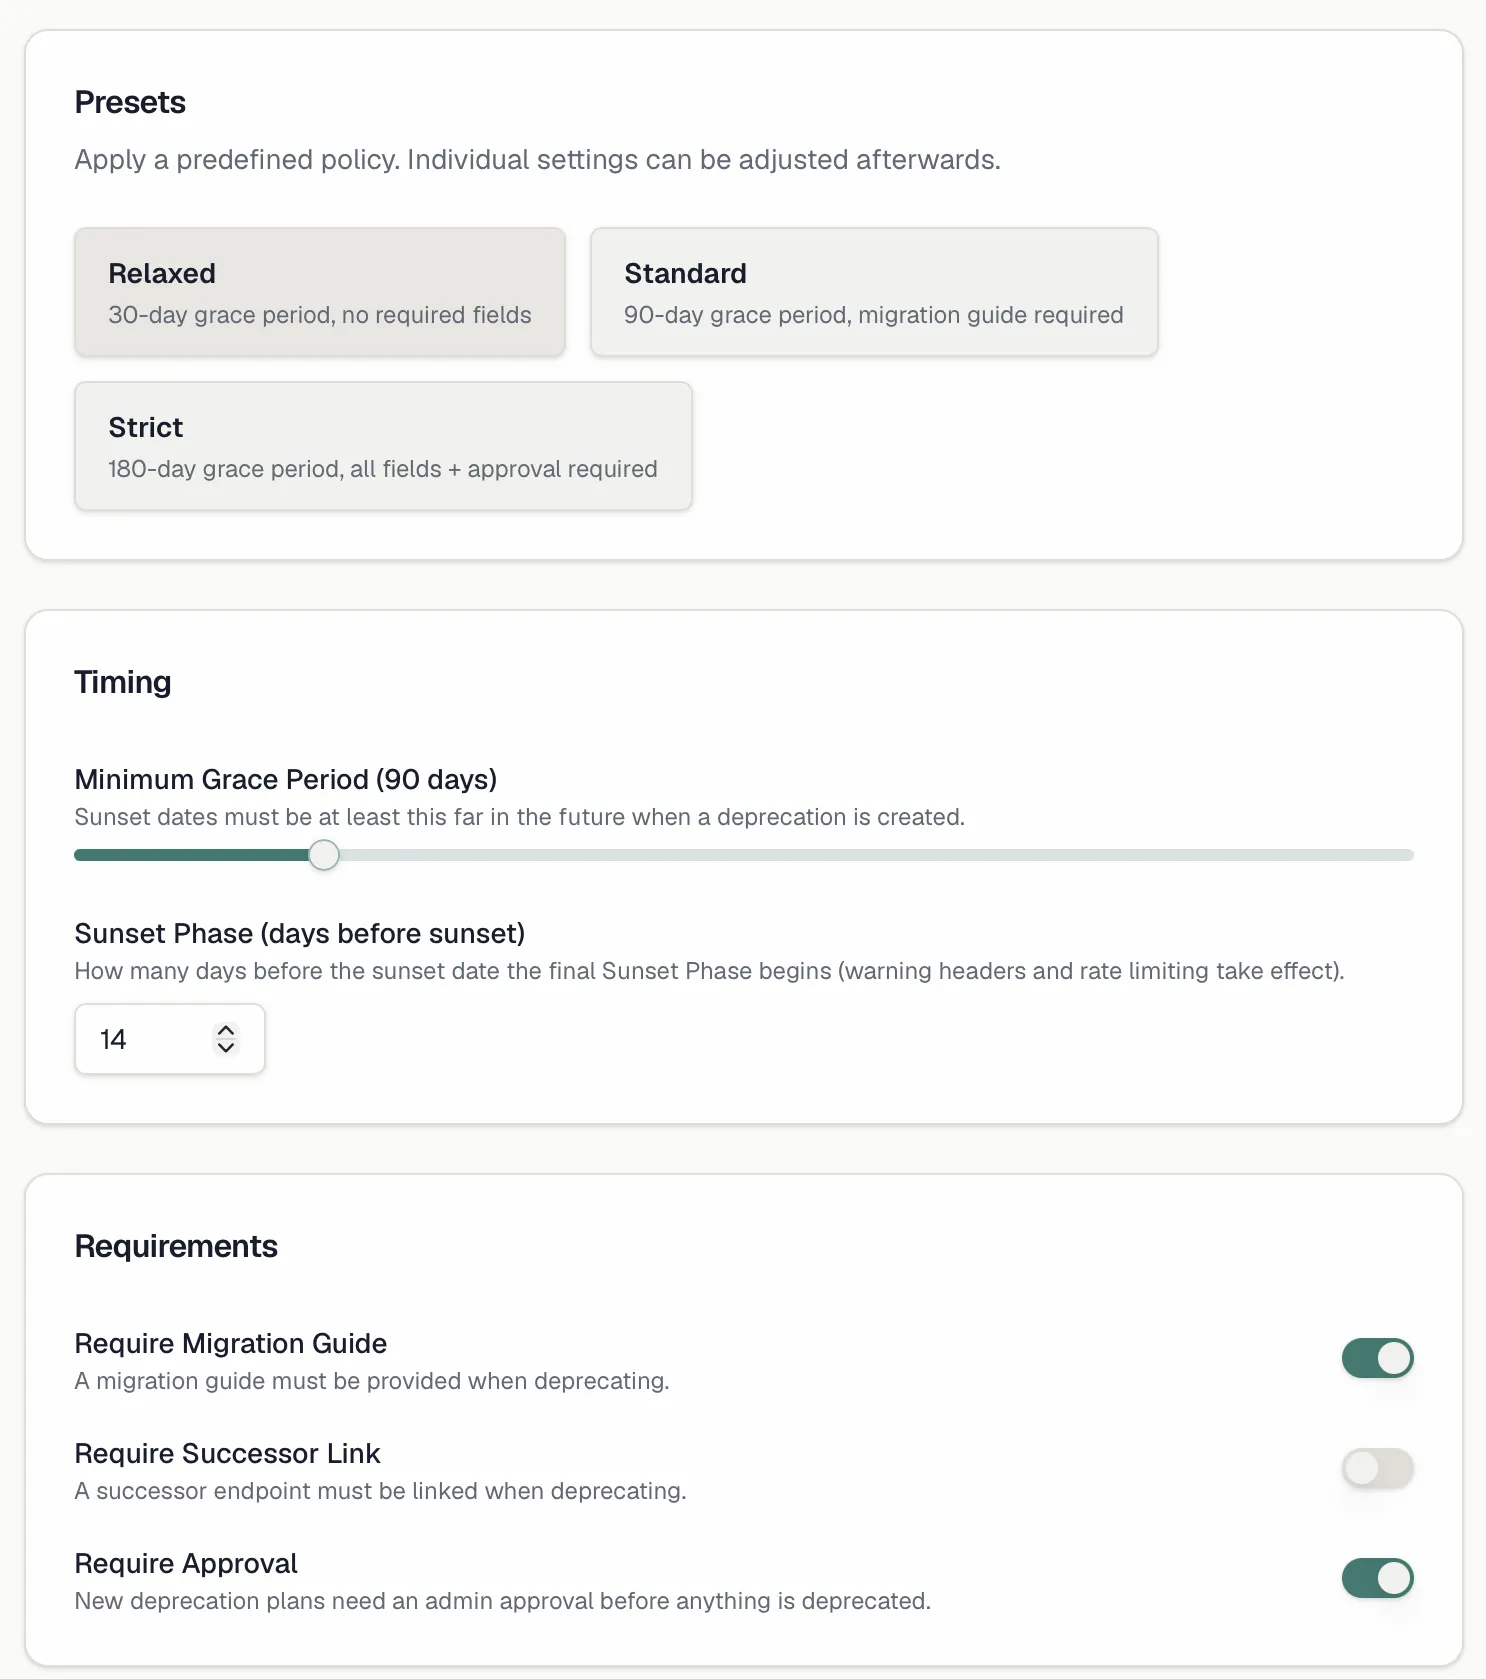
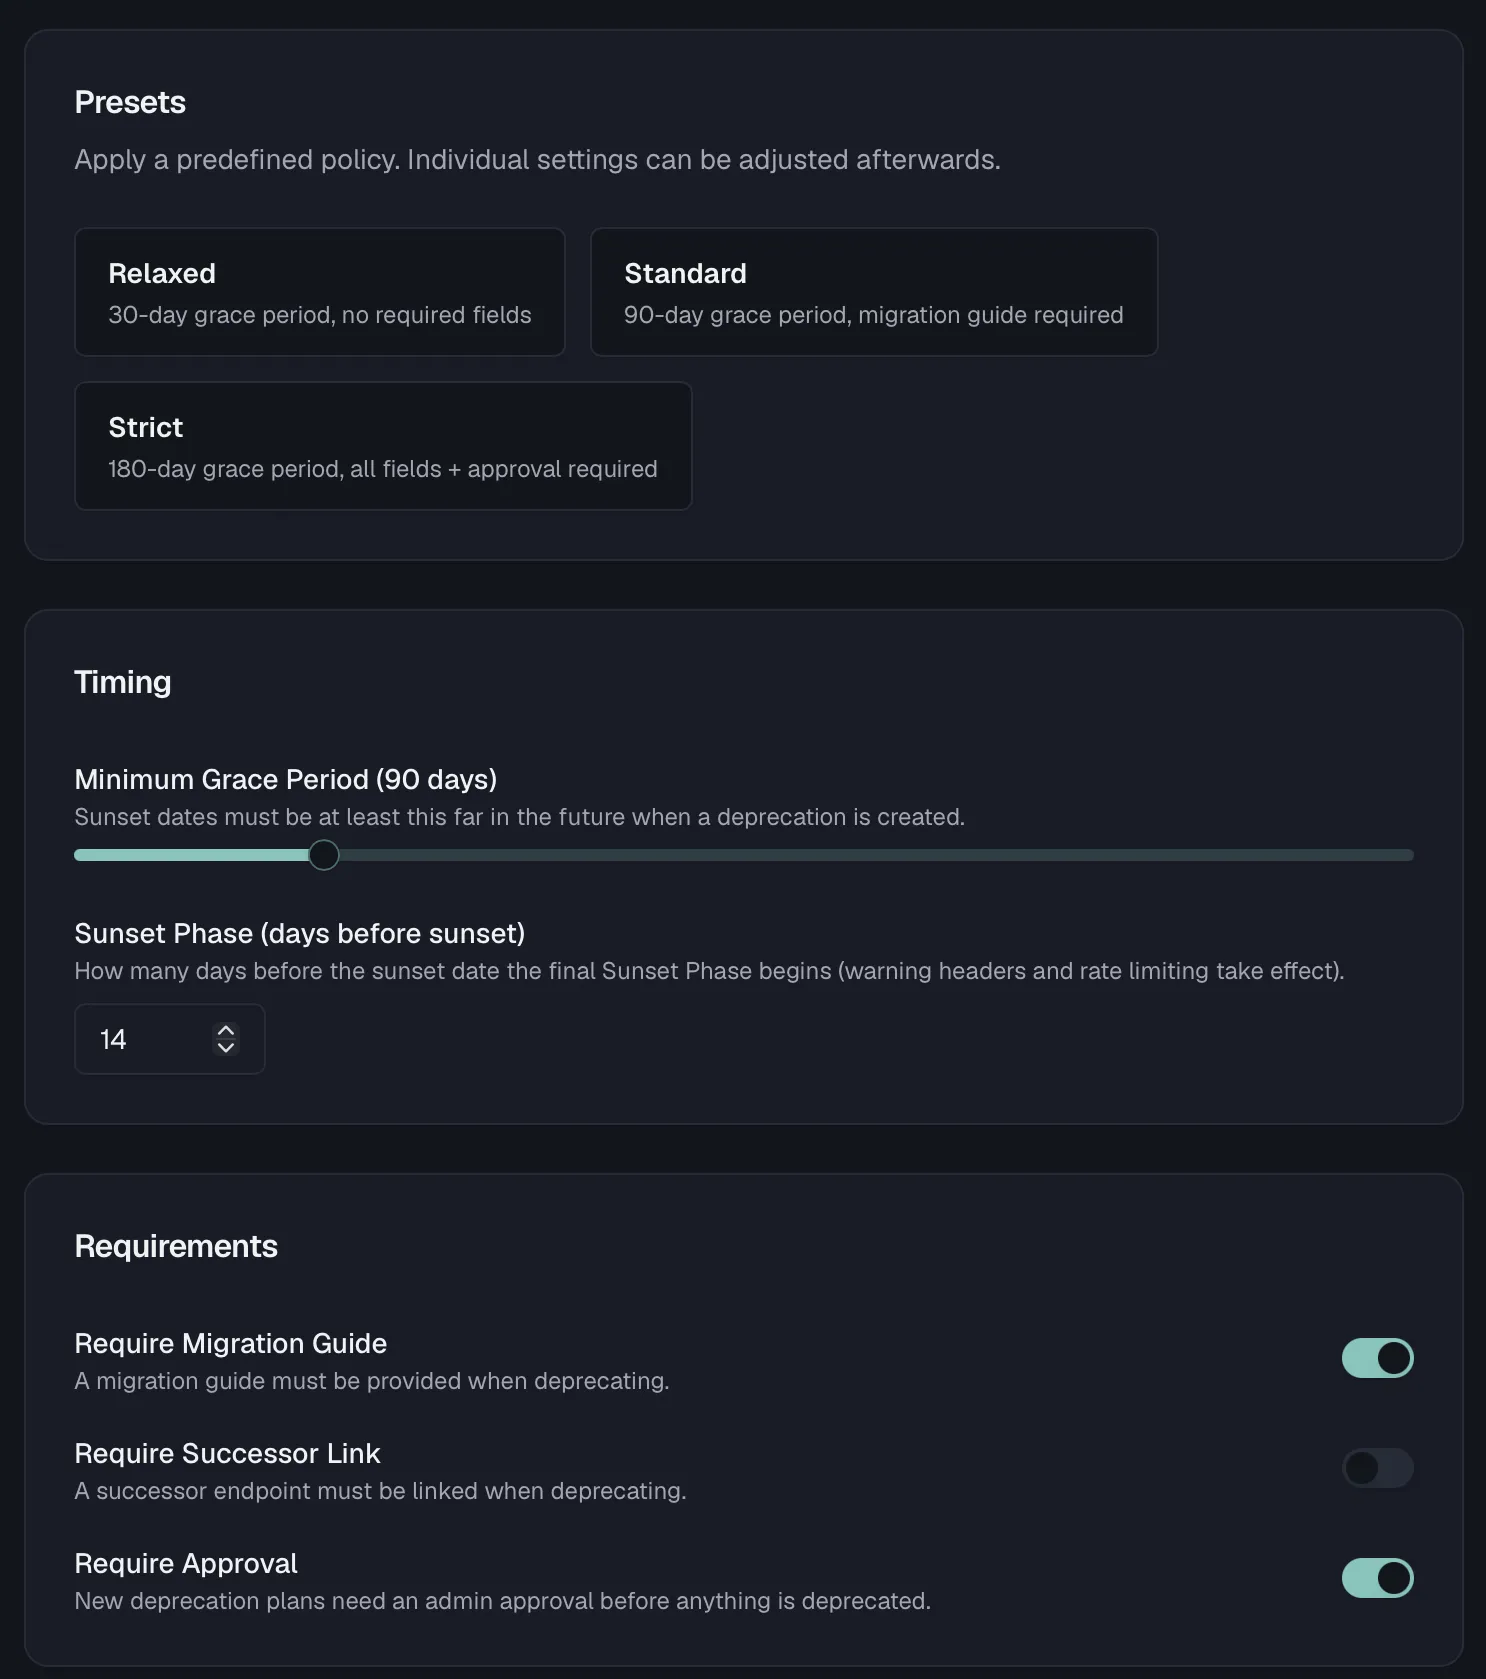 ---
## Deprecation — MCP Tools
Source: https://docs.routebase.dev/deprecation-mcp-tools/
The tools below belong to the **Deprecation** group of the Routebase MCP server.
## force_advance_deprecation
Push a deprecation one phase further than its schedule allows — grace period to sunset phase, or sunset phase to retired — skipping the checks that hold it back. Only from those two phases, and the justification is recorded in the audit trail. Requires project context. Use this only to skip ahead of schedule; to end a deprecation early use retire_deprecation.
**Required scope:** `org:manage-governance`
| Parameter | Type | Required | Description |
| --- | --- | --- | --- |
| `specId` | string | Yes | Public ID (GUID) of the API specification |
| `entityType` | string | Yes | What is deprecated: 'endpoint' or 'specVersion' |
| `entityId` | string | Yes | Public ID (GUID) of that endpoint or version |
| `justification` | string | Yes | Why the schedule is being overridden — recorded in the audit trail |
## get_deprecation_plan
Get the deprecation plan of one endpoint or published version, including its phase, sunset date, successor and migration guide. Returns null when nothing is deprecated. Set includeUsage to also see whether anyone still calls it — do that before retiring. Requires project context.
**Required scope:** `specs:read`
| Parameter | Type | Required | Description |
| --- | --- | --- | --- |
| `specId` | string | Yes | Public ID (GUID) of the API specification |
| `entityType` | string | Yes | What is deprecated: 'endpoint' or 'specVersion' |
| `entityId` | string | Yes | Public ID (GUID) of that endpoint or version |
| `includeUsage` | boolean | No (default `false`) | Also return recent traffic and top consumers (default false) |
| `usageDaysBack` | integer | No (default `30`) | How many days of usage to look back (default 30) |
## get_deprecation_policy
Get the organization's deprecation policy: the minimum grace period, whether a migration guide, a successor or an approval is required, and the reminder schedule. These are the rules manage_deprecation_plan('create') is checked against. Requires organization context.
**Required scope:** `specs:read`
_No parameters._
## list_deprecations
List everything currently deprecated across the organization — endpoints and published versions — with the phase, the sunset date and how many days are left. The starting point for 'what do I have to migrate off'. Requires organization context.
**Required scope:** `specs:read`
_No parameters._
## manage_deprecation_plan
Announce, change or take back a deprecation. 'create' needs entityType, entityId and sunsetAt, and the organization's policy decides whether a migration guide or a successor is mandatory and how far out the sunset must be; if the policy requires approval the plan starts as pendingApproval and nothing is marked deprecated until review_deprecation_plan approves it. 'update' can only push sunsetAt further out, never closer. 'cancel' takes the deprecation back and un-deprecates the entity — that is different from retire_deprecation, which ends it early and keeps it deprecated. Requires project context.
**Required scope:** `specs:write`
| Parameter | Type | Required | Description |
| --- | --- | --- | --- |
| `specId` | string | Yes | Public ID (GUID) of the API specification |
| `action` | string | Yes | What to do: 'create', 'update' or 'cancel' |
| `entityType` | string | No | What is deprecated: 'endpoint' or 'specVersion' — required for 'create' |
| `entityId` | string | No | Public ID (GUID) of that endpoint or version — required for 'create' |
| `planId` | string | No | Public ID (GUID) of the plan — required for 'update' and 'cancel' |
| `sunsetAt` | string | No | When it goes away, ISO 8601 (e.g. '2027-01-31T00:00:00Z') — required for 'create', and for 'update' only a later date is accepted |
| `successorEndpointId` | string | No | Public ID (GUID) of the endpoint that replaces this one |
| `successorSpecId` | string | No | Public ID (GUID) of the spec that replaces this one |
| `migrationGuide` | string | No | Migration instructions for consumers |
| `updateSuccessor` | boolean | No (default `false`) | For 'update': apply the successor fields, including clearing them when both are omitted (default false — successors stay untouched) |
| `enableRateLimiting` | boolean | No | Throttle the deprecated endpoint once it enters the sunset phase |
| `rateLimitReductionPercent` | integer | No | By how many percent to cut the configured rate limit, when rate limiting is on (1-100; 90 leaves a tenth of the original limit) |
| `enableWarningHeader` | boolean | No | Send the RFC 8594 deprecation warning header |
| `autoShutdown` | boolean | No | Shut the endpoint down automatically at the sunset date |
| `softShutdownDays` | integer | No | Days of intermittent shutdown before the hard one, as a warning to consumers |
## notify_dependent_owners
Notify the owners of everything that depends on a version that it is going away. Sends real messages — call it once the deprecation is decided, not while exploring. Requires project context. Use this to reach the owners of dependents; for the plan and its sunset date use get_deprecation_plan.
**Required scope:** `specs:publish`
| Parameter | Type | Required | Description |
| --- | --- | --- | --- |
| `specId` | string | Yes | Public ID (GUID) of the API specification |
| `versionId` | string | Yes | Public ID (GUID) of the spec version |
## retire_deprecation
End a deprecation early: the entity stays deprecated and the sunset date stops mattering. Refuses while consumers called it in the last seven days unless confirmActiveConsumers is set — check get_deprecation_plan(includeUsage) first. To take a deprecation back instead, use manage_deprecation_plan('cancel'). Requires project context.
**Required scope:** `specs:delete`
| Parameter | Type | Required | Description |
| --- | --- | --- | --- |
| `specId` | string | Yes | Public ID (GUID) of the API specification |
| `planId` | string | Yes | Public ID (GUID) of the deprecation plan |
| `confirmActiveConsumers` | boolean | No (default `false`) | Retire even though consumers are still calling it (default false) |
## review_deprecation_plan
Approve or reject a deprecation plan that is waiting for approval. Approving is what actually marks the endpoint or version as deprecated and starts the clock. Rejecting is final and needs a comment. Use this to approve or reject a pending plan; to create or change one use manage_deprecation_plan. Requires project context.
**Required scope:** `specs:publish`
| Parameter | Type | Required | Description |
| --- | --- | --- | --- |
| `specId` | string | Yes | Public ID (GUID) of the API specification |
| `planId` | string | Yes | Public ID (GUID) of the deprecation plan |
| `action` | string | Yes | What to do: 'approve' or 'reject' |
| `comment` | string | No | Why it was rejected — required for 'reject' |
## set_version_sunset
Set or clear the sunset date of a published version directly, without a deprecation plan. Omit sunsetAt to clear it. This is the plain date on the version — the phased lifecycle with approval and usage checks is manage_deprecation_plan. Requires project context.
**Required scope:** `specs:write`
| Parameter | Type | Required | Description |
| --- | --- | --- | --- |
| `specId` | string | Yes | Public ID (GUID) of the API specification |
| `versionId` | string | Yes | Public ID (GUID) of the spec version |
| `sunsetAt` | string | No | The sunset date, ISO 8601 — omit to clear it |
## update_deprecation_policy
Change the organization's deprecation policy. Every field is optional and only what you pass is changed. Passing preset ('relaxed', 'standard' or 'strict') sets grace period, sunset phase and the three requirement flags in one go. Applies to every project in the organization. Use this to change the policy; to read the current one use get_deprecation_policy. Requires organization context.
**Required scope:** `org:manage-governance`
| Parameter | Type | Required | Description |
| --- | --- | --- | --- |
| `minGracePeriodDays` | integer | No | Shortest allowed time between announcing and sunsetting, in days |
| `sunsetPhaseDays` | integer | No | How long the sunset phase lasts, in days |
| `requireMigrationGuide` | boolean | No | Refuse plans without a migration guide |
| `requireSuccessorLink` | boolean | No | Refuse plans without a successor link |
| `requireApproval` | boolean | No | Make new plans wait for approval before anything is marked deprecated |
| `notifyOnAnnouncement` | boolean | No | Notify consumers when a deprecation is announced |
| `sendSunsetReminders` | boolean | No | Send reminders as the sunset approaches |
| `reminderDaysJson` | string | No | Reminder offsets in days before sunset, as a JSON array (e.g. '[30,7,1]') |
| `preset` | string | No | Apply a preset: 'relaxed', 'standard' or 'strict' |
---
## Desktop App
Source: https://docs.routebase.dev/desktop-app/
Routebase runs in the browser and as a native desktop app for macOS and Windows. Three things work in the desktop build that a browser tab cannot do:
- **A finished test run reaches you in another window.** When a suite completes while the Routebase window is not in front, the app raises a native notification with the request and failure counts. In-app notifications arrive the same way, so a long run reports back while you work in your editor.
- **Exports go where you put them.** Saving a spec export or a response body opens your operating system's save dialog. You choose the folder and the filename, instead of hunting for the file in Downloads afterwards.
- **Your session lives in the operating system's credential store.** That is Keychain on macOS and Credential Manager on Windows, rather than browser storage that a cleared site-data setting can take with it.
On top of that the app carries native menus and a tray icon, keeps running when you close the window, and updates itself.
Everything else is identical, because both clients open the same workspace on the same account and the same data. Signing in on the desktop changes nothing about what the browser shows you, so you can move between them whenever it suits you.
## Installing
Download from [routebase.dev/download](https://routebase.dev/download/):
| Platform | Package | Requirements |
| --- | --- | --- |
| **macOS** | `.dmg`, universal, with Apple Silicon and Intel in one build | macOS 14 (Sonoma) or later |
| **Windows** | `.exe` installer, 64-bit | Windows 11 |
| **Windows, managed installs** | `.msi` | Windows 11 |
Both platforms ship signed. The macOS build is notarized by Apple, and the Windows build is signed through Microsoft Trusted Signing. You should not see an unidentified-developer warning on either, and if you do, you did not get the build from the link above.
The `.msi` exists for administrators deploying through Group Policy or Intune. For a single machine, take the `.exe`.
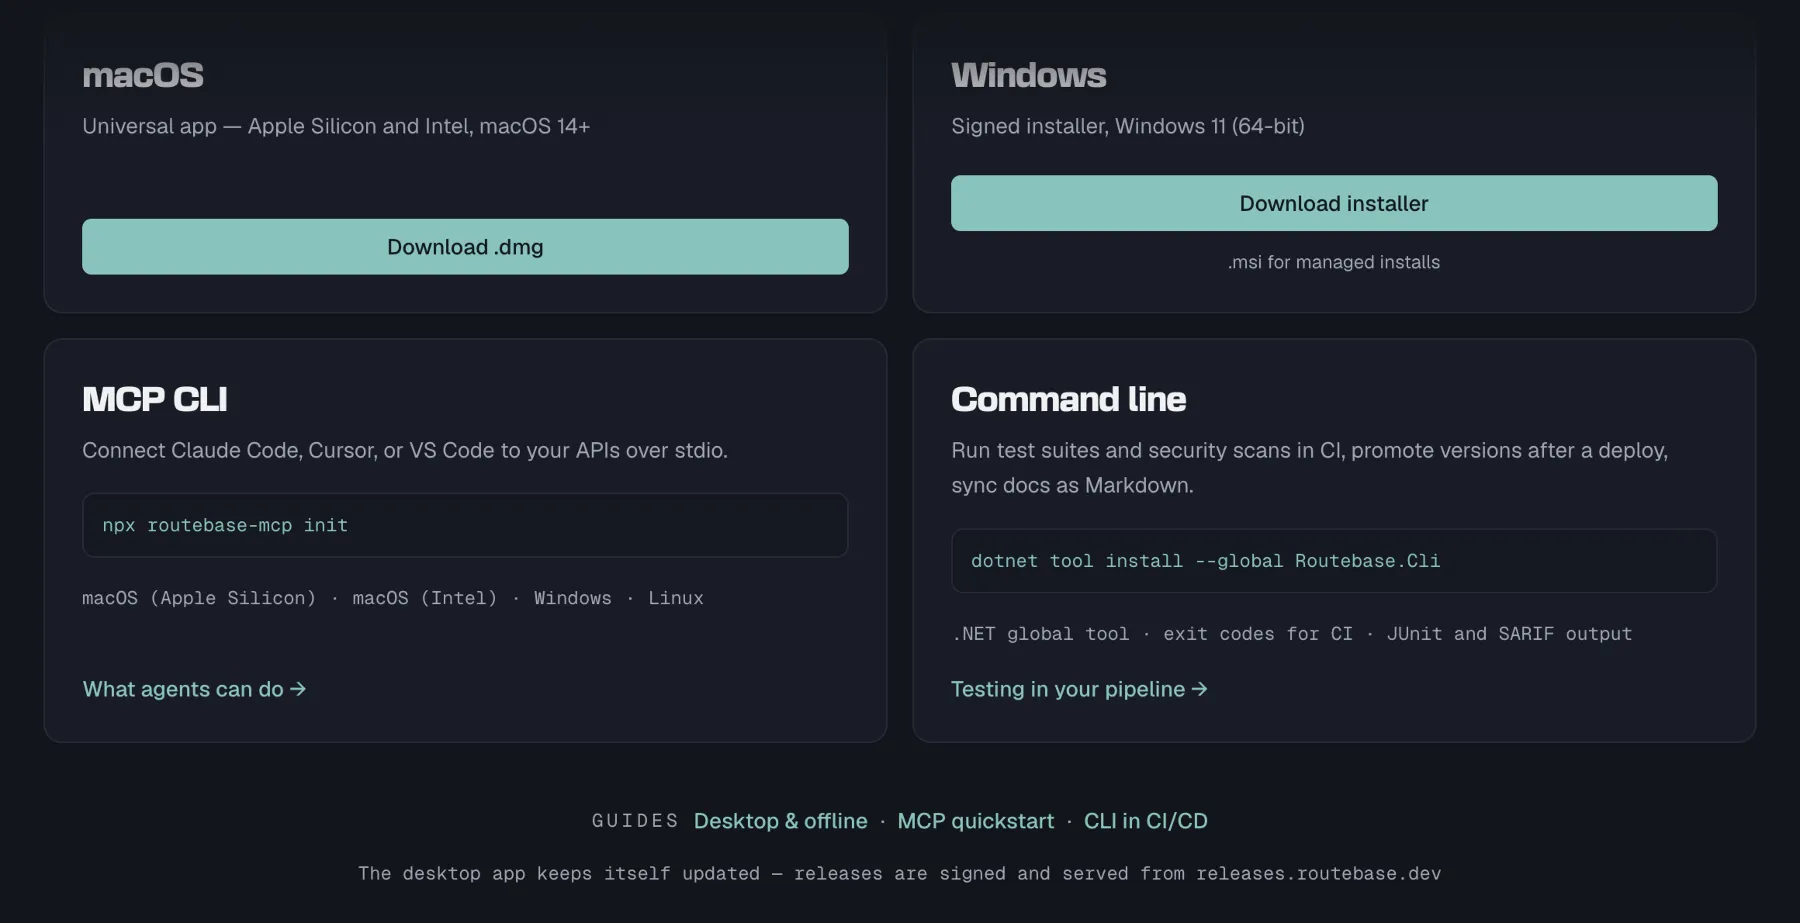
## Signing in
The desktop app signs you in through your browser rather than an embedded login form. Choosing **Sign In** opens your default browser at Routebase. Once you authenticate there, the browser hands the session back to the app through a `routebase://` link that the installer registers.
Your session is then stored in the operating system's credential store rather than in a file the app manages itself. That store is Keychain on macOS and Credential Manager on Windows. Signing out clears it there.
If your browser asks whether to allow the site to open Routebase, allow it, because that redirect is the last step of the login.
## Native menus and the tray
The menu bar carries what a desktop app is expected to carry, which is **File**, **Edit**, **View**, **Window** and **Help**, plus the **Routebase** application menu on macOS. Two entries are worth pointing out:
- **Help → Check for Updates…** runs an update check on demand, with a confirmation either way. It is absent in MSIX deployments, where updates come from whoever deployed the app.
- **Help → Routebase Docs** opens this documentation.
**Sign Out** sits in the application menu next to Quit on macOS, and in the **File** menu everywhere else. It is greyed out until you are signed in.
Routebase also puts an icon in the system tray, which is the menu bar extra on macOS, carrying **Show Routebase**, **Check for Updates…**, **Sign Out** and **Quit Routebase**. Closing the window leaves the app in the tray rather than quitting it.
Spec actions such as new, import and export are deliberately *not* in the menu bar. They belong to a spec, and a spec is something you have open in the app, so they live in the app's own UI where the context is unambiguous.
## Updates
The app checks for updates on its own, once about half a minute after launch and then every six hours. Checks are silent unless there is something to report.
When a new version is available you get a dialog offering **Install and restart** or **Later**. Choosing to install downloads the update, applies it and restarts the app, and on Windows the installer runs without further prompts. Choosing **Later** leaves you alone until the next check.
Updates are verified against a signing key built into the app, so a build that was not published by Routebase is rejected before it is applied.
If your organisation deployed Routebase as an MSIX package, this section does not apply to you. See [Deploying to a managed fleet](#deploying-to-a-managed-fleet) instead.
### When an update is not optional
Occasionally a desktop version falls behind what the backend still supports. When that happens the app shows a full-screen notice that cannot be dismissed:
> This version of the Routebase desktop app is no longer supported. Please install the latest version.
The notice offers the update directly. This is deliberately a wall rather than a banner, because an outdated build talking to an incompatible API produces confusing failures rather than clean ones, so it is stopped before it starts.
If the update check itself fails at that point, download the current build from [routebase.dev/download](https://routebase.dev/download/) and install over the top. Your data lives on the server, so nothing is lost.
## Deploying to a managed fleet
Alongside the installers above, Routebase ships as an MSIX package for administrators rolling it out to managed Windows devices:
| Package | Architecture |
| --- | --- |
| [`Routebase-x64.msix`](https://releases.routebase.dev/desktop/latest/Routebase-x64.msix) | 64-bit Intel and AMD |
| [`Routebase-arm64.msix`](https://releases.routebase.dev/desktop/latest/Routebase-arm64.msix) | ARM64 |
Those links always point at the current release. Version-pinned copies live at `https://releases.routebase.dev/desktop/
---
## Deprecation — MCP Tools
Source: https://docs.routebase.dev/deprecation-mcp-tools/
The tools below belong to the **Deprecation** group of the Routebase MCP server.
## force_advance_deprecation
Push a deprecation one phase further than its schedule allows — grace period to sunset phase, or sunset phase to retired — skipping the checks that hold it back. Only from those two phases, and the justification is recorded in the audit trail. Requires project context. Use this only to skip ahead of schedule; to end a deprecation early use retire_deprecation.
**Required scope:** `org:manage-governance`
| Parameter | Type | Required | Description |
| --- | --- | --- | --- |
| `specId` | string | Yes | Public ID (GUID) of the API specification |
| `entityType` | string | Yes | What is deprecated: 'endpoint' or 'specVersion' |
| `entityId` | string | Yes | Public ID (GUID) of that endpoint or version |
| `justification` | string | Yes | Why the schedule is being overridden — recorded in the audit trail |
## get_deprecation_plan
Get the deprecation plan of one endpoint or published version, including its phase, sunset date, successor and migration guide. Returns null when nothing is deprecated. Set includeUsage to also see whether anyone still calls it — do that before retiring. Requires project context.
**Required scope:** `specs:read`
| Parameter | Type | Required | Description |
| --- | --- | --- | --- |
| `specId` | string | Yes | Public ID (GUID) of the API specification |
| `entityType` | string | Yes | What is deprecated: 'endpoint' or 'specVersion' |
| `entityId` | string | Yes | Public ID (GUID) of that endpoint or version |
| `includeUsage` | boolean | No (default `false`) | Also return recent traffic and top consumers (default false) |
| `usageDaysBack` | integer | No (default `30`) | How many days of usage to look back (default 30) |
## get_deprecation_policy
Get the organization's deprecation policy: the minimum grace period, whether a migration guide, a successor or an approval is required, and the reminder schedule. These are the rules manage_deprecation_plan('create') is checked against. Requires organization context.
**Required scope:** `specs:read`
_No parameters._
## list_deprecations
List everything currently deprecated across the organization — endpoints and published versions — with the phase, the sunset date and how many days are left. The starting point for 'what do I have to migrate off'. Requires organization context.
**Required scope:** `specs:read`
_No parameters._
## manage_deprecation_plan
Announce, change or take back a deprecation. 'create' needs entityType, entityId and sunsetAt, and the organization's policy decides whether a migration guide or a successor is mandatory and how far out the sunset must be; if the policy requires approval the plan starts as pendingApproval and nothing is marked deprecated until review_deprecation_plan approves it. 'update' can only push sunsetAt further out, never closer. 'cancel' takes the deprecation back and un-deprecates the entity — that is different from retire_deprecation, which ends it early and keeps it deprecated. Requires project context.
**Required scope:** `specs:write`
| Parameter | Type | Required | Description |
| --- | --- | --- | --- |
| `specId` | string | Yes | Public ID (GUID) of the API specification |
| `action` | string | Yes | What to do: 'create', 'update' or 'cancel' |
| `entityType` | string | No | What is deprecated: 'endpoint' or 'specVersion' — required for 'create' |
| `entityId` | string | No | Public ID (GUID) of that endpoint or version — required for 'create' |
| `planId` | string | No | Public ID (GUID) of the plan — required for 'update' and 'cancel' |
| `sunsetAt` | string | No | When it goes away, ISO 8601 (e.g. '2027-01-31T00:00:00Z') — required for 'create', and for 'update' only a later date is accepted |
| `successorEndpointId` | string | No | Public ID (GUID) of the endpoint that replaces this one |
| `successorSpecId` | string | No | Public ID (GUID) of the spec that replaces this one |
| `migrationGuide` | string | No | Migration instructions for consumers |
| `updateSuccessor` | boolean | No (default `false`) | For 'update': apply the successor fields, including clearing them when both are omitted (default false — successors stay untouched) |
| `enableRateLimiting` | boolean | No | Throttle the deprecated endpoint once it enters the sunset phase |
| `rateLimitReductionPercent` | integer | No | By how many percent to cut the configured rate limit, when rate limiting is on (1-100; 90 leaves a tenth of the original limit) |
| `enableWarningHeader` | boolean | No | Send the RFC 8594 deprecation warning header |
| `autoShutdown` | boolean | No | Shut the endpoint down automatically at the sunset date |
| `softShutdownDays` | integer | No | Days of intermittent shutdown before the hard one, as a warning to consumers |
## notify_dependent_owners
Notify the owners of everything that depends on a version that it is going away. Sends real messages — call it once the deprecation is decided, not while exploring. Requires project context. Use this to reach the owners of dependents; for the plan and its sunset date use get_deprecation_plan.
**Required scope:** `specs:publish`
| Parameter | Type | Required | Description |
| --- | --- | --- | --- |
| `specId` | string | Yes | Public ID (GUID) of the API specification |
| `versionId` | string | Yes | Public ID (GUID) of the spec version |
## retire_deprecation
End a deprecation early: the entity stays deprecated and the sunset date stops mattering. Refuses while consumers called it in the last seven days unless confirmActiveConsumers is set — check get_deprecation_plan(includeUsage) first. To take a deprecation back instead, use manage_deprecation_plan('cancel'). Requires project context.
**Required scope:** `specs:delete`
| Parameter | Type | Required | Description |
| --- | --- | --- | --- |
| `specId` | string | Yes | Public ID (GUID) of the API specification |
| `planId` | string | Yes | Public ID (GUID) of the deprecation plan |
| `confirmActiveConsumers` | boolean | No (default `false`) | Retire even though consumers are still calling it (default false) |
## review_deprecation_plan
Approve or reject a deprecation plan that is waiting for approval. Approving is what actually marks the endpoint or version as deprecated and starts the clock. Rejecting is final and needs a comment. Use this to approve or reject a pending plan; to create or change one use manage_deprecation_plan. Requires project context.
**Required scope:** `specs:publish`
| Parameter | Type | Required | Description |
| --- | --- | --- | --- |
| `specId` | string | Yes | Public ID (GUID) of the API specification |
| `planId` | string | Yes | Public ID (GUID) of the deprecation plan |
| `action` | string | Yes | What to do: 'approve' or 'reject' |
| `comment` | string | No | Why it was rejected — required for 'reject' |
## set_version_sunset
Set or clear the sunset date of a published version directly, without a deprecation plan. Omit sunsetAt to clear it. This is the plain date on the version — the phased lifecycle with approval and usage checks is manage_deprecation_plan. Requires project context.
**Required scope:** `specs:write`
| Parameter | Type | Required | Description |
| --- | --- | --- | --- |
| `specId` | string | Yes | Public ID (GUID) of the API specification |
| `versionId` | string | Yes | Public ID (GUID) of the spec version |
| `sunsetAt` | string | No | The sunset date, ISO 8601 — omit to clear it |
## update_deprecation_policy
Change the organization's deprecation policy. Every field is optional and only what you pass is changed. Passing preset ('relaxed', 'standard' or 'strict') sets grace period, sunset phase and the three requirement flags in one go. Applies to every project in the organization. Use this to change the policy; to read the current one use get_deprecation_policy. Requires organization context.
**Required scope:** `org:manage-governance`
| Parameter | Type | Required | Description |
| --- | --- | --- | --- |
| `minGracePeriodDays` | integer | No | Shortest allowed time between announcing and sunsetting, in days |
| `sunsetPhaseDays` | integer | No | How long the sunset phase lasts, in days |
| `requireMigrationGuide` | boolean | No | Refuse plans without a migration guide |
| `requireSuccessorLink` | boolean | No | Refuse plans without a successor link |
| `requireApproval` | boolean | No | Make new plans wait for approval before anything is marked deprecated |
| `notifyOnAnnouncement` | boolean | No | Notify consumers when a deprecation is announced |
| `sendSunsetReminders` | boolean | No | Send reminders as the sunset approaches |
| `reminderDaysJson` | string | No | Reminder offsets in days before sunset, as a JSON array (e.g. '[30,7,1]') |
| `preset` | string | No | Apply a preset: 'relaxed', 'standard' or 'strict' |
---
## Desktop App
Source: https://docs.routebase.dev/desktop-app/
Routebase runs in the browser and as a native desktop app for macOS and Windows. Three things work in the desktop build that a browser tab cannot do:
- **A finished test run reaches you in another window.** When a suite completes while the Routebase window is not in front, the app raises a native notification with the request and failure counts. In-app notifications arrive the same way, so a long run reports back while you work in your editor.
- **Exports go where you put them.** Saving a spec export or a response body opens your operating system's save dialog. You choose the folder and the filename, instead of hunting for the file in Downloads afterwards.
- **Your session lives in the operating system's credential store.** That is Keychain on macOS and Credential Manager on Windows, rather than browser storage that a cleared site-data setting can take with it.
On top of that the app carries native menus and a tray icon, keeps running when you close the window, and updates itself.
Everything else is identical, because both clients open the same workspace on the same account and the same data. Signing in on the desktop changes nothing about what the browser shows you, so you can move between them whenever it suits you.
## Installing
Download from [routebase.dev/download](https://routebase.dev/download/):
| Platform | Package | Requirements |
| --- | --- | --- |
| **macOS** | `.dmg`, universal, with Apple Silicon and Intel in one build | macOS 14 (Sonoma) or later |
| **Windows** | `.exe` installer, 64-bit | Windows 11 |
| **Windows, managed installs** | `.msi` | Windows 11 |
Both platforms ship signed. The macOS build is notarized by Apple, and the Windows build is signed through Microsoft Trusted Signing. You should not see an unidentified-developer warning on either, and if you do, you did not get the build from the link above.
The `.msi` exists for administrators deploying through Group Policy or Intune. For a single machine, take the `.exe`.

## Signing in
The desktop app signs you in through your browser rather than an embedded login form. Choosing **Sign In** opens your default browser at Routebase. Once you authenticate there, the browser hands the session back to the app through a `routebase://` link that the installer registers.
Your session is then stored in the operating system's credential store rather than in a file the app manages itself. That store is Keychain on macOS and Credential Manager on Windows. Signing out clears it there.
If your browser asks whether to allow the site to open Routebase, allow it, because that redirect is the last step of the login.
## Native menus and the tray
The menu bar carries what a desktop app is expected to carry, which is **File**, **Edit**, **View**, **Window** and **Help**, plus the **Routebase** application menu on macOS. Two entries are worth pointing out:
- **Help → Check for Updates…** runs an update check on demand, with a confirmation either way. It is absent in MSIX deployments, where updates come from whoever deployed the app.
- **Help → Routebase Docs** opens this documentation.
**Sign Out** sits in the application menu next to Quit on macOS, and in the **File** menu everywhere else. It is greyed out until you are signed in.
Routebase also puts an icon in the system tray, which is the menu bar extra on macOS, carrying **Show Routebase**, **Check for Updates…**, **Sign Out** and **Quit Routebase**. Closing the window leaves the app in the tray rather than quitting it.
Spec actions such as new, import and export are deliberately *not* in the menu bar. They belong to a spec, and a spec is something you have open in the app, so they live in the app's own UI where the context is unambiguous.
## Updates
The app checks for updates on its own, once about half a minute after launch and then every six hours. Checks are silent unless there is something to report.
When a new version is available you get a dialog offering **Install and restart** or **Later**. Choosing to install downloads the update, applies it and restarts the app, and on Windows the installer runs without further prompts. Choosing **Later** leaves you alone until the next check.
Updates are verified against a signing key built into the app, so a build that was not published by Routebase is rejected before it is applied.
If your organisation deployed Routebase as an MSIX package, this section does not apply to you. See [Deploying to a managed fleet](#deploying-to-a-managed-fleet) instead.
### When an update is not optional
Occasionally a desktop version falls behind what the backend still supports. When that happens the app shows a full-screen notice that cannot be dismissed:
> This version of the Routebase desktop app is no longer supported. Please install the latest version.
The notice offers the update directly. This is deliberately a wall rather than a banner, because an outdated build talking to an incompatible API produces confusing failures rather than clean ones, so it is stopped before it starts.
If the update check itself fails at that point, download the current build from [routebase.dev/download](https://routebase.dev/download/) and install over the top. Your data lives on the server, so nothing is lost.
## Deploying to a managed fleet
Alongside the installers above, Routebase ships as an MSIX package for administrators rolling it out to managed Windows devices:
| Package | Architecture |
| --- | --- |
| [`Routebase-x64.msix`](https://releases.routebase.dev/desktop/latest/Routebase-x64.msix) | 64-bit Intel and AMD |
| [`Routebase-arm64.msix`](https://releases.routebase.dev/desktop/latest/Routebase-arm64.msix) | ARM64 |
Those links always point at the current release. Version-pinned copies live at `https://releases.routebase.dev/desktop/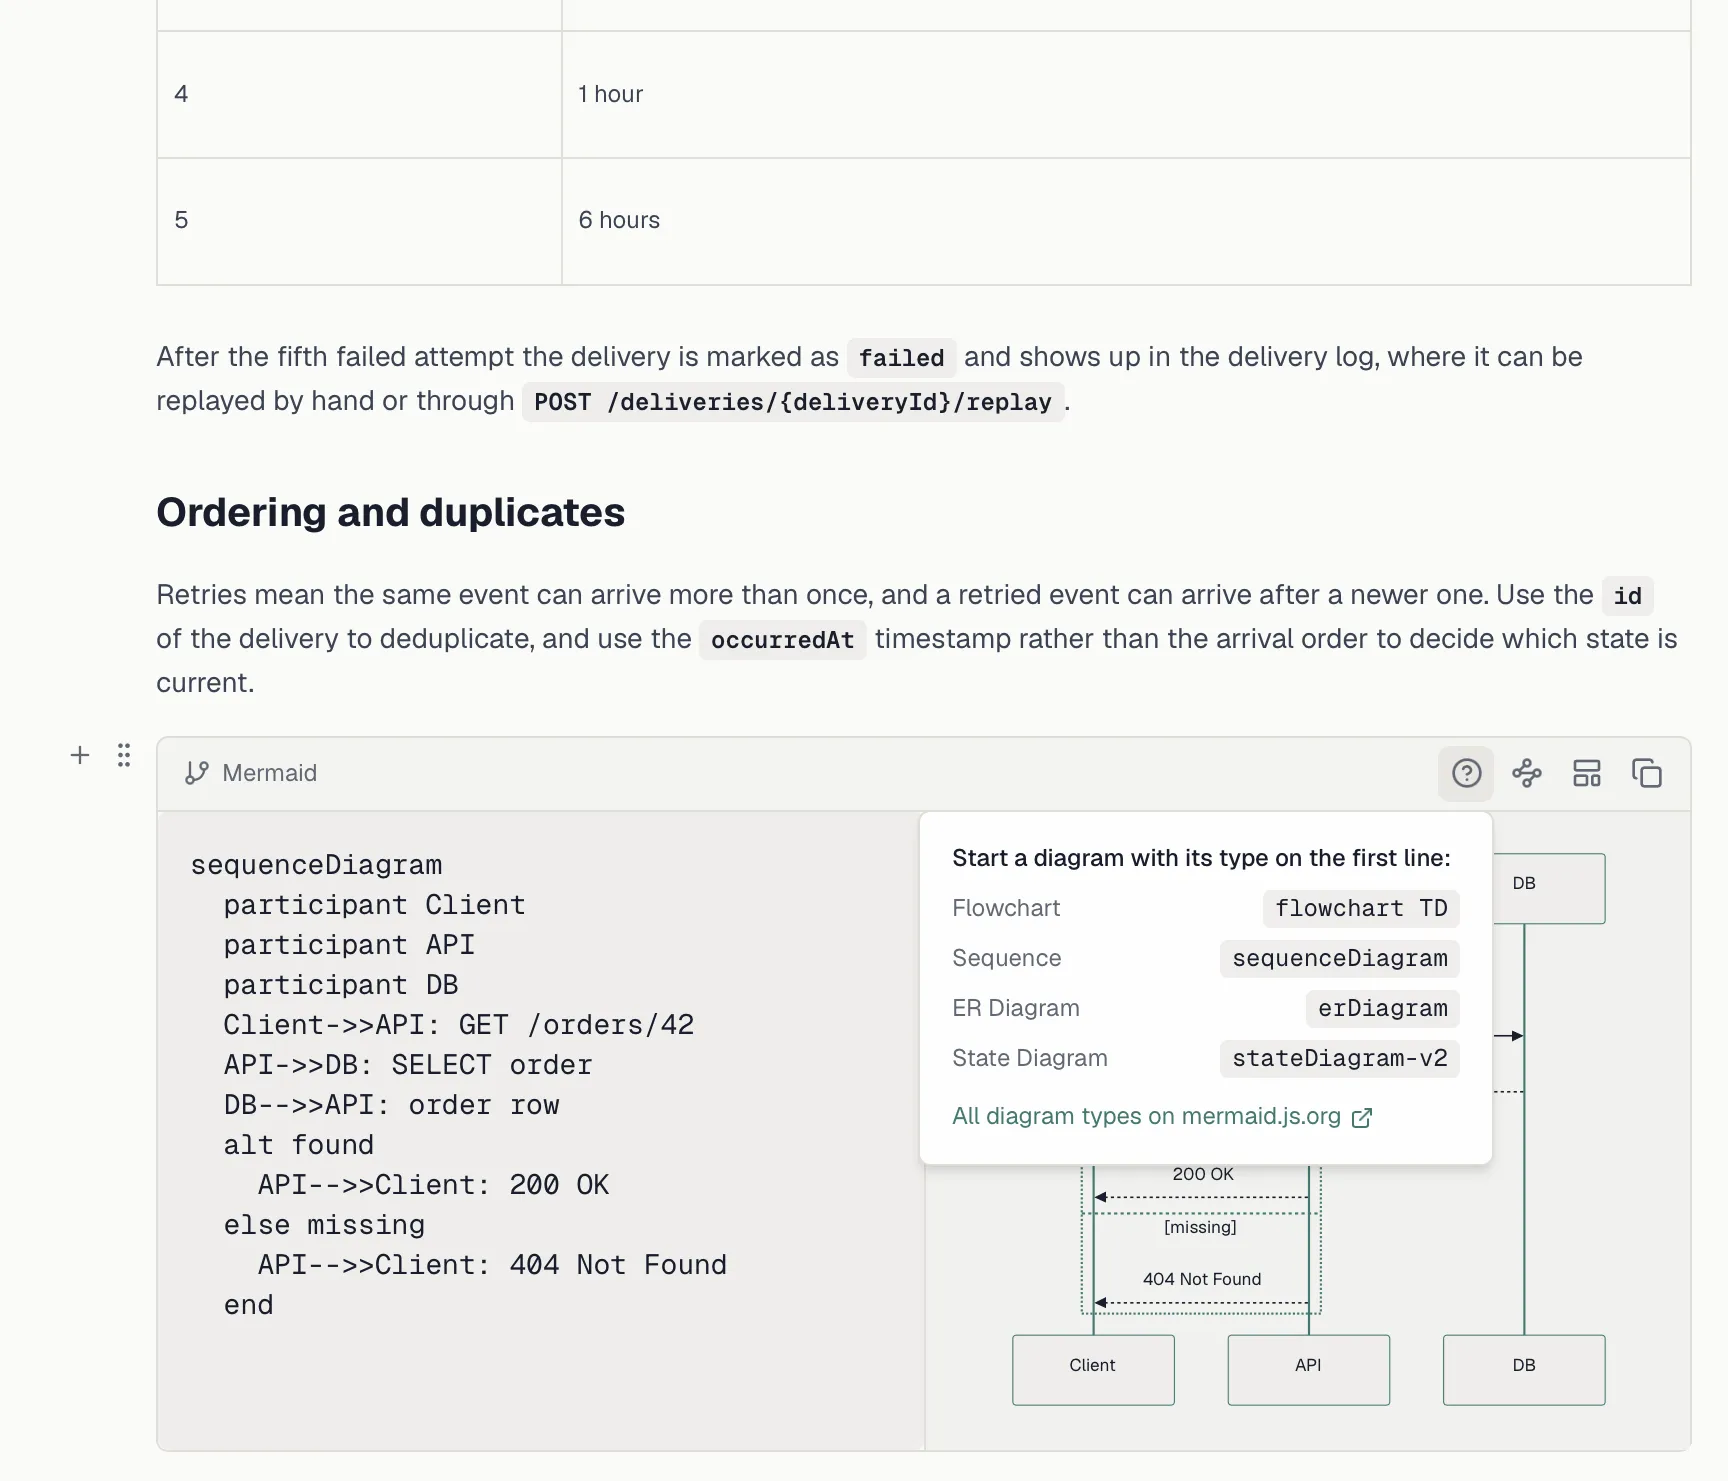
 **In Markdown**, a diagram is a fenced code block with the `mermaid` language tag. The same syntax works in the editor's Markdown mode, in descriptions in the API Designer and in content written through the MCP tools and `routebase docs push`:
````text
```mermaid
flowchart LR
Client -- "POST /orders" --> API
API --> Queue[(Queue)]
Queue --> Worker
```
````
That block renders as:
```mermaid
flowchart LR
Client -- "POST /orders" --> API
API --> Queue[(Queue)]
Queue --> Worker
```
All Mermaid diagram types work, including flowcharts, sequence diagrams, ER diagrams, state diagrams, class diagrams, pie charts, Gantt charts, mindmaps, timelines and the rest of what [mermaid.js.org](https://mermaid.js.org) documents.
## Generating diagrams from your API
The **Diagram from API Data** slash command (also reachable from any Mermaid block's toolbar) writes the diagram source for you, from data Routebase already has:
- **Endpoint** turns an endpoint you pick into a **sequence diagram** of its request/response flow.
- **Schemas** turns one or more schemas into an **ER diagram** of their fields and relations.
- **Dependencies** turns a root service from your Service Catalog into a **flowchart** of its dependency graph, with a selectable depth.
The result is an ordinary Mermaid block. The generated source is yours to edit, and it does not update by itself when the API changes, so regenerate it when it should.
**In Markdown**, a diagram is a fenced code block with the `mermaid` language tag. The same syntax works in the editor's Markdown mode, in descriptions in the API Designer and in content written through the MCP tools and `routebase docs push`:
````text
```mermaid
flowchart LR
Client -- "POST /orders" --> API
API --> Queue[(Queue)]
Queue --> Worker
```
````
That block renders as:
```mermaid
flowchart LR
Client -- "POST /orders" --> API
API --> Queue[(Queue)]
Queue --> Worker
```
All Mermaid diagram types work, including flowcharts, sequence diagrams, ER diagrams, state diagrams, class diagrams, pie charts, Gantt charts, mindmaps, timelines and the rest of what [mermaid.js.org](https://mermaid.js.org) documents.
## Generating diagrams from your API
The **Diagram from API Data** slash command (also reachable from any Mermaid block's toolbar) writes the diagram source for you, from data Routebase already has:
- **Endpoint** turns an endpoint you pick into a **sequence diagram** of its request/response flow.
- **Schemas** turns one or more schemas into an **ER diagram** of their fields and relations.
- **Dependencies** turns a root service from your Service Catalog into a **flowchart** of its dependency graph, with a selectable depth.
The result is an ordinary Mermaid block. The generated source is yours to edit, and it does not update by itself when the API changes, so regenerate it when it should.
 ## Diagrams match your branding
Diagrams are not skinned with a generic diagram theme. At render time they pick up the portal's active design tokens, which are the same ones your theme and brand colors define:
- **Colors** for node fills, borders, edge lines and label backgrounds come from your portal theme. Node borders use your primary color.
- **Typography** follows your portal's body font rather than a diagram-library default.
- **Light and dark** both work, because diagrams re-render when a reader flips the portal's theme toggle.
There is nothing to configure and nothing to keep in sync. Change your portal's brand color and every diagram follows on the next portal build. Inside the app, the same diagrams follow the app theme instead, so each surface matches its surroundings.
## Styling an individual diagram
For deliberate emphasis, such as highlighting one node in a flow or coloring states by meaning, use Mermaid's own styling syntax, which is part of the diagram source and travels with it:
```mermaid
flowchart LR
A[Request] --> B{Valid?}
B -- yes --> C[Process]
B -- no --> D[Reject]
style D fill:#7f1d1d,stroke:#ef4444,color:#fecaca
classDef done fill:#14532d,stroke:#22c55e,color:#dcfce7
class C done
```
Two things deliberately do **not** work. Mermaid's `%%{init: …}%%` directives and YAML frontmatter `config:` blocks are ignored, because Routebase renders diagrams with a hardened security configuration that disables per-diagram config injection. Colors set with `style` and `classDef` are the supported way to deviate from the theme.
## Portal-wide adjustments
If you want to restyle diagrams across the whole portal, for example with a different container background, use the **Custom CSS** card described in [Branding & Appearance](https://docs.routebase.dev/doc-branding/). Every diagram sits in a `.docs-mermaid` container with the rendered SVG in `.docs-mermaid-svg` inside it, so the frame, spacing and background are one selector away. The colors *inside* a diagram are embedded in its SVG and are better changed through your theme's brand colors than through CSS overrides.
## When a diagram cannot render
- **In the editor**, a source that does not parse shows a **Diagram syntax error** panel with a plain-language hint above the raw Mermaid message. The page still saves.
- **On the portal**, an invalid diagram falls back to showing the diagram source as a readable code block, and so does a browser with JavaScript disabled. Nothing breaks the page.
---
## Authoring Pages
Source: https://docs.routebase.dev/doc-authoring/
Documentation pages are written in a block-based rich text editor with Markdown support, slash commands, drag-and-drop blocks and real-time collaboration. Everything in this guide applies to pages in **Draft** or **In Review** versions, because live and archived versions open in read-only mode.
## Diagrams match your branding
Diagrams are not skinned with a generic diagram theme. At render time they pick up the portal's active design tokens, which are the same ones your theme and brand colors define:
- **Colors** for node fills, borders, edge lines and label backgrounds come from your portal theme. Node borders use your primary color.
- **Typography** follows your portal's body font rather than a diagram-library default.
- **Light and dark** both work, because diagrams re-render when a reader flips the portal's theme toggle.
There is nothing to configure and nothing to keep in sync. Change your portal's brand color and every diagram follows on the next portal build. Inside the app, the same diagrams follow the app theme instead, so each surface matches its surroundings.
## Styling an individual diagram
For deliberate emphasis, such as highlighting one node in a flow or coloring states by meaning, use Mermaid's own styling syntax, which is part of the diagram source and travels with it:
```mermaid
flowchart LR
A[Request] --> B{Valid?}
B -- yes --> C[Process]
B -- no --> D[Reject]
style D fill:#7f1d1d,stroke:#ef4444,color:#fecaca
classDef done fill:#14532d,stroke:#22c55e,color:#dcfce7
class C done
```
Two things deliberately do **not** work. Mermaid's `%%{init: …}%%` directives and YAML frontmatter `config:` blocks are ignored, because Routebase renders diagrams with a hardened security configuration that disables per-diagram config injection. Colors set with `style` and `classDef` are the supported way to deviate from the theme.
## Portal-wide adjustments
If you want to restyle diagrams across the whole portal, for example with a different container background, use the **Custom CSS** card described in [Branding & Appearance](https://docs.routebase.dev/doc-branding/). Every diagram sits in a `.docs-mermaid` container with the rendered SVG in `.docs-mermaid-svg` inside it, so the frame, spacing and background are one selector away. The colors *inside* a diagram are embedded in its SVG and are better changed through your theme's brand colors than through CSS overrides.
## When a diagram cannot render
- **In the editor**, a source that does not parse shows a **Diagram syntax error** panel with a plain-language hint above the raw Mermaid message. The page still saves.
- **On the portal**, an invalid diagram falls back to showing the diagram source as a readable code block, and so does a browser with JavaScript disabled. Nothing breaks the page.
---
## Authoring Pages
Source: https://docs.routebase.dev/doc-authoring/
Documentation pages are written in a block-based rich text editor with Markdown support, slash commands, drag-and-drop blocks and real-time collaboration. Everything in this guide applies to pages in **Draft** or **In Review** versions, because live and archived versions open in read-only mode.
 ## The page header
A thin bar above the content area carries the **page type label** on the left, reading Custom Page or Getting Started and so on, with the page actions on the right:
- **Presence avatars** show teammates currently in the page, alongside a **save indicator** and a **Save** button while there are unsaved edits. Changes auto-save as you type, and if you try to navigate away with unsaved changes, Routebase asks before discarding them.
- **View in portal** opens a portal-faithful preview of the page.
- **History** opens the page's revision history, described under [Page history](#page-history) below.
- **Lock page** makes the page read-only for everyone until someone unlocks it, as covered under [Real-time collaboration](#real-time-collaboration). It requires **docs:write** and is hidden on read-only versions.
- Changelog pages additionally show a **Generate** button, which [Changelog](https://docs.routebase.dev/doc-changelog/) explains.
The **title** and the **emoji icon picker** are not in that bar. They sit at the top of the content column itself and scroll with the text, the way the published page renders them. The icon appears next to the page in the tree and in portal navigation. New pages focus the title automatically so you can rename immediately.
### The quiet editor
Documentation pages use a deliberately quiet editor, with no card border, no background and **no toolbar at rest**. The toolbar fades in as soon as the editor has focus and fades back out when you click away. A page you are only reading therefore looks like the published page rather than like a form. The placeholder text behaves the same way, appearing only while the editor is focused.
One consequence is worth knowing. The quiet editor has **no status bar**, so documentation pages show no live word or character count.
## Rich and Markdown modes
The toolbar's **Rich / Markdown** toggle switches between WYSIWYG editing and raw Markdown. The content converts in both directions, so you can paste Markdown from elsewhere and then fine-tune visually. In Markdown mode, the toolbar shows *"Markdown Mode - Use syntax for formatting"* and formatting buttons are disabled.
## Toolbar and formatting
In rich mode the toolbar offers these actions, with their keyboard shortcuts:
| Group | Actions |
| --- | --- |
| History | Undo (⌘Z), Redo (⌘⇧Z) |
| Headings | Heading 1–3 (⌘⌥1–3) |
| Text | Bold (⌘B), Italic (⌘I), Strikethrough (⌘⇧X), Inline Code (⌘E) |
| Lists | Bullet List (⌘⇧8), Numbered List (⌘⇧7), Task List (⌘⇧9) |
| Blocks | Blockquote (⌘⇧B), Horizontal Rule |
| Insert | Link (⌘K), Tooltip, Badge, Image, Table (3×3 with header row) |
Two of the Insert buttons are inline **marks** rather than blocks, so they have no slash command and you apply them to selected text:
- **Tooltip** prompts for the tip text and wraps the selection, and readers see the explanation on hover in the published portal. Submitting an empty tip removes the mark again.
- **Badge** turns the selection into a small pill. The toolbar button applies the neutral variant, and you switch it to **info**, **success**, **warning** or **error** from the bubble menu.
## The page header
A thin bar above the content area carries the **page type label** on the left, reading Custom Page or Getting Started and so on, with the page actions on the right:
- **Presence avatars** show teammates currently in the page, alongside a **save indicator** and a **Save** button while there are unsaved edits. Changes auto-save as you type, and if you try to navigate away with unsaved changes, Routebase asks before discarding them.
- **View in portal** opens a portal-faithful preview of the page.
- **History** opens the page's revision history, described under [Page history](#page-history) below.
- **Lock page** makes the page read-only for everyone until someone unlocks it, as covered under [Real-time collaboration](#real-time-collaboration). It requires **docs:write** and is hidden on read-only versions.
- Changelog pages additionally show a **Generate** button, which [Changelog](https://docs.routebase.dev/doc-changelog/) explains.
The **title** and the **emoji icon picker** are not in that bar. They sit at the top of the content column itself and scroll with the text, the way the published page renders them. The icon appears next to the page in the tree and in portal navigation. New pages focus the title automatically so you can rename immediately.
### The quiet editor
Documentation pages use a deliberately quiet editor, with no card border, no background and **no toolbar at rest**. The toolbar fades in as soon as the editor has focus and fades back out when you click away. A page you are only reading therefore looks like the published page rather than like a form. The placeholder text behaves the same way, appearing only while the editor is focused.
One consequence is worth knowing. The quiet editor has **no status bar**, so documentation pages show no live word or character count.
## Rich and Markdown modes
The toolbar's **Rich / Markdown** toggle switches between WYSIWYG editing and raw Markdown. The content converts in both directions, so you can paste Markdown from elsewhere and then fine-tune visually. In Markdown mode, the toolbar shows *"Markdown Mode - Use syntax for formatting"* and formatting buttons are disabled.
## Toolbar and formatting
In rich mode the toolbar offers these actions, with their keyboard shortcuts:
| Group | Actions |
| --- | --- |
| History | Undo (⌘Z), Redo (⌘⇧Z) |
| Headings | Heading 1–3 (⌘⌥1–3) |
| Text | Bold (⌘B), Italic (⌘I), Strikethrough (⌘⇧X), Inline Code (⌘E) |
| Lists | Bullet List (⌘⇧8), Numbered List (⌘⇧7), Task List (⌘⇧9) |
| Blocks | Blockquote (⌘⇧B), Horizontal Rule |
| Insert | Link (⌘K), Tooltip, Badge, Image, Table (3×3 with header row) |
Two of the Insert buttons are inline **marks** rather than blocks, so they have no slash command and you apply them to selected text:
- **Tooltip** prompts for the tip text and wraps the selection, and readers see the explanation on hover in the published portal. Submitting an empty tip removes the mark again.
- **Badge** turns the selection into a small pill. The toolbar button applies the neutral variant, and you switch it to **info**, **success**, **warning** or **error** from the bubble menu.
 ### The bubble menu
Selecting text pops up a floating menu with:
- **Turn into** converts the current block to Text, Heading 1 to 3, Quote, Callout, Bullet List or Numbered List.
- Toggles for Bold, Italic, Strikethrough and Inline Code.
- A **color picker** with text colors and highlight colors, offering Default, Gray, Brown, Orange, Yellow, Green, Blue, Purple, Pink and Red.
- A **link dialog** that lets you set the URL and display text.
- A **badge picker**, shown on badged text, for switching between the five variants.
### Block handles
Hovering a block reveals a Notion-style handle with a **+** button to insert a block and a grip to **drag blocks** to a new position.
## Slash commands
Type `/` on an empty line, or anywhere in a paragraph, to open the command menu. It filters as you type and is grouped as follows:
| Group | Commands |
| --- | --- |
| **Text** | Text, Heading 1, Heading 2, Heading 3 |
| **Lists** | Bullet List, Numbered List, Task List |
| **Blocks** | Code Block (syntax highlighted), Quote, Divider |
| **Media** | Table, Image, Frame, Link |
| **Components** | Mermaid Diagram, Sequence Diagram, ER Diagram, State Diagram, Callout, Info, Warning, Tip, Error, Tabs, Code Group, Steps, Accordion, Toggle, Icon, Columns, Update, Card Grid, Diagram from API Data, Snippet |
The documentation components are purpose-built for API docs:
- **Mermaid Diagram** inserts a Mermaid-syntax diagram block, covered under [Diagrams](#diagrams) below. **Sequence Diagram**, **ER Diagram** and **State Diagram** insert the same block pre-seeded with the matching template.
- **Callout** inserts an info, warning, error or tip box. The Info, Warning, Tip and Error commands insert the matching variant directly.
- **Tabs** inserts tabbed content sections.
- **Code Group** holds one code example in multiple languages, rendered as language tabs.
- **Steps** inserts a numbered step-by-step guide.
- **Accordion** inserts collapsible FAQ or details sections.
- **Toggle** inserts a single collapsible content section.
- **Icon** places an inline icon in running text.
- **Columns** creates a side-by-side layout for any content.
- **Update** inserts a changelog entry with a label and anchor.
- **Card Grid** builds a grid of linked cards, which suits "next steps" navigation.
- **Diagram from API Data** generates a diagram from your endpoints or schemas.
- **Snippet** inserts a reusable content snippet.
In the **Media** group, **Frame** inserts a framed image with a caption, and **Image** opens a dialog with upload, drag-and-drop and URL tabs, covered under [Images](#images) below.
## Diagrams
A Mermaid block is **split in two**. You type the diagram source on the left and a live preview renders on the right, stacked on narrow screens, re-rendering shortly after you stop typing. Nothing has to be saved or published to see the result.
Three aids sit in the block's own toolbar:
- **Syntax help** opens a popover with the opening line for each diagram type, so `flowchart TD`, `sequenceDiagram`, `erDiagram` and `stateDiagram-v2`, plus a link to mermaid.js.org for everything else.
- **Insert template** replaces the source with a worked starting point for Flowchart, Sequence, ER Diagram or State Diagram. If you have already edited the block, Routebase asks before overwriting it.
- **Generate from API data** opens the same dialog as the *Diagram from API Data* slash command, targeted at this block.
When the source does not parse, the preview is replaced by a **Diagram syntax error** panel. Above the raw Mermaid message it puts a plain-language hint for the common mistakes. Those are a missing diagram type on the first line, `->` where a flowchart needs `-->`, and an unclosed bracket or quote.
How diagrams are themed on the published portal, how to style an individual diagram, and where else Mermaid renders is covered in [Diagrams](https://docs.routebase.dev/diagrams/).
## Images
There are three ways to add images:
1. **Toolbar → Image** opens the Insert Image dialog with **Upload** and **URL** tabs. Uploads accept PNG, JPG, GIF, WebP and SVG up to 5 MB, and an optional **Alt Text** field covers accessibility.
2. **Drag and drop** an image file straight into the editor.
3. **Paste** an image from the clipboard.
Uploaded images are stored by Routebase and inserted by URL, so they survive portal builds and load fast for readers.
### Display width
By default an image fills the content column, which is a lot of page for a tall, narrow screenshot. Click an image to select it and pick **25%**, **50%**, **75%** or **100%** from the control in its lower-left corner. The percentage is a cap on the content column's width, so a small image is never blown up past its own size, and the image keeps its aspect ratio in both themes.
The width is stored as a class on the image, so you can also write it by hand in the **Markdown** tab, or in a page you keep in your own repository:
```html
### The bubble menu
Selecting text pops up a floating menu with:
- **Turn into** converts the current block to Text, Heading 1 to 3, Quote, Callout, Bullet List or Numbered List.
- Toggles for Bold, Italic, Strikethrough and Inline Code.
- A **color picker** with text colors and highlight colors, offering Default, Gray, Brown, Orange, Yellow, Green, Blue, Purple, Pink and Red.
- A **link dialog** that lets you set the URL and display text.
- A **badge picker**, shown on badged text, for switching between the five variants.
### Block handles
Hovering a block reveals a Notion-style handle with a **+** button to insert a block and a grip to **drag blocks** to a new position.
## Slash commands
Type `/` on an empty line, or anywhere in a paragraph, to open the command menu. It filters as you type and is grouped as follows:
| Group | Commands |
| --- | --- |
| **Text** | Text, Heading 1, Heading 2, Heading 3 |
| **Lists** | Bullet List, Numbered List, Task List |
| **Blocks** | Code Block (syntax highlighted), Quote, Divider |
| **Media** | Table, Image, Frame, Link |
| **Components** | Mermaid Diagram, Sequence Diagram, ER Diagram, State Diagram, Callout, Info, Warning, Tip, Error, Tabs, Code Group, Steps, Accordion, Toggle, Icon, Columns, Update, Card Grid, Diagram from API Data, Snippet |
The documentation components are purpose-built for API docs:
- **Mermaid Diagram** inserts a Mermaid-syntax diagram block, covered under [Diagrams](#diagrams) below. **Sequence Diagram**, **ER Diagram** and **State Diagram** insert the same block pre-seeded with the matching template.
- **Callout** inserts an info, warning, error or tip box. The Info, Warning, Tip and Error commands insert the matching variant directly.
- **Tabs** inserts tabbed content sections.
- **Code Group** holds one code example in multiple languages, rendered as language tabs.
- **Steps** inserts a numbered step-by-step guide.
- **Accordion** inserts collapsible FAQ or details sections.
- **Toggle** inserts a single collapsible content section.
- **Icon** places an inline icon in running text.
- **Columns** creates a side-by-side layout for any content.
- **Update** inserts a changelog entry with a label and anchor.
- **Card Grid** builds a grid of linked cards, which suits "next steps" navigation.
- **Diagram from API Data** generates a diagram from your endpoints or schemas.
- **Snippet** inserts a reusable content snippet.
In the **Media** group, **Frame** inserts a framed image with a caption, and **Image** opens a dialog with upload, drag-and-drop and URL tabs, covered under [Images](#images) below.
## Diagrams
A Mermaid block is **split in two**. You type the diagram source on the left and a live preview renders on the right, stacked on narrow screens, re-rendering shortly after you stop typing. Nothing has to be saved or published to see the result.
Three aids sit in the block's own toolbar:
- **Syntax help** opens a popover with the opening line for each diagram type, so `flowchart TD`, `sequenceDiagram`, `erDiagram` and `stateDiagram-v2`, plus a link to mermaid.js.org for everything else.
- **Insert template** replaces the source with a worked starting point for Flowchart, Sequence, ER Diagram or State Diagram. If you have already edited the block, Routebase asks before overwriting it.
- **Generate from API data** opens the same dialog as the *Diagram from API Data* slash command, targeted at this block.
When the source does not parse, the preview is replaced by a **Diagram syntax error** panel. Above the raw Mermaid message it puts a plain-language hint for the common mistakes. Those are a missing diagram type on the first line, `->` where a flowchart needs `-->`, and an unclosed bracket or quote.
How diagrams are themed on the published portal, how to style an individual diagram, and where else Mermaid renders is covered in [Diagrams](https://docs.routebase.dev/diagrams/).
## Images
There are three ways to add images:
1. **Toolbar → Image** opens the Insert Image dialog with **Upload** and **URL** tabs. Uploads accept PNG, JPG, GIF, WebP and SVG up to 5 MB, and an optional **Alt Text** field covers accessibility.
2. **Drag and drop** an image file straight into the editor.
3. **Paste** an image from the clipboard.
Uploaded images are stored by Routebase and inserted by URL, so they survive portal builds and load fast for readers.
### Display width
By default an image fills the content column, which is a lot of page for a tall, narrow screenshot. Click an image to select it and pick **25%**, **50%**, **75%** or **100%** from the control in its lower-left corner. The percentage is a cap on the content column's width, so a small image is never blown up past its own size, and the image keeps its aspect ratio in both themes.
The width is stored as a class on the image, so you can also write it by hand in the **Markdown** tab, or in a page you keep in your own repository:
```html
 ```
For a light/dark screenshot pair, put the same modifier on both variants:
```html
```
For a light/dark screenshot pair, put the same modifier on both variants:
```html

 ```
Available modifiers are `docs-img--w25`, `docs-img--w50`, `docs-img--w75` and `docs-img--w100`. Leaving the modifier off is the same as 100%.
### Alignment
Once an image is narrower than the content column, it can sit **left**, **centered** or **right**. Pick a width first, because the alignment buttons appear next to the width control only once one is set, and a full-width image has nowhere to move.
**A sized image is centered by default.** Only left and right write a class:
```html
```
Available modifiers are `docs-img--left`, `docs-img--center` and `docs-img--right`. Leaving the modifier off is the same as `docs-img--center`. As with the width, put the same modifier on both variants of a light and dark pair.
### Click to enlarge
On the published portal and in the portal preview, **readers can click any image in a page to see it full size**, up to its own resolution. A keyboard works the same way, so tab to the image and press Enter. Escape, a click on the backdrop, or the close button returns to the page. There is nothing to switch on, because it applies to every content image, and that is what makes a narrow display width safe to use on a detailed screenshot. Images wrapped in a link keep their link.
## Real-time collaboration
Documentation pages support live co-editing. When teammates open the same page, their **presence avatars** appear next to the save indicator and their cursors are visible in the content. **Within a live session, edits merge automatically**, so two people typing in the same page do not overwrite each other.
Two things behave differently, and both matter once more than one person touches a page.
### Locking a page
Anyone with **docs:write** can click **Lock page** in the page header. A locked page renders read-only for everyone, with the banner *"This page is locked. Unlock it to make changes."* The lock is enforced on the server rather than only in the UI. Any content update against a locked page is rejected with a `PAGE_LOCKED` conflict, so an already-open tab elsewhere cannot write through it either. A pending auto-save is flushed before the lock takes effect, so you never lock away your own last keystrokes. Click **Unlock** to release it.
```
Available modifiers are `docs-img--w25`, `docs-img--w50`, `docs-img--w75` and `docs-img--w100`. Leaving the modifier off is the same as 100%.
### Alignment
Once an image is narrower than the content column, it can sit **left**, **centered** or **right**. Pick a width first, because the alignment buttons appear next to the width control only once one is set, and a full-width image has nowhere to move.
**A sized image is centered by default.** Only left and right write a class:
```html
```
Available modifiers are `docs-img--left`, `docs-img--center` and `docs-img--right`. Leaving the modifier off is the same as `docs-img--center`. As with the width, put the same modifier on both variants of a light and dark pair.
### Click to enlarge
On the published portal and in the portal preview, **readers can click any image in a page to see it full size**, up to its own resolution. A keyboard works the same way, so tab to the image and press Enter. Escape, a click on the backdrop, or the close button returns to the page. There is nothing to switch on, because it applies to every content image, and that is what makes a narrow display width safe to use on a detailed screenshot. Images wrapped in a link keep their link.
## Real-time collaboration
Documentation pages support live co-editing. When teammates open the same page, their **presence avatars** appear next to the save indicator and their cursors are visible in the content. **Within a live session, edits merge automatically**, so two people typing in the same page do not overwrite each other.
Two things behave differently, and both matter once more than one person touches a page.
### Locking a page
Anyone with **docs:write** can click **Lock page** in the page header. A locked page renders read-only for everyone, with the banner *"This page is locked. Unlock it to make changes."* The lock is enforced on the server rather than only in the UI. Any content update against a locked page is rejected with a `PAGE_LOCKED` conflict, so an already-open tab elsewhere cannot write through it either. A pending auto-save is flushed before the lock takes effect, so you never lock away your own last keystrokes. Click **Unlock** to release it.
 ### Writes from outside your session
A change that arrives from anywhere other than a live co-editing session is **not** merged into your document. That covers a second browser session, the MCP tools and a restored revision.
- If you have **no unsaved edits**, the page quietly refreshes to the server version.
- If you **do** have unsaved edits, an amber banner reads *"{Name} updated this page. You have unsaved changes."* and offers two choices. **Reload** takes the server version and discards yours. **Keep My Changes** dismisses the banner and keeps yours, and from then on **last write wins**, so your next save overwrites the other version.
Neither path merges the two texts. If a page matters and several people are working near it, lock it rather than relying on the banner.
## Page history
**History** in the page header opens the page's revision list. Each revision is a snapshot of the page as it stood *before* an editing burst, so there is always a point to fall back to.
### Writes from outside your session
A change that arrives from anywhere other than a live co-editing session is **not** merged into your document. That covers a second browser session, the MCP tools and a restored revision.
- If you have **no unsaved edits**, the page quietly refreshes to the server version.
- If you **do** have unsaved edits, an amber banner reads *"{Name} updated this page. You have unsaved changes."* and offers two choices. **Reload** takes the server version and discards yours. **Keep My Changes** dismisses the banner and keeps yours, and from then on **last write wins**, so your next save overwrites the other version.
Neither path merges the two texts. If a page matters and several people are working near it, lock it rather than relying on the banner.
## Page history
**History** in the page header opens the page's revision list. Each revision is a snapshot of the page as it stood *before* an editing burst, so there is always a point to fall back to.
 - A revision is captured before each edit burst. Consecutive edits by the **same** person within **10 minutes** share one revision, so auto-save does not flood the list. A restore always captures the pre-restore state first, whoever triggers it.
- Routebase keeps the **50 most recent** revisions per page, and older ones are pruned automatically.
- Each entry shows who made it and when. Selecting one renders that revision in full on the right, and **Restore this version** puts it back into the page. That needs **docs:write**, an editable version and an unlocked page.
There is **no diff view** here, because the history shows each revision as a complete page rather than as a set of changes against the previous one. To compare, open two revisions in turn.
## Read-only pages
Pages in a **Live** or **Archived** version show a read-only banner and render in reader view. Members with **docs:write** can edit pages in Draft and In Review versions, and without it all versions open read-only.
## Related
- [Documentation Overview](https://docs.routebase.dev/doc-overview/) — pages, folders, and the content tree
- [Page Templates](https://docs.routebase.dev/doc-templates/) — starting points for every page type
- [Changelog](https://docs.routebase.dev/doc-changelog/) — generating changelog entries from spec changes
- [Versioning](https://docs.routebase.dev/doc-versioning/) — why some versions are read-only
---
## Portal Branding
Source: https://docs.routebase.dev/doc-branding/
Make the documentation portal yours by choosing a theme, setting brand colors and fonts, uploading your logo and favicon, and layering on custom CSS. All branding applies to the published portal and is configured per documentation portal.
Open **Documentation Settings → Public Portal → Appearance** and click **Open Theme Editor** in the **Theming** card. The Appearance tab only appears once the portal is enabled, as does every tab but Publish. The editor is split-screen, with settings on the left and a **live preview** on the right that updates as you change values. Click **Save** in the header to apply, and changes take effect on the next portal build.
- A revision is captured before each edit burst. Consecutive edits by the **same** person within **10 minutes** share one revision, so auto-save does not flood the list. A restore always captures the pre-restore state first, whoever triggers it.
- Routebase keeps the **50 most recent** revisions per page, and older ones are pruned automatically.
- Each entry shows who made it and when. Selecting one renders that revision in full on the right, and **Restore this version** puts it back into the page. That needs **docs:write**, an editable version and an unlocked page.
There is **no diff view** here, because the history shows each revision as a complete page rather than as a set of changes against the previous one. To compare, open two revisions in turn.
## Read-only pages
Pages in a **Live** or **Archived** version show a read-only banner and render in reader view. Members with **docs:write** can edit pages in Draft and In Review versions, and without it all versions open read-only.
## Related
- [Documentation Overview](https://docs.routebase.dev/doc-overview/) — pages, folders, and the content tree
- [Page Templates](https://docs.routebase.dev/doc-templates/) — starting points for every page type
- [Changelog](https://docs.routebase.dev/doc-changelog/) — generating changelog entries from spec changes
- [Versioning](https://docs.routebase.dev/doc-versioning/) — why some versions are read-only
---
## Portal Branding
Source: https://docs.routebase.dev/doc-branding/
Make the documentation portal yours by choosing a theme, setting brand colors and fonts, uploading your logo and favicon, and layering on custom CSS. All branding applies to the published portal and is configured per documentation portal.
Open **Documentation Settings → Public Portal → Appearance** and click **Open Theme Editor** in the **Theming** card. The Appearance tab only appears once the portal is enabled, as does every tab but Publish. The editor is split-screen, with settings on the left and a **live preview** on the right that updates as you change values. Click **Save** in the header to apply, and changes take effect on the next portal build.
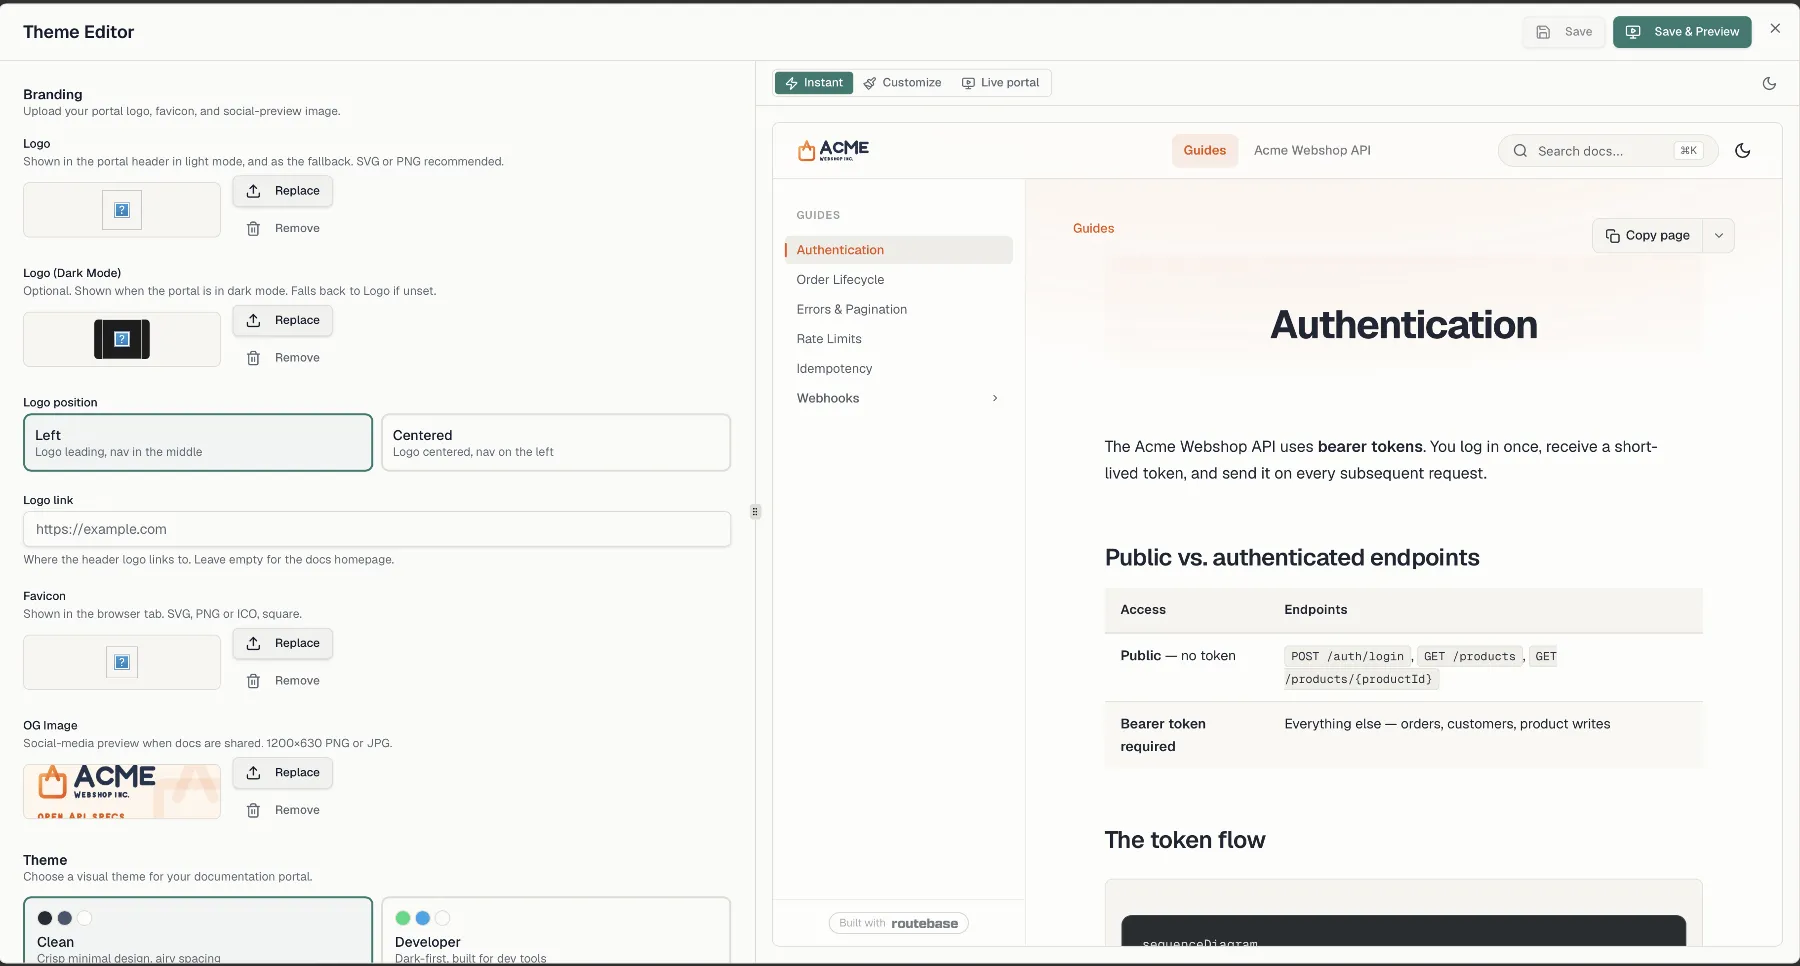
 ## Branding assets
The **Branding** section uploads your portal identity assets. Each asset has **Upload** or **Replace** and **Remove** buttons with an inline preview:
| Asset | Guidance |
| --- | --- |
| **Logo** | Shown in the portal header in light mode, and as the fallback. SVG or PNG recommended. |
| **Logo (Dark Mode)** | Optional. Shown when the portal is in dark mode. Falls back to Logo if unset. |
| **Favicon** | Shown in the browser tab. SVG, PNG or ICO, square. |
| **OG Image** | Social-media preview when docs are shared. 1200×630 PNG or JPG. |
The same section also sets two header options:
- **Logo position** offers **Left**, which puts the logo leading with the nav in the middle, or **Centered**, which centers the logo and moves the nav to the left.
- **Logo link** sets where the header logo links to. Leave it empty for the docs homepage.
## Themes
Pick one of nine pre-built themes, and each swatch shows its primary, accent and background colors:
| Theme | Style |
| --- | --- |
| **Clean** | Crisp minimal design, airy spacing |
| **Developer** | Dark-first, built for dev tools |
| **Enterprise** | Corporate, structured layout |
| **Modern** | Playful with gradients |
| **Classic** | Traditional docs, serif body text |
| **Clay** | Warm terracotta on cream |
| **Routebase** | Slate × Sage brand theme |
| **Maple** | Warm paper tones, amber accent |
| **Mono** | Monochrome minimalism, ink on white |
## Layout
- **API Navigation** decides how a spec's reference is split into pages. **Per endpoint** is the default and gives one page per endpoint, **Per folder** gives one page per tag or folder with stacked endpoints, and **Single page** puts the whole spec on one scrollable page. Choosing **Per folder** reveals a **Folder landing** option of **Endpoint overview list** or **Folder description only**, which decides what each folder page shows above its endpoints. A **Previous / next links** switch adds reading-order navigation at the end of API pages.
- **Layout Width** offers **Centered**, a fixed-width column with side whitespace, or **Full width**, which puts navigation on the far left and the "on this page" list on the far right.
- **Page Eyebrow** decides what appears above each page title, either **Section** for the parent group name or **Breadcrumbs** for the full breadcrumb trail with links.
## Custom colors
Override the theme's **Primary Color**, **Accent Color** and **Background Color** with your brand palette. Enter a 3-digit or 6-digit hex value, or use the color picker, and a reset button returns each color to the theme default. Leaving a field empty keeps the theme's own color.
## Background
Add a subtle decorative background to the portal pages by choosing a **Background** decoration. **None** leaves a plain background color, **Gradient** adds a soft primary glow from the top, **Grid** draws a subtle blueprint line grid, and **Windows** shows diagonal glass panes. You can also upload a full-page **Background Image**, with an optional **Background Image (Dark Mode)** variant, and an uploaded image takes precedence over the decoration.
## Code Blocks
Choose the syntax-highlighting theme for code blocks from a curated set, where each option shows a color swatch. One theme applies in both light and dark mode.
## Typography
Two font slots each carry a searchable **Google Fonts** picker and a live font preview:
- **Body Font** sets the body typeface, and the choices include Inter, Roboto, Open Sans, Lato, Poppins, Montserrat and DM Sans.
- **Code Font Family** sets the monospace font for code, with choices such as JetBrains Mono, Fira Code, Source Code Pro and IBM Plex Mono.
A **Body Weight** selector sets the body text weight, from Light through Extrabold, or **Theme default**.
To use your own typeface, click the upload button next to either picker and add a **custom WOFF2 font**. It replaces the Google Font selection until you remove it. Choose **Use theme default** in the picker to clear a selection.
### Headings
Headings can take their own **Heading Font** and **Heading Weight**, both defaulting to the body font and weight.
### Font Size
Two sliders scale text independently. **Base Text Size** runs from 12 to 22 px, and **Heading Scale** runs from 75 to 150%. Each shows **Default** until you move it, and a reset control returns it to the theme default.
## Customize Surfaces
Beyond the theme-wide colors, the **Customize Surfaces** section styles individual portal surfaces such as headers, sidebars and cards, with per-surface and per-property overrides for light and dark mode. You can expand a surface group to edit it directly, or click an element in the **Customize** preview on the right to jump straight to its controls.
## Branding assets
The **Branding** section uploads your portal identity assets. Each asset has **Upload** or **Replace** and **Remove** buttons with an inline preview:
| Asset | Guidance |
| --- | --- |
| **Logo** | Shown in the portal header in light mode, and as the fallback. SVG or PNG recommended. |
| **Logo (Dark Mode)** | Optional. Shown when the portal is in dark mode. Falls back to Logo if unset. |
| **Favicon** | Shown in the browser tab. SVG, PNG or ICO, square. |
| **OG Image** | Social-media preview when docs are shared. 1200×630 PNG or JPG. |
The same section also sets two header options:
- **Logo position** offers **Left**, which puts the logo leading with the nav in the middle, or **Centered**, which centers the logo and moves the nav to the left.
- **Logo link** sets where the header logo links to. Leave it empty for the docs homepage.
## Themes
Pick one of nine pre-built themes, and each swatch shows its primary, accent and background colors:
| Theme | Style |
| --- | --- |
| **Clean** | Crisp minimal design, airy spacing |
| **Developer** | Dark-first, built for dev tools |
| **Enterprise** | Corporate, structured layout |
| **Modern** | Playful with gradients |
| **Classic** | Traditional docs, serif body text |
| **Clay** | Warm terracotta on cream |
| **Routebase** | Slate × Sage brand theme |
| **Maple** | Warm paper tones, amber accent |
| **Mono** | Monochrome minimalism, ink on white |
## Layout
- **API Navigation** decides how a spec's reference is split into pages. **Per endpoint** is the default and gives one page per endpoint, **Per folder** gives one page per tag or folder with stacked endpoints, and **Single page** puts the whole spec on one scrollable page. Choosing **Per folder** reveals a **Folder landing** option of **Endpoint overview list** or **Folder description only**, which decides what each folder page shows above its endpoints. A **Previous / next links** switch adds reading-order navigation at the end of API pages.
- **Layout Width** offers **Centered**, a fixed-width column with side whitespace, or **Full width**, which puts navigation on the far left and the "on this page" list on the far right.
- **Page Eyebrow** decides what appears above each page title, either **Section** for the parent group name or **Breadcrumbs** for the full breadcrumb trail with links.
## Custom colors
Override the theme's **Primary Color**, **Accent Color** and **Background Color** with your brand palette. Enter a 3-digit or 6-digit hex value, or use the color picker, and a reset button returns each color to the theme default. Leaving a field empty keeps the theme's own color.
## Background
Add a subtle decorative background to the portal pages by choosing a **Background** decoration. **None** leaves a plain background color, **Gradient** adds a soft primary glow from the top, **Grid** draws a subtle blueprint line grid, and **Windows** shows diagonal glass panes. You can also upload a full-page **Background Image**, with an optional **Background Image (Dark Mode)** variant, and an uploaded image takes precedence over the decoration.
## Code Blocks
Choose the syntax-highlighting theme for code blocks from a curated set, where each option shows a color swatch. One theme applies in both light and dark mode.
## Typography
Two font slots each carry a searchable **Google Fonts** picker and a live font preview:
- **Body Font** sets the body typeface, and the choices include Inter, Roboto, Open Sans, Lato, Poppins, Montserrat and DM Sans.
- **Code Font Family** sets the monospace font for code, with choices such as JetBrains Mono, Fira Code, Source Code Pro and IBM Plex Mono.
A **Body Weight** selector sets the body text weight, from Light through Extrabold, or **Theme default**.
To use your own typeface, click the upload button next to either picker and add a **custom WOFF2 font**. It replaces the Google Font selection until you remove it. Choose **Use theme default** in the picker to clear a selection.
### Headings
Headings can take their own **Heading Font** and **Heading Weight**, both defaulting to the body font and weight.
### Font Size
Two sliders scale text independently. **Base Text Size** runs from 12 to 22 px, and **Heading Scale** runs from 75 to 150%. Each shows **Default** until you move it, and a reset control returns it to the theme default.
## Customize Surfaces
Beyond the theme-wide colors, the **Customize Surfaces** section styles individual portal surfaces such as headers, sidebars and cards, with per-surface and per-property overrides for light and dark mode. You can expand a surface group to edit it directly, or click an element in the **Customize** preview on the right to jump straight to its controls.
 ## Dark mode
The **Enable dark mode** switch turns on a dark appearance for the portal. When it is on, two more controls appear:
- **Show the light/dark toggle** decides whether readers get a toggle to switch appearance themselves. Turn it off for a strict single-appearance portal.
- **Default appearance** offers **Match system**, **Light** or **Dark**. With the toggle shown, this is what first-time visitors see before they switch, and with the toggle hidden it is the appearance every visitor gets.
The theme editor preview lets you check both modes before saving.
## Custom CSS
For fine-grained control beyond the theme editor, use the **Custom CSS** card on **Documentation Settings → Public Portal → Appearance**. It sits directly below Theming, with a live preview of your rules beside the editor. The editor has CSS syntax highlighting, a character limit of 50,000, and warnings for potentially problematic selectors. It also carries a built-in reference of the portal's CSS variables, grouped into colors such as `--rb-primary`, `--rb-background` and `--rb-text`, layout such as `--rb-header-bg` and `--rb-sidebar-bg`, and typography such as `--rb-font-family` and `--rb-code-font-family`. Your rules load **after** the generated theme, so they win specificity ties.
## Dark mode
The **Enable dark mode** switch turns on a dark appearance for the portal. When it is on, two more controls appear:
- **Show the light/dark toggle** decides whether readers get a toggle to switch appearance themselves. Turn it off for a strict single-appearance portal.
- **Default appearance** offers **Match system**, **Light** or **Dark**. With the toggle shown, this is what first-time visitors see before they switch, and with the toggle hidden it is the appearance every visitor gets.
The theme editor preview lets you check both modes before saving.
## Custom CSS
For fine-grained control beyond the theme editor, use the **Custom CSS** card on **Documentation Settings → Public Portal → Appearance**. It sits directly below Theming, with a live preview of your rules beside the editor. The editor has CSS syntax highlighting, a character limit of 50,000, and warnings for potentially problematic selectors. It also carries a built-in reference of the portal's CSS variables, grouped into colors such as `--rb-primary`, `--rb-background` and `--rb-text`, layout such as `--rb-header-bg` and `--rb-sidebar-bg`, and typography such as `--rb-font-family` and `--rb-code-font-family`. Your rules load **after** the generated theme, so they win specificity ties.
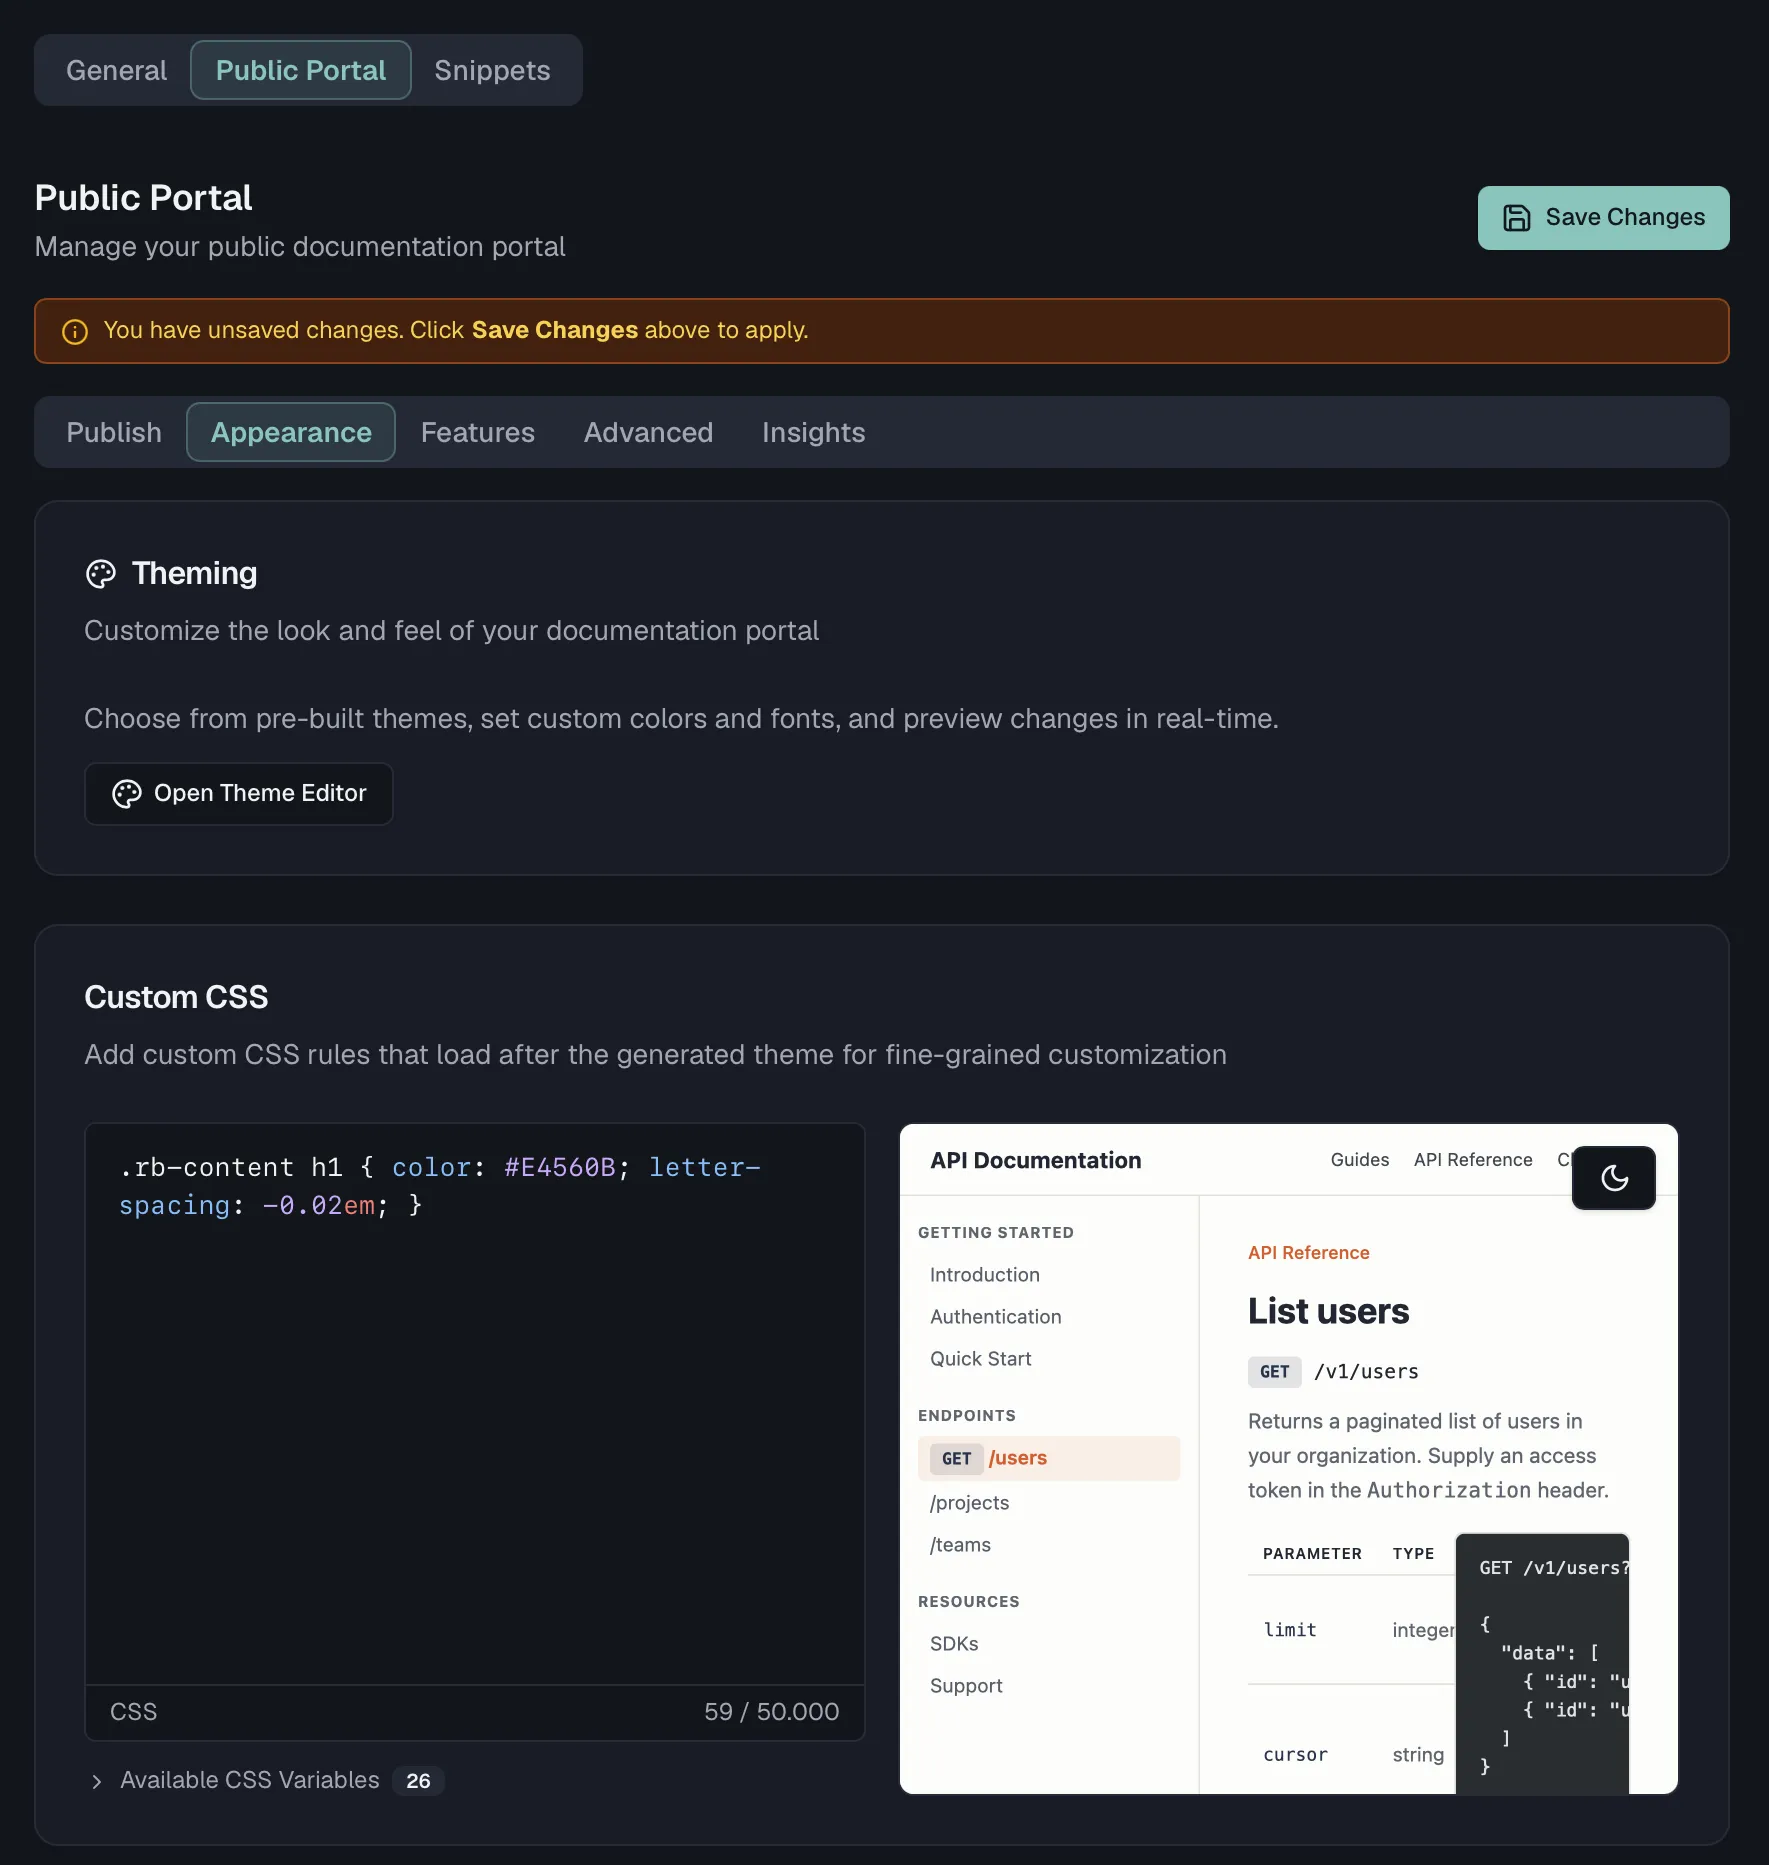 ## Removing the Routebase footer
On the **Pro** plan and above, the **Hide Routebase Branding** toggle on **Public Portal → Features** removes the "Powered by Routebase" footer from your portal.
## Custom domains
You can serve the portal on a domain you own. The **Custom Domain** card on **Public Portal → Publish**, directly below the portal subdomain, walks you through entering your domain, adding the CNAME and TXT DNS records, verifying DNS and provisioning an SSL certificate. Once the domain is active, it also monitors DNS and SSL health. Custom domains are a Pro and Enterprise feature, and [Custom Domains](https://docs.routebase.dev/custom-domains/) covers the full setup. Without a custom domain, your portal is served on its [portal subdomain](https://docs.routebase.dev/doc-publishing/).
## Related
- [Publishing](https://docs.routebase.dev/doc-publishing/) — subdomain, builds, and portal features
- [Custom Domains](https://docs.routebase.dev/custom-domains/) — serving the portal on your own domain
- [Documentation Overview](https://docs.routebase.dev/doc-overview/) — structuring the content the theme renders
---
## Changelog Pages
Source: https://docs.routebase.dev/doc-changelog/
A changelog page keeps your API consumers informed about what changed between releases. Routebase can write much of it for you. Because your documentation embeds pinned snapshots of published API specs, it can compare spec versions and generate categorized changelog entries, including breaking-change flags and migration hints.
## Creating a changelog page
1. In the content tree, choose **New Page → Changelog** (*"Version history with categorized entries"*). A documentation version can have one changelog page.
2. Pick a template:
- **Standard** gives you Added, Changed and Fixed sections.
- **Keep a Changelog** follows the standard Keep a Changelog format with versioned entries.
- **Release Notes** is a user-friendly, feature-focused format.
3. Click **Create Page**.
The changelog is a normal page, so you edit it with the full [rich text editor](https://docs.routebase.dev/doc-authoring/). It stays organized by whatever convention your template established, which usually means version headings with **Added**, **Changed**, **Removed**, **Fixed**, **Deprecated** and **Security** sections.
## Removing the Routebase footer
On the **Pro** plan and above, the **Hide Routebase Branding** toggle on **Public Portal → Features** removes the "Powered by Routebase" footer from your portal.
## Custom domains
You can serve the portal on a domain you own. The **Custom Domain** card on **Public Portal → Publish**, directly below the portal subdomain, walks you through entering your domain, adding the CNAME and TXT DNS records, verifying DNS and provisioning an SSL certificate. Once the domain is active, it also monitors DNS and SSL health. Custom domains are a Pro and Enterprise feature, and [Custom Domains](https://docs.routebase.dev/custom-domains/) covers the full setup. Without a custom domain, your portal is served on its [portal subdomain](https://docs.routebase.dev/doc-publishing/).
## Related
- [Publishing](https://docs.routebase.dev/doc-publishing/) — subdomain, builds, and portal features
- [Custom Domains](https://docs.routebase.dev/custom-domains/) — serving the portal on your own domain
- [Documentation Overview](https://docs.routebase.dev/doc-overview/) — structuring the content the theme renders
---
## Changelog Pages
Source: https://docs.routebase.dev/doc-changelog/
A changelog page keeps your API consumers informed about what changed between releases. Routebase can write much of it for you. Because your documentation embeds pinned snapshots of published API specs, it can compare spec versions and generate categorized changelog entries, including breaking-change flags and migration hints.
## Creating a changelog page
1. In the content tree, choose **New Page → Changelog** (*"Version history with categorized entries"*). A documentation version can have one changelog page.
2. Pick a template:
- **Standard** gives you Added, Changed and Fixed sections.
- **Keep a Changelog** follows the standard Keep a Changelog format with versioned entries.
- **Release Notes** is a user-friendly, feature-focused format.
3. Click **Create Page**.
The changelog is a normal page, so you edit it with the full [rich text editor](https://docs.routebase.dev/doc-authoring/). It stays organized by whatever convention your template established, which usually means version headings with **Added**, **Changed**, **Removed**, **Fixed**, **Deprecated** and **Security** sections.
 ## Auto-generating entries from spec changes
Changelog pages have an extra **Generate** button in the page header (visible in editable versions). It opens **Generate Changelog from Spec Changes**, described as *"Automatically create changelog entries by comparing API specification versions."*
1. Under **Select API Specification**, pick the spec to compare. The dialog lists the API specs embedded in this documentation version, each showing which spec version it is pinned to. If none are embedded yet, you'll be prompted to add a spec first, as covered in [Documentation Overview](https://docs.routebase.dev/doc-overview/).
2. Click **Generate**. Routebase compares the spec versions and produces a preview of entries.
3. Review the preview. Each entry shows:
- A **category badge** naming the category, which is Added, Changed, Removed, Fixed, Deprecated or Security.
- A **classification badge** for breaking or deprecated changes, with summary counts at the top such as "3 Breaking".
- A **migration hint** where one applies.
4. Use the checkboxes (or **Select All** / **Deselect All**) to pick which entries to keep, then click **Import N Entries**.
The selected entries are inserted into the changelog page as Markdown, where you can reword, reorder or expand them like any other content.
## Tips
- Generate against a **draft** documentation version, polish the wording, then take the version live. Published versions are immutable, as described in [Versioning](https://docs.routebase.dev/doc-versioning/).
- After updating a pinned spec snapshot to a newer release (via the update banner or when cloning a version), run **Generate** to capture exactly what changed in that release.
- Breaking and deprecated entries deserve extra context, so add migration steps or link to a dedicated migration guide page.
## Related
- [Documentation Overview](https://docs.routebase.dev/doc-overview/) — embedding API specs as pinned snapshots
- [Versioning](https://docs.routebase.dev/doc-versioning/) — the documentation version lifecycle
- [Page Templates](https://docs.routebase.dev/doc-templates/) — the three changelog templates
- [API Spec Versioning](https://docs.routebase.dev/versioning/) — publishing the spec versions the comparison is based on
---
## Documentation Overview
Source: https://docs.routebase.dev/doc-overview/
Routebase turns your API specs and hand-written guides into a versioned documentation portal. Each project has its own documentation workspace where you organize **pages**, **folders**, and **API references** in a single content tree, then publish the result as a hosted portal for your readers.
Open **Documentation** in the sidebar while a project is active. Viewing documentation requires the **docs:read** permission, and making changes requires **docs:write**. The built-in Member role includes both.
## Your first visit
What happens the first time a project has no documentation depends on what you are allowed to do with it.
If you can complete the whole setup, Routebase opens a three-step assistant titled *"Set up your documentation portal"*. Completing it means holding **docs:write**, **docs:manage-portal** and **docs:publish**, which Admins and Owners do.
1. Under **Content**, give the portal a name and tick the API specs you want embedded as an API reference. Draft-only specs show **Publish & add** and are published on the way in, which needs **specs:publish**. A spec with no publishable version at all is shown disabled as **No version**. The step creates a Getting Started page from an editable template as the portal's entry page.
2. Under **Branding**, save the **portal address**, which is the subdomain and is required to continue, then pick one of the built-in themes. Colors, fonts and logo are left for the theme editor later.
3. Under **Go Live**, review a summary of name, address, theme and content, then click **Publish portal**. That makes version 1 public, enables the portal and starts the first build. You land on the live URL and can keep editing afterwards.
**Skip setup — go to the editor** at the bottom leaves the assistant at any point and drops you into an empty documentation workspace instead.
Members who can edit but not publish or configure the portal never see the assistant. For them a documentation workspace with an initial draft version is created silently, and the portal side is left to someone who can do it.
## Auto-generating entries from spec changes
Changelog pages have an extra **Generate** button in the page header (visible in editable versions). It opens **Generate Changelog from Spec Changes**, described as *"Automatically create changelog entries by comparing API specification versions."*
1. Under **Select API Specification**, pick the spec to compare. The dialog lists the API specs embedded in this documentation version, each showing which spec version it is pinned to. If none are embedded yet, you'll be prompted to add a spec first, as covered in [Documentation Overview](https://docs.routebase.dev/doc-overview/).
2. Click **Generate**. Routebase compares the spec versions and produces a preview of entries.
3. Review the preview. Each entry shows:
- A **category badge** naming the category, which is Added, Changed, Removed, Fixed, Deprecated or Security.
- A **classification badge** for breaking or deprecated changes, with summary counts at the top such as "3 Breaking".
- A **migration hint** where one applies.
4. Use the checkboxes (or **Select All** / **Deselect All**) to pick which entries to keep, then click **Import N Entries**.
The selected entries are inserted into the changelog page as Markdown, where you can reword, reorder or expand them like any other content.
## Tips
- Generate against a **draft** documentation version, polish the wording, then take the version live. Published versions are immutable, as described in [Versioning](https://docs.routebase.dev/doc-versioning/).
- After updating a pinned spec snapshot to a newer release (via the update banner or when cloning a version), run **Generate** to capture exactly what changed in that release.
- Breaking and deprecated entries deserve extra context, so add migration steps or link to a dedicated migration guide page.
## Related
- [Documentation Overview](https://docs.routebase.dev/doc-overview/) — embedding API specs as pinned snapshots
- [Versioning](https://docs.routebase.dev/doc-versioning/) — the documentation version lifecycle
- [Page Templates](https://docs.routebase.dev/doc-templates/) — the three changelog templates
- [API Spec Versioning](https://docs.routebase.dev/versioning/) — publishing the spec versions the comparison is based on
---
## Documentation Overview
Source: https://docs.routebase.dev/doc-overview/
Routebase turns your API specs and hand-written guides into a versioned documentation portal. Each project has its own documentation workspace where you organize **pages**, **folders**, and **API references** in a single content tree, then publish the result as a hosted portal for your readers.
Open **Documentation** in the sidebar while a project is active. Viewing documentation requires the **docs:read** permission, and making changes requires **docs:write**. The built-in Member role includes both.
## Your first visit
What happens the first time a project has no documentation depends on what you are allowed to do with it.
If you can complete the whole setup, Routebase opens a three-step assistant titled *"Set up your documentation portal"*. Completing it means holding **docs:write**, **docs:manage-portal** and **docs:publish**, which Admins and Owners do.
1. Under **Content**, give the portal a name and tick the API specs you want embedded as an API reference. Draft-only specs show **Publish & add** and are published on the way in, which needs **specs:publish**. A spec with no publishable version at all is shown disabled as **No version**. The step creates a Getting Started page from an editable template as the portal's entry page.
2. Under **Branding**, save the **portal address**, which is the subdomain and is required to continue, then pick one of the built-in themes. Colors, fonts and logo are left for the theme editor later.
3. Under **Go Live**, review a summary of name, address, theme and content, then click **Publish portal**. That makes version 1 public, enables the portal and starts the first build. You land on the live URL and can keep editing afterwards.
**Skip setup — go to the editor** at the bottom leaves the assistant at any point and drops you into an empty documentation workspace instead.
Members who can edit but not publish or configure the portal never see the assistant. For them a documentation workspace with an initial draft version is created silently, and the portal side is left to someone who can do it.
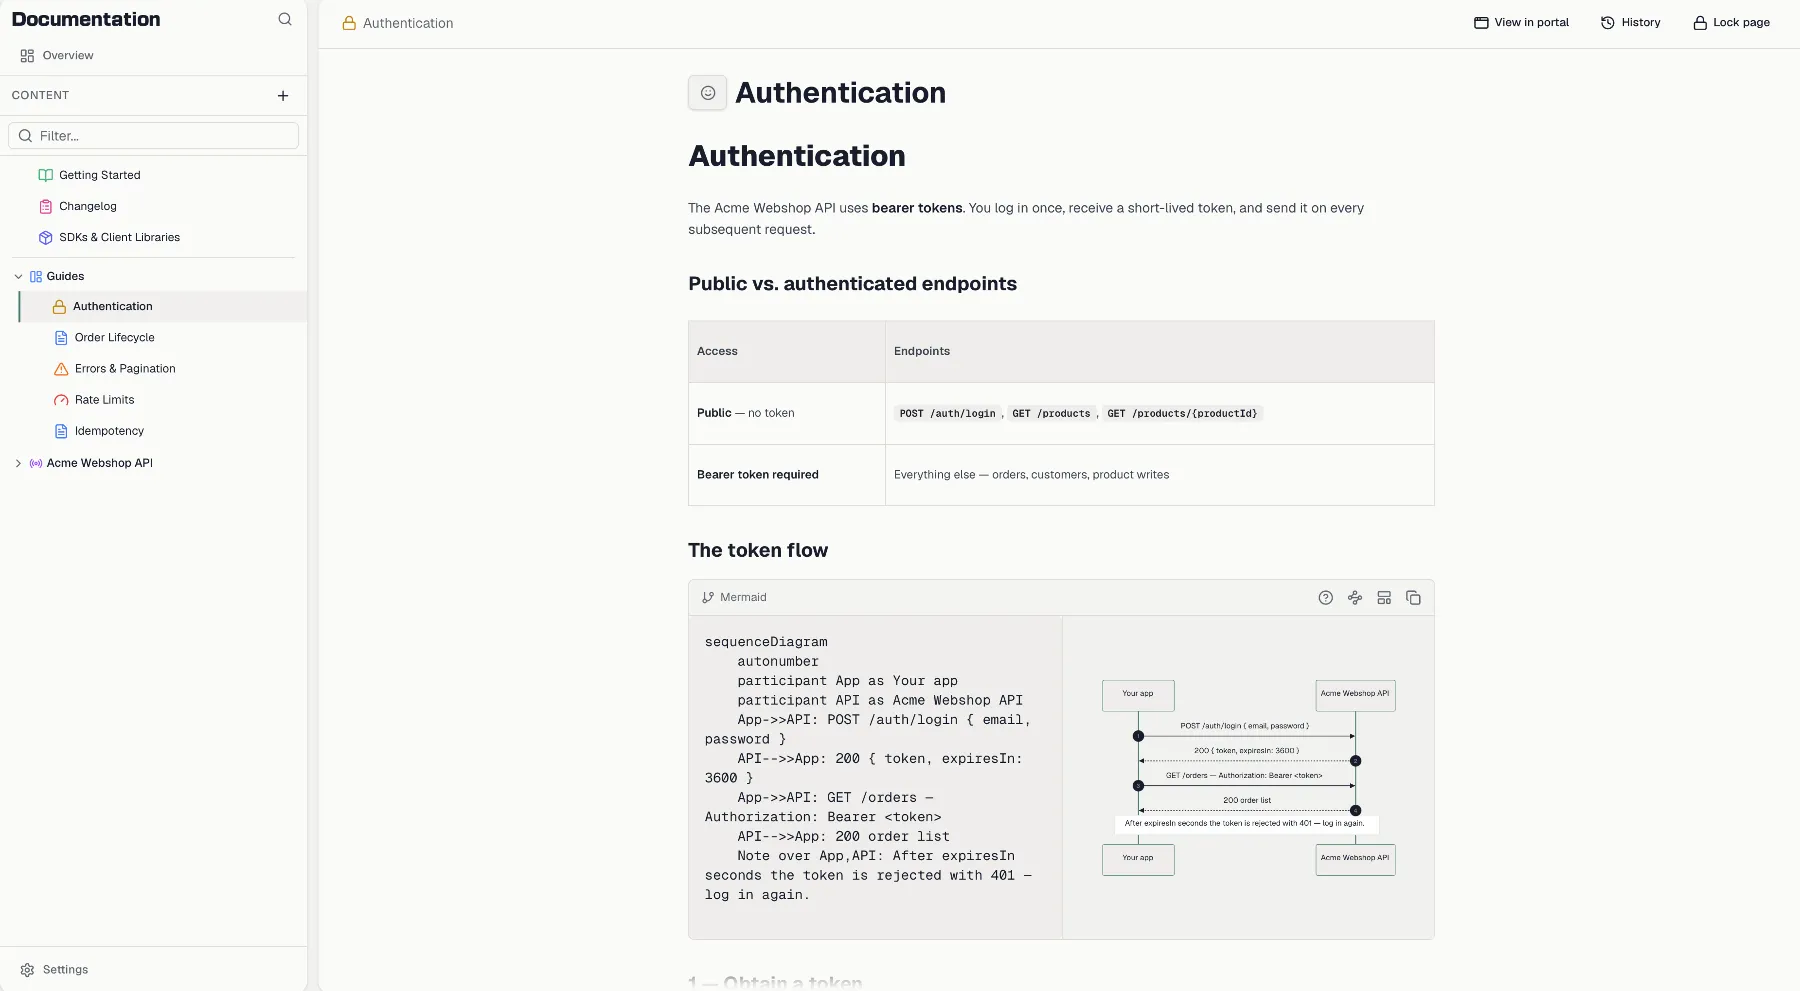
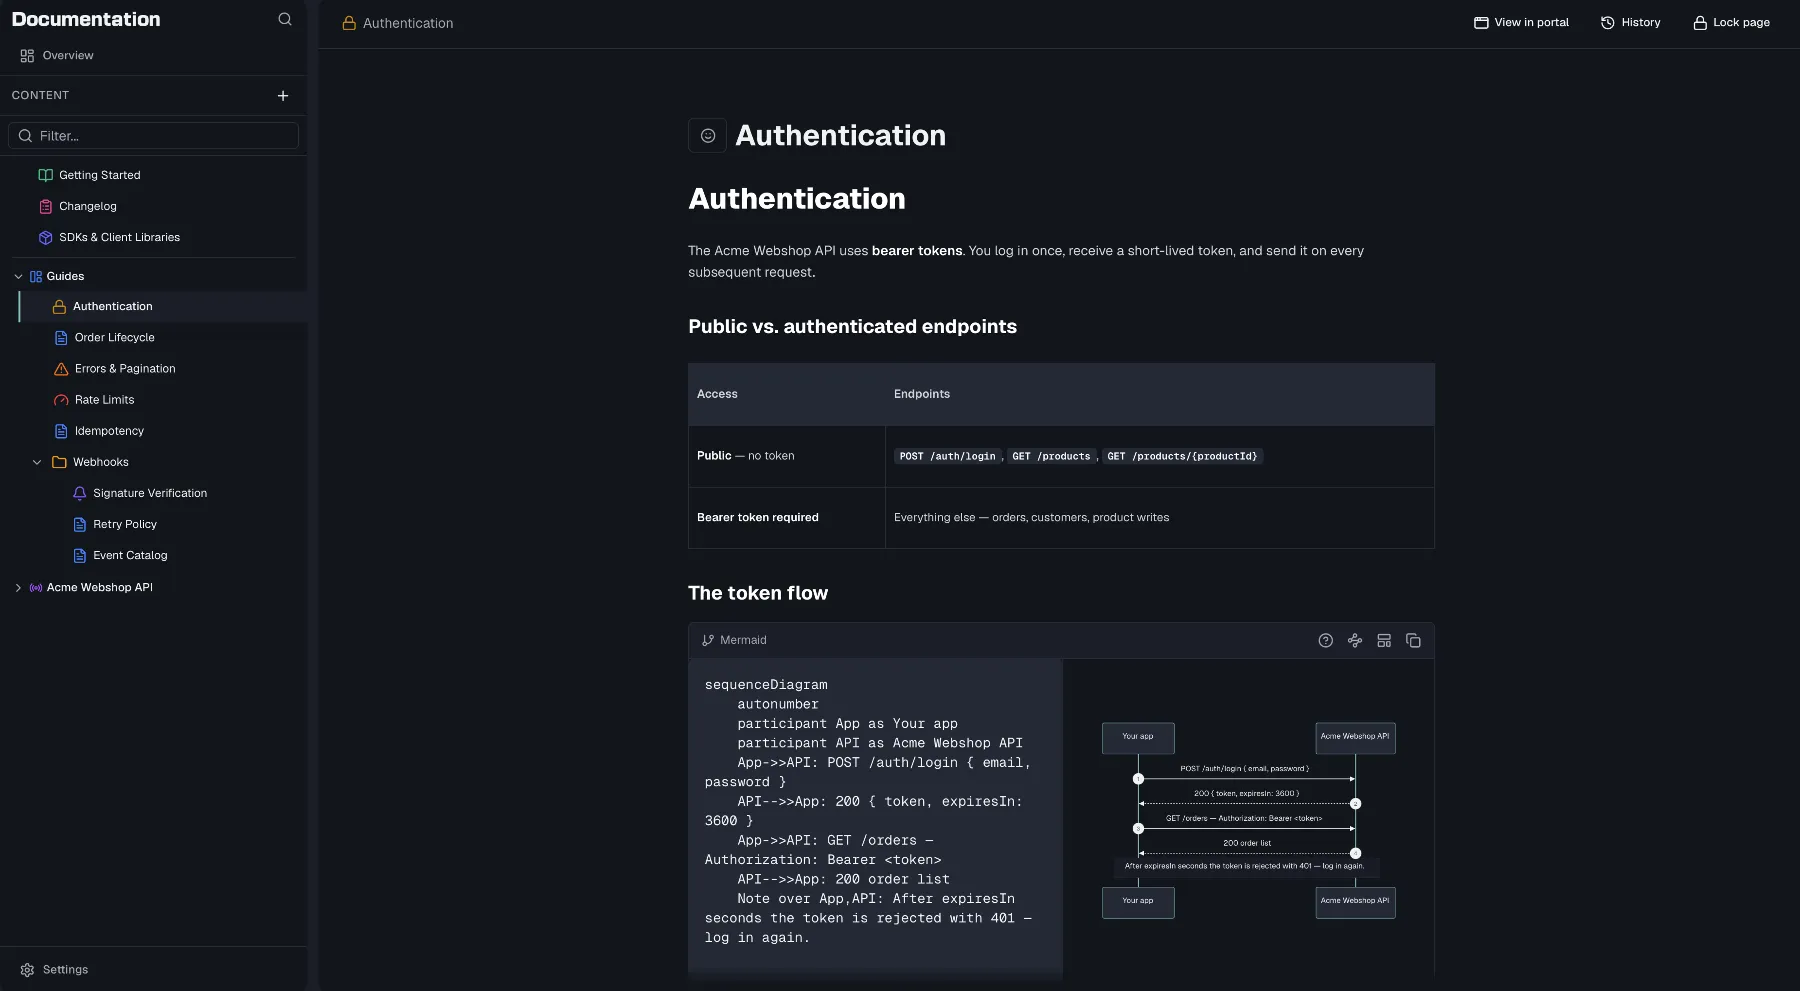 ## The version overview
Opening Documentation lands on **Overview**, the first entry above the content tree, and so does every switch to another version. It answers where this version stands without a trip through the settings pages, and you can return to it at any time by clicking that entry.
**Status header.** The header carries the version number with its status badge, the last build as a colored dot reading *Build succeeded / failed / building / queued*, and one line of context. That line reads *Published 3 days ago*, *Draft — not published yet*, *In review — waiting for approval* or *Archived — read-only*. When the portal is enabled, its public URL sits below with a copy button. The action on the right follows the version, so an editable version offers **Publish** while a read-only one offers **Open portal** and **Clone to new version**.
**Needs attention** lists only what is actually pending, and each entry carries the action that resolves it:
| Entry | When it appears | Action |
| --- | --- | --- |
| *"<Spec> has a newer published version (vN)"* | An embedded API reference is behind its spec — one entry per affected reference, only on an editable version | **Review update** opens that reference |
| *"The last portal build for this version failed"* | The newest build of this version failed | **View build log** |
| *"N reader feedback entries this week (portal-wide)"* | Readers left feedback in the last 7 days | **Review feedback** |
Dismissing a spec-update banner in the reference view also removes it here. When nothing is pending, the whole block collapses to a single line reading *"Everything is up to date."*
**Stats** count **Pages** and **API references** in this version, plus **Endpoint coverage**. Coverage says how many embedded endpoints carry a description, shown as `12/40` with the percentage below. **Portal views** covers the last 7 days portal-wide and appears only for readers with **docs:manage-portal**. Everyone else sees three tiles instead of four, and no request is made for data they may not see.
**Recently edited** lists the pages that moved last, each with the person who touched it and when. Clicking a row opens that page.
A version with no content at all shows entry cards instead, which are **Add a page**, **Add an API reference** and **Start from template**. The last one seeds a Getting Started page. On a read-only version the cards are replaced by the note that it must be cloned before it can be edited.
## The version overview
Opening Documentation lands on **Overview**, the first entry above the content tree, and so does every switch to another version. It answers where this version stands without a trip through the settings pages, and you can return to it at any time by clicking that entry.
**Status header.** The header carries the version number with its status badge, the last build as a colored dot reading *Build succeeded / failed / building / queued*, and one line of context. That line reads *Published 3 days ago*, *Draft — not published yet*, *In review — waiting for approval* or *Archived — read-only*. When the portal is enabled, its public URL sits below with a copy button. The action on the right follows the version, so an editable version offers **Publish** while a read-only one offers **Open portal** and **Clone to new version**.
**Needs attention** lists only what is actually pending, and each entry carries the action that resolves it:
| Entry | When it appears | Action |
| --- | --- | --- |
| *"<Spec> has a newer published version (vN)"* | An embedded API reference is behind its spec — one entry per affected reference, only on an editable version | **Review update** opens that reference |
| *"The last portal build for this version failed"* | The newest build of this version failed | **View build log** |
| *"N reader feedback entries this week (portal-wide)"* | Readers left feedback in the last 7 days | **Review feedback** |
Dismissing a spec-update banner in the reference view also removes it here. When nothing is pending, the whole block collapses to a single line reading *"Everything is up to date."*
**Stats** count **Pages** and **API references** in this version, plus **Endpoint coverage**. Coverage says how many embedded endpoints carry a description, shown as `12/40` with the percentage below. **Portal views** covers the last 7 days portal-wide and appears only for readers with **docs:manage-portal**. Everyone else sees three tiles instead of four, and no request is made for data they may not see.
**Recently edited** lists the pages that moved last, each with the person who touched it and when. Clicking a row opens that page.
A version with no content at all shows entry cards instead, which are **Add a page**, **Add an API reference** and **Start from template**. The last one seeds a Getting Started page. On a read-only version the cards are replaced by the note that it must be cloned before it can be edited.
 ## How documentation is structured
| Concept | What it is |
| --- | --- |
| **Documentation** | The container for all docs of a project. It holds versions and the portal configuration. |
| **Version** | An independent snapshot of the whole content tree (v1, v2, …). Drafts are editable; live versions are read-only. See [Versioning](https://docs.routebase.dev/doc-versioning/). |
| **Page** | A single document — either a free-form custom page or a specialized page type (Getting Started, Authentication, …). |
| **Folder** | Groups pages in the tree. Root-level folders can be promoted to **sections**, which become top-level navigation tabs. |
| **API Reference** | An embedded snapshot of a published API specification, rendered as endpoint reference pages. |
## The content tree
The left sidebar shows the content tree for the selected version. At the top of the tree:
- The **Content** header carries a **+** menu with **New Page**, **New Folder**, **Add API Spec** and **New Section**.
- A **Filter...** box narrows the tree by page title, folder name, spec name, or endpoint path and method. Press Escape to clear it.
The sidebar header has a **Search (⌘K)** button, and a **Settings** button pinned at the foot of the sidebar opens **Documentation Settings**. Generating a portal preview and publishing are handled from the documentation header at the top of the page, which [Publishing](https://docs.routebase.dev/doc-publishing/) covers.
Items without a section render under two group labels, **Pages** and **API Specifications**. When the tree is empty you see *"No content yet — Start building your documentation."* with a **New Page** button.
### Organizing the tree
- **Drag and drop** items to reorder them or move them into folders.
- Right-click any item for the context menu, which holds **New Page**, **New Folder**, **Add API Spec**, **Rename**, **Edit Slug**, **Duplicate**, **Move Up**, **Move Down** and **Delete**. Rename also responds to F2 or a double-click, Duplicate is for pages only, and API specs read **Remove** instead of Delete. Deleting asks for confirmation and cannot be undone.
- Root-level folders offer **Mark as Section** / **Unmark as Section**. Sections render as collapsible groups in the editor tree and as separate navigation areas in the published portal.
## How documentation is structured
| Concept | What it is |
| --- | --- |
| **Documentation** | The container for all docs of a project. It holds versions and the portal configuration. |
| **Version** | An independent snapshot of the whole content tree (v1, v2, …). Drafts are editable; live versions are read-only. See [Versioning](https://docs.routebase.dev/doc-versioning/). |
| **Page** | A single document — either a free-form custom page or a specialized page type (Getting Started, Authentication, …). |
| **Folder** | Groups pages in the tree. Root-level folders can be promoted to **sections**, which become top-level navigation tabs. |
| **API Reference** | An embedded snapshot of a published API specification, rendered as endpoint reference pages. |
## The content tree
The left sidebar shows the content tree for the selected version. At the top of the tree:
- The **Content** header carries a **+** menu with **New Page**, **New Folder**, **Add API Spec** and **New Section**.
- A **Filter...** box narrows the tree by page title, folder name, spec name, or endpoint path and method. Press Escape to clear it.
The sidebar header has a **Search (⌘K)** button, and a **Settings** button pinned at the foot of the sidebar opens **Documentation Settings**. Generating a portal preview and publishing are handled from the documentation header at the top of the page, which [Publishing](https://docs.routebase.dev/doc-publishing/) covers.
Items without a section render under two group labels, **Pages** and **API Specifications**. When the tree is empty you see *"No content yet — Start building your documentation."* with a **New Page** button.
### Organizing the tree
- **Drag and drop** items to reorder them or move them into folders.
- Right-click any item for the context menu, which holds **New Page**, **New Folder**, **Add API Spec**, **Rename**, **Edit Slug**, **Duplicate**, **Move Up**, **Move Down** and **Delete**. Rename also responds to F2 or a double-click, Duplicate is for pages only, and API specs read **Remove** instead of Delete. Deleting asks for confirmation and cannot be undone.
- Root-level folders offer **Mark as Section** / **Unmark as Section**. Sections render as collapsible groups in the editor tree and as separate navigation areas in the published portal.
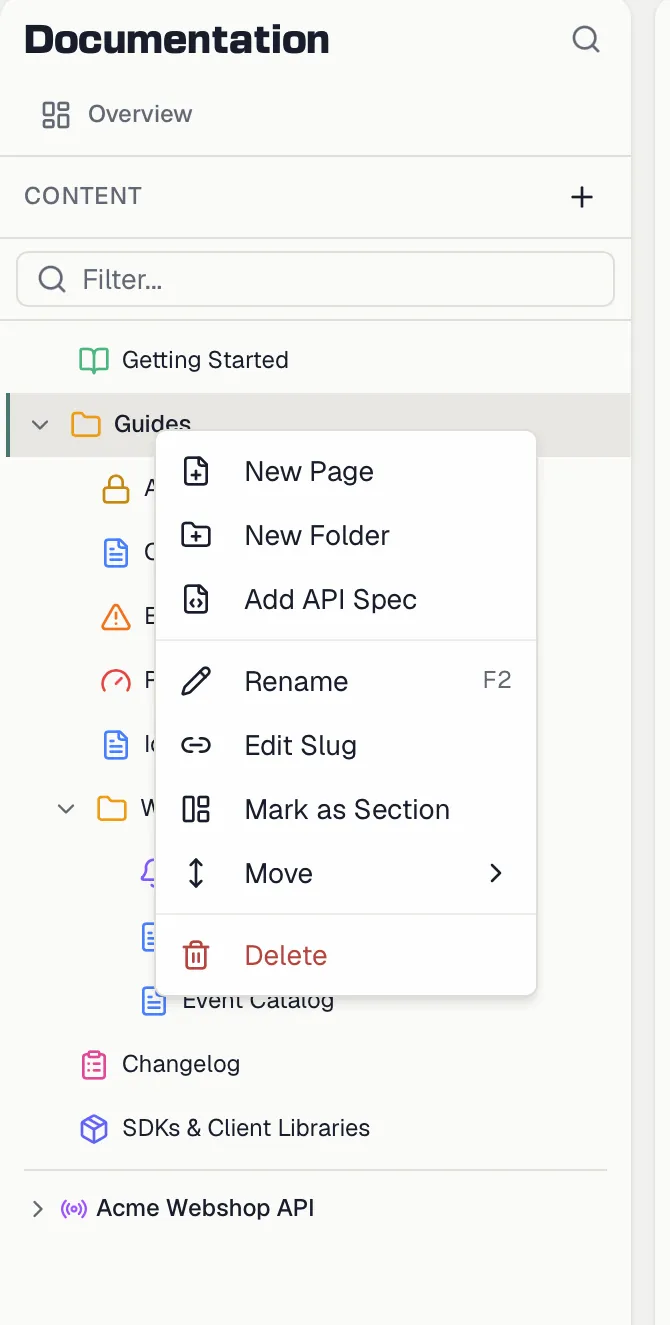
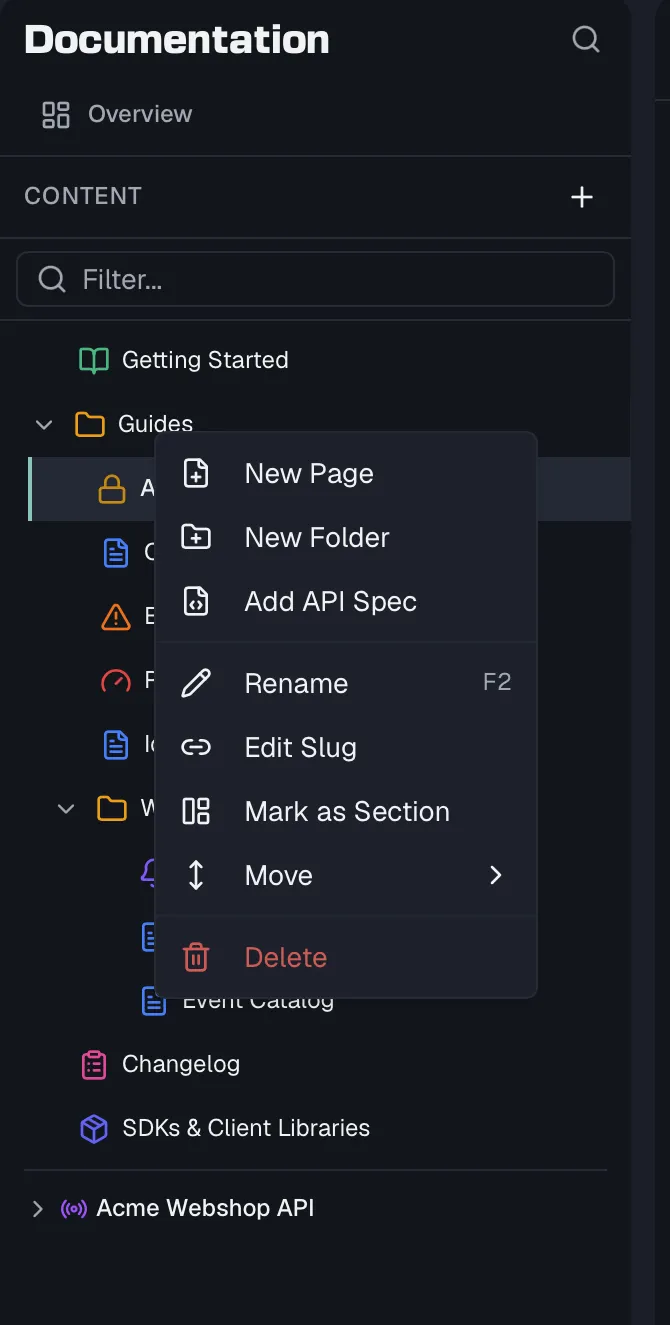 ### The folder overview
Clicking a folder or section **name** opens its own working surface on the right, while the chevron still expands and collapses. Clicking the name only ever expands, so the surface does not disappear under the click that opened it.
- The **header** carries the folder name, which you double-click to rename, its slug, and a **Section · portal tab** badge for sections. If pages below it changed since the last successful portal build, an amber line says how many. **Add page** and **Add subfolder** sit on the right, with **Rename**, **Edit slug** and **Delete** behind the **⋯** menu.
- The **description** is a text field that saves when you click away. On a section it doubles as the intro of the portal tab, and the hint below says so.
- The **stats** are **Pages** including subfolders, **Changed since publish** with the time of the last build or *never published*, and **Last edited** with the person who did it.
- **Contents** lists the folder's direct children. Drag the handle to reorder, which is the same operation as dragging in the tree, so both show the same order once you let go. Subfolders show the number of changed pages they contain, and a page with no content yet is marked *· empty*. An empty folder says so instead, with an **Add your first page** button.
- **Portal** appears for a section once the portal has an address, and this last row shows where that tab lives and links to it.
**"Changed since publish"** compares each page's last edit against the last **successful** portal build. Before a version has been built once there is nothing to compare against, so the marker falls back to what you have actually edited *in that version*. A version you just created by cloning therefore starts with no page marked, and a page only lights up once someone edits it there. Reordering alone does not count as a change, because the marker follows the pages rather than their order.
Read-only versions show the same surface without the input fields, the drag handles and the actions.
### The folder overview
Clicking a folder or section **name** opens its own working surface on the right, while the chevron still expands and collapses. Clicking the name only ever expands, so the surface does not disappear under the click that opened it.
- The **header** carries the folder name, which you double-click to rename, its slug, and a **Section · portal tab** badge for sections. If pages below it changed since the last successful portal build, an amber line says how many. **Add page** and **Add subfolder** sit on the right, with **Rename**, **Edit slug** and **Delete** behind the **⋯** menu.
- The **description** is a text field that saves when you click away. On a section it doubles as the intro of the portal tab, and the hint below says so.
- The **stats** are **Pages** including subfolders, **Changed since publish** with the time of the last build or *never published*, and **Last edited** with the person who did it.
- **Contents** lists the folder's direct children. Drag the handle to reorder, which is the same operation as dragging in the tree, so both show the same order once you let go. Subfolders show the number of changed pages they contain, and a page with no content yet is marked *· empty*. An empty folder says so instead, with an **Add your first page** button.
- **Portal** appears for a section once the portal has an address, and this last row shows where that tab lives and links to it.
**"Changed since publish"** compares each page's last edit against the last **successful** portal build. Before a version has been built once there is nothing to compare against, so the marker falls back to what you have actually edited *in that version*. A version you just created by cloning therefore starts with no page marked, and a page only lights up once someone edits it there. Reordering alone does not count as a change, because the marker follows the pages rather than their order.
Read-only versions show the same surface without the input fields, the drag handles and the actions.
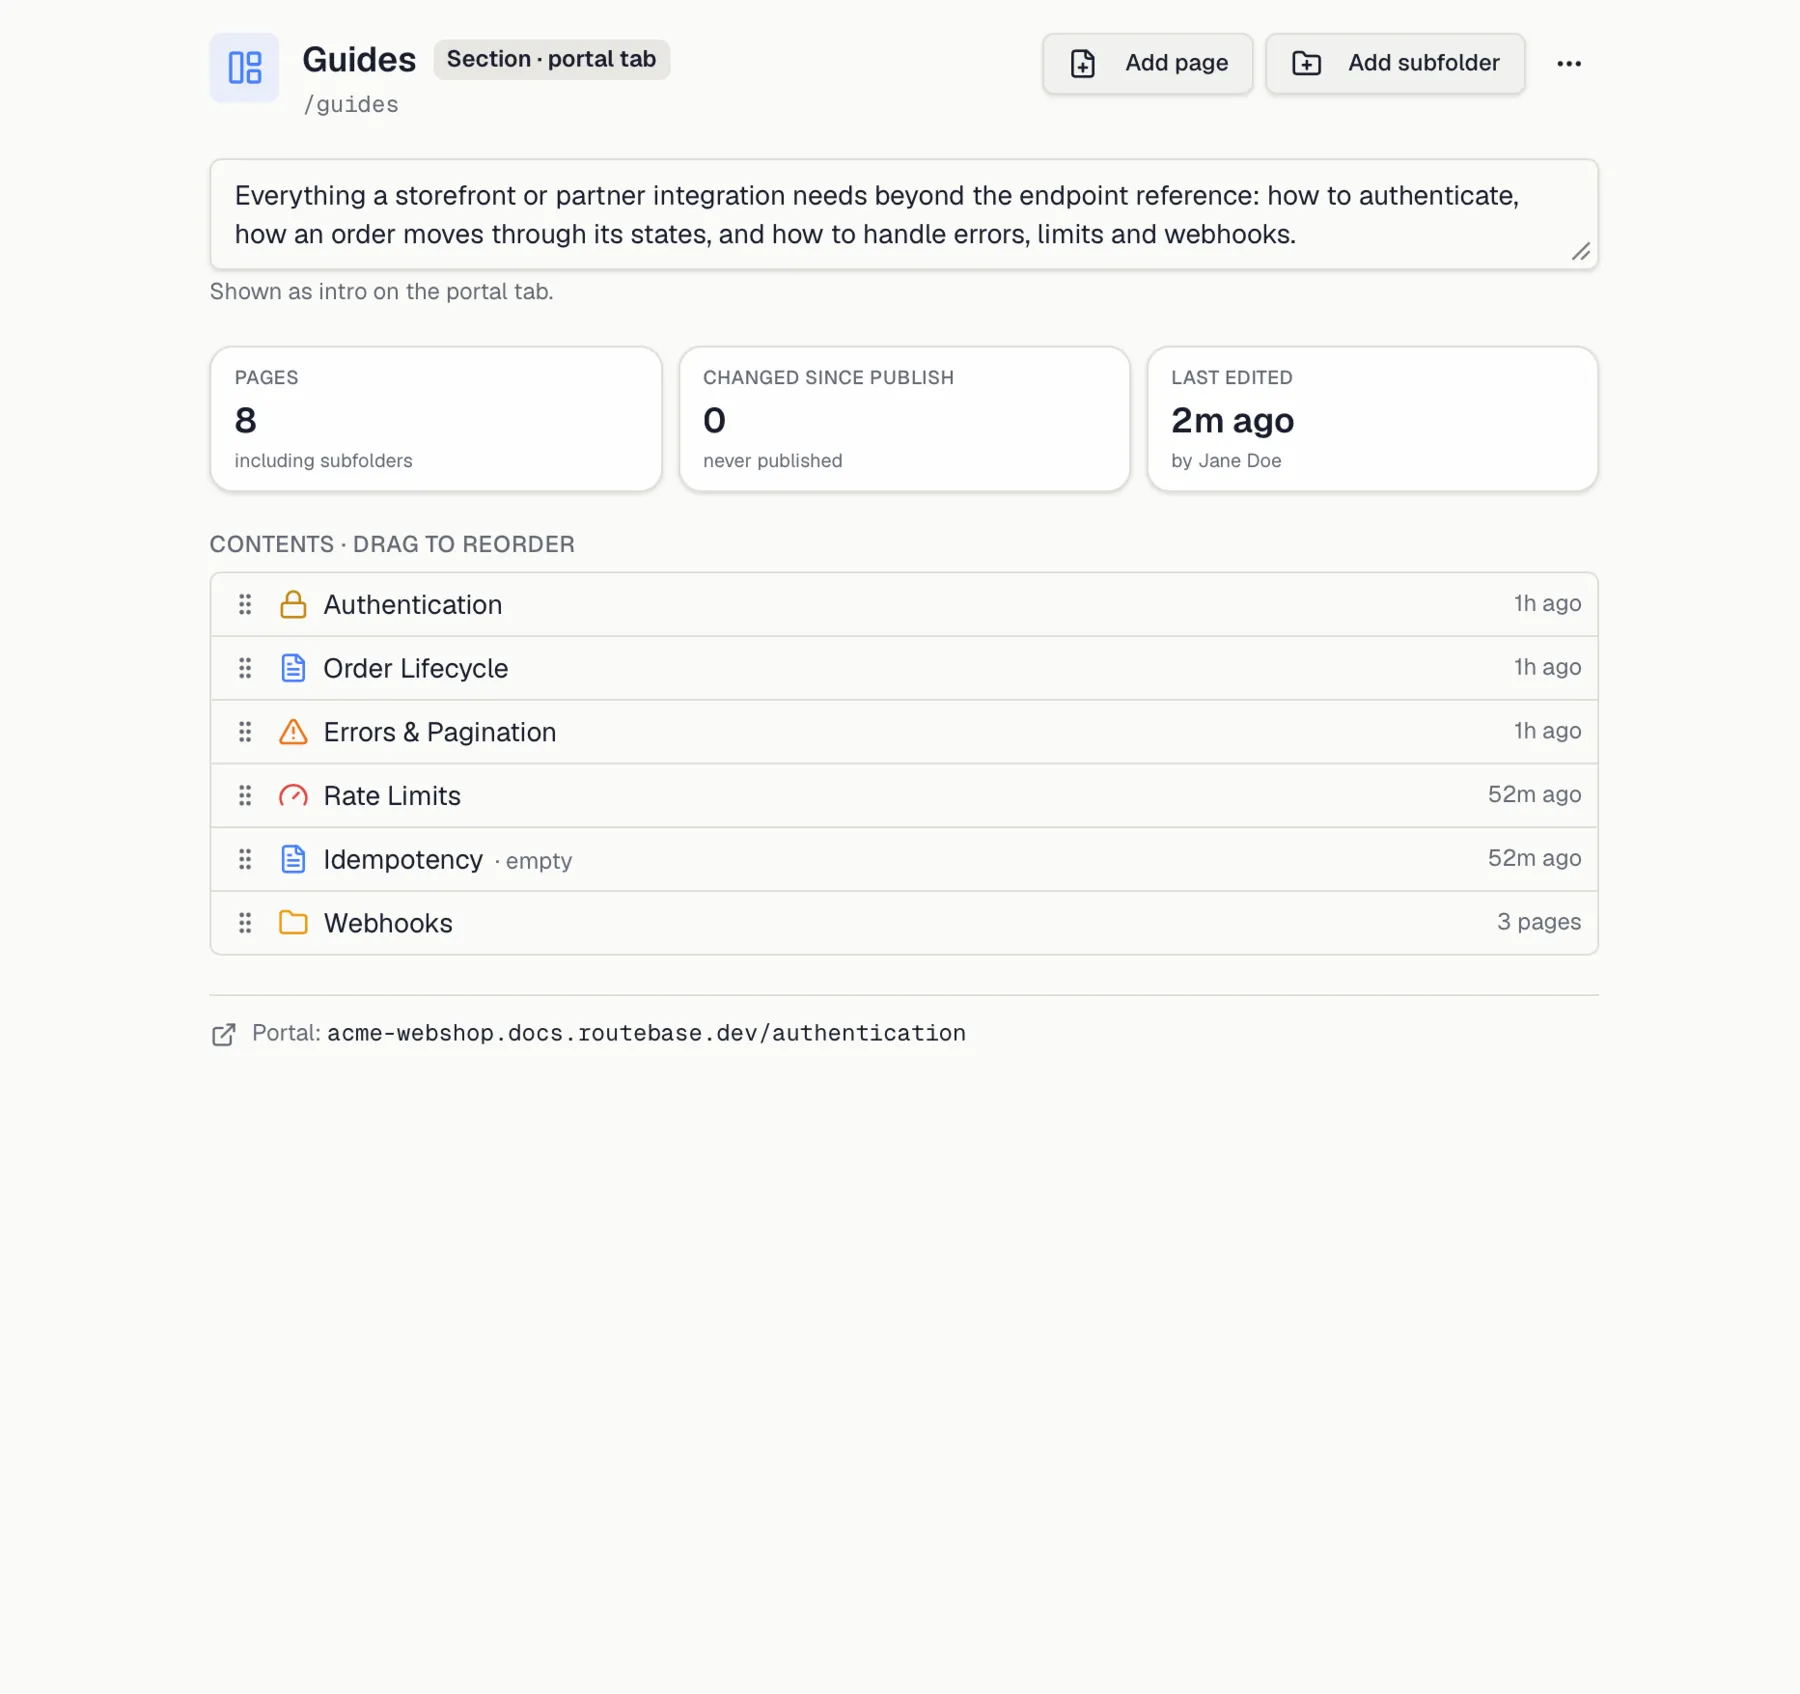
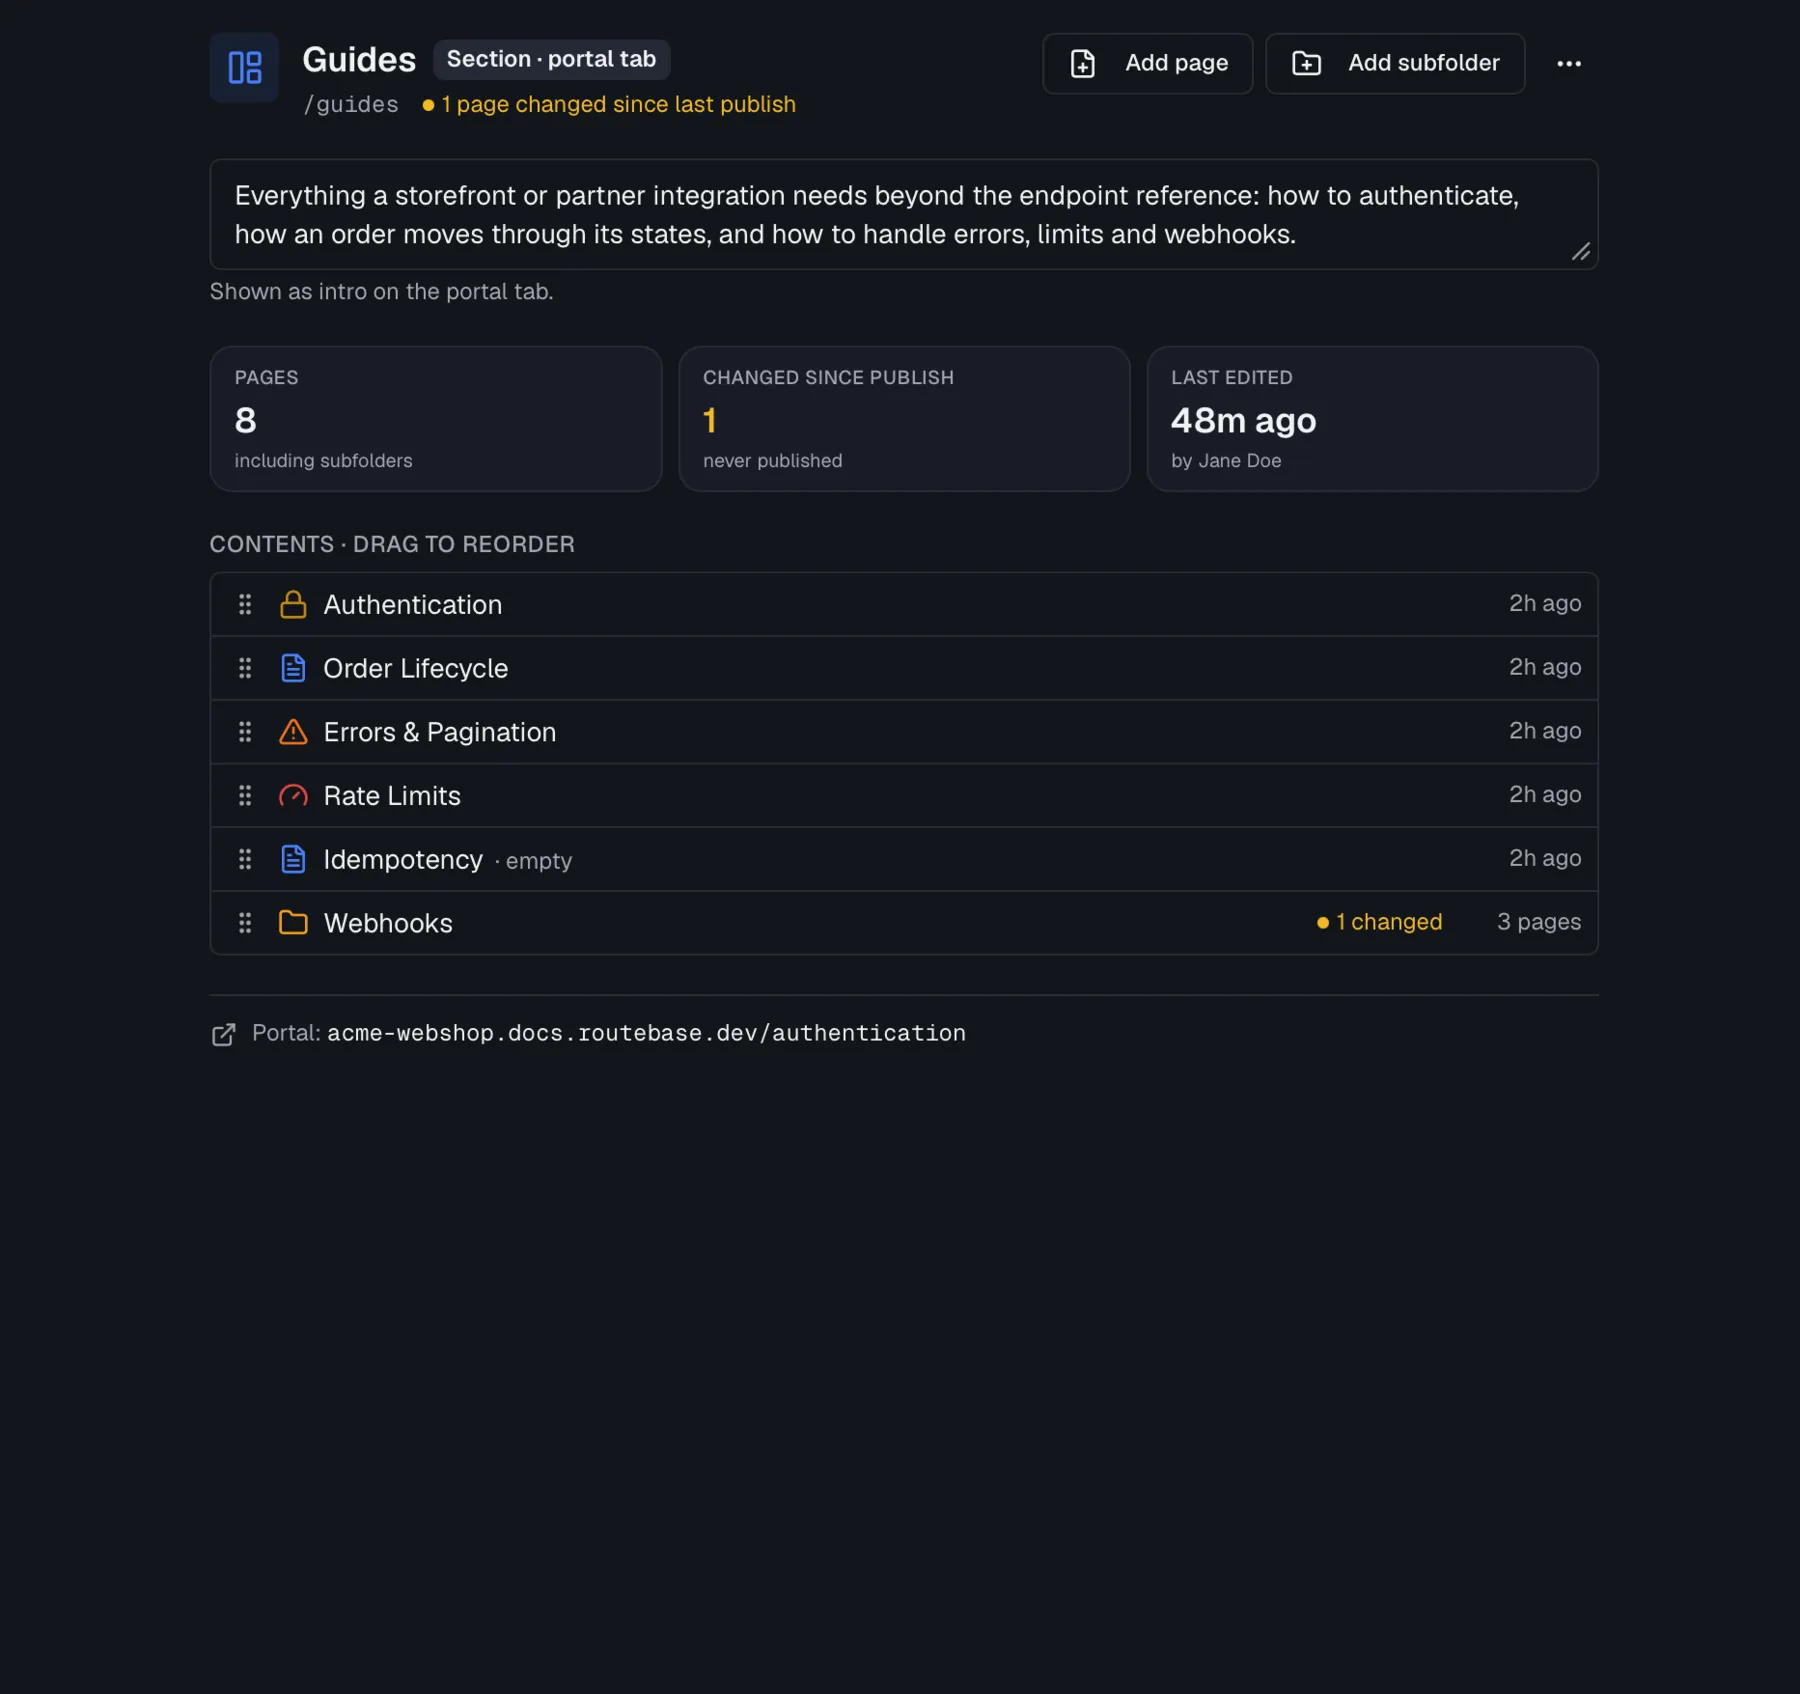 ## Pages and page types
Choosing **New Page** opens a type picker. Custom pages are free-form, while the eight specialized types are structured starting points that can each exist **once per version**. When a type is taken, its card is disabled with an *"Already exists in this version"* tooltip and a *"Go to page"* shortcut.
| Page type | Purpose |
| --- | --- |
| **Custom Page** | Free-form content with the rich text editor. |
| **Getting Started** | Prerequisites, installation, and first API call. |
| **Authentication** | Auth methods, configuration, and code examples. |
| **Environments** | Base URLs and environment configuration. |
| **Error Codes** | Error table, categories, and handling examples. |
| **Rate Limits** | Rate limit tiers, headers, and retry strategy. |
| **Webhooks** | Events, payloads, verification, and retry policy. |
| **SDKs & Libraries** | SDK cards, install commands, and quick start. |
| **Changelog** | Version history with categorized entries — see [Changelog](https://docs.routebase.dev/doc-changelog/). |
Every type opens with a template picker, which [Page Templates](https://docs.routebase.dev/doc-templates/) covers. All pages are edited with the same rich text editor, described under [Authoring](https://docs.routebase.dev/doc-authoring/).
On the Free plan, each documentation version can contain up to **3 custom pages**. The count is per version, so a new version starts with a fresh budget. The eight specialized types do not count against it, because they have their own once-per-version rule. Once the budget is used up, the New Page dialog refuses a further custom page and points at an upgrade. Paid plans have no limit.
## API reference pages vs. custom pages
Custom pages are content you write, while API reference pages are generated from your API specs.
1. In the tree's **+** menu, choose **Add API Spec**.
2. Pick a specification from the project. Only specs with a **published version** can be added, and drafts show a *"No Published Version"* badge. Specs already in the tree show *"Already added"*.
3. Optionally check **Enable API Playground** to let readers send live requests from the reference pages.
4. Choose the **Endpoint Structure**, which is either **Folder-based** to group by the spec's folders or tags, or **Flat List**.
5. Click **Add Specification**.
The spec is embedded as a **snapshot pinned to the published version**, so later spec edits do not silently change your docs. When a newer published spec version exists, a banner appears on the reference view reading *"API Reference pinned to vX. Version vY available."* with an **Update** button. You can also switch a spec node between folder and flat view from its context menu, and drag-reorder its endpoints and groups directly in the tree.
Selecting the spec node opens a scrollable reference of every endpoint, with a header card showing the endpoint count and whether the playground is enabled. In editable versions, each endpoint has a collapsible **Notes** field for adding documentation-side annotations without touching the spec itself.
## Slugs
Every page and folder has a URL slug used in the published portal and in navigation. Slugs contain only lowercase letters, numbers and single hyphens.
- Slugs are **generated from the title** when you create a page or folder, but you can override them in the creation dialog.
- Renaming an item later does **not** change its slug. To change it, use **Edit Slug** in the context menu. The dialog notes that existing links to the published page keep using the slug they were published with.
## Searching your documentation
Press **⌘K** or click the search icon to open documentation search. Type at least two characters, then filter results by **All**, **Pages**, **Endpoints** or **Folders**. Selecting a result jumps to it in the tree. Search works in draft versions too, because Routebase builds a local index from the tree until the version is published.
## Documentation settings
The **Settings** button at the foot of the sidebar opens **Documentation Settings** with three tabs:
- **General** holds the version numbering scheme, the approval workflow, **Schema Display**, and the **Code Languages** shown as tabs in code examples. The languages are cURL, HTTPie, JavaScript, Python, C#, Go, Java, Ruby and PHP. Only the languages you select are rendered, in the app and on the published portal, and selecting none shows all of them. See [Versioning](https://docs.routebase.dev/doc-versioning/) for the versioning options.
- **Public Portal** holds everything about hosting and publishing the portal, split into the five tabs **Publish**, **Appearance**, **Features**, **Advanced** and **Insights**. See [Publishing](https://docs.routebase.dev/doc-publishing/).
- **Snippets** holds the reusable content snippets for the selected version.
## Pages and page types
Choosing **New Page** opens a type picker. Custom pages are free-form, while the eight specialized types are structured starting points that can each exist **once per version**. When a type is taken, its card is disabled with an *"Already exists in this version"* tooltip and a *"Go to page"* shortcut.
| Page type | Purpose |
| --- | --- |
| **Custom Page** | Free-form content with the rich text editor. |
| **Getting Started** | Prerequisites, installation, and first API call. |
| **Authentication** | Auth methods, configuration, and code examples. |
| **Environments** | Base URLs and environment configuration. |
| **Error Codes** | Error table, categories, and handling examples. |
| **Rate Limits** | Rate limit tiers, headers, and retry strategy. |
| **Webhooks** | Events, payloads, verification, and retry policy. |
| **SDKs & Libraries** | SDK cards, install commands, and quick start. |
| **Changelog** | Version history with categorized entries — see [Changelog](https://docs.routebase.dev/doc-changelog/). |
Every type opens with a template picker, which [Page Templates](https://docs.routebase.dev/doc-templates/) covers. All pages are edited with the same rich text editor, described under [Authoring](https://docs.routebase.dev/doc-authoring/).
On the Free plan, each documentation version can contain up to **3 custom pages**. The count is per version, so a new version starts with a fresh budget. The eight specialized types do not count against it, because they have their own once-per-version rule. Once the budget is used up, the New Page dialog refuses a further custom page and points at an upgrade. Paid plans have no limit.
## API reference pages vs. custom pages
Custom pages are content you write, while API reference pages are generated from your API specs.
1. In the tree's **+** menu, choose **Add API Spec**.
2. Pick a specification from the project. Only specs with a **published version** can be added, and drafts show a *"No Published Version"* badge. Specs already in the tree show *"Already added"*.
3. Optionally check **Enable API Playground** to let readers send live requests from the reference pages.
4. Choose the **Endpoint Structure**, which is either **Folder-based** to group by the spec's folders or tags, or **Flat List**.
5. Click **Add Specification**.
The spec is embedded as a **snapshot pinned to the published version**, so later spec edits do not silently change your docs. When a newer published spec version exists, a banner appears on the reference view reading *"API Reference pinned to vX. Version vY available."* with an **Update** button. You can also switch a spec node between folder and flat view from its context menu, and drag-reorder its endpoints and groups directly in the tree.
Selecting the spec node opens a scrollable reference of every endpoint, with a header card showing the endpoint count and whether the playground is enabled. In editable versions, each endpoint has a collapsible **Notes** field for adding documentation-side annotations without touching the spec itself.
## Slugs
Every page and folder has a URL slug used in the published portal and in navigation. Slugs contain only lowercase letters, numbers and single hyphens.
- Slugs are **generated from the title** when you create a page or folder, but you can override them in the creation dialog.
- Renaming an item later does **not** change its slug. To change it, use **Edit Slug** in the context menu. The dialog notes that existing links to the published page keep using the slug they were published with.
## Searching your documentation
Press **⌘K** or click the search icon to open documentation search. Type at least two characters, then filter results by **All**, **Pages**, **Endpoints** or **Folders**. Selecting a result jumps to it in the tree. Search works in draft versions too, because Routebase builds a local index from the tree until the version is published.
## Documentation settings
The **Settings** button at the foot of the sidebar opens **Documentation Settings** with three tabs:
- **General** holds the version numbering scheme, the approval workflow, **Schema Display**, and the **Code Languages** shown as tabs in code examples. The languages are cURL, HTTPie, JavaScript, Python, C#, Go, Java, Ruby and PHP. Only the languages you select are rendered, in the app and on the published portal, and selecting none shows all of them. See [Versioning](https://docs.routebase.dev/doc-versioning/) for the versioning options.
- **Public Portal** holds everything about hosting and publishing the portal, split into the five tabs **Publish**, **Appearance**, **Features**, **Advanced** and **Insights**. See [Publishing](https://docs.routebase.dev/doc-publishing/).
- **Snippets** holds the reusable content snippets for the selected version.
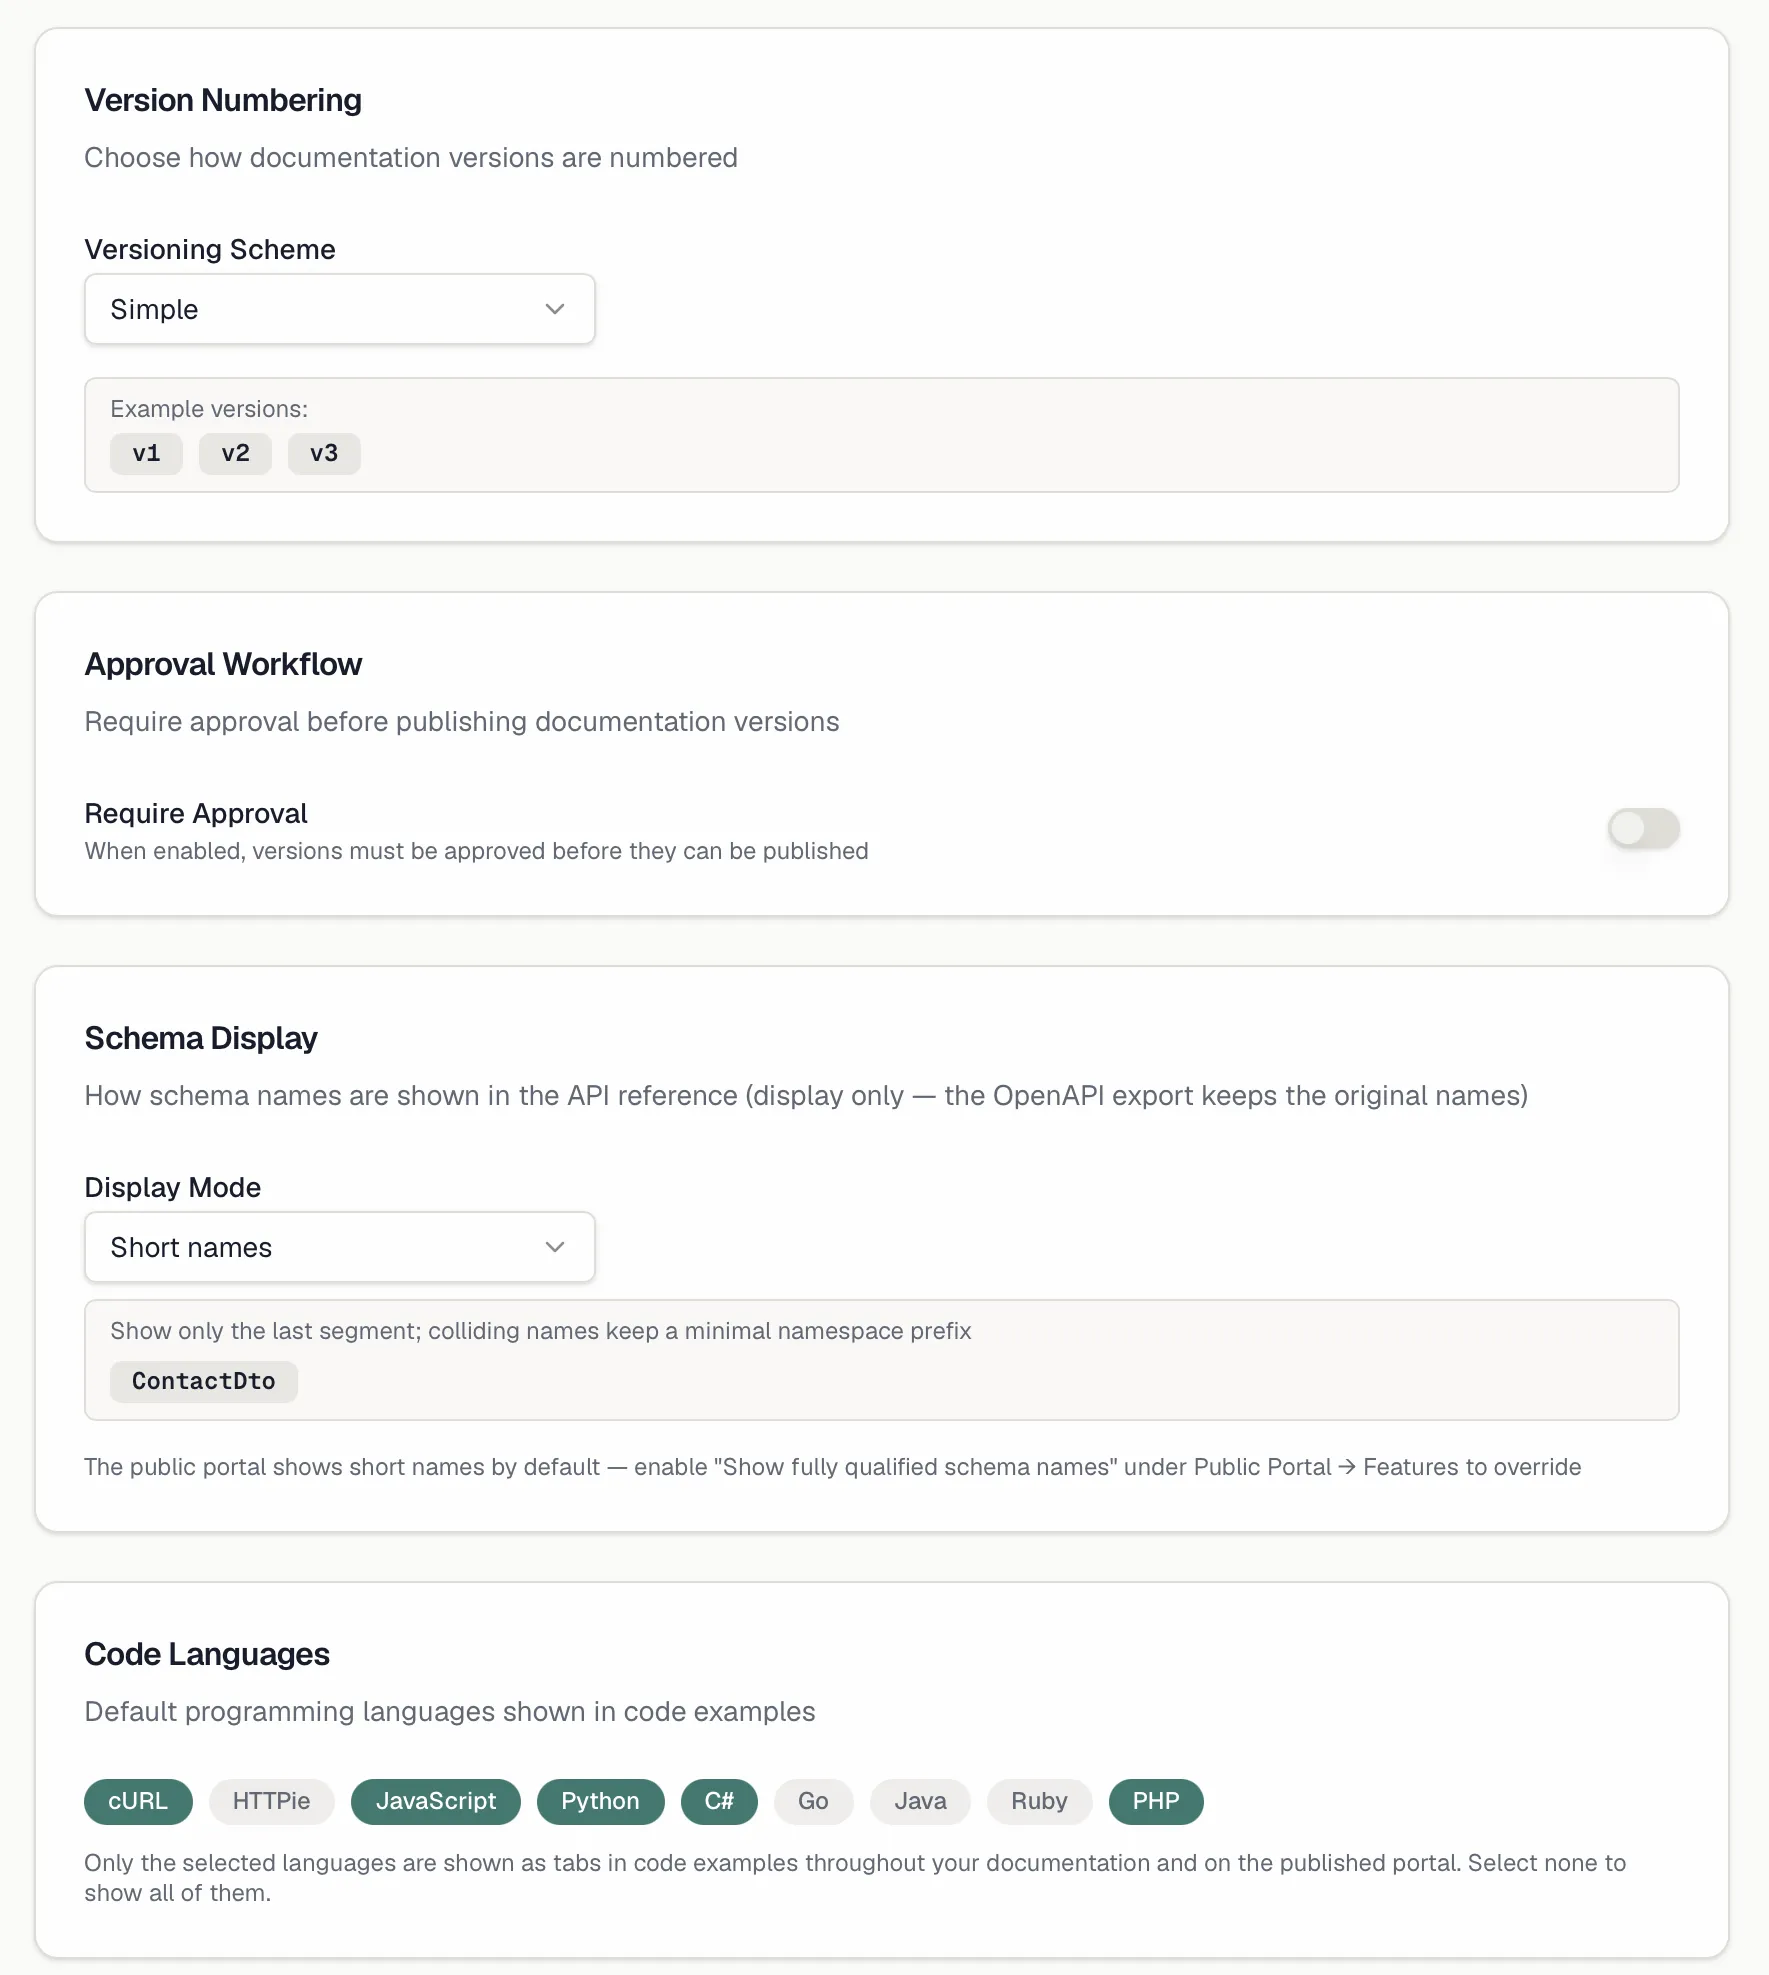
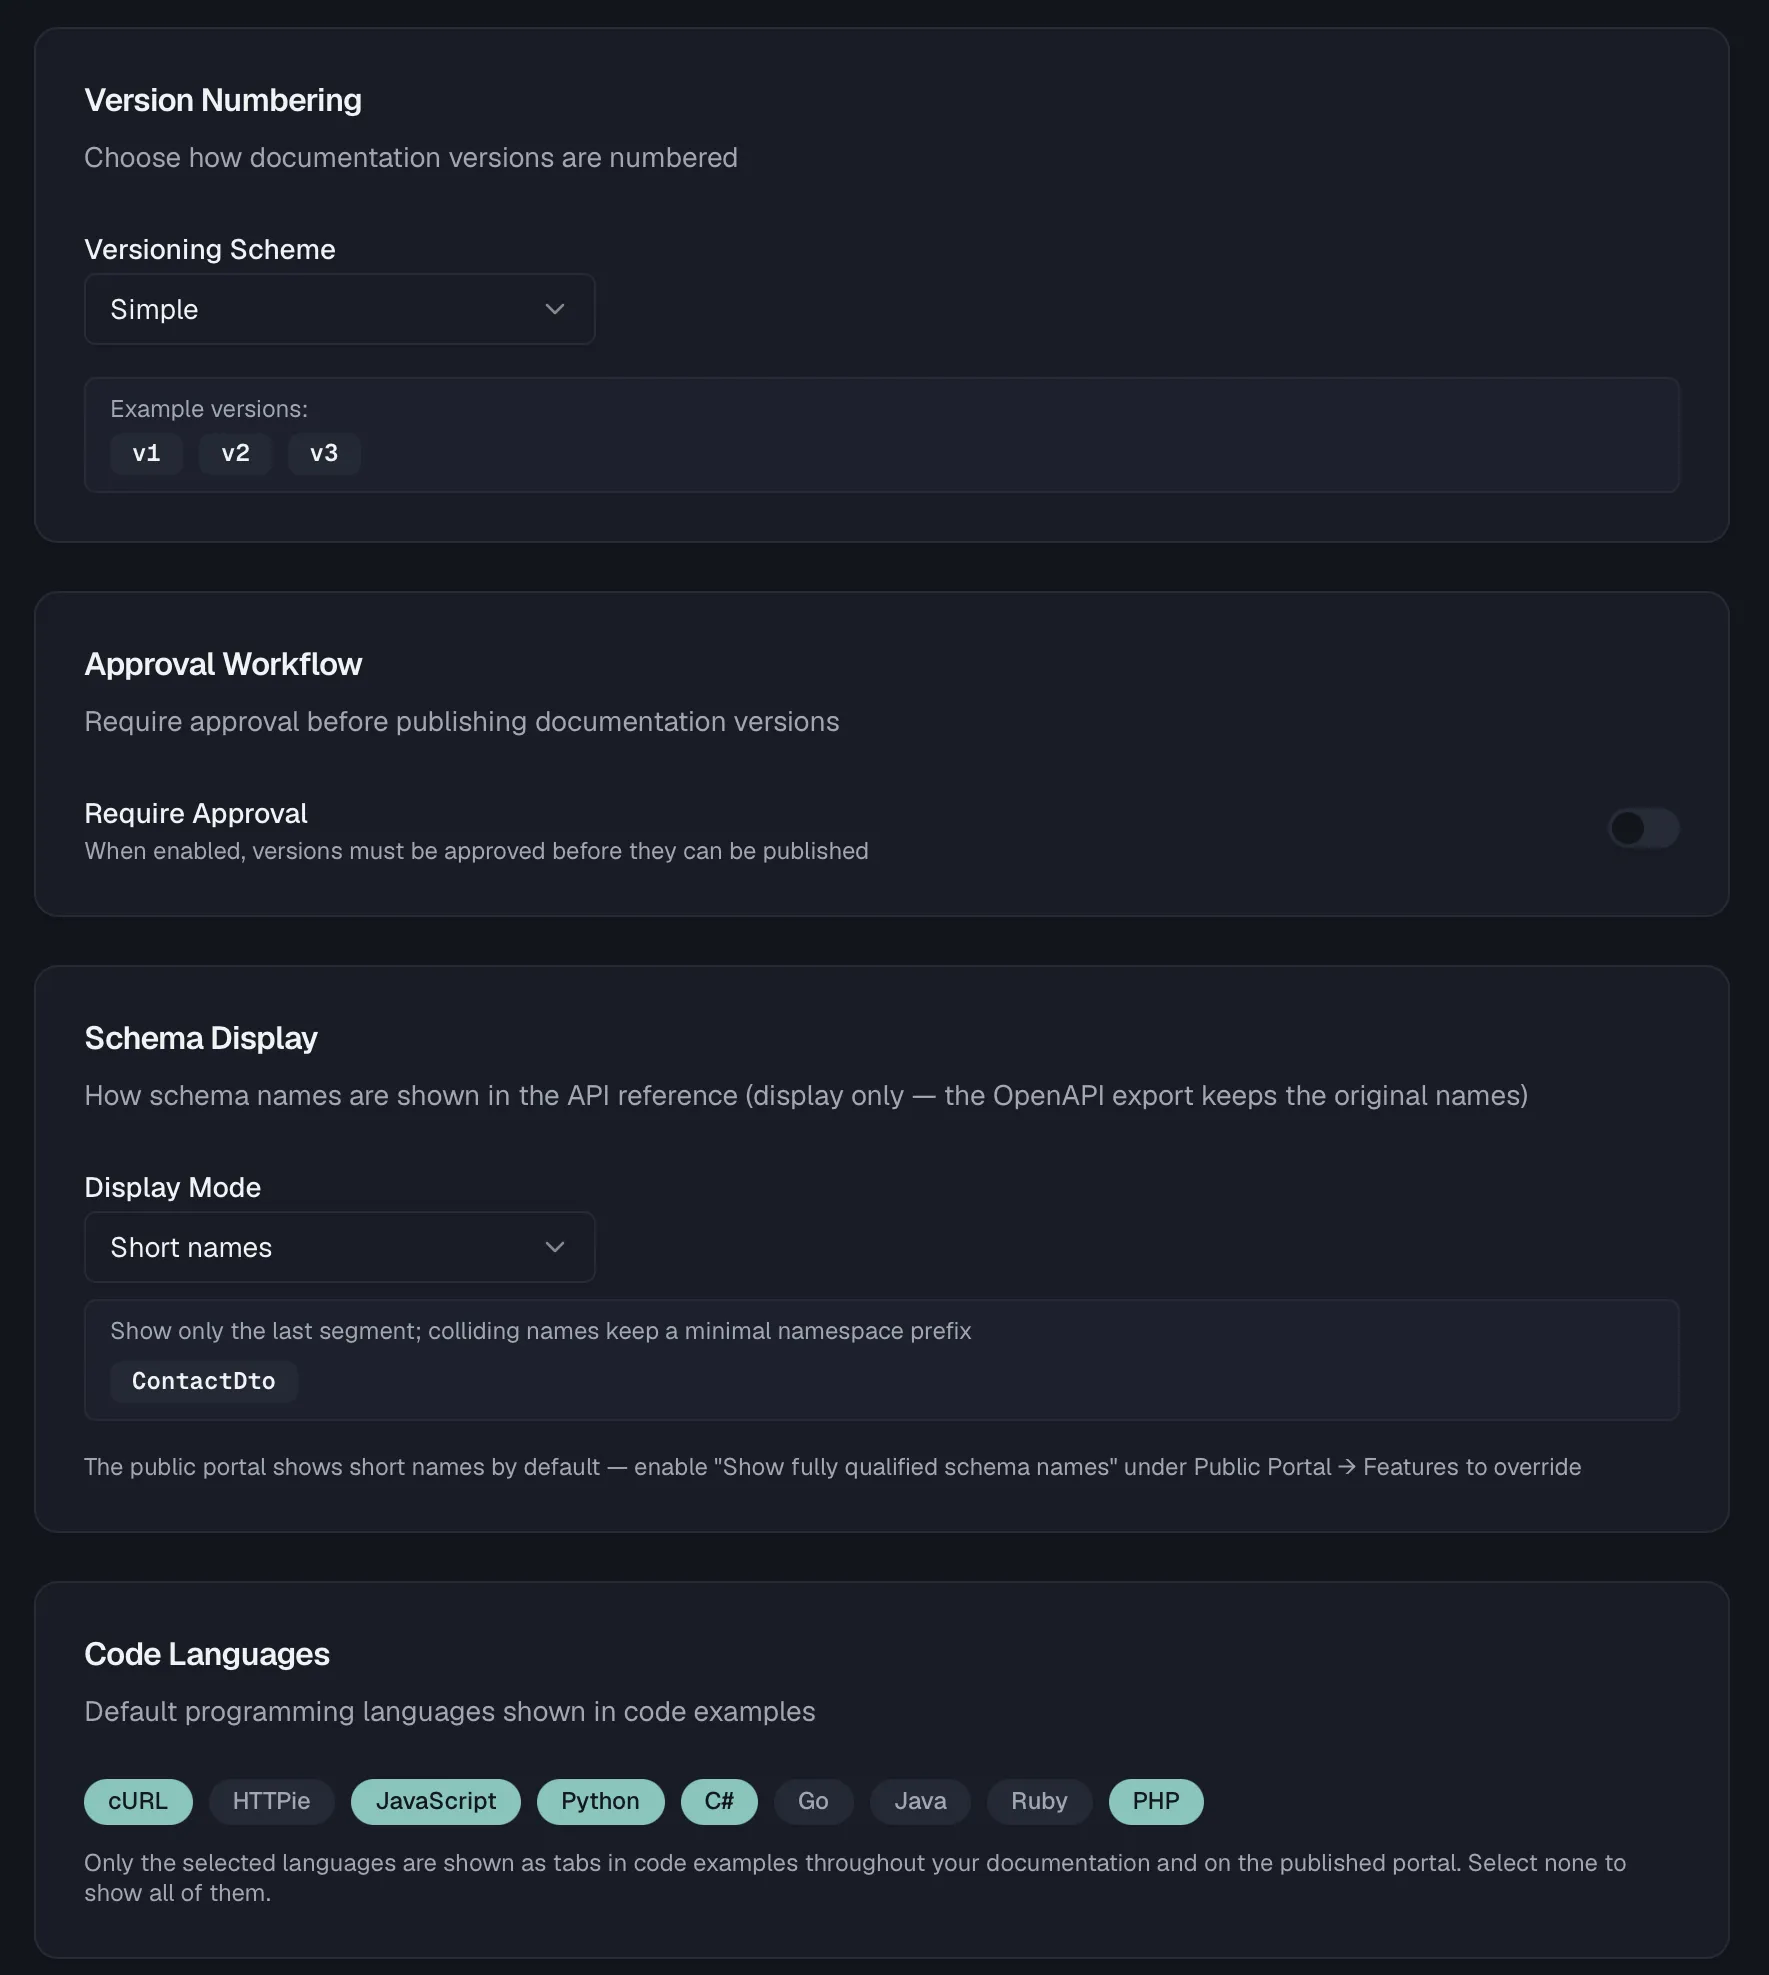 **Schema Display** controls how schema names appear in the API reference. It affects the display only, because the OpenAPI export keeps the original names. Choose a **Display Mode** from three options. **Full names** shows names exactly as imported, **Short names** shows just the last segment and keeps a minimal namespace prefix only where names collide, and **Strip prefix** removes a namespace prefix you specify. The public portal shows short names by default, and the **Show fully qualified schema names** toggle under **Public Portal → Features** overrides that for readers.
## Working on documentation from an AI agent
The documentation module is fully exposed over the [Routebase MCP server](https://docs.routebase.dev/mcp-quickstart/), so an agent can read and write your docs with the same permissions your API key carries. It is not a read-only view of the portal, because the whole authoring loop is there.
Three toolsets cover it. Enable them with `enable_toolset`, and call `set_context` for the project first.
| Toolset | Slug | What it covers |
| --- | --- | --- |
| Documentation | `documentation` | The content tree, pages, folders, versions, spec snapshots and snippets |
| Portal Administration | `portal-admin` | Portal settings, custom domains, builds, deployments, analytics and page feedback |
| Portal Docs Search | `portal-docs` | Two read tools against a **published** portal |
The tools you will reach for most:
- **Read the structure** with `get_doc_tree`, which returns the folders, pages and spec snapshots of a version as a typed hierarchy. `list_documentations` and `get_doc_settings` cover the surrounding configuration.
- **Write content** with `create_doc_page` and `update_doc_page`, which take Markdown directly. Updating a page can also set a new slug, and the old one then redirects on the published portal. Both only work on a **mutable** version, meaning Draft or In Review, because a live version is refused exactly as in the editor.
- **Restructure** with `manage_doc_tree`, `manage_doc_folder` and `manage_doc_page`, which handle moving, renaming and deleting. `manage_spec_snapshot` embeds and refreshes API references, while `manage_doc_version` and `clone_doc_version` handle the version lifecycle.
- **Ship it** with `publish_doc_version`, which takes a version in Review live, and `trigger_portal_build`, which renders and uploads the portal. See [Publishing](https://docs.routebase.dev/doc-publishing/#publishing-from-an-ai-agent).
- **Read a published portal** with `search_portal_docs`, which does keyword search across the latest published version and returns slugs. `get_portal_page` then returns one page with its full Markdown. Both help agents that consume your docs rather than write them.
Permissions map one-to-one onto the ones described above. Reads need `docs:read` and writes need `docs:write`, while `publish_doc_version` needs `docs:publish` and anything touching the portal itself needs `docs:manage-portal`. A key without a scope does not merely fail the call, because the tool is not offered in the first place.
There is also an MCP **resource**, `routebase://docs/{docId}/pages`, which hands an agent every page of the latest published version with its Markdown content in one read.
## Read-only versions
Live and archived versions are immutable. The tree shows a *"This version is read-only"* indicator, pages open in reader mode, and all editing affordances are hidden. To make changes, clone the version into a new draft, as described under [Versioning](https://docs.routebase.dev/doc-versioning/).
## Related
- [Authoring](https://docs.routebase.dev/doc-authoring/) — the rich text editor, blocks, and slash commands
- [Versioning](https://docs.routebase.dev/doc-versioning/) — drafts, review, and going live
- [Publishing](https://docs.routebase.dev/doc-publishing/) — hosting the portal
- [Endpoints](https://docs.routebase.dev/endpoints/) — designing the API specs your references are built from
- [MCP Quickstart](https://docs.routebase.dev/mcp-quickstart/) — connecting an AI agent to this workspace
---
## Publishing the Portal
Source: https://docs.routebase.dev/doc-publishing/
Publishing has two layers. First a documentation **version** goes live inside Routebase, moving from Draft to Review to Published. Then the **portal build** turns that version into a static site your readers can reach. This guide covers taking a version live and everything around it, which means enabling the portal, controlling visibility, deploying and sharing.
The forward path runs from the **Publish** button in the documentation header, and it moves a version through review, publishes it, and deploys it to the portal. [The guided publish flow](#the-guided-publish-flow) below describes it. Everything else lives in **Documentation Settings → Public Portal**, which covers the portal address, portal features, retracting a version and taking the portal offline.
Those settings are split across five tabs, and it is worth knowing which is which before hunting for a card:
| Tab | What lives there |
| --- | --- |
| **Publish** | Portal Status, Portal Subdomain, Custom Domain, Publication (retract / unpublish), Deployed Versions, Build History |
| **Appearance** | Theming through the theme editor, and Custom CSS. See [Branding](https://docs.routebase.dev/doc-branding/). |
| **Features** | The reader-facing feature toggles and the Page actions menu |
| **Advanced** | SEO and custom head/body scripts |
| **Insights** | Portal Analytics and the Feedback Dashboard |
Every tab except **Publish** stays hidden until the portal is enabled, showing *"The portal is disabled. Enable it in the Publish panel to configure these settings."* instead. One **Save Changes** button at the top of the page saves all of them together, and an amber hint appears while anything is unsaved.
**Schema Display** controls how schema names appear in the API reference. It affects the display only, because the OpenAPI export keeps the original names. Choose a **Display Mode** from three options. **Full names** shows names exactly as imported, **Short names** shows just the last segment and keeps a minimal namespace prefix only where names collide, and **Strip prefix** removes a namespace prefix you specify. The public portal shows short names by default, and the **Show fully qualified schema names** toggle under **Public Portal → Features** overrides that for readers.
## Working on documentation from an AI agent
The documentation module is fully exposed over the [Routebase MCP server](https://docs.routebase.dev/mcp-quickstart/), so an agent can read and write your docs with the same permissions your API key carries. It is not a read-only view of the portal, because the whole authoring loop is there.
Three toolsets cover it. Enable them with `enable_toolset`, and call `set_context` for the project first.
| Toolset | Slug | What it covers |
| --- | --- | --- |
| Documentation | `documentation` | The content tree, pages, folders, versions, spec snapshots and snippets |
| Portal Administration | `portal-admin` | Portal settings, custom domains, builds, deployments, analytics and page feedback |
| Portal Docs Search | `portal-docs` | Two read tools against a **published** portal |
The tools you will reach for most:
- **Read the structure** with `get_doc_tree`, which returns the folders, pages and spec snapshots of a version as a typed hierarchy. `list_documentations` and `get_doc_settings` cover the surrounding configuration.
- **Write content** with `create_doc_page` and `update_doc_page`, which take Markdown directly. Updating a page can also set a new slug, and the old one then redirects on the published portal. Both only work on a **mutable** version, meaning Draft or In Review, because a live version is refused exactly as in the editor.
- **Restructure** with `manage_doc_tree`, `manage_doc_folder` and `manage_doc_page`, which handle moving, renaming and deleting. `manage_spec_snapshot` embeds and refreshes API references, while `manage_doc_version` and `clone_doc_version` handle the version lifecycle.
- **Ship it** with `publish_doc_version`, which takes a version in Review live, and `trigger_portal_build`, which renders and uploads the portal. See [Publishing](https://docs.routebase.dev/doc-publishing/#publishing-from-an-ai-agent).
- **Read a published portal** with `search_portal_docs`, which does keyword search across the latest published version and returns slugs. `get_portal_page` then returns one page with its full Markdown. Both help agents that consume your docs rather than write them.
Permissions map one-to-one onto the ones described above. Reads need `docs:read` and writes need `docs:write`, while `publish_doc_version` needs `docs:publish` and anything touching the portal itself needs `docs:manage-portal`. A key without a scope does not merely fail the call, because the tool is not offered in the first place.
There is also an MCP **resource**, `routebase://docs/{docId}/pages`, which hands an agent every page of the latest published version with its Markdown content in one read.
## Read-only versions
Live and archived versions are immutable. The tree shows a *"This version is read-only"* indicator, pages open in reader mode, and all editing affordances are hidden. To make changes, clone the version into a new draft, as described under [Versioning](https://docs.routebase.dev/doc-versioning/).
## Related
- [Authoring](https://docs.routebase.dev/doc-authoring/) — the rich text editor, blocks, and slash commands
- [Versioning](https://docs.routebase.dev/doc-versioning/) — drafts, review, and going live
- [Publishing](https://docs.routebase.dev/doc-publishing/) — hosting the portal
- [Endpoints](https://docs.routebase.dev/endpoints/) — designing the API specs your references are built from
- [MCP Quickstart](https://docs.routebase.dev/mcp-quickstart/) — connecting an AI agent to this workspace
---
## Publishing the Portal
Source: https://docs.routebase.dev/doc-publishing/
Publishing has two layers. First a documentation **version** goes live inside Routebase, moving from Draft to Review to Published. Then the **portal build** turns that version into a static site your readers can reach. This guide covers taking a version live and everything around it, which means enabling the portal, controlling visibility, deploying and sharing.
The forward path runs from the **Publish** button in the documentation header, and it moves a version through review, publishes it, and deploys it to the portal. [The guided publish flow](#the-guided-publish-flow) below describes it. Everything else lives in **Documentation Settings → Public Portal**, which covers the portal address, portal features, retracting a version and taking the portal offline.
Those settings are split across five tabs, and it is worth knowing which is which before hunting for a card:
| Tab | What lives there |
| --- | --- |
| **Publish** | Portal Status, Portal Subdomain, Custom Domain, Publication (retract / unpublish), Deployed Versions, Build History |
| **Appearance** | Theming through the theme editor, and Custom CSS. See [Branding](https://docs.routebase.dev/doc-branding/). |
| **Features** | The reader-facing feature toggles and the Page actions menu |
| **Advanced** | SEO and custom head/body scripts |
| **Insights** | Portal Analytics and the Feedback Dashboard |
Every tab except **Publish** stays hidden until the portal is enabled, showing *"The portal is disabled. Enable it in the Publish panel to configure these settings."* instead. One **Save Changes** button at the top of the page saves all of them together, and an amber hint appears while anything is unsaved.

 ## Enabling the portal
On the **Publish** tab, the **Portal Status** card has a **Portal Enabled** switch. It is described as *"When enabled, your documentation is publicly accessible."* Once enabled and published, the card shows your portal **URL** with an open-in-new-tab link and a copy button. It also shows the **last build** status as Completed, Failed or In Progress, with its page count and date.
## Enabling the portal
On the **Publish** tab, the **Portal Status** card has a **Portal Enabled** switch. It is described as *"When enabled, your documentation is publicly accessible."* Once enabled and published, the card shows your portal **URL** with an open-in-new-tab link and a copy button. It also shows the **last build** status as Completed, Failed or In Progress, with its page count and date.
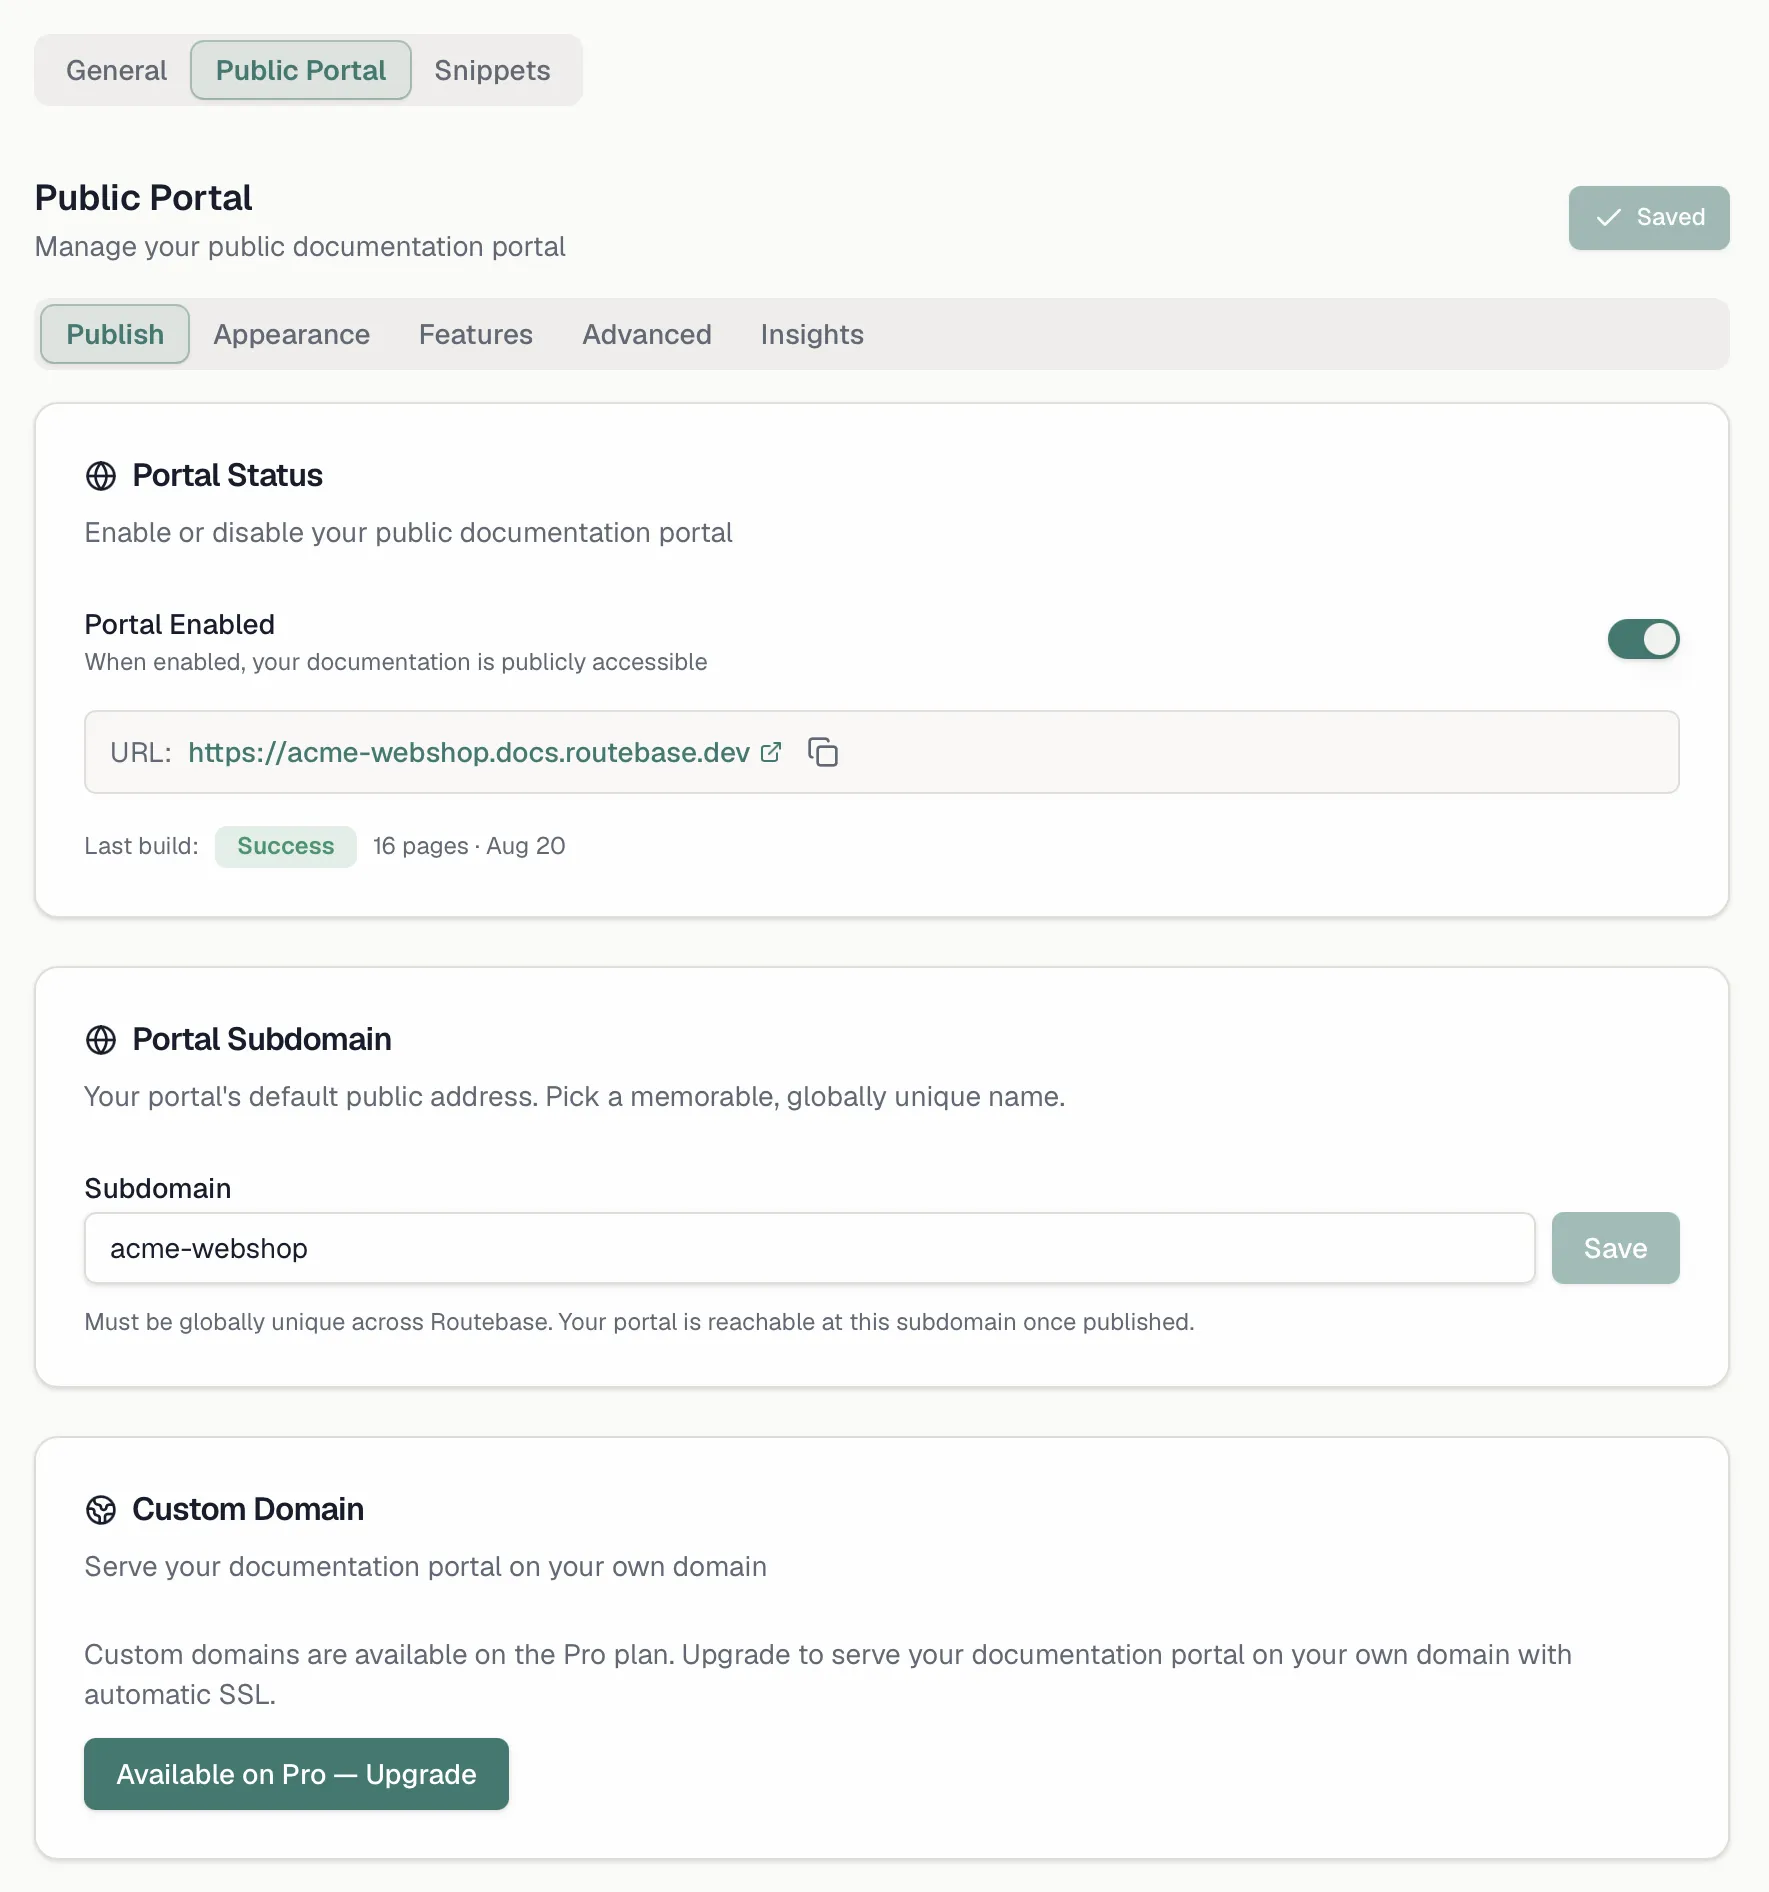
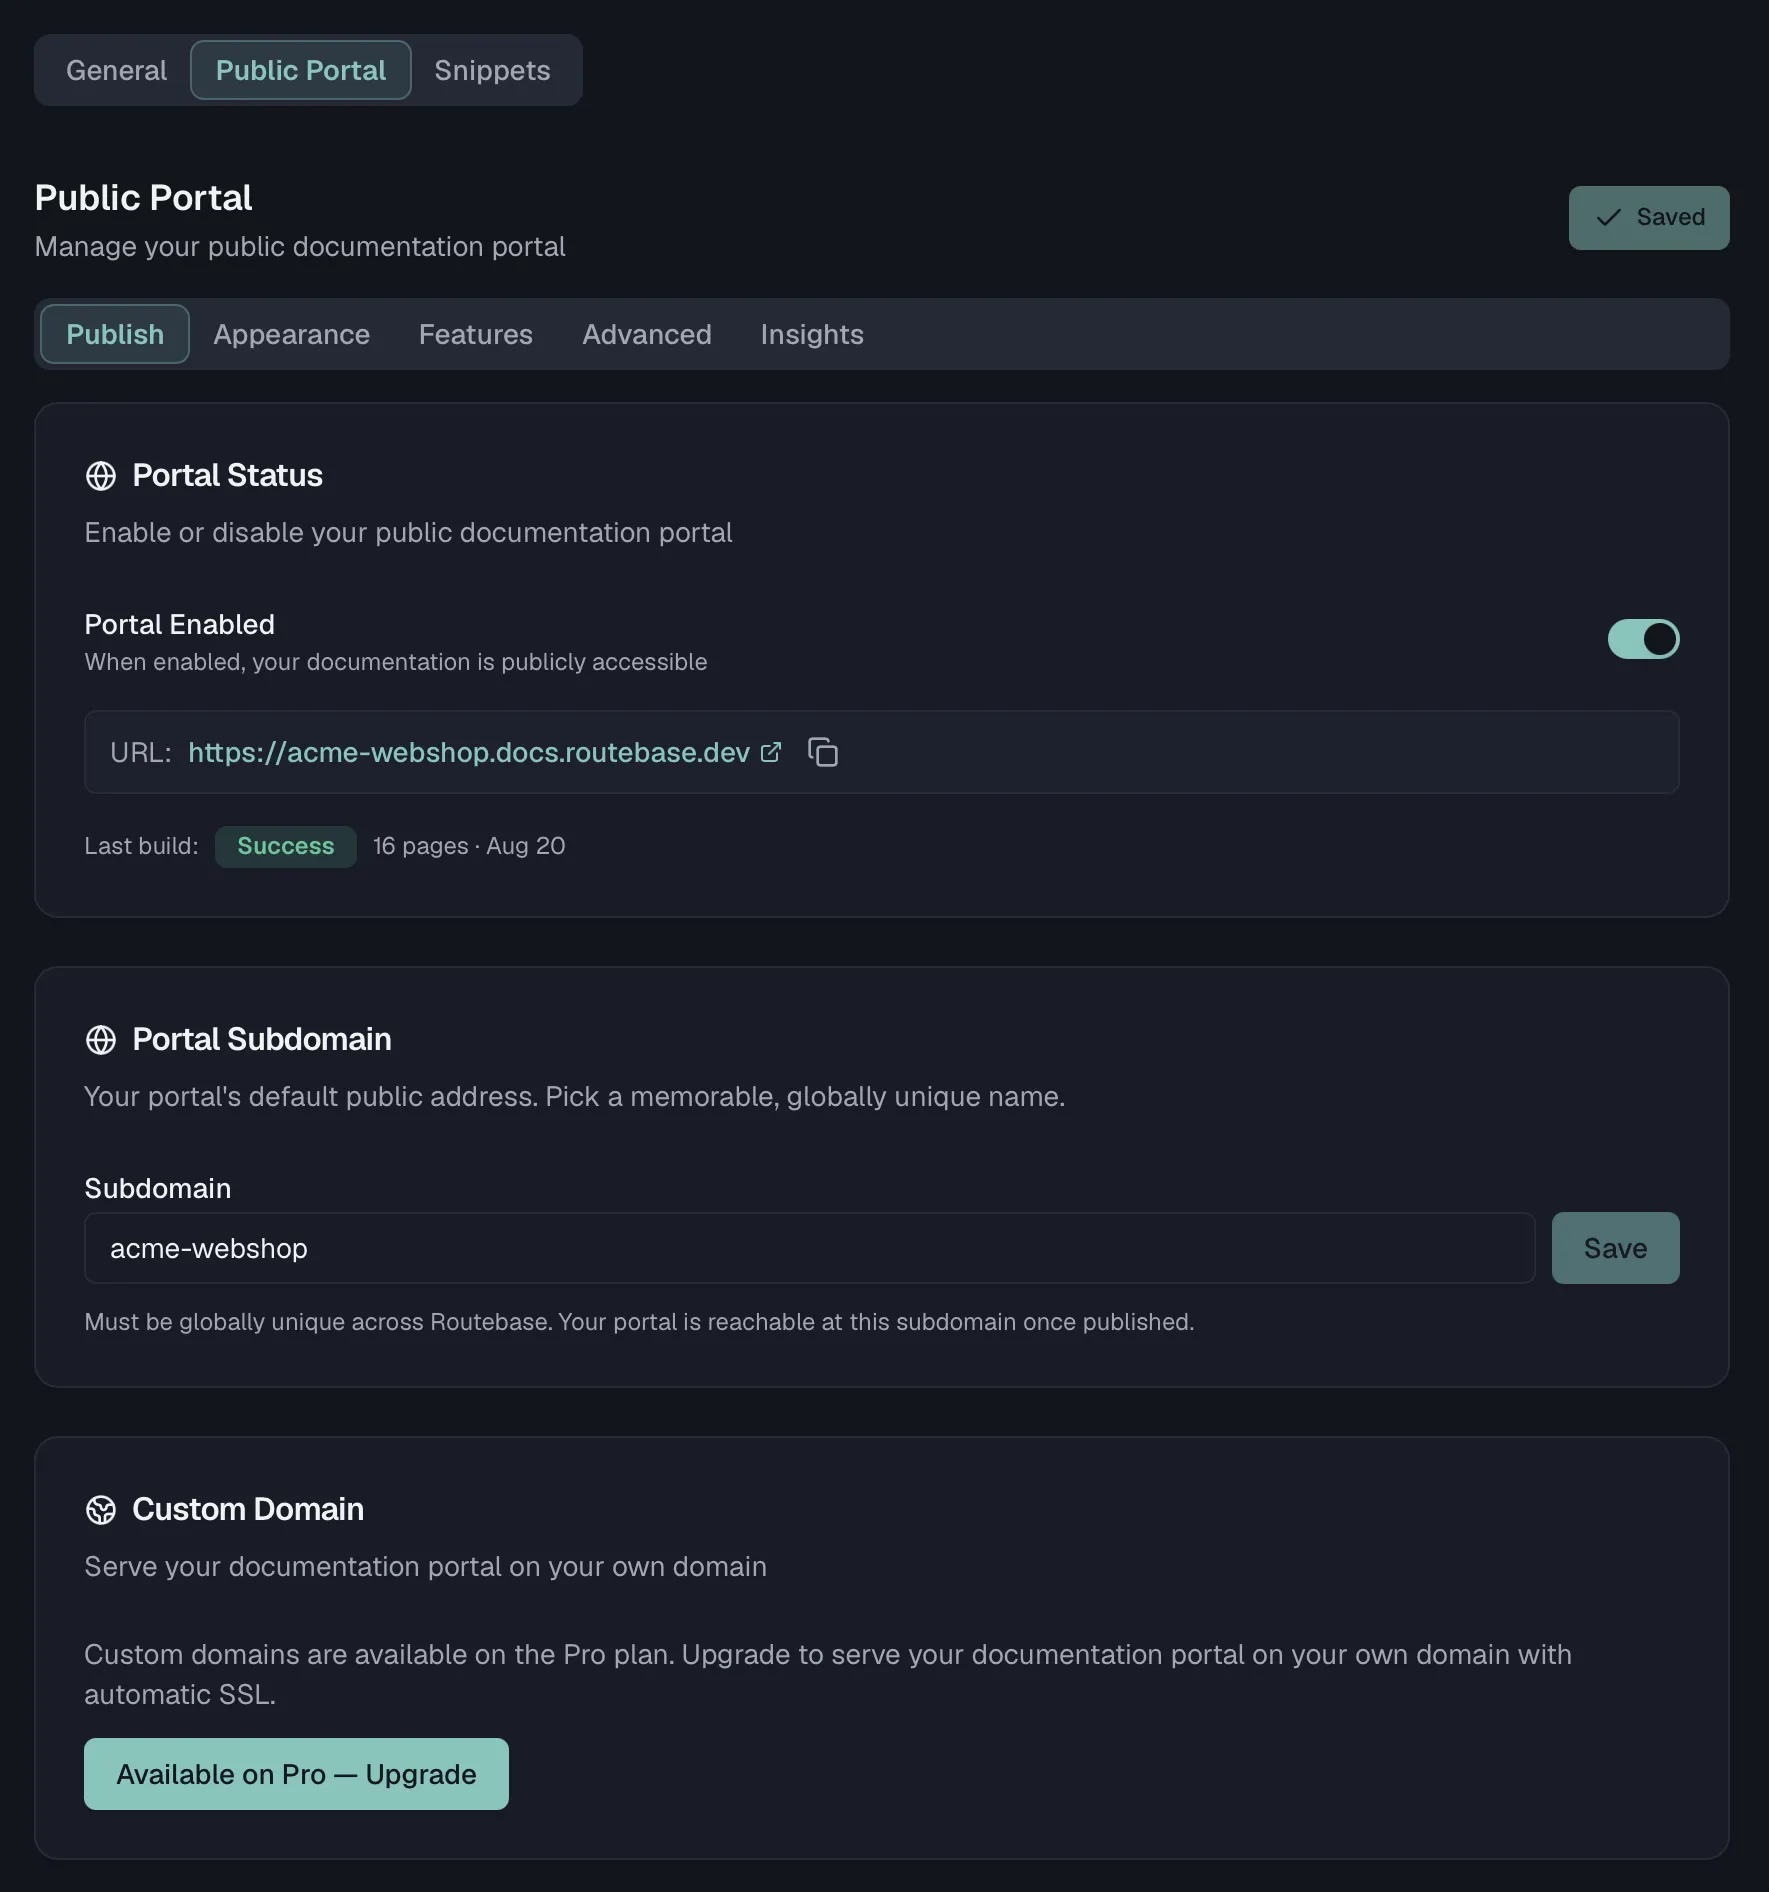 If the portal is built but has no public address yet, the card tells you to set a portal subdomain or connect a custom domain first.
## Portal subdomain
The **Portal Subdomain** card, also on **Publish**, sets your portal's default public address:
- The allowed characters are lowercase letters, numbers and single hyphens, in a name of 3 to 63 characters.
- The name must be **globally unique across Routebase**.
- Saving the subdomain requires the **docs:manage-portal** permission, which Admins and Owners have.
Once saved and published, your portal is reachable at that subdomain, and the resulting URL appears in the Portal Status card.
You can also serve the portal on a domain you own. The **Custom Domain** card directly below the subdomain walks you through DNS records, verification and SSL, then monitors DNS and SSL health once the domain is active. Custom domains are a Pro and Enterprise feature, and [Custom Domains](https://docs.routebase.dev/custom-domains/) covers the full setup.
## Version visibility
Only **published** versions that are marked **Public** can be built for the portal:
- **Internal** keeps the version visible to your team inside Routebase only.
- **Public** allows the version to be deployed to the public portal.
Making a version public is part of the guided publish flow's **Deploy to portal** step. Retracting a public version is the reverse, and it lives in the **Publication** card on **Public Portal → Publish**. Pick a published version and click **Make Internal**, which requires **docs:manage-portal** and removes the version from the portal. The confirmation warns *"Visitors will no longer be able to access this version. You can make it public again at any time."*
## Previewing before you publish
The eye icon in the documentation header generates a real portal preview of the current version and opens it in a new tab, so you can sign off on content before publishing. If a fresh preview already exists it opens straight away, under the tooltip *"Open portal preview"*. Otherwise clicking it renders one and shows the progress in a popover, under the tooltip *"Generate portal preview"*. The preview trigger requires the **docs:manage-portal** permission.
## The guided publish flow
The **Publish** button in the documentation header opens a guided dialog titled *"Publish v{N} to your portal"*, which walks the version through the whole pipeline in one place. A small pulsing dot on the button tells you at a glance whether the live portal is behind your latest edits. Its tooltip reads *"Edited since last deploy"*, *"Not deployed yet"* or *"Up to date"*.
The dialog lists the remaining steps as rows and runs the permitted ones in order when you click the action button:
| Stage | What it does |
| --- | --- |
| **Submit for review** | Moves the version from draft into review. |
| **Publish version** / **Approve and publish** | Locks the content (read-only) and archives the currently published version. The row is labelled **Approve and publish** when an approval workflow is required. |
| **Deploy to portal** | Makes the version public and publishes your portal, enabling the portal first if needed. It takes one to two minutes. |
Steps you lack permission for are shown but skipped, with a note saying why. Deploying needs the portal-management permission, for instance, and publishing needs the publisher permission. When an approval workflow applies, the dialog names the designated approvers. Once everything is live the dialog says *"Everything is live and up to date."* and offers an **Open portal** button.
If the portal is built but has no public address yet, the card tells you to set a portal subdomain or connect a custom domain first.
## Portal subdomain
The **Portal Subdomain** card, also on **Publish**, sets your portal's default public address:
- The allowed characters are lowercase letters, numbers and single hyphens, in a name of 3 to 63 characters.
- The name must be **globally unique across Routebase**.
- Saving the subdomain requires the **docs:manage-portal** permission, which Admins and Owners have.
Once saved and published, your portal is reachable at that subdomain, and the resulting URL appears in the Portal Status card.
You can also serve the portal on a domain you own. The **Custom Domain** card directly below the subdomain walks you through DNS records, verification and SSL, then monitors DNS and SSL health once the domain is active. Custom domains are a Pro and Enterprise feature, and [Custom Domains](https://docs.routebase.dev/custom-domains/) covers the full setup.
## Version visibility
Only **published** versions that are marked **Public** can be built for the portal:
- **Internal** keeps the version visible to your team inside Routebase only.
- **Public** allows the version to be deployed to the public portal.
Making a version public is part of the guided publish flow's **Deploy to portal** step. Retracting a public version is the reverse, and it lives in the **Publication** card on **Public Portal → Publish**. Pick a published version and click **Make Internal**, which requires **docs:manage-portal** and removes the version from the portal. The confirmation warns *"Visitors will no longer be able to access this version. You can make it public again at any time."*
## Previewing before you publish
The eye icon in the documentation header generates a real portal preview of the current version and opens it in a new tab, so you can sign off on content before publishing. If a fresh preview already exists it opens straight away, under the tooltip *"Open portal preview"*. Otherwise clicking it renders one and shows the progress in a popover, under the tooltip *"Generate portal preview"*. The preview trigger requires the **docs:manage-portal** permission.
## The guided publish flow
The **Publish** button in the documentation header opens a guided dialog titled *"Publish v{N} to your portal"*, which walks the version through the whole pipeline in one place. A small pulsing dot on the button tells you at a glance whether the live portal is behind your latest edits. Its tooltip reads *"Edited since last deploy"*, *"Not deployed yet"* or *"Up to date"*.
The dialog lists the remaining steps as rows and runs the permitted ones in order when you click the action button:
| Stage | What it does |
| --- | --- |
| **Submit for review** | Moves the version from draft into review. |
| **Publish version** / **Approve and publish** | Locks the content (read-only) and archives the currently published version. The row is labelled **Approve and publish** when an approval workflow is required. |
| **Deploy to portal** | Makes the version public and publishes your portal, enabling the portal first if needed. It takes one to two minutes. |
Steps you lack permission for are shown but skipped, with a note saying why. Deploying needs the portal-management permission, for instance, and publishing needs the publisher permission. When an approval workflow applies, the dialog names the designated approvers. Once everything is live the dialog says *"Everything is live and up to date."* and offers an **Open portal** button.
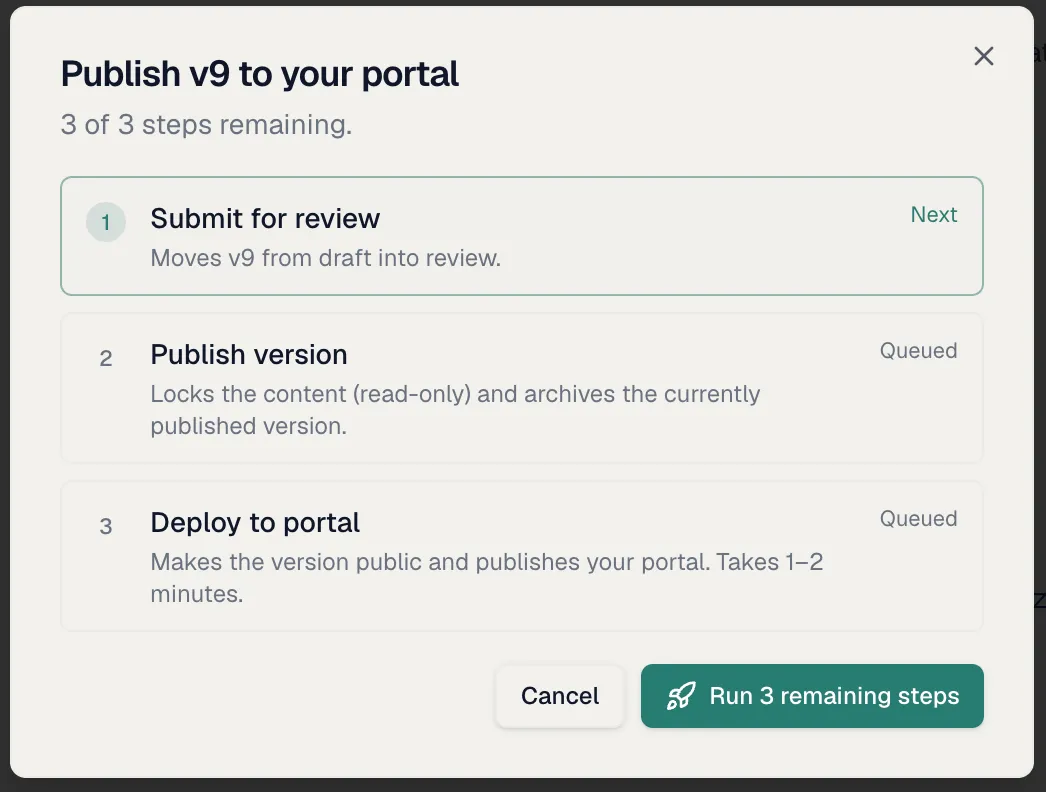
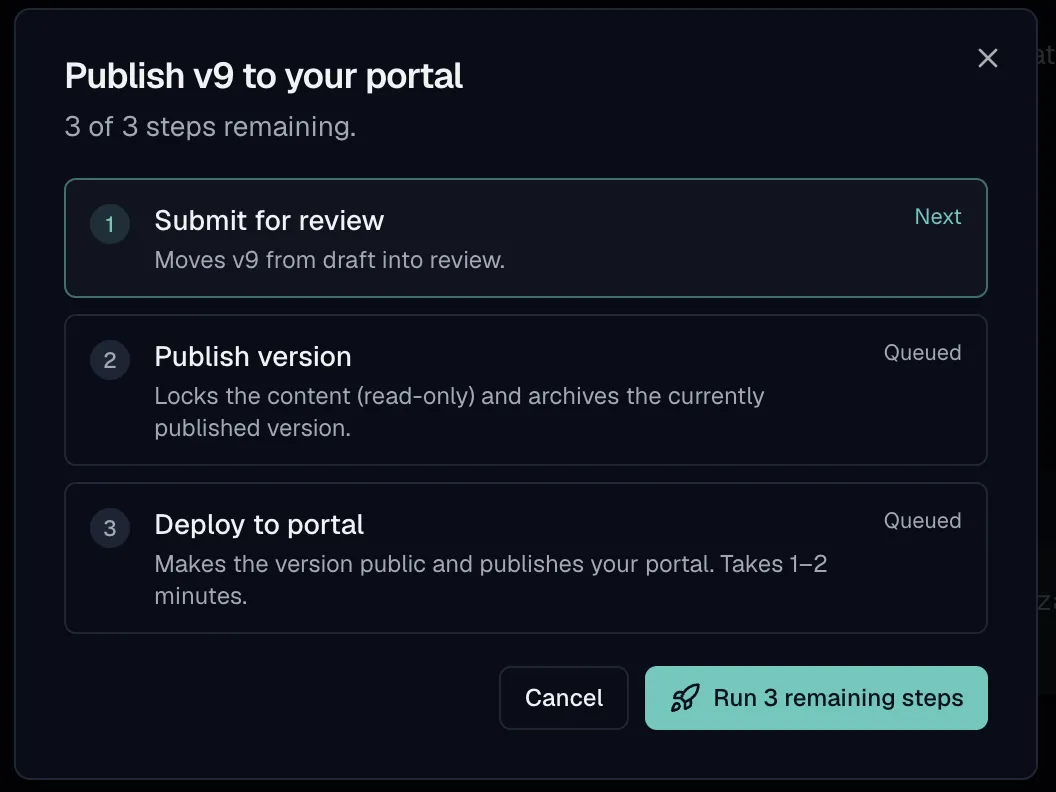 ### Deployed versions
Multiple versions can be live on the portal at once, such as v1 and v2 of your API docs. The **Deployed Versions** card lists each deployed version with its deploy date and page count:
- **Default** marks the version readers land on. Use **Set Default** to switch.
- **Undeploy** removes a version from the portal. The last remaining default version cannot be undeployed.
Whether readers can switch between deployed versions is controlled by the **Version History** feature toggle described below. It carries a *"Versions to show"* limit, and older versions beyond that limit redirect to the current one.
### Retracting and taking the portal offline
The **Publication** card on **Public Portal → Publish** handles the retract side. It describes itself as *"Retract a published version, or take the whole portal offline."* Alongside **Make Internal** above, its **Unpublish** button disables the public portal and removes all published files. The warning reads *"Visitors will no longer be able to access your documentation. You can re-publish at any time."*
## Portal features
On the **Features** tab, the **Features** card toggles reader-facing functionality. Remember to click **Save Changes** at the top of the page afterwards.
### Deployed versions
Multiple versions can be live on the portal at once, such as v1 and v2 of your API docs. The **Deployed Versions** card lists each deployed version with its deploy date and page count:
- **Default** marks the version readers land on. Use **Set Default** to switch.
- **Undeploy** removes a version from the portal. The last remaining default version cannot be undeployed.
Whether readers can switch between deployed versions is controlled by the **Version History** feature toggle described below. It carries a *"Versions to show"* limit, and older versions beyond that limit redirect to the current one.
### Retracting and taking the portal offline
The **Publication** card on **Public Portal → Publish** handles the retract side. It describes itself as *"Retract a published version, or take the whole portal offline."* Alongside **Make Internal** above, its **Unpublish** button disables the public portal and removes all published files. The warning reads *"Visitors will no longer be able to access your documentation. You can re-publish at any time."*
## Portal features
On the **Features** tab, the **Features** card toggles reader-facing functionality. Remember to click **Save Changes** at the top of the page afterwards.
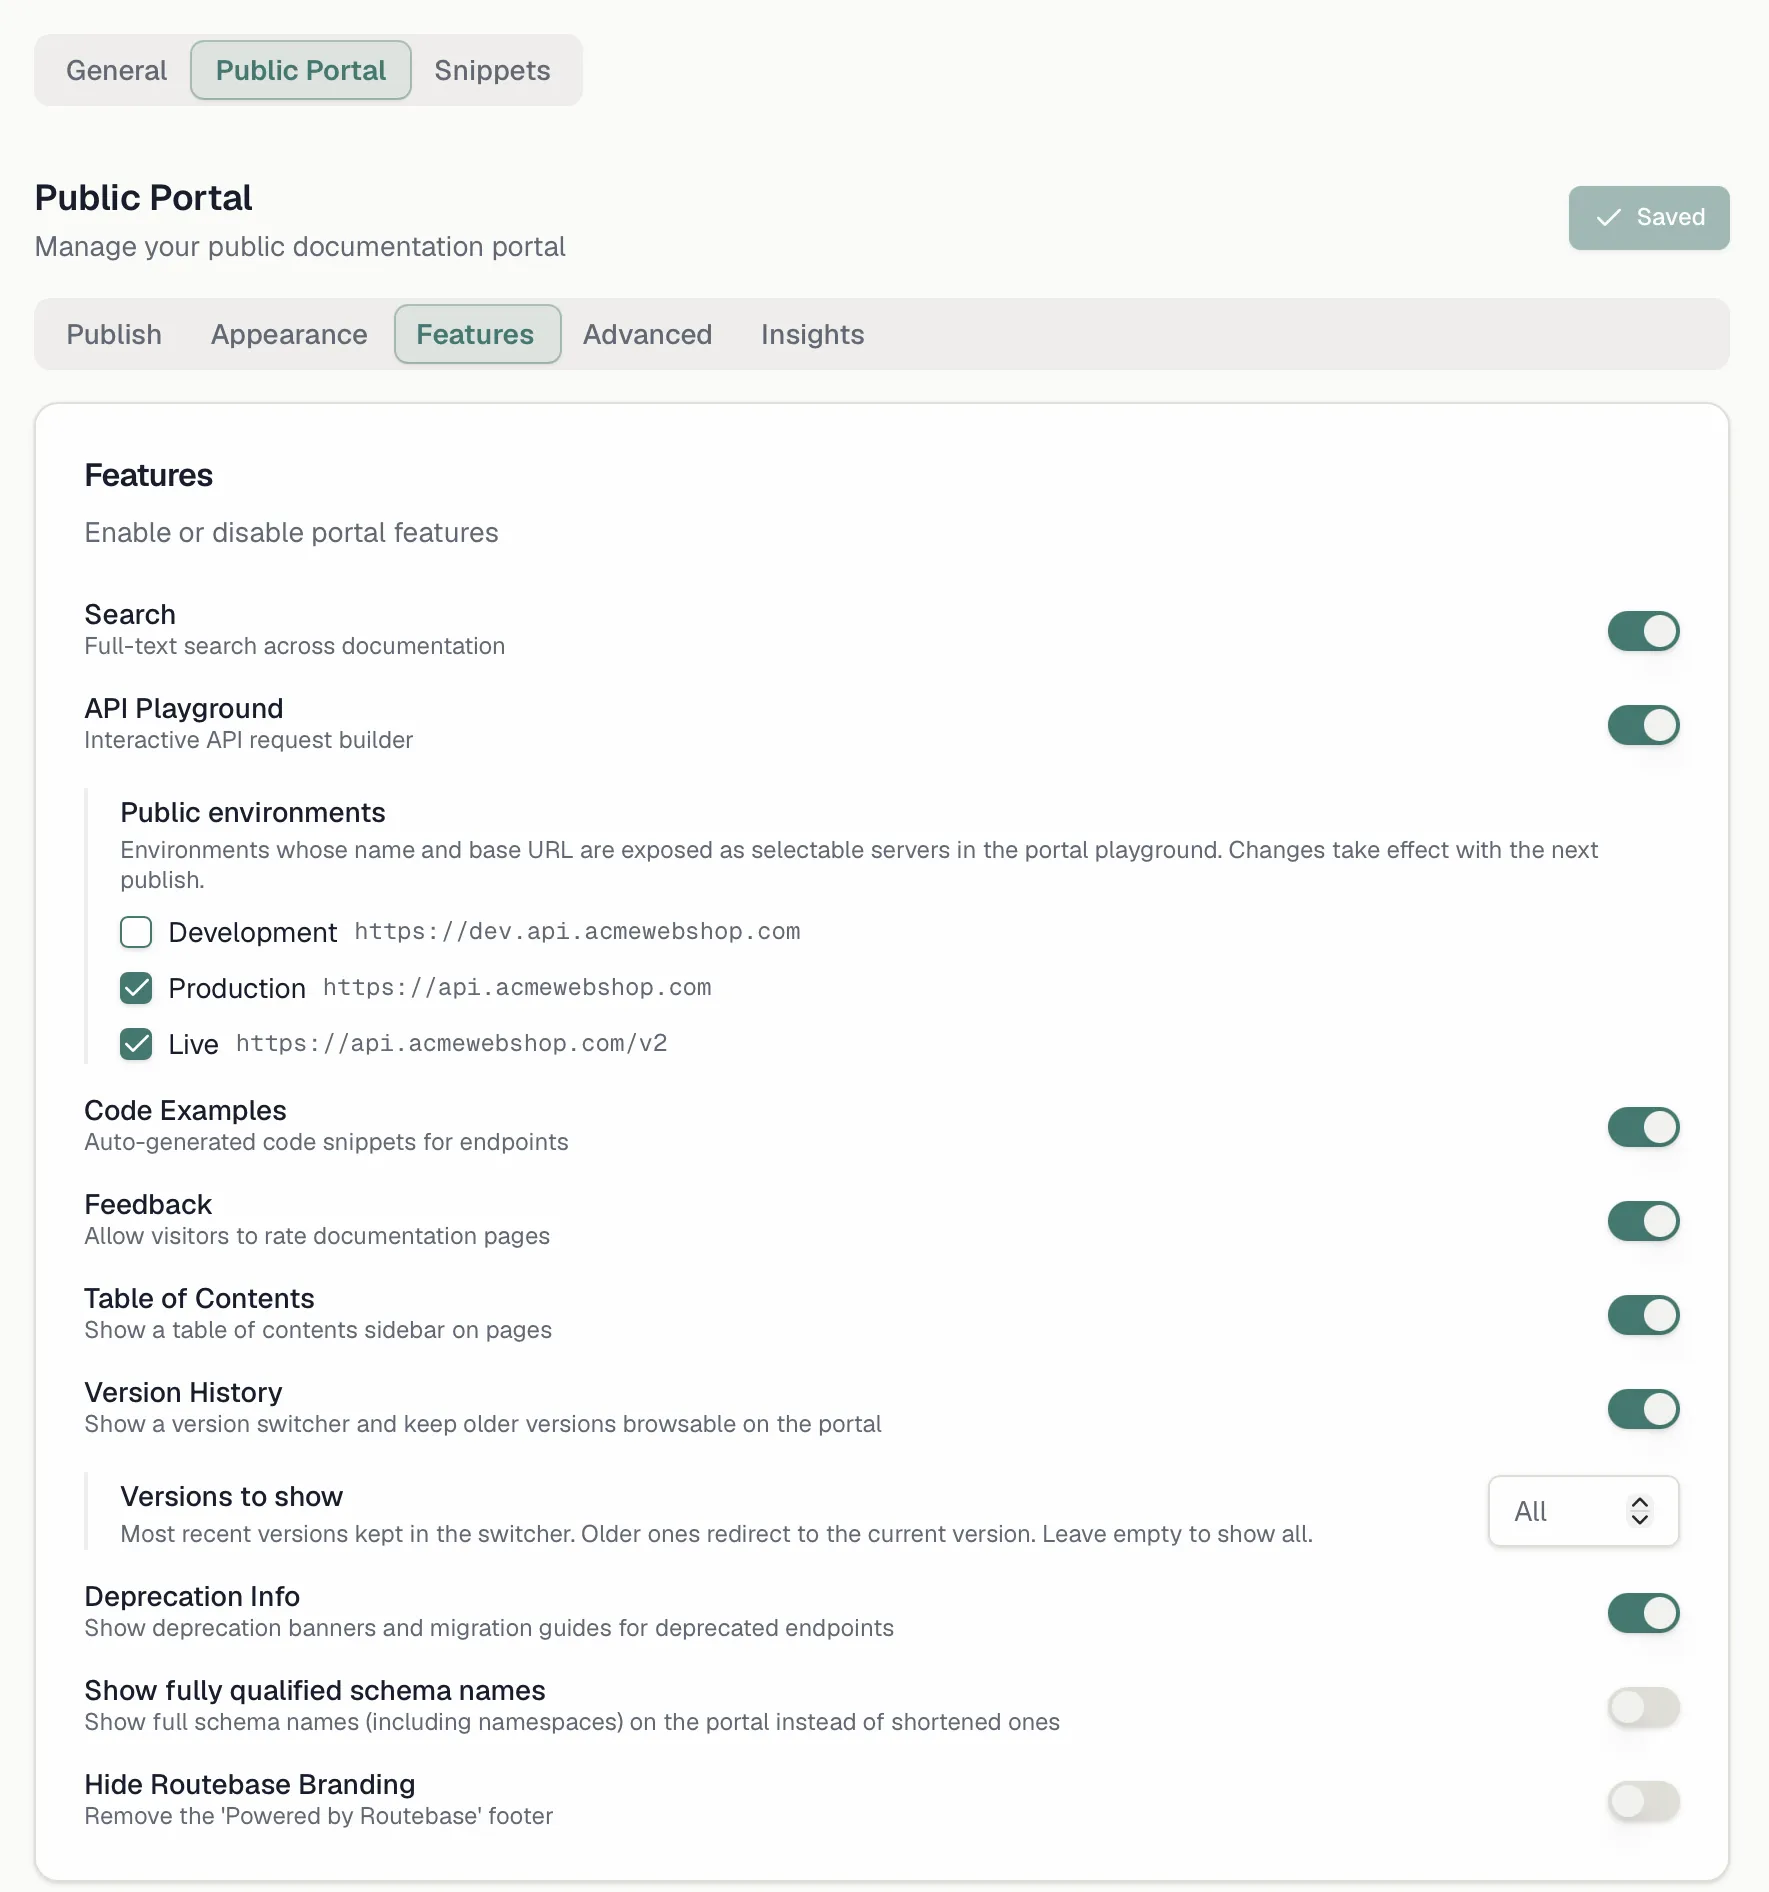
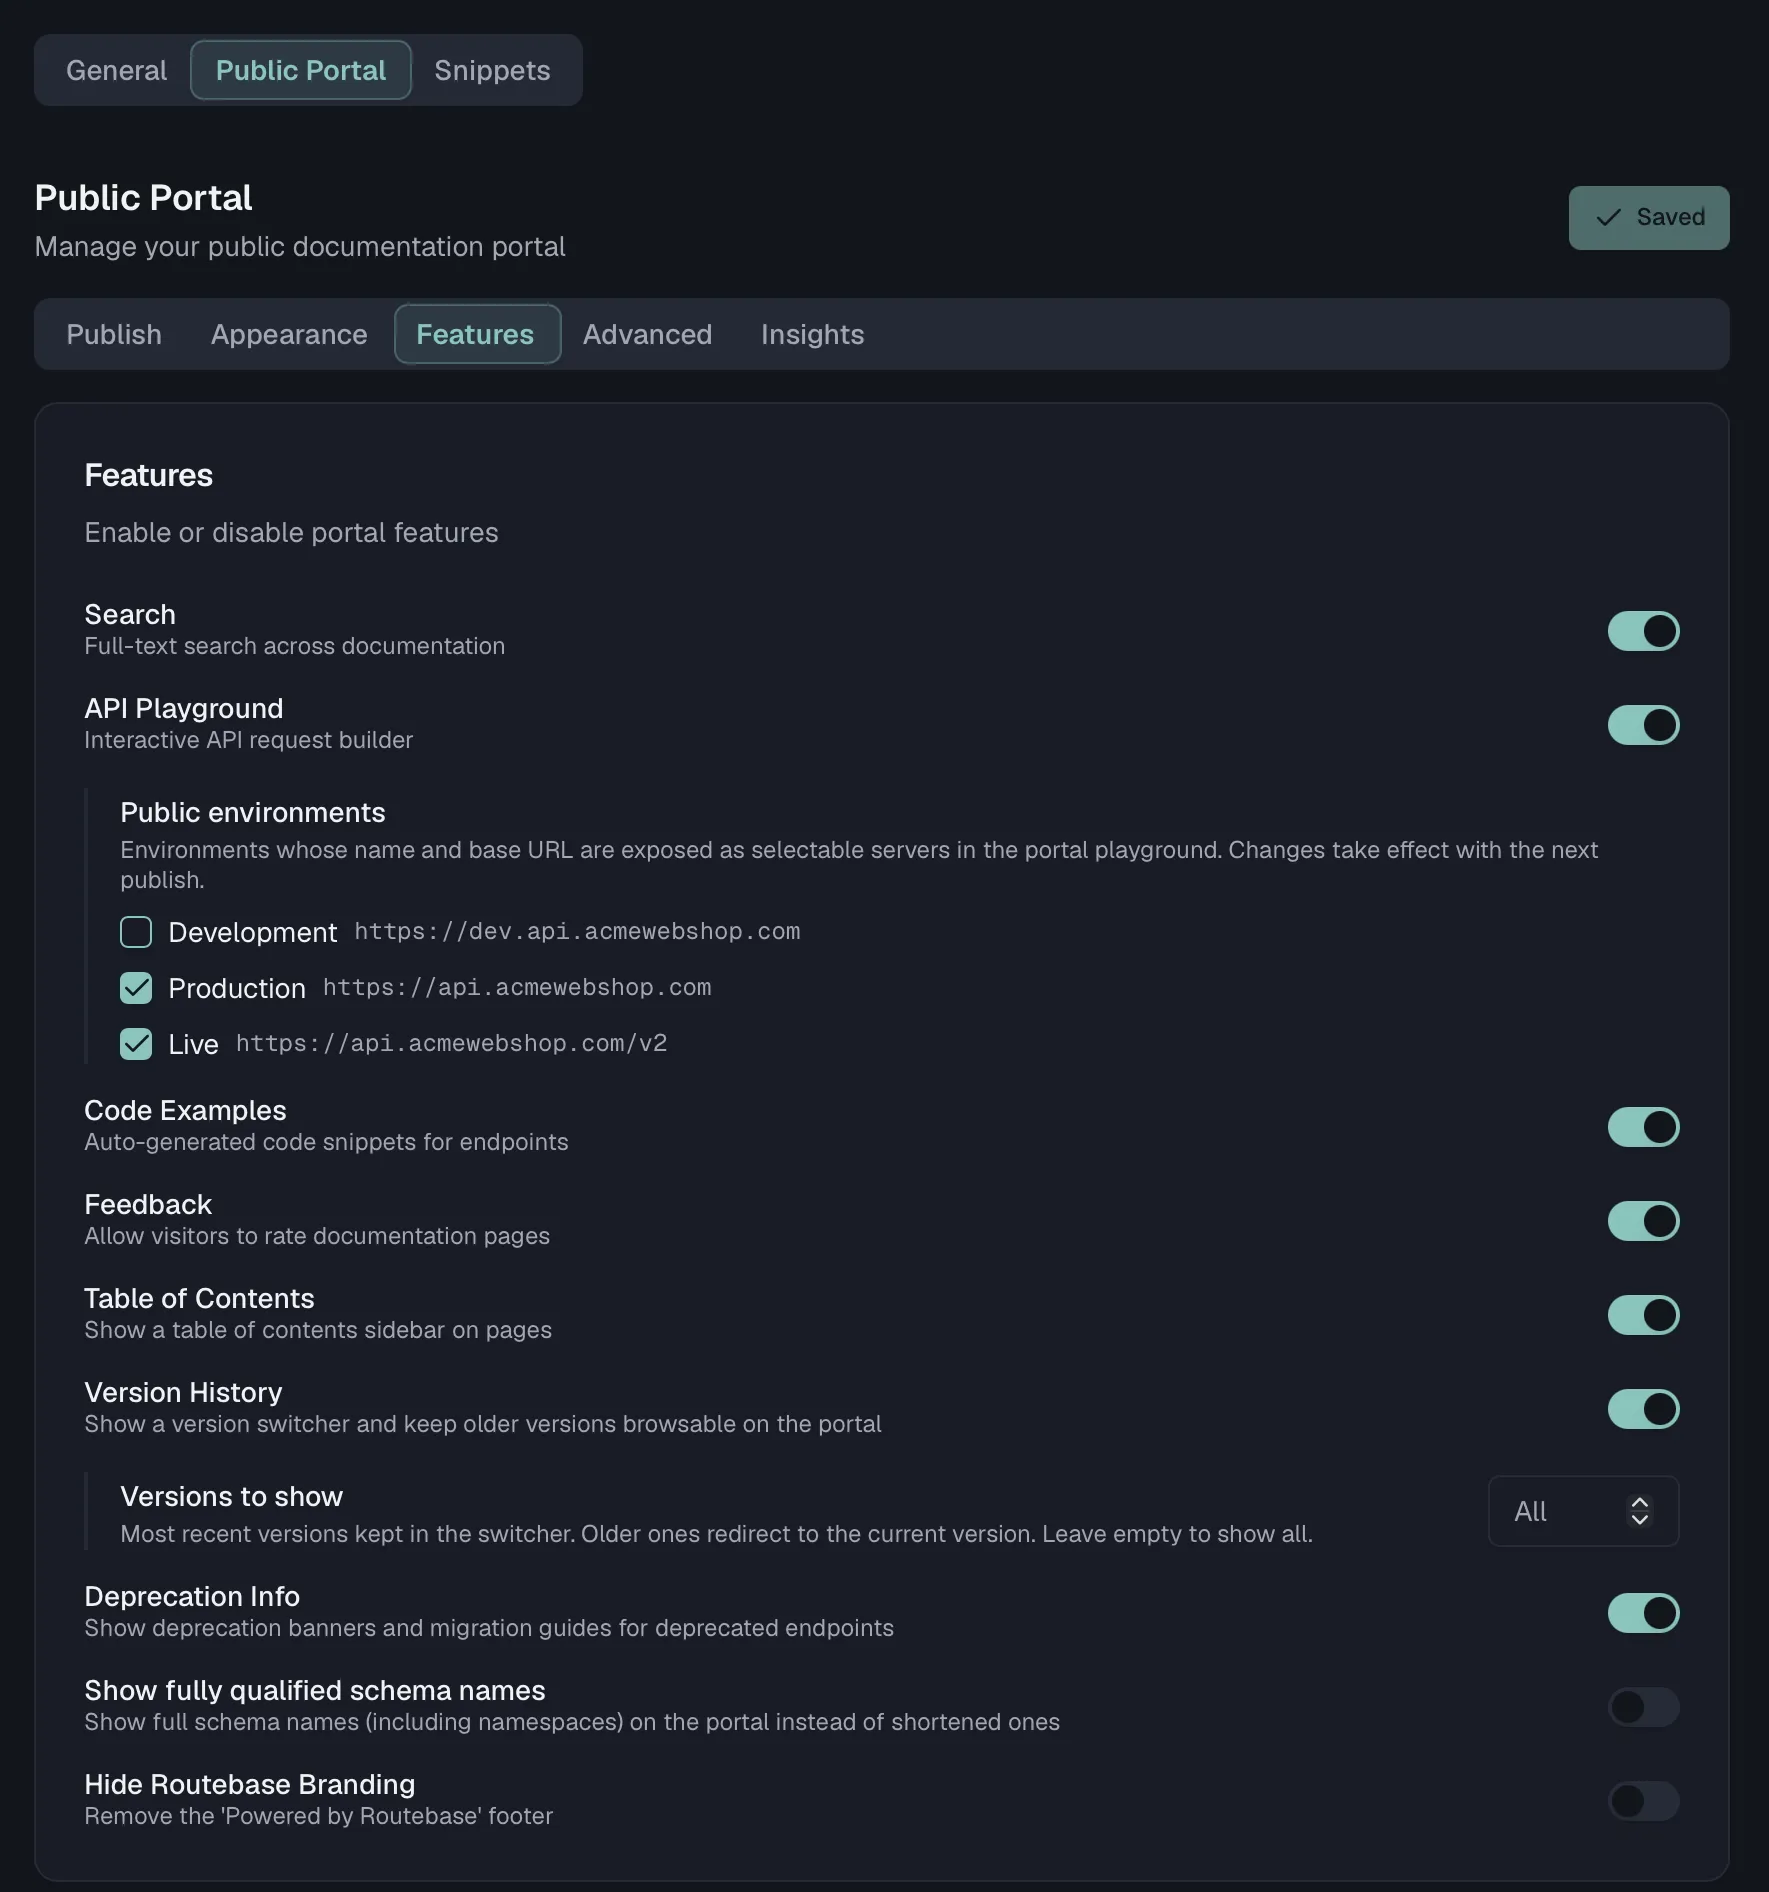 | Feature | Description |
| --- | --- |
| **Search** | Full-text search across documentation. |
| **API Playground** | Interactive API request builder. When on, you can pick which project **environments** are exposed as selectable servers in the playground, and only those with a base URL qualify. See [Where the base URLs come from](#where-the-base-urls-come-from). |
| **Code Examples** | Auto-generated code snippets for endpoints. |
| **Feedback** | Allow visitors to rate documentation pages. |
| **Table of Contents** | Show a table of contents sidebar on pages. |
| **Version History** | Show a version switcher and keep older versions browsable on the portal. |
| **Deprecation Info** | Show deprecation banners and migration guides for deprecated endpoints. |
| **Show fully qualified schema names** | Show full schema names (including namespaces) on the portal instead of shortened ones. |
| **Hide Routebase Branding** | Removes the "Powered by Routebase" footer, and it requires the **Pro** plan. |
A separate **Page actions** card on the same tab chooses which entries appear in the portal's "Copy page" menu. The entries are **Copy page as Markdown**, **Download OpenAPI spec**, **Open in ChatGPT** and **Open in Claude**.
Which languages appear as tabs in the code examples is configured under **Documentation Settings → General → Code Languages**, which offers cURL, HTTPie, JavaScript, Python, C#, Go, Java, Ruby and PHP. The portal renders exactly the languages you select, or all of them if you select none. Changing the selection needs a new portal build to take effect.
### Where the base URLs come from
The host your readers see in the code samples, and pick from in the playground's server dropdown, is resolved once at publish time, in this order:
1. **The environments you opted in.** With the API Playground on, the environments you ticked under the toggle are exposed, in the order you selected them. Only their **name and base URL** ever leave Routebase, never their variables or auth configuration. An environment that was deleted, or that has no base URL, drops out silently.
2. **The environment that feeds the public docs.** With no opt-in list, Routebase falls back to the project environment carrying the **Feeds the public docs** role, if it has a base URL. That role is docs-facing by definition, which is what makes it a safe default.
3. **The spec's own `servers[]`.** If neither applies, the samples use the servers declared in the OpenAPI document.
Where a spec declares a base path, it is appended to the environment URL, unless the URL already ends in that path, so `https://api.example.com/v3` does not become `…/v3/v3`.
Two consequences are worth planning around. The server **dropdown lives inside the playground widget**, so with the API Playground switched off there is no switcher at all and the code samples silently take the first entry of the resolved list. And if nothing resolves at all, meaning no opted-in environment, no docs-source environment and no `servers[]` in the spec, the samples render a literal `{baseUrl}` placeholder instead of a host.
## Docs your readers' agents can read
Every portal build emits three machine-readable outputs alongside the HTML. They are not a feature you switch on, and a build that fails to produce them fails outright.
| Path | What it is |
| --- | --- |
| `/llms.txt` | An index of the portal in the [llms.txt](https://llmstxt.org) convention. It carries the site title, the meta description as a blockquote, then two lists. **Docs** holds every content page with a link and a one-line description derived from its own text, while **API Reference** holds every generated endpoint, folder and spec page in navigation order. |
| `/llms-full.txt` | The entire portal as one Markdown document, with every content page in reading order, snippets resolved, separated by rules. It suits an agent that would otherwise crawl page by page. |
| `{slug}/index.md` | A Markdown twin of every page, served next to its HTML. Content pages emit the Markdown you wrote. **API reference pages get generated Markdown** for the endpoint, covering path, method, parameters, and request and response bodies with `$ref`s resolved, so an endpoint page is readable as text too. Stacked folder and single-page references emit the concatenation of everything they show. |
Image paths in `llms-full.txt` and in the `.md` twins are rewritten to absolute URLs, because those files get read far away from the page they belong to.
`robots.txt` points at both the sitemap and `/llms.txt`, so an agent that starts at the root finds them without being told. The **Copy page as Markdown** page action on the Features tab is a convenience link to the `.md` twin for human readers, so switching it off removes the menu entry rather than the file.
## SEO and custom scripts
On the **Advanced** tab:
- **SEO** sets the **Site Title**, the **Meta Description** and an **OG Image URL** for search engines and social previews. The OG image has to be an absolute `http` or `https` URL.
- **Custom Scripts** injects **Head Scripts** and **Body Scripts** into the portal HTML, which suits analytics or chat widgets.
Portal look and feel (themes, colors, fonts, logo, custom CSS) is covered in [Branding](https://docs.routebase.dev/doc-branding/).
## Build history, feedback, and analytics
- **Build History** on the **Publish** tab lists every build with its status, version, page count, size, duration and date. The status reads Success, In Progress, Pending or Failed, and **View Log** opens the full build log and any error message.
- **Portal Analytics** on the **Insights** tab shows page views, unique visitors, search queries, page view trends, top pages, top search terms, and **Content Gaps**, which are search terms that returned no results.
- **Feedback Dashboard** on the **Insights** tab appears when the Feedback feature is on. It shows total feedback, the positive rate, trends and recent comments from portal visitors. The toggle that switches feedback on stays with the other feature switches.
| Feature | Description |
| --- | --- |
| **Search** | Full-text search across documentation. |
| **API Playground** | Interactive API request builder. When on, you can pick which project **environments** are exposed as selectable servers in the playground, and only those with a base URL qualify. See [Where the base URLs come from](#where-the-base-urls-come-from). |
| **Code Examples** | Auto-generated code snippets for endpoints. |
| **Feedback** | Allow visitors to rate documentation pages. |
| **Table of Contents** | Show a table of contents sidebar on pages. |
| **Version History** | Show a version switcher and keep older versions browsable on the portal. |
| **Deprecation Info** | Show deprecation banners and migration guides for deprecated endpoints. |
| **Show fully qualified schema names** | Show full schema names (including namespaces) on the portal instead of shortened ones. |
| **Hide Routebase Branding** | Removes the "Powered by Routebase" footer, and it requires the **Pro** plan. |
A separate **Page actions** card on the same tab chooses which entries appear in the portal's "Copy page" menu. The entries are **Copy page as Markdown**, **Download OpenAPI spec**, **Open in ChatGPT** and **Open in Claude**.
Which languages appear as tabs in the code examples is configured under **Documentation Settings → General → Code Languages**, which offers cURL, HTTPie, JavaScript, Python, C#, Go, Java, Ruby and PHP. The portal renders exactly the languages you select, or all of them if you select none. Changing the selection needs a new portal build to take effect.
### Where the base URLs come from
The host your readers see in the code samples, and pick from in the playground's server dropdown, is resolved once at publish time, in this order:
1. **The environments you opted in.** With the API Playground on, the environments you ticked under the toggle are exposed, in the order you selected them. Only their **name and base URL** ever leave Routebase, never their variables or auth configuration. An environment that was deleted, or that has no base URL, drops out silently.
2. **The environment that feeds the public docs.** With no opt-in list, Routebase falls back to the project environment carrying the **Feeds the public docs** role, if it has a base URL. That role is docs-facing by definition, which is what makes it a safe default.
3. **The spec's own `servers[]`.** If neither applies, the samples use the servers declared in the OpenAPI document.
Where a spec declares a base path, it is appended to the environment URL, unless the URL already ends in that path, so `https://api.example.com/v3` does not become `…/v3/v3`.
Two consequences are worth planning around. The server **dropdown lives inside the playground widget**, so with the API Playground switched off there is no switcher at all and the code samples silently take the first entry of the resolved list. And if nothing resolves at all, meaning no opted-in environment, no docs-source environment and no `servers[]` in the spec, the samples render a literal `{baseUrl}` placeholder instead of a host.
## Docs your readers' agents can read
Every portal build emits three machine-readable outputs alongside the HTML. They are not a feature you switch on, and a build that fails to produce them fails outright.
| Path | What it is |
| --- | --- |
| `/llms.txt` | An index of the portal in the [llms.txt](https://llmstxt.org) convention. It carries the site title, the meta description as a blockquote, then two lists. **Docs** holds every content page with a link and a one-line description derived from its own text, while **API Reference** holds every generated endpoint, folder and spec page in navigation order. |
| `/llms-full.txt` | The entire portal as one Markdown document, with every content page in reading order, snippets resolved, separated by rules. It suits an agent that would otherwise crawl page by page. |
| `{slug}/index.md` | A Markdown twin of every page, served next to its HTML. Content pages emit the Markdown you wrote. **API reference pages get generated Markdown** for the endpoint, covering path, method, parameters, and request and response bodies with `$ref`s resolved, so an endpoint page is readable as text too. Stacked folder and single-page references emit the concatenation of everything they show. |
Image paths in `llms-full.txt` and in the `.md` twins are rewritten to absolute URLs, because those files get read far away from the page they belong to.
`robots.txt` points at both the sitemap and `/llms.txt`, so an agent that starts at the root finds them without being told. The **Copy page as Markdown** page action on the Features tab is a convenience link to the `.md` twin for human readers, so switching it off removes the menu entry rather than the file.
## SEO and custom scripts
On the **Advanced** tab:
- **SEO** sets the **Site Title**, the **Meta Description** and an **OG Image URL** for search engines and social previews. The OG image has to be an absolute `http` or `https` URL.
- **Custom Scripts** injects **Head Scripts** and **Body Scripts** into the portal HTML, which suits analytics or chat widgets.
Portal look and feel (themes, colors, fonts, logo, custom CSS) is covered in [Branding](https://docs.routebase.dev/doc-branding/).
## Build history, feedback, and analytics
- **Build History** on the **Publish** tab lists every build with its status, version, page count, size, duration and date. The status reads Success, In Progress, Pending or Failed, and **View Log** opens the full build log and any error message.
- **Portal Analytics** on the **Insights** tab shows page views, unique visitors, search queries, page view trends, top pages, top search terms, and **Content Gaps**, which are search terms that returned no results.
- **Feedback Dashboard** on the **Insights** tab appears when the Feedback feature is on. It shows total feedback, the positive rate, trends and recent comments from portal visitors. The toggle that switches feedback on stays with the other feature switches.
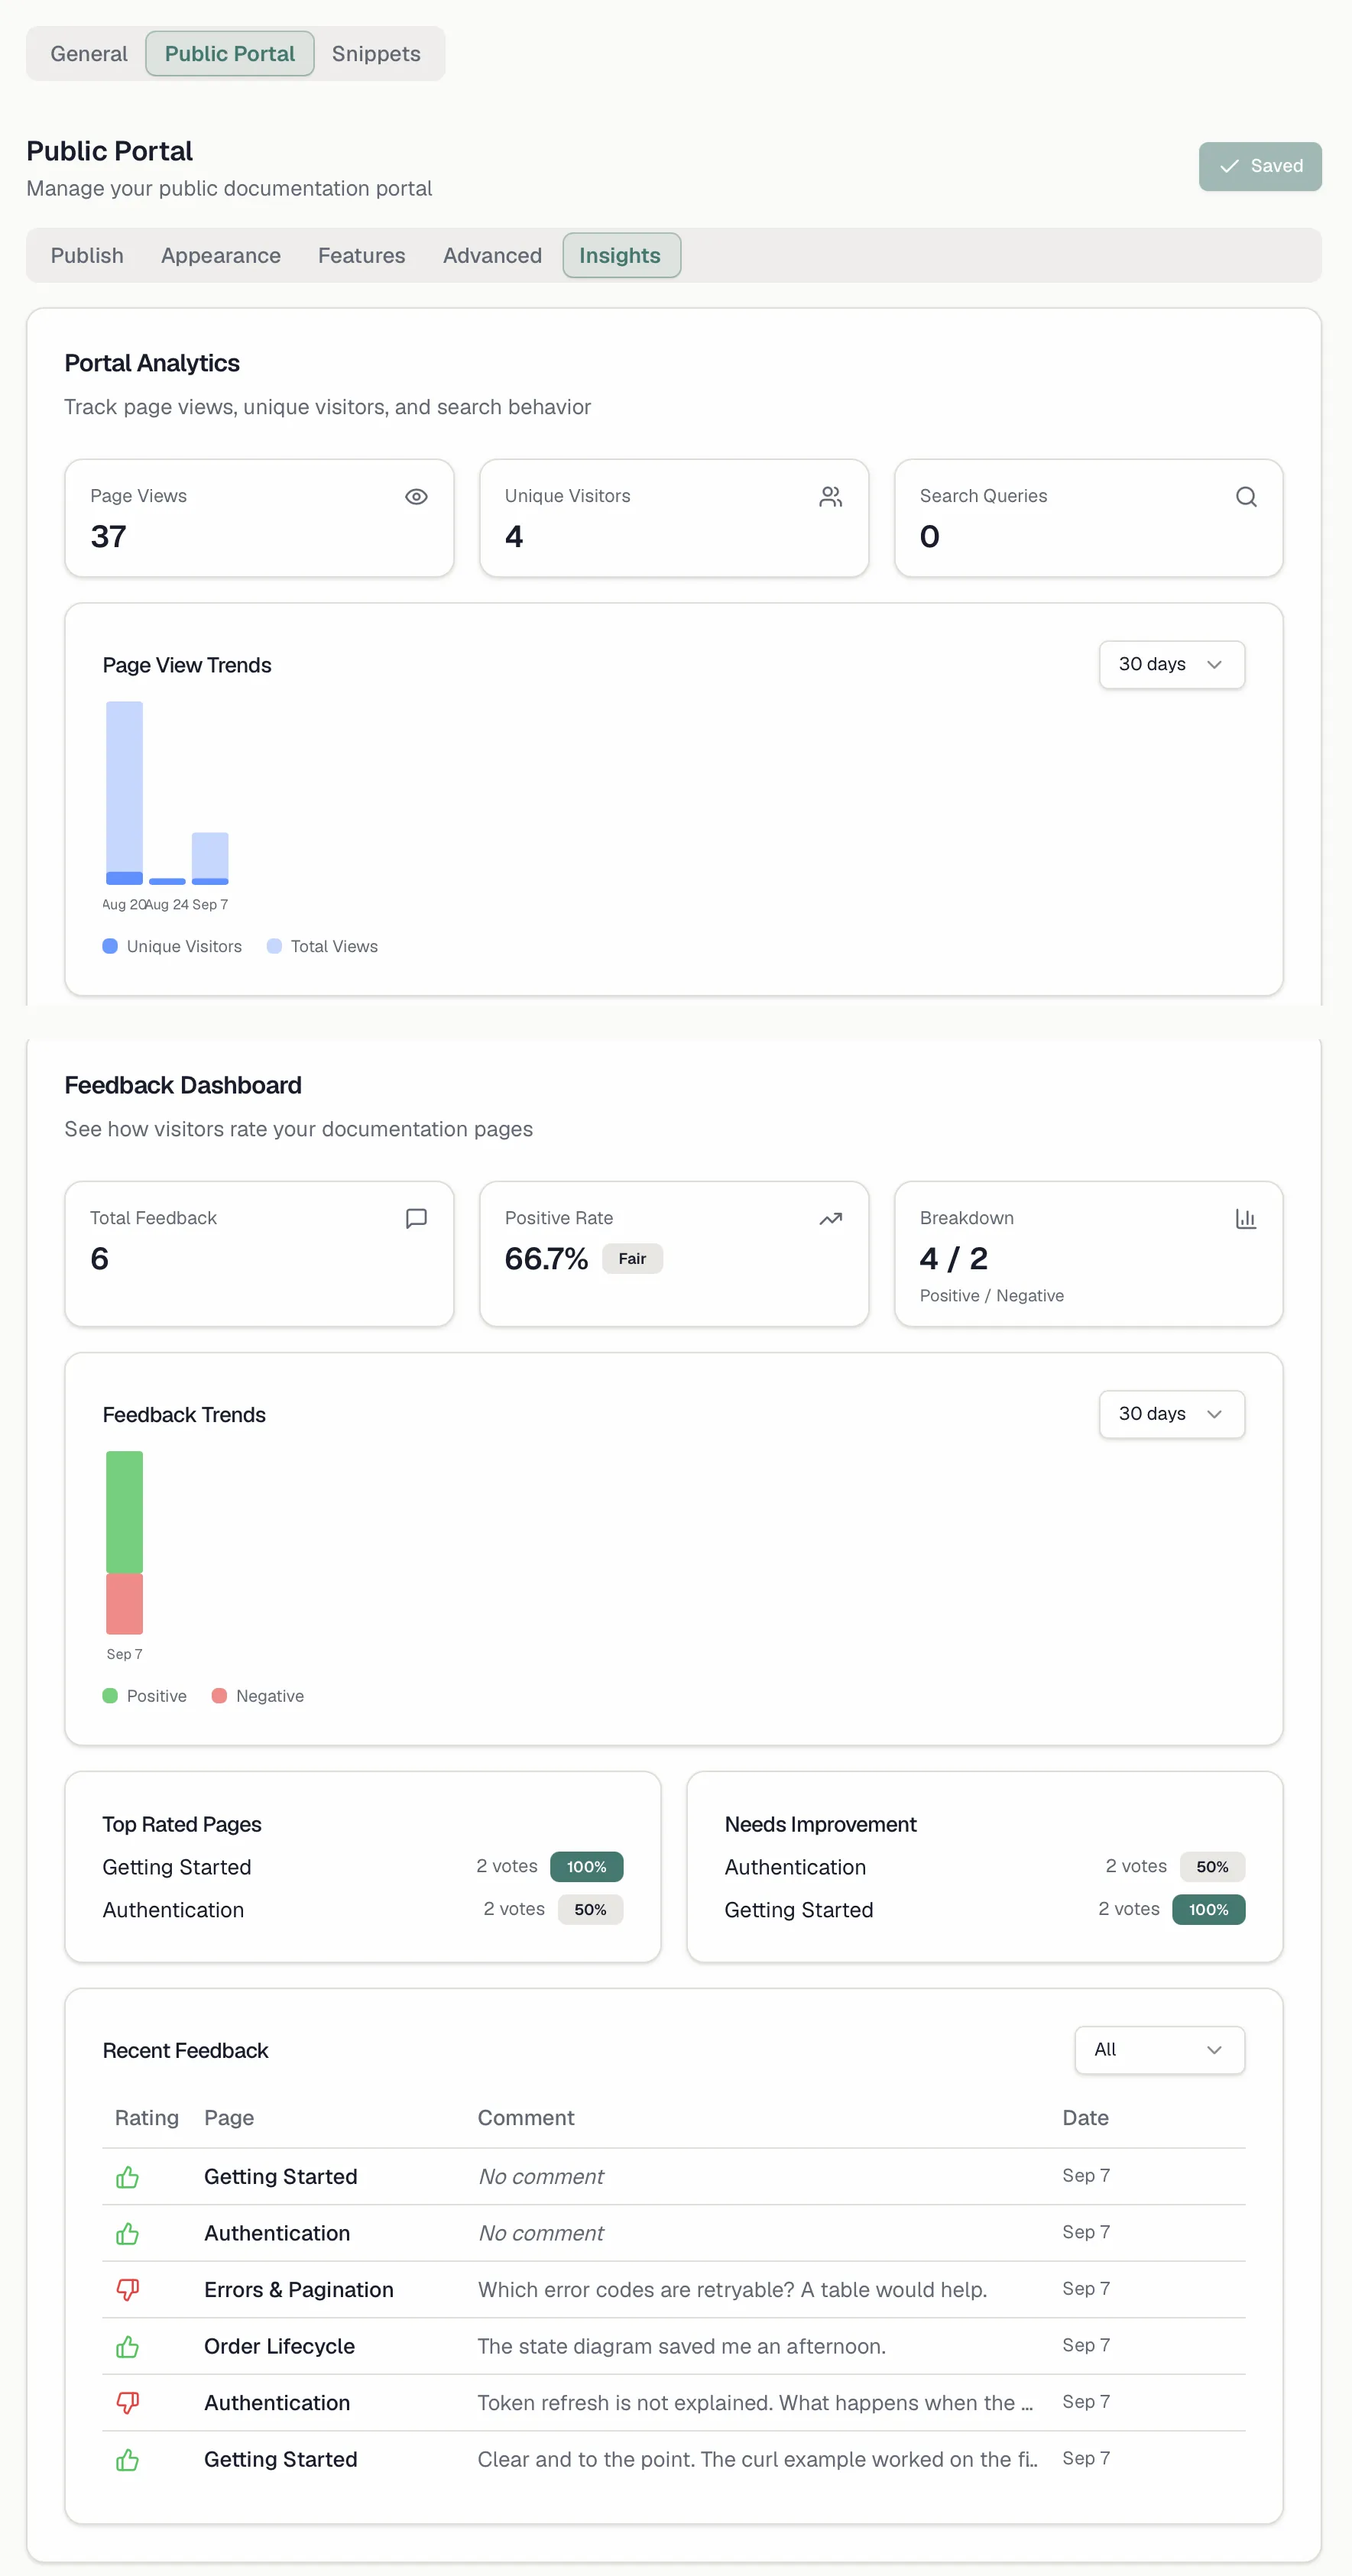
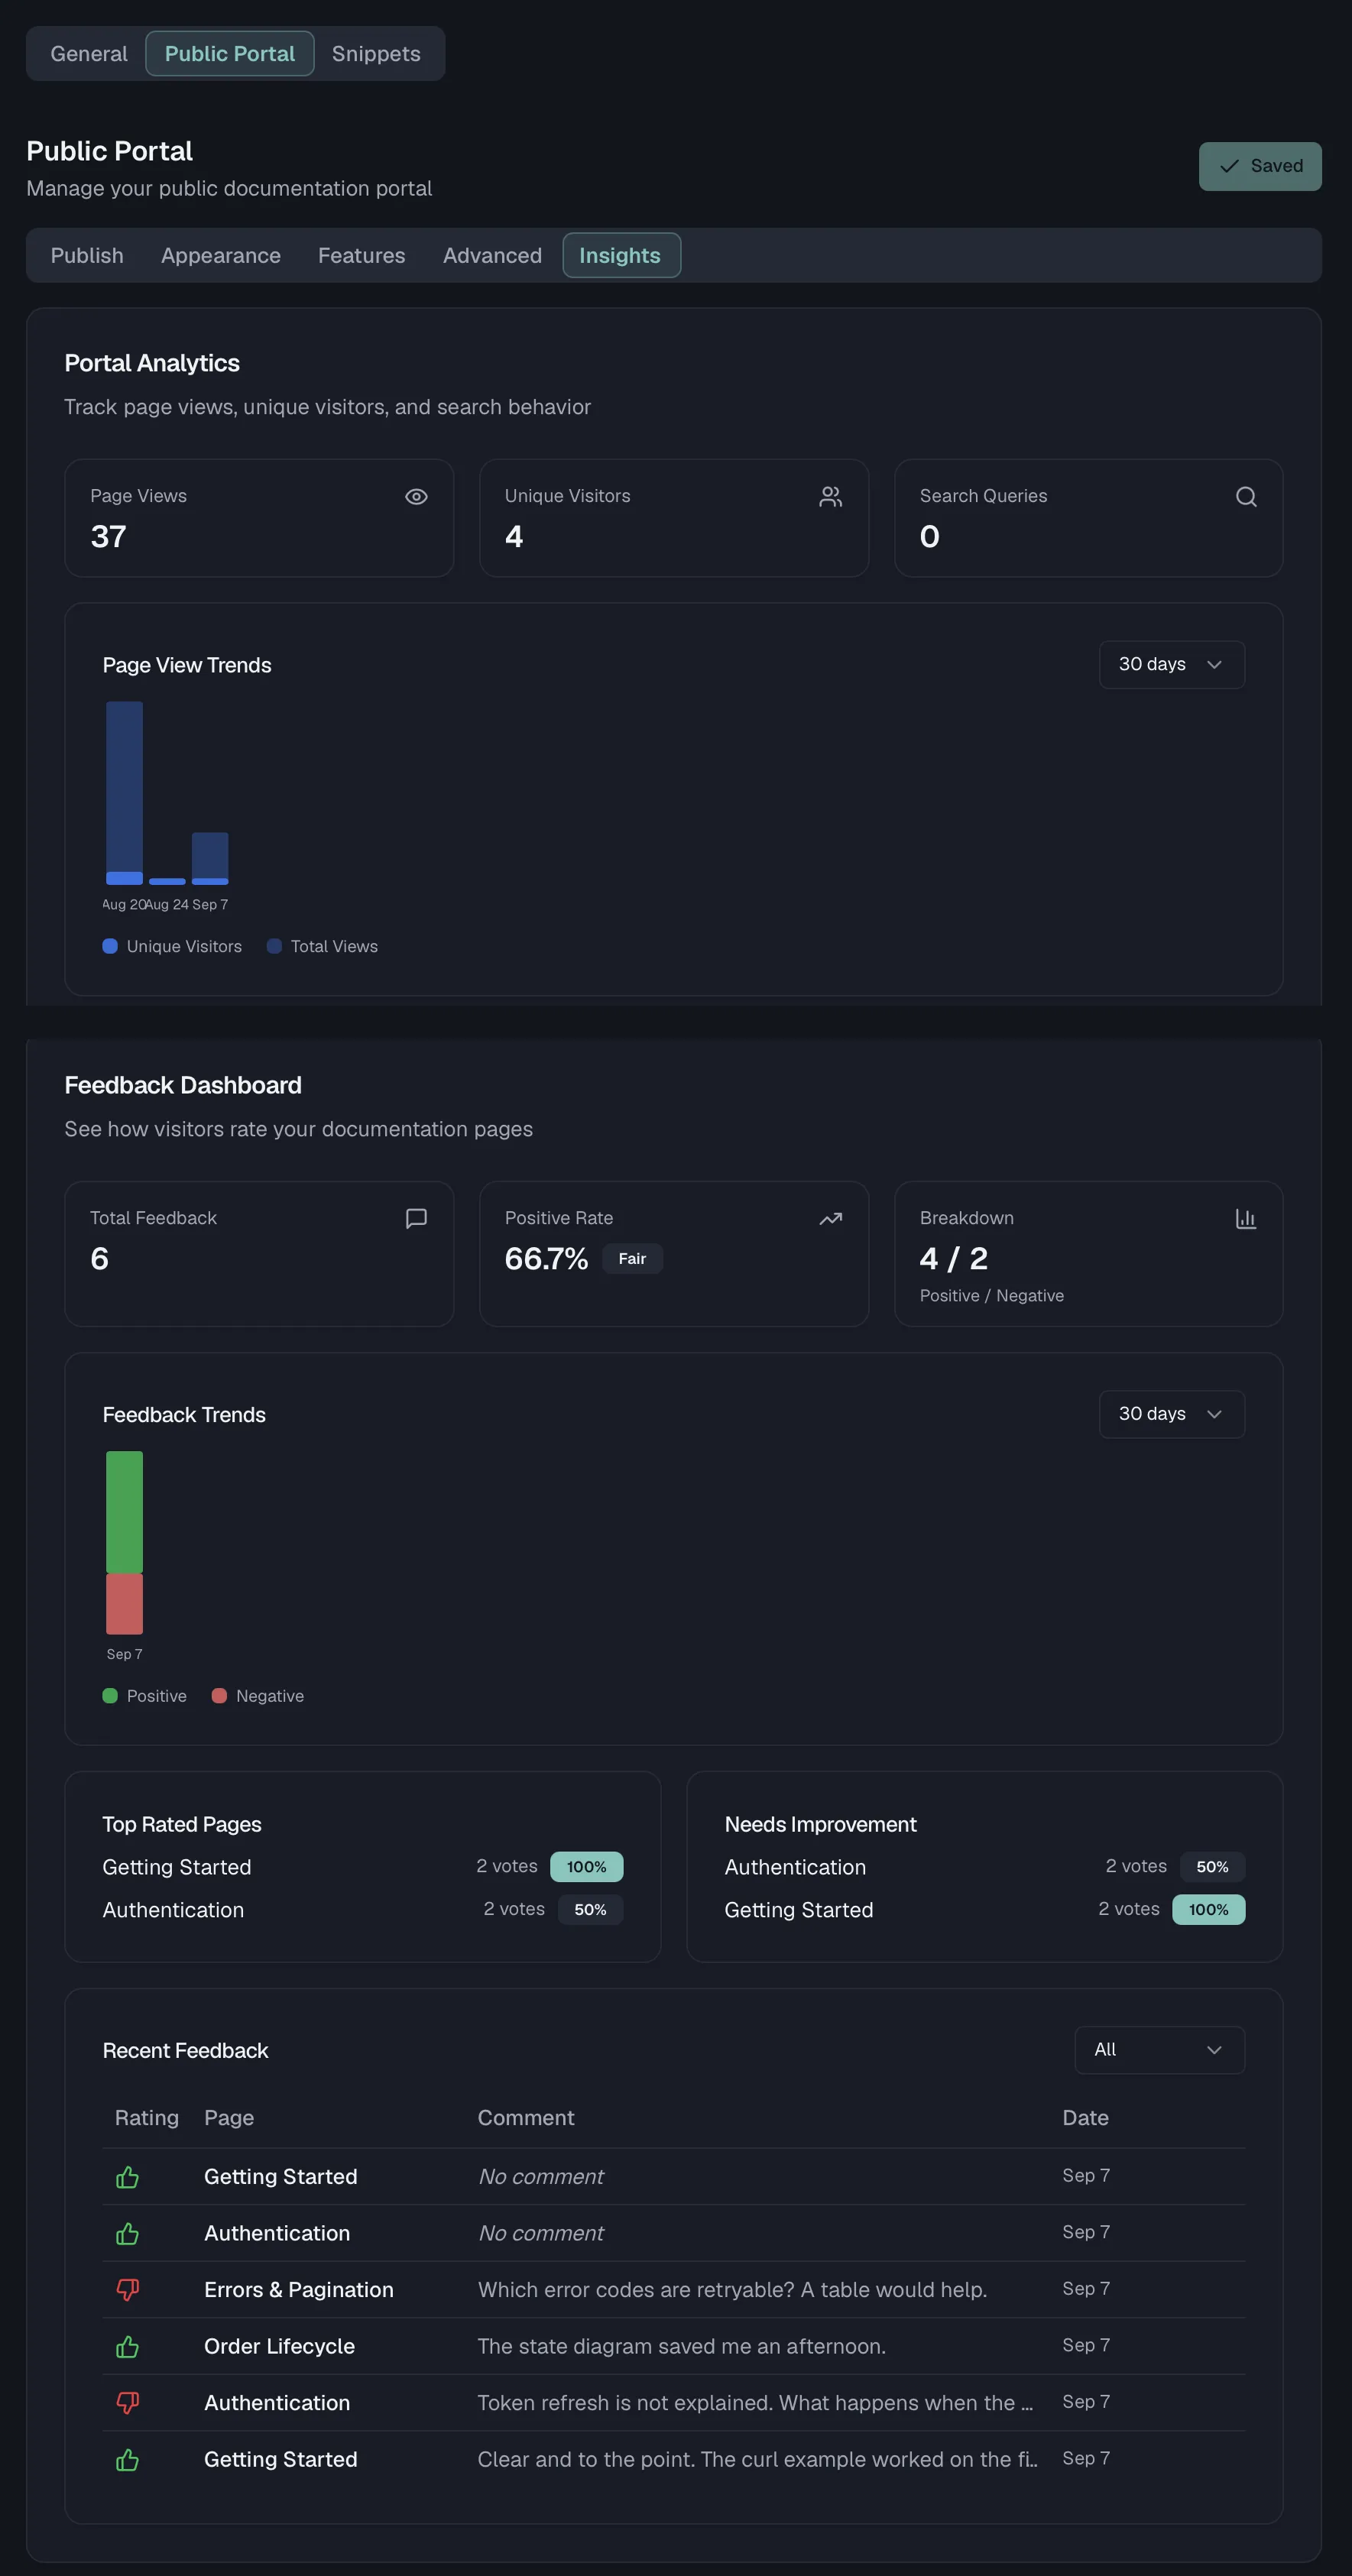
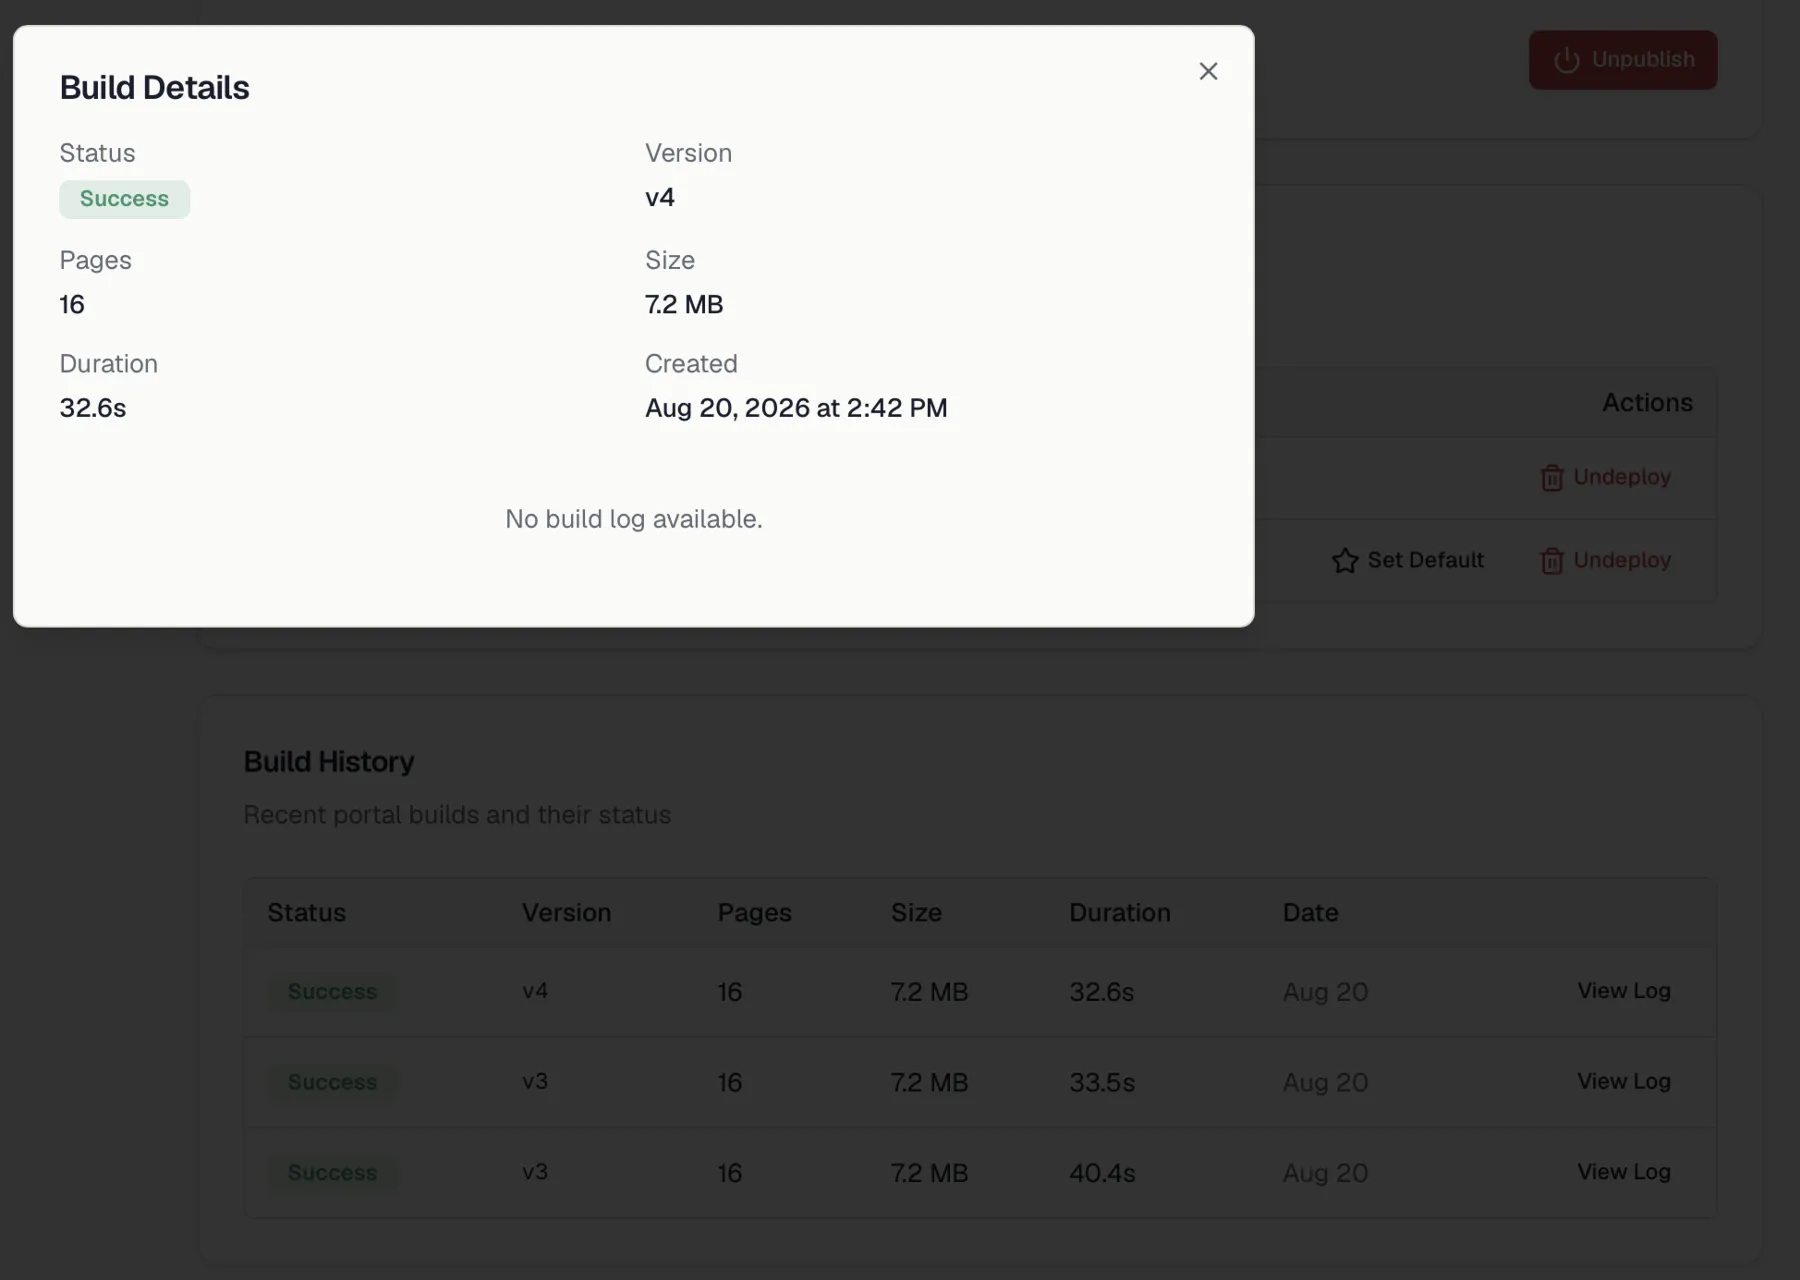
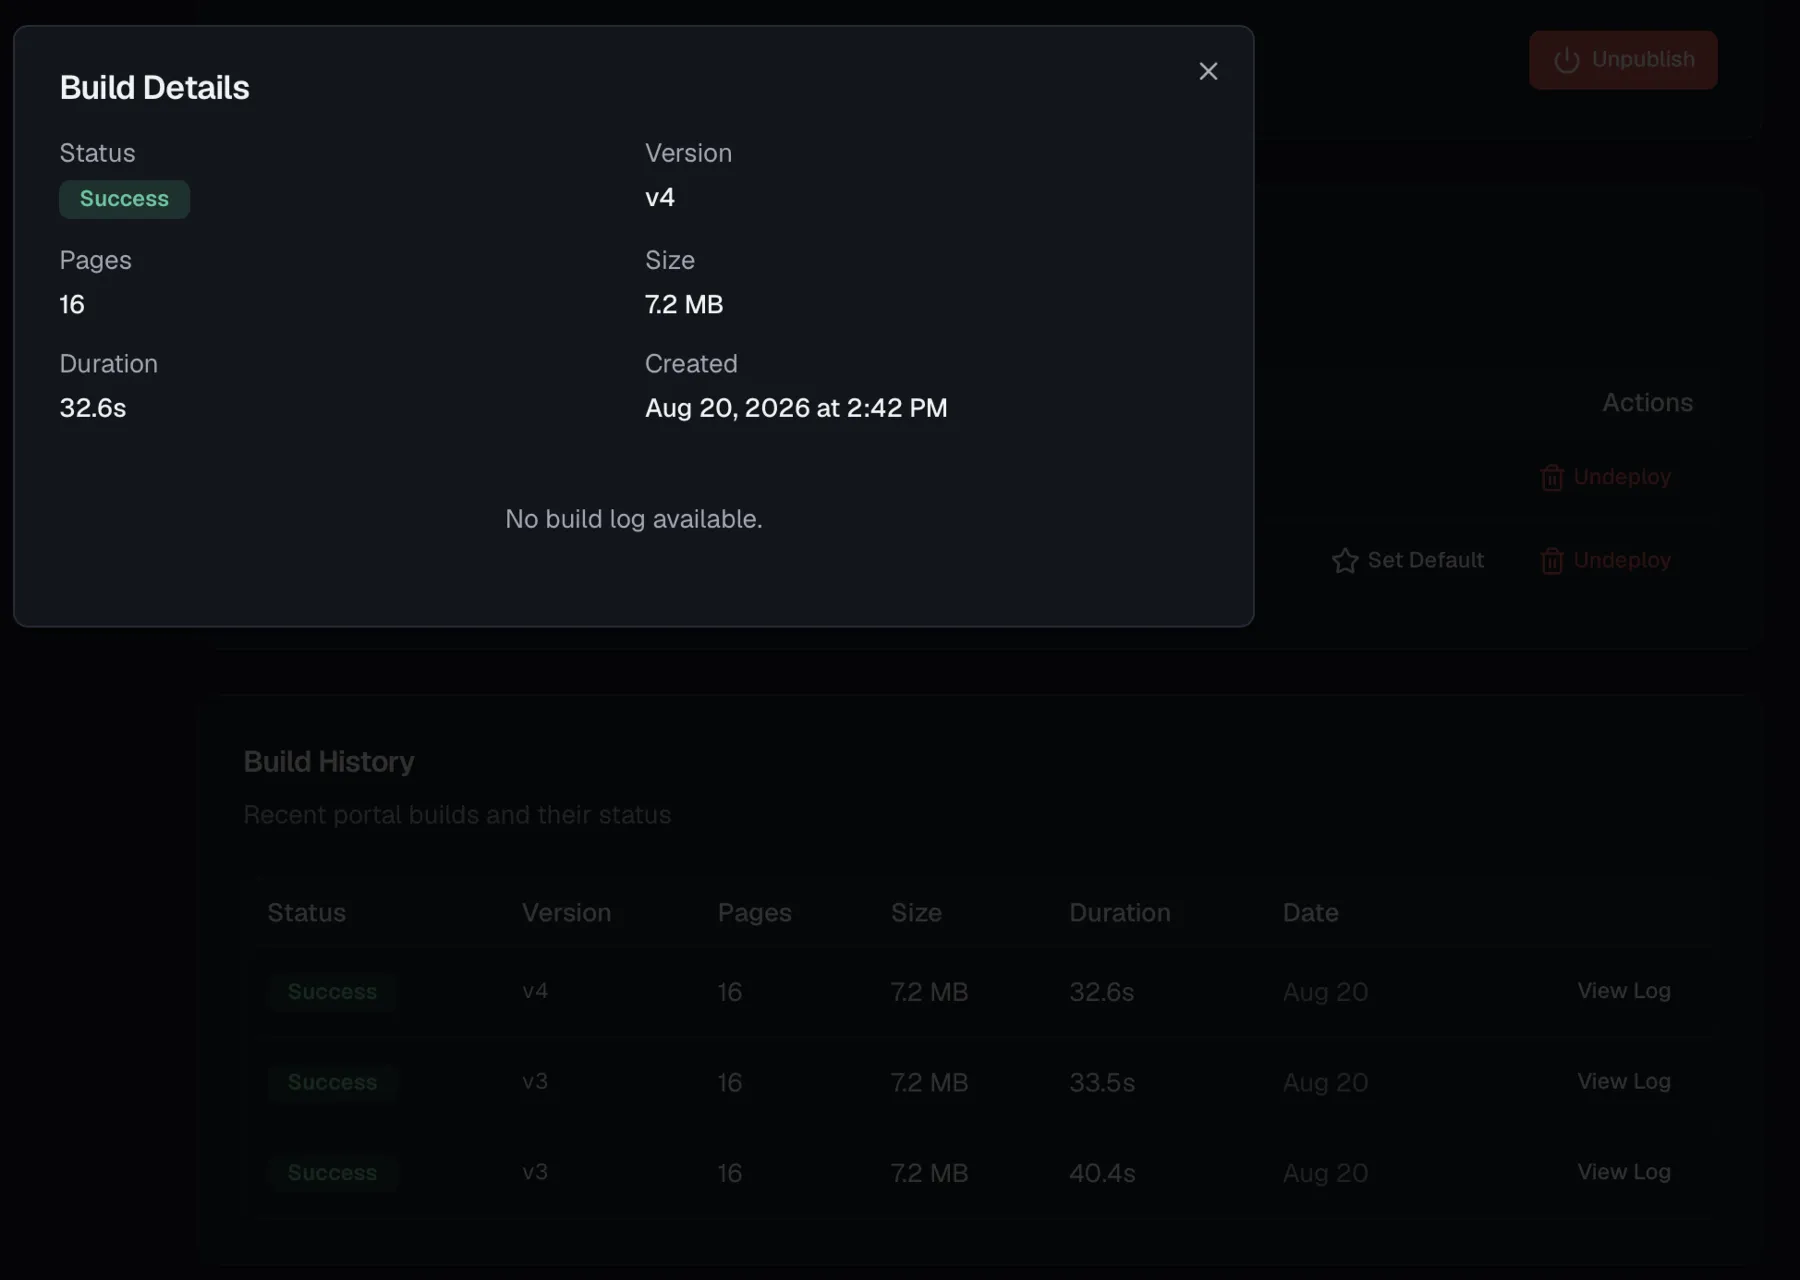 ## Publishing from an AI agent
The publish path is available over the [Routebase MCP server](https://docs.routebase.dev/mcp-quickstart/) as well, which is how you would wire documentation into a release script. The chain is three calls after `set_context`:
1. `update_doc_page`, or `create_doc_page`, writes the content into a **mutable** version, meaning Draft or In Review. It needs `docs:write`.
2. `publish_doc_version` takes a version in Review live, archiving the previously published one. It needs `docs:publish`.
3. `trigger_portal_build` renders and uploads the portal, and it returns the build status and its metrics. It needs `docs:manage-portal`.
`get_portal_url` returns the public address and the custom-domain setup status, and the `portal-admin` toolset covers builds, deployments, analytics and feedback if you want an agent to watch the result. The full tool list is in [Documentation Overview](https://docs.routebase.dev/doc-overview/#working-on-documentation-from-an-ai-agent).
## Publishing straight from the API Designer
When you publish an API spec version, the publish flow's success screen includes a **Documentation** panel, shown to users with **docs:write**. It tells you where the spec stands with a line like *"This API is in documentation v2 (draft), pinned to v1.0.0"*, and it offers two actions:
- **Update documentation to vX** embeds or refreshes the spec snapshot in a mutable doc version, creating the portal or cloning the live version into a draft if needed. The docs stay a draft until you publish them.
- **Publish documentation**, shown with **docs:publish**, lets you choose **Team only** or **Public** visibility and take the documentation live in one step. Afterwards you get **View Documentation** and **Copy Link** buttons for sharing.
## Related
- [Versioning](https://docs.routebase.dev/doc-versioning/) — the Draft → Review → Live lifecycle
- [Branding](https://docs.routebase.dev/doc-branding/) — themes, logos, fonts, and custom CSS
- [Documentation Overview](https://docs.routebase.dev/doc-overview/) — building the content that gets published
- [MCP Quickstart](https://docs.routebase.dev/mcp-quickstart/) — connecting an agent that can publish for you
---
## Docs as Code
Source: https://docs.routebase.dev/docs-as-code/
`routebase docs pull` downloads a documentation version into a folder of Markdown files, and
`routebase docs push` writes local changes back. Between those two your documentation lives in your
repository, where it is reviewed in pull requests, versioned with the code it describes and
editable in whatever editor you already use.
The Doc Hub in the app stays fully usable while you do this, because the two are views of the same
pages rather than competing sources.
This guide assumes the CLI is installed and configured, which
[CLI Overview](https://docs.routebase.dev/cli-overview/) covers.
## Pulling
```bash
routebase docs pull --project
## Publishing from an AI agent
The publish path is available over the [Routebase MCP server](https://docs.routebase.dev/mcp-quickstart/) as well, which is how you would wire documentation into a release script. The chain is three calls after `set_context`:
1. `update_doc_page`, or `create_doc_page`, writes the content into a **mutable** version, meaning Draft or In Review. It needs `docs:write`.
2. `publish_doc_version` takes a version in Review live, archiving the previously published one. It needs `docs:publish`.
3. `trigger_portal_build` renders and uploads the portal, and it returns the build status and its metrics. It needs `docs:manage-portal`.
`get_portal_url` returns the public address and the custom-domain setup status, and the `portal-admin` toolset covers builds, deployments, analytics and feedback if you want an agent to watch the result. The full tool list is in [Documentation Overview](https://docs.routebase.dev/doc-overview/#working-on-documentation-from-an-ai-agent).
## Publishing straight from the API Designer
When you publish an API spec version, the publish flow's success screen includes a **Documentation** panel, shown to users with **docs:write**. It tells you where the spec stands with a line like *"This API is in documentation v2 (draft), pinned to v1.0.0"*, and it offers two actions:
- **Update documentation to vX** embeds or refreshes the spec snapshot in a mutable doc version, creating the portal or cloning the live version into a draft if needed. The docs stay a draft until you publish them.
- **Publish documentation**, shown with **docs:publish**, lets you choose **Team only** or **Public** visibility and take the documentation live in one step. Afterwards you get **View Documentation** and **Copy Link** buttons for sharing.
## Related
- [Versioning](https://docs.routebase.dev/doc-versioning/) — the Draft → Review → Live lifecycle
- [Branding](https://docs.routebase.dev/doc-branding/) — themes, logos, fonts, and custom CSS
- [Documentation Overview](https://docs.routebase.dev/doc-overview/) — building the content that gets published
- [MCP Quickstart](https://docs.routebase.dev/mcp-quickstart/) — connecting an agent that can publish for you
---
## Docs as Code
Source: https://docs.routebase.dev/docs-as-code/
`routebase docs pull` downloads a documentation version into a folder of Markdown files, and
`routebase docs push` writes local changes back. Between those two your documentation lives in your
repository, where it is reviewed in pull requests, versioned with the code it describes and
editable in whatever editor you already use.
The Doc Hub in the app stays fully usable while you do this, because the two are views of the same
pages rather than competing sources.
This guide assumes the CLI is installed and configured, which
[CLI Overview](https://docs.routebase.dev/cli-overview/) covers.
## Pulling
```bash
routebase docs pull --project 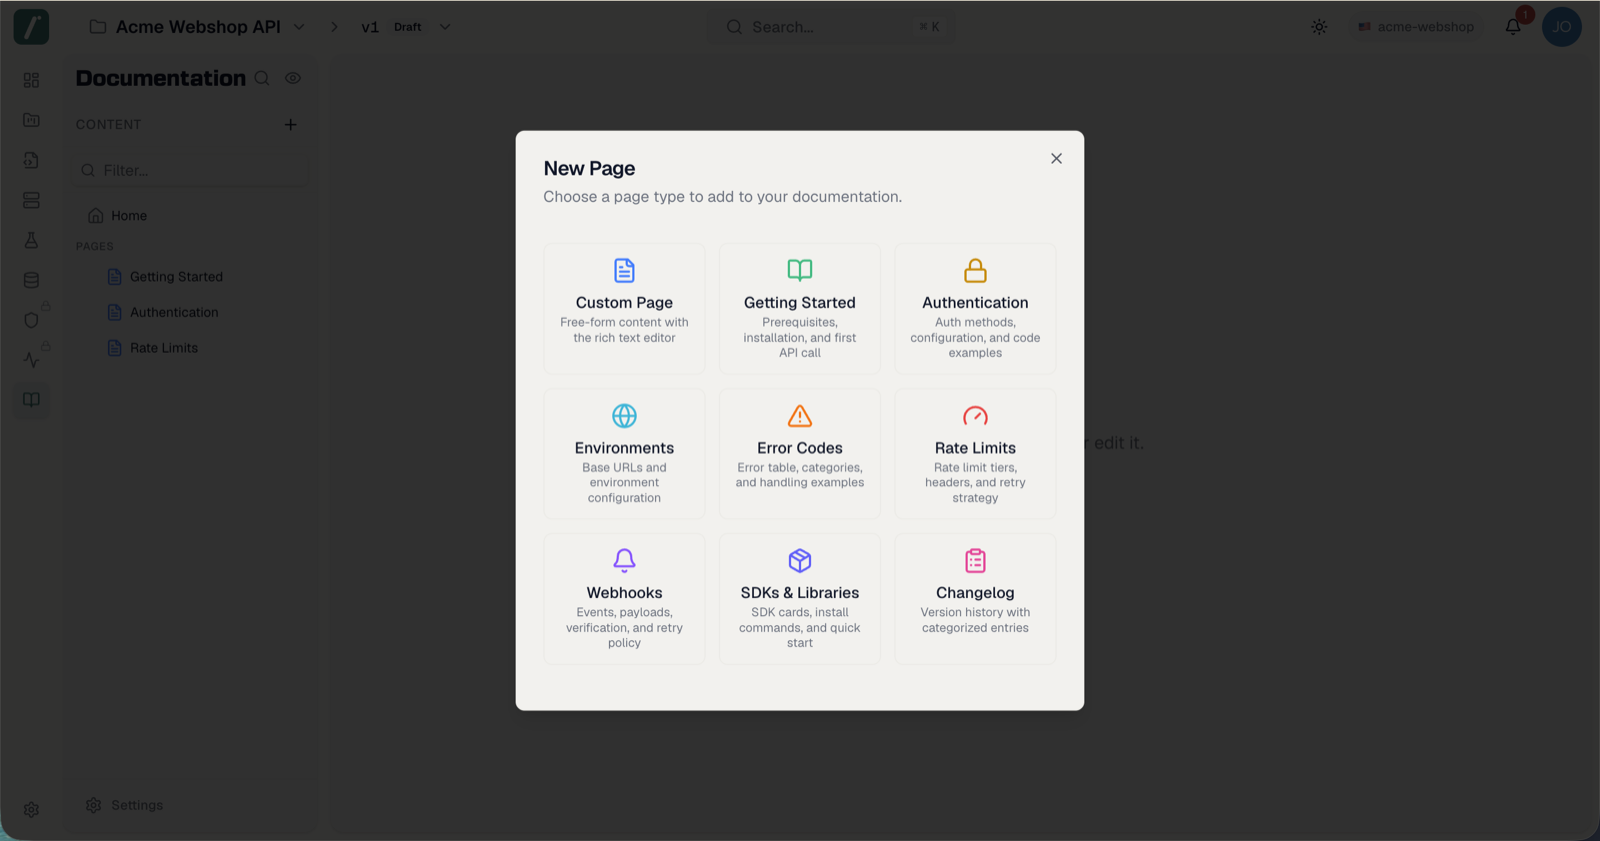
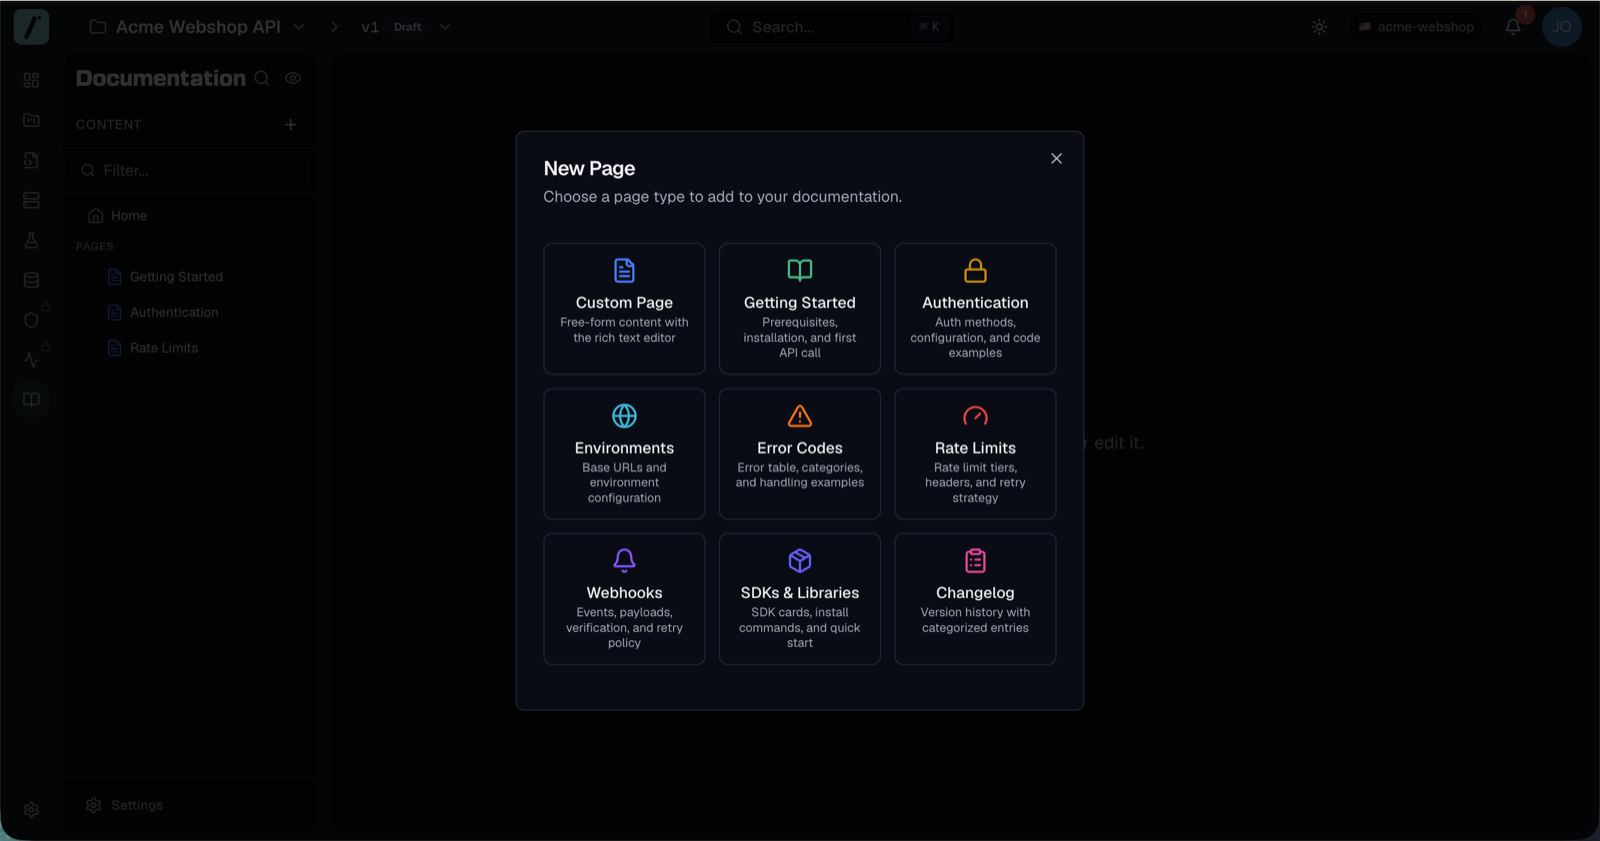 ## Built-in templates
### Custom pages
| Template | Description |
| --- | --- |
| **Blank** | Start with an empty page |
| **API Guide** | Step-by-step API integration guide |
| **Migration Guide** | Guide for API version migration |
| **FAQ** | Frequently asked questions |
| **Tutorial** | Hands-on tutorial with examples |
### Specialized page types
Each specialized page type ships with three variants:
| Page type | Templates |
| --- | --- |
| **Getting Started** | Standard (full guide with SDK setup and first API call) · Quickstart (minimal, single curl example) · Full Tutorial (multiple languages, SDK setup, error handling) |
| **Authentication** | Standard (all auth methods with best practices) · API Key Only · OAuth 2.0 Focus (detailed flow with token refresh) |
| **Environments** | Standard (environment listing with notes) · Minimal (just the table) · With Deployment Guide (plus CI/CD and promotion) |
| **Error Codes** | Standard (HTTP status codes, error format, application codes) · Simple Table · With Troubleshooting (debugging tips per error) |
| **Rate Limits** | Standard (tiers, headers, retry strategy) · Overview Only · With Code Examples (retry logic in JavaScript and Python) |
| **Webhooks** | Standard (events, payloads, signature verification, retries) · Event Catalog · Integration Guide (step-by-step setup and testing) |
| **SDKs & Libraries** | Standard (official SDKs with install commands) · Quick Reference (install commands and repo links) · With Examples (usage examples per language) |
| **Changelog** | Standard (Added/Changed/Fixed sections) · Keep a Changelog (versioned entries) · Release Notes (user-friendly, feature-focused) |
Templates only pre-fill content. After creation, the page is fully editable in the [rich text editor](https://docs.routebase.dev/doc-authoring/).
## Organization templates
You can define custom templates that appear in the page creation dialog **for all projects** in your organization, listed under an **Organization** heading below the built-in templates.
Manage them under **Settings → Doc Templates**:
1. Click **Create Template**. Managing templates requires the **org:manage-settings** permission, which Admins and Owners typically hold, while everyone can view the list.
2. Fill in the template details:
- A **Name** and an optional **Description**.
- The **page type** the template applies to.
- The template content, written in **Markdown**.
3. Save. The template is immediately available in every project's New Page dialog for that page type.
Existing templates can be filtered by page type, edited in place or deleted from the same page.
## Related
- [Documentation Overview](https://docs.routebase.dev/doc-overview/) — page types and the content tree
- [Authoring](https://docs.routebase.dev/doc-authoring/) — editing pages created from templates
- [Changelog](https://docs.routebase.dev/doc-changelog/) — the changelog templates in action
---
## Documentation — MCP Tools
Source: https://docs.routebase.dev/documentation-mcp-tools/
The tools below belong to the **Documentation** group of the Routebase MCP server.
## clone_doc_version
Creates a new mutable Draft version by deep-copying an existing version (pages, folders, snapshots). Use this to start a repeatable sync after a version was published. Returns the new version's Id and version number. Requires project context (call set_context first).
**Required scope:** `docs:publish`
| Parameter | Type | Required | Description |
| --- | --- | --- | --- |
| `documentationId` | string | Yes | The public Id (Guid) of the documentation |
| `sourceVersionId` | string | Yes | The public Id (Guid) of the source version to deep-copy |
## create_doc_folder
Create a folder in the documentation tree to organize pages. Optionally nest inside another folder. Returns the folder ID and slug. The version must be in Draft or Review status (mutable). Requires project context (call set_context first).
**Required scope:** `docs:write`
| Parameter | Type | Required | Description |
| --- | --- | --- | --- |
| `documentationId` | string | Yes | The public Id (Guid) of the documentation |
| `versionId` | string | Yes | The public Id (Guid) of the doc version |
| `name` | string | Yes | Folder name |
| `icon` | string | No | Optional icon identifier for the folder |
| `description` | string | No | Optional description |
| `parentFolderId` | string | No | Optional parent folder public Id (Guid) for nesting |
| `slug` | string | No | Optional URL slug (lowercase letters, digits and single hyphens). Defaults to a slug derived from the name. |
## create_doc_page
Create a new documentation page with Markdown content in a doc version. Optionally place it inside a folder. Returns the created page ID and slug. The version must be in Draft or Review status (mutable). Requires project context (call set_context first).
**Required scope:** `docs:write`
| Parameter | Type | Required | Description |
| --- | --- | --- | --- |
| `documentationId` | string | Yes | The public Id (Guid) of the documentation |
| `versionId` | string | Yes | The public Id (Guid) of the doc version (must be Draft or Review) |
| `title` | string | Yes | Page title |
| `content` | string | No | Markdown content for the page |
| `parentFolderId` | string | No | Optional parent folder public Id (Guid) to place the page in |
| `pageType` | string | No | Page type: custom, gettingStarted, authentication, environments, errorCodes, rateLimits, webhooks, sdks, changelog (default: custom) |
| `slug` | string | No | Optional URL slug (lowercase letters, digits and single hyphens). Defaults to a slug derived from the title. |
| `metaDescription` | string | No | Meta description for search engines and AI answers, max 300 chars. Omit to generate one from the content. |
| `metaKeywords` | string | No | Comma-separated meta keywords, max 500 chars. Omit for no keywords tag. |
## create_documentation
Create the documentation container for the active project, together with its first Draft version. A project has at most one documentation — call list_documentations first; creating a second one fails. Requires project context.
**Required scope:** `docs:write`
_No parameters._
## delete_doc_image
Permanently delete one inline image, by the file name list_doc_images reports. Fails while any page or snippet of any version still references it — remove the reference first. Requires project context (call set_context first).
**Required scope:** `docs:write`
| Parameter | Type | Required | Description |
| --- | --- | --- | --- |
| `documentationId` | string | Yes | The public Id (Guid) of the documentation the image belongs to |
| `fileName` | string | Yes | The image file name, not the full URL |
## get_doc_page
Get a documentation page with full content and metadata. Returns title, slug, Markdown content, page type, and timestamps. Requires project context (call set_context first).
**Required scope:** `docs:read`
| Parameter | Type | Required | Description |
| --- | --- | --- | --- |
| `documentationId` | string | Yes | The public Id (Guid) of the documentation |
| `versionId` | string | Yes | The public Id (Guid) of the doc version |
| `pageId` | string | Yes | The public Id (Guid) of the page |
## get_doc_page_revision
Get one revision's full title and content — the preview before restoring it with manage_doc_page(action: 'restore_revision'). Get revisionId from list_doc_page_revisions. Requires project context.
**Required scope:** `docs:read`
| Parameter | Type | Required | Description |
| --- | --- | --- | --- |
| `documentationId` | string | Yes | The public Id (Guid) of the documentation |
| `versionId` | string | Yes | The public Id (Guid) of the doc version |
| `pageId` | string | Yes | The public Id (Guid) of the page |
| `revisionId` | string | Yes | The public Id (Guid) of the revision |
## get_doc_settings
Get a documentation's settings: version numbering scheme, whether publishing needs approval and who may give it, the default code languages of the samples, and how schema names are displayed. Also returns the rowVersion that update_doc_settings takes. Requires project context.
**Required scope:** `docs:read`
| Parameter | Type | Required | Description |
| --- | --- | --- | --- |
| `documentationId` | string | Yes | The public Id (Guid) of the documentation |
## get_doc_snippet
Get one snippet with its full Markdown content and rowVersion. Set includeUsages to also list the pages embedding it — do that before deleting one. Use this when you already have the snippet id; to browse a version's snippets use list_doc_snippets. Requires project context.
**Required scope:** `docs:read`
| Parameter | Type | Required | Description |
| --- | --- | --- | --- |
| `documentationId` | string | Yes | The public Id (Guid) of the documentation |
| `versionId` | string | Yes | The public Id (Guid) of the doc version |
| `snippetId` | string | Yes | The public Id (Guid) of the snippet |
| `includeUsages` | boolean | No (default `false`) | Also list the pages using this snippet (default false) |
## get_doc_tree
Get the documentation tree (folders, pages, spec snapshots) for a specific version. Returns a hierarchical structure with sort order. Each node is typed as page, folder, or specSnapshot. Requires project context (call set_context first).
**Required scope:** `docs:read`
| Parameter | Type | Required | Description |
| --- | --- | --- | --- |
| `documentationId` | string | Yes | The public Id (Guid) of the documentation |
| `versionId` | string | Yes | The public Id (Guid) of the doc version |
## get_doc_version_publish_state
Whether a documentation version is ready to go live and whether the portal is showing its current content: lifecycle status, visibility, approval state, and whether anything was edited since the last successful portal build. Read this before publishing or building. Requires project context.
**Required scope:** `docs:read`
| Parameter | Type | Required | Description |
| --- | --- | --- | --- |
| `documentationId` | string | Yes | The public Id (Guid) of the documentation |
| `versionId` | string | Yes | The public Id (Guid) of the doc version |
## get_org_doc_template
Get one organization documentation template with its full content and rowVersion. Use this when you already have the template id; to browse them or find an id use list_org_doc_templates.
**Required scope:** `docs:read`
| Parameter | Type | Required | Description |
| --- | --- | --- | --- |
| `templateId` | string | Yes | The public Id (Guid) of the template |
## get_portal_url
Get the public portal URL for a documentation (the custom domain if one is configured, otherwise null) along with its custom-domain setup status. Requires project context (call set_context first).
**Required scope:** `docs:manage-portal`
| Parameter | Type | Required | Description |
| --- | --- | --- | --- |
| `documentationId` | string | Yes | The public Id (Guid) of the documentation |
## get_spec_usage_in_docs
Find which documentation versions embed a given API specification — read this after publishing a spec to see which snapshots are now stale. By default only mutable (Draft/Review) doc versions are listed; set includePublished to also see the live ones. Requires project context.
**Required scope:** `docs:read`
| Parameter | Type | Required | Description |
| --- | --- | --- | --- |
| `specId` | string | Yes | The public Id (Guid) of the API specification |
| `includePublished` | boolean | No (default `false`) | Also list published doc versions, not just mutable ones (default false) |
## list_available_specs
List the project's API specifications with their published status — the candidates for manage_spec_snapshot(action: 'add'). A spec without a published version cannot be snapshotted. Requires project context.
**Required scope:** `docs:read`
| Parameter | Type | Required | Description |
| --- | --- | --- | --- |
| `documentationId` | string | Yes | The public Id (Guid) of the documentation |
| `versionId` | string | Yes | The public Id (Guid) of the doc version |
## list_doc_images
List a documentation's inline images: file name, URL, size, dimensions and whether a page still references it — how you find orphaned uploads before calling delete_doc_image. Requires project context (call set_context first).
**Required scope:** `docs:read`
| Parameter | Type | Required | Description |
| --- | --- | --- | --- |
| `documentationId` | string | Yes | The public Id (Guid) of the documentation |
## list_doc_page_revisions
List a page's revision history, newest first. Metadata only — read a revision's content with get_doc_page_revision before restoring it via manage_doc_page. Requires project context.
**Required scope:** `docs:read`
| Parameter | Type | Required | Description |
| --- | --- | --- | --- |
| `documentationId` | string | Yes | The public Id (Guid) of the documentation |
| `versionId` | string | Yes | The public Id (Guid) of the doc version |
| `pageId` | string | Yes | The public Id (Guid) of the page |
## list_doc_snippets
List the snippets of a documentation version with their slug, content and how many pages use each one. Use this to browse snippets or find an id; to create, change or delete one use manage_doc_snippet. Requires project context.
**Required scope:** `docs:read`
| Parameter | Type | Required | Description |
| --- | --- | --- | --- |
| `documentationId` | string | Yes | The public Id (Guid) of the documentation |
| `versionId` | string | Yes | The public Id (Guid) of the doc version |
## list_documentations
List all documentations in the active project with their versions. Returns documentation settings, branding info, and version summaries (status, visibility, dates). Requires project context (call set_context first).
**Required scope:** `docs:read`
_No parameters._
## list_org_doc_templates
List the organization's documentation page templates, optionally filtered to one page type. Returns each template's full content. Use this to browse templates or find an id; to create or change one use manage_org_doc_template.
**Required scope:** `docs:read`
| Parameter | Type | Required | Description |
| --- | --- | --- | --- |
| `pageType` | string | No | Optional page type filter: custom, gettingStarted, authentication, environments, errorCodes, rateLimits, webhooks, sdks, changelog |
## manage_doc_folder
Change or remove a folder in the documentation tree. Actions: 'update' renames it and/or sets icon, description, slug or section flag — every field you omit keeps its current value, and an empty string clears it; 'delete' removes the folder and everything nested in it. Create folders with create_doc_folder. Get folderId and rowVersion from get_doc_tree. The version must be Draft or Review. Requires project context.
**Required scope:** `docs:write`
| Parameter | Type | Required | Description |
| --- | --- | --- | --- |
| `documentationId` | string | Yes | The public Id (Guid) of the documentation |
| `versionId` | string | Yes | The public Id (Guid) of the doc version |
| `folderId` | string | Yes | The public Id (Guid) of the folder |
| `action` | string | Yes | What to do: 'update' or 'delete' |
| `name` | string | No | New folder name — omit to keep the current one |
| `icon` | string | No | New icon identifier — omit to keep, empty string to clear |
| `description` | string | No | New description — omit to keep, empty string to clear |
| `slug` | string | No | New URL slug (lowercase letters, digits and single hyphens) — omit to keep |
| `isSection` | boolean | No | Whether the folder renders as a section header instead of a collapsible folder — omit to keep |
| `rowVersion` | string | No | Optional rowVersion (Base64) from get_doc_tree for optimistic concurrency |
## manage_doc_page
Page operations beyond writing content. Actions: 'delete' removes the page; 'lock' makes it reject content edits (moving and deleting stay allowed), 'unlock' lifts that; 'restore_revision' rolls the page back to an earlier revision — the current state is snapshotted first, so a restore is itself undoable, and the page must be unlocked. 'restore_revision' needs revisionId from list_doc_page_revisions. Create and edit pages with create_doc_page / update_doc_page. Requires project context.
**Required scope:** `docs:write`
| Parameter | Type | Required | Description |
| --- | --- | --- | --- |
| `documentationId` | string | Yes | The public Id (Guid) of the documentation |
| `versionId` | string | Yes | The public Id (Guid) of the doc version |
| `pageId` | string | Yes | The public Id (Guid) of the page |
| `action` | string | Yes | What to do: 'delete', 'lock', 'unlock' or 'restore_revision' |
| `revisionId` | string | No | The public Id (Guid) of the revision — required for 'restore_revision' |
## manage_doc_snippet
Manage the reusable snippets of a documentation version — blocks of Markdown that pages embed by slug, so one edit updates every page using them. Actions: 'create' (needs name and content), 'update' (name, content and/or description; omitted fields keep their current value) and 'delete'. Check get_doc_snippet with includeUsages before deleting. Requires project context.
**Required scope:** `docs:write`
| Parameter | Type | Required | Description |
| --- | --- | --- | --- |
| `documentationId` | string | Yes | The public Id (Guid) of the documentation |
| `versionId` | string | Yes | The public Id (Guid) of the doc version |
| `action` | string | Yes | What to do: 'create', 'update' or 'delete' |
| `snippetId` | string | No | The public Id (Guid) of the snippet — required for 'update' and 'delete' |
| `name` | string | No | Snippet name — required for 'create' |
| `content` | string | No | Markdown content — required for 'create' |
| `description` | string | No | Optional description |
| `rowVersion` | string | No | Optional rowVersion (Base64) from get_doc_snippet for optimistic concurrency |
## manage_doc_tree
Restructure the documentation tree. Actions: 'move' puts one tree item under a different folder (omit targetFolderId to move it to the root; folders may nest four levels deep); 'reorder' sets the display order within one parent — pass every item ID at that level in the order you want, and omit parentFolderId for the root level. The IDs are the tree-item IDs from get_doc_tree (the node 'id', not the page or folder id). Requires project context.
**Required scope:** `docs:write`
| Parameter | Type | Required | Description |
| --- | --- | --- | --- |
| `documentationId` | string | Yes | The public Id (Guid) of the documentation |
| `versionId` | string | Yes | The public Id (Guid) of the doc version |
| `action` | string | Yes | What to do: 'move' or 'reorder' |
| `treeItemId` | string | No | The tree-item Id (Guid) to move — required for 'move' |
| `targetFolderId` | string | No | Target folder Id (Guid) for 'move'; omit to move to the root level |
| `itemIds` | string | No | Tree-item Ids (Guids) in the desired order, comma-separated — required for 'reorder'. All of them must sit under the same parent. |
| `parentFolderId` | string | No | Parent folder Id (Guid) whose children are being reordered; omit for the root level |
## manage_doc_version
The documentation version lifecycle. Actions: 'create' opens the next Draft version EMPTY — no pages, folders or spec snapshots are copied, so get_doc_tree returns nothing and publishing it blanks the live portal. Use clone_doc_version (deep-copy) to keep the existing content — that is what a normal docs update needs; 'create' is only for starting from scratch. 'delete' discards a Draft or Review version (Published and Archived ones are immutable history and cannot be discarded); 'set_status' moves a version between 'draft', 'review', 'published' and 'archived' — publish_doc_version is the dedicated shortcut for going live; 'approve' records the approval a documentation with requireApproval needs before it can be published, and only a configured approver may do it. Get versionId from list_documentations. Requires project context.
**Required scope:** `docs:publish`
| Parameter | Type | Required | Description |
| --- | --- | --- | --- |
| `documentationId` | string | Yes | The public Id (Guid) of the documentation |
| `action` | string | Yes | What to do: 'create', 'delete', 'set_status' or 'approve' |
| `versionId` | string | No | The public Id (Guid) of the doc version — required for everything but 'create' |
| `status` | string | No | Target status for 'set_status': 'draft', 'review', 'published' or 'archived' |
| `rowVersion` | string | No | Optional rowVersion (Base64) from list_documentations for optimistic concurrency on 'set_status' |
## manage_org_doc_template
Manage the organization-wide documentation templates new pages start from. Actions: 'create' (needs pageType, name and content), 'update' (name, content and/or description; omitted fields keep their current value) and 'delete'. These are organization settings, not project content — they apply to every project in the organization. Use this to create, change or delete a template; to browse them use list_org_doc_templates.
**Required scope:** `org:manage-settings`
| Parameter | Type | Required | Description |
| --- | --- | --- | --- |
| `action` | string | Yes | What to do: 'create', 'update' or 'delete' |
| `templateId` | string | No | The public Id (Guid) of the template — required for 'update' and 'delete' |
| `pageType` | string | No | Page type the template applies to: custom, gettingStarted, authentication, environments, errorCodes, rateLimits, webhooks, sdks, changelog — required for 'create' |
| `name` | string | No | Template name — required for 'create' |
| `content` | string | No | Markdown content — required for 'create' |
| `description` | string | No | Optional description |
| `rowVersion` | string | No | Optional rowVersion (Base64) from get_org_doc_template for optimistic concurrency |
## manage_snapshot_content
Control how a spec snapshot is presented in the portal. Actions: 'reorder_endpoints' and 'reorder_tags' set a custom order (pass every id/name at that level in the order you want); 'reset_endpoint_order' drops the custom endpoint order so the snapshot follows the API designer again; 'set_endpoint_annotation' adds Markdown prose above one endpoint — send an empty content to remove it; 'set_folder_description' sets the intro Markdown of a designer folder path (empty content removes it, and the portal falls back to the same-named tag's description). Requires project context.
**Required scope:** `docs:write`
| Parameter | Type | Required | Description |
| --- | --- | --- | --- |
| `documentationId` | string | Yes | The public Id (Guid) of the documentation |
| `versionId` | string | Yes | The public Id (Guid) of the doc version |
| `snapshotId` | string | Yes | The public Id (Guid) of the spec snapshot |
| `action` | string | Yes | What to do: 'reorder_endpoints', 'reset_endpoint_order', 'reorder_tags', 'set_endpoint_annotation' or 'set_folder_description' |
| `endpointIds` | string | No | Endpoint ids in the desired order, comma-separated — required for 'reorder_endpoints' |
| `tagNames` | string | No | Tag names in the desired order, comma-separated — required for 'reorder_tags' |
| `endpointId` | string | No | The endpoint id the annotation belongs to — required for 'set_endpoint_annotation' |
| `folderPath` | string | No | Designer folder path (e.g. 'Billing/Invoices') — required for 'set_folder_description' |
| `content` | string | No | Markdown content for 'set_endpoint_annotation' and 'set_folder_description'; empty removes it |
## manage_spec_snapshot
Manage the API spec snapshots embedded in a documentation version. Actions: 'add' freezes a spec's latest published version into the doc tree (needs specId from list_available_specs); 'update' toggles the try-it playground and/or refreshes the frozen copy from the spec's newest published version (set refresh to true); 'remove' takes it out of the tree; 'set_auto_sync' decides whether the snapshot follows future spec publishes on its own. 'add' needs specId, everything else snapshotId from get_doc_tree. The version must be Draft or Review. Requires project context.
**Required scope:** `docs:write`
| Parameter | Type | Required | Description |
| --- | --- | --- | --- |
| `documentationId` | string | Yes | The public Id (Guid) of the documentation |
| `versionId` | string | Yes | The public Id (Guid) of the doc version |
| `action` | string | Yes | What to do: 'add', 'update', 'remove' or 'set_auto_sync' |
| `specId` | string | No | The public Id (Guid) of the API specification — required for 'add' |
| `snapshotId` | string | No | The public Id (Guid) of the snapshot — required for everything but 'add' |
| `parentFolderId` | string | No | Optional parent folder Id (Guid) to place the snapshot in, for 'add' |
| `playgroundEnabled` | boolean | No | Whether the portal shows the interactive try-it playground — used by 'add' (default false) and 'update' (omit to keep the current setting) |
| `refresh` | boolean | No (default `false`) | For 'update': re-freeze the snapshot from the spec's newest published version (default false) |
| `autoSyncEnabled` | boolean | No | Whether the snapshot follows future spec publishes automatically — required for 'set_auto_sync' |
## publish_doc_version
Publish a documentation version, making it live. The version must be in Review status. Publishing transitions it to Published and archives any previously published version. Requires project context (call set_context first).
**Required scope:** `docs:publish`
| Parameter | Type | Required | Description |
| --- | --- | --- | --- |
| `documentationId` | string | Yes | The public Id (Guid) of the documentation |
| `versionId` | string | Yes | The public Id (Guid) of the doc version to publish |
## trigger_portal_build
Trigger a portal build for a published documentation version. Renders all pages and uploads to blob storage. Returns build status and metrics. Requires project context (call set_context first).
**Required scope:** `docs:manage-portal`
| Parameter | Type | Required | Description |
| --- | --- | --- | --- |
| `documentationId` | string | Yes | The public Id (Guid) of the documentation |
| `versionId` | string | Yes | The public Id (Guid) of the published doc version to build |
## update_doc_page
Update an existing documentation page's title and content, and optionally its URL slug and SEO metadata. Omitting the slug keeps the current one; setting it makes the previous slug redirect to the new one in the published portal. Only allowed on mutable versions (Draft or Review status). Requires project context (call set_context first).
**Required scope:** `docs:read`, `docs:write`
| Parameter | Type | Required | Description |
| --- | --- | --- | --- |
| `documentationId` | string | Yes | The public Id (Guid) of the documentation |
| `versionId` | string | Yes | The public Id (Guid) of the doc version |
| `pageId` | string | Yes | The public Id (Guid) of the page to update |
| `title` | string | Yes | New page title |
| `content` | string | Yes | New Markdown content |
| `slug` | string | No | Optional new URL slug (lowercase letters, digits and single hyphens). Omit to keep the current one; changing it keeps the previous slug alive as a redirect in the published portal. |
| `metaDescription` | string | No | Meta description, max 300 chars. Omit to keep the current one; empty string clears it. |
| `metaKeywords` | string | No | Comma-separated meta keywords, max 500 chars. Omit to keep the current ones; empty string clears them. |
## update_doc_settings
Change a documentation's settings. Every field you omit keeps its current value — the tool reads the present state first, because the underlying command replaces all of them at once. approverUserIds replaces the approver list wholesale; pass an empty string to clear it. Use this to change the settings; to read the current ones use get_doc_settings. Requires project context.
**Required scope:** `docs:write`
| Parameter | Type | Required | Description |
| --- | --- | --- | --- |
| `documentationId` | string | Yes | The public Id (Guid) of the documentation |
| `versioningScheme` | string | No | Version numbering: 'semantic' (v1.0.0), 'simple' (v1), 'dateBased' or 'custom' |
| `requireApproval` | boolean | No | Whether a version needs an approval before it can be published |
| `approverUserIds` | string | No | User Ids (Guids) allowed to approve, comma-separated — replaces the whole list; empty string clears it |
| `defaultCodeLanguages` | string | No | Default code sample languages, comma-separated (e.g. 'curl,javascript,python') |
| `schemaDisplayNames` | string | No | How schema names render: 'short' (default), 'full', or 'stripPrefix' |
| `schemaDisplayNamePrefix` | string | No | Prefix to strip when schemaDisplayNames is 'stripPrefix' |
| `rowVersion` | string | No | Optional rowVersion (Base64) from get_doc_settings for optimistic concurrency |
## upload_doc_image
Upload an inline image for documentation pages and get back the URL to reference it by. Send the file base64-encoded in imageBase64 (a 'data:image/png;base64,...' prefix is accepted); the MCP server is remote, so a local file path would not reach it. PNG, JPEG, GIF, WebP and SVG, up to 5 MB decoded — PNG/JPEG are downscaled and re-encoded as WebP, so the stored URL may end in .webp whatever you sent. The returned imageUrl is root-relative (/assets/images/...): put it into page content exactly as returned — never expand it to an absolute blob-storage URL, which would break the portal under a custom domain. The image belongs to the documentation, not to one version, so it survives cloning and publishing. Requires project context (call set_context first).
**Required scope:** `docs:write`
| Parameter | Type | Required | Description |
| --- | --- | --- | --- |
| `documentationId` | string | Yes | The public Id (Guid) of the documentation the image belongs to |
| `imageBase64` | string | Yes | The image file, base64-encoded. Max 5 MB decoded. |
---
## Documentation Versioning
Source: https://docs.routebase.dev/doc-versioning/
Documentation versions let you rework your docs safely while readers keep seeing the current release. Each version is a full, independent copy of the content tree, covering pages, folders and API snapshots, and each version has its own lifecycle.
## Version statuses
| Status | Badge | Meaning |
| --- | --- | --- |
| **Draft** | Draft | Work in progress. Changes can be made freely. |
| **In Review** | In Review | Under review. Awaiting approval before publishing. Still editable. |
| **Live** | Live / Published | Published and visible. Read-only, because the content is immutable. |
| **Archived** | Archived | Superseded by a newer version. Read-only. |
Only one version can be Live at a time, because publishing a new version automatically archives the previous Live one.
## The version switcher
While the documentation editor is open, the app header shows the current version (for example `v2` with its status badge, plus a lock icon for read-only versions). Click it to open the version switcher, which lists all versions and provides the actions below.
## Built-in templates
### Custom pages
| Template | Description |
| --- | --- |
| **Blank** | Start with an empty page |
| **API Guide** | Step-by-step API integration guide |
| **Migration Guide** | Guide for API version migration |
| **FAQ** | Frequently asked questions |
| **Tutorial** | Hands-on tutorial with examples |
### Specialized page types
Each specialized page type ships with three variants:
| Page type | Templates |
| --- | --- |
| **Getting Started** | Standard (full guide with SDK setup and first API call) · Quickstart (minimal, single curl example) · Full Tutorial (multiple languages, SDK setup, error handling) |
| **Authentication** | Standard (all auth methods with best practices) · API Key Only · OAuth 2.0 Focus (detailed flow with token refresh) |
| **Environments** | Standard (environment listing with notes) · Minimal (just the table) · With Deployment Guide (plus CI/CD and promotion) |
| **Error Codes** | Standard (HTTP status codes, error format, application codes) · Simple Table · With Troubleshooting (debugging tips per error) |
| **Rate Limits** | Standard (tiers, headers, retry strategy) · Overview Only · With Code Examples (retry logic in JavaScript and Python) |
| **Webhooks** | Standard (events, payloads, signature verification, retries) · Event Catalog · Integration Guide (step-by-step setup and testing) |
| **SDKs & Libraries** | Standard (official SDKs with install commands) · Quick Reference (install commands and repo links) · With Examples (usage examples per language) |
| **Changelog** | Standard (Added/Changed/Fixed sections) · Keep a Changelog (versioned entries) · Release Notes (user-friendly, feature-focused) |
Templates only pre-fill content. After creation, the page is fully editable in the [rich text editor](https://docs.routebase.dev/doc-authoring/).
## Organization templates
You can define custom templates that appear in the page creation dialog **for all projects** in your organization, listed under an **Organization** heading below the built-in templates.
Manage them under **Settings → Doc Templates**:
1. Click **Create Template**. Managing templates requires the **org:manage-settings** permission, which Admins and Owners typically hold, while everyone can view the list.
2. Fill in the template details:
- A **Name** and an optional **Description**.
- The **page type** the template applies to.
- The template content, written in **Markdown**.
3. Save. The template is immediately available in every project's New Page dialog for that page type.
Existing templates can be filtered by page type, edited in place or deleted from the same page.
## Related
- [Documentation Overview](https://docs.routebase.dev/doc-overview/) — page types and the content tree
- [Authoring](https://docs.routebase.dev/doc-authoring/) — editing pages created from templates
- [Changelog](https://docs.routebase.dev/doc-changelog/) — the changelog templates in action
---
## Documentation — MCP Tools
Source: https://docs.routebase.dev/documentation-mcp-tools/
The tools below belong to the **Documentation** group of the Routebase MCP server.
## clone_doc_version
Creates a new mutable Draft version by deep-copying an existing version (pages, folders, snapshots). Use this to start a repeatable sync after a version was published. Returns the new version's Id and version number. Requires project context (call set_context first).
**Required scope:** `docs:publish`
| Parameter | Type | Required | Description |
| --- | --- | --- | --- |
| `documentationId` | string | Yes | The public Id (Guid) of the documentation |
| `sourceVersionId` | string | Yes | The public Id (Guid) of the source version to deep-copy |
## create_doc_folder
Create a folder in the documentation tree to organize pages. Optionally nest inside another folder. Returns the folder ID and slug. The version must be in Draft or Review status (mutable). Requires project context (call set_context first).
**Required scope:** `docs:write`
| Parameter | Type | Required | Description |
| --- | --- | --- | --- |
| `documentationId` | string | Yes | The public Id (Guid) of the documentation |
| `versionId` | string | Yes | The public Id (Guid) of the doc version |
| `name` | string | Yes | Folder name |
| `icon` | string | No | Optional icon identifier for the folder |
| `description` | string | No | Optional description |
| `parentFolderId` | string | No | Optional parent folder public Id (Guid) for nesting |
| `slug` | string | No | Optional URL slug (lowercase letters, digits and single hyphens). Defaults to a slug derived from the name. |
## create_doc_page
Create a new documentation page with Markdown content in a doc version. Optionally place it inside a folder. Returns the created page ID and slug. The version must be in Draft or Review status (mutable). Requires project context (call set_context first).
**Required scope:** `docs:write`
| Parameter | Type | Required | Description |
| --- | --- | --- | --- |
| `documentationId` | string | Yes | The public Id (Guid) of the documentation |
| `versionId` | string | Yes | The public Id (Guid) of the doc version (must be Draft or Review) |
| `title` | string | Yes | Page title |
| `content` | string | No | Markdown content for the page |
| `parentFolderId` | string | No | Optional parent folder public Id (Guid) to place the page in |
| `pageType` | string | No | Page type: custom, gettingStarted, authentication, environments, errorCodes, rateLimits, webhooks, sdks, changelog (default: custom) |
| `slug` | string | No | Optional URL slug (lowercase letters, digits and single hyphens). Defaults to a slug derived from the title. |
| `metaDescription` | string | No | Meta description for search engines and AI answers, max 300 chars. Omit to generate one from the content. |
| `metaKeywords` | string | No | Comma-separated meta keywords, max 500 chars. Omit for no keywords tag. |
## create_documentation
Create the documentation container for the active project, together with its first Draft version. A project has at most one documentation — call list_documentations first; creating a second one fails. Requires project context.
**Required scope:** `docs:write`
_No parameters._
## delete_doc_image
Permanently delete one inline image, by the file name list_doc_images reports. Fails while any page or snippet of any version still references it — remove the reference first. Requires project context (call set_context first).
**Required scope:** `docs:write`
| Parameter | Type | Required | Description |
| --- | --- | --- | --- |
| `documentationId` | string | Yes | The public Id (Guid) of the documentation the image belongs to |
| `fileName` | string | Yes | The image file name, not the full URL |
## get_doc_page
Get a documentation page with full content and metadata. Returns title, slug, Markdown content, page type, and timestamps. Requires project context (call set_context first).
**Required scope:** `docs:read`
| Parameter | Type | Required | Description |
| --- | --- | --- | --- |
| `documentationId` | string | Yes | The public Id (Guid) of the documentation |
| `versionId` | string | Yes | The public Id (Guid) of the doc version |
| `pageId` | string | Yes | The public Id (Guid) of the page |
## get_doc_page_revision
Get one revision's full title and content — the preview before restoring it with manage_doc_page(action: 'restore_revision'). Get revisionId from list_doc_page_revisions. Requires project context.
**Required scope:** `docs:read`
| Parameter | Type | Required | Description |
| --- | --- | --- | --- |
| `documentationId` | string | Yes | The public Id (Guid) of the documentation |
| `versionId` | string | Yes | The public Id (Guid) of the doc version |
| `pageId` | string | Yes | The public Id (Guid) of the page |
| `revisionId` | string | Yes | The public Id (Guid) of the revision |
## get_doc_settings
Get a documentation's settings: version numbering scheme, whether publishing needs approval and who may give it, the default code languages of the samples, and how schema names are displayed. Also returns the rowVersion that update_doc_settings takes. Requires project context.
**Required scope:** `docs:read`
| Parameter | Type | Required | Description |
| --- | --- | --- | --- |
| `documentationId` | string | Yes | The public Id (Guid) of the documentation |
## get_doc_snippet
Get one snippet with its full Markdown content and rowVersion. Set includeUsages to also list the pages embedding it — do that before deleting one. Use this when you already have the snippet id; to browse a version's snippets use list_doc_snippets. Requires project context.
**Required scope:** `docs:read`
| Parameter | Type | Required | Description |
| --- | --- | --- | --- |
| `documentationId` | string | Yes | The public Id (Guid) of the documentation |
| `versionId` | string | Yes | The public Id (Guid) of the doc version |
| `snippetId` | string | Yes | The public Id (Guid) of the snippet |
| `includeUsages` | boolean | No (default `false`) | Also list the pages using this snippet (default false) |
## get_doc_tree
Get the documentation tree (folders, pages, spec snapshots) for a specific version. Returns a hierarchical structure with sort order. Each node is typed as page, folder, or specSnapshot. Requires project context (call set_context first).
**Required scope:** `docs:read`
| Parameter | Type | Required | Description |
| --- | --- | --- | --- |
| `documentationId` | string | Yes | The public Id (Guid) of the documentation |
| `versionId` | string | Yes | The public Id (Guid) of the doc version |
## get_doc_version_publish_state
Whether a documentation version is ready to go live and whether the portal is showing its current content: lifecycle status, visibility, approval state, and whether anything was edited since the last successful portal build. Read this before publishing or building. Requires project context.
**Required scope:** `docs:read`
| Parameter | Type | Required | Description |
| --- | --- | --- | --- |
| `documentationId` | string | Yes | The public Id (Guid) of the documentation |
| `versionId` | string | Yes | The public Id (Guid) of the doc version |
## get_org_doc_template
Get one organization documentation template with its full content and rowVersion. Use this when you already have the template id; to browse them or find an id use list_org_doc_templates.
**Required scope:** `docs:read`
| Parameter | Type | Required | Description |
| --- | --- | --- | --- |
| `templateId` | string | Yes | The public Id (Guid) of the template |
## get_portal_url
Get the public portal URL for a documentation (the custom domain if one is configured, otherwise null) along with its custom-domain setup status. Requires project context (call set_context first).
**Required scope:** `docs:manage-portal`
| Parameter | Type | Required | Description |
| --- | --- | --- | --- |
| `documentationId` | string | Yes | The public Id (Guid) of the documentation |
## get_spec_usage_in_docs
Find which documentation versions embed a given API specification — read this after publishing a spec to see which snapshots are now stale. By default only mutable (Draft/Review) doc versions are listed; set includePublished to also see the live ones. Requires project context.
**Required scope:** `docs:read`
| Parameter | Type | Required | Description |
| --- | --- | --- | --- |
| `specId` | string | Yes | The public Id (Guid) of the API specification |
| `includePublished` | boolean | No (default `false`) | Also list published doc versions, not just mutable ones (default false) |
## list_available_specs
List the project's API specifications with their published status — the candidates for manage_spec_snapshot(action: 'add'). A spec without a published version cannot be snapshotted. Requires project context.
**Required scope:** `docs:read`
| Parameter | Type | Required | Description |
| --- | --- | --- | --- |
| `documentationId` | string | Yes | The public Id (Guid) of the documentation |
| `versionId` | string | Yes | The public Id (Guid) of the doc version |
## list_doc_images
List a documentation's inline images: file name, URL, size, dimensions and whether a page still references it — how you find orphaned uploads before calling delete_doc_image. Requires project context (call set_context first).
**Required scope:** `docs:read`
| Parameter | Type | Required | Description |
| --- | --- | --- | --- |
| `documentationId` | string | Yes | The public Id (Guid) of the documentation |
## list_doc_page_revisions
List a page's revision history, newest first. Metadata only — read a revision's content with get_doc_page_revision before restoring it via manage_doc_page. Requires project context.
**Required scope:** `docs:read`
| Parameter | Type | Required | Description |
| --- | --- | --- | --- |
| `documentationId` | string | Yes | The public Id (Guid) of the documentation |
| `versionId` | string | Yes | The public Id (Guid) of the doc version |
| `pageId` | string | Yes | The public Id (Guid) of the page |
## list_doc_snippets
List the snippets of a documentation version with their slug, content and how many pages use each one. Use this to browse snippets or find an id; to create, change or delete one use manage_doc_snippet. Requires project context.
**Required scope:** `docs:read`
| Parameter | Type | Required | Description |
| --- | --- | --- | --- |
| `documentationId` | string | Yes | The public Id (Guid) of the documentation |
| `versionId` | string | Yes | The public Id (Guid) of the doc version |
## list_documentations
List all documentations in the active project with their versions. Returns documentation settings, branding info, and version summaries (status, visibility, dates). Requires project context (call set_context first).
**Required scope:** `docs:read`
_No parameters._
## list_org_doc_templates
List the organization's documentation page templates, optionally filtered to one page type. Returns each template's full content. Use this to browse templates or find an id; to create or change one use manage_org_doc_template.
**Required scope:** `docs:read`
| Parameter | Type | Required | Description |
| --- | --- | --- | --- |
| `pageType` | string | No | Optional page type filter: custom, gettingStarted, authentication, environments, errorCodes, rateLimits, webhooks, sdks, changelog |
## manage_doc_folder
Change or remove a folder in the documentation tree. Actions: 'update' renames it and/or sets icon, description, slug or section flag — every field you omit keeps its current value, and an empty string clears it; 'delete' removes the folder and everything nested in it. Create folders with create_doc_folder. Get folderId and rowVersion from get_doc_tree. The version must be Draft or Review. Requires project context.
**Required scope:** `docs:write`
| Parameter | Type | Required | Description |
| --- | --- | --- | --- |
| `documentationId` | string | Yes | The public Id (Guid) of the documentation |
| `versionId` | string | Yes | The public Id (Guid) of the doc version |
| `folderId` | string | Yes | The public Id (Guid) of the folder |
| `action` | string | Yes | What to do: 'update' or 'delete' |
| `name` | string | No | New folder name — omit to keep the current one |
| `icon` | string | No | New icon identifier — omit to keep, empty string to clear |
| `description` | string | No | New description — omit to keep, empty string to clear |
| `slug` | string | No | New URL slug (lowercase letters, digits and single hyphens) — omit to keep |
| `isSection` | boolean | No | Whether the folder renders as a section header instead of a collapsible folder — omit to keep |
| `rowVersion` | string | No | Optional rowVersion (Base64) from get_doc_tree for optimistic concurrency |
## manage_doc_page
Page operations beyond writing content. Actions: 'delete' removes the page; 'lock' makes it reject content edits (moving and deleting stay allowed), 'unlock' lifts that; 'restore_revision' rolls the page back to an earlier revision — the current state is snapshotted first, so a restore is itself undoable, and the page must be unlocked. 'restore_revision' needs revisionId from list_doc_page_revisions. Create and edit pages with create_doc_page / update_doc_page. Requires project context.
**Required scope:** `docs:write`
| Parameter | Type | Required | Description |
| --- | --- | --- | --- |
| `documentationId` | string | Yes | The public Id (Guid) of the documentation |
| `versionId` | string | Yes | The public Id (Guid) of the doc version |
| `pageId` | string | Yes | The public Id (Guid) of the page |
| `action` | string | Yes | What to do: 'delete', 'lock', 'unlock' or 'restore_revision' |
| `revisionId` | string | No | The public Id (Guid) of the revision — required for 'restore_revision' |
## manage_doc_snippet
Manage the reusable snippets of a documentation version — blocks of Markdown that pages embed by slug, so one edit updates every page using them. Actions: 'create' (needs name and content), 'update' (name, content and/or description; omitted fields keep their current value) and 'delete'. Check get_doc_snippet with includeUsages before deleting. Requires project context.
**Required scope:** `docs:write`
| Parameter | Type | Required | Description |
| --- | --- | --- | --- |
| `documentationId` | string | Yes | The public Id (Guid) of the documentation |
| `versionId` | string | Yes | The public Id (Guid) of the doc version |
| `action` | string | Yes | What to do: 'create', 'update' or 'delete' |
| `snippetId` | string | No | The public Id (Guid) of the snippet — required for 'update' and 'delete' |
| `name` | string | No | Snippet name — required for 'create' |
| `content` | string | No | Markdown content — required for 'create' |
| `description` | string | No | Optional description |
| `rowVersion` | string | No | Optional rowVersion (Base64) from get_doc_snippet for optimistic concurrency |
## manage_doc_tree
Restructure the documentation tree. Actions: 'move' puts one tree item under a different folder (omit targetFolderId to move it to the root; folders may nest four levels deep); 'reorder' sets the display order within one parent — pass every item ID at that level in the order you want, and omit parentFolderId for the root level. The IDs are the tree-item IDs from get_doc_tree (the node 'id', not the page or folder id). Requires project context.
**Required scope:** `docs:write`
| Parameter | Type | Required | Description |
| --- | --- | --- | --- |
| `documentationId` | string | Yes | The public Id (Guid) of the documentation |
| `versionId` | string | Yes | The public Id (Guid) of the doc version |
| `action` | string | Yes | What to do: 'move' or 'reorder' |
| `treeItemId` | string | No | The tree-item Id (Guid) to move — required for 'move' |
| `targetFolderId` | string | No | Target folder Id (Guid) for 'move'; omit to move to the root level |
| `itemIds` | string | No | Tree-item Ids (Guids) in the desired order, comma-separated — required for 'reorder'. All of them must sit under the same parent. |
| `parentFolderId` | string | No | Parent folder Id (Guid) whose children are being reordered; omit for the root level |
## manage_doc_version
The documentation version lifecycle. Actions: 'create' opens the next Draft version EMPTY — no pages, folders or spec snapshots are copied, so get_doc_tree returns nothing and publishing it blanks the live portal. Use clone_doc_version (deep-copy) to keep the existing content — that is what a normal docs update needs; 'create' is only for starting from scratch. 'delete' discards a Draft or Review version (Published and Archived ones are immutable history and cannot be discarded); 'set_status' moves a version between 'draft', 'review', 'published' and 'archived' — publish_doc_version is the dedicated shortcut for going live; 'approve' records the approval a documentation with requireApproval needs before it can be published, and only a configured approver may do it. Get versionId from list_documentations. Requires project context.
**Required scope:** `docs:publish`
| Parameter | Type | Required | Description |
| --- | --- | --- | --- |
| `documentationId` | string | Yes | The public Id (Guid) of the documentation |
| `action` | string | Yes | What to do: 'create', 'delete', 'set_status' or 'approve' |
| `versionId` | string | No | The public Id (Guid) of the doc version — required for everything but 'create' |
| `status` | string | No | Target status for 'set_status': 'draft', 'review', 'published' or 'archived' |
| `rowVersion` | string | No | Optional rowVersion (Base64) from list_documentations for optimistic concurrency on 'set_status' |
## manage_org_doc_template
Manage the organization-wide documentation templates new pages start from. Actions: 'create' (needs pageType, name and content), 'update' (name, content and/or description; omitted fields keep their current value) and 'delete'. These are organization settings, not project content — they apply to every project in the organization. Use this to create, change or delete a template; to browse them use list_org_doc_templates.
**Required scope:** `org:manage-settings`
| Parameter | Type | Required | Description |
| --- | --- | --- | --- |
| `action` | string | Yes | What to do: 'create', 'update' or 'delete' |
| `templateId` | string | No | The public Id (Guid) of the template — required for 'update' and 'delete' |
| `pageType` | string | No | Page type the template applies to: custom, gettingStarted, authentication, environments, errorCodes, rateLimits, webhooks, sdks, changelog — required for 'create' |
| `name` | string | No | Template name — required for 'create' |
| `content` | string | No | Markdown content — required for 'create' |
| `description` | string | No | Optional description |
| `rowVersion` | string | No | Optional rowVersion (Base64) from get_org_doc_template for optimistic concurrency |
## manage_snapshot_content
Control how a spec snapshot is presented in the portal. Actions: 'reorder_endpoints' and 'reorder_tags' set a custom order (pass every id/name at that level in the order you want); 'reset_endpoint_order' drops the custom endpoint order so the snapshot follows the API designer again; 'set_endpoint_annotation' adds Markdown prose above one endpoint — send an empty content to remove it; 'set_folder_description' sets the intro Markdown of a designer folder path (empty content removes it, and the portal falls back to the same-named tag's description). Requires project context.
**Required scope:** `docs:write`
| Parameter | Type | Required | Description |
| --- | --- | --- | --- |
| `documentationId` | string | Yes | The public Id (Guid) of the documentation |
| `versionId` | string | Yes | The public Id (Guid) of the doc version |
| `snapshotId` | string | Yes | The public Id (Guid) of the spec snapshot |
| `action` | string | Yes | What to do: 'reorder_endpoints', 'reset_endpoint_order', 'reorder_tags', 'set_endpoint_annotation' or 'set_folder_description' |
| `endpointIds` | string | No | Endpoint ids in the desired order, comma-separated — required for 'reorder_endpoints' |
| `tagNames` | string | No | Tag names in the desired order, comma-separated — required for 'reorder_tags' |
| `endpointId` | string | No | The endpoint id the annotation belongs to — required for 'set_endpoint_annotation' |
| `folderPath` | string | No | Designer folder path (e.g. 'Billing/Invoices') — required for 'set_folder_description' |
| `content` | string | No | Markdown content for 'set_endpoint_annotation' and 'set_folder_description'; empty removes it |
## manage_spec_snapshot
Manage the API spec snapshots embedded in a documentation version. Actions: 'add' freezes a spec's latest published version into the doc tree (needs specId from list_available_specs); 'update' toggles the try-it playground and/or refreshes the frozen copy from the spec's newest published version (set refresh to true); 'remove' takes it out of the tree; 'set_auto_sync' decides whether the snapshot follows future spec publishes on its own. 'add' needs specId, everything else snapshotId from get_doc_tree. The version must be Draft or Review. Requires project context.
**Required scope:** `docs:write`
| Parameter | Type | Required | Description |
| --- | --- | --- | --- |
| `documentationId` | string | Yes | The public Id (Guid) of the documentation |
| `versionId` | string | Yes | The public Id (Guid) of the doc version |
| `action` | string | Yes | What to do: 'add', 'update', 'remove' or 'set_auto_sync' |
| `specId` | string | No | The public Id (Guid) of the API specification — required for 'add' |
| `snapshotId` | string | No | The public Id (Guid) of the snapshot — required for everything but 'add' |
| `parentFolderId` | string | No | Optional parent folder Id (Guid) to place the snapshot in, for 'add' |
| `playgroundEnabled` | boolean | No | Whether the portal shows the interactive try-it playground — used by 'add' (default false) and 'update' (omit to keep the current setting) |
| `refresh` | boolean | No (default `false`) | For 'update': re-freeze the snapshot from the spec's newest published version (default false) |
| `autoSyncEnabled` | boolean | No | Whether the snapshot follows future spec publishes automatically — required for 'set_auto_sync' |
## publish_doc_version
Publish a documentation version, making it live. The version must be in Review status. Publishing transitions it to Published and archives any previously published version. Requires project context (call set_context first).
**Required scope:** `docs:publish`
| Parameter | Type | Required | Description |
| --- | --- | --- | --- |
| `documentationId` | string | Yes | The public Id (Guid) of the documentation |
| `versionId` | string | Yes | The public Id (Guid) of the doc version to publish |
## trigger_portal_build
Trigger a portal build for a published documentation version. Renders all pages and uploads to blob storage. Returns build status and metrics. Requires project context (call set_context first).
**Required scope:** `docs:manage-portal`
| Parameter | Type | Required | Description |
| --- | --- | --- | --- |
| `documentationId` | string | Yes | The public Id (Guid) of the documentation |
| `versionId` | string | Yes | The public Id (Guid) of the published doc version to build |
## update_doc_page
Update an existing documentation page's title and content, and optionally its URL slug and SEO metadata. Omitting the slug keeps the current one; setting it makes the previous slug redirect to the new one in the published portal. Only allowed on mutable versions (Draft or Review status). Requires project context (call set_context first).
**Required scope:** `docs:read`, `docs:write`
| Parameter | Type | Required | Description |
| --- | --- | --- | --- |
| `documentationId` | string | Yes | The public Id (Guid) of the documentation |
| `versionId` | string | Yes | The public Id (Guid) of the doc version |
| `pageId` | string | Yes | The public Id (Guid) of the page to update |
| `title` | string | Yes | New page title |
| `content` | string | Yes | New Markdown content |
| `slug` | string | No | Optional new URL slug (lowercase letters, digits and single hyphens). Omit to keep the current one; changing it keeps the previous slug alive as a redirect in the published portal. |
| `metaDescription` | string | No | Meta description, max 300 chars. Omit to keep the current one; empty string clears it. |
| `metaKeywords` | string | No | Comma-separated meta keywords, max 500 chars. Omit to keep the current ones; empty string clears them. |
## update_doc_settings
Change a documentation's settings. Every field you omit keeps its current value — the tool reads the present state first, because the underlying command replaces all of them at once. approverUserIds replaces the approver list wholesale; pass an empty string to clear it. Use this to change the settings; to read the current ones use get_doc_settings. Requires project context.
**Required scope:** `docs:write`
| Parameter | Type | Required | Description |
| --- | --- | --- | --- |
| `documentationId` | string | Yes | The public Id (Guid) of the documentation |
| `versioningScheme` | string | No | Version numbering: 'semantic' (v1.0.0), 'simple' (v1), 'dateBased' or 'custom' |
| `requireApproval` | boolean | No | Whether a version needs an approval before it can be published |
| `approverUserIds` | string | No | User Ids (Guids) allowed to approve, comma-separated — replaces the whole list; empty string clears it |
| `defaultCodeLanguages` | string | No | Default code sample languages, comma-separated (e.g. 'curl,javascript,python') |
| `schemaDisplayNames` | string | No | How schema names render: 'short' (default), 'full', or 'stripPrefix' |
| `schemaDisplayNamePrefix` | string | No | Prefix to strip when schemaDisplayNames is 'stripPrefix' |
| `rowVersion` | string | No | Optional rowVersion (Base64) from get_doc_settings for optimistic concurrency |
## upload_doc_image
Upload an inline image for documentation pages and get back the URL to reference it by. Send the file base64-encoded in imageBase64 (a 'data:image/png;base64,...' prefix is accepted); the MCP server is remote, so a local file path would not reach it. PNG, JPEG, GIF, WebP and SVG, up to 5 MB decoded — PNG/JPEG are downscaled and re-encoded as WebP, so the stored URL may end in .webp whatever you sent. The returned imageUrl is root-relative (/assets/images/...): put it into page content exactly as returned — never expand it to an absolute blob-storage URL, which would break the portal under a custom domain. The image belongs to the documentation, not to one version, so it survives cloning and publishing. Requires project context (call set_context first).
**Required scope:** `docs:write`
| Parameter | Type | Required | Description |
| --- | --- | --- | --- |
| `documentationId` | string | Yes | The public Id (Guid) of the documentation the image belongs to |
| `imageBase64` | string | Yes | The image file, base64-encoded. Max 5 MB decoded. |
---
## Documentation Versioning
Source: https://docs.routebase.dev/doc-versioning/
Documentation versions let you rework your docs safely while readers keep seeing the current release. Each version is a full, independent copy of the content tree, covering pages, folders and API snapshots, and each version has its own lifecycle.
## Version statuses
| Status | Badge | Meaning |
| --- | --- | --- |
| **Draft** | Draft | Work in progress. Changes can be made freely. |
| **In Review** | In Review | Under review. Awaiting approval before publishing. Still editable. |
| **Live** | Live / Published | Published and visible. Read-only, because the content is immutable. |
| **Archived** | Archived | Superseded by a newer version. Read-only. |
Only one version can be Live at a time, because publishing a new version automatically archives the previous Live one.
## The version switcher
While the documentation editor is open, the app header shows the current version (for example `v2` with its status badge, plus a lock icon for read-only versions). Click it to open the version switcher, which lists all versions and provides the actions below.
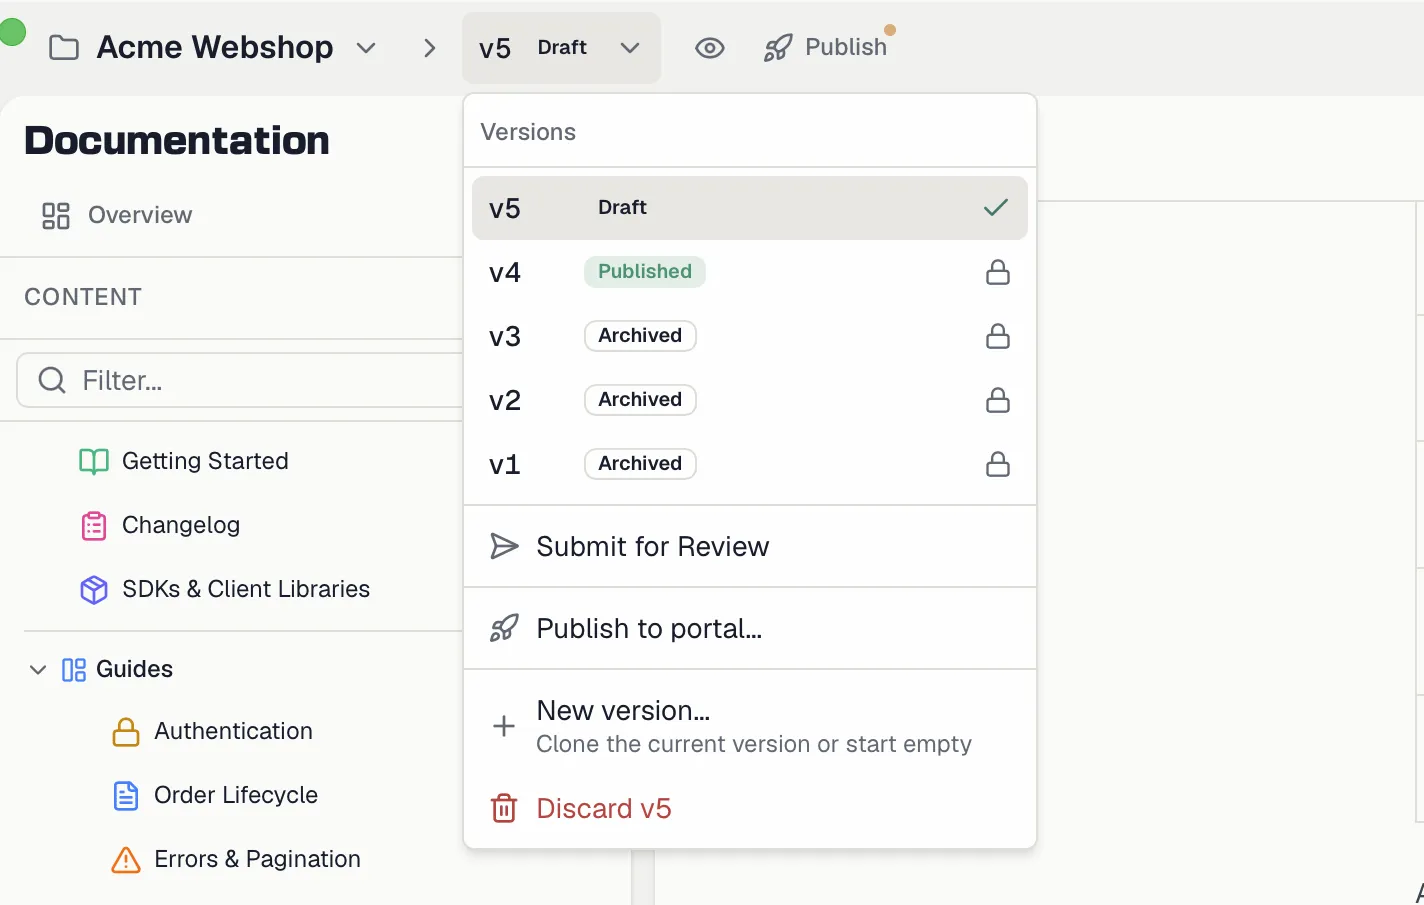
 Switching versions lands on that version's **Overview**, which shows its status, what needs attention and its content stats. See [Documentation Overview](https://docs.routebase.dev/doc-overview/).
## Creating versions
- **New Version**, described as *"Start from an empty version"*, creates a fresh, empty draft.
- **Clone Version**, described as *"Copy the current version's content"*, opens a dialog that creates a new Draft by cloning the selected version. The dialog notes that *"All pages, folders, and spec snapshots will be copied."* If the project has specs with newer published versions, it also offers **Update API Spec Snapshots**, where you check the specs you want the clone to pin to their latest published version.
Cloning is the standard way to prepare the next iteration of live docs. Clone the Live version, edit the draft, then publish it.
### Version numbering
By default versions are numbered v1, v2, v3. In **Documentation Settings → General → Version Numbering** you can pick a **Versioning Scheme**, each with an example preview:
| Scheme | Examples |
| --- | --- |
| Simple | v1, v2, v3 |
| Semantic | v1.0.0, v1.1.0, v2.0.0 |
| Date-based | 2026.03, 2026.04, 2026.05 |
| Custom | release-1, beta-2, hotfix-3 |
## The status lifecycle
Status actions appear in the version switcher based on the current status:
1. Click **Submit for Review** to move a Draft to In Review. The action reassures you that *"You can return it to draft later if needed."*
2. From In Review, click **Return to Draft** for further editing, or **Go Live** to publish.
3. Click **Go Live** to take an In Review version live. The confirmation warns that *"Once live, all content becomes immutable and cannot be edited. If there is a current live version, it will be automatically archived."*
Publishing a version requires the **docs:publish** permission. Members can edit documentation but cannot take it live, while Admins and Owners can.
Note that "Live" describes the version's status inside Routebase. Whether readers can reach it on the public portal is controlled separately by version visibility and the portal build, as described in [Publishing](https://docs.routebase.dev/doc-publishing/).
### Approval workflow
In **Documentation Settings → General → Approval Workflow** you can turn on **Require Approval**, which reads *"When enabled, versions must be approved before they can be published."* Add the user IDs of team members who may approve version publishing.
Switching versions lands on that version's **Overview**, which shows its status, what needs attention and its content stats. See [Documentation Overview](https://docs.routebase.dev/doc-overview/).
## Creating versions
- **New Version**, described as *"Start from an empty version"*, creates a fresh, empty draft.
- **Clone Version**, described as *"Copy the current version's content"*, opens a dialog that creates a new Draft by cloning the selected version. The dialog notes that *"All pages, folders, and spec snapshots will be copied."* If the project has specs with newer published versions, it also offers **Update API Spec Snapshots**, where you check the specs you want the clone to pin to their latest published version.
Cloning is the standard way to prepare the next iteration of live docs. Clone the Live version, edit the draft, then publish it.
### Version numbering
By default versions are numbered v1, v2, v3. In **Documentation Settings → General → Version Numbering** you can pick a **Versioning Scheme**, each with an example preview:
| Scheme | Examples |
| --- | --- |
| Simple | v1, v2, v3 |
| Semantic | v1.0.0, v1.1.0, v2.0.0 |
| Date-based | 2026.03, 2026.04, 2026.05 |
| Custom | release-1, beta-2, hotfix-3 |
## The status lifecycle
Status actions appear in the version switcher based on the current status:
1. Click **Submit for Review** to move a Draft to In Review. The action reassures you that *"You can return it to draft later if needed."*
2. From In Review, click **Return to Draft** for further editing, or **Go Live** to publish.
3. Click **Go Live** to take an In Review version live. The confirmation warns that *"Once live, all content becomes immutable and cannot be edited. If there is a current live version, it will be automatically archived."*
Publishing a version requires the **docs:publish** permission. Members can edit documentation but cannot take it live, while Admins and Owners can.
Note that "Live" describes the version's status inside Routebase. Whether readers can reach it on the public portal is controlled separately by version visibility and the portal build, as described in [Publishing](https://docs.routebase.dev/doc-publishing/).
### Approval workflow
In **Documentation Settings → General → Approval Workflow** you can turn on **Require Approval**, which reads *"When enabled, versions must be approved before they can be published."* Add the user IDs of team members who may approve version publishing.
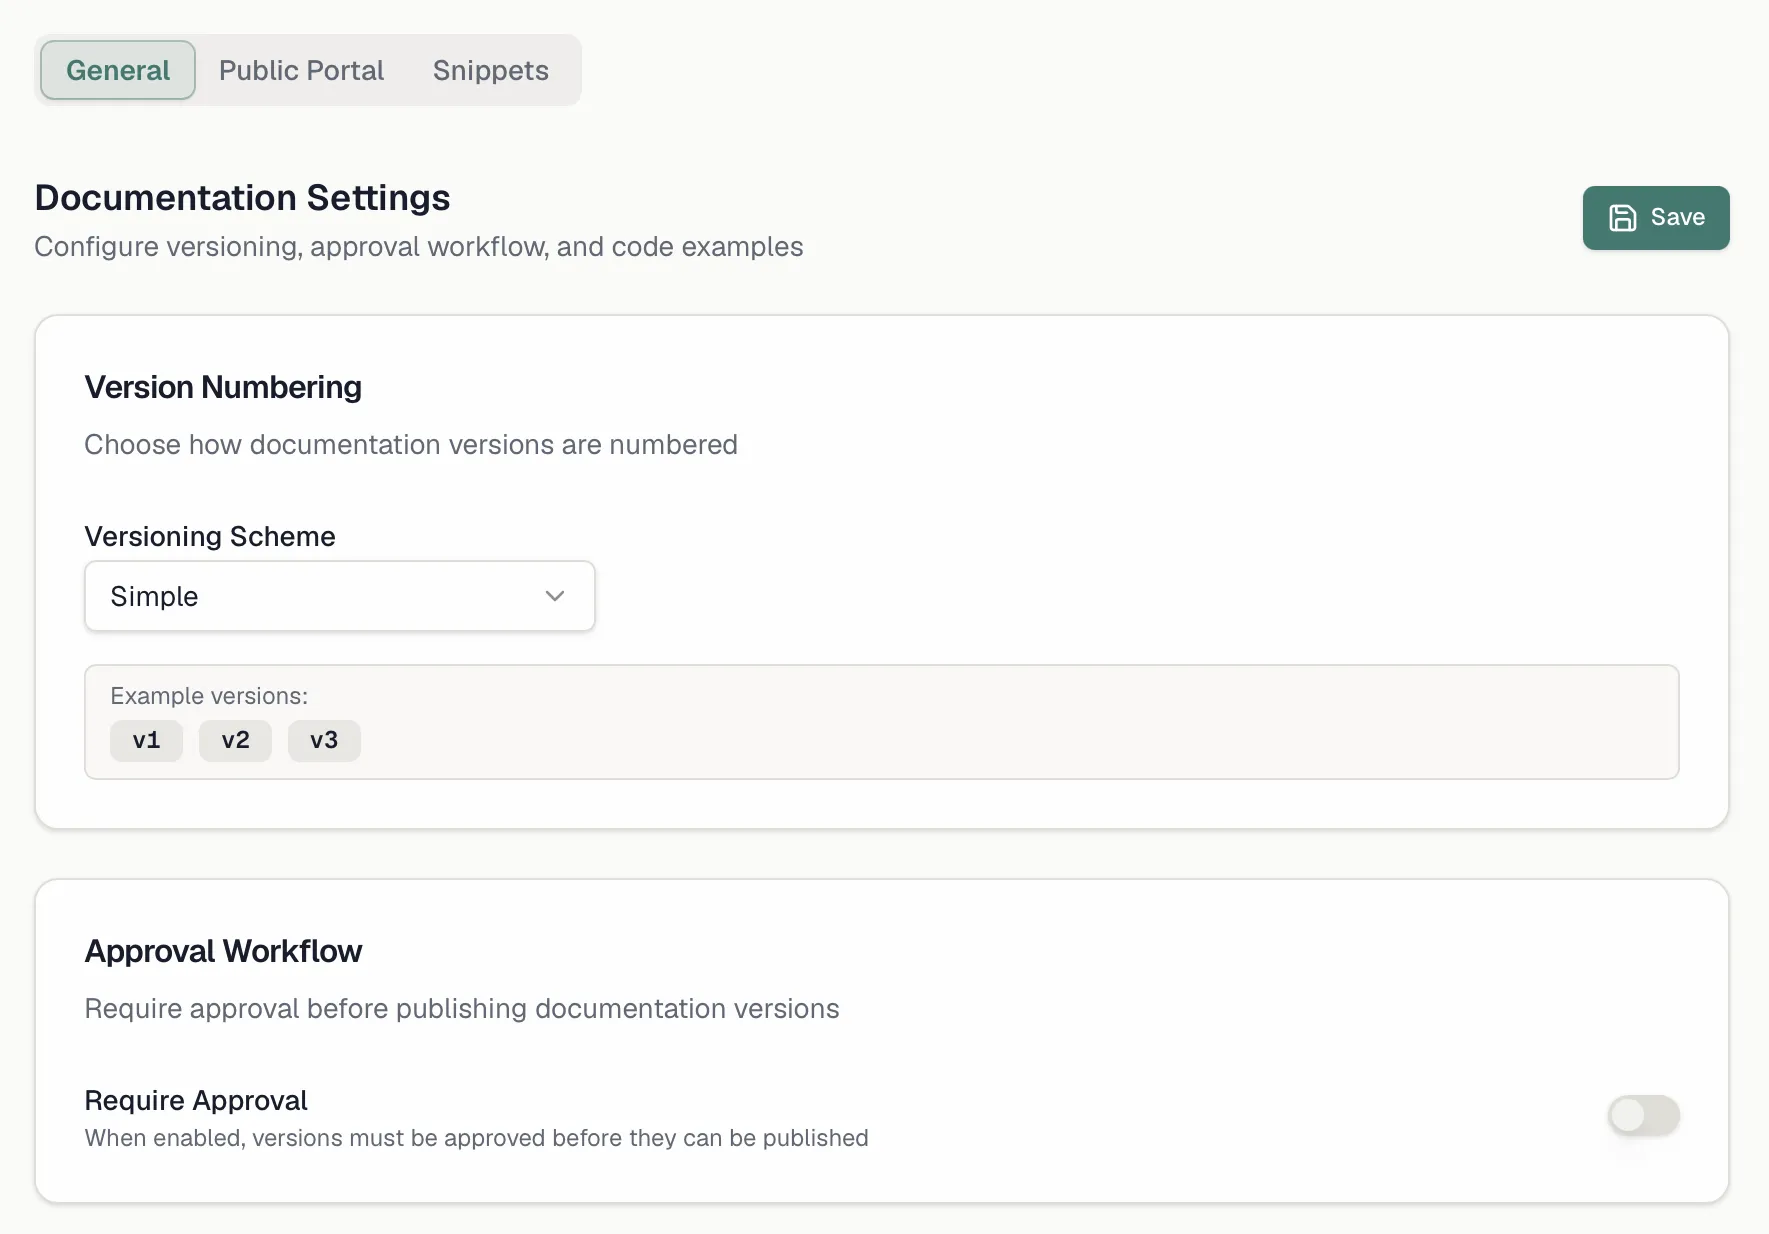
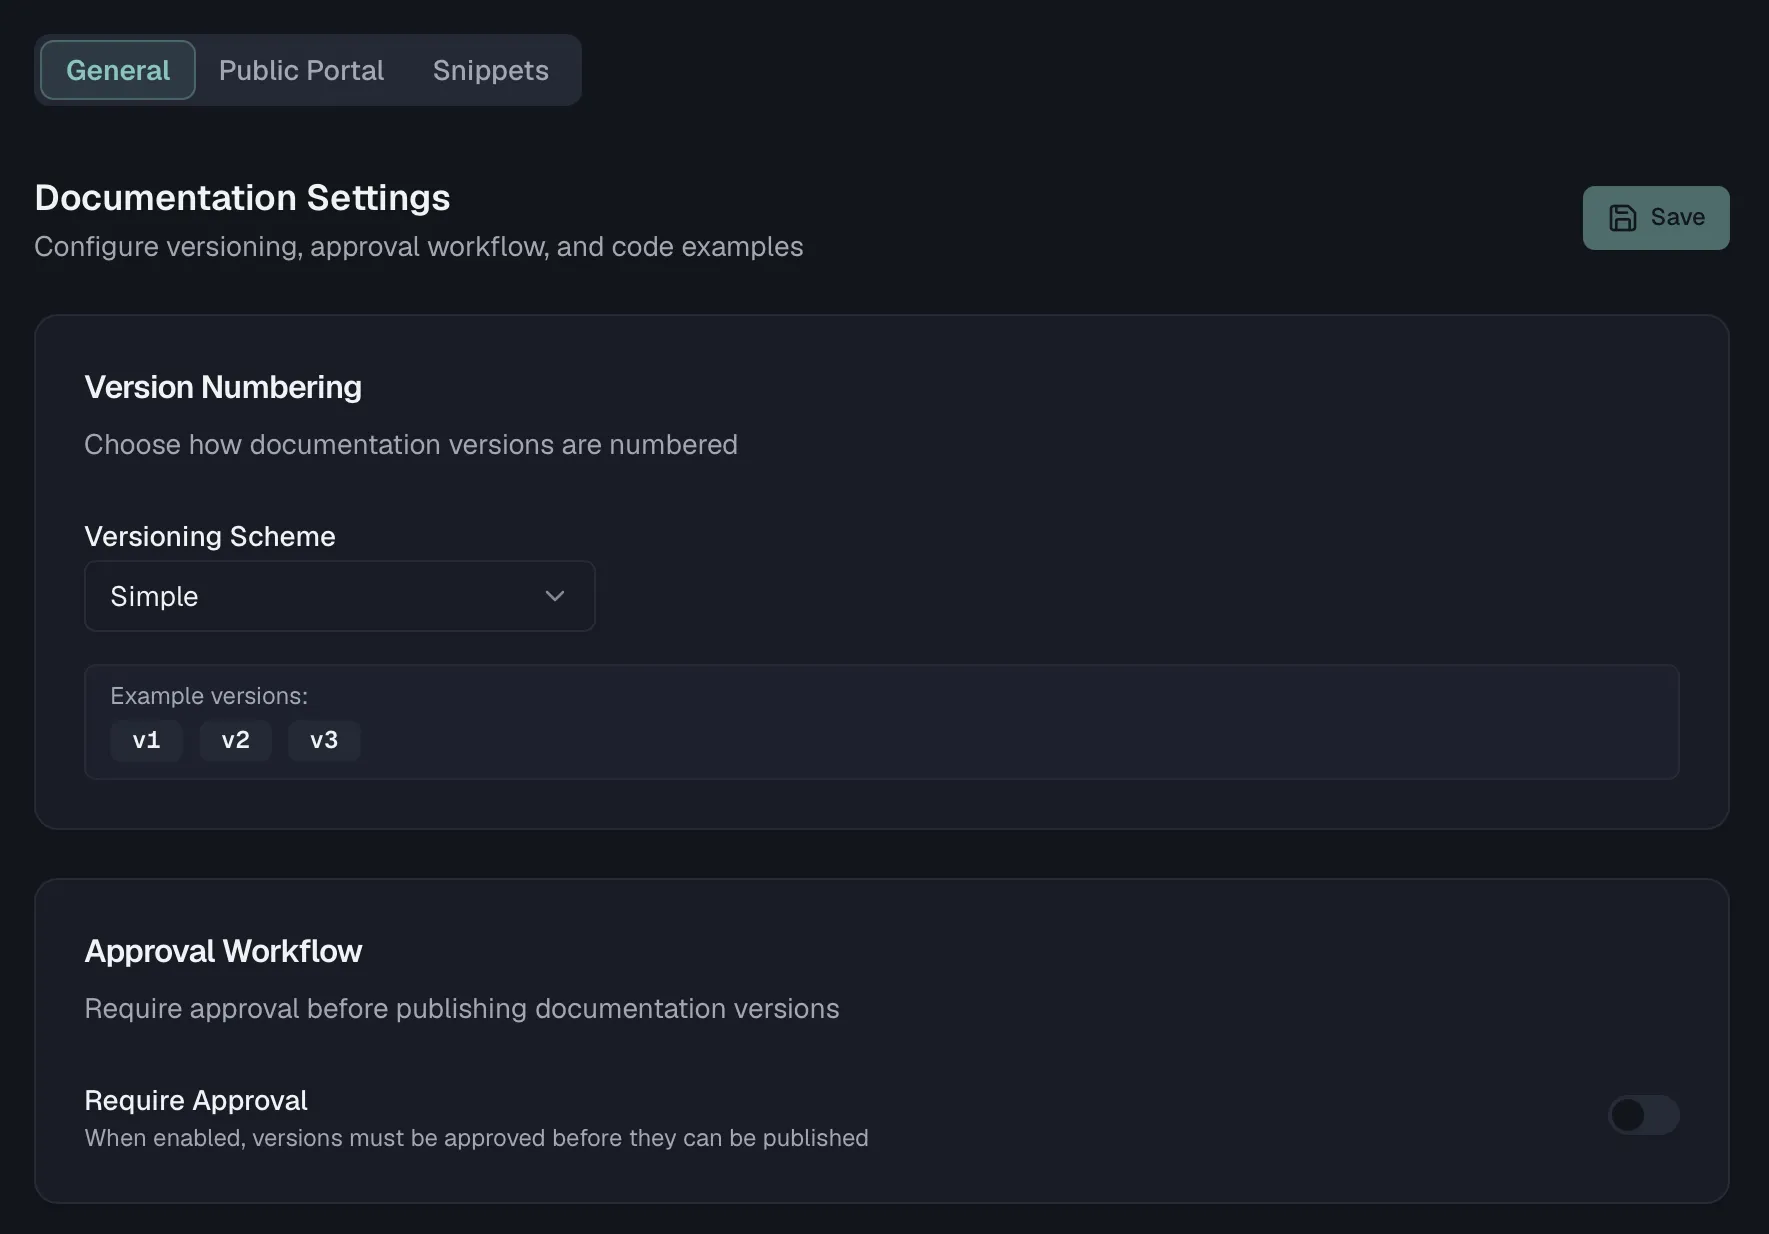 ## Discarding a version
Draft and In Review versions can be discarded from the version switcher (**Discard vN**). The confirmation warns that the version's content is permanently removed and cannot be undone. Live and archived versions cannot be discarded.
## Visibility: Internal vs. Public
Every **published** version has a visibility flag:
- **Internal** keeps the version visible only to your team inside Routebase.
- **Public** makes it eligible for deployment to the public portal.
Toggle it in the **Publication** card on **Documentation Settings → Public Portal → Publish** with **Make Public** / **Make Internal** (requires **docs:manage-portal**). Switching a deployed version back to Internal removes it from the public portal after a confirmation. Details in [Publishing](https://docs.routebase.dev/doc-publishing/).
## Working with pinned API snapshots across versions
API references inside a documentation version are pinned snapshots of published spec versions. Versioning your docs and versioning your specs stay independent:
- A new spec release does not change existing doc versions. You'll see an update banner on the reference view and can update the snapshot in a mutable version.
- When cloning, use **Update API Spec Snapshots** to pull the newest published spec versions into the new draft in one step.
See [API Spec Versioning](https://docs.routebase.dev/versioning/) for the spec-side lifecycle.
## Related
- [Documentation Overview](https://docs.routebase.dev/doc-overview/) — the content model behind versions
- [Publishing](https://docs.routebase.dev/doc-publishing/) — visibility, builds, and the deployed-versions list
- [API Spec Versioning](https://docs.routebase.dev/versioning/) — publishing spec versions that docs can embed
---
## Endpoints
Source: https://docs.routebase.dev/endpoints/
Endpoints are the core building blocks of your API. Each endpoint pairs an **HTTP method** with a **path** and describes what goes in and what comes out, which covers the parameters it accepts, the request body it expects and the responses it returns.
## Anatomy of an endpoint
| Field | What it is |
| --- | --- |
| **Method** | The HTTP verb: `GET`, `POST`, `PUT`, `PATCH`, `DELETE`, `HEAD`, or `OPTIONS`. Specifications authored as OpenAPI 3.2 also offer `QUERY`, a safe read whose parameters travel in the request body. |
| **Path** | The URL template, with path variables in braces — e.g. `/users/{id}`. Must start with `/`. |
| **Summary** | A short one-line label shown in lists and navigation. |
| **Description** | The long-form explanation that appears in your documentation. |
| **Operation ID** | A unique, stable identifier used by code generators and SDKs. Routebase generates one from the method and path; you can override it. |
| **Tags** | Labels you can filter by. They are also part of the exported contract — see [Tags](#tags) below. |
| **Deprecated** | A flag that marks the operation as being on its way out. |
## Discarding a version
Draft and In Review versions can be discarded from the version switcher (**Discard vN**). The confirmation warns that the version's content is permanently removed and cannot be undone. Live and archived versions cannot be discarded.
## Visibility: Internal vs. Public
Every **published** version has a visibility flag:
- **Internal** keeps the version visible only to your team inside Routebase.
- **Public** makes it eligible for deployment to the public portal.
Toggle it in the **Publication** card on **Documentation Settings → Public Portal → Publish** with **Make Public** / **Make Internal** (requires **docs:manage-portal**). Switching a deployed version back to Internal removes it from the public portal after a confirmation. Details in [Publishing](https://docs.routebase.dev/doc-publishing/).
## Working with pinned API snapshots across versions
API references inside a documentation version are pinned snapshots of published spec versions. Versioning your docs and versioning your specs stay independent:
- A new spec release does not change existing doc versions. You'll see an update banner on the reference view and can update the snapshot in a mutable version.
- When cloning, use **Update API Spec Snapshots** to pull the newest published spec versions into the new draft in one step.
See [API Spec Versioning](https://docs.routebase.dev/versioning/) for the spec-side lifecycle.
## Related
- [Documentation Overview](https://docs.routebase.dev/doc-overview/) — the content model behind versions
- [Publishing](https://docs.routebase.dev/doc-publishing/) — visibility, builds, and the deployed-versions list
- [API Spec Versioning](https://docs.routebase.dev/versioning/) — publishing spec versions that docs can embed
---
## Endpoints
Source: https://docs.routebase.dev/endpoints/
Endpoints are the core building blocks of your API. Each endpoint pairs an **HTTP method** with a **path** and describes what goes in and what comes out, which covers the parameters it accepts, the request body it expects and the responses it returns.
## Anatomy of an endpoint
| Field | What it is |
| --- | --- |
| **Method** | The HTTP verb: `GET`, `POST`, `PUT`, `PATCH`, `DELETE`, `HEAD`, or `OPTIONS`. Specifications authored as OpenAPI 3.2 also offer `QUERY`, a safe read whose parameters travel in the request body. |
| **Path** | The URL template, with path variables in braces — e.g. `/users/{id}`. Must start with `/`. |
| **Summary** | A short one-line label shown in lists and navigation. |
| **Description** | The long-form explanation that appears in your documentation. |
| **Operation ID** | A unique, stable identifier used by code generators and SDKs. Routebase generates one from the method and path; you can override it. |
| **Tags** | Labels you can filter by. They are also part of the exported contract — see [Tags](#tags) below. |
| **Deprecated** | A flag that marks the operation as being on its way out. |
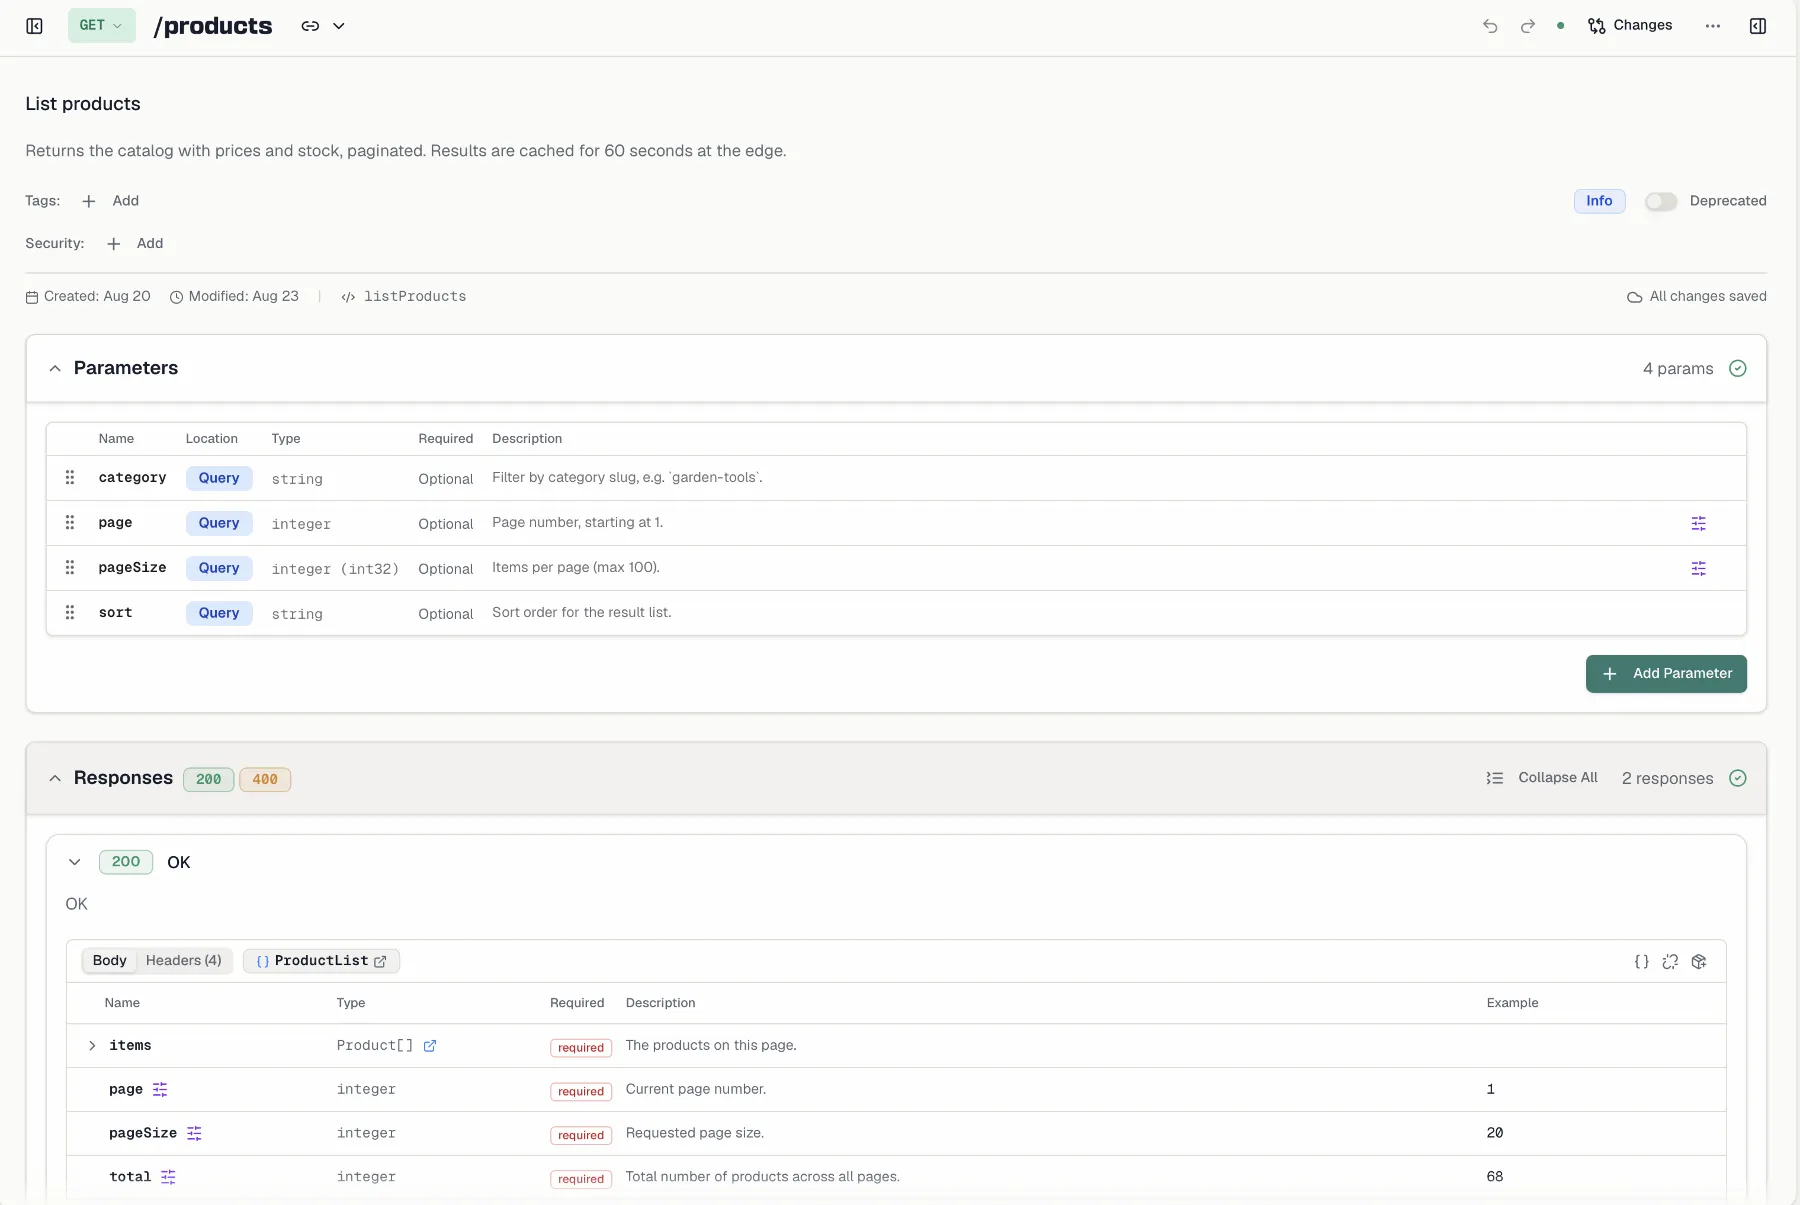
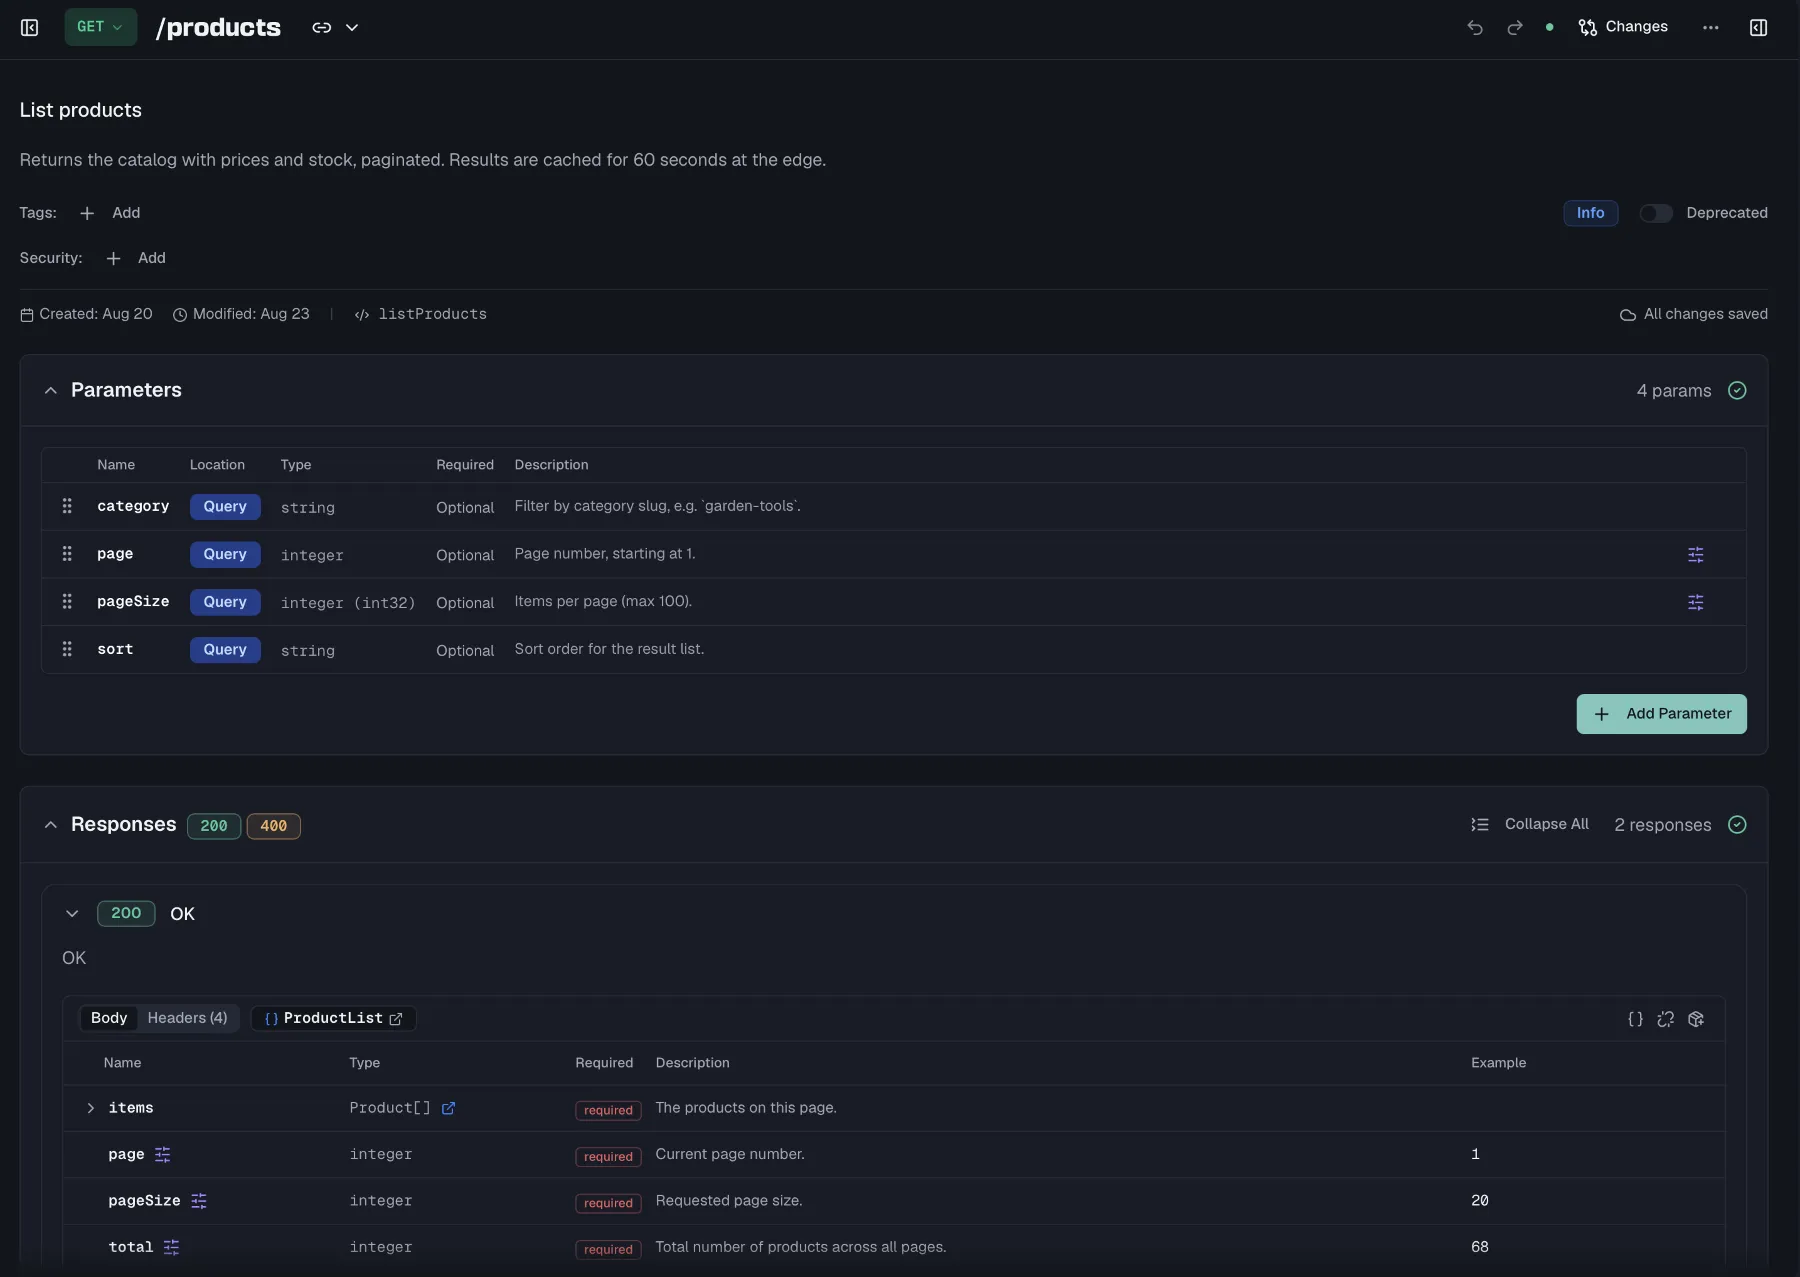 ## Opening the API Designer
Endpoints live in an **API specification** inside a project. Open **API Design** from the sidebar while a project is active. If the project has no specification yet, you can start three ways:
- **Empty Specification** starts with a blank canvas so you add endpoints manually.
- **Import** brings in an existing OpenAPI file, Postman collection or Insomnia export. Routebase validates it, previews what will be created, and lets you fix the file in place if validation fails. See [Import & Export](https://docs.routebase.dev/import-export/).
- **Use Template** starts from a pre-built template such as CRUD or Auth.
Every specification has a **Name**, a semantic **Version** such as `1.0.0`, an **OpenAPI Version** of 3.0, 3.1 or 3.2, an optional **Base Path** and a **Description**. The base path is a prefix like `/api/v1` applied to all endpoints. You can rename a specification or change its base path later, and you can delete it entirely. Deleting a specification also deletes all endpoints, schemas and versions it contains.
On the **Free** plan a specification can hold up to **20 endpoints**, and the create dialog shows an upgrade prompt with a **Limit Reached** state once you hit the cap. Paid plans have no endpoint limit.
## Creating an endpoint
1. In the endpoint tree, click the **+** button and choose **Add Endpoint**. A folder's context menu offers **New Endpoint** for the same thing.
2. Choose a **Method** and enter the **Path**, for example `/users/{id}`.
3. Optionally add a **Summary**, a **Description** and an **Operation ID**. If you leave the Operation ID empty, Routebase generates one and warns you when an ID already exists in the spec.
4. Click **Create**.
Path variables in braces are detected automatically, so creating `GET /users/{id}` also creates the path parameter `id` for you. See [Parameters](https://docs.routebase.dev/parameters/) for how path parameters stay in sync with the URL.
## The endpoint tree
The sidebar lists all endpoints of the selected version, organized into folders, with a **Components** section below for reusable definitions (see [Components](https://docs.routebase.dev/components/)).
- **Search** filters endpoints as you type.
- **Quick filters** give you one-click method filters for GET, POST, PUT and DELETE, plus a completeness dropdown offering **All Endpoints**, **Complete Only** and **Incomplete Only**.
- **Filter** opens a popover with more criteria. It covers **HTTP Method** across all seven verbs, **Path Pattern** where `*` works as a wildcard as in `/users/*`, plus **Tags**, **Show deprecated** and **Show only with issues**. Active filters show a count badge, and **Clear all** resets them.
- **Expand All** and **Collapse All** toggle every folder at once.
Each endpoint row carries a colored status line:
| Line | What it means |
| --- | --- |
| Green | The endpoint is complete. |
| Yellow | It still has validation issues. Hover to see errors, warnings and hints. |
| Gray | It is deprecated. |
## Opening the API Designer
Endpoints live in an **API specification** inside a project. Open **API Design** from the sidebar while a project is active. If the project has no specification yet, you can start three ways:
- **Empty Specification** starts with a blank canvas so you add endpoints manually.
- **Import** brings in an existing OpenAPI file, Postman collection or Insomnia export. Routebase validates it, previews what will be created, and lets you fix the file in place if validation fails. See [Import & Export](https://docs.routebase.dev/import-export/).
- **Use Template** starts from a pre-built template such as CRUD or Auth.
Every specification has a **Name**, a semantic **Version** such as `1.0.0`, an **OpenAPI Version** of 3.0, 3.1 or 3.2, an optional **Base Path** and a **Description**. The base path is a prefix like `/api/v1` applied to all endpoints. You can rename a specification or change its base path later, and you can delete it entirely. Deleting a specification also deletes all endpoints, schemas and versions it contains.
On the **Free** plan a specification can hold up to **20 endpoints**, and the create dialog shows an upgrade prompt with a **Limit Reached** state once you hit the cap. Paid plans have no endpoint limit.
## Creating an endpoint
1. In the endpoint tree, click the **+** button and choose **Add Endpoint**. A folder's context menu offers **New Endpoint** for the same thing.
2. Choose a **Method** and enter the **Path**, for example `/users/{id}`.
3. Optionally add a **Summary**, a **Description** and an **Operation ID**. If you leave the Operation ID empty, Routebase generates one and warns you when an ID already exists in the spec.
4. Click **Create**.
Path variables in braces are detected automatically, so creating `GET /users/{id}` also creates the path parameter `id` for you. See [Parameters](https://docs.routebase.dev/parameters/) for how path parameters stay in sync with the URL.
## The endpoint tree
The sidebar lists all endpoints of the selected version, organized into folders, with a **Components** section below for reusable definitions (see [Components](https://docs.routebase.dev/components/)).
- **Search** filters endpoints as you type.
- **Quick filters** give you one-click method filters for GET, POST, PUT and DELETE, plus a completeness dropdown offering **All Endpoints**, **Complete Only** and **Incomplete Only**.
- **Filter** opens a popover with more criteria. It covers **HTTP Method** across all seven verbs, **Path Pattern** where `*` works as a wildcard as in `/users/*`, plus **Tags**, **Show deprecated** and **Show only with issues**. Active filters show a count badge, and **Clear all** resets them.
- **Expand All** and **Collapse All** toggle every folder at once.
Each endpoint row carries a colored status line:
| Line | What it means |
| --- | --- |
| Green | The endpoint is complete. |
| Yellow | It still has validation issues. Hover to see errors, warnings and hints. |
| Gray | It is deprecated. |
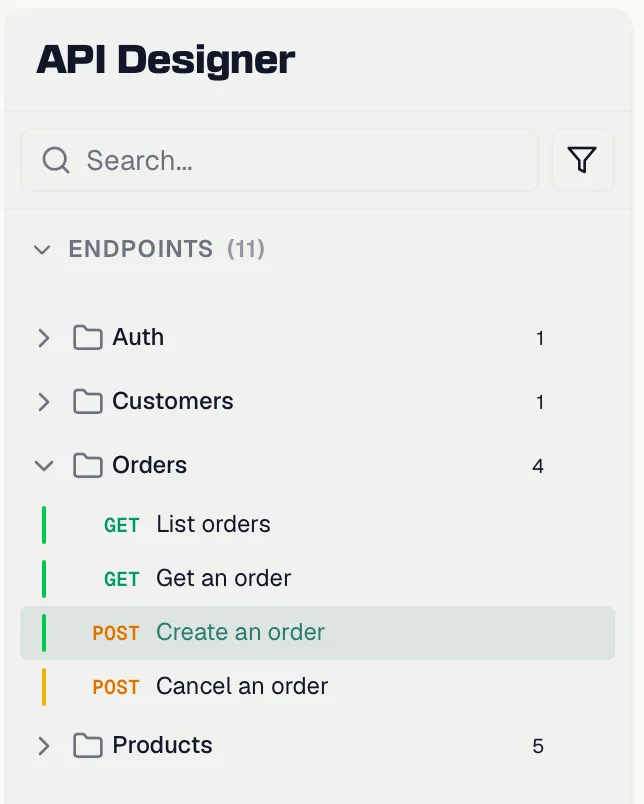
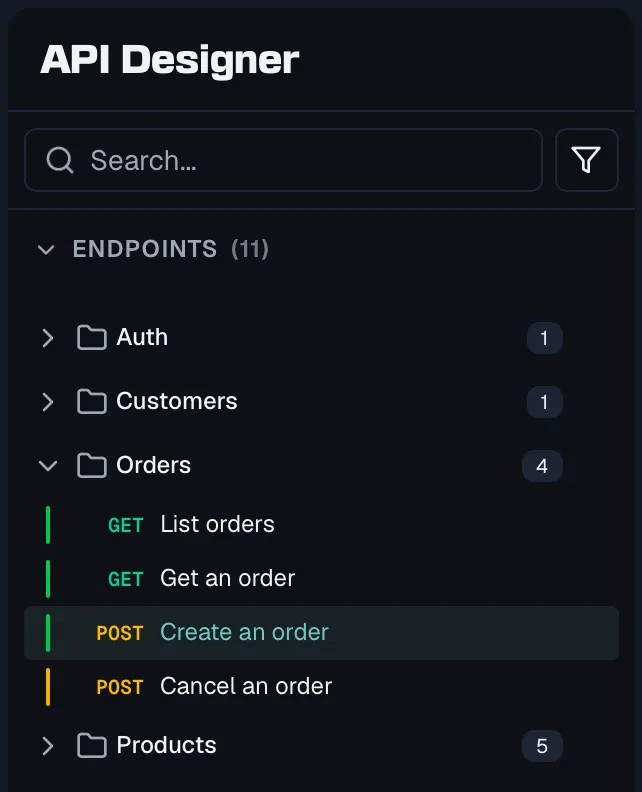 ## Organizing endpoints in folders
Routebase organizes endpoints in a **folder tree** rather than flat tag groups. Create folders that mirror how you think about your API, whether that is by resource, by domain or by team. The tree is the same structure your readers see in the published documentation, so a clean hierarchy pays off twice.
- **Create** a folder with **Add Folder** from the tree's **+** menu, or with **New Subfolder** from a folder's context menu. Each folder has a name and an optional icon.
- **Rename or edit** a folder by right-clicking it and choosing **Rename**, or by pressing F2. **Edit Properties** changes name and icon and shows the folder's endpoint and subfolder counts.
- **Move** things by dragging endpoints between folders and dragging folders to re-nest or reorder them. Dropping at the root level ungroups an endpoint.
- **Delete** a non-empty folder and Routebase asks what to do with its contents. **Move to parent folder** and **Move to "Ungrouped"** keep them, the second one at the root level. **Delete everything** permanently deletes all endpoints and subfolders, and that cannot be undone.
### Tags
Folders and **tags** are complementary, because folders define the visible hierarchy while tags are flat labels across it. Add or remove tags directly in the endpoint editor header.
Tags are more than filter chips, and this is worth knowing before you treat them as throwaway labels. Each tag can carry a **description**, an **icon** and a position in a curated order. The description is **exported as the OpenAPI tag description**, so it reaches every tool that reads your spec rather than only Routebase.
In your published API reference, endpoints are grouped by their **first** tag, and anything untagged lands in a "Default" group. Each group gets an introduction, which is the folder's description if the folder has one and otherwise the description of the tag with the same name. A tag description is documentation, not a private note.
The sidebar has a **Tags** row below the endpoint list, and it opens the tag manager in the main panel. There you create tags, reorder them by dragging, pick an icon and edit the description, and the same list is available to agents through the MCP server.
In a specification written as OpenAPI 3.2, a tag can additionally carry a **summary**, a **parent** tag and a **kind**. The summary is a short label, the parent nests the tag under another tag of the same version, and the kind is free text where the OpenAPI specification suggests `nav`, `badge` and `audience`. All three are exported with the spec and imported from a 3.2 file, and an imported parent that does not resolve is dropped with a warning while the tag itself is kept. When a spec has no folders, the published reference nests its groups by these parent tags, so an imported 3.2 spec keeps the structure its author intended. Folders still win when both exist, and the kind changes nothing in the rendering yet.
Because folders and tags describe the same grouping from two sides, they can drift apart. That happens most easily when you move endpoints into a different folder while their tags still name the old one. Routebase notices and offers three ways out rather than picking for you:
- **Update the tags** to match the folder they now live in.
- **Rename the folder** to the tag the endpoints already share.
- **Add the folder name** as an additional tag, keeping the existing ones.
The dialog says which option changes what your consumers see. Renaming the folder is *"No contract change — the exported spec stays exactly as it is"*, while editing tags is *"a visible change in the exported spec"*. You can also ignore it, and a banner on the folder stays as a reminder.
## Organizing endpoints in folders
Routebase organizes endpoints in a **folder tree** rather than flat tag groups. Create folders that mirror how you think about your API, whether that is by resource, by domain or by team. The tree is the same structure your readers see in the published documentation, so a clean hierarchy pays off twice.
- **Create** a folder with **Add Folder** from the tree's **+** menu, or with **New Subfolder** from a folder's context menu. Each folder has a name and an optional icon.
- **Rename or edit** a folder by right-clicking it and choosing **Rename**, or by pressing F2. **Edit Properties** changes name and icon and shows the folder's endpoint and subfolder counts.
- **Move** things by dragging endpoints between folders and dragging folders to re-nest or reorder them. Dropping at the root level ungroups an endpoint.
- **Delete** a non-empty folder and Routebase asks what to do with its contents. **Move to parent folder** and **Move to "Ungrouped"** keep them, the second one at the root level. **Delete everything** permanently deletes all endpoints and subfolders, and that cannot be undone.
### Tags
Folders and **tags** are complementary, because folders define the visible hierarchy while tags are flat labels across it. Add or remove tags directly in the endpoint editor header.
Tags are more than filter chips, and this is worth knowing before you treat them as throwaway labels. Each tag can carry a **description**, an **icon** and a position in a curated order. The description is **exported as the OpenAPI tag description**, so it reaches every tool that reads your spec rather than only Routebase.
In your published API reference, endpoints are grouped by their **first** tag, and anything untagged lands in a "Default" group. Each group gets an introduction, which is the folder's description if the folder has one and otherwise the description of the tag with the same name. A tag description is documentation, not a private note.
The sidebar has a **Tags** row below the endpoint list, and it opens the tag manager in the main panel. There you create tags, reorder them by dragging, pick an icon and edit the description, and the same list is available to agents through the MCP server.
In a specification written as OpenAPI 3.2, a tag can additionally carry a **summary**, a **parent** tag and a **kind**. The summary is a short label, the parent nests the tag under another tag of the same version, and the kind is free text where the OpenAPI specification suggests `nav`, `badge` and `audience`. All three are exported with the spec and imported from a 3.2 file, and an imported parent that does not resolve is dropped with a warning while the tag itself is kept. When a spec has no folders, the published reference nests its groups by these parent tags, so an imported 3.2 spec keeps the structure its author intended. Folders still win when both exist, and the kind changes nothing in the rendering yet.
Because folders and tags describe the same grouping from two sides, they can drift apart. That happens most easily when you move endpoints into a different folder while their tags still name the old one. Routebase notices and offers three ways out rather than picking for you:
- **Update the tags** to match the folder they now live in.
- **Rename the folder** to the tag the endpoints already share.
- **Add the folder name** as an additional tag, keeping the existing ones.
The dialog says which option changes what your consumers see. Renaming the folder is *"No contract change — the exported spec stays exactly as it is"*, while editing tags is *"a visible change in the exported spec"*. You can also ignore it, and a banner on the folder stays as a reminder.
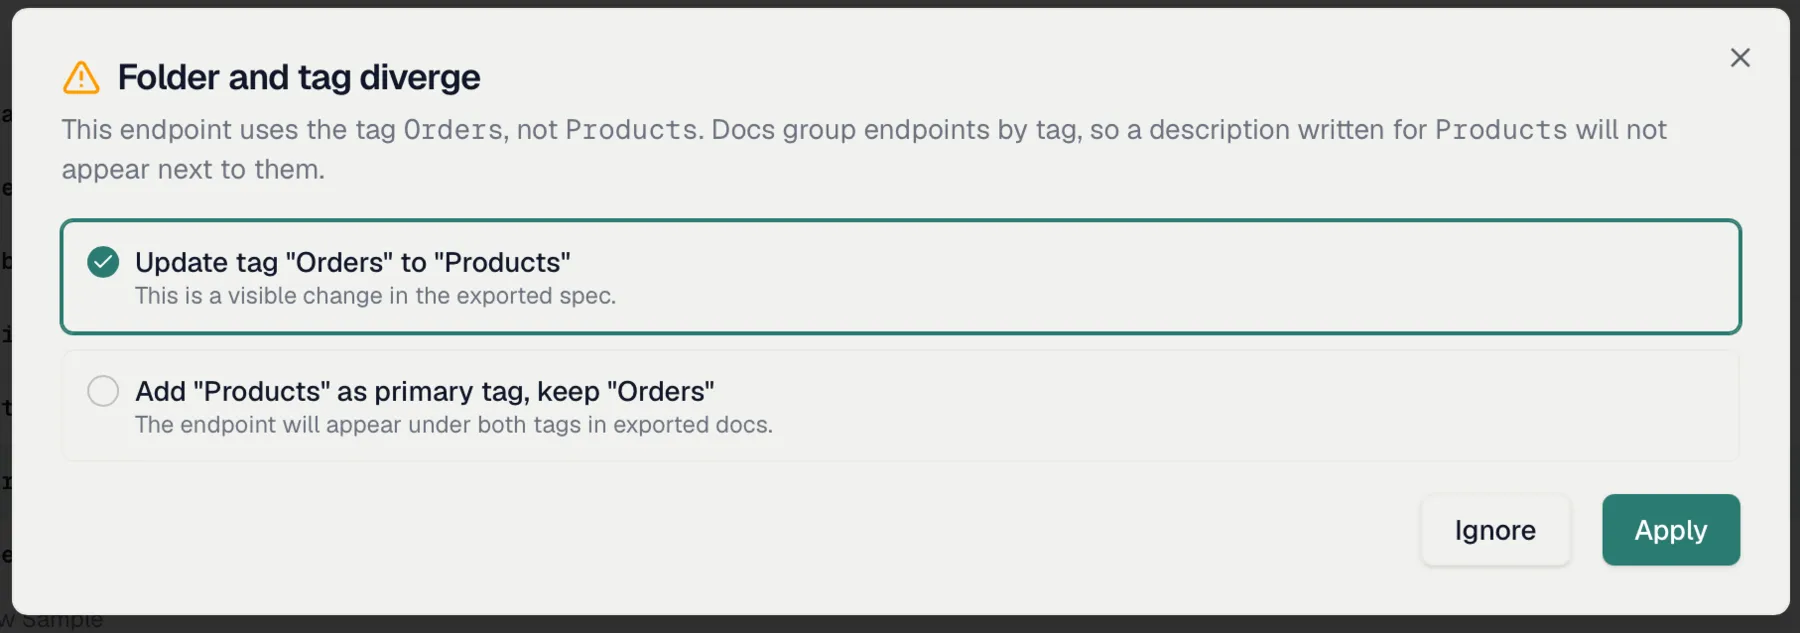
 ## Editing an endpoint
Selecting an endpoint opens the editor. The header holds the method, path, summary, description, operation ID, tags and the deprecated toggle, all edited inline. When you change the method, only methods not already used by another endpoint on the same path are offered. Below the header, three collapsible sections define the contract:
- **Parameters** are covered in [Parameters](https://docs.routebase.dev/parameters/).
- **Request Body** appears for `POST`, `PUT`, `PATCH` and `QUERY` endpoints. Choose a content type, which defaults to `application/json` and also offers XML, form, text and binary types. Then mark the body **Required**, define the structure inline or link a reusable definition, and maintain an example. See [Components](https://docs.routebase.dev/components/) and [Schemas](https://docs.routebase.dev/schemas/).
- **Responses** are covered in [Responses](https://docs.routebase.dev/responses/).
Each section header shows a completeness indicator, so you can see at a glance which parts of the contract still need work.
### Writing the description
The **description** is not a plain text field. It opens a full editor, because for many endpoints the description is the documentation. It is where you explain what the schema cannot, such as the order of calls, what a status actually means, and which of two similar endpoints to use.
## Editing an endpoint
Selecting an endpoint opens the editor. The header holds the method, path, summary, description, operation ID, tags and the deprecated toggle, all edited inline. When you change the method, only methods not already used by another endpoint on the same path are offered. Below the header, three collapsible sections define the contract:
- **Parameters** are covered in [Parameters](https://docs.routebase.dev/parameters/).
- **Request Body** appears for `POST`, `PUT`, `PATCH` and `QUERY` endpoints. Choose a content type, which defaults to `application/json` and also offers XML, form, text and binary types. Then mark the body **Required**, define the structure inline or link a reusable definition, and maintain an example. See [Components](https://docs.routebase.dev/components/) and [Schemas](https://docs.routebase.dev/schemas/).
- **Responses** are covered in [Responses](https://docs.routebase.dev/responses/).
Each section header shows a completeness indicator, so you can see at a glance which parts of the contract still need work.
### Writing the description
The **description** is not a plain text field. It opens a full editor, because for many endpoints the description is the documentation. It is where you explain what the schema cannot, such as the order of calls, what a status actually means, and which of two similar endpoints to use.
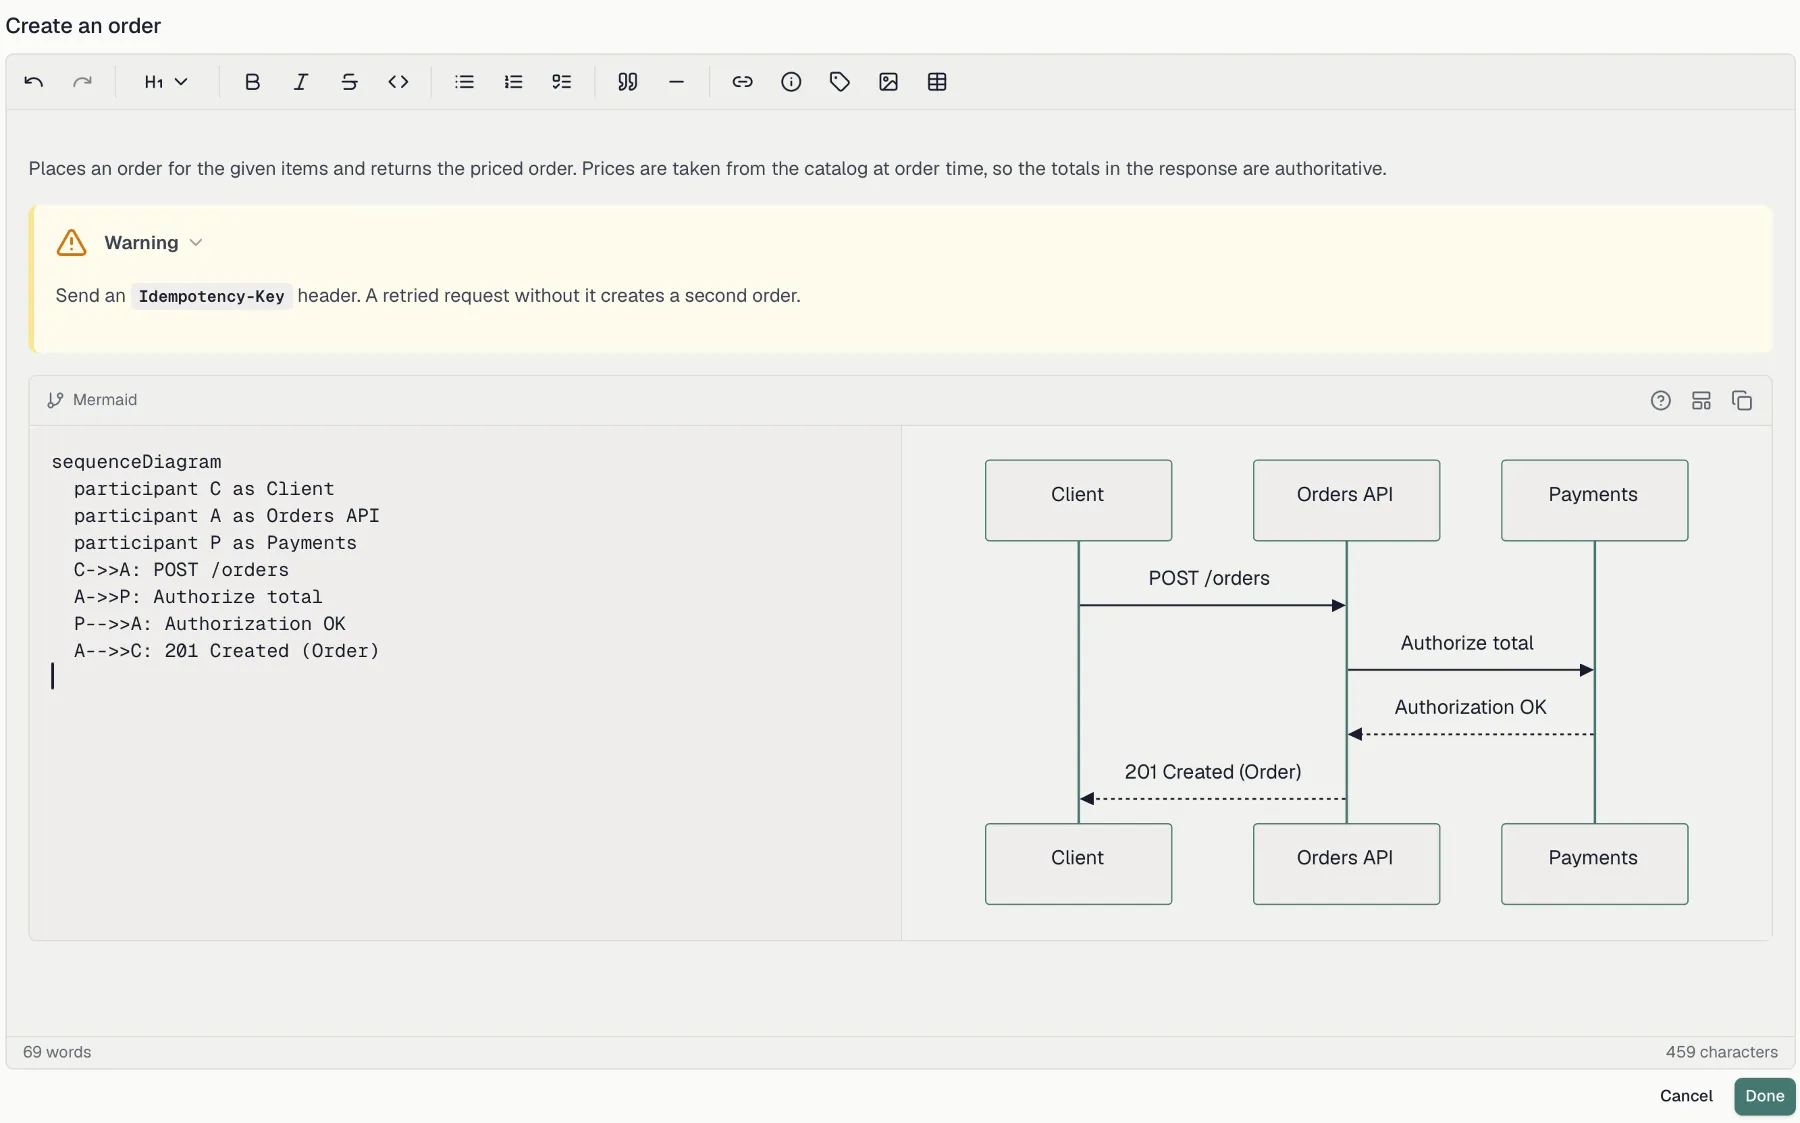
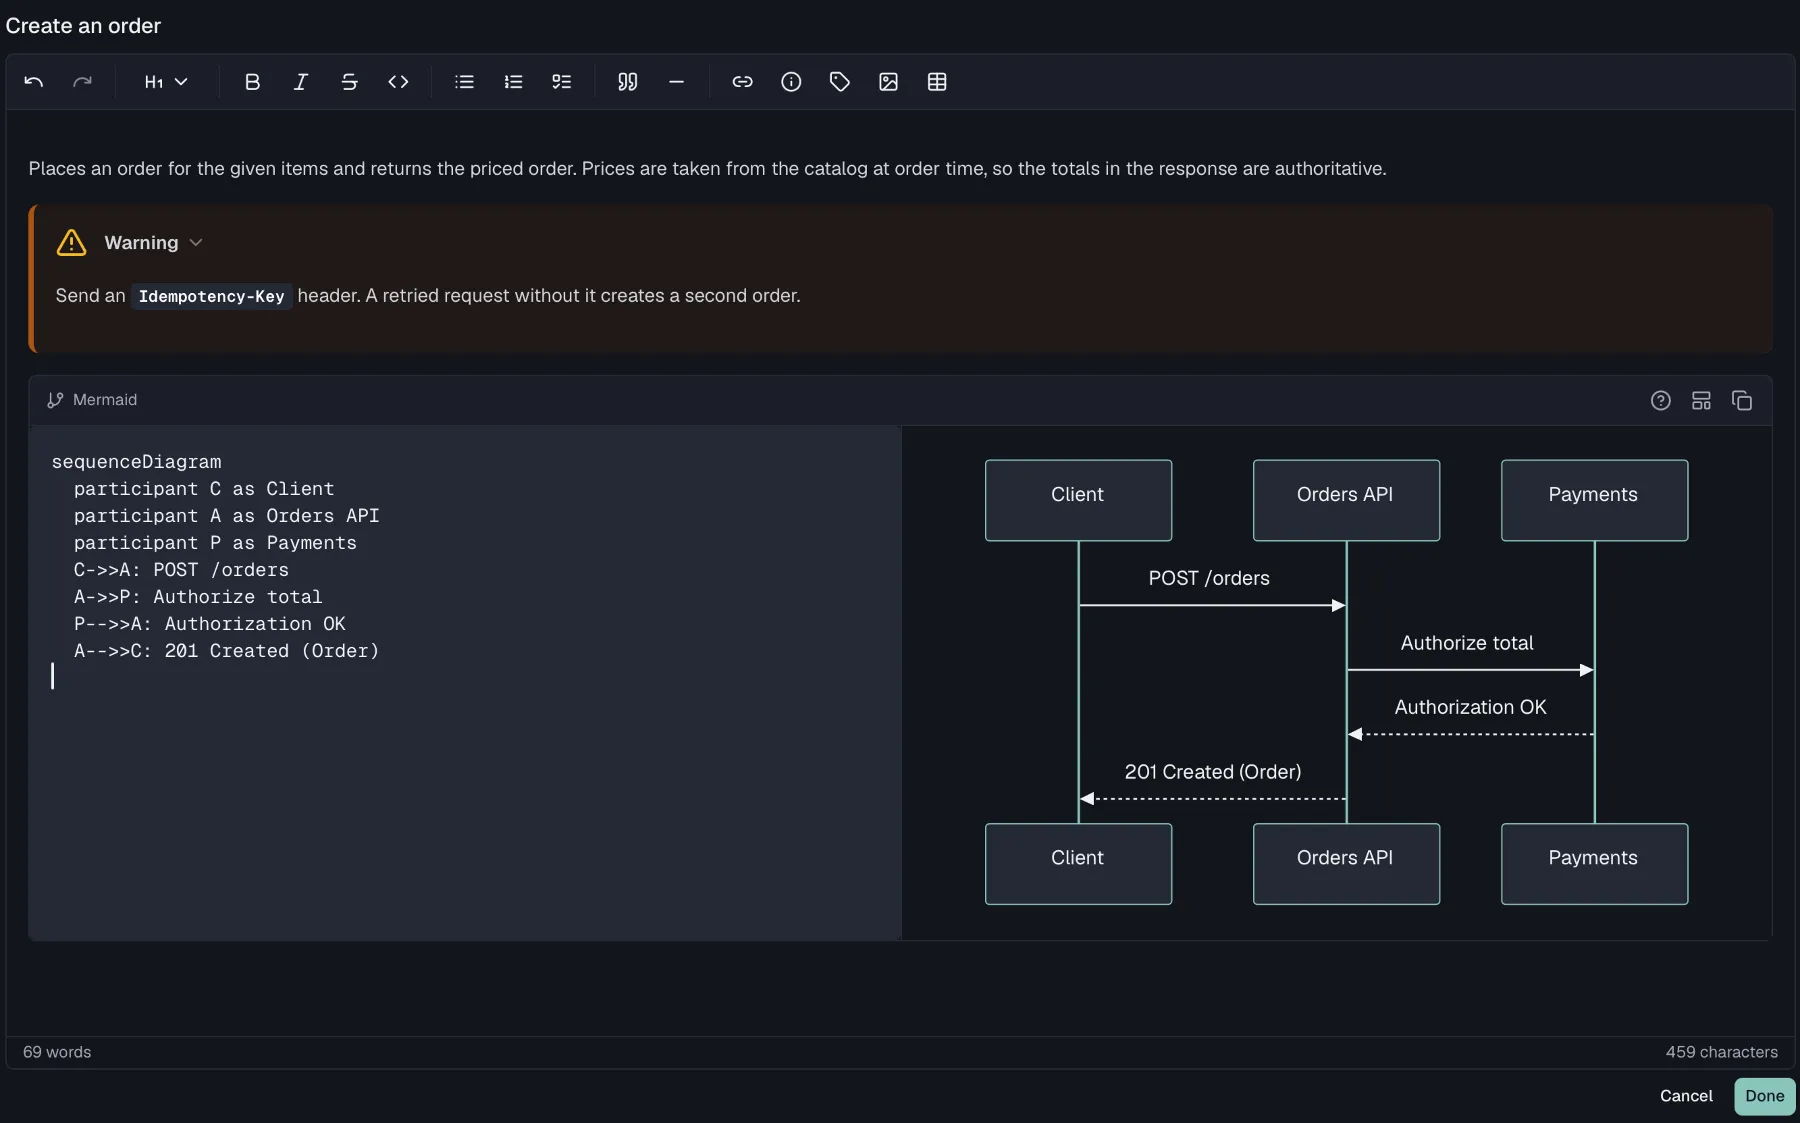 What you can put in it:
- **Callouts** in the four flavours info, tip, warning and error, for the sentence a reader must not skim past.
- **Tabs**, for showing the same thing per language or per use case without tripling the page.
- **Mermaid diagrams** in four kinds, which are flowcharts, sequence diagrams, entity-relationship diagrams and state diagrams. A sequence diagram in an authentication endpoint's description saves several paragraphs.
- Tables, code blocks, images, links, lists and quotes.
All of it renders in your published documentation. Folders have their own description editor too, in the folder detail view, and that is where a group of endpoints gets its introduction. See [Tags](#tags) for how that reaches the portal.
### Autosave and collaboration
Changes save automatically. The save indicator in the header shows the current state as **Saving...**, **Saved**, **Unsaved changes**, **Offline** or **Save failed** with a retry option. In the offline state your changes sync once you are back online. When teammates work on the same endpoint, Routebase shows who is editing, warns about incoming remote changes, and opens a conflict resolution dialog if two people change the same fields. There you choose field by field which value wins.
## Duplicating an endpoint
To build a similar endpoint, open the **…** menu on an endpoint row or right-click it, then choose **Duplicate**. The dialog pre-fills the method, a modified path, the summary with a "(Copy)" suffix and a unique operation ID. Adjust any of them and click **Duplicate**. The copy includes the source endpoint's parameters and responses.
## Deprecating an endpoint
When an operation is on its way out, deprecate it instead of deleting it. Deprecated endpoints stay in your spec and documentation with a clear badge, so existing consumers are warned while the contract stays intact. Use the tree filter's **Show deprecated** switch to hide them while you work.
The **Deprecated** toggle in the editor header is the quick way to mark one, because it sets the flag in the spec and nothing else happens. For an endpoint consumers actually call, the **deprecation wizard** is the better path. It turns "this is going away" into a dated plan with a successor, a migration guide, an approval step and reminders, and **[Deprecation](https://docs.routebase.dev/deprecation/)** covers it in full.
On a published portal, a deprecated endpoint's page carries a banner with the sunset date, how many days are left, the rendered migration guide, and a link to the successor endpoint where there is one. A consumer reading the documentation learns about it without anyone having to send an email, which is the point of doing it this way rather than deleting the endpoint and waiting for the support ticket.
What you can put in it:
- **Callouts** in the four flavours info, tip, warning and error, for the sentence a reader must not skim past.
- **Tabs**, for showing the same thing per language or per use case without tripling the page.
- **Mermaid diagrams** in four kinds, which are flowcharts, sequence diagrams, entity-relationship diagrams and state diagrams. A sequence diagram in an authentication endpoint's description saves several paragraphs.
- Tables, code blocks, images, links, lists and quotes.
All of it renders in your published documentation. Folders have their own description editor too, in the folder detail view, and that is where a group of endpoints gets its introduction. See [Tags](#tags) for how that reaches the portal.
### Autosave and collaboration
Changes save automatically. The save indicator in the header shows the current state as **Saving...**, **Saved**, **Unsaved changes**, **Offline** or **Save failed** with a retry option. In the offline state your changes sync once you are back online. When teammates work on the same endpoint, Routebase shows who is editing, warns about incoming remote changes, and opens a conflict resolution dialog if two people change the same fields. There you choose field by field which value wins.
## Duplicating an endpoint
To build a similar endpoint, open the **…** menu on an endpoint row or right-click it, then choose **Duplicate**. The dialog pre-fills the method, a modified path, the summary with a "(Copy)" suffix and a unique operation ID. Adjust any of them and click **Duplicate**. The copy includes the source endpoint's parameters and responses.
## Deprecating an endpoint
When an operation is on its way out, deprecate it instead of deleting it. Deprecated endpoints stay in your spec and documentation with a clear badge, so existing consumers are warned while the contract stays intact. Use the tree filter's **Show deprecated** switch to hide them while you work.
The **Deprecated** toggle in the editor header is the quick way to mark one, because it sets the flag in the spec and nothing else happens. For an endpoint consumers actually call, the **deprecation wizard** is the better path. It turns "this is going away" into a dated plan with a successor, a migration guide, an approval step and reminders, and **[Deprecation](https://docs.routebase.dev/deprecation/)** covers it in full.
On a published portal, a deprecated endpoint's page carries a banner with the sunset date, how many days are left, the rendered migration guide, and a link to the successor endpoint where there is one. A consumer reading the documentation learns about it without anyone having to send an email, which is the point of doing it this way rather than deleting the endpoint and waiting for the support ticket.
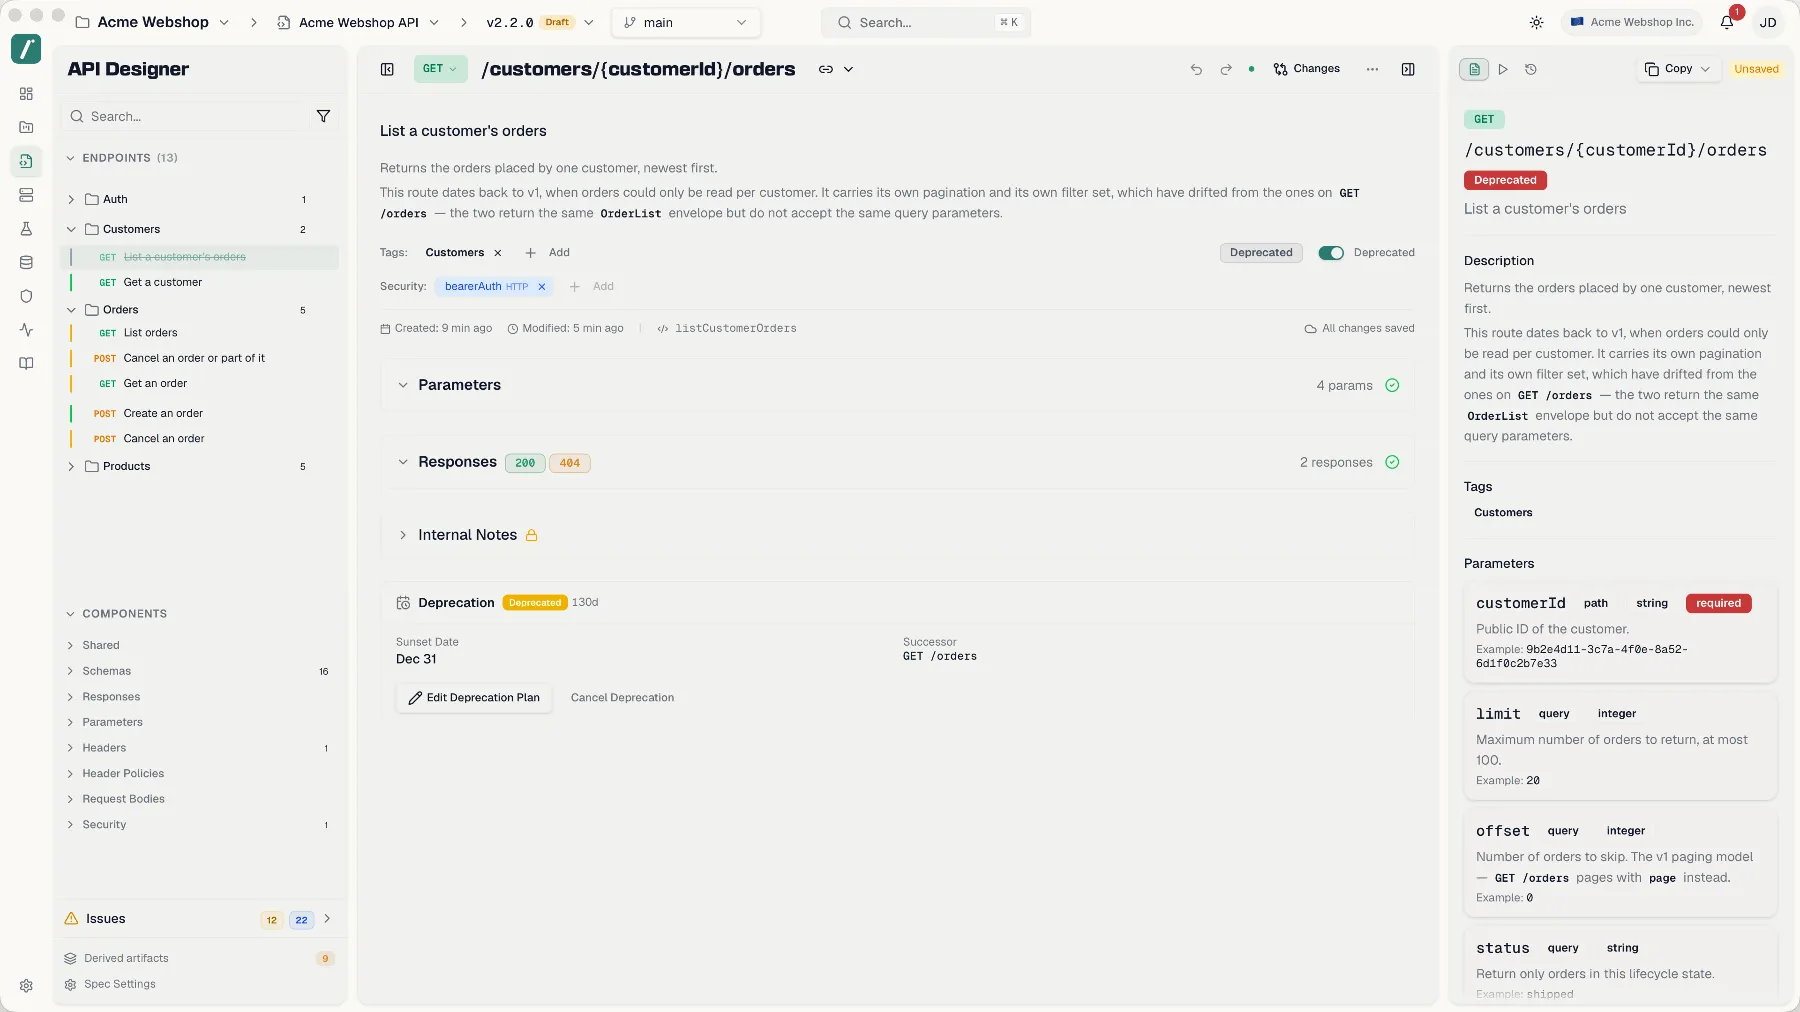
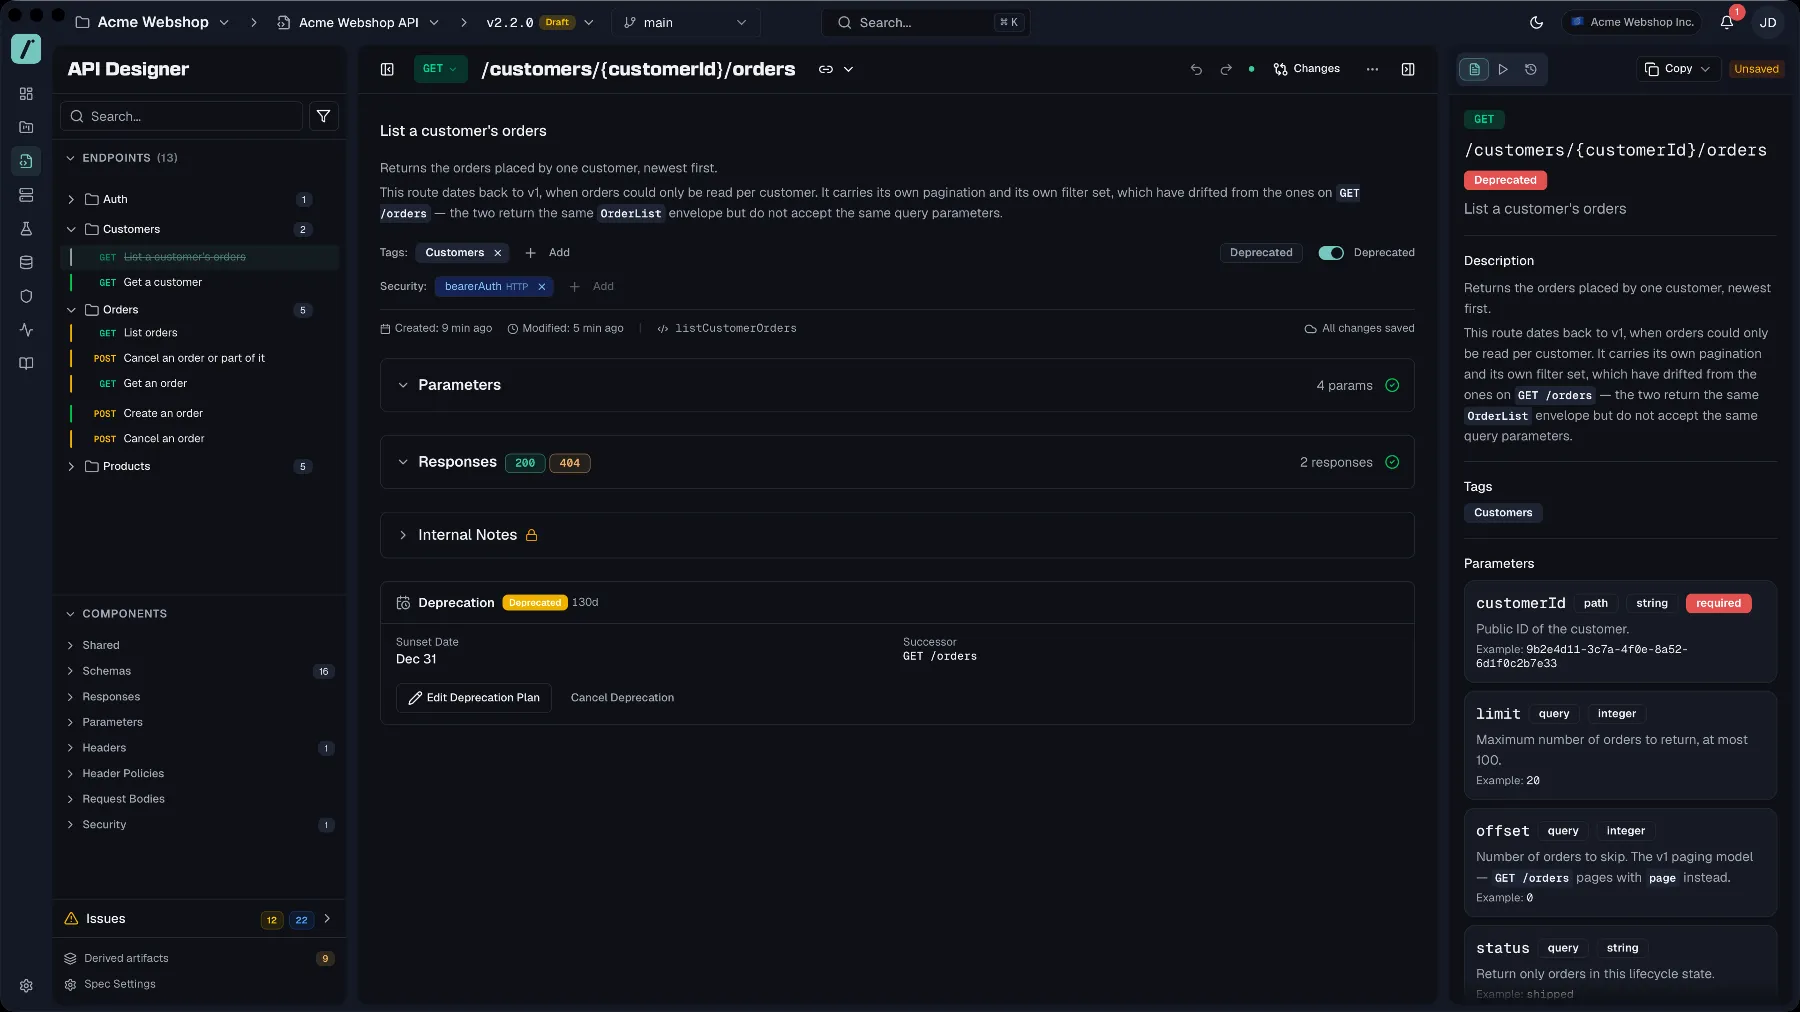 ## Internal notes
Every endpoint has an **Internal Notes** section at the bottom of the editor that is visible to your team inside Routebase but never exported to your public documentation. Use it for implementation details, open questions or migration reminders that should not reach API consumers.
## Deleting an endpoint
Choose **Delete** from the endpoint's context menu or **…** menu. The confirmation dialog shows the method and path and warns that the action cannot be undone. Deleting endpoints, folders or specifications requires the **specs:delete** permission, which by default means Admins and Owners. Members can create and edit but not delete.
## Try It — sending a real request
The **Try It** tab of the endpoint editor sends an actual request for the endpoint you have open, without leaving the designer. It is how you check that the thing you designed behaves the way you described it.
**Pick a target** in the environment selector at the top. Two kinds of target exist:
- Any [environment](https://docs.routebase.dev/environments/) of the project takes the request to its base URL, with its variables and its authentication. An environment marked read-only says so, and one without a base URL tells you plainly with *"This environment has no base URL configured."*
- **Mock Server** takes the request to your [mock server](https://docs.routebase.dev/mock-server/) instead. That is useful long before the real API exists, and if no mock is set up yet, Routebase creates one on the spot.
**Fill in the request.** Path parameters, query parameters, headers and the request body each get their own section, built from what the endpoint declares. The form therefore matches the contract rather than being a blank text box. A query string parameter of a 3.2 specification gets one field for the whole string, and Try It appends what you type after the `?` without changing it, because the value is already encoded for its content type. Above the send button, the **Request URL** shows the fully resolved address with variables substituted, so you can see what will actually be sent.
## Internal notes
Every endpoint has an **Internal Notes** section at the bottom of the editor that is visible to your team inside Routebase but never exported to your public documentation. Use it for implementation details, open questions or migration reminders that should not reach API consumers.
## Deleting an endpoint
Choose **Delete** from the endpoint's context menu or **…** menu. The confirmation dialog shows the method and path and warns that the action cannot be undone. Deleting endpoints, folders or specifications requires the **specs:delete** permission, which by default means Admins and Owners. Members can create and edit but not delete.
## Try It — sending a real request
The **Try It** tab of the endpoint editor sends an actual request for the endpoint you have open, without leaving the designer. It is how you check that the thing you designed behaves the way you described it.
**Pick a target** in the environment selector at the top. Two kinds of target exist:
- Any [environment](https://docs.routebase.dev/environments/) of the project takes the request to its base URL, with its variables and its authentication. An environment marked read-only says so, and one without a base URL tells you plainly with *"This environment has no base URL configured."*
- **Mock Server** takes the request to your [mock server](https://docs.routebase.dev/mock-server/) instead. That is useful long before the real API exists, and if no mock is set up yet, Routebase creates one on the spot.
**Fill in the request.** Path parameters, query parameters, headers and the request body each get their own section, built from what the endpoint declares. The form therefore matches the contract rather than being a blank text box. A query string parameter of a 3.2 specification gets one field for the whole string, and Try It appends what you type after the `?` without changing it, because the value is already encoded for its content type. Above the send button, the **Request URL** shows the fully resolved address with variables substituted, so you can see what will actually be sent.
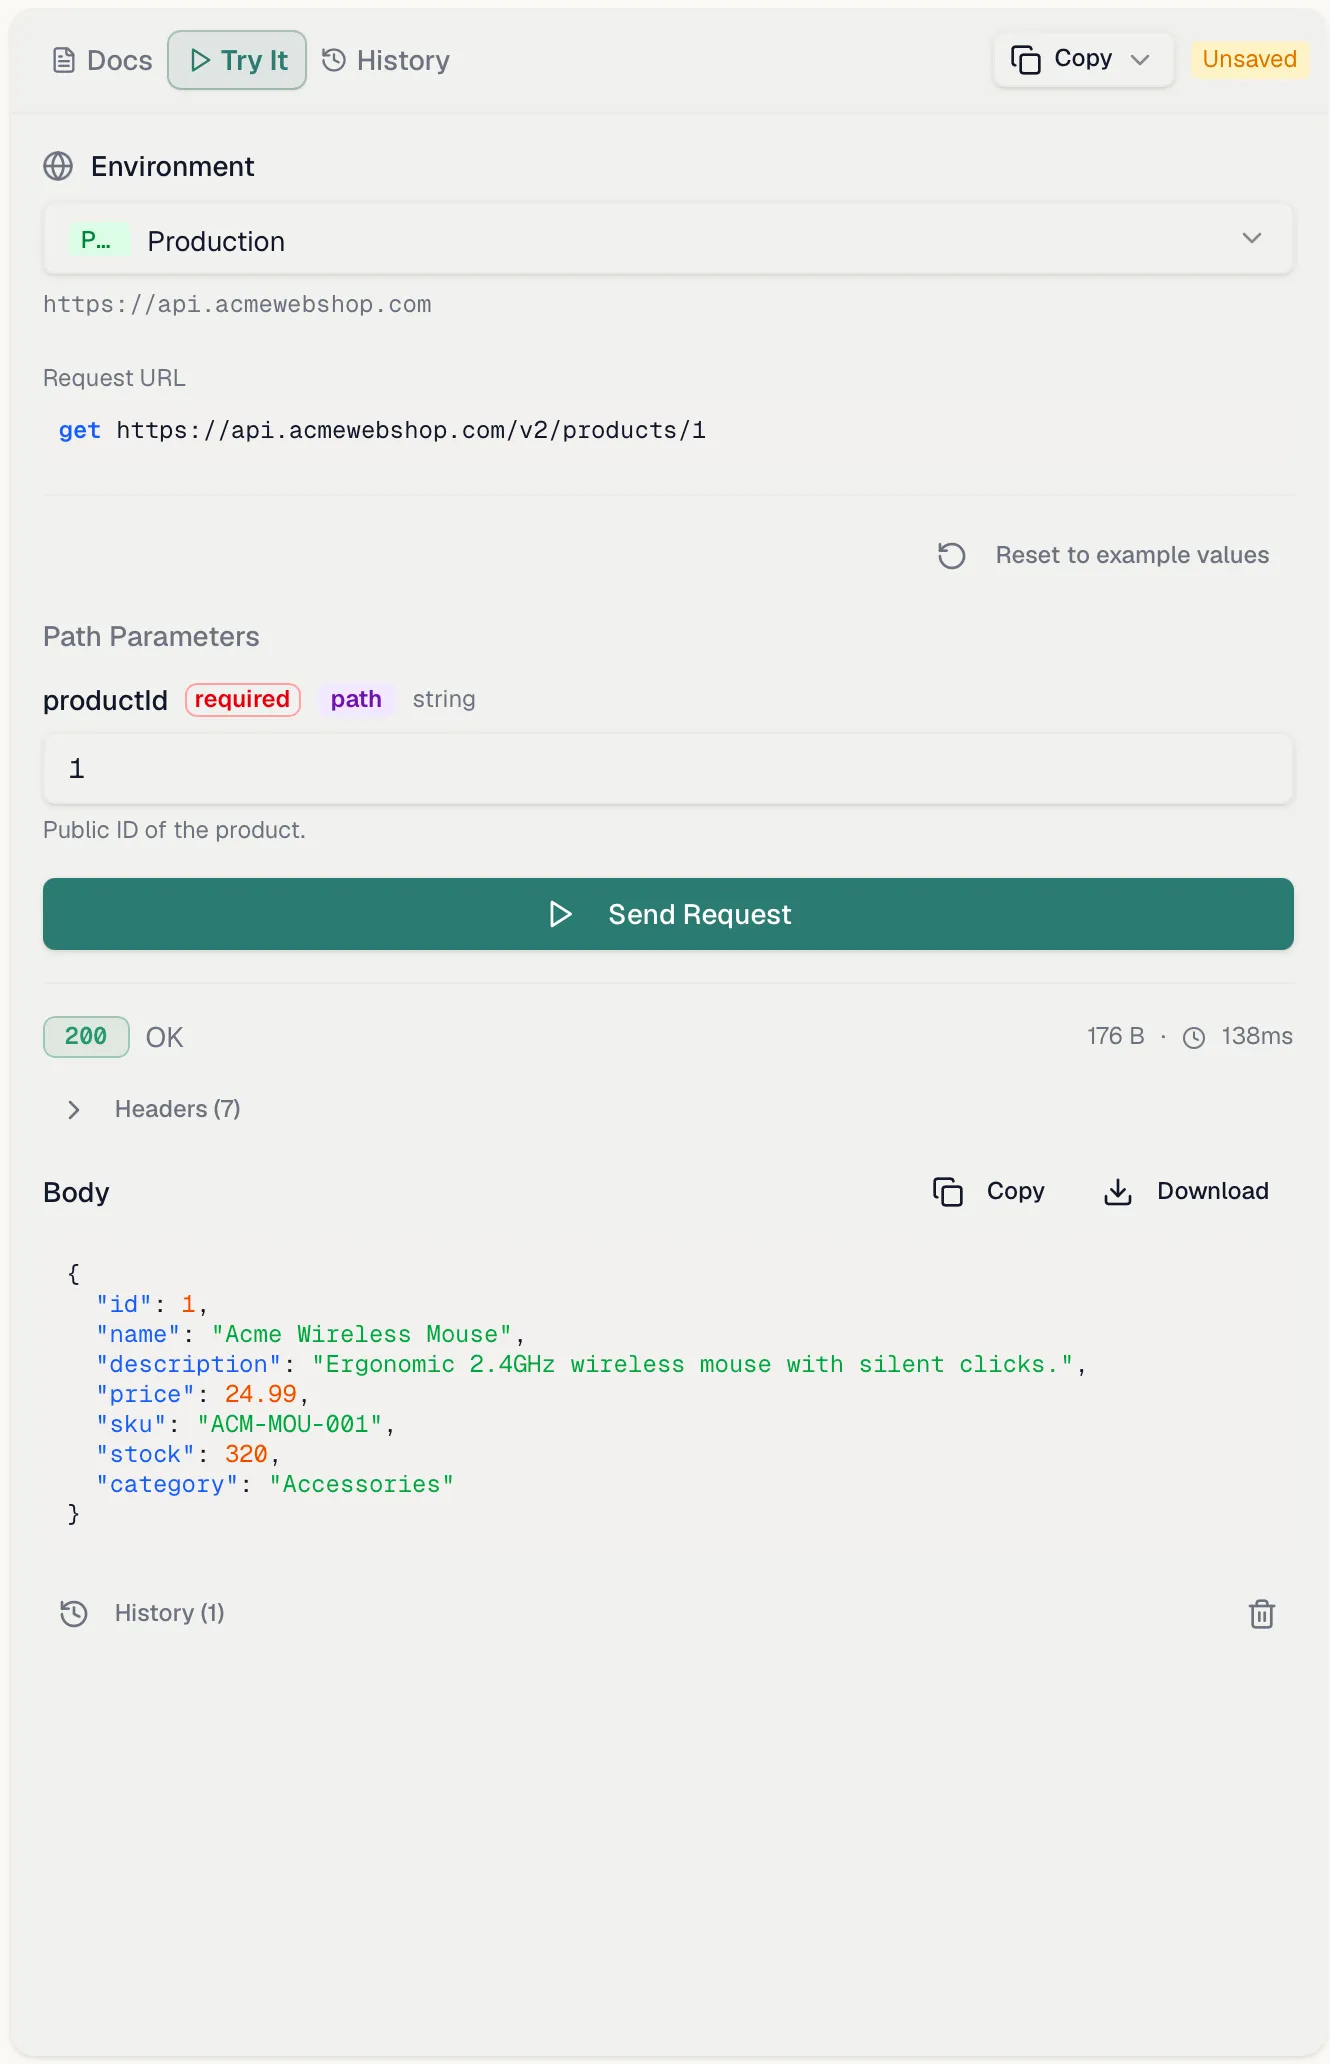
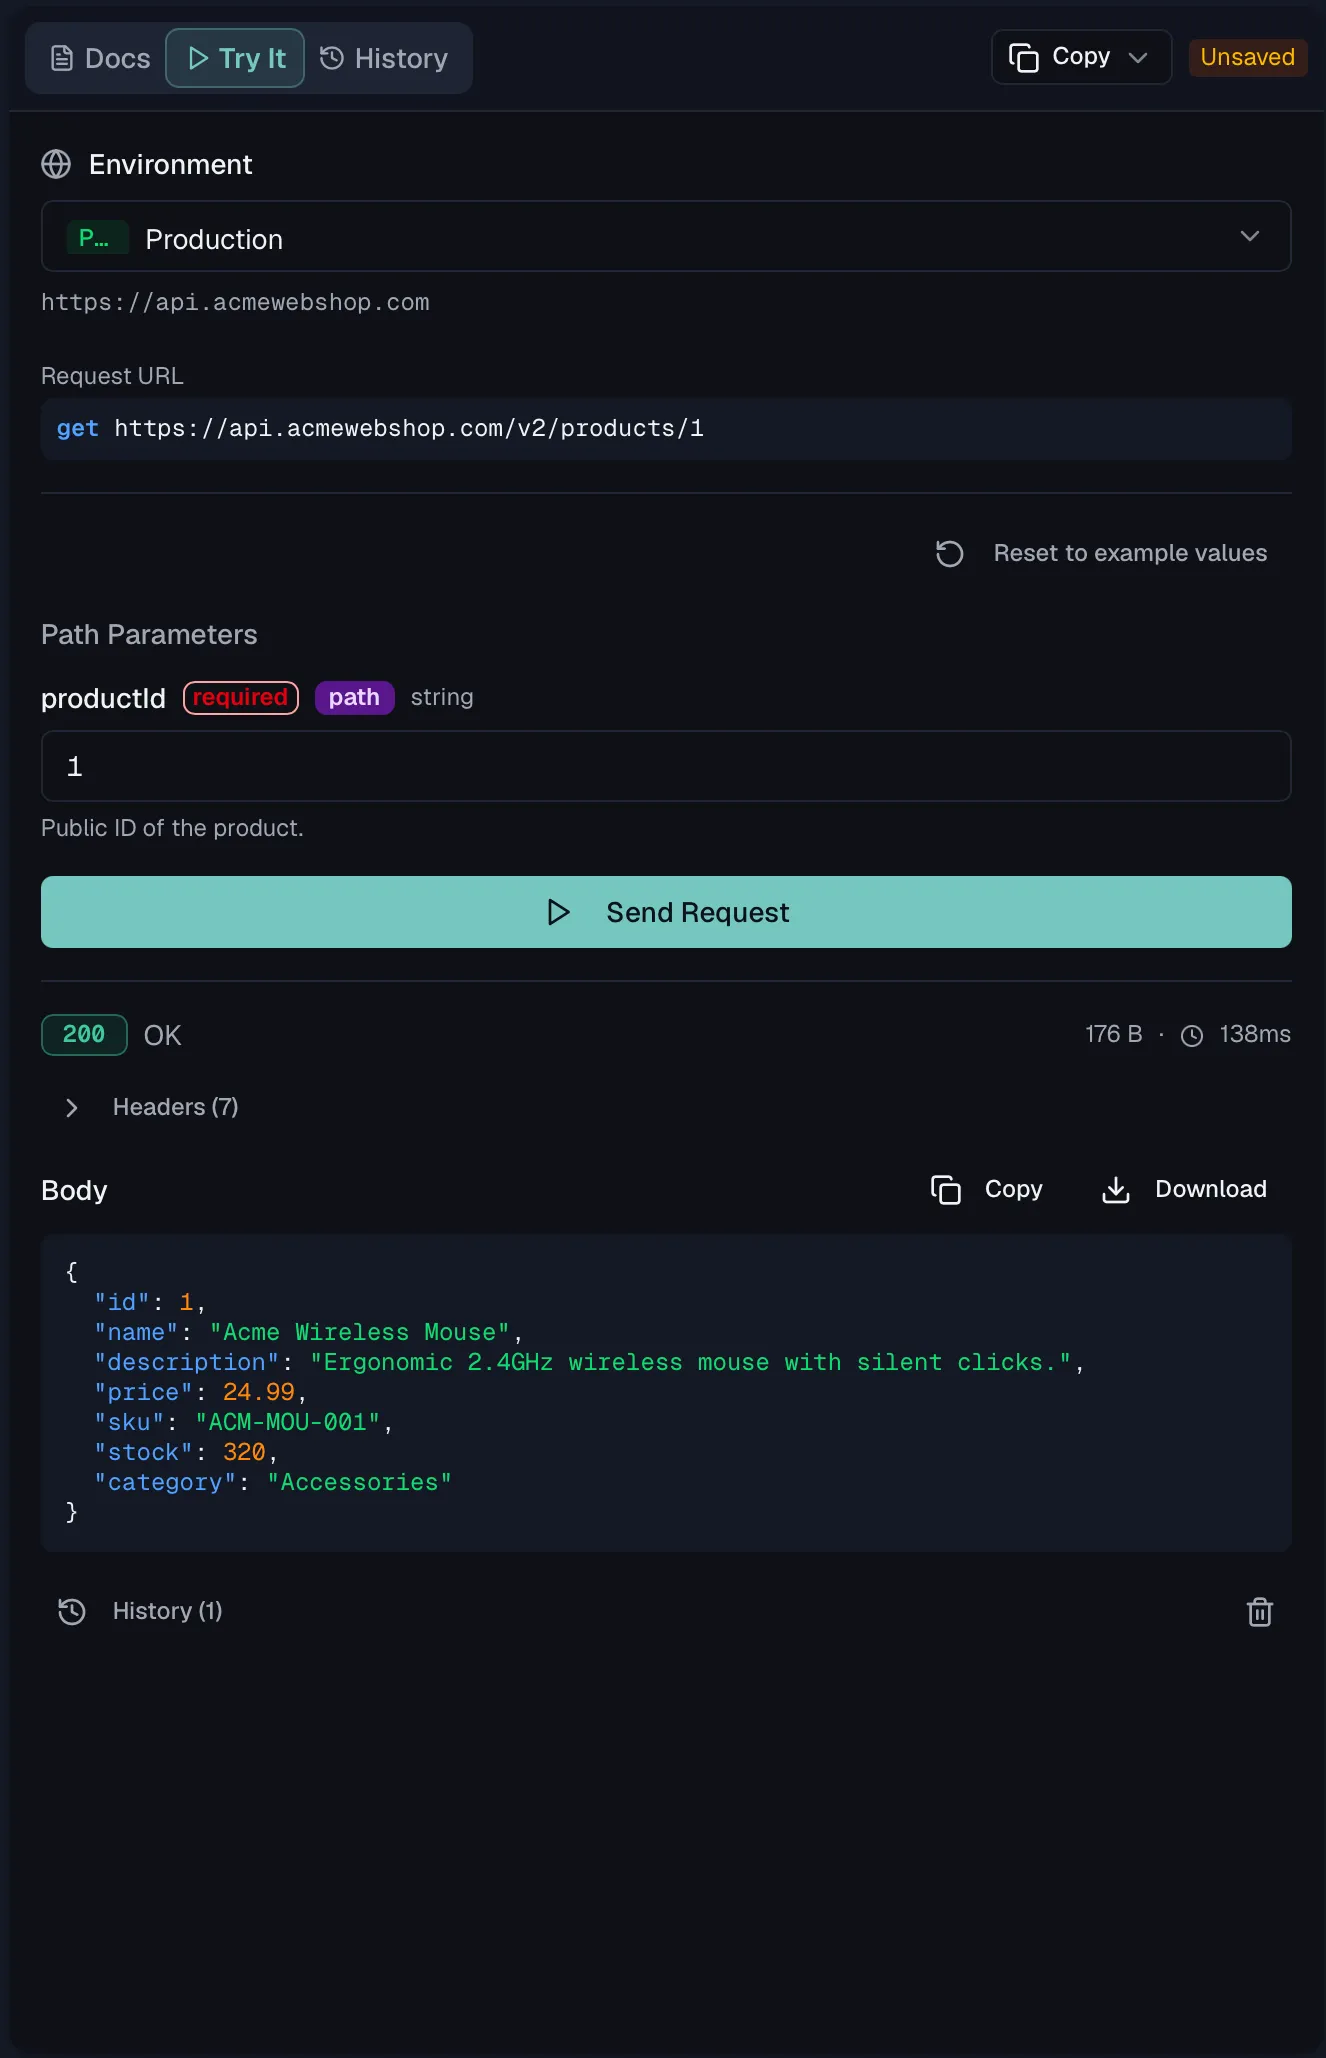 **Sending against the mock has one wrinkle worth knowing.** The mock applies no environment authentication, because no environment travels with the request. An endpoint whose mock rules gate on an auth header will answer **401** until one is sent. Rather than always attaching credentials, Try It offers an *Add {header} header* button that adds the demo header the endpoint's security schemes ask for. That way the 401 path stays testable, because you see it by not clicking.
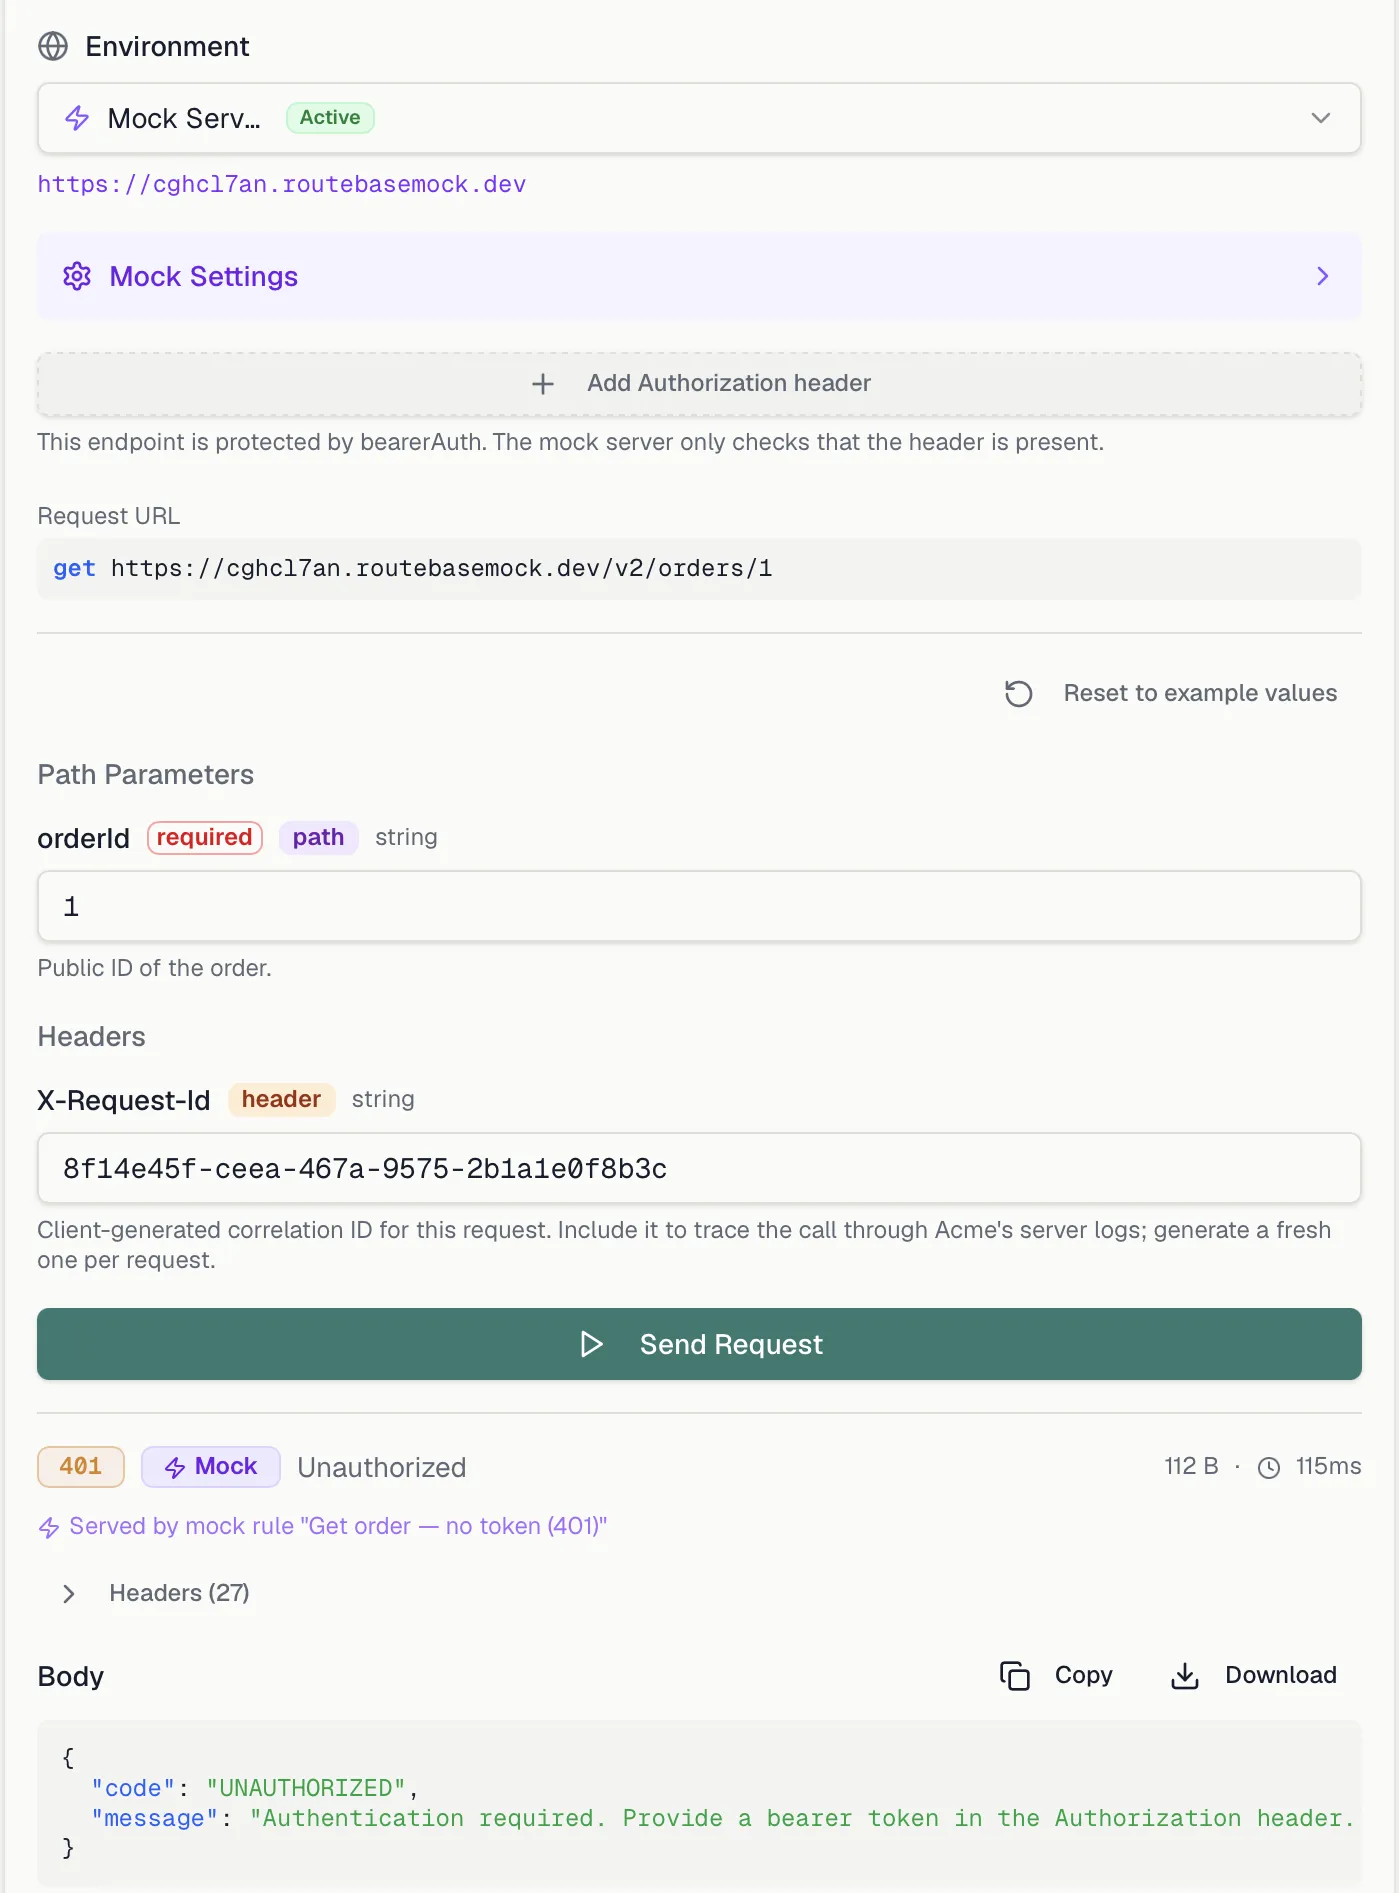
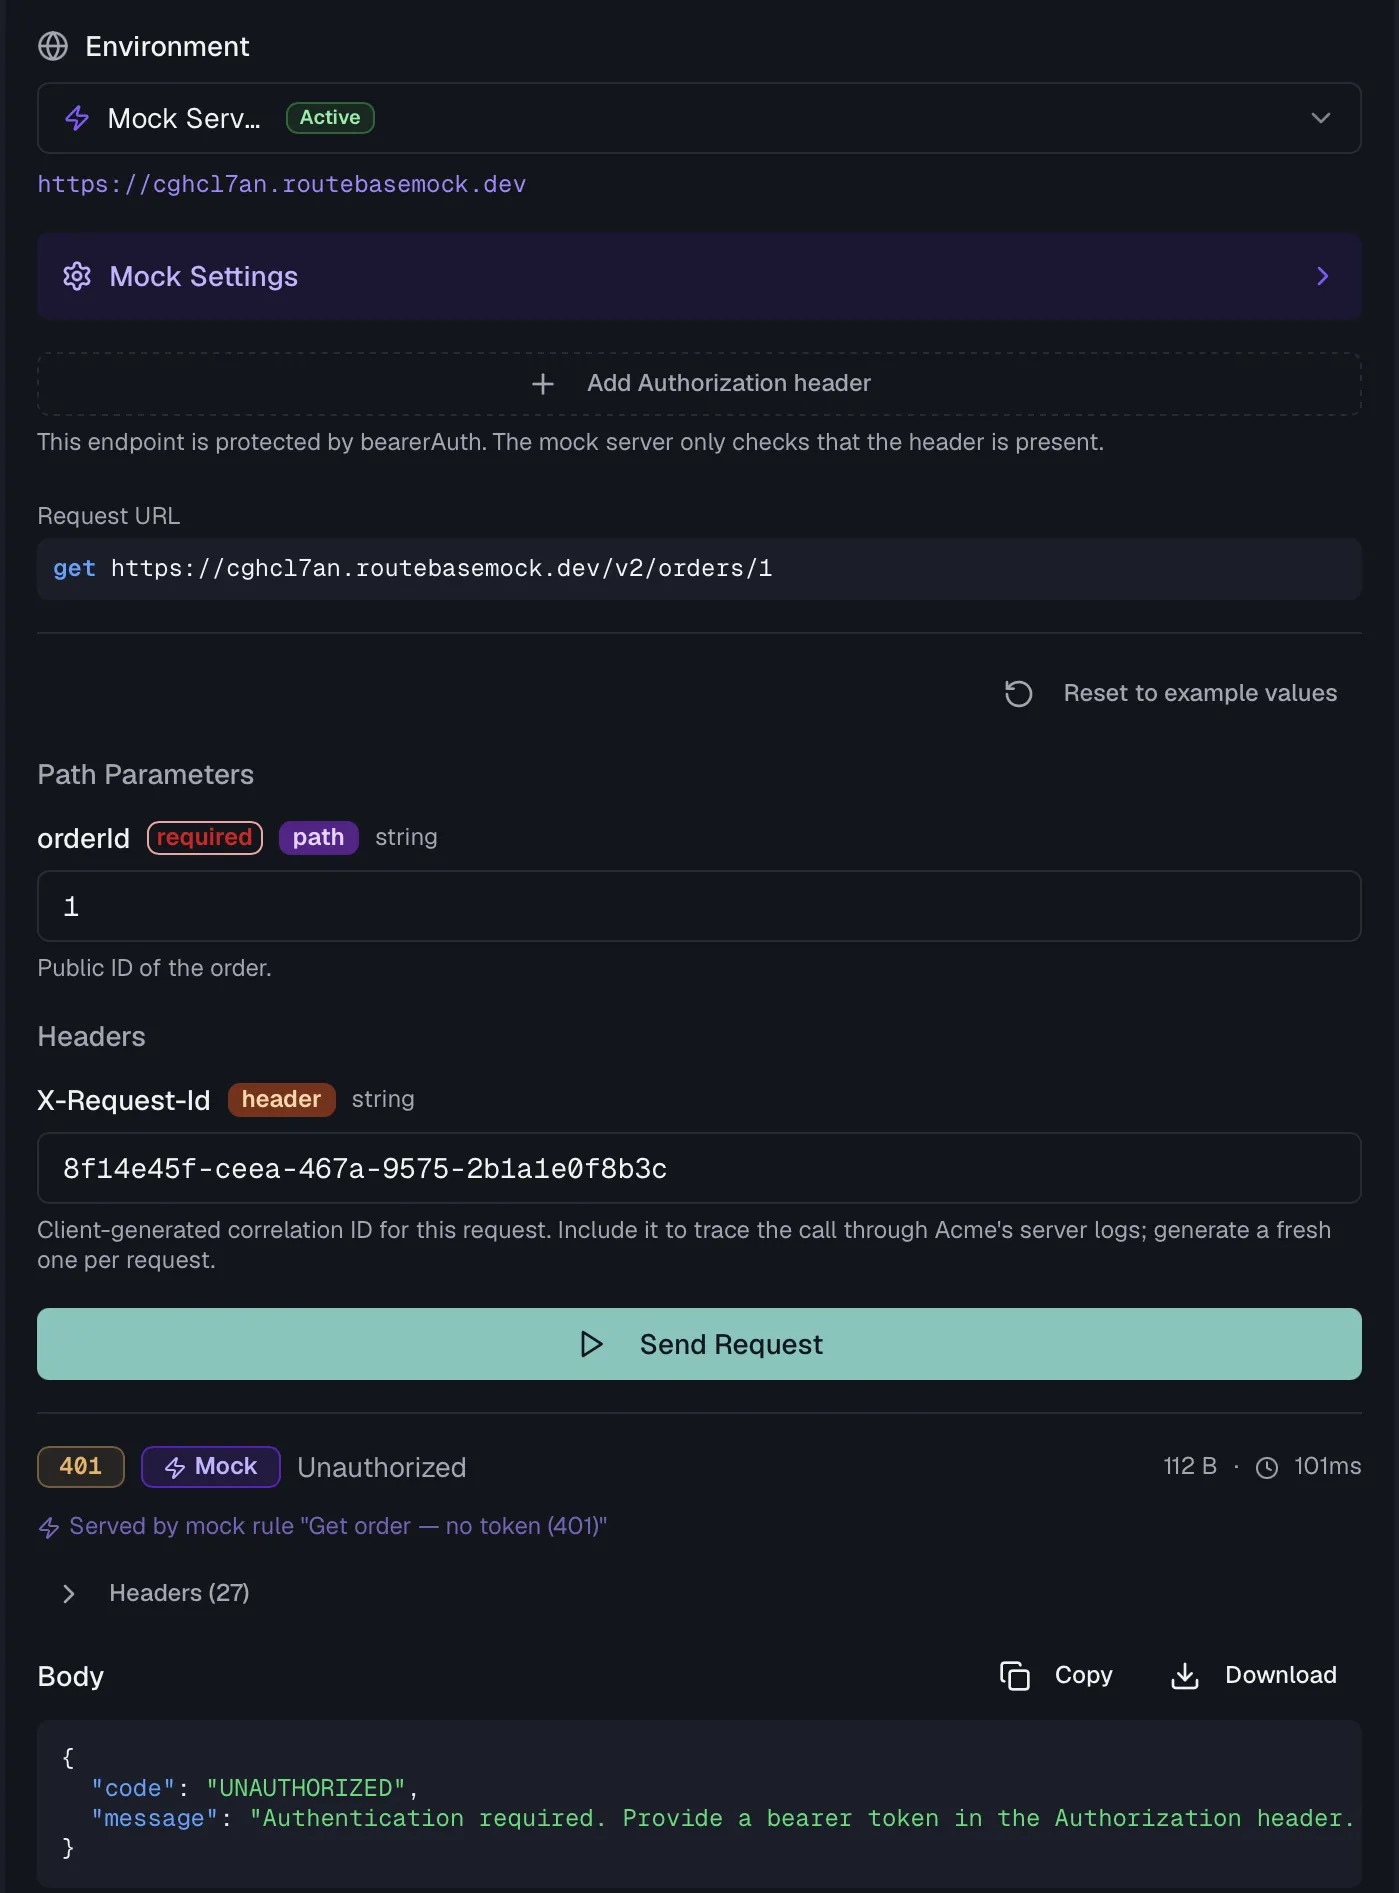 **Mock Settings** appear only against the mock, and they let you provoke the cases that are otherwise hard to reach. A **Response Delay** shows how a client behaves on a slow answer, and **Error Simulation** returns an error response on demand. **Regenerate Mock Rule** rebuilds the rule from the current schema after you change the contract.
Every request is kept in the **request history** of the tab, so you can go back to what you sent and compare.
## Review mode — what changed since
Comparing two published versions is one thing, and seeing what *you* have changed while you are still working is another. The **Changes** toggle in the designer toolbar turns the editor itself into a diff view.
A bar appears reading *"Showing changes since {version}"*, with a **Baseline version** selector, so you can compare against the last published version or any other one. Routebase picks a sensible baseline itself, and the selector is there when you want a different one. If there is only one version, it says so rather than showing an empty control.
With review mode on, the change markers sit where you are already looking:
**Mock Settings** appear only against the mock, and they let you provoke the cases that are otherwise hard to reach. A **Response Delay** shows how a client behaves on a slow answer, and **Error Simulation** returns an error response on demand. **Regenerate Mock Rule** rebuilds the rule from the current schema after you change the contract.
Every request is kept in the **request history** of the tab, so you can go back to what you sent and compare.
## Review mode — what changed since
Comparing two published versions is one thing, and seeing what *you* have changed while you are still working is another. The **Changes** toggle in the designer toolbar turns the editor itself into a diff view.
A bar appears reading *"Showing changes since {version}"*, with a **Baseline version** selector, so you can compare against the last published version or any other one. Routebase picks a sensible baseline itself, and the selector is there when you want a different one. If there is only one version, it says so rather than showing an empty control.
With review mode on, the change markers sit where you are already looking:
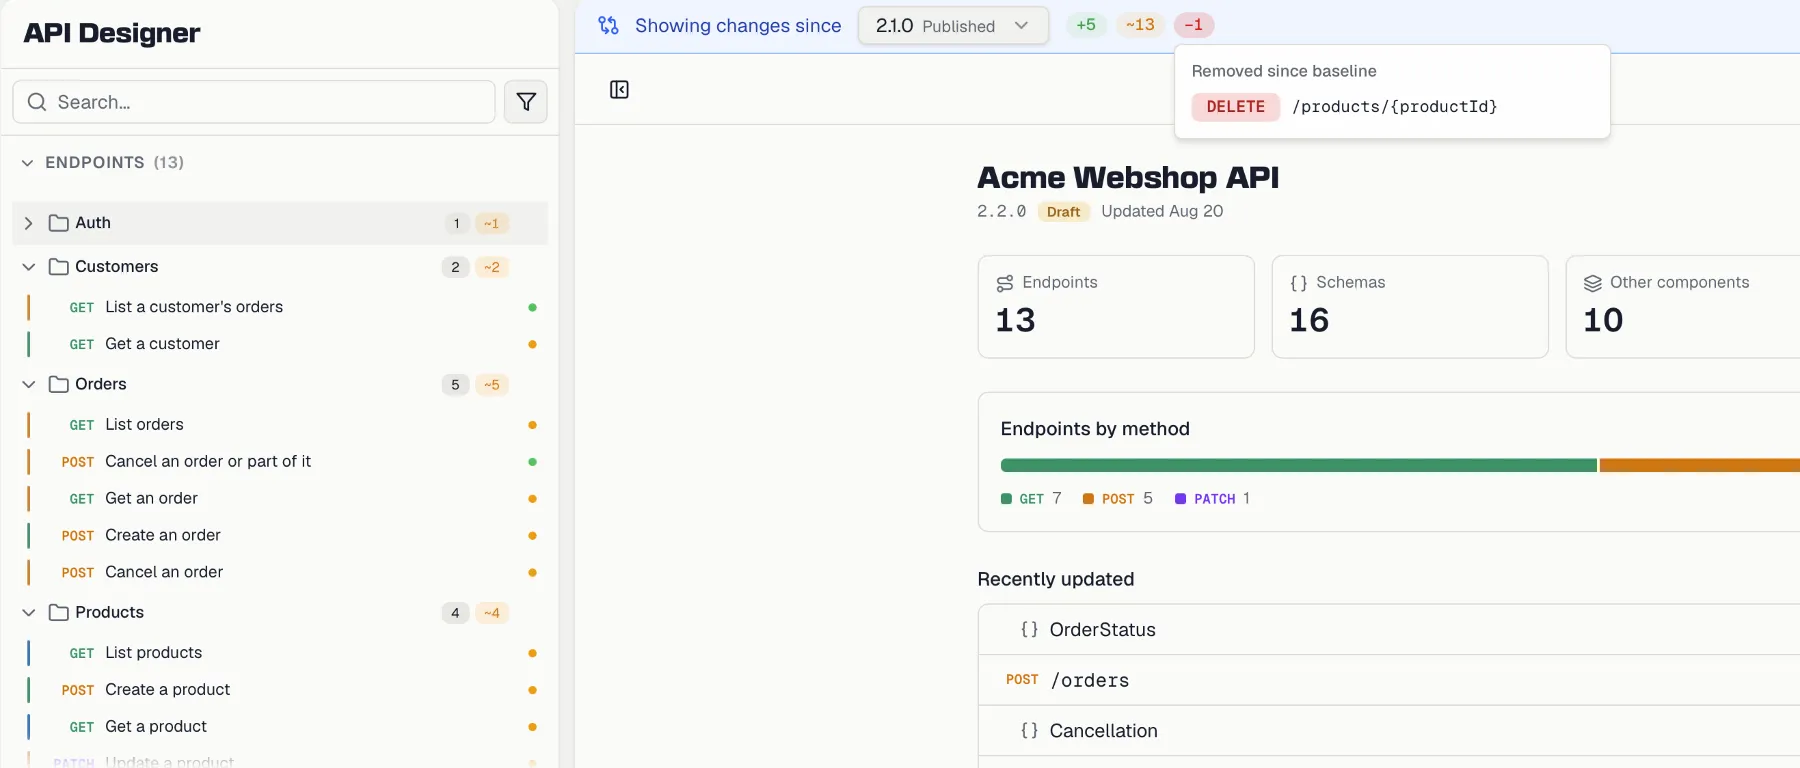
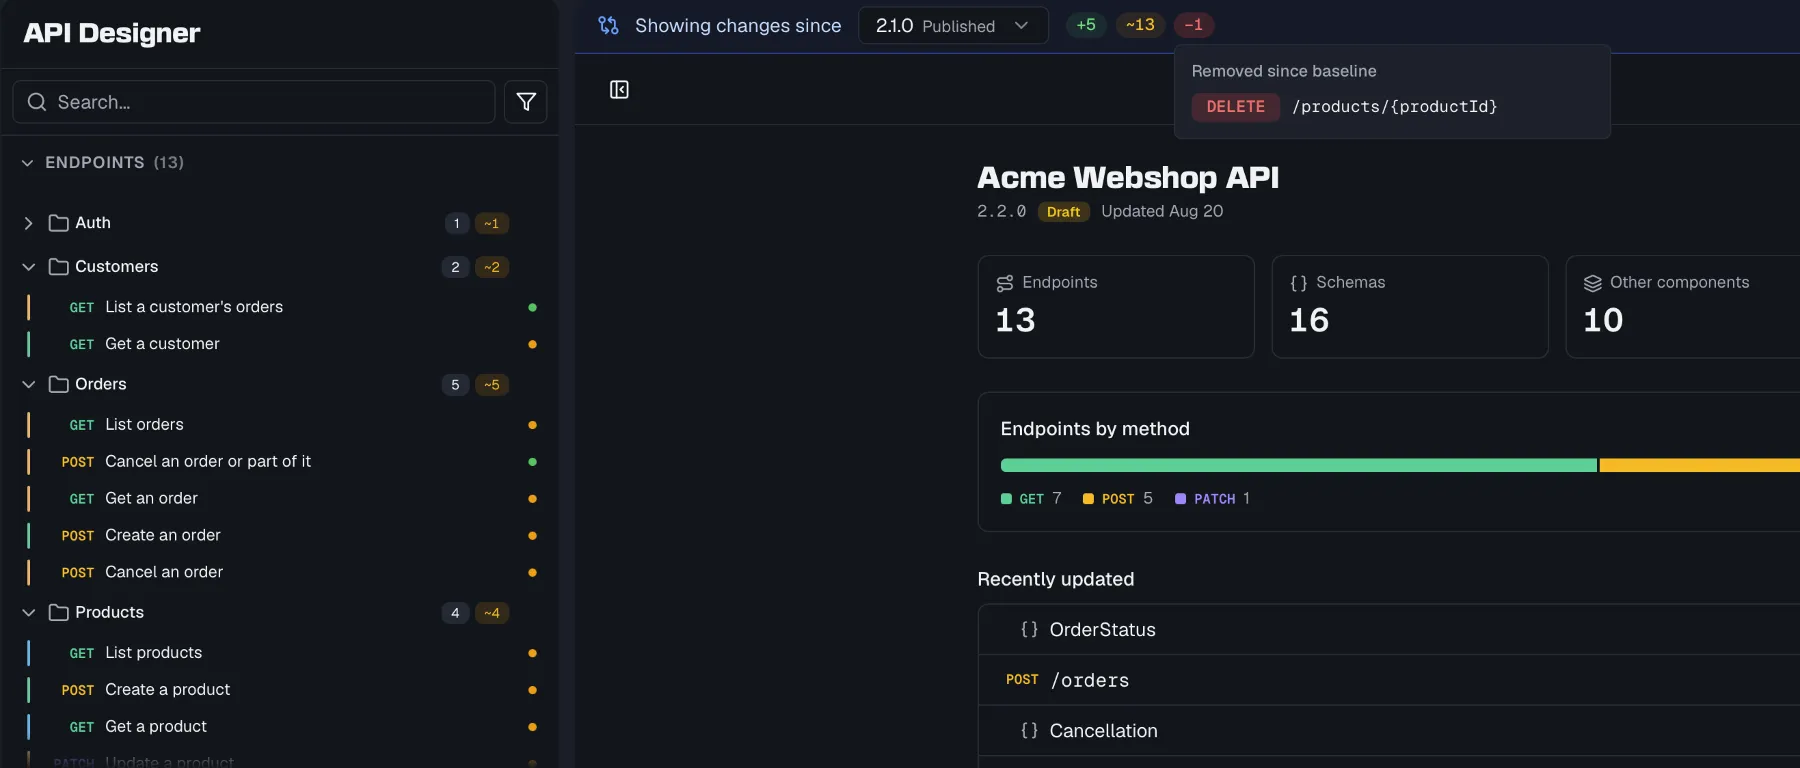 - Endpoints and schemas in the tree are marked **added** or **modified**, so you can see at a glance which parts of the API you touched.
- Entries that no longer exist appear as **Removed since baseline**. They cannot be marked in a tree they are absent from, so they get their own list.
- Inside the editor, the diff goes down to the property level, so response tables, request-body tables and schema tables show which individual fields changed.
It answers the question you actually have before a release, which is what you are about to publish, without leaving the place where you would fix it.
**Exit review mode** returns the editor to normal.
## Preview, command palette, and shortcuts
- **Undo and redo** sit in the designer toolbar and have keyboard shortcuts. The buttons name the step they would reverse rather than only saying "Undo", so you can see what you are about to take back before you click. When there is nothing left, they say so.
- The **preview panel** toggles a side panel showing a live **documentation preview** of the selected endpoint, or the raw **OpenAPI** output, while you edit.
- The **command palette** jumps to any endpoint, schema or component, and triggers actions, from a single searchable palette.
- **Keyboard shortcuts** are listed in a shortcuts dialog, and you can customize them in Settings.
## Permissions
Viewing the API Designer requires **specs:read**, and creating and editing endpoints requires **specs:write**. The Member role includes both. Deleting endpoints, folders and specifications requires **specs:delete**, which Admins and Owners have. Published versions are locked, so editing controls are hidden and a banner explains that a new version is needed. See [Versioning](https://docs.routebase.dev/versioning/).
## Related
- [Parameters](https://docs.routebase.dev/parameters/) — the inputs an endpoint accepts
- [Responses](https://docs.routebase.dev/responses/) — what an endpoint returns
- [Schemas](https://docs.routebase.dev/schemas/) — reusable data structures referenced by endpoints
- [Components](https://docs.routebase.dev/components/) — reusable parameters, request bodies, responses, and security schemes
- [Versioning](https://docs.routebase.dev/versioning/) — draft, publish, and compare spec versions
---
## Endpoints — MCP Tools
Source: https://docs.routebase.dev/endpoints-mcp-tools/
The tools below belong to the **Endpoints** group of the Routebase MCP server.
## add_parameter
Add a parameter to an endpoint (path, query, header, cookie, or querystring parameter). Use this to add one parameter; to change an existing one use update_parameter. Requires project context.
**Required scope:** `specs:write`
| Parameter | Type | Required | Description |
| --- | --- | --- | --- |
| `specId` | string | Yes | Public ID (GUID) of the API specification |
| `endpointId` | string | Yes | Public ID (GUID) of the endpoint |
| `name` | string | Yes | Parameter name (e.g., 'id', 'page', 'Authorization') |
| `location` | string | Yes | Parameter location: 'path', 'query', 'header', 'cookie', or 'querystring' (3.2 specs only) |
| `schemaType` | string | Yes | Schema type: 'string', 'integer', 'number', 'boolean', 'array', 'object' |
| `required` | boolean | No (default `false`) | Whether the parameter is required (default false, path params are always required) |
| `description` | string | No | Description of the parameter |
| `schemaFormat` | string | No | Schema format (e.g., 'date-time', 'email', 'uuid', 'int32', 'int64') |
| `example` | string | No | Example value for the parameter. A bare value is fine ('us', '42'); JSON is accepted too. |
| `defaultValue` | string | No | Default value for the parameter |
| `schemaId` | string | No | Public ID (GUID) of a schema to link; when set, the parameter's schema is exported as a $ref to that component and schemaType is ignored on export. |
| `style` | string | No | OpenAPI style keyword ('form', 'deepObject', 'simple', 'cookie' (3.2), …); omit for the default |
| `explode` | boolean | No | OpenAPI explode; omit for the default |
| `contentType` | string | No | Querystring media type (default form-urlencoded) |
| `serializedExample` | string | No | 3.2 only: example in wire form (serializedValue) |
## add_response
Add a response to an endpoint with status code, description, and optional schema. Provide either schemaJson (inline) or schemaId (reference), not both. Use this to add one response; to change an existing one use update_response. Requires project context.
**Required scope:** `specs:write`
| Parameter | Type | Required | Description |
| --- | --- | --- | --- |
| `specId` | string | Yes | Public ID (GUID) of the API specification |
| `endpointId` | string | Yes | Public ID (GUID) of the endpoint |
| `statusCode` | integer | Yes | HTTP status code (e.g., 200, 201, 400, 404, 500) |
| `description` | string | No | Description of the response |
| `contentType` | string | No (default `"application/json"`) | Response content type (default 'application/json') |
| `schemaJson` | string | No | Inline JSON Schema definition for the response body |
| `example` | string | No | Example response body |
| `schemaId` | string | No | Public ID (GUID) of an existing schema to reference (alternative to schemaJson) |
| `itemSchemaJson` | string | No | OpenAPI 3.2 only: JSON Schema of one item of a sequential media type (jsonl, json-seq, SSE) |
| `mediaTypeComponentId` | string | No | OpenAPI 3.2 only: id of a media type component the content entry references via $ref |
| `serializedExample` | string | No | 3.2 only: example in wire form (serializedValue) |
## add_security_scheme
Assign a security scheme to one endpoint (endpointId) or to many at once (endpointIds plus versionId). The security scheme must already exist as a component in the spec. Pass either securitySchemeId or securitySchemeName (the OpenAPI component name, e.g. 'bearerAuth'). The multi-endpoint form is idempotent — endpoints that already carry the scheme are skipped. Use this to assign a scheme; to take an assignment off again use remove_endpoint_security_scheme. Requires project context.
**Required scope:** `specs:write`
| Parameter | Type | Required | Description |
| --- | --- | --- | --- |
| `specId` | string | Yes | Public ID (GUID) of the API specification |
| `endpointId` | string | No | Public ID (GUID) of the endpoint — alternative to endpointIds |
| `endpointIds` | string | No | Comma-separated endpoint IDs (GUIDs) to assign in one call — alternative to endpointId; requires versionId |
| `versionId` | string | No | Public ID (GUID) of the spec version the endpoints belong to — required with endpointIds (from list_endpoints) |
| `securitySchemeId` | string | No | Public ID (GUID) of the security scheme component to assign — alternative to securitySchemeName |
| `securitySchemeName` | string | No | Name of the security scheme component (e.g. 'bearerAuth') — alternative to securitySchemeId |
| `scopes` | string | No | Comma-separated OAuth scopes (e.g., 'read:users,write:users') |
## bulk_update_endpoints
Act on many endpoints in one call. Actions: 'delete' removes them, 'move' puts them into a folder (omit folderId to move them to the root), 'reorder' sets their display order — for 'reorder' the endpointIds are the new order, so pass every endpoint you want ordered. Use this to act on many endpoints at once; for a single one use update_endpoint or delete_endpoint. Requires project context.
**Required scope:** `specs:write`
| Parameter | Type | Required | Description |
| --- | --- | --- | --- |
| `specId` | string | Yes | Public ID (GUID) of the API specification |
| `action` | string | Yes | What to do: 'delete', 'move' or 'reorder' |
| `endpointIds` | string | Yes | Endpoint IDs (GUIDs), comma-separated. For 'reorder' this is the new order. |
| `folderId` | string | No | Target folder ID (GUID) for 'move'; omit to move the endpoints to the root |
## create_endpoint
Create a new endpoint in an API specification. Requires a version ID because endpoints are version-scoped. Use this for one new endpoint; to bring in many at once from an existing document use import_spec. Requires project context.
**Required scope:** `specs:write`
| Parameter | Type | Required | Description |
| --- | --- | --- | --- |
| `specId` | string | Yes | Public ID (GUID) of the API specification |
| `versionId` | string | Yes | Public ID (GUID) of the spec version to add the endpoint to |
| `path` | string | Yes | Endpoint path (e.g., '/users/{id}', '/orders') |
| `method` | string | Yes | HTTP method: 'get', 'post', 'put', 'patch', 'delete', 'head', 'options', 'query' |
| `summary` | string | No | Short summary of what the endpoint does |
| `description` | string | No | Detailed description of the endpoint |
| `operationId` | string | No | Unique operation ID (e.g., 'getUser', 'createOrder') |
## delete_endpoint
Delete an endpoint (soft delete). Use this to remove one endpoint; to undo the delete later use restore_endpoint. Requires project context.
**Required scope:** `specs:delete`
| Parameter | Type | Required | Description |
| --- | --- | --- | --- |
| `specId` | string | Yes | Public ID (GUID) of the API specification |
| `versionId` | string | Yes | Public ID (GUID) of the spec version |
| `endpointId` | string | Yes | Public ID (GUID) of the endpoint to delete |
## delete_parameter
Delete a parameter from an endpoint. Use this to remove a parameter; to change it instead use update_parameter. Requires project context.
**Required scope:** `specs:delete`
| Parameter | Type | Required | Description |
| --- | --- | --- | --- |
| `specId` | string | Yes | Public ID (GUID) of the API specification |
| `endpointId` | string | Yes | Public ID (GUID) of the endpoint |
| `parameterId` | string | Yes | Public ID (GUID) of the parameter to delete |
## delete_request_body
Remove an endpoint's request body entirely. To change it instead, use set_request_body; to only detach a linked component, use set_request_body with detachRequestBodyComponent. Requires project context.
**Required scope:** `specs:delete`
| Parameter | Type | Required | Description |
| --- | --- | --- | --- |
| `specId` | string | Yes | Public ID (GUID) of the API specification |
| `endpointId` | string | Yes | Public ID (GUID) of the endpoint whose request body should be removed |
## delete_response
Delete a response from an endpoint. Use this to remove a response; to change it instead use update_response. Requires project context.
**Required scope:** `specs:delete`
| Parameter | Type | Required | Description |
| --- | --- | --- | --- |
| `specId` | string | Yes | Public ID (GUID) of the API specification |
| `endpointId` | string | Yes | Public ID (GUID) of the endpoint |
| `responseId` | string | Yes | Public ID (GUID) of the response to delete |
## get_endpoint
Get detailed information about an endpoint including parameters, request body, responses, and security schemes. Pass endpointIds instead of endpointId to fetch several at once (up to 25) — the same detail per endpoint, in one call. Use this when you already have the endpoint id; to browse a spec's endpoints or find an id use list_endpoints. Requires project context.
**Required scope:** `specs:read`
| Parameter | Type | Required | Description |
| --- | --- | --- | --- |
| `specId` | string | Yes | Public ID (GUID) of the API specification |
| `endpointId` | string | No | Public ID (GUID) of the endpoint — omit when using endpointIds |
| `endpointIds` | string | No | Public IDs (GUIDs) of several endpoints, comma-separated, at most 25 |
## list_endpoints
List all endpoints of an API specification. Optionally filter by version. Set scope to 'project' to look across every spec in the project instead — that returns the groups of endpoints colliding on method and path (gateway routing conflicts) plus counts, not the full list, and specId is then ignored. Use this to browse endpoints or find an endpoint id; for one endpoint in full use get_endpoint. Requires project context (call set_context first).
**Required scope:** `specs:read`
| Parameter | Type | Required | Description |
| --- | --- | --- | --- |
| `specId` | string | Yes | Public ID (GUID) of the API specification |
| `versionId` | string | No | Optional version ID (GUID) to filter endpoints by a specific version |
| `skip` | integer | No (default `0`) | Number of endpoints to skip (for pagination, default 0) |
| `take` | integer | No (default `50`) | Number of endpoints to return (default 50, max 100) |
| `scope` | string | No (default `"spec"`) | What to look at: 'spec' (default) or 'project' |
## manage_response_header
Manage the headers a response declares. Actions: 'add' creates one on a response, 'update' replaces its fields, 'delete' removes it, 'link' points it at a reusable header component (the component then drives its shape), 'unlink' detaches it again and keeps the current values inline. 'add' and 'update' need name and schemaType; 'link' needs headerComponentId. Use this for the headers of one endpoint response; for reusable header components use manage_header_component. Requires project context.
**Required scope:** `specs:write`
| Parameter | Type | Required | Description |
| --- | --- | --- | --- |
| `specId` | string | Yes | Public ID (GUID) of the API specification |
| `action` | string | Yes | What to do: 'add', 'update', 'delete', 'link' or 'unlink' |
| `endpointId` | string | No | Public ID (GUID) of the endpoint — required for 'add', 'update' and 'delete' |
| `responseId` | string | No | Public ID (GUID) of the response — required for 'add', 'update' and 'delete' |
| `responseHeaderId` | string | No | Public ID (GUID) of the response header — required for everything but 'add' |
| `name` | string | No | Header name (e.g. 'X-Rate-Limit') — required for 'add' and 'update' |
| `schemaType` | string | No | Schema type: 'string', 'integer', 'number', 'boolean', 'array' or 'object' — required for 'add' and 'update' |
| `required` | boolean | No (default `false`) | Whether the header is always present (default false) |
| `description` | string | No | Optional description |
| `schemaFormat` | string | No | Optional schema format (e.g. 'date-time', 'int64') |
| `example` | string | No | Optional example value |
| `headerComponentId` | string | No | Public ID (GUID) of the header component — required for 'link', optional on 'add' |
| `serializedExample` | string | No | 3.2 only: example in wire form (serializedValue) |
## move_endpoint_to_folder
Move an endpoint to a folder, or to root (ungrouped) by omitting folderId. Use this for one endpoint; to move many at once use bulk_update_endpoints with action 'move'. Requires project context.
**Required scope:** `specs:write`
| Parameter | Type | Required | Description |
| --- | --- | --- | --- |
| `specId` | string | Yes | Public ID (GUID) of the API specification |
| `endpointId` | string | Yes | Public ID (GUID) of the endpoint to move |
| `folderId` | string | No | Public ID (GUID) of the target folder, or omit to move to root (ungrouped) |
## remove_endpoint_security_scheme
Remove a security scheme assignment from an endpoint. The securitySchemeAssignmentId is the assignment's own public ID (from get_endpoint), not the security-scheme component ID. Requires project context.
**Required scope:** `specs:write`
| Parameter | Type | Required | Description |
| --- | --- | --- | --- |
| `specId` | string | Yes | Public ID (GUID) of the API specification |
| `endpointId` | string | Yes | Public ID (GUID) of the endpoint |
| `securitySchemeAssignmentId` | string | Yes | Public ID (GUID) of the endpoint's security scheme assignment to remove (from get_endpoint) |
## restore_endpoint
Restore a soft-deleted endpoint into its version. Use this to bring a soft-deleted endpoint back; to remove one use delete_endpoint. Requires project context.
**Required scope:** `specs:write`
| Parameter | Type | Required | Description |
| --- | --- | --- | --- |
| `specId` | string | Yes | Public ID (GUID) of the API specification |
| `versionId` | string | Yes | Public ID (GUID) of the spec version the endpoint belongs to |
| `endpointId` | string | Yes | Public ID (GUID) of the deleted endpoint |
## set_request_body
Set or update the request body for an endpoint. Provide either schemaJson (inline JSON Schema) or schemaId (reference to an existing schema), not both. A fixture-backed example reference is always preserved as-is; the request body component link is preserved unless requestBodyComponentId names a different one or detachRequestBodyComponent is true. While a component is linked the exported spec emits a $ref to that component and ignores schemaJson/schemaId — detach it to make them take effect. Use this to set or change the body; to remove it entirely use delete_request_body. Requires project context.
**Required scope:** `specs:write`
| Parameter | Type | Required | Description |
| --- | --- | --- | --- |
| `specId` | string | Yes | Public ID (GUID) of the API specification |
| `endpointId` | string | Yes | Public ID (GUID) of the endpoint |
| `contentType` | string | Yes | Content type (e.g., 'application/json', 'multipart/form-data') |
| `required` | boolean | No (default `true`) | Whether the request body is required (default true) |
| `description` | string | No | Description of the request body |
| `schemaJson` | string | No | Inline JSON Schema definition as a string |
| `example` | string | No | Example request body |
| `schemaId` | string | No | Public ID (GUID) of an existing schema to reference (alternative to schemaJson) |
| `rowVersion` | string | No | Base64-encoded row version (required when updating an existing request body) |
| `requestBodyComponentId` | string | No | Public ID (GUID) of a reusable request body component to link. Omit to keep whatever component the request body is currently linked to. |
| `detachRequestBodyComponent` | boolean | No (default `false`) | Set true to remove the request body component link, so the endpoint's own schemaId/schemaJson takes effect in the exported spec. Cannot be combined with requestBodyComponentId. |
| `itemSchemaJson` | string | No | OpenAPI 3.2 only: item schema of a sequential media type (jsonl, json-seq, SSE); omit to keep, empty string to clear |
| `mediaTypeComponentId` | string | No | OpenAPI 3.2 only: media type component id the content entry references ($ref); omit to keep |
| `detachMediaTypeComponent` | boolean | No (default `false`) | Remove the media type component link |
| `serializedExample` | string | No | 3.2 only: example in wire form (serializedValue); omit keeps, empty string clears |
## update_endpoint
Update an existing endpoint. Requires the rowVersion from get_endpoint for optimistic concurrency control (Base64-encoded string). Requires project context.
**Required scope:** `specs:write`
| Parameter | Type | Required | Description |
| --- | --- | --- | --- |
| `specId` | string | Yes | Public ID (GUID) of the API specification |
| `versionId` | string | Yes | Public ID (GUID) of the spec version |
| `endpointId` | string | Yes | Public ID (GUID) of the endpoint to update |
| `path` | string | Yes | Endpoint path (e.g., '/users/{id}') |
| `method` | string | Yes | HTTP method: 'get', 'post', 'put', 'patch', 'delete', 'head', 'options', 'query' |
| `rowVersion` | string | Yes | Base64-encoded row version from get_endpoint (for concurrency control) |
| `summary` | string | No | Short summary of what the endpoint does |
| `description` | string | No | Detailed description of the endpoint |
| `operationId` | string | No | Unique operation ID (e.g., 'getUser', 'createOrder') |
| `tags` | string | No | Comma-separated tags (e.g., 'users,admin,public') |
| `isDeprecated` | boolean | No (default `false`) | Whether the endpoint is deprecated (default false) |
| `internalNotes` | string | No | Internal notes (not visible in public API docs). Omit to keep the existing notes. |
## update_parameter
Update an existing parameter on an endpoint (name, location, type, required, description, etc.). Use this to change an existing parameter; to add a new one use add_parameter. Requires the parameter's rowVersion for optimistic concurrency control. Requires project context.
**Required scope:** `specs:write`
| Parameter | Type | Required | Description |
| --- | --- | --- | --- |
| `specId` | string | Yes | Public ID (GUID) of the API specification |
| `endpointId` | string | Yes | Public ID (GUID) of the endpoint |
| `parameterId` | string | Yes | Public ID (GUID) of the parameter to update |
| `name` | string | Yes | Parameter name (e.g., 'id', 'page', 'Authorization') |
| `location` | string | Yes | Parameter location: 'path', 'query', 'header', 'cookie', or 'querystring' (3.2 specs only) |
| `schemaType` | string | Yes | Schema type: 'string', 'integer', 'number', 'boolean', 'array', 'object' |
| `rowVersion` | string | Yes | Base64-encoded row version of the parameter (for concurrency control) |
| `required` | boolean | No (default `false`) | Whether the parameter is required (default false, path params are always required) |
| `description` | string | No | Description of the parameter |
| `schemaFormat` | string | No | Schema format (e.g., 'date-time', 'email', 'uuid', 'int32', 'int64') |
| `example` | string | No | Example value for the parameter. A bare value is fine ('us', '42'); JSON is accepted too. |
| `defaultValue` | string | No | Default value for the parameter |
| `isDeprecated` | boolean | No (default `false`) | Whether the parameter is deprecated (default false) |
| `schemaId` | string | No | Public ID (GUID) of a schema to link; when set, the parameter's schema is exported as a $ref to that component and schemaType is ignored on export. Omitting it preserves an existing link. |
| `style` | string | No | OpenAPI style keyword ('form', 'deepObject', 'simple', 'cookie' (3.2), …); omit for the default |
| `explode` | boolean | No | OpenAPI explode; omit for the default |
| `contentType` | string | No | Querystring media type (default form-urlencoded) |
| `serializedExample` | string | No | 3.2 only: example in wire form (serializedValue) |
## update_response
Update an existing response on an endpoint (status code, description, content type, schema, example). Response headers and a fixture-backed example reference are always preserved as-is; the response component link is preserved unless responseComponentId names a different one or detachResponseComponent is true. Use this to change an existing response; to add a new one use add_response. Requires the response's rowVersion for optimistic concurrency control. Requires project context.
**Required scope:** `specs:write`
| Parameter | Type | Required | Description |
| --- | --- | --- | --- |
| `specId` | string | Yes | Public ID (GUID) of the API specification |
| `endpointId` | string | Yes | Public ID (GUID) of the endpoint |
| `responseId` | string | Yes | Public ID (GUID) of the response to update |
| `statusCode` | integer | Yes | HTTP status code (e.g., 200, 201, 400, 404, 500) |
| `rowVersion` | string | Yes | Base64-encoded row version of the response (for concurrency control) |
| `description` | string | No | Description of the response |
| `contentType` | string | No (default `"application/json"`) | Response content type (default 'application/json') |
| `schemaJson` | string | No | Inline JSON Schema definition for the response body |
| `example` | string | No | Example response body |
| `schemaId` | string | No | Public ID (GUID) of an existing schema to reference (alternative to schemaJson) |
| `responseComponentId` | string | No | Public ID (GUID) of a reusable response component to link. Omit to keep whatever component the response is currently linked to. |
| `detachResponseComponent` | boolean | No (default `false`) | Set true to remove the response component link, so the response's own schemaId/schemaJson takes effect in the exported spec. Cannot be combined with responseComponentId. |
| `itemSchemaJson` | string | No | OpenAPI 3.2 only: item schema of a sequential media type; omit to keep, empty string to clear |
| `mediaTypeComponentId` | string | No | OpenAPI 3.2 only: media type component id the content entry references ($ref); omit to keep |
| `detachMediaTypeComponent` | boolean | No (default `false`) | Remove the media type component link |
| `serializedExample` | string | No | 3.2 only: example in wire form (serializedValue); omit keeps, empty string clears |
---
## Environments
Source: https://docs.routebase.dev/environments/
Environments model the stages your API runs through, from development to staging to production and anything in between. Each environment carries its own **base URL**, its own [variables](https://docs.routebase.dev/variables/) and its own [authentication configuration](https://docs.routebase.dev/project-auth/), so the same tests and requests work against every stage without editing them.
## Environment types
| Type | Typical use |
| --- | --- |
| **Development** | Local or shared dev backends. |
| **Test** | QA and automated-test targets. |
| **Staging** | Pre-production verification. |
| **Production** | The live API. |
| **Custom** | Anything else, such as previews, sandboxes and partner environments. |
The type is a label with its own icon and color, used across the sidebar, the switcher and the badges, and it does not change behavior. New projects get **Development**, **Staging** and **Production** by default, which you adjust under **Advanced options** when [creating the project](https://docs.routebase.dev/projects/).
## Creating an environment
1. On the **Projects** page, expand your project in the left sidebar and click **Add environment**.
2. Enter a **Name** such as QA or Preview, and pick a **Type**.
3. Optionally set the **Base URL**, for example `https://api.example.com`.
4. Choose the environment's **roles**, described below. All of them are off by default.
5. Optionally use **Copy From** to seed the new environment from an existing one. Variable keys and non-secret values come across, while secret values are never copied. Only the key structure travels, so you can fill in the environment-specific secrets.
6. With a source picked, **Also copy authentication** appears, switched on. It brings the source environment's auth configuration over as well. Two cases turn it off and say why:
- *"Source environment has no authentication configured."* means there is nothing to copy.
- *"Source auth stores a literal secret — configure authentication manually."* means a typed-in secret cannot travel to another environment. Auth built from `{{VARIABLE}}` references copies fine, which is a good reason to reference variables instead of pasting credentials.
The checkbox only appears if you have the **tests:write** permission.
7. Optionally pick one or more **Variable Templates** to pre-populate common variable sets. The templates are REST API, Authentication (OAuth) and Database.
8. Click **Create Environment**.
### Environment roles
Three switches decide what an environment does when a spec version is released into it. They are independent flags on purpose, because nothing keys off an environment's name or type. You are therefore free to call your environments whatever you like and run your own workflow, such as freezing at staging.
| Role | What it does |
| --- | --- |
| **Freezes versions** | *"Promoting here makes the version immutable. Further changes need a new version."* This is what turns a promotion into a permanent, published contract. |
| **Feeds the public docs** | *"The documentation shows whatever this environment runs."* This requires **Freezes versions**, because otherwise the published contract would keep changing under its readers, so the wizard flags the combination if freezing is off. |
| **Feeds the mock server** | *"The mock serves whatever this environment runs"*, which is usually the version you are designing. |
Roles can also be changed after creation. See [Promotion and what runs where](#promotion-and-what-runs-where) below and the [release flow](https://docs.routebase.dev/versioning/) for how versions get into an environment.
- Endpoints and schemas in the tree are marked **added** or **modified**, so you can see at a glance which parts of the API you touched.
- Entries that no longer exist appear as **Removed since baseline**. They cannot be marked in a tree they are absent from, so they get their own list.
- Inside the editor, the diff goes down to the property level, so response tables, request-body tables and schema tables show which individual fields changed.
It answers the question you actually have before a release, which is what you are about to publish, without leaving the place where you would fix it.
**Exit review mode** returns the editor to normal.
## Preview, command palette, and shortcuts
- **Undo and redo** sit in the designer toolbar and have keyboard shortcuts. The buttons name the step they would reverse rather than only saying "Undo", so you can see what you are about to take back before you click. When there is nothing left, they say so.
- The **preview panel** toggles a side panel showing a live **documentation preview** of the selected endpoint, or the raw **OpenAPI** output, while you edit.
- The **command palette** jumps to any endpoint, schema or component, and triggers actions, from a single searchable palette.
- **Keyboard shortcuts** are listed in a shortcuts dialog, and you can customize them in Settings.
## Permissions
Viewing the API Designer requires **specs:read**, and creating and editing endpoints requires **specs:write**. The Member role includes both. Deleting endpoints, folders and specifications requires **specs:delete**, which Admins and Owners have. Published versions are locked, so editing controls are hidden and a banner explains that a new version is needed. See [Versioning](https://docs.routebase.dev/versioning/).
## Related
- [Parameters](https://docs.routebase.dev/parameters/) — the inputs an endpoint accepts
- [Responses](https://docs.routebase.dev/responses/) — what an endpoint returns
- [Schemas](https://docs.routebase.dev/schemas/) — reusable data structures referenced by endpoints
- [Components](https://docs.routebase.dev/components/) — reusable parameters, request bodies, responses, and security schemes
- [Versioning](https://docs.routebase.dev/versioning/) — draft, publish, and compare spec versions
---
## Endpoints — MCP Tools
Source: https://docs.routebase.dev/endpoints-mcp-tools/
The tools below belong to the **Endpoints** group of the Routebase MCP server.
## add_parameter
Add a parameter to an endpoint (path, query, header, cookie, or querystring parameter). Use this to add one parameter; to change an existing one use update_parameter. Requires project context.
**Required scope:** `specs:write`
| Parameter | Type | Required | Description |
| --- | --- | --- | --- |
| `specId` | string | Yes | Public ID (GUID) of the API specification |
| `endpointId` | string | Yes | Public ID (GUID) of the endpoint |
| `name` | string | Yes | Parameter name (e.g., 'id', 'page', 'Authorization') |
| `location` | string | Yes | Parameter location: 'path', 'query', 'header', 'cookie', or 'querystring' (3.2 specs only) |
| `schemaType` | string | Yes | Schema type: 'string', 'integer', 'number', 'boolean', 'array', 'object' |
| `required` | boolean | No (default `false`) | Whether the parameter is required (default false, path params are always required) |
| `description` | string | No | Description of the parameter |
| `schemaFormat` | string | No | Schema format (e.g., 'date-time', 'email', 'uuid', 'int32', 'int64') |
| `example` | string | No | Example value for the parameter. A bare value is fine ('us', '42'); JSON is accepted too. |
| `defaultValue` | string | No | Default value for the parameter |
| `schemaId` | string | No | Public ID (GUID) of a schema to link; when set, the parameter's schema is exported as a $ref to that component and schemaType is ignored on export. |
| `style` | string | No | OpenAPI style keyword ('form', 'deepObject', 'simple', 'cookie' (3.2), …); omit for the default |
| `explode` | boolean | No | OpenAPI explode; omit for the default |
| `contentType` | string | No | Querystring media type (default form-urlencoded) |
| `serializedExample` | string | No | 3.2 only: example in wire form (serializedValue) |
## add_response
Add a response to an endpoint with status code, description, and optional schema. Provide either schemaJson (inline) or schemaId (reference), not both. Use this to add one response; to change an existing one use update_response. Requires project context.
**Required scope:** `specs:write`
| Parameter | Type | Required | Description |
| --- | --- | --- | --- |
| `specId` | string | Yes | Public ID (GUID) of the API specification |
| `endpointId` | string | Yes | Public ID (GUID) of the endpoint |
| `statusCode` | integer | Yes | HTTP status code (e.g., 200, 201, 400, 404, 500) |
| `description` | string | No | Description of the response |
| `contentType` | string | No (default `"application/json"`) | Response content type (default 'application/json') |
| `schemaJson` | string | No | Inline JSON Schema definition for the response body |
| `example` | string | No | Example response body |
| `schemaId` | string | No | Public ID (GUID) of an existing schema to reference (alternative to schemaJson) |
| `itemSchemaJson` | string | No | OpenAPI 3.2 only: JSON Schema of one item of a sequential media type (jsonl, json-seq, SSE) |
| `mediaTypeComponentId` | string | No | OpenAPI 3.2 only: id of a media type component the content entry references via $ref |
| `serializedExample` | string | No | 3.2 only: example in wire form (serializedValue) |
## add_security_scheme
Assign a security scheme to one endpoint (endpointId) or to many at once (endpointIds plus versionId). The security scheme must already exist as a component in the spec. Pass either securitySchemeId or securitySchemeName (the OpenAPI component name, e.g. 'bearerAuth'). The multi-endpoint form is idempotent — endpoints that already carry the scheme are skipped. Use this to assign a scheme; to take an assignment off again use remove_endpoint_security_scheme. Requires project context.
**Required scope:** `specs:write`
| Parameter | Type | Required | Description |
| --- | --- | --- | --- |
| `specId` | string | Yes | Public ID (GUID) of the API specification |
| `endpointId` | string | No | Public ID (GUID) of the endpoint — alternative to endpointIds |
| `endpointIds` | string | No | Comma-separated endpoint IDs (GUIDs) to assign in one call — alternative to endpointId; requires versionId |
| `versionId` | string | No | Public ID (GUID) of the spec version the endpoints belong to — required with endpointIds (from list_endpoints) |
| `securitySchemeId` | string | No | Public ID (GUID) of the security scheme component to assign — alternative to securitySchemeName |
| `securitySchemeName` | string | No | Name of the security scheme component (e.g. 'bearerAuth') — alternative to securitySchemeId |
| `scopes` | string | No | Comma-separated OAuth scopes (e.g., 'read:users,write:users') |
## bulk_update_endpoints
Act on many endpoints in one call. Actions: 'delete' removes them, 'move' puts them into a folder (omit folderId to move them to the root), 'reorder' sets their display order — for 'reorder' the endpointIds are the new order, so pass every endpoint you want ordered. Use this to act on many endpoints at once; for a single one use update_endpoint or delete_endpoint. Requires project context.
**Required scope:** `specs:write`
| Parameter | Type | Required | Description |
| --- | --- | --- | --- |
| `specId` | string | Yes | Public ID (GUID) of the API specification |
| `action` | string | Yes | What to do: 'delete', 'move' or 'reorder' |
| `endpointIds` | string | Yes | Endpoint IDs (GUIDs), comma-separated. For 'reorder' this is the new order. |
| `folderId` | string | No | Target folder ID (GUID) for 'move'; omit to move the endpoints to the root |
## create_endpoint
Create a new endpoint in an API specification. Requires a version ID because endpoints are version-scoped. Use this for one new endpoint; to bring in many at once from an existing document use import_spec. Requires project context.
**Required scope:** `specs:write`
| Parameter | Type | Required | Description |
| --- | --- | --- | --- |
| `specId` | string | Yes | Public ID (GUID) of the API specification |
| `versionId` | string | Yes | Public ID (GUID) of the spec version to add the endpoint to |
| `path` | string | Yes | Endpoint path (e.g., '/users/{id}', '/orders') |
| `method` | string | Yes | HTTP method: 'get', 'post', 'put', 'patch', 'delete', 'head', 'options', 'query' |
| `summary` | string | No | Short summary of what the endpoint does |
| `description` | string | No | Detailed description of the endpoint |
| `operationId` | string | No | Unique operation ID (e.g., 'getUser', 'createOrder') |
## delete_endpoint
Delete an endpoint (soft delete). Use this to remove one endpoint; to undo the delete later use restore_endpoint. Requires project context.
**Required scope:** `specs:delete`
| Parameter | Type | Required | Description |
| --- | --- | --- | --- |
| `specId` | string | Yes | Public ID (GUID) of the API specification |
| `versionId` | string | Yes | Public ID (GUID) of the spec version |
| `endpointId` | string | Yes | Public ID (GUID) of the endpoint to delete |
## delete_parameter
Delete a parameter from an endpoint. Use this to remove a parameter; to change it instead use update_parameter. Requires project context.
**Required scope:** `specs:delete`
| Parameter | Type | Required | Description |
| --- | --- | --- | --- |
| `specId` | string | Yes | Public ID (GUID) of the API specification |
| `endpointId` | string | Yes | Public ID (GUID) of the endpoint |
| `parameterId` | string | Yes | Public ID (GUID) of the parameter to delete |
## delete_request_body
Remove an endpoint's request body entirely. To change it instead, use set_request_body; to only detach a linked component, use set_request_body with detachRequestBodyComponent. Requires project context.
**Required scope:** `specs:delete`
| Parameter | Type | Required | Description |
| --- | --- | --- | --- |
| `specId` | string | Yes | Public ID (GUID) of the API specification |
| `endpointId` | string | Yes | Public ID (GUID) of the endpoint whose request body should be removed |
## delete_response
Delete a response from an endpoint. Use this to remove a response; to change it instead use update_response. Requires project context.
**Required scope:** `specs:delete`
| Parameter | Type | Required | Description |
| --- | --- | --- | --- |
| `specId` | string | Yes | Public ID (GUID) of the API specification |
| `endpointId` | string | Yes | Public ID (GUID) of the endpoint |
| `responseId` | string | Yes | Public ID (GUID) of the response to delete |
## get_endpoint
Get detailed information about an endpoint including parameters, request body, responses, and security schemes. Pass endpointIds instead of endpointId to fetch several at once (up to 25) — the same detail per endpoint, in one call. Use this when you already have the endpoint id; to browse a spec's endpoints or find an id use list_endpoints. Requires project context.
**Required scope:** `specs:read`
| Parameter | Type | Required | Description |
| --- | --- | --- | --- |
| `specId` | string | Yes | Public ID (GUID) of the API specification |
| `endpointId` | string | No | Public ID (GUID) of the endpoint — omit when using endpointIds |
| `endpointIds` | string | No | Public IDs (GUIDs) of several endpoints, comma-separated, at most 25 |
## list_endpoints
List all endpoints of an API specification. Optionally filter by version. Set scope to 'project' to look across every spec in the project instead — that returns the groups of endpoints colliding on method and path (gateway routing conflicts) plus counts, not the full list, and specId is then ignored. Use this to browse endpoints or find an endpoint id; for one endpoint in full use get_endpoint. Requires project context (call set_context first).
**Required scope:** `specs:read`
| Parameter | Type | Required | Description |
| --- | --- | --- | --- |
| `specId` | string | Yes | Public ID (GUID) of the API specification |
| `versionId` | string | No | Optional version ID (GUID) to filter endpoints by a specific version |
| `skip` | integer | No (default `0`) | Number of endpoints to skip (for pagination, default 0) |
| `take` | integer | No (default `50`) | Number of endpoints to return (default 50, max 100) |
| `scope` | string | No (default `"spec"`) | What to look at: 'spec' (default) or 'project' |
## manage_response_header
Manage the headers a response declares. Actions: 'add' creates one on a response, 'update' replaces its fields, 'delete' removes it, 'link' points it at a reusable header component (the component then drives its shape), 'unlink' detaches it again and keeps the current values inline. 'add' and 'update' need name and schemaType; 'link' needs headerComponentId. Use this for the headers of one endpoint response; for reusable header components use manage_header_component. Requires project context.
**Required scope:** `specs:write`
| Parameter | Type | Required | Description |
| --- | --- | --- | --- |
| `specId` | string | Yes | Public ID (GUID) of the API specification |
| `action` | string | Yes | What to do: 'add', 'update', 'delete', 'link' or 'unlink' |
| `endpointId` | string | No | Public ID (GUID) of the endpoint — required for 'add', 'update' and 'delete' |
| `responseId` | string | No | Public ID (GUID) of the response — required for 'add', 'update' and 'delete' |
| `responseHeaderId` | string | No | Public ID (GUID) of the response header — required for everything but 'add' |
| `name` | string | No | Header name (e.g. 'X-Rate-Limit') — required for 'add' and 'update' |
| `schemaType` | string | No | Schema type: 'string', 'integer', 'number', 'boolean', 'array' or 'object' — required for 'add' and 'update' |
| `required` | boolean | No (default `false`) | Whether the header is always present (default false) |
| `description` | string | No | Optional description |
| `schemaFormat` | string | No | Optional schema format (e.g. 'date-time', 'int64') |
| `example` | string | No | Optional example value |
| `headerComponentId` | string | No | Public ID (GUID) of the header component — required for 'link', optional on 'add' |
| `serializedExample` | string | No | 3.2 only: example in wire form (serializedValue) |
## move_endpoint_to_folder
Move an endpoint to a folder, or to root (ungrouped) by omitting folderId. Use this for one endpoint; to move many at once use bulk_update_endpoints with action 'move'. Requires project context.
**Required scope:** `specs:write`
| Parameter | Type | Required | Description |
| --- | --- | --- | --- |
| `specId` | string | Yes | Public ID (GUID) of the API specification |
| `endpointId` | string | Yes | Public ID (GUID) of the endpoint to move |
| `folderId` | string | No | Public ID (GUID) of the target folder, or omit to move to root (ungrouped) |
## remove_endpoint_security_scheme
Remove a security scheme assignment from an endpoint. The securitySchemeAssignmentId is the assignment's own public ID (from get_endpoint), not the security-scheme component ID. Requires project context.
**Required scope:** `specs:write`
| Parameter | Type | Required | Description |
| --- | --- | --- | --- |
| `specId` | string | Yes | Public ID (GUID) of the API specification |
| `endpointId` | string | Yes | Public ID (GUID) of the endpoint |
| `securitySchemeAssignmentId` | string | Yes | Public ID (GUID) of the endpoint's security scheme assignment to remove (from get_endpoint) |
## restore_endpoint
Restore a soft-deleted endpoint into its version. Use this to bring a soft-deleted endpoint back; to remove one use delete_endpoint. Requires project context.
**Required scope:** `specs:write`
| Parameter | Type | Required | Description |
| --- | --- | --- | --- |
| `specId` | string | Yes | Public ID (GUID) of the API specification |
| `versionId` | string | Yes | Public ID (GUID) of the spec version the endpoint belongs to |
| `endpointId` | string | Yes | Public ID (GUID) of the deleted endpoint |
## set_request_body
Set or update the request body for an endpoint. Provide either schemaJson (inline JSON Schema) or schemaId (reference to an existing schema), not both. A fixture-backed example reference is always preserved as-is; the request body component link is preserved unless requestBodyComponentId names a different one or detachRequestBodyComponent is true. While a component is linked the exported spec emits a $ref to that component and ignores schemaJson/schemaId — detach it to make them take effect. Use this to set or change the body; to remove it entirely use delete_request_body. Requires project context.
**Required scope:** `specs:write`
| Parameter | Type | Required | Description |
| --- | --- | --- | --- |
| `specId` | string | Yes | Public ID (GUID) of the API specification |
| `endpointId` | string | Yes | Public ID (GUID) of the endpoint |
| `contentType` | string | Yes | Content type (e.g., 'application/json', 'multipart/form-data') |
| `required` | boolean | No (default `true`) | Whether the request body is required (default true) |
| `description` | string | No | Description of the request body |
| `schemaJson` | string | No | Inline JSON Schema definition as a string |
| `example` | string | No | Example request body |
| `schemaId` | string | No | Public ID (GUID) of an existing schema to reference (alternative to schemaJson) |
| `rowVersion` | string | No | Base64-encoded row version (required when updating an existing request body) |
| `requestBodyComponentId` | string | No | Public ID (GUID) of a reusable request body component to link. Omit to keep whatever component the request body is currently linked to. |
| `detachRequestBodyComponent` | boolean | No (default `false`) | Set true to remove the request body component link, so the endpoint's own schemaId/schemaJson takes effect in the exported spec. Cannot be combined with requestBodyComponentId. |
| `itemSchemaJson` | string | No | OpenAPI 3.2 only: item schema of a sequential media type (jsonl, json-seq, SSE); omit to keep, empty string to clear |
| `mediaTypeComponentId` | string | No | OpenAPI 3.2 only: media type component id the content entry references ($ref); omit to keep |
| `detachMediaTypeComponent` | boolean | No (default `false`) | Remove the media type component link |
| `serializedExample` | string | No | 3.2 only: example in wire form (serializedValue); omit keeps, empty string clears |
## update_endpoint
Update an existing endpoint. Requires the rowVersion from get_endpoint for optimistic concurrency control (Base64-encoded string). Requires project context.
**Required scope:** `specs:write`
| Parameter | Type | Required | Description |
| --- | --- | --- | --- |
| `specId` | string | Yes | Public ID (GUID) of the API specification |
| `versionId` | string | Yes | Public ID (GUID) of the spec version |
| `endpointId` | string | Yes | Public ID (GUID) of the endpoint to update |
| `path` | string | Yes | Endpoint path (e.g., '/users/{id}') |
| `method` | string | Yes | HTTP method: 'get', 'post', 'put', 'patch', 'delete', 'head', 'options', 'query' |
| `rowVersion` | string | Yes | Base64-encoded row version from get_endpoint (for concurrency control) |
| `summary` | string | No | Short summary of what the endpoint does |
| `description` | string | No | Detailed description of the endpoint |
| `operationId` | string | No | Unique operation ID (e.g., 'getUser', 'createOrder') |
| `tags` | string | No | Comma-separated tags (e.g., 'users,admin,public') |
| `isDeprecated` | boolean | No (default `false`) | Whether the endpoint is deprecated (default false) |
| `internalNotes` | string | No | Internal notes (not visible in public API docs). Omit to keep the existing notes. |
## update_parameter
Update an existing parameter on an endpoint (name, location, type, required, description, etc.). Use this to change an existing parameter; to add a new one use add_parameter. Requires the parameter's rowVersion for optimistic concurrency control. Requires project context.
**Required scope:** `specs:write`
| Parameter | Type | Required | Description |
| --- | --- | --- | --- |
| `specId` | string | Yes | Public ID (GUID) of the API specification |
| `endpointId` | string | Yes | Public ID (GUID) of the endpoint |
| `parameterId` | string | Yes | Public ID (GUID) of the parameter to update |
| `name` | string | Yes | Parameter name (e.g., 'id', 'page', 'Authorization') |
| `location` | string | Yes | Parameter location: 'path', 'query', 'header', 'cookie', or 'querystring' (3.2 specs only) |
| `schemaType` | string | Yes | Schema type: 'string', 'integer', 'number', 'boolean', 'array', 'object' |
| `rowVersion` | string | Yes | Base64-encoded row version of the parameter (for concurrency control) |
| `required` | boolean | No (default `false`) | Whether the parameter is required (default false, path params are always required) |
| `description` | string | No | Description of the parameter |
| `schemaFormat` | string | No | Schema format (e.g., 'date-time', 'email', 'uuid', 'int32', 'int64') |
| `example` | string | No | Example value for the parameter. A bare value is fine ('us', '42'); JSON is accepted too. |
| `defaultValue` | string | No | Default value for the parameter |
| `isDeprecated` | boolean | No (default `false`) | Whether the parameter is deprecated (default false) |
| `schemaId` | string | No | Public ID (GUID) of a schema to link; when set, the parameter's schema is exported as a $ref to that component and schemaType is ignored on export. Omitting it preserves an existing link. |
| `style` | string | No | OpenAPI style keyword ('form', 'deepObject', 'simple', 'cookie' (3.2), …); omit for the default |
| `explode` | boolean | No | OpenAPI explode; omit for the default |
| `contentType` | string | No | Querystring media type (default form-urlencoded) |
| `serializedExample` | string | No | 3.2 only: example in wire form (serializedValue) |
## update_response
Update an existing response on an endpoint (status code, description, content type, schema, example). Response headers and a fixture-backed example reference are always preserved as-is; the response component link is preserved unless responseComponentId names a different one or detachResponseComponent is true. Use this to change an existing response; to add a new one use add_response. Requires the response's rowVersion for optimistic concurrency control. Requires project context.
**Required scope:** `specs:write`
| Parameter | Type | Required | Description |
| --- | --- | --- | --- |
| `specId` | string | Yes | Public ID (GUID) of the API specification |
| `endpointId` | string | Yes | Public ID (GUID) of the endpoint |
| `responseId` | string | Yes | Public ID (GUID) of the response to update |
| `statusCode` | integer | Yes | HTTP status code (e.g., 200, 201, 400, 404, 500) |
| `rowVersion` | string | Yes | Base64-encoded row version of the response (for concurrency control) |
| `description` | string | No | Description of the response |
| `contentType` | string | No (default `"application/json"`) | Response content type (default 'application/json') |
| `schemaJson` | string | No | Inline JSON Schema definition for the response body |
| `example` | string | No | Example response body |
| `schemaId` | string | No | Public ID (GUID) of an existing schema to reference (alternative to schemaJson) |
| `responseComponentId` | string | No | Public ID (GUID) of a reusable response component to link. Omit to keep whatever component the response is currently linked to. |
| `detachResponseComponent` | boolean | No (default `false`) | Set true to remove the response component link, so the response's own schemaId/schemaJson takes effect in the exported spec. Cannot be combined with responseComponentId. |
| `itemSchemaJson` | string | No | OpenAPI 3.2 only: item schema of a sequential media type; omit to keep, empty string to clear |
| `mediaTypeComponentId` | string | No | OpenAPI 3.2 only: media type component id the content entry references ($ref); omit to keep |
| `detachMediaTypeComponent` | boolean | No (default `false`) | Remove the media type component link |
| `serializedExample` | string | No | 3.2 only: example in wire form (serializedValue); omit keeps, empty string clears |
---
## Environments
Source: https://docs.routebase.dev/environments/
Environments model the stages your API runs through, from development to staging to production and anything in between. Each environment carries its own **base URL**, its own [variables](https://docs.routebase.dev/variables/) and its own [authentication configuration](https://docs.routebase.dev/project-auth/), so the same tests and requests work against every stage without editing them.
## Environment types
| Type | Typical use |
| --- | --- |
| **Development** | Local or shared dev backends. |
| **Test** | QA and automated-test targets. |
| **Staging** | Pre-production verification. |
| **Production** | The live API. |
| **Custom** | Anything else, such as previews, sandboxes and partner environments. |
The type is a label with its own icon and color, used across the sidebar, the switcher and the badges, and it does not change behavior. New projects get **Development**, **Staging** and **Production** by default, which you adjust under **Advanced options** when [creating the project](https://docs.routebase.dev/projects/).
## Creating an environment
1. On the **Projects** page, expand your project in the left sidebar and click **Add environment**.
2. Enter a **Name** such as QA or Preview, and pick a **Type**.
3. Optionally set the **Base URL**, for example `https://api.example.com`.
4. Choose the environment's **roles**, described below. All of them are off by default.
5. Optionally use **Copy From** to seed the new environment from an existing one. Variable keys and non-secret values come across, while secret values are never copied. Only the key structure travels, so you can fill in the environment-specific secrets.
6. With a source picked, **Also copy authentication** appears, switched on. It brings the source environment's auth configuration over as well. Two cases turn it off and say why:
- *"Source environment has no authentication configured."* means there is nothing to copy.
- *"Source auth stores a literal secret — configure authentication manually."* means a typed-in secret cannot travel to another environment. Auth built from `{{VARIABLE}}` references copies fine, which is a good reason to reference variables instead of pasting credentials.
The checkbox only appears if you have the **tests:write** permission.
7. Optionally pick one or more **Variable Templates** to pre-populate common variable sets. The templates are REST API, Authentication (OAuth) and Database.
8. Click **Create Environment**.
### Environment roles
Three switches decide what an environment does when a spec version is released into it. They are independent flags on purpose, because nothing keys off an environment's name or type. You are therefore free to call your environments whatever you like and run your own workflow, such as freezing at staging.
| Role | What it does |
| --- | --- |
| **Freezes versions** | *"Promoting here makes the version immutable. Further changes need a new version."* This is what turns a promotion into a permanent, published contract. |
| **Feeds the public docs** | *"The documentation shows whatever this environment runs."* This requires **Freezes versions**, because otherwise the published contract would keep changing under its readers, so the wizard flags the combination if freezing is off. |
| **Feeds the mock server** | *"The mock serves whatever this environment runs"*, which is usually the version you are designing. |
Roles can also be changed after creation. See [Promotion and what runs where](#promotion-and-what-runs-where) below and the [release flow](https://docs.routebase.dev/versioning/) for how versions get into an environment.
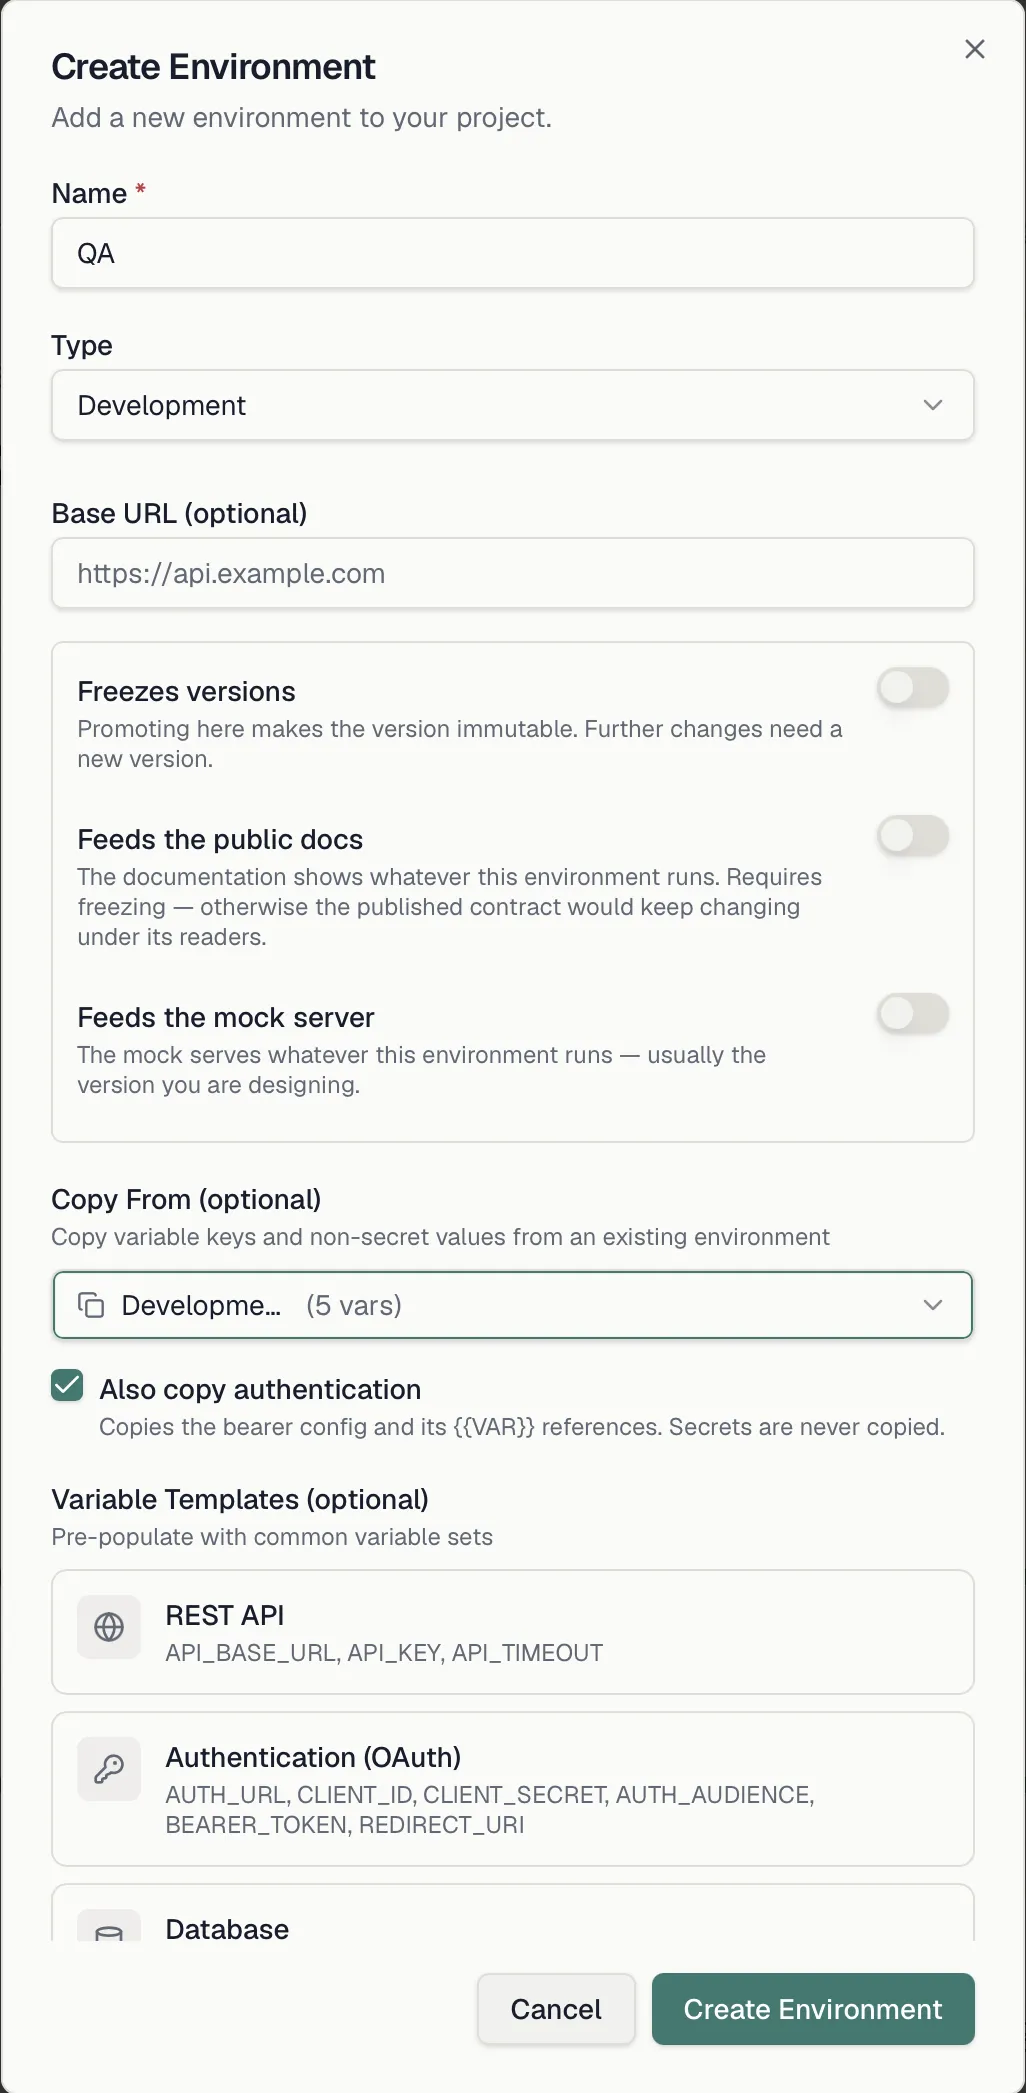
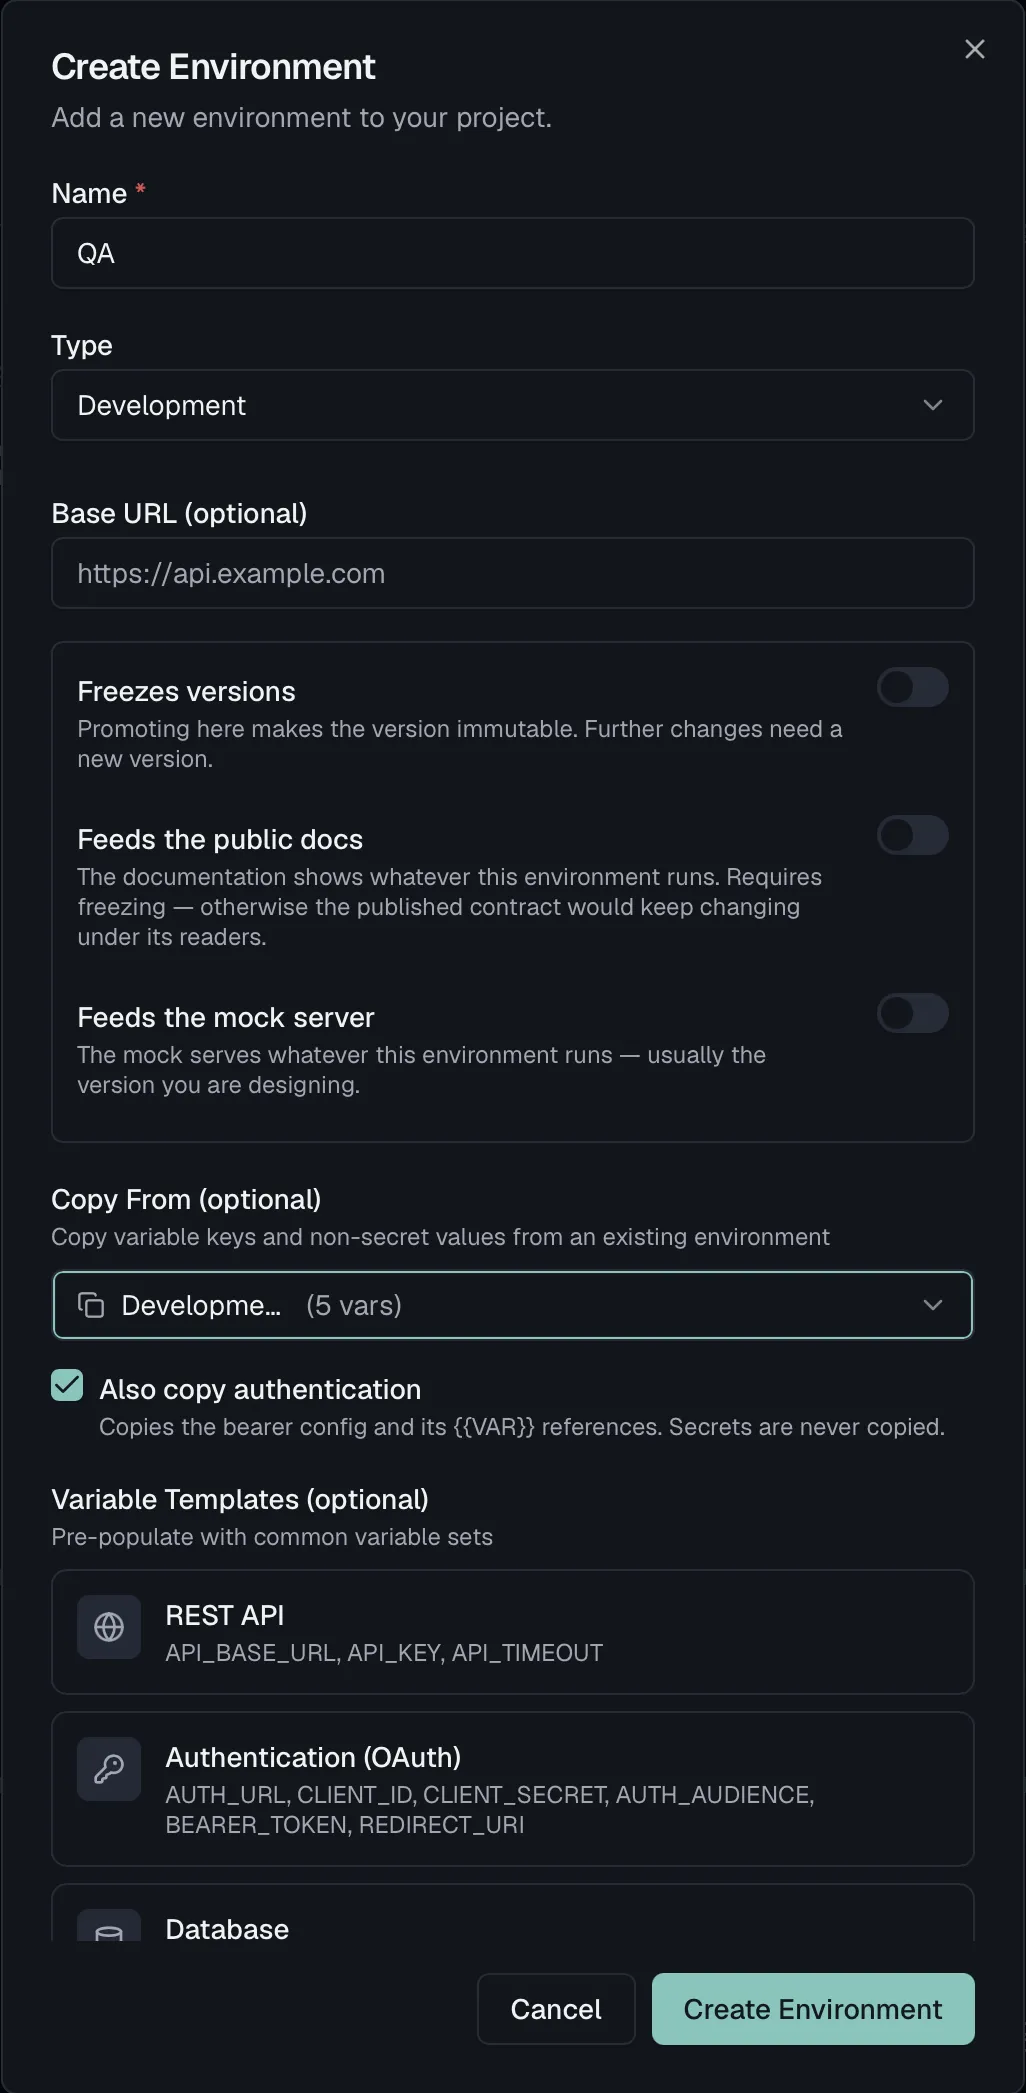 ## The environment detail sheet
Click an environment in the project sidebar to open its detail sheet:
- The **name**, which you click to rename inline.
- The **type badge**, which you click to switch the type from a dropdown.
- The **base URL**, which you click to edit inline.
- Five tabs named **Contract**, **Variables**, **My Variables**, **Resolved** and **Auth**. [Promotion and what runs where](#promotion-and-what-runs-where) below covers the **Contract** tab, while [Variables](https://docs.routebase.dev/variables/) and [Project Auth](https://docs.routebase.dev/project-auth/) describe the rest.
- A **Danger Zone** on the Variables tab, which permanently deletes the environment and all its variables.
You can also right-click an environment in the sidebar for quick **Edit** and **Delete** actions.
## The environment detail sheet
Click an environment in the project sidebar to open its detail sheet:
- The **name**, which you click to rename inline.
- The **type badge**, which you click to switch the type from a dropdown.
- The **base URL**, which you click to edit inline.
- Five tabs named **Contract**, **Variables**, **My Variables**, **Resolved** and **Auth**. [Promotion and what runs where](#promotion-and-what-runs-where) below covers the **Contract** tab, while [Variables](https://docs.routebase.dev/variables/) and [Project Auth](https://docs.routebase.dev/project-auth/) describe the rest.
- A **Danger Zone** on the Variables tab, which permanently deletes the environment and all its variables.
You can also right-click an environment in the sidebar for quick **Edit** and **Delete** actions.
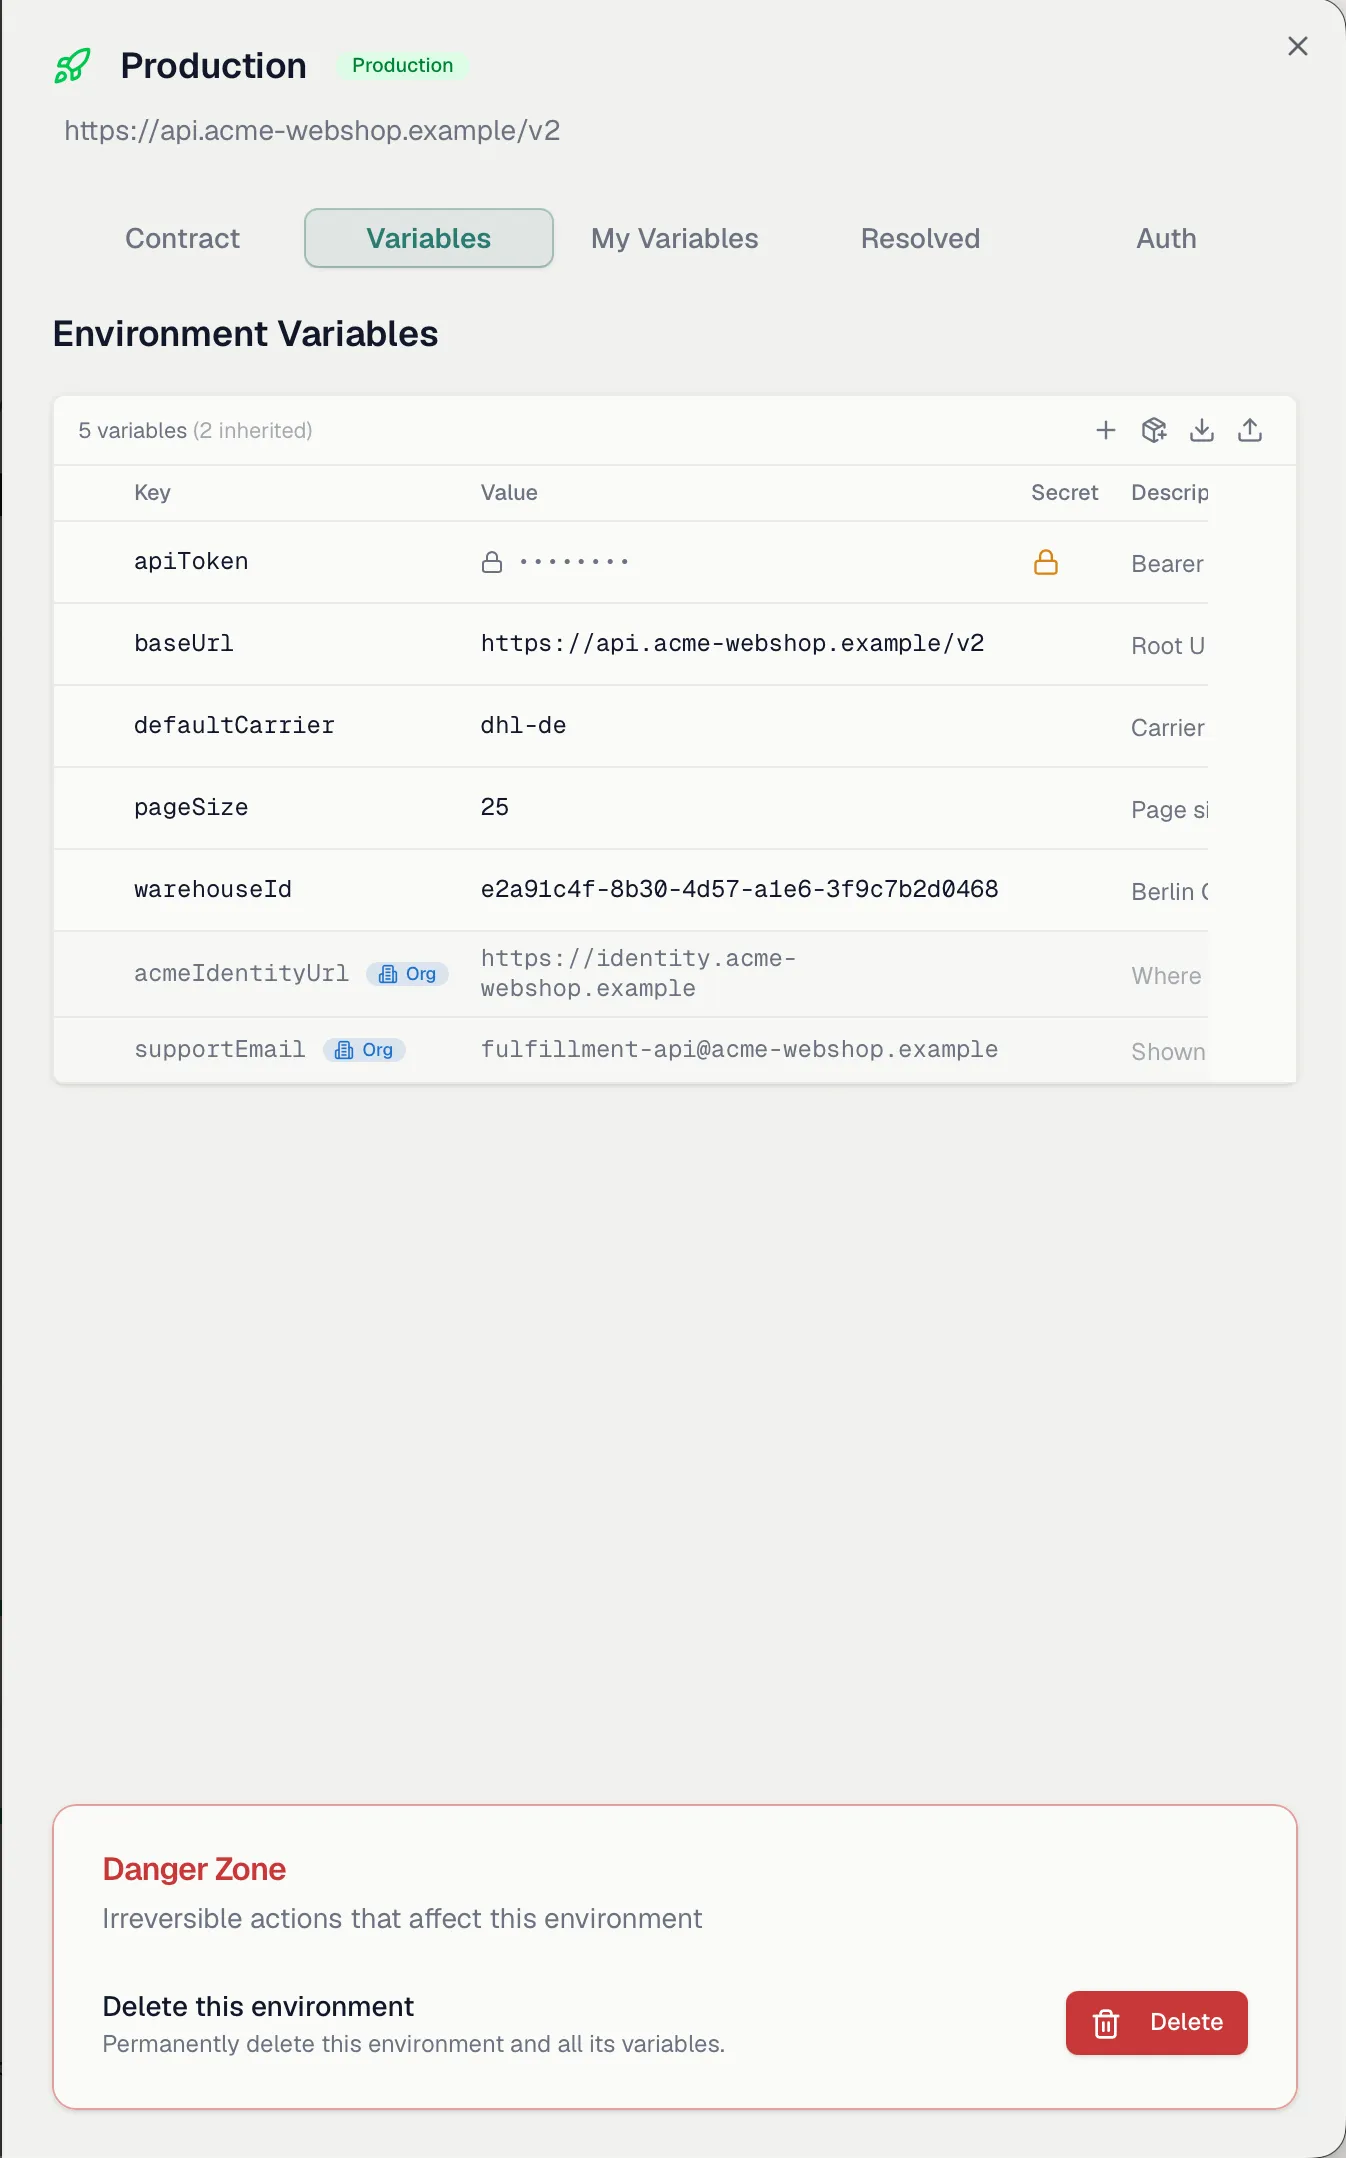
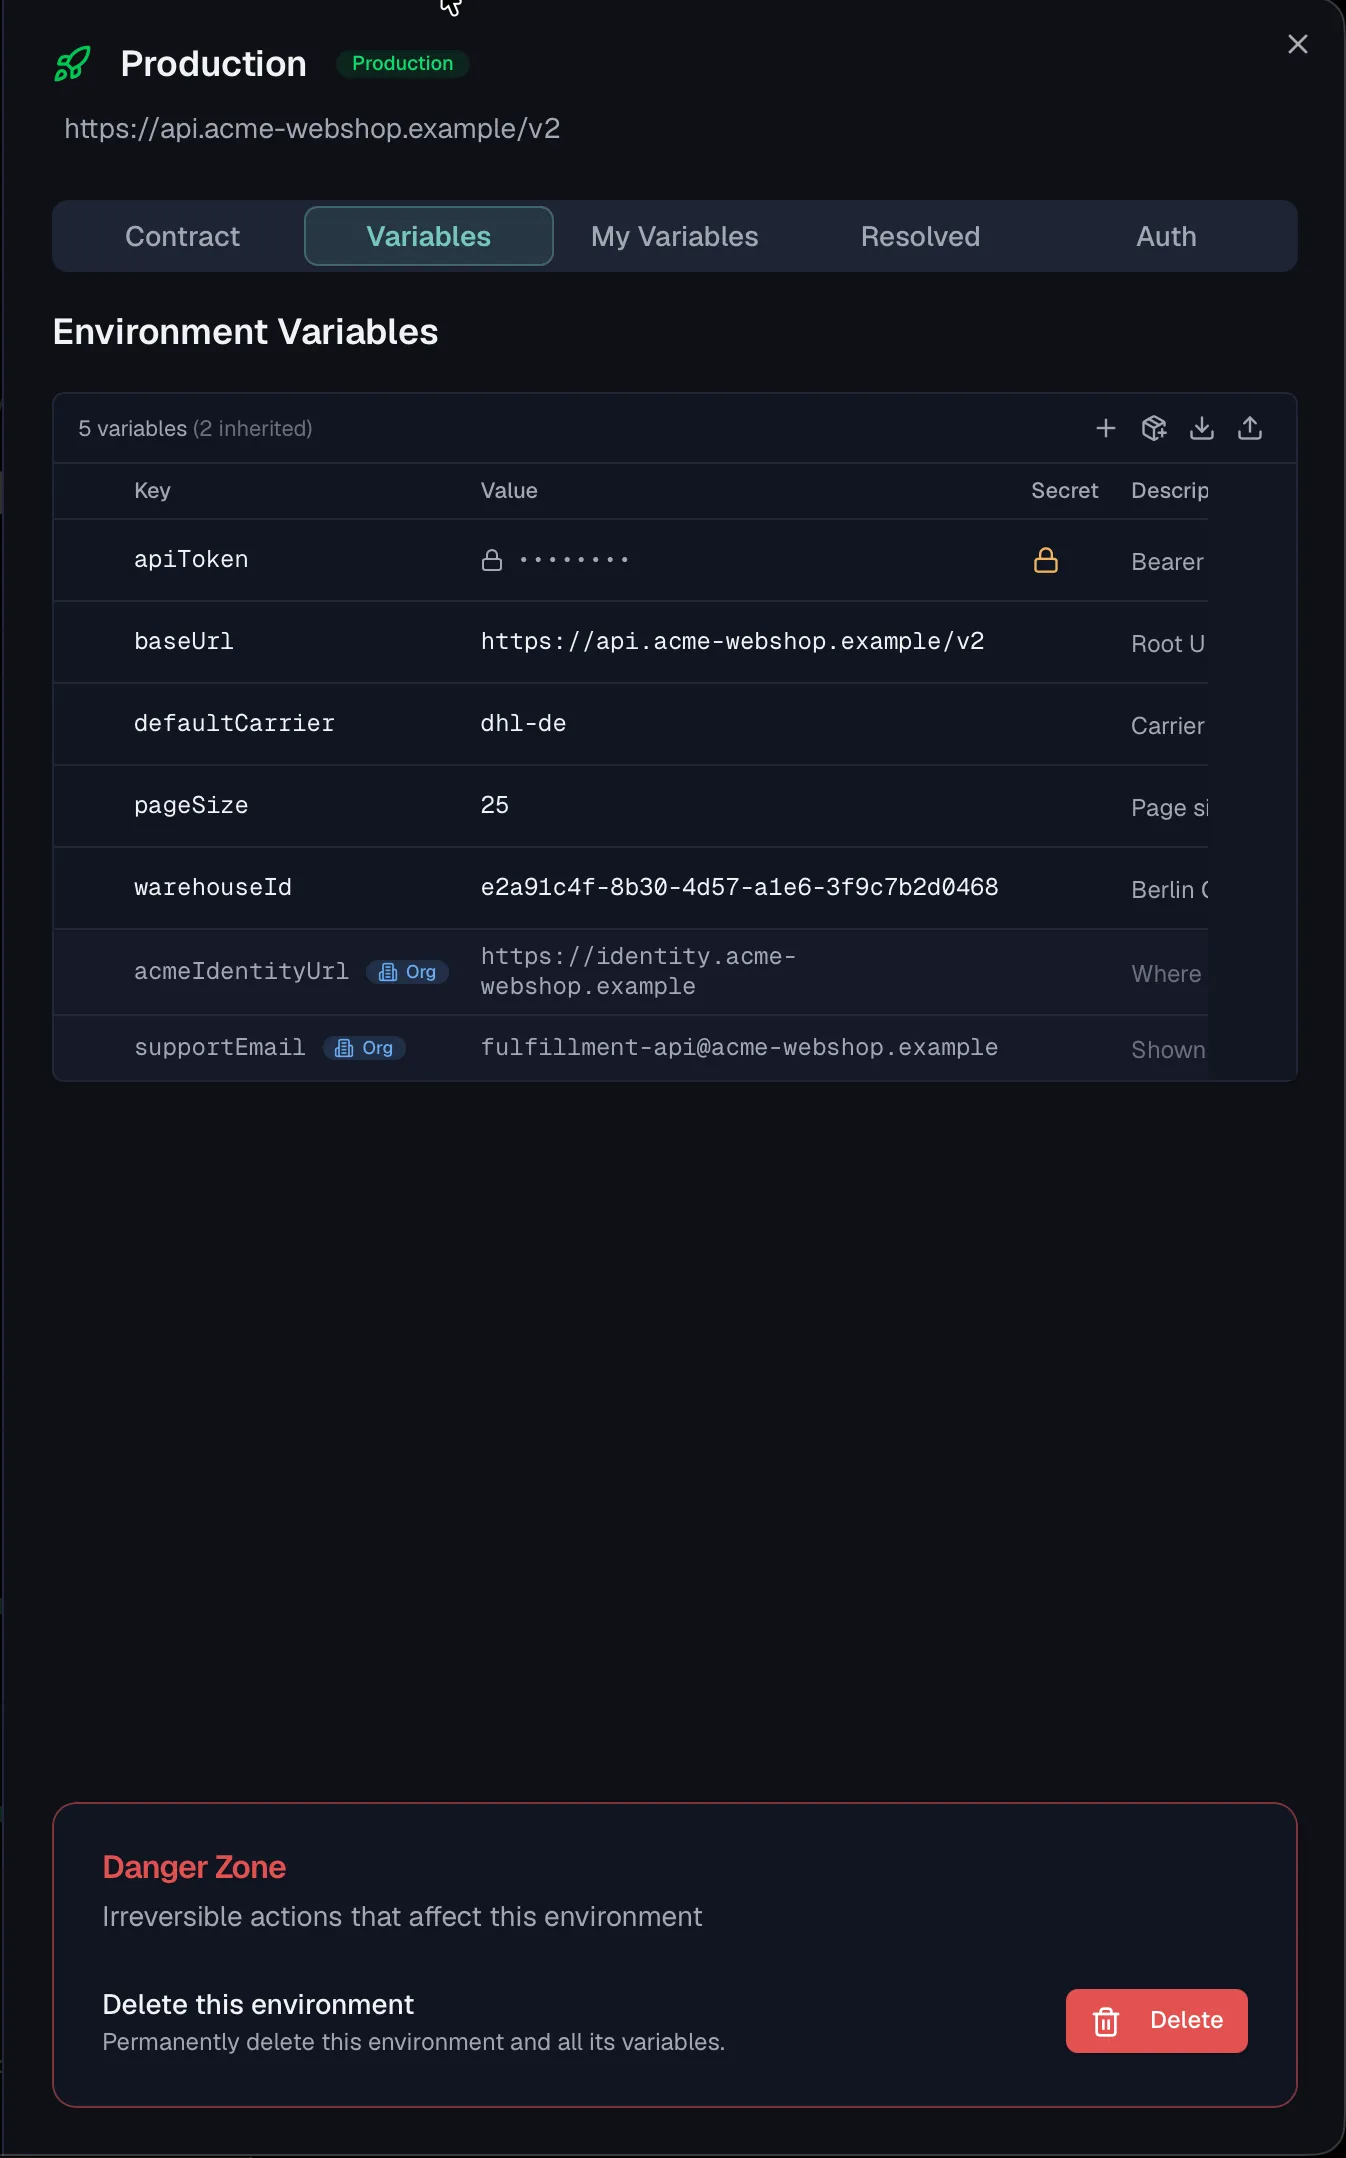 ## The active environment
Inside a project, the **environment switcher** in the header shows which environment is currently active. The active environment determines which base URL, variables and auth configuration your requests and test runs use, and the choice is remembered per project.
The switcher also offers **Edit Variables**, which opens the variable editor with its Variables, My Variables and Resolved tabs without leaving your current page.
You can additionally set a **Default Environment** per project in **Project Settings**, which is the environment used when no specific one is selected.
## The active environment
Inside a project, the **environment switcher** in the header shows which environment is currently active. The active environment determines which base URL, variables and auth configuration your requests and test runs use, and the choice is remembered per project.
The switcher also offers **Edit Variables**, which opens the variable editor with its Variables, My Variables and Resolved tabs without leaving your current page.
You can additionally set a **Default Environment** per project in **Project Settings**, which is the environment used when no specific one is selected.
 ## How features use environments
| Feature | How the environment is used |
| --- | --- |
| **Try It** (API Designer) | Sends a real request for the endpoint you have open, using the selected environment's base URL, variables and auth. It sends to your mock server instead if you pick that as the target. See [Endpoints](https://docs.routebase.dev/endpoints/). |
| **Testing** | The environment's base URL is exposed to test requests as the built-in `{{baseUrl}}` variable, so a test URL like `{{baseUrl}}/products` runs against whichever environment is active. Test suites also inherit the environment's auth by default. See [Test Suites](https://docs.routebase.dev/test-suites/). |
| **Monitoring** | Monitors generated from a spec are bound to an environment. Monitor URLs, headers and request bodies support `{{variable}}` placeholders resolved from that environment, as in `{{baseUrl}}/health`. See [Monitors](https://docs.routebase.dev/monitors/). |
| **Security scanning** | Scans run against the environment's base URL, which must be an absolute URL. Environments whose base URL uses plain `http://` are flagged as a misconfiguration finding. See [Security Overview](https://docs.routebase.dev/security-overview/). |
If the environment has no base URL, features that need one tell you. Try It, for example, asks you to set a base URL before sending.
## Promotion and what runs where
Beyond variables and auth, an environment tracks **which version of each specification it serves**. That link is a **pin**, and you set it by **promoting** a version. The canonical way to promote is the [Release Version wizard](https://docs.routebase.dev/versioning/), while the environment's **Contract** tab is the manual fallback for teams whose deployment pipeline has not reported the version itself.
### The Contract tab
The **Contract** tab of the environment detail sheet lists every specification in the project and, for each, the version this environment runs:
- A version number, with a snowflake if that version is **frozen**, meaning its contract can no longer change.
- A **draft** badge when the pinned version is still mutable. That is normal while you design, since the mock, tests and monitors follow it.
- *"Nothing deployed yet"* when the environment serves nothing for that spec. This is a neutral state rather than a warning, because with design-first the spec is expected to be ahead of every environment.
- A verification note said out loud. It reads **never verified**, **verified {time ago}**, **last run failed**, or **verified against {version}** when the last run checked a different version than the pin shows today. The first of those explains itself with *"Nobody has run the contract tests against this environment. The pinned version is a claim, not a fact — run the suite to check it"*. A promotion is an assertion rather than a deployment, because Routebase does not deploy your service, so an unchecked pin is never presented as fact.
## How features use environments
| Feature | How the environment is used |
| --- | --- |
| **Try It** (API Designer) | Sends a real request for the endpoint you have open, using the selected environment's base URL, variables and auth. It sends to your mock server instead if you pick that as the target. See [Endpoints](https://docs.routebase.dev/endpoints/). |
| **Testing** | The environment's base URL is exposed to test requests as the built-in `{{baseUrl}}` variable, so a test URL like `{{baseUrl}}/products` runs against whichever environment is active. Test suites also inherit the environment's auth by default. See [Test Suites](https://docs.routebase.dev/test-suites/). |
| **Monitoring** | Monitors generated from a spec are bound to an environment. Monitor URLs, headers and request bodies support `{{variable}}` placeholders resolved from that environment, as in `{{baseUrl}}/health`. See [Monitors](https://docs.routebase.dev/monitors/). |
| **Security scanning** | Scans run against the environment's base URL, which must be an absolute URL. Environments whose base URL uses plain `http://` are flagged as a misconfiguration finding. See [Security Overview](https://docs.routebase.dev/security-overview/). |
If the environment has no base URL, features that need one tell you. Try It, for example, asks you to set a base URL before sending.
## Promotion and what runs where
Beyond variables and auth, an environment tracks **which version of each specification it serves**. That link is a **pin**, and you set it by **promoting** a version. The canonical way to promote is the [Release Version wizard](https://docs.routebase.dev/versioning/), while the environment's **Contract** tab is the manual fallback for teams whose deployment pipeline has not reported the version itself.
### The Contract tab
The **Contract** tab of the environment detail sheet lists every specification in the project and, for each, the version this environment runs:
- A version number, with a snowflake if that version is **frozen**, meaning its contract can no longer change.
- A **draft** badge when the pinned version is still mutable. That is normal while you design, since the mock, tests and monitors follow it.
- *"Nothing deployed yet"* when the environment serves nothing for that spec. This is a neutral state rather than a warning, because with design-first the spec is expected to be ahead of every environment.
- A verification note said out loud. It reads **never verified**, **verified {time ago}**, **last run failed**, or **verified against {version}** when the last run checked a different version than the pin shows today. The first of those explains itself with *"Nobody has run the contract tests against this environment. The pinned version is a claim, not a fact — run the suite to check it"*. A promotion is an assertion rather than a deployment, because Routebase does not deploy your service, so an unchecked pin is never presented as fact.
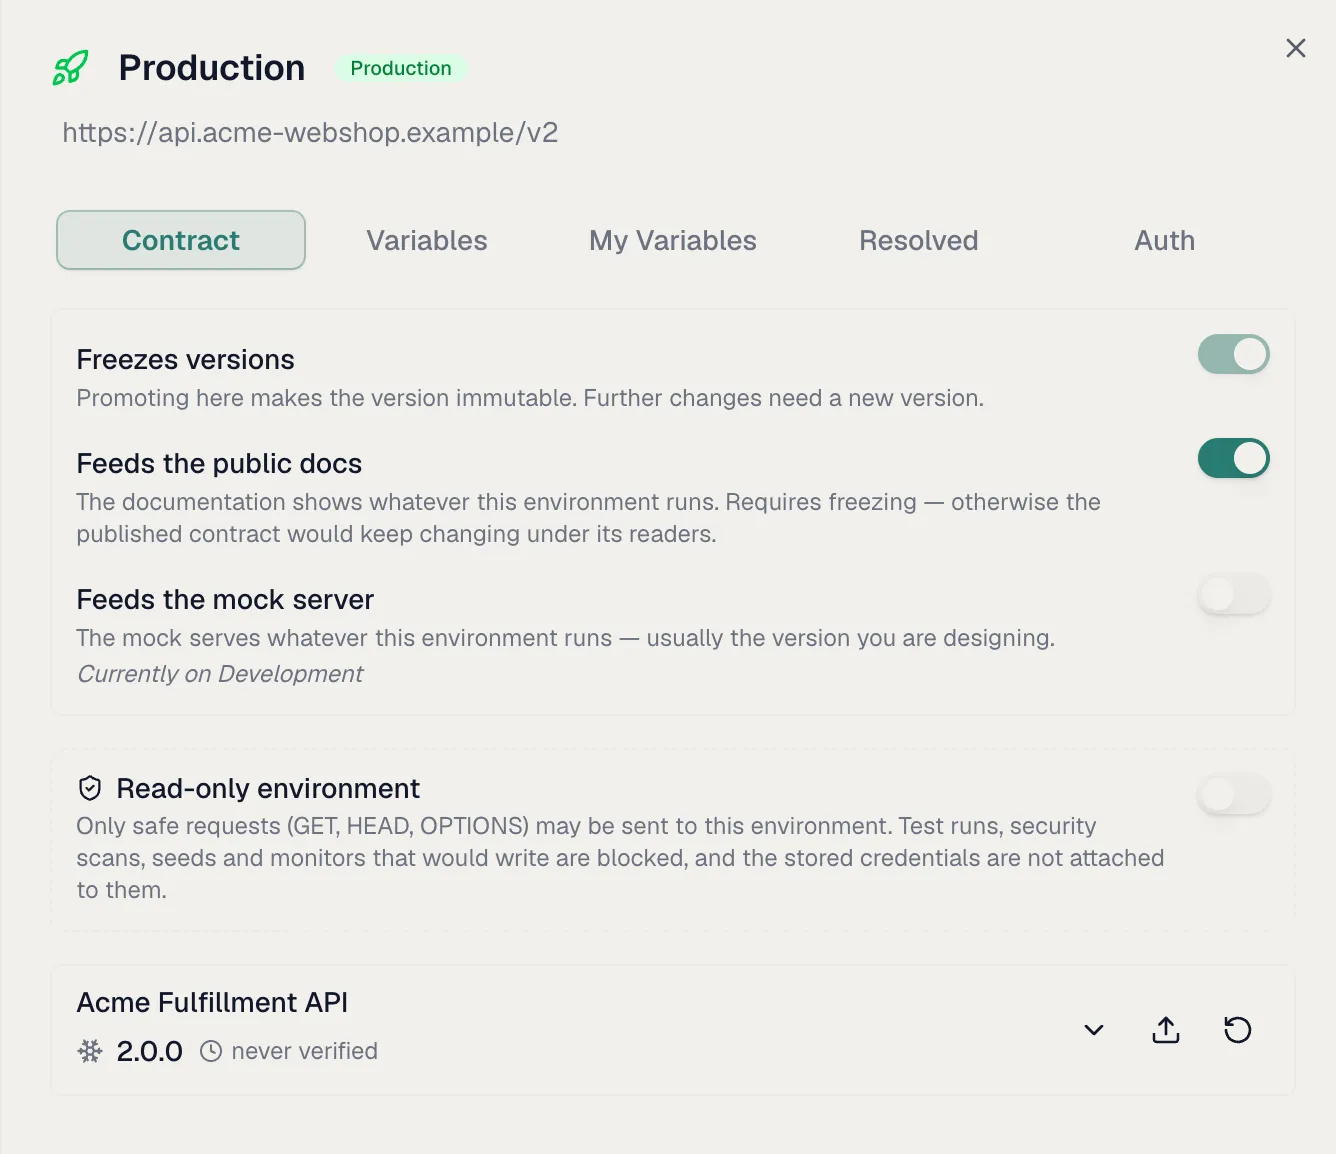
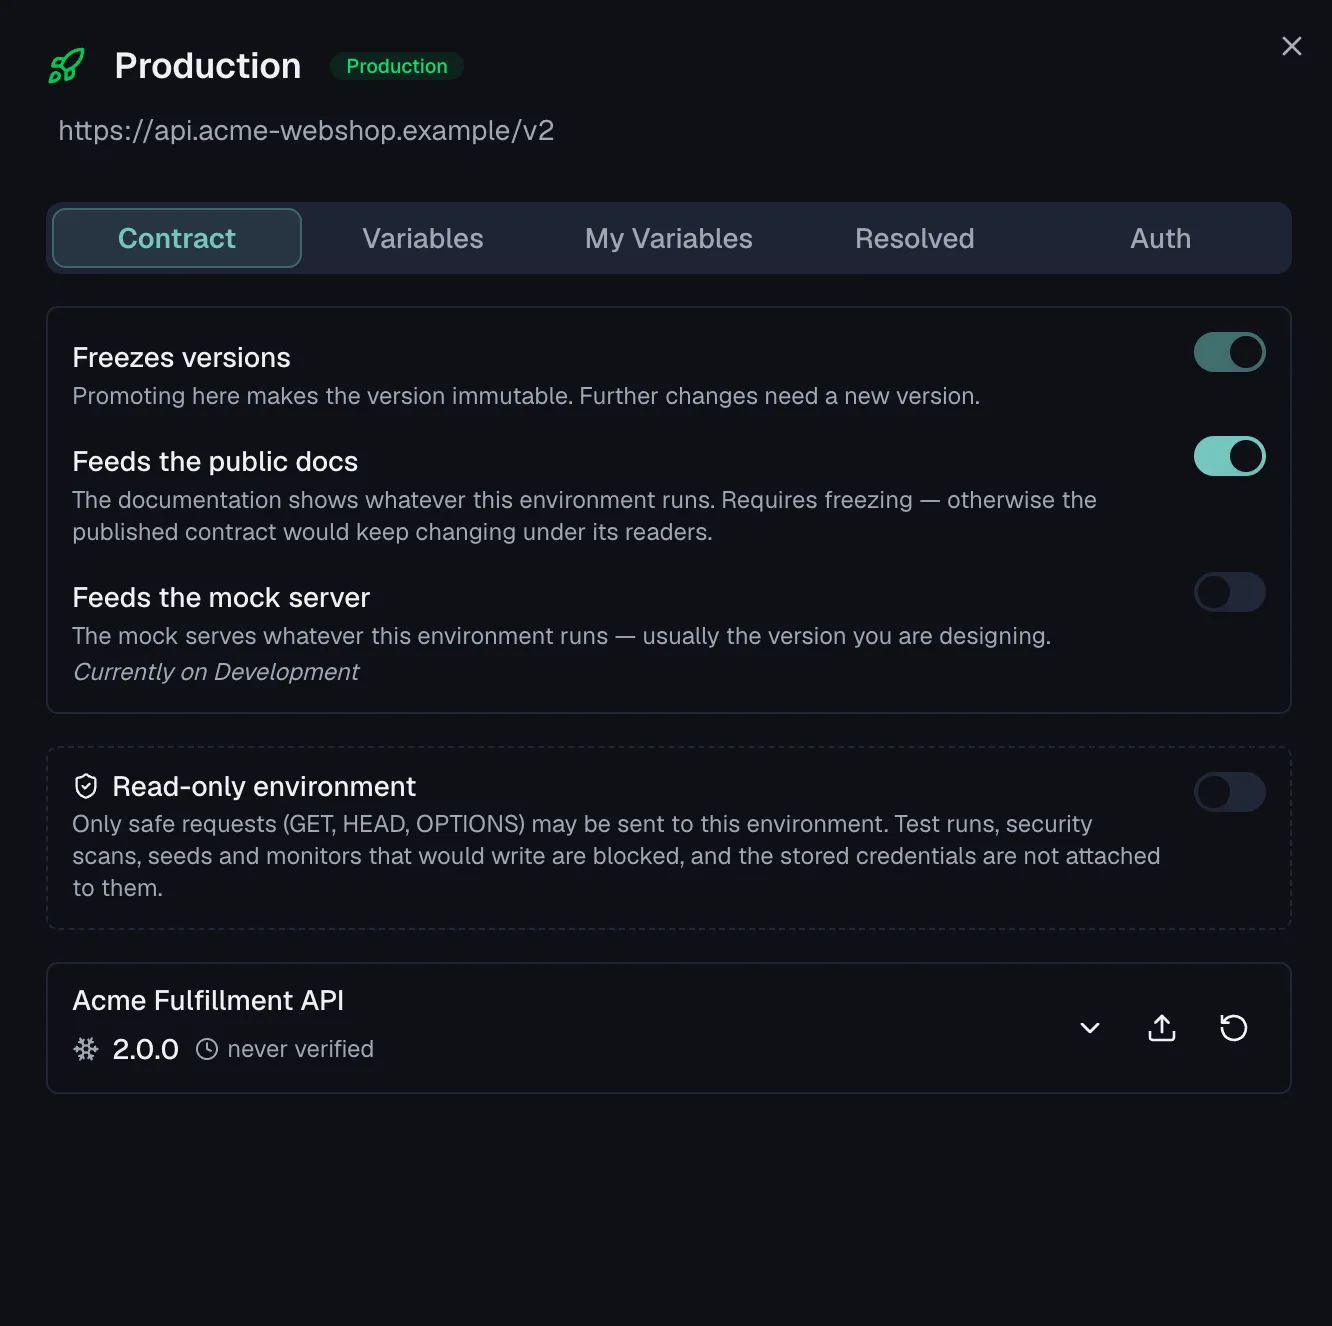 ### Promote and roll back
From a spec's row on the Contract tab, the **Promote a version** action opens the **Promote a version** dialog, described as *"Tell Routebase which contract an environment serves from now on. The contract tests are what verify the claim."*
Pick the **Version** and the **Environment**. Both lists are complete on purpose:
- **Every version** of the spec is offered rather than only the draft, so an environment running 1.2 while you design 1.4 can state what it actually serves. A snowflake marks the frozen ones. Deprecated versions are left out, since promoting one is refused anyway.
- **Every environment** is offered, in the order you named them, with a snowflake on the ones that freeze. A hotfix can therefore go from a fresh draft straight to production, with no ladder to climb.
Once an environment is picked, the dialog says what it runs today with a line like *"Production currently runs 1.1.0."* The trade-off is then named before you commit, if that environment freezes versions **and** the chosen version is not frozen yet. The warning reads *"Promoting to {environment} freezes {version} — further changes need a new version. This cannot be undone."* The button then reads **Freeze and promote to {environment}**, or plain **Promote to {environment}** for a non-freezing environment. Re-pinning a version that is **already** frozen is not a second freeze, and the dialog says so instead of warning, with *"{version} is already frozen — its contract does not change. Only what {environment} serves moves."*
The **Roll back** action moves the pin to the version this environment ran before. Rollback only moves the pointer, as the dialog puts it in *"Nothing was un-frozen — a frozen contract stays frozen."* There is no unpublish, because a frozen version stays frozen forever. Roll back is the one click for the common case, while the promotion history below is the precise way back.
### Promotion history
Every promotion is recorded, and the arrow at the end of a spec's row opens that record, newest first, with the top entry marked **current**. Each entry names the version and when it was promoted. The column that carries the weight is the last one, which says where the pin came from:
| Origin | What it means |
| --- | --- |
| **stated in the UI** | Someone asserted this in Routebase. Whether the service really serves it is what the contract tests decide. |
| **reported by the pipeline** | The deploy job reported it after it ran, so the pin follows the pipeline rather than a wish. See [CLI in CI/CD](https://docs.routebase.dev/cli-in-cicd/). |
| **deployed by Routebase** | Routebase rolled the configuration out itself, which makes this one a fact rather than a claim. |
That distinction is the reason the list exists. Routebase does not deploy your service, so a pin set by hand and a pin reported by your pipeline must not read alike.
Two kinds of entry carry a marker. A snowflake marks the promotion that **froze** the version, and a back-arrow marks one that was a **rollback**, explained as *"the pointer moved back here. Nothing was un-frozen."*
**Pin this again** on an earlier entry reopens the promote dialog on that version rather than pinning it on the spot. A promotion into a freezing environment is irreversible, and that warning is not something a row in a list should be able to skip.
## Permissions
- Creating and editing environments, including their variables and roles, requires **projects:write**, which Admins and Owners have.
- Deleting an environment requires **projects:delete**, which Admins and Owners have.
- **Promoting** a version into an environment and **rolling back** its pin require **specs:write** rather than `projects:write`, because the pin is a fact about the API contract and therefore follows the spec permission. The Member role includes it.
- Every member can view environments and switch the active one for themselves.
## Related
- [Projects](https://docs.routebase.dev/projects/) — the container environments live in
- [Versioning](https://docs.routebase.dev/versioning/) — the release flow that promotes versions into environments
- [Variables](https://docs.routebase.dev/variables/) — values scoped to each environment
- [Project Auth](https://docs.routebase.dev/project-auth/) — per-environment authentication
- [Test Suites](https://docs.routebase.dev/test-suites/) — run the same tests against every environment
- [Monitors](https://docs.routebase.dev/monitors/) — environment-bound uptime and health checks
---
## Folders — MCP Tools
Source: https://docs.routebase.dev/folders-mcp-tools/
The tools below belong to the **Folders** group of the Routebase MCP server.
## create_folder
Create a new folder in an API specification to organize endpoints. Supports nesting via parentFolderId. Use this for a new folder; to put an existing one under another parent use move_folder. Requires project context.
**Required scope:** `specs:write`
| Parameter | Type | Required | Description |
| --- | --- | --- | --- |
| `specId` | string | Yes | Public ID (GUID) of the API specification |
| `versionId` | string | Yes | Public ID (GUID) of the spec version to add the folder to |
| `name` | string | Yes | Folder name (e.g., 'Users', 'Authentication', 'Orders') |
| `icon` | string | No | Icon for the folder (emoji or icon name) |
| `parentFolderId` | string | No | Public ID (GUID) of the parent folder for nesting, or omit for top-level |
## delete_folder
Delete a folder (soft delete). Nested subfolders are also removed; endpoints inside become ungrouped. Use this to remove the folder; to keep it but change where it sits use move_folder. Requires project context.
**Required scope:** `specs:delete`
| Parameter | Type | Required | Description |
| --- | --- | --- | --- |
| `specId` | string | Yes | Public ID (GUID) of the API specification |
| `versionId` | string | Yes | Public ID (GUID) of the spec version the folder belongs to |
| `folderId` | string | Yes | Public ID (GUID) of the folder to delete |
## list_folders
List the folder structure of an API specification. Each folder has a parentFolderId for hierarchical nesting. Pass folderId to get just that one, with its rowVersion for update_folder. Requires project context (call set_context first).
**Required scope:** `specs:read`
| Parameter | Type | Required | Description |
| --- | --- | --- | --- |
| `specId` | string | Yes | Public ID (GUID) of the API specification |
| `versionId` | string | No | Optional version ID (GUID) to filter folders by a specific version |
| `folderId` | string | No | Optional public ID (GUID) of a single folder to return |
## move_folder
Move a folder under a new parent folder, or to the top level by omitting newParentFolderId. Use this to change a folder's parent; to change the order among its siblings use reorder_folders. Requires project context.
**Required scope:** `specs:write`
| Parameter | Type | Required | Description |
| --- | --- | --- | --- |
| `specId` | string | Yes | Public ID (GUID) of the API specification |
| `versionId` | string | Yes | Public ID (GUID) of the spec version the folder belongs to |
| `folderId` | string | Yes | Public ID (GUID) of the folder to move |
| `newParentFolderId` | string | No | Public ID (GUID) of the new parent folder, or omit to move to the top level |
## reorder_folders
Set the display order of folders under one parent. Pass every folder ID at that level in the order you want; omit parentFolderId to order the root-level folders. Use this to change the order among siblings; to change a folder's parent use move_folder. Requires project context.
**Required scope:** `specs:write`
| Parameter | Type | Required | Description |
| --- | --- | --- | --- |
| `specId` | string | Yes | Public ID (GUID) of the API specification |
| `versionId` | string | Yes | Public ID (GUID) of the spec version |
| `folderIds` | string | Yes | Folder IDs (GUIDs) in the desired order, comma-separated. All of them must sit under the same parent. |
| `parentFolderId` | string | No | Public ID (GUID) of the parent folder; omit for the root level |
## update_folder
Rename a folder and/or change its icon. Omit name or icon to keep the current value. Use this for name and icon only; to change where the folder sits use move_folder or reorder_folders. Requires the folder's rowVersion for optimistic concurrency control. Requires project context.
**Required scope:** `specs:write`
| Parameter | Type | Required | Description |
| --- | --- | --- | --- |
| `specId` | string | Yes | Public ID (GUID) of the API specification |
| `versionId` | string | Yes | Public ID (GUID) of the spec version the folder belongs to |
| `folderId` | string | Yes | Public ID (GUID) of the folder to update |
| `rowVersion` | string | Yes | Base64-encoded row version of the folder (for concurrency control) |
| `name` | string | No | New folder name, or omit to keep the current name |
| `icon` | string | No | New icon (emoji or icon name), or omit to keep the current icon |
---
## Getting Started
Source: https://docs.routebase.dev/getting-started/
Welcome to Routebase, the single source of truth for your APIs. This guide takes you from sign-up to your first documented endpoint in a few minutes.
## 1. Set up your workspace
Signing up starts on the **Set up your workspace** page at `app.routebase.dev`, which asks for one decision before you create your account. That decision is **where your data lives**.
Pick the **European Union** or the **United States**. Each card shows the hosting location, a latency hint and a compliance note. You do not choose a workspace address, because Routebase derives one from your organization name later, so there is nothing to check for availability.
A warning below the cards reminds you that **the region cannot be changed later**. Click **Continue** to create your account and confirm your email address from the verification email. If you skip verification, a banner in the app lets you resend the link at any time.
If you are unsure which region to take, read [Region Selection](https://docs.routebase.dev/region-selection/) first, because it is the one decision here you cannot revise.
## 2. Complete onboarding
After your first sign-in, a short wizard asks **how you will use Routebase**, offering **Personal** for side projects, learning and personal APIs, or **Business** for team collaboration and professional API management. It then has you name your workspace or organization and confirm the hosting region. Nothing is created until you finish the wizard.
Finishing it starts a **14-day Pro trial**, with no credit card required. The trial is granted **once per person** rather than once per workspace, so a second account created from the same address starts on Free. Disposable email domains do not get a trial at all.
If someone has already invited you to their organization, you land on that invitation instead of the wizard. That holds whether you open the mail in the same tab, on another device, or days later. Nothing is accepted for you, because the page asks. Decline it and you continue into the wizard as normal.
The full wizard is covered step by step in [Onboarding](https://docs.routebase.dev/onboarding/).
## 3. Create your first project
A **project** groups everything for one API, meaning its specifications, environments, test suites and mock server. After onboarding you land on the [Dashboard](https://docs.routebase.dev/dashboard/), which greets a fresh workspace with two ways to start:
- **Create Project** starts fresh with a new API project. The dialog asks for a **Name** and an optional **Description**. Under **Advanced options** you pick which environments to create, which default to Development, Staging and Production, then enable a **Mock Server** and seed **Sample Test Data**.
- **Import OpenAPI** takes an existing OpenAPI file in YAML or JSON, and Routebase sets up the project, specification and environments automatically from its contents. The file is validated first. If it does not pass, an inline error editor lists every problem, highlights the offending lines, and lets you fix and **Re-validate** the spec in place. A one-click **Retry as OpenAPI 3.1** quick fix appears when a 3.0 spec uses 3.1 features.
> **Arriving with a Postman or Insomnia export?** This dialog takes OpenAPI only. Create the project first, then import the collection through the specification wizard in step 4, because that one reads all three formats.
Below those two cards sits **Create with AI inside Routebase**, a three-step setup that connects Claude or your IDE to this workspace over MCP. It is worth doing early, because from then on your agent works on the same API you are about to design, with your exact permissions. See the [MCP Quickstart](https://docs.routebase.dev/mcp-quickstart/). You can dismiss the card once you are set up.
Creating projects requires the **projects:write** permission. On the Free plan, which applies once the trial ends, the **New Project** button is disabled after you reach the plan's project limit.
### Promote and roll back
From a spec's row on the Contract tab, the **Promote a version** action opens the **Promote a version** dialog, described as *"Tell Routebase which contract an environment serves from now on. The contract tests are what verify the claim."*
Pick the **Version** and the **Environment**. Both lists are complete on purpose:
- **Every version** of the spec is offered rather than only the draft, so an environment running 1.2 while you design 1.4 can state what it actually serves. A snowflake marks the frozen ones. Deprecated versions are left out, since promoting one is refused anyway.
- **Every environment** is offered, in the order you named them, with a snowflake on the ones that freeze. A hotfix can therefore go from a fresh draft straight to production, with no ladder to climb.
Once an environment is picked, the dialog says what it runs today with a line like *"Production currently runs 1.1.0."* The trade-off is then named before you commit, if that environment freezes versions **and** the chosen version is not frozen yet. The warning reads *"Promoting to {environment} freezes {version} — further changes need a new version. This cannot be undone."* The button then reads **Freeze and promote to {environment}**, or plain **Promote to {environment}** for a non-freezing environment. Re-pinning a version that is **already** frozen is not a second freeze, and the dialog says so instead of warning, with *"{version} is already frozen — its contract does not change. Only what {environment} serves moves."*
The **Roll back** action moves the pin to the version this environment ran before. Rollback only moves the pointer, as the dialog puts it in *"Nothing was un-frozen — a frozen contract stays frozen."* There is no unpublish, because a frozen version stays frozen forever. Roll back is the one click for the common case, while the promotion history below is the precise way back.
### Promotion history
Every promotion is recorded, and the arrow at the end of a spec's row opens that record, newest first, with the top entry marked **current**. Each entry names the version and when it was promoted. The column that carries the weight is the last one, which says where the pin came from:
| Origin | What it means |
| --- | --- |
| **stated in the UI** | Someone asserted this in Routebase. Whether the service really serves it is what the contract tests decide. |
| **reported by the pipeline** | The deploy job reported it after it ran, so the pin follows the pipeline rather than a wish. See [CLI in CI/CD](https://docs.routebase.dev/cli-in-cicd/). |
| **deployed by Routebase** | Routebase rolled the configuration out itself, which makes this one a fact rather than a claim. |
That distinction is the reason the list exists. Routebase does not deploy your service, so a pin set by hand and a pin reported by your pipeline must not read alike.
Two kinds of entry carry a marker. A snowflake marks the promotion that **froze** the version, and a back-arrow marks one that was a **rollback**, explained as *"the pointer moved back here. Nothing was un-frozen."*
**Pin this again** on an earlier entry reopens the promote dialog on that version rather than pinning it on the spot. A promotion into a freezing environment is irreversible, and that warning is not something a row in a list should be able to skip.
## Permissions
- Creating and editing environments, including their variables and roles, requires **projects:write**, which Admins and Owners have.
- Deleting an environment requires **projects:delete**, which Admins and Owners have.
- **Promoting** a version into an environment and **rolling back** its pin require **specs:write** rather than `projects:write`, because the pin is a fact about the API contract and therefore follows the spec permission. The Member role includes it.
- Every member can view environments and switch the active one for themselves.
## Related
- [Projects](https://docs.routebase.dev/projects/) — the container environments live in
- [Versioning](https://docs.routebase.dev/versioning/) — the release flow that promotes versions into environments
- [Variables](https://docs.routebase.dev/variables/) — values scoped to each environment
- [Project Auth](https://docs.routebase.dev/project-auth/) — per-environment authentication
- [Test Suites](https://docs.routebase.dev/test-suites/) — run the same tests against every environment
- [Monitors](https://docs.routebase.dev/monitors/) — environment-bound uptime and health checks
---
## Folders — MCP Tools
Source: https://docs.routebase.dev/folders-mcp-tools/
The tools below belong to the **Folders** group of the Routebase MCP server.
## create_folder
Create a new folder in an API specification to organize endpoints. Supports nesting via parentFolderId. Use this for a new folder; to put an existing one under another parent use move_folder. Requires project context.
**Required scope:** `specs:write`
| Parameter | Type | Required | Description |
| --- | --- | --- | --- |
| `specId` | string | Yes | Public ID (GUID) of the API specification |
| `versionId` | string | Yes | Public ID (GUID) of the spec version to add the folder to |
| `name` | string | Yes | Folder name (e.g., 'Users', 'Authentication', 'Orders') |
| `icon` | string | No | Icon for the folder (emoji or icon name) |
| `parentFolderId` | string | No | Public ID (GUID) of the parent folder for nesting, or omit for top-level |
## delete_folder
Delete a folder (soft delete). Nested subfolders are also removed; endpoints inside become ungrouped. Use this to remove the folder; to keep it but change where it sits use move_folder. Requires project context.
**Required scope:** `specs:delete`
| Parameter | Type | Required | Description |
| --- | --- | --- | --- |
| `specId` | string | Yes | Public ID (GUID) of the API specification |
| `versionId` | string | Yes | Public ID (GUID) of the spec version the folder belongs to |
| `folderId` | string | Yes | Public ID (GUID) of the folder to delete |
## list_folders
List the folder structure of an API specification. Each folder has a parentFolderId for hierarchical nesting. Pass folderId to get just that one, with its rowVersion for update_folder. Requires project context (call set_context first).
**Required scope:** `specs:read`
| Parameter | Type | Required | Description |
| --- | --- | --- | --- |
| `specId` | string | Yes | Public ID (GUID) of the API specification |
| `versionId` | string | No | Optional version ID (GUID) to filter folders by a specific version |
| `folderId` | string | No | Optional public ID (GUID) of a single folder to return |
## move_folder
Move a folder under a new parent folder, or to the top level by omitting newParentFolderId. Use this to change a folder's parent; to change the order among its siblings use reorder_folders. Requires project context.
**Required scope:** `specs:write`
| Parameter | Type | Required | Description |
| --- | --- | --- | --- |
| `specId` | string | Yes | Public ID (GUID) of the API specification |
| `versionId` | string | Yes | Public ID (GUID) of the spec version the folder belongs to |
| `folderId` | string | Yes | Public ID (GUID) of the folder to move |
| `newParentFolderId` | string | No | Public ID (GUID) of the new parent folder, or omit to move to the top level |
## reorder_folders
Set the display order of folders under one parent. Pass every folder ID at that level in the order you want; omit parentFolderId to order the root-level folders. Use this to change the order among siblings; to change a folder's parent use move_folder. Requires project context.
**Required scope:** `specs:write`
| Parameter | Type | Required | Description |
| --- | --- | --- | --- |
| `specId` | string | Yes | Public ID (GUID) of the API specification |
| `versionId` | string | Yes | Public ID (GUID) of the spec version |
| `folderIds` | string | Yes | Folder IDs (GUIDs) in the desired order, comma-separated. All of them must sit under the same parent. |
| `parentFolderId` | string | No | Public ID (GUID) of the parent folder; omit for the root level |
## update_folder
Rename a folder and/or change its icon. Omit name or icon to keep the current value. Use this for name and icon only; to change where the folder sits use move_folder or reorder_folders. Requires the folder's rowVersion for optimistic concurrency control. Requires project context.
**Required scope:** `specs:write`
| Parameter | Type | Required | Description |
| --- | --- | --- | --- |
| `specId` | string | Yes | Public ID (GUID) of the API specification |
| `versionId` | string | Yes | Public ID (GUID) of the spec version the folder belongs to |
| `folderId` | string | Yes | Public ID (GUID) of the folder to update |
| `rowVersion` | string | Yes | Base64-encoded row version of the folder (for concurrency control) |
| `name` | string | No | New folder name, or omit to keep the current name |
| `icon` | string | No | New icon (emoji or icon name), or omit to keep the current icon |
---
## Getting Started
Source: https://docs.routebase.dev/getting-started/
Welcome to Routebase, the single source of truth for your APIs. This guide takes you from sign-up to your first documented endpoint in a few minutes.
## 1. Set up your workspace
Signing up starts on the **Set up your workspace** page at `app.routebase.dev`, which asks for one decision before you create your account. That decision is **where your data lives**.
Pick the **European Union** or the **United States**. Each card shows the hosting location, a latency hint and a compliance note. You do not choose a workspace address, because Routebase derives one from your organization name later, so there is nothing to check for availability.
A warning below the cards reminds you that **the region cannot be changed later**. Click **Continue** to create your account and confirm your email address from the verification email. If you skip verification, a banner in the app lets you resend the link at any time.
If you are unsure which region to take, read [Region Selection](https://docs.routebase.dev/region-selection/) first, because it is the one decision here you cannot revise.
## 2. Complete onboarding
After your first sign-in, a short wizard asks **how you will use Routebase**, offering **Personal** for side projects, learning and personal APIs, or **Business** for team collaboration and professional API management. It then has you name your workspace or organization and confirm the hosting region. Nothing is created until you finish the wizard.
Finishing it starts a **14-day Pro trial**, with no credit card required. The trial is granted **once per person** rather than once per workspace, so a second account created from the same address starts on Free. Disposable email domains do not get a trial at all.
If someone has already invited you to their organization, you land on that invitation instead of the wizard. That holds whether you open the mail in the same tab, on another device, or days later. Nothing is accepted for you, because the page asks. Decline it and you continue into the wizard as normal.
The full wizard is covered step by step in [Onboarding](https://docs.routebase.dev/onboarding/).
## 3. Create your first project
A **project** groups everything for one API, meaning its specifications, environments, test suites and mock server. After onboarding you land on the [Dashboard](https://docs.routebase.dev/dashboard/), which greets a fresh workspace with two ways to start:
- **Create Project** starts fresh with a new API project. The dialog asks for a **Name** and an optional **Description**. Under **Advanced options** you pick which environments to create, which default to Development, Staging and Production, then enable a **Mock Server** and seed **Sample Test Data**.
- **Import OpenAPI** takes an existing OpenAPI file in YAML or JSON, and Routebase sets up the project, specification and environments automatically from its contents. The file is validated first. If it does not pass, an inline error editor lists every problem, highlights the offending lines, and lets you fix and **Re-validate** the spec in place. A one-click **Retry as OpenAPI 3.1** quick fix appears when a 3.0 spec uses 3.1 features.
> **Arriving with a Postman or Insomnia export?** This dialog takes OpenAPI only. Create the project first, then import the collection through the specification wizard in step 4, because that one reads all three formats.
Below those two cards sits **Create with AI inside Routebase**, a three-step setup that connects Claude or your IDE to this workspace over MCP. It is worth doing early, because from then on your agent works on the same API you are about to design, with your exact permissions. See the [MCP Quickstart](https://docs.routebase.dev/mcp-quickstart/). You can dismiss the card once you are set up.
Creating projects requires the **projects:write** permission. On the Free plan, which applies once the trial ends, the **New Project** button is disabled after you reach the plan's project limit.

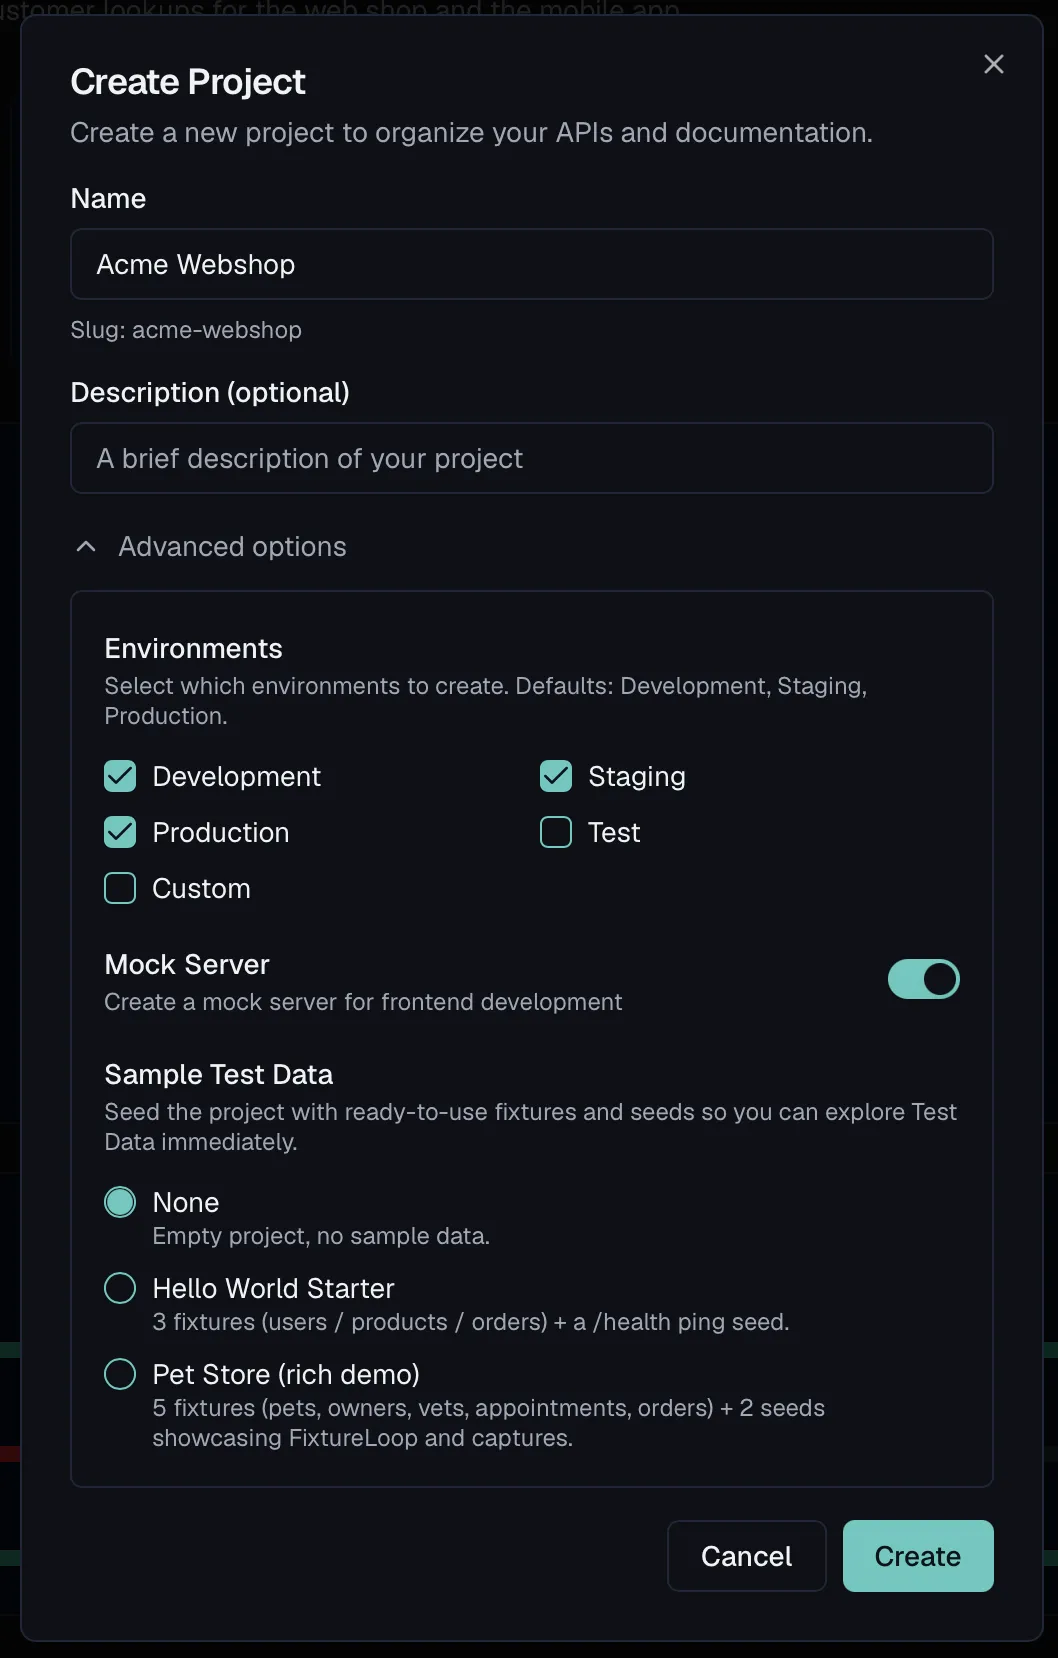 ## 4. Add your first API specification
Inside a project, create a specification in one of three ways:
| Option | What it does |
| --- | --- |
| **Import** | Import OpenAPI, Postman, or Insomnia files. |
| **Empty Specification** | Start with a blank canvas and add endpoints. |
| **Use Template** | Start with a pre-built template such as CRUD or Auth. |
Either way, you then shape your API with these building blocks:
- [Endpoints](https://docs.routebase.dev/endpoints/) — the operations your API exposes
- [Parameters](https://docs.routebase.dev/parameters/) — the inputs each operation accepts
- [Responses](https://docs.routebase.dev/responses/) — what each operation returns
- [Schemas](https://docs.routebase.dev/schemas/) — reusable data structures you reference across the spec
## 4. Add your first API specification
Inside a project, create a specification in one of three ways:
| Option | What it does |
| --- | --- |
| **Import** | Import OpenAPI, Postman, or Insomnia files. |
| **Empty Specification** | Start with a blank canvas and add endpoints. |
| **Use Template** | Start with a pre-built template such as CRUD or Auth. |
Either way, you then shape your API with these building blocks:
- [Endpoints](https://docs.routebase.dev/endpoints/) — the operations your API exposes
- [Parameters](https://docs.routebase.dev/parameters/) — the inputs each operation accepts
- [Responses](https://docs.routebase.dev/responses/) — what each operation returns
- [Schemas](https://docs.routebase.dev/schemas/) — reusable data structures you reference across the spec
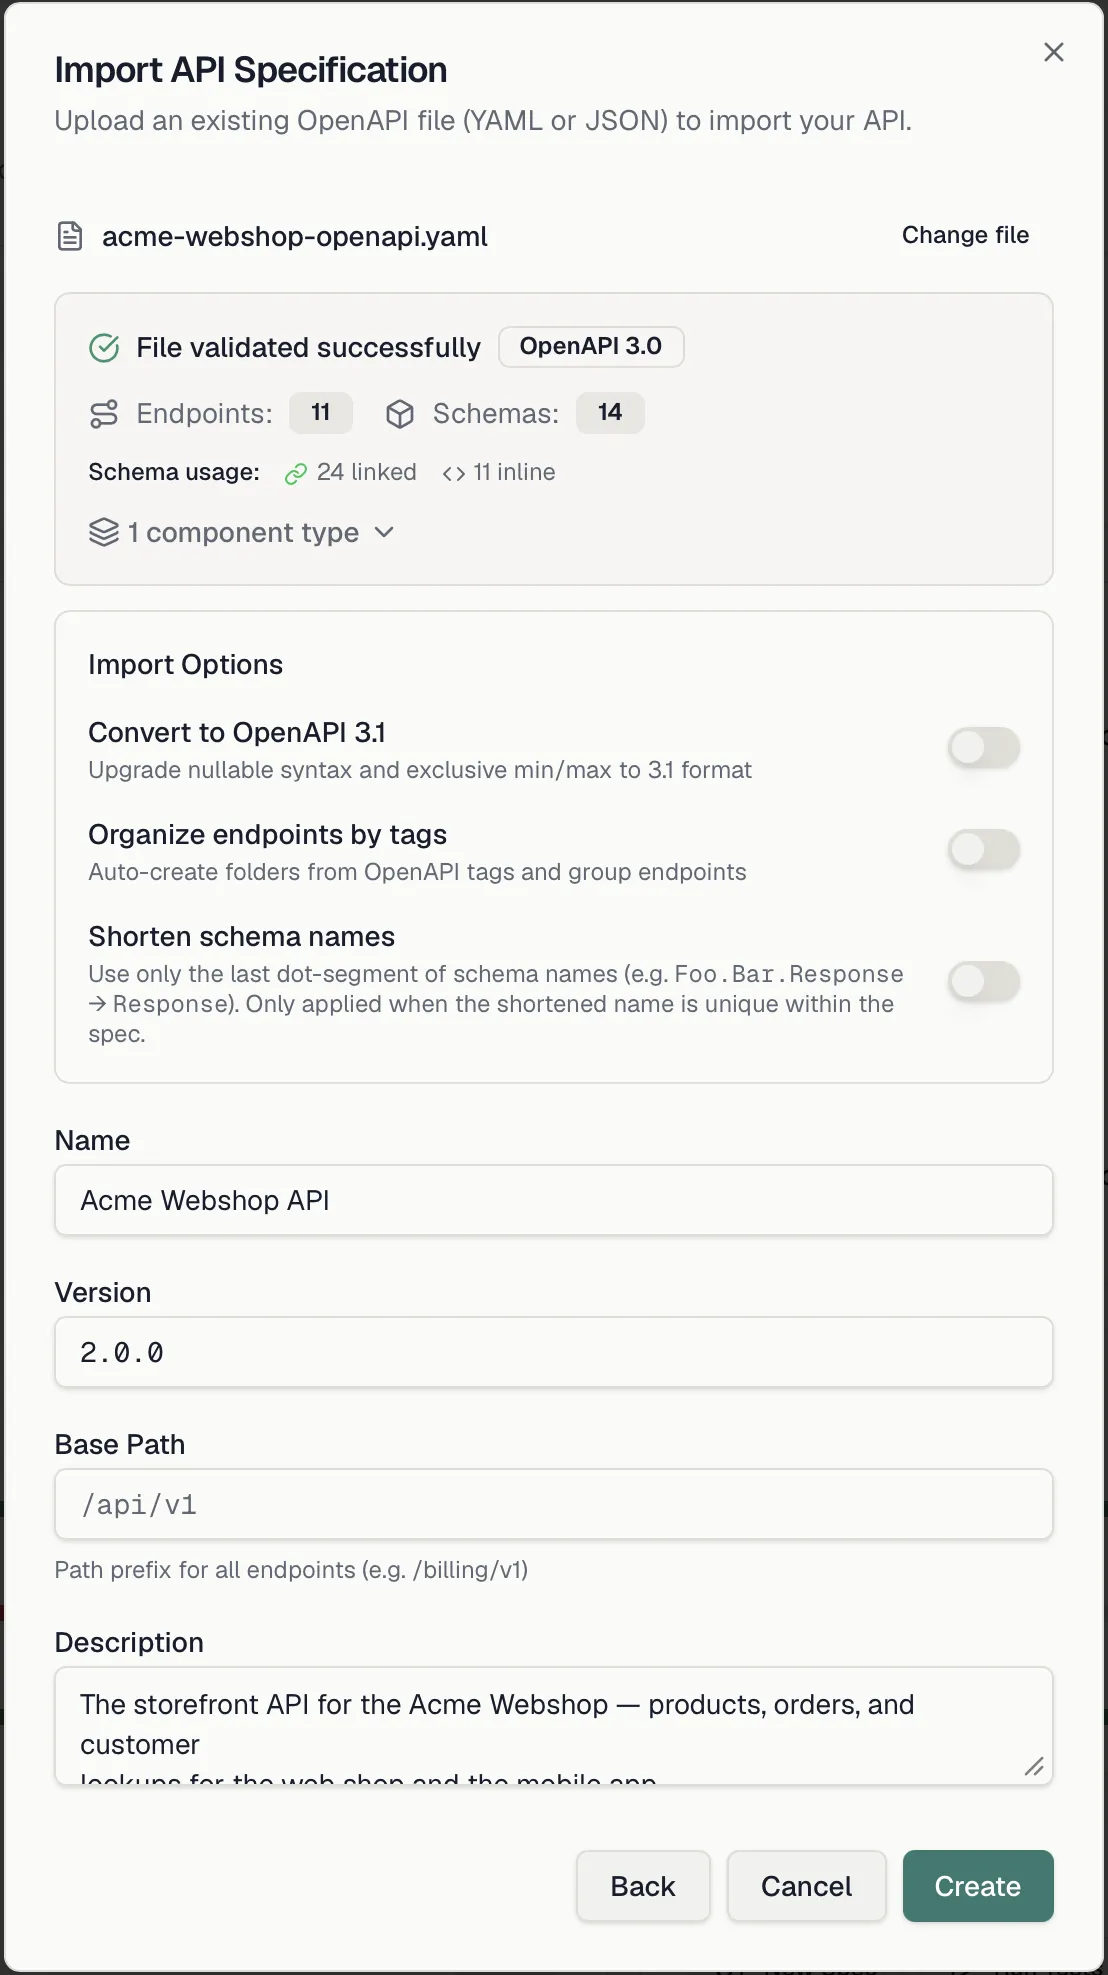
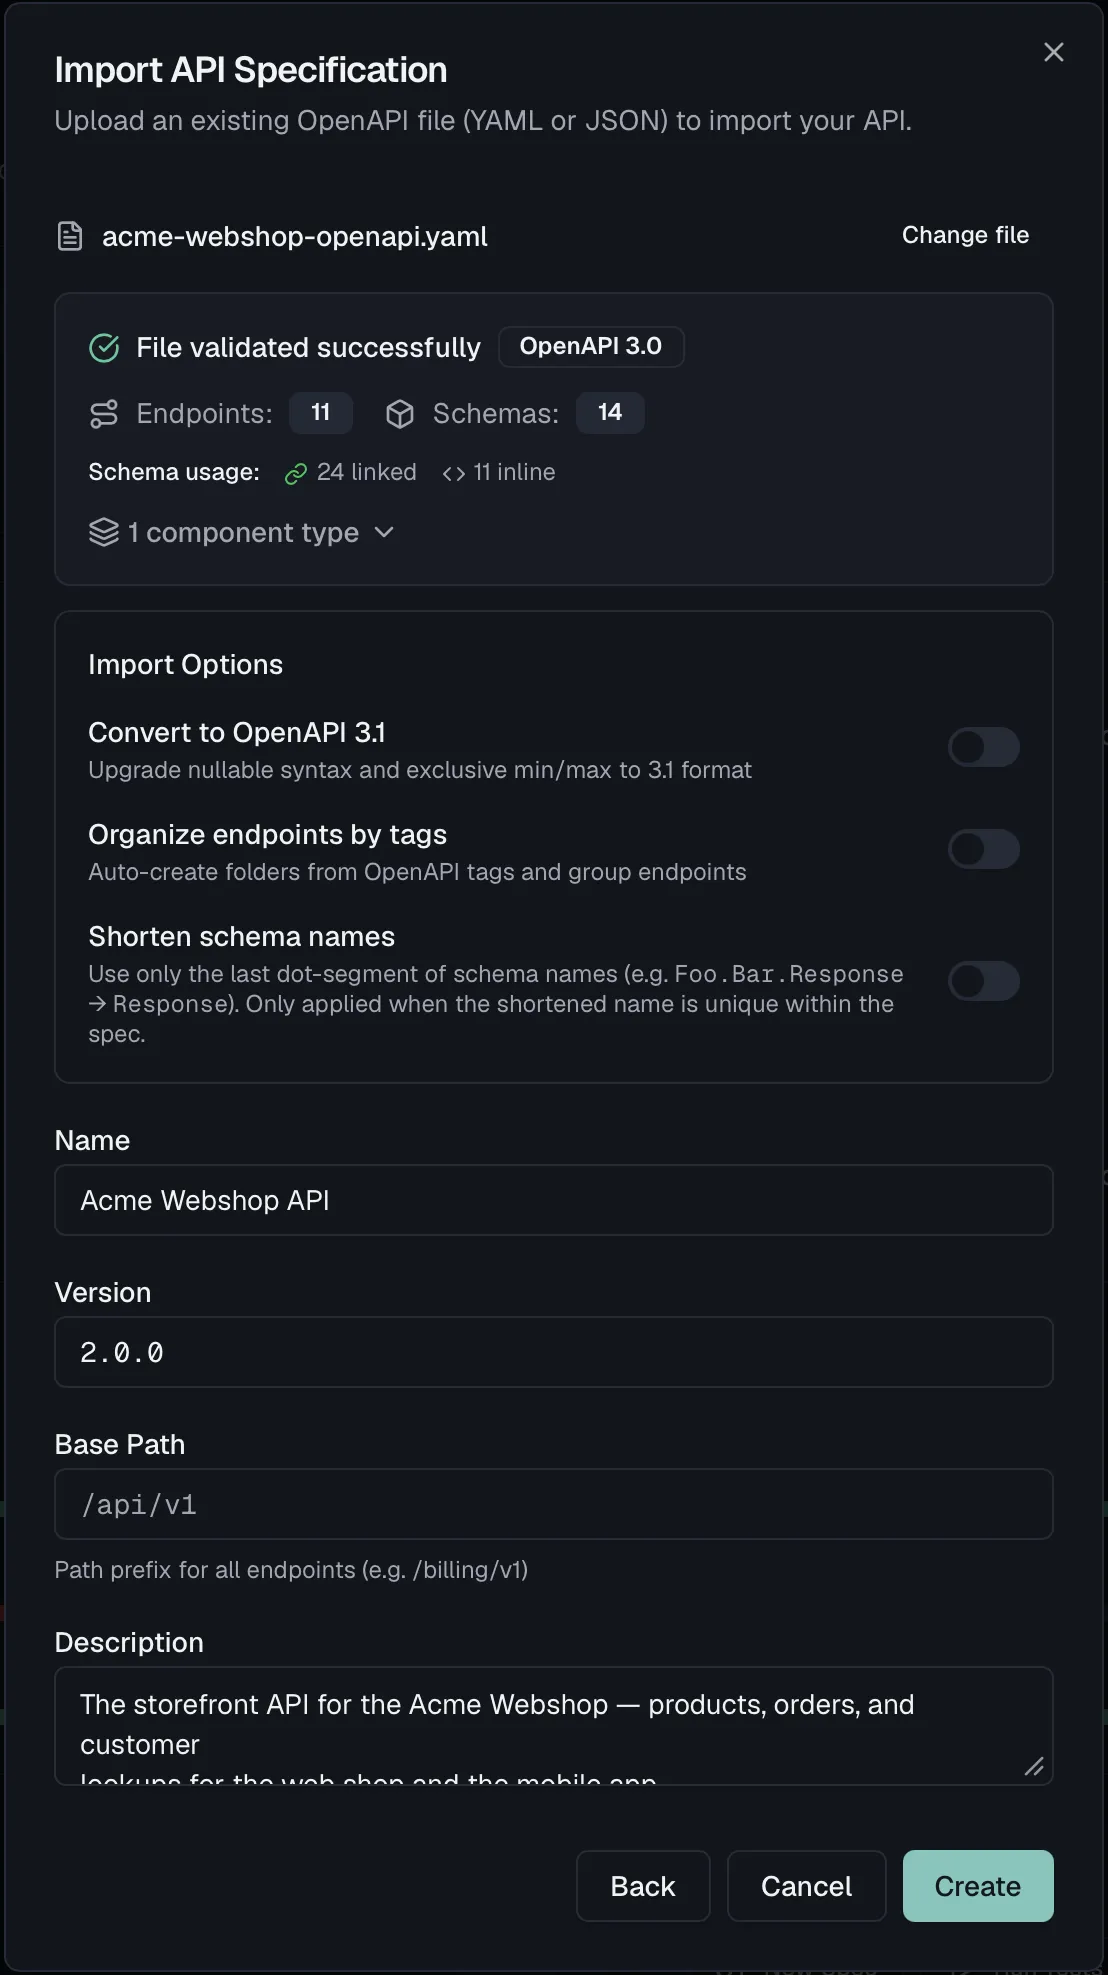

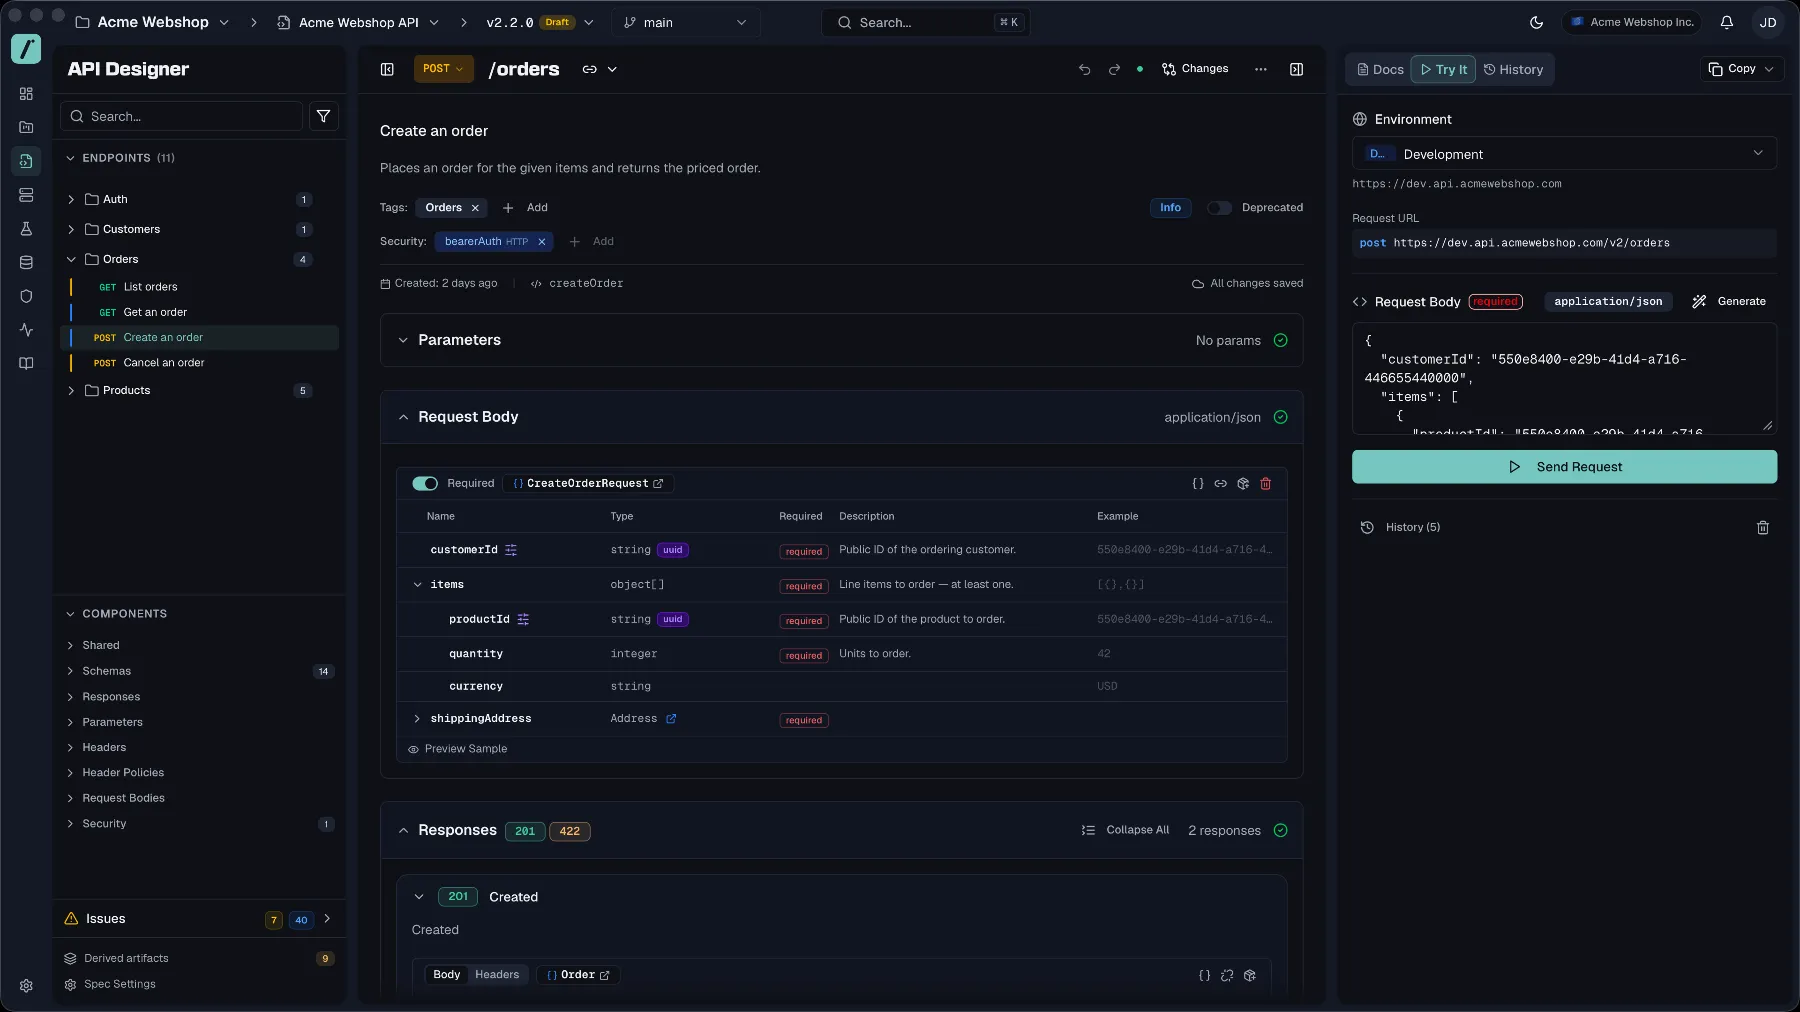 ## Next steps
You have a spec. The natural next question is what the other four stages do with it, and in which order, as you mock, test, document and hand it to agents.
**[Lifecycle Walkthrough](https://docs.routebase.dev/lifecycle-walkthrough/)** answers exactly that, by carrying one small API through the whole cycle and showing where each stage hands off to the next. Read it once end to end, because it is shorter than the five feature guides it replaces as a starting point.
If you would rather go straight to a single topic:
- Keep your live API honest with [test suites](https://docs.routebase.dev/test-suites/) and [contract testing](https://docs.routebase.dev/contract-testing/).
- Publish your documentation to a portal so consumers always have the current contract, as described under [Publishing](https://docs.routebase.dev/doc-publishing/).
- Watch your endpoints in production with [Monitoring](https://docs.routebase.dev/monitoring-overview/).
- Connect your development tools through the MCP server, starting from the [MCP Quickstart](https://docs.routebase.dev/mcp-quickstart/).
- Find anything, anywhere, with [Global Search](https://docs.routebase.dev/global-search/) on `⌘K`.
Welcome aboard. You now have everything you need to build your first API in Routebase.
## Related
- [Onboarding](https://docs.routebase.dev/onboarding/) — the signup wizard in detail
- [Region Selection](https://docs.routebase.dev/region-selection/) — choosing between EU and US hosting
- [Dashboard](https://docs.routebase.dev/dashboard/) — your workspace home page
- [Projects](https://docs.routebase.dev/projects/) — organizing your APIs
---
## Global Search
Source: https://docs.routebase.dev/global-search/
Global search finds anything in your workspace from a single command palette, across **all projects** in your organization at once. It covers projects, endpoints, schemas, test suites, mock rules and documentation.
## Opening search
- Press **⌘K** (macOS) or **Ctrl+K** (Windows/Linux) from anywhere in the app. Pressing it again closes the palette.
- Or click the **Search...** box in the center of the header (on smaller screens, the magnifier icon on the right).
Type at least **2 characters** to start searching, and results update as you type.
## Next steps
You have a spec. The natural next question is what the other four stages do with it, and in which order, as you mock, test, document and hand it to agents.
**[Lifecycle Walkthrough](https://docs.routebase.dev/lifecycle-walkthrough/)** answers exactly that, by carrying one small API through the whole cycle and showing where each stage hands off to the next. Read it once end to end, because it is shorter than the five feature guides it replaces as a starting point.
If you would rather go straight to a single topic:
- Keep your live API honest with [test suites](https://docs.routebase.dev/test-suites/) and [contract testing](https://docs.routebase.dev/contract-testing/).
- Publish your documentation to a portal so consumers always have the current contract, as described under [Publishing](https://docs.routebase.dev/doc-publishing/).
- Watch your endpoints in production with [Monitoring](https://docs.routebase.dev/monitoring-overview/).
- Connect your development tools through the MCP server, starting from the [MCP Quickstart](https://docs.routebase.dev/mcp-quickstart/).
- Find anything, anywhere, with [Global Search](https://docs.routebase.dev/global-search/) on `⌘K`.
Welcome aboard. You now have everything you need to build your first API in Routebase.
## Related
- [Onboarding](https://docs.routebase.dev/onboarding/) — the signup wizard in detail
- [Region Selection](https://docs.routebase.dev/region-selection/) — choosing between EU and US hosting
- [Dashboard](https://docs.routebase.dev/dashboard/) — your workspace home page
- [Projects](https://docs.routebase.dev/projects/) — organizing your APIs
---
## Global Search
Source: https://docs.routebase.dev/global-search/
Global search finds anything in your workspace from a single command palette, across **all projects** in your organization at once. It covers projects, endpoints, schemas, test suites, mock rules and documentation.
## Opening search
- Press **⌘K** (macOS) or **Ctrl+K** (Windows/Linux) from anywhere in the app. Pressing it again closes the palette.
- Or click the **Search...** box in the center of the header (on smaller screens, the magnifier icon on the right).
Type at least **2 characters** to start searching, and results update as you type.
 ## What you can find
A row of filter chips under the search box narrows results by entity type. **All** is the default and searches everything. Click one or more chips to restrict the search, because filters are additive, and clicking **All** clears them again.
| Filter | Finds | Opens |
| --- | --- | --- |
| **Project** | Projects by name | The project overview |
| **API Spec** | API specifications | The specification |
| **Endpoint** | Endpoints — results show the HTTP method as a colored badge | The endpoint in the API Designer |
| **Schema** | Reusable schemas | The schema in the API Designer |
| **Test Suite** | Test suites | The suite in the Test Runner |
| **Mock Rule** | Mock rules | The rule in the Mock Server |
| **Org Doc** | Organization documentation pages | The page in the reader view |
| **Tag** | Endpoint tags | The tagged endpoints |
Each result shows its title (with your query highlighted), a subtitle, where it lives, and a type badge. Endpoints, schemas and tags name **project › API**, because two specifications in one project can carry the same path. The result list should not make you open both to find out which is which. Everything else names its project. When a result lives in a different project than the one you're currently working in, opening it **switches your project context automatically**. You land in the right place with no extra clicks.
## Working the results
The footer of the palette lists the keyboard controls:
| Key | Action |
| --- | --- |
| **↑ / ↓** | Navigate through results |
| **↵** | Open the selected result |
| **Esc** | Close the palette |
Results load **5 per entity type** at a time, and **Load more** at the bottom of the list fetches the next batch.
## Recent searches
When you open the palette without typing, your **five most recent successful searches** appear under "Recent Searches", and clicking one runs it again. Recent searches are stored locally in your browser.
## Empty states
- Fewer than 2 characters typed: "Type at least 2 characters to search".
- Nothing matches: `No results found for "your query"`.
- First use, nothing typed yet: "Start typing to search across all your projects".
## Related
- [Dashboard](https://docs.routebase.dev/dashboard/) — your workspace home page
- [Projects](https://docs.routebase.dev/projects/) — how projects organize your APIs
- [Endpoints](https://docs.routebase.dev/endpoints/) — the operations search takes you to
- [Doc Overview](https://docs.routebase.dev/doc-overview/) — the documentation hub behind Org Doc results
---
## Google Workspace SSO Setup
Source: https://docs.routebase.dev/google-workspace-sso-setup/
> **You need:** the **Super Admin** role in Google Workspace, and the Owner or Admin role in a Routebase organization on the Enterprise plan.
>
> **Time:** about 20 minutes.
>
> Read [SSO Setup Overview](https://docs.routebase.dev/sso-setup-overview/) first for the prerequisites that apply to every provider. In particular, verify your email domain under **Settings → Domains** before you begin. That is normally your Workspace domain.
Google Workspace does not ship a SCIM client for third-party applications, so provisioning works differently here than with Okta or Entra ID. Section 6 covers the options.
## 1. Start the connection in Routebase and copy the two values
Google needs Routebase's Entity ID and ACS URL, and Routebase needs Google's metadata. Both values on the Routebase side are known before the connection exists, so you start here and never have to enter placeholders in Google.
1. Go to **Settings → Single Sign-On** and click **Create connection**.
2. Choose SAML 2.0 as the **Protocol**.
3. Choose Google Workspace as the **Vendor**. This preselects the attribute mapping for the names you configure in section 2.
4. On the **Metadata** step, the wizard shows the **Entity ID** and **ACS URL** with copy buttons. Copy both, because you enter them in the next section. Leave the wizard open, since you come back to it in section 3.
> If the wizard says the values are shown *after* this step instead, your organization already has a connection with the same name, such as an abandoned draft. Delete it under **Settings → Single Sign-On** and start again, or continue with placeholders in Google and replace them once the **Test** step shows the final values.
## 2. Create the custom SAML app in Google Admin
1. In the Google Admin console, go to **Apps → Web and mobile apps → Add app → Add custom SAML app**.
2. Under **App details**, name it `Routebase`. A logo is optional. Click **Continue**.
3. On the **Google Identity Provider details** screen, **download the metadata file**. Google does not host a public metadata URL, so this XML file is what you paste into Routebase in section 3. Click **Continue**.
4. Fill in the **Service provider details** fields.
- Set **ACS URL** to the **ACS URL** from section 1.
- Set **Entity ID** to the **Entity ID** from section 1.
- Set **Name ID format** to `EMAIL`.
- Set **Name ID** to `Basic Information > Primary email`.
5. Add these three **Attribute mapping** entries. The app attribute names are case-sensitive and must match what you confirm in Routebase in section 3:
| Google Directory attribute | App attribute |
|-----------------------------|---------------|
| Primary email | `email` |
| First name | `firstName` |
| Last name | `lastName` |
6. Click **Finish**.
7. On the app overview, open **User access** and turn the service **ON**, either for everyone or for the specific organizational units and groups that should reach Routebase.
## 3. Finish the connection in Routebase
Back in the wizard, still on the **Metadata** step:
1. Give the **Connection name** something that identifies the environment, such as `Acme Google Workspace`. Only admins ever see it.
2. Open the file you downloaded in section 2 and paste its full contents into **IdP metadata XML**, not into the URL field. The limit is 1 MB, which is far above any real metadata document.
> Because Google gives you a static XML document rather than a URL, Routebase cannot re-read it. If Google rotates the app's signing certificate, download the metadata again and paste the new XML into the connection under **Manage**. Sign-ins fail until you do.
3. Under **Mapping**, confirm the claim names `email`, `firstName` and `lastName`. Email is required and the rest are optional.
4. Click **Next**. Routebase creates the connection in **Draft** status and the **Test** step appears. It repeats the Entity ID and ACS URL you already entered in Google, and it adds a **Connection ID**, which is only useful when contacting support.
## 4. Test and activate
1. Back in the Routebase wizard, click **Open test login**. A sign-in opens in a new tab.
2. Sign in as a Workspace user who has the app enabled.
3. When the round-trip succeeds, click **Activate**.
If the test fails, work through [SSO Troubleshooting](https://docs.routebase.dev/sso-troubleshooting/), which is organised by what the user actually sees.
## 5. Optional: require SSO for your domain
Go to **Settings → Domains**, find your verified domain, and turn on **SSO required**. Everyone whose email address is on that domain must then sign in through Google.
Existing password users are not locked out immediately, because they get a 14-day grace period with an in-app banner and a **Link account** button. See [Single Sign-On (SSO)](https://docs.routebase.dev/sso/) for what the banner says and when it appears.
## 6. Keeping users in sync
Google Workspace has no built-in SCIM client for third-party apps, so there are three ways to keep Routebase aligned with your directory.
### Just-in-time provisioning, the default
Do nothing. The first time a Workspace user signs in through SSO, Routebase creates their membership and applies any group role mappings. No tokens, no configuration.
**What it does not do:** suspending a user in Google does not deactivate them in Routebase. Their next SSO sign-in is blocked at Google's end, but an existing Routebase session stays valid until it expires. If you need a suspension in Google to deactivate the Routebase membership immediately, use one of the two options below.
### A directory-sync job you run yourself
Poll the Google Directory API and push the changes to Routebase's SCIM 2.0 endpoint at `https://api.routebase.dev/scim/v2/
## What you can find
A row of filter chips under the search box narrows results by entity type. **All** is the default and searches everything. Click one or more chips to restrict the search, because filters are additive, and clicking **All** clears them again.
| Filter | Finds | Opens |
| --- | --- | --- |
| **Project** | Projects by name | The project overview |
| **API Spec** | API specifications | The specification |
| **Endpoint** | Endpoints — results show the HTTP method as a colored badge | The endpoint in the API Designer |
| **Schema** | Reusable schemas | The schema in the API Designer |
| **Test Suite** | Test suites | The suite in the Test Runner |
| **Mock Rule** | Mock rules | The rule in the Mock Server |
| **Org Doc** | Organization documentation pages | The page in the reader view |
| **Tag** | Endpoint tags | The tagged endpoints |
Each result shows its title (with your query highlighted), a subtitle, where it lives, and a type badge. Endpoints, schemas and tags name **project › API**, because two specifications in one project can carry the same path. The result list should not make you open both to find out which is which. Everything else names its project. When a result lives in a different project than the one you're currently working in, opening it **switches your project context automatically**. You land in the right place with no extra clicks.
## Working the results
The footer of the palette lists the keyboard controls:
| Key | Action |
| --- | --- |
| **↑ / ↓** | Navigate through results |
| **↵** | Open the selected result |
| **Esc** | Close the palette |
Results load **5 per entity type** at a time, and **Load more** at the bottom of the list fetches the next batch.
## Recent searches
When you open the palette without typing, your **five most recent successful searches** appear under "Recent Searches", and clicking one runs it again. Recent searches are stored locally in your browser.
## Empty states
- Fewer than 2 characters typed: "Type at least 2 characters to search".
- Nothing matches: `No results found for "your query"`.
- First use, nothing typed yet: "Start typing to search across all your projects".
## Related
- [Dashboard](https://docs.routebase.dev/dashboard/) — your workspace home page
- [Projects](https://docs.routebase.dev/projects/) — how projects organize your APIs
- [Endpoints](https://docs.routebase.dev/endpoints/) — the operations search takes you to
- [Doc Overview](https://docs.routebase.dev/doc-overview/) — the documentation hub behind Org Doc results
---
## Google Workspace SSO Setup
Source: https://docs.routebase.dev/google-workspace-sso-setup/
> **You need:** the **Super Admin** role in Google Workspace, and the Owner or Admin role in a Routebase organization on the Enterprise plan.
>
> **Time:** about 20 minutes.
>
> Read [SSO Setup Overview](https://docs.routebase.dev/sso-setup-overview/) first for the prerequisites that apply to every provider. In particular, verify your email domain under **Settings → Domains** before you begin. That is normally your Workspace domain.
Google Workspace does not ship a SCIM client for third-party applications, so provisioning works differently here than with Okta or Entra ID. Section 6 covers the options.
## 1. Start the connection in Routebase and copy the two values
Google needs Routebase's Entity ID and ACS URL, and Routebase needs Google's metadata. Both values on the Routebase side are known before the connection exists, so you start here and never have to enter placeholders in Google.
1. Go to **Settings → Single Sign-On** and click **Create connection**.
2. Choose SAML 2.0 as the **Protocol**.
3. Choose Google Workspace as the **Vendor**. This preselects the attribute mapping for the names you configure in section 2.
4. On the **Metadata** step, the wizard shows the **Entity ID** and **ACS URL** with copy buttons. Copy both, because you enter them in the next section. Leave the wizard open, since you come back to it in section 3.
> If the wizard says the values are shown *after* this step instead, your organization already has a connection with the same name, such as an abandoned draft. Delete it under **Settings → Single Sign-On** and start again, or continue with placeholders in Google and replace them once the **Test** step shows the final values.
## 2. Create the custom SAML app in Google Admin
1. In the Google Admin console, go to **Apps → Web and mobile apps → Add app → Add custom SAML app**.
2. Under **App details**, name it `Routebase`. A logo is optional. Click **Continue**.
3. On the **Google Identity Provider details** screen, **download the metadata file**. Google does not host a public metadata URL, so this XML file is what you paste into Routebase in section 3. Click **Continue**.
4. Fill in the **Service provider details** fields.
- Set **ACS URL** to the **ACS URL** from section 1.
- Set **Entity ID** to the **Entity ID** from section 1.
- Set **Name ID format** to `EMAIL`.
- Set **Name ID** to `Basic Information > Primary email`.
5. Add these three **Attribute mapping** entries. The app attribute names are case-sensitive and must match what you confirm in Routebase in section 3:
| Google Directory attribute | App attribute |
|-----------------------------|---------------|
| Primary email | `email` |
| First name | `firstName` |
| Last name | `lastName` |
6. Click **Finish**.
7. On the app overview, open **User access** and turn the service **ON**, either for everyone or for the specific organizational units and groups that should reach Routebase.
## 3. Finish the connection in Routebase
Back in the wizard, still on the **Metadata** step:
1. Give the **Connection name** something that identifies the environment, such as `Acme Google Workspace`. Only admins ever see it.
2. Open the file you downloaded in section 2 and paste its full contents into **IdP metadata XML**, not into the URL field. The limit is 1 MB, which is far above any real metadata document.
> Because Google gives you a static XML document rather than a URL, Routebase cannot re-read it. If Google rotates the app's signing certificate, download the metadata again and paste the new XML into the connection under **Manage**. Sign-ins fail until you do.
3. Under **Mapping**, confirm the claim names `email`, `firstName` and `lastName`. Email is required and the rest are optional.
4. Click **Next**. Routebase creates the connection in **Draft** status and the **Test** step appears. It repeats the Entity ID and ACS URL you already entered in Google, and it adds a **Connection ID**, which is only useful when contacting support.
## 4. Test and activate
1. Back in the Routebase wizard, click **Open test login**. A sign-in opens in a new tab.
2. Sign in as a Workspace user who has the app enabled.
3. When the round-trip succeeds, click **Activate**.
If the test fails, work through [SSO Troubleshooting](https://docs.routebase.dev/sso-troubleshooting/), which is organised by what the user actually sees.
## 5. Optional: require SSO for your domain
Go to **Settings → Domains**, find your verified domain, and turn on **SSO required**. Everyone whose email address is on that domain must then sign in through Google.
Existing password users are not locked out immediately, because they get a 14-day grace period with an in-app banner and a **Link account** button. See [Single Sign-On (SSO)](https://docs.routebase.dev/sso/) for what the banner says and when it appears.
## 6. Keeping users in sync
Google Workspace has no built-in SCIM client for third-party apps, so there are three ways to keep Routebase aligned with your directory.
### Just-in-time provisioning, the default
Do nothing. The first time a Workspace user signs in through SSO, Routebase creates their membership and applies any group role mappings. No tokens, no configuration.
**What it does not do:** suspending a user in Google does not deactivate them in Routebase. Their next SSO sign-in is blocked at Google's end, but an existing Routebase session stays valid until it expires. If you need a suspension in Google to deactivate the Routebase membership immediately, use one of the two options below.
### A directory-sync job you run yourself
Poll the Google Directory API and push the changes to Routebase's SCIM 2.0 endpoint at `https://api.routebase.dev/scim/v2/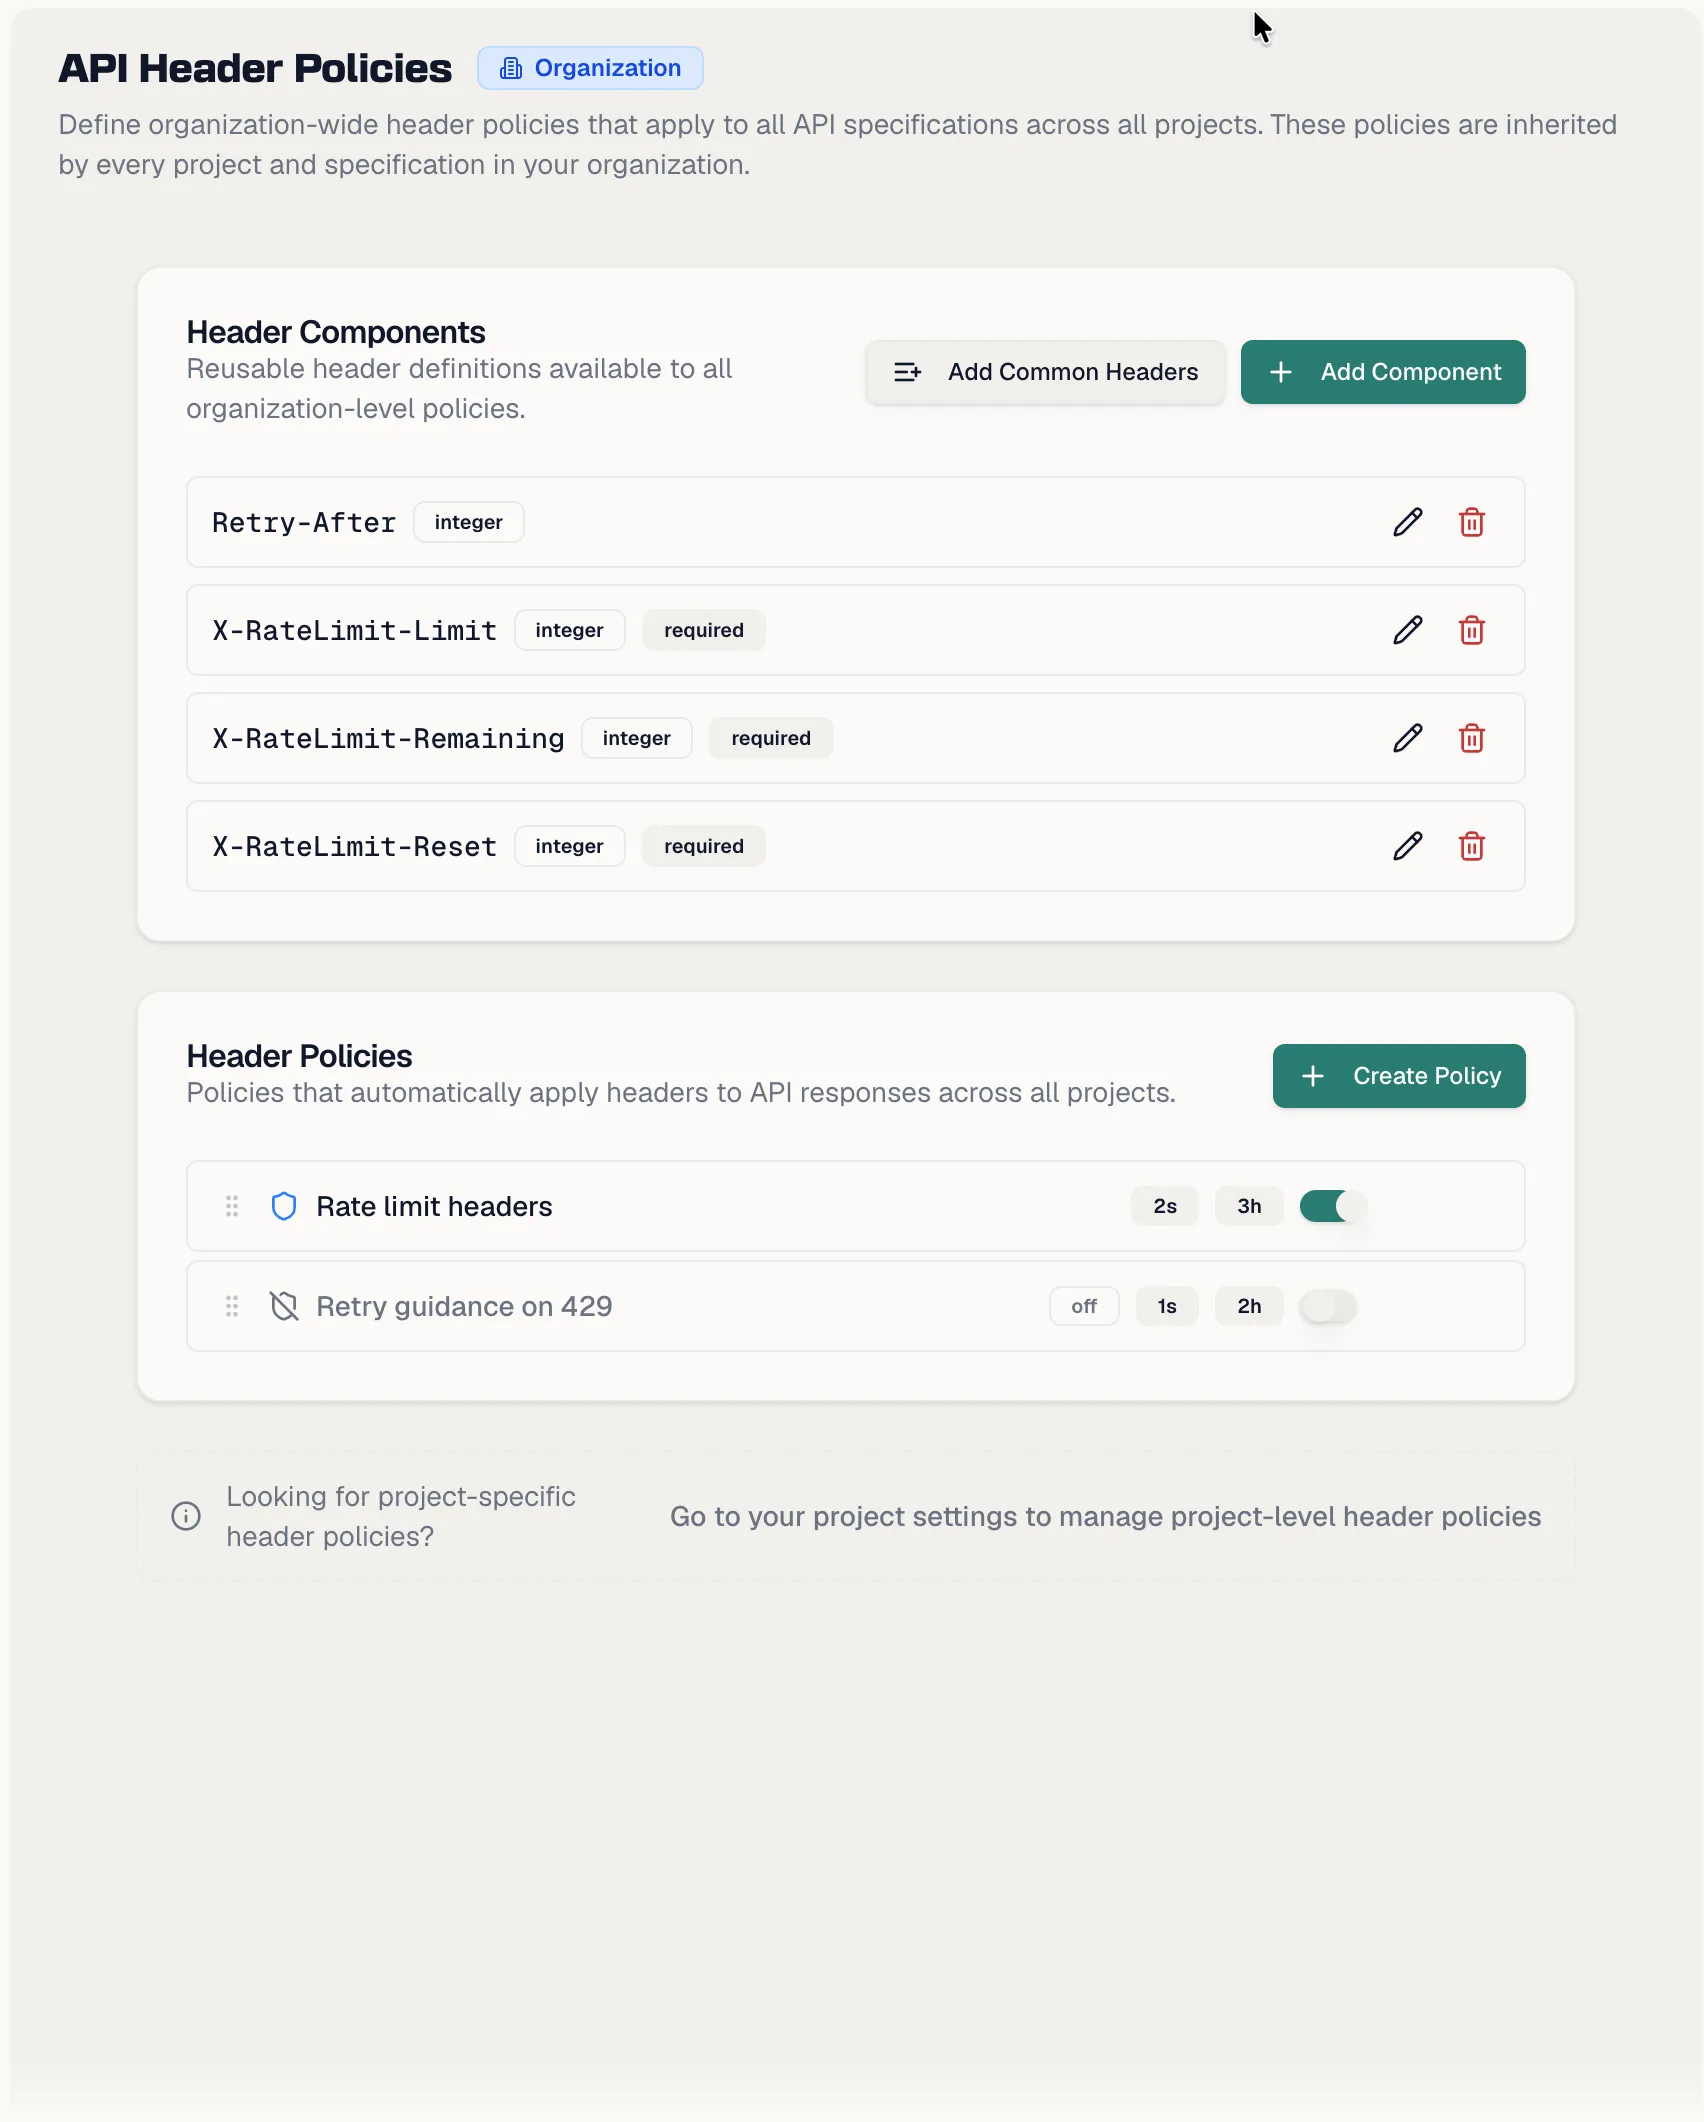
 ## Creating a policy
1. Click **Create Policy**.
2. The **Create Header Policy** dialog opens, described as *"Define a policy to automatically apply headers to responses matching specific status codes."* Fill in these fields:
- **Name** is required and takes a descriptive name such as `Rate Limiting Headers`.
- **Description** is optional and says when and why this policy applies.
- **Scopes** decides which responses the policy targets, and you add at least one.
- **Header Components** picks the headers to apply, through the **Select headers...** multi-select.
3. Save. A toast confirms the policy was created.
### Scopes
Scopes are status-code based. Quick-add buttons cover **All** status codes and the **2xx**, **3xx**, **4xx** and **5xx** classes, and you can also add an exact code such as `429`, anywhere in the range 100 to 599. For endpoint-specific opt-outs, use [exclusions](#excluding-a-header-on-a-single-response) instead of narrowing the policy.
### Enabling and disabling
Every policy has an **Enabled** toggle with badges showing its state. When disabled, the policy stops applying headers to any responses, which helps when staging a policy before rolling it out.
## Creating header components
The **Header Components** card describes itself at each level as *"Reusable header definitions available to all policies"*, and it carries two actions:
- **Add Component** opens the **Create Header Component** dialog, which takes a **Name** such as `X-Rate-Limit`, a **Schema Type** of String, Integer, Number or Boolean, a **Required** checkbox, and an optional **Description**.
- **Add Common Headers** offers 14 pre-built standard headers, with any that already exist shown as disabled. They are `Authorization`, `Content-Type`, `Accept`, `X-Request-Id`, `X-Correlation-Id`, `Cache-Control`, `X-Rate-Limit-Limit`, `X-Rate-Limit-Remaining`, `X-Rate-Limit-Reset`, `X-API-Version`, `Accept-Language`, `If-None-Match`, `ETag` and `Retry-After`. Select what you need and click **Add Selected**.
Header components are inheritable the same way policies are, from organization to project to specification. In the API Designer you can also attach a header component to a response directly, either through the header multi-select or by dragging it onto a response.
## Impact analysis
When editing a policy, the **Impact Analysis** card shows exactly what it touches:
- A summary reading *"This policy applies to N endpoint(s) across M response(s)."*, with badges for affected endpoint and conflict counts.
- **Conflict warnings** when the policy overlaps another, reading something like *"Overlaps with {policy} on {scopes}"* and naming the priority that decides the winner.
- A row per affected endpoint with its method, path, matching status codes, markers for local overrides and exclusions, and a jump-to-endpoint shortcut.
If nothing matches yet, the panel explains that *"This policy has no matching endpoints. Add scopes and enable the policy to see affected endpoints."*
## Header inheritance in the API Designer
Inside a specification, the collapsible **Header Inheritance** section in the sidebar shows every policy affecting the spec, grouped by level as Org, Project and Specification, with an active-policy count. Each entry shows the policy's enabled state, name and header count. Hovering reveals its description and header list, and a link takes you to **Manage policies** at the right level.
## Excluding a header on a single response
Sometimes one response legitimately should not carry an inherited header. Open the response and exclude the header. The **Exclude Header** dialog explains that *"This will exclude the header {header} inherited from policy {policy} for this response only."* and offers an optional **Reason** field to document why. Exclusions require write access to the spec through **specs:write**, and they only affect that one response, so the policy stays intact everywhere else.
## Related
- [Responses](https://docs.routebase.dev/responses/) — where resolved headers appear
- [Components](https://docs.routebase.dev/components/) — other reusable spec components
- [Style Guide](https://docs.routebase.dev/style-guide/) — organization-wide design rules
- [Shared Library](https://docs.routebase.dev/shared-library/) — org-wide shared schemas and responses
---
## Header Policies — MCP Tools
Source: https://docs.routebase.dev/header-policies-mcp-tools/
The tools below belong to the **Header Policies** group of the Routebase MCP server.
## delete_header_policy
Delete a header policy at spec or project level. Check get_header_policy with includeImpact first to see what stops receiving the headers. Requires project context.
**Required scope:** `specs:delete`
| Parameter | Type | Required | Description |
| --- | --- | --- | --- |
| `policyId` | string | Yes | Public ID (GUID) of the header policy |
| `level` | string | Yes | Which level the policy lives at: 'spec' or 'project' |
| `specId` | string | No | Public ID (GUID) of the API specification — required for level 'spec' |
## get_header_policy
Get one header policy with its scopes, assigned header components and rowVersion. Level 'spec' (needs specId) or 'project'. Set includeImpact to also see which endpoints and responses it touches and which policies conflict with it — spec level only. Requires project context. Use this for spec or project level; for the organization level use get_org_header_policy.
**Required scope:** `specs:read`
| Parameter | Type | Required | Description |
| --- | --- | --- | --- |
| `policyId` | string | Yes | Public ID (GUID) of the header policy |
| `level` | string | Yes | Which level to read: 'spec' or 'project' |
| `specId` | string | No | Public ID (GUID) of the API specification — required for level 'spec' |
| `includeImpact` | boolean | No (default `false`) | Also report affected endpoints and conflicting policies — spec level only (default false) |
## get_org_header_policy
Get one organization-wide header policy with its scopes, header components and rowVersion. Use this for the organization level; for spec or project level use get_header_policy. Requires organization context.
**Required scope:** `org:manage-governance`
| Parameter | Type | Required | Description |
| --- | --- | --- | --- |
| `policyId` | string | Yes | Public ID (GUID) of the header policy |
## get_resolved_headers
Get the headers that actually apply to one endpoint response after the full cascade — organization, project and spec policies, local overrides and exclusions — each with where it came from. get_header_policies does the same for a whole endpoint, grouped by status code. Requires project context.
**Required scope:** `specs:read`
| Parameter | Type | Required | Description |
| --- | --- | --- | --- |
| `specId` | string | Yes | Public ID (GUID) of the API specification |
| `responseId` | string | Yes | Public ID (GUID) of the endpoint response |
## list_header_exclusions
List the headers excluded from the policy cascade. Level 'response' (needs specId and responseId) covers one endpoint response, 'project' the whole project. Requires project context. Use this to see what is excluded from the cascade; to add or drop an exclusion use manage_header_exclusion.
**Required scope:** `specs:read`
| Parameter | Type | Required | Description |
| --- | --- | --- | --- |
| `level` | string | Yes | Which level to read: 'response' or 'project' |
| `specId` | string | No | Public ID (GUID) of the API specification — required for level 'response' |
| `responseId` | string | No | Public ID (GUID) of the endpoint response — required for level 'response' |
## list_header_policies
List the header policies defined at one level: 'spec' (needs specId) or 'project'. Returns the ids, priorities and rowVersions needed to change them. This lists the policy objects — for the resolved header cascade on an endpoint use get_header_policies, for one response get_resolved_headers. Requires project context.
**Required scope:** `specs:read`
| Parameter | Type | Required | Description |
| --- | --- | --- | --- |
| `level` | string | Yes | Which level to read: 'spec' or 'project' |
| `specId` | string | No | Public ID (GUID) of the API specification — required for level 'spec' |
## list_org_header_policies
List the organization-wide header policies — the ones every project and spec inherits. Use this for the organization level; for spec or project level use list_header_policies. Requires organization context.
**Required scope:** `org:manage-governance`
_No parameters._
## manage_header_exclusion
Exclude a policy header from one endpoint response ('response', needs specId and responseId) or from a whole project ('project'), or remove such an exclusion again. 'exclude' needs headerComponentId, 'remove' needs exclusionId from list_header_exclusions. Requires project context.
**Required scope:** `specs:write`
| Parameter | Type | Required | Description |
| --- | --- | --- | --- |
| `level` | string | Yes | Which level to write: 'response' or 'project' |
| `action` | string | Yes | What to do: 'exclude' or 'remove' |
| `specId` | string | No | Public ID (GUID) of the API specification — required for level 'response' |
| `responseId` | string | No | Public ID (GUID) of the endpoint response — required for level 'response' |
| `headerComponentId` | string | No | Public ID (GUID) of the header component to exclude — required for 'exclude' |
| `reason` | string | No | Optional note why the header is excluded |
| `exclusionId` | string | No | Public ID (GUID) of the exclusion — required for 'remove' |
## manage_header_policy
Create, update, enable/disable or reorder header policies at spec or project level. 'create' needs name and scopes; 'update' needs policyId and rowVersion and REPLACES the policy — omitted fields, including scopes and headerComponentIds, are carried over from the current state; 'toggle' needs policyId and isEnabled; 'reorder' needs policyIds, every policy of that level in the wanted order (lower position wins on conflicts). Deleting is delete_header_policy. Requires project context.
**Required scope:** `specs:write`
| Parameter | Type | Required | Description |
| --- | --- | --- | --- |
| `level` | string | Yes | Which level to write: 'spec' or 'project' |
| `action` | string | Yes | What to do: 'create', 'update', 'toggle' or 'reorder' |
| `specId` | string | No | Public ID (GUID) of the API specification — required for level 'spec' |
| `policyId` | string | No | Public ID (GUID) of the policy — required for 'update' and 'toggle' |
| `rowVersion` | string | No | Base64-encoded row version from list_header_policies — required for 'update' |
| `name` | string | No | Policy name — required for 'create' |
| `description` | string | No | Optional description |
| `scopes` | string | No | Which responses the policy applies to, comma-separated: 'all', a range ('2xx', '4xx', '5xx') or an exact status code (e.g. '404') — required for 'create', e.g. '2xx,404' |
| `headerComponentIds` | string | No | Header component IDs (GUIDs) the policy applies, comma-separated and in the wanted order. They must live at the same level as the policy. |
| `isEnabled` | boolean | No | Whether the policy is active — required for 'toggle' |
| `policyIds` | string | No | Policy IDs (GUIDs) in the wanted order — required for 'reorder' |
## manage_org_header_policy
Create, update, delete, enable/disable or reorder organization-wide header policies. 'create' needs name and scopes; 'update' needs policyId and rowVersion and REPLACES the policy, omitted fields are carried over; 'delete' and 'toggle' need policyId ('toggle' also isEnabled); 'reorder' needs policyIds. These apply to every project in the organization. Use this for the organization level; for spec or project level use manage_header_policy. Requires organization context.
**Required scope:** `org:manage-governance`
| Parameter | Type | Required | Description |
| --- | --- | --- | --- |
| `action` | string | Yes | What to do: 'create', 'update', 'delete', 'toggle' or 'reorder' |
| `policyId` | string | No | Public ID (GUID) of the policy — required for 'update', 'delete' and 'toggle' |
| `rowVersion` | string | No | Base64-encoded row version from list_org_header_policies — required for 'update' |
| `name` | string | No | Policy name — required for 'create' |
| `description` | string | No | Optional description |
| `scopes` | string | No | Which responses the policy applies to, comma-separated: 'all', a range ('2xx', '4xx', '5xx') or an exact status code — required for 'create' |
| `headerComponentIds` | string | No | Header component IDs (GUIDs) the policy applies, comma-separated and in the wanted order. They must be organization-level components. |
| `isEnabled` | boolean | No | Whether the policy is active — required for 'toggle' |
| `policyIds` | string | No | Policy IDs (GUIDs) in the wanted order — required for 'reorder' |
---
## Import & Export
Source: https://docs.routebase.dev/import-export/
Routebase is not a place your API contract gets locked into. An OpenAPI file goes in, an OpenAPI file comes out, and the same is true for Postman and Insomnia collections on the way in. This page covers both directions.
## Importing
### Where to import
There are two entry points, and they do not accept the same formats:
| Entry point | Where | Accepts |
| --- | --- | --- |
| **Import OpenAPI** | The dashboard, and the project list | OpenAPI only |
| **Import** in the specification wizard | Inside a project, when you create a specification | OpenAPI, **Postman Collection**, **Insomnia Export** |
The dashboard route creates the project, the specification and the environments in one go, which is the fastest path when you are starting from an existing file. If you are holding a Postman or Insomnia export, take the second route and create the project first, then import the collection through the specification wizard.
Both accept `.yaml`, `.yml`, and `.json`.
### The import preview
Before anything is created, Routebase validates the file and shows you what it found. The preview counts **endpoints**, **folders** and **schemas**, splitting the schemas into the ones it could link and the ones that stay inline. It also lists the reusable **components** it recognized, which are responses, request bodies, parameters, security schemes and, on a 3.2 file, media types. Warnings appear here too rather than after the fact. A property that the OpenAPI specification does not define at that location is listed as a warning with its location and left out, so the rest of the file still imports. Typical cases are a `logo` field inside `info` or `minItems` on a query parameter. A `$ref` that points to another file is handled by its position. Parameters, responses, request bodies, headers and security schemes that live in a file outside the upload are listed as warnings and left out. A schema reference to another file stays a reference in the imported schema, so the endpoint itself still imports. An OpenAPI 3.2 file keeps its version, and the designer imports its `query` operations, its tag hierarchy, the `itemSchema` of sequential media types, its `querystring` parameters, the `cookie` parameter style, the `deprecated` flag, `oauth2MetadataUrl` and `deviceAuthorization` flow of its security schemes, the reusable media types under `components.mediaTypes` together with every `$ref` that points at them, the document's `$self` URI, the `dataValue` and `serializedValue` of Example Objects, the `defaultMapping` of a discriminator and the `nodeType` of an XML object. A named `examples` map is read through its first entry on every version, because the designer keeps one example per place. Constructs the designer does not model yet, such as `itemEncoding` or `prefixEncoding`, appear as warnings with their location in the document.
Read the preview before you confirm. It is the cheapest moment to notice that a file contains half of what you expected.
## Creating a policy
1. Click **Create Policy**.
2. The **Create Header Policy** dialog opens, described as *"Define a policy to automatically apply headers to responses matching specific status codes."* Fill in these fields:
- **Name** is required and takes a descriptive name such as `Rate Limiting Headers`.
- **Description** is optional and says when and why this policy applies.
- **Scopes** decides which responses the policy targets, and you add at least one.
- **Header Components** picks the headers to apply, through the **Select headers...** multi-select.
3. Save. A toast confirms the policy was created.
### Scopes
Scopes are status-code based. Quick-add buttons cover **All** status codes and the **2xx**, **3xx**, **4xx** and **5xx** classes, and you can also add an exact code such as `429`, anywhere in the range 100 to 599. For endpoint-specific opt-outs, use [exclusions](#excluding-a-header-on-a-single-response) instead of narrowing the policy.
### Enabling and disabling
Every policy has an **Enabled** toggle with badges showing its state. When disabled, the policy stops applying headers to any responses, which helps when staging a policy before rolling it out.
## Creating header components
The **Header Components** card describes itself at each level as *"Reusable header definitions available to all policies"*, and it carries two actions:
- **Add Component** opens the **Create Header Component** dialog, which takes a **Name** such as `X-Rate-Limit`, a **Schema Type** of String, Integer, Number or Boolean, a **Required** checkbox, and an optional **Description**.
- **Add Common Headers** offers 14 pre-built standard headers, with any that already exist shown as disabled. They are `Authorization`, `Content-Type`, `Accept`, `X-Request-Id`, `X-Correlation-Id`, `Cache-Control`, `X-Rate-Limit-Limit`, `X-Rate-Limit-Remaining`, `X-Rate-Limit-Reset`, `X-API-Version`, `Accept-Language`, `If-None-Match`, `ETag` and `Retry-After`. Select what you need and click **Add Selected**.
Header components are inheritable the same way policies are, from organization to project to specification. In the API Designer you can also attach a header component to a response directly, either through the header multi-select or by dragging it onto a response.
## Impact analysis
When editing a policy, the **Impact Analysis** card shows exactly what it touches:
- A summary reading *"This policy applies to N endpoint(s) across M response(s)."*, with badges for affected endpoint and conflict counts.
- **Conflict warnings** when the policy overlaps another, reading something like *"Overlaps with {policy} on {scopes}"* and naming the priority that decides the winner.
- A row per affected endpoint with its method, path, matching status codes, markers for local overrides and exclusions, and a jump-to-endpoint shortcut.
If nothing matches yet, the panel explains that *"This policy has no matching endpoints. Add scopes and enable the policy to see affected endpoints."*
## Header inheritance in the API Designer
Inside a specification, the collapsible **Header Inheritance** section in the sidebar shows every policy affecting the spec, grouped by level as Org, Project and Specification, with an active-policy count. Each entry shows the policy's enabled state, name and header count. Hovering reveals its description and header list, and a link takes you to **Manage policies** at the right level.
## Excluding a header on a single response
Sometimes one response legitimately should not carry an inherited header. Open the response and exclude the header. The **Exclude Header** dialog explains that *"This will exclude the header {header} inherited from policy {policy} for this response only."* and offers an optional **Reason** field to document why. Exclusions require write access to the spec through **specs:write**, and they only affect that one response, so the policy stays intact everywhere else.
## Related
- [Responses](https://docs.routebase.dev/responses/) — where resolved headers appear
- [Components](https://docs.routebase.dev/components/) — other reusable spec components
- [Style Guide](https://docs.routebase.dev/style-guide/) — organization-wide design rules
- [Shared Library](https://docs.routebase.dev/shared-library/) — org-wide shared schemas and responses
---
## Header Policies — MCP Tools
Source: https://docs.routebase.dev/header-policies-mcp-tools/
The tools below belong to the **Header Policies** group of the Routebase MCP server.
## delete_header_policy
Delete a header policy at spec or project level. Check get_header_policy with includeImpact first to see what stops receiving the headers. Requires project context.
**Required scope:** `specs:delete`
| Parameter | Type | Required | Description |
| --- | --- | --- | --- |
| `policyId` | string | Yes | Public ID (GUID) of the header policy |
| `level` | string | Yes | Which level the policy lives at: 'spec' or 'project' |
| `specId` | string | No | Public ID (GUID) of the API specification — required for level 'spec' |
## get_header_policy
Get one header policy with its scopes, assigned header components and rowVersion. Level 'spec' (needs specId) or 'project'. Set includeImpact to also see which endpoints and responses it touches and which policies conflict with it — spec level only. Requires project context. Use this for spec or project level; for the organization level use get_org_header_policy.
**Required scope:** `specs:read`
| Parameter | Type | Required | Description |
| --- | --- | --- | --- |
| `policyId` | string | Yes | Public ID (GUID) of the header policy |
| `level` | string | Yes | Which level to read: 'spec' or 'project' |
| `specId` | string | No | Public ID (GUID) of the API specification — required for level 'spec' |
| `includeImpact` | boolean | No (default `false`) | Also report affected endpoints and conflicting policies — spec level only (default false) |
## get_org_header_policy
Get one organization-wide header policy with its scopes, header components and rowVersion. Use this for the organization level; for spec or project level use get_header_policy. Requires organization context.
**Required scope:** `org:manage-governance`
| Parameter | Type | Required | Description |
| --- | --- | --- | --- |
| `policyId` | string | Yes | Public ID (GUID) of the header policy |
## get_resolved_headers
Get the headers that actually apply to one endpoint response after the full cascade — organization, project and spec policies, local overrides and exclusions — each with where it came from. get_header_policies does the same for a whole endpoint, grouped by status code. Requires project context.
**Required scope:** `specs:read`
| Parameter | Type | Required | Description |
| --- | --- | --- | --- |
| `specId` | string | Yes | Public ID (GUID) of the API specification |
| `responseId` | string | Yes | Public ID (GUID) of the endpoint response |
## list_header_exclusions
List the headers excluded from the policy cascade. Level 'response' (needs specId and responseId) covers one endpoint response, 'project' the whole project. Requires project context. Use this to see what is excluded from the cascade; to add or drop an exclusion use manage_header_exclusion.
**Required scope:** `specs:read`
| Parameter | Type | Required | Description |
| --- | --- | --- | --- |
| `level` | string | Yes | Which level to read: 'response' or 'project' |
| `specId` | string | No | Public ID (GUID) of the API specification — required for level 'response' |
| `responseId` | string | No | Public ID (GUID) of the endpoint response — required for level 'response' |
## list_header_policies
List the header policies defined at one level: 'spec' (needs specId) or 'project'. Returns the ids, priorities and rowVersions needed to change them. This lists the policy objects — for the resolved header cascade on an endpoint use get_header_policies, for one response get_resolved_headers. Requires project context.
**Required scope:** `specs:read`
| Parameter | Type | Required | Description |
| --- | --- | --- | --- |
| `level` | string | Yes | Which level to read: 'spec' or 'project' |
| `specId` | string | No | Public ID (GUID) of the API specification — required for level 'spec' |
## list_org_header_policies
List the organization-wide header policies — the ones every project and spec inherits. Use this for the organization level; for spec or project level use list_header_policies. Requires organization context.
**Required scope:** `org:manage-governance`
_No parameters._
## manage_header_exclusion
Exclude a policy header from one endpoint response ('response', needs specId and responseId) or from a whole project ('project'), or remove such an exclusion again. 'exclude' needs headerComponentId, 'remove' needs exclusionId from list_header_exclusions. Requires project context.
**Required scope:** `specs:write`
| Parameter | Type | Required | Description |
| --- | --- | --- | --- |
| `level` | string | Yes | Which level to write: 'response' or 'project' |
| `action` | string | Yes | What to do: 'exclude' or 'remove' |
| `specId` | string | No | Public ID (GUID) of the API specification — required for level 'response' |
| `responseId` | string | No | Public ID (GUID) of the endpoint response — required for level 'response' |
| `headerComponentId` | string | No | Public ID (GUID) of the header component to exclude — required for 'exclude' |
| `reason` | string | No | Optional note why the header is excluded |
| `exclusionId` | string | No | Public ID (GUID) of the exclusion — required for 'remove' |
## manage_header_policy
Create, update, enable/disable or reorder header policies at spec or project level. 'create' needs name and scopes; 'update' needs policyId and rowVersion and REPLACES the policy — omitted fields, including scopes and headerComponentIds, are carried over from the current state; 'toggle' needs policyId and isEnabled; 'reorder' needs policyIds, every policy of that level in the wanted order (lower position wins on conflicts). Deleting is delete_header_policy. Requires project context.
**Required scope:** `specs:write`
| Parameter | Type | Required | Description |
| --- | --- | --- | --- |
| `level` | string | Yes | Which level to write: 'spec' or 'project' |
| `action` | string | Yes | What to do: 'create', 'update', 'toggle' or 'reorder' |
| `specId` | string | No | Public ID (GUID) of the API specification — required for level 'spec' |
| `policyId` | string | No | Public ID (GUID) of the policy — required for 'update' and 'toggle' |
| `rowVersion` | string | No | Base64-encoded row version from list_header_policies — required for 'update' |
| `name` | string | No | Policy name — required for 'create' |
| `description` | string | No | Optional description |
| `scopes` | string | No | Which responses the policy applies to, comma-separated: 'all', a range ('2xx', '4xx', '5xx') or an exact status code (e.g. '404') — required for 'create', e.g. '2xx,404' |
| `headerComponentIds` | string | No | Header component IDs (GUIDs) the policy applies, comma-separated and in the wanted order. They must live at the same level as the policy. |
| `isEnabled` | boolean | No | Whether the policy is active — required for 'toggle' |
| `policyIds` | string | No | Policy IDs (GUIDs) in the wanted order — required for 'reorder' |
## manage_org_header_policy
Create, update, delete, enable/disable or reorder organization-wide header policies. 'create' needs name and scopes; 'update' needs policyId and rowVersion and REPLACES the policy, omitted fields are carried over; 'delete' and 'toggle' need policyId ('toggle' also isEnabled); 'reorder' needs policyIds. These apply to every project in the organization. Use this for the organization level; for spec or project level use manage_header_policy. Requires organization context.
**Required scope:** `org:manage-governance`
| Parameter | Type | Required | Description |
| --- | --- | --- | --- |
| `action` | string | Yes | What to do: 'create', 'update', 'delete', 'toggle' or 'reorder' |
| `policyId` | string | No | Public ID (GUID) of the policy — required for 'update', 'delete' and 'toggle' |
| `rowVersion` | string | No | Base64-encoded row version from list_org_header_policies — required for 'update' |
| `name` | string | No | Policy name — required for 'create' |
| `description` | string | No | Optional description |
| `scopes` | string | No | Which responses the policy applies to, comma-separated: 'all', a range ('2xx', '4xx', '5xx') or an exact status code — required for 'create' |
| `headerComponentIds` | string | No | Header component IDs (GUIDs) the policy applies, comma-separated and in the wanted order. They must be organization-level components. |
| `isEnabled` | boolean | No | Whether the policy is active — required for 'toggle' |
| `policyIds` | string | No | Policy IDs (GUIDs) in the wanted order — required for 'reorder' |
---
## Import & Export
Source: https://docs.routebase.dev/import-export/
Routebase is not a place your API contract gets locked into. An OpenAPI file goes in, an OpenAPI file comes out, and the same is true for Postman and Insomnia collections on the way in. This page covers both directions.
## Importing
### Where to import
There are two entry points, and they do not accept the same formats:
| Entry point | Where | Accepts |
| --- | --- | --- |
| **Import OpenAPI** | The dashboard, and the project list | OpenAPI only |
| **Import** in the specification wizard | Inside a project, when you create a specification | OpenAPI, **Postman Collection**, **Insomnia Export** |
The dashboard route creates the project, the specification and the environments in one go, which is the fastest path when you are starting from an existing file. If you are holding a Postman or Insomnia export, take the second route and create the project first, then import the collection through the specification wizard.
Both accept `.yaml`, `.yml`, and `.json`.
### The import preview
Before anything is created, Routebase validates the file and shows you what it found. The preview counts **endpoints**, **folders** and **schemas**, splitting the schemas into the ones it could link and the ones that stay inline. It also lists the reusable **components** it recognized, which are responses, request bodies, parameters, security schemes and, on a 3.2 file, media types. Warnings appear here too rather than after the fact. A property that the OpenAPI specification does not define at that location is listed as a warning with its location and left out, so the rest of the file still imports. Typical cases are a `logo` field inside `info` or `minItems` on a query parameter. A `$ref` that points to another file is handled by its position. Parameters, responses, request bodies, headers and security schemes that live in a file outside the upload are listed as warnings and left out. A schema reference to another file stays a reference in the imported schema, so the endpoint itself still imports. An OpenAPI 3.2 file keeps its version, and the designer imports its `query` operations, its tag hierarchy, the `itemSchema` of sequential media types, its `querystring` parameters, the `cookie` parameter style, the `deprecated` flag, `oauth2MetadataUrl` and `deviceAuthorization` flow of its security schemes, the reusable media types under `components.mediaTypes` together with every `$ref` that points at them, the document's `$self` URI, the `dataValue` and `serializedValue` of Example Objects, the `defaultMapping` of a discriminator and the `nodeType` of an XML object. A named `examples` map is read through its first entry on every version, because the designer keeps one example per place. Constructs the designer does not model yet, such as `itemEncoding` or `prefixEncoding`, appear as warnings with their location in the document.
Read the preview before you confirm. It is the cheapest moment to notice that a file contains half of what you expected.

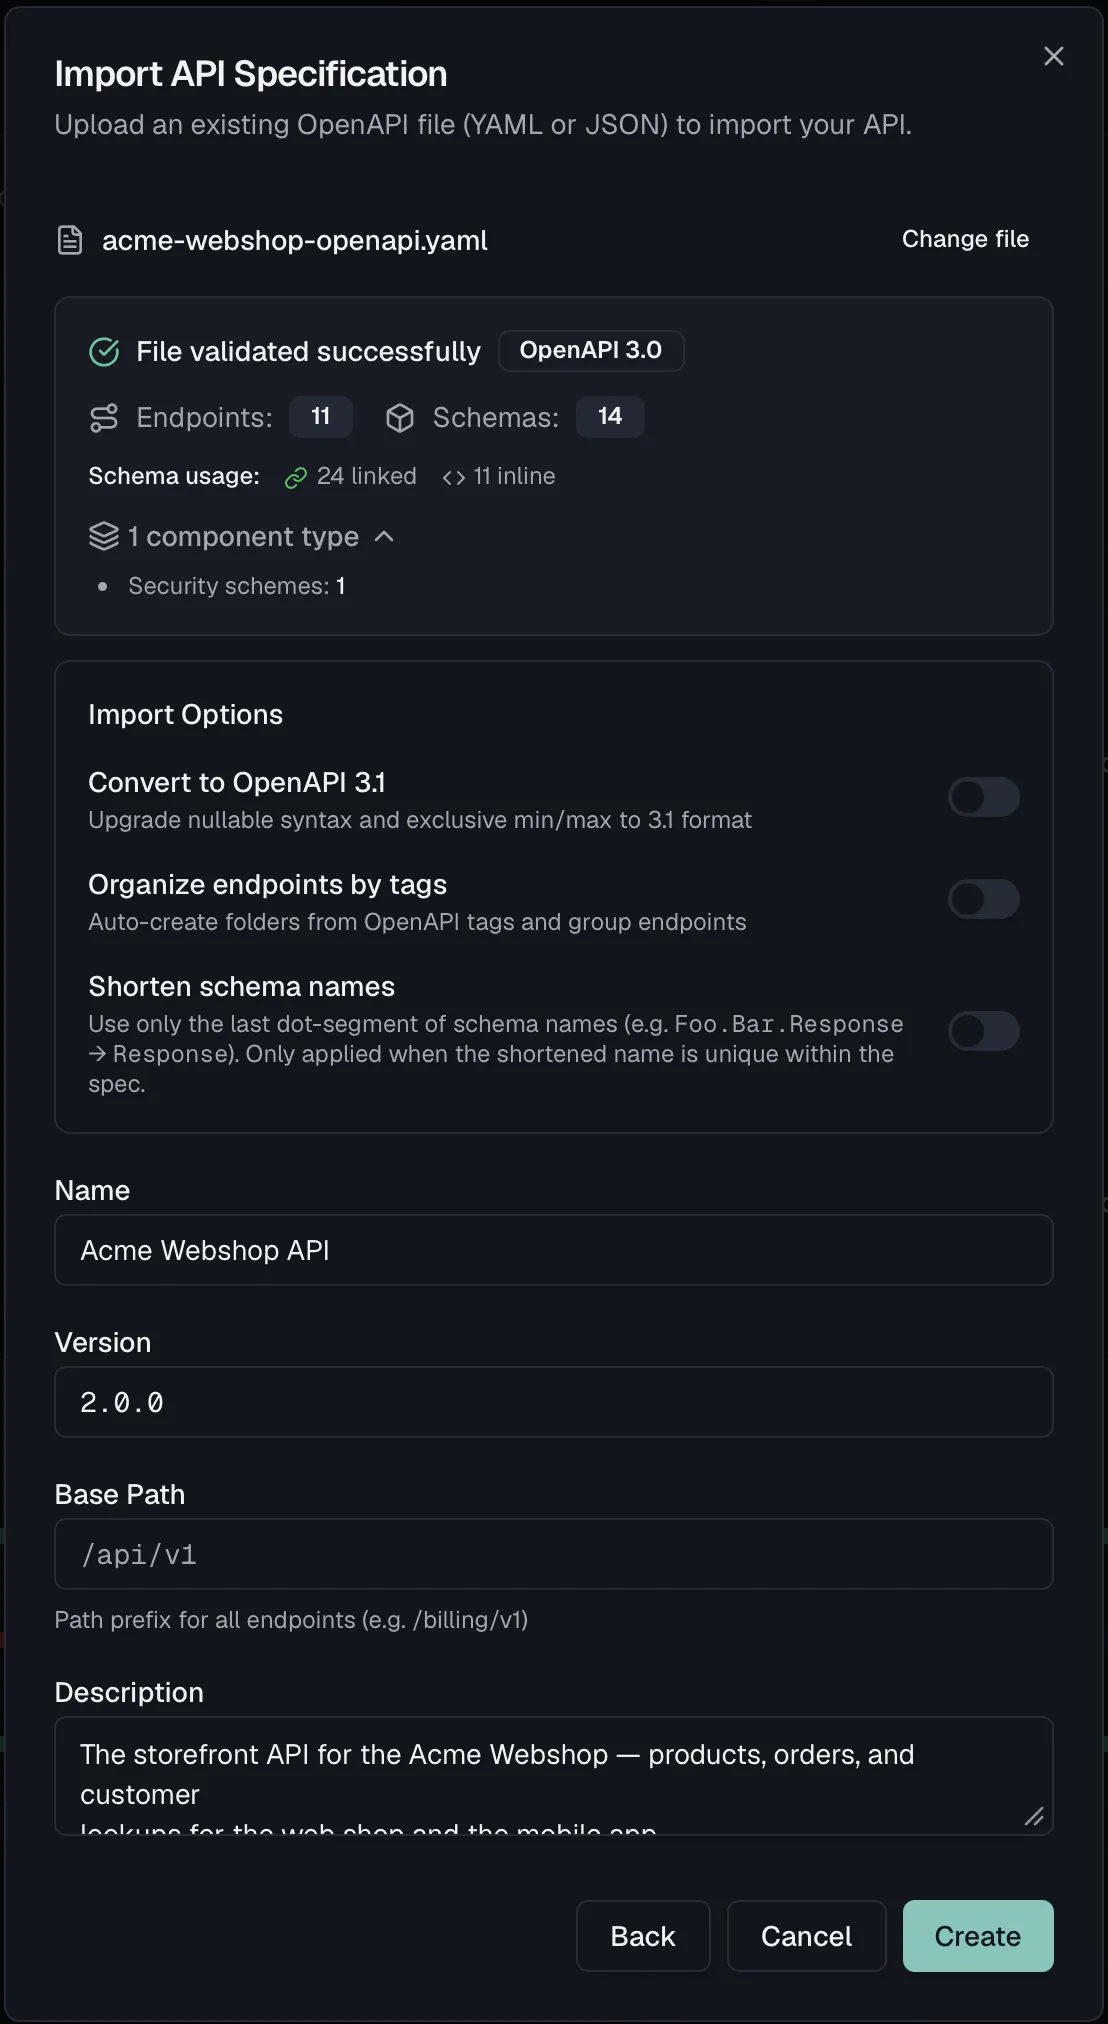 ### Import options
| Option | Default | What it does |
| --- | --- | --- |
| **Convert to OpenAPI 3.1** | off | Only offered for OpenAPI 3.0 files. Upgrades nullable syntax and exclusive min/max to the 3.1 form. |
| **Organize endpoints by tags** | on from the dashboard, off in the wizard | Creates folders from the OpenAPI tags and groups endpoints into them. For a Postman collection it follows the folder structure instead, and for an Insomnia export it follows the request groups. |
| **Shorten schema names** | off | Keeps only the last dot-segment of a schema name, so `Foo.Bar.Response` becomes `Response`, and only where the short name stays unique within the spec. |
Turning on **Shorten schema names** reveals a follow-up choice that matters more than it looks, especially for specs generated from .NET or Java:
- **Keep original names internally** stores the full namespaced names alongside the short ones. Take this if you will re-import the file or diff against it later.
- **Discard namespaces permanently** does not keep the original names. Later comparisons against the source file will report every schema as renamed.
### Importing from Postman or Insomnia
Collections describe requests, not contracts. There is no schema in a Postman collection, only example bodies. Routebase therefore **infers** schemas from the examples it finds and says so plainly with *"Schemas were inferred from example data and may be incomplete."*
Treat an inferred schema as a first draft. A field that happened to be `null` in the example will be typed from that, and a field absent from the example does not exist at all. The import gets you a structured starting point in minutes, but the contract is still yours to finish.
### When validation fails
You do not have to leave and re-upload. The wizard shows a **Validation failed — N errors** panel that lists every error above an inline editor with the offending lines highlighted. The panel reads *"Edit the content below and re-validate. Click an error to jump to its location."* Fix the file in place and click **Re-validate**.
When the failure is a recognizable class, a one-click fix appears. The common case is a spec that declares OpenAPI 3.0 but uses 3.1-only keywords. Routebase offers *"This looks fixable automatically"* with a **Retry as OpenAPI 3.1** button instead of making you find every occurrence by hand.
### Import options
| Option | Default | What it does |
| --- | --- | --- |
| **Convert to OpenAPI 3.1** | off | Only offered for OpenAPI 3.0 files. Upgrades nullable syntax and exclusive min/max to the 3.1 form. |
| **Organize endpoints by tags** | on from the dashboard, off in the wizard | Creates folders from the OpenAPI tags and groups endpoints into them. For a Postman collection it follows the folder structure instead, and for an Insomnia export it follows the request groups. |
| **Shorten schema names** | off | Keeps only the last dot-segment of a schema name, so `Foo.Bar.Response` becomes `Response`, and only where the short name stays unique within the spec. |
Turning on **Shorten schema names** reveals a follow-up choice that matters more than it looks, especially for specs generated from .NET or Java:
- **Keep original names internally** stores the full namespaced names alongside the short ones. Take this if you will re-import the file or diff against it later.
- **Discard namespaces permanently** does not keep the original names. Later comparisons against the source file will report every schema as renamed.
### Importing from Postman or Insomnia
Collections describe requests, not contracts. There is no schema in a Postman collection, only example bodies. Routebase therefore **infers** schemas from the examples it finds and says so plainly with *"Schemas were inferred from example data and may be incomplete."*
Treat an inferred schema as a first draft. A field that happened to be `null` in the example will be typed from that, and a field absent from the example does not exist at all. The import gets you a structured starting point in minutes, but the contract is still yours to finish.
### When validation fails
You do not have to leave and re-upload. The wizard shows a **Validation failed — N errors** panel that lists every error above an inline editor with the offending lines highlighted. The panel reads *"Edit the content below and re-validate. Click an error to jump to its location."* Fix the file in place and click **Re-validate**.
When the failure is a recognizable class, a one-click fix appears. The common case is a spec that declares OpenAPI 3.0 but uses 3.1-only keywords. Routebase offers *"This looks fixable automatically"* with a **Retry as OpenAPI 3.1** button instead of making you find every occurrence by hand.

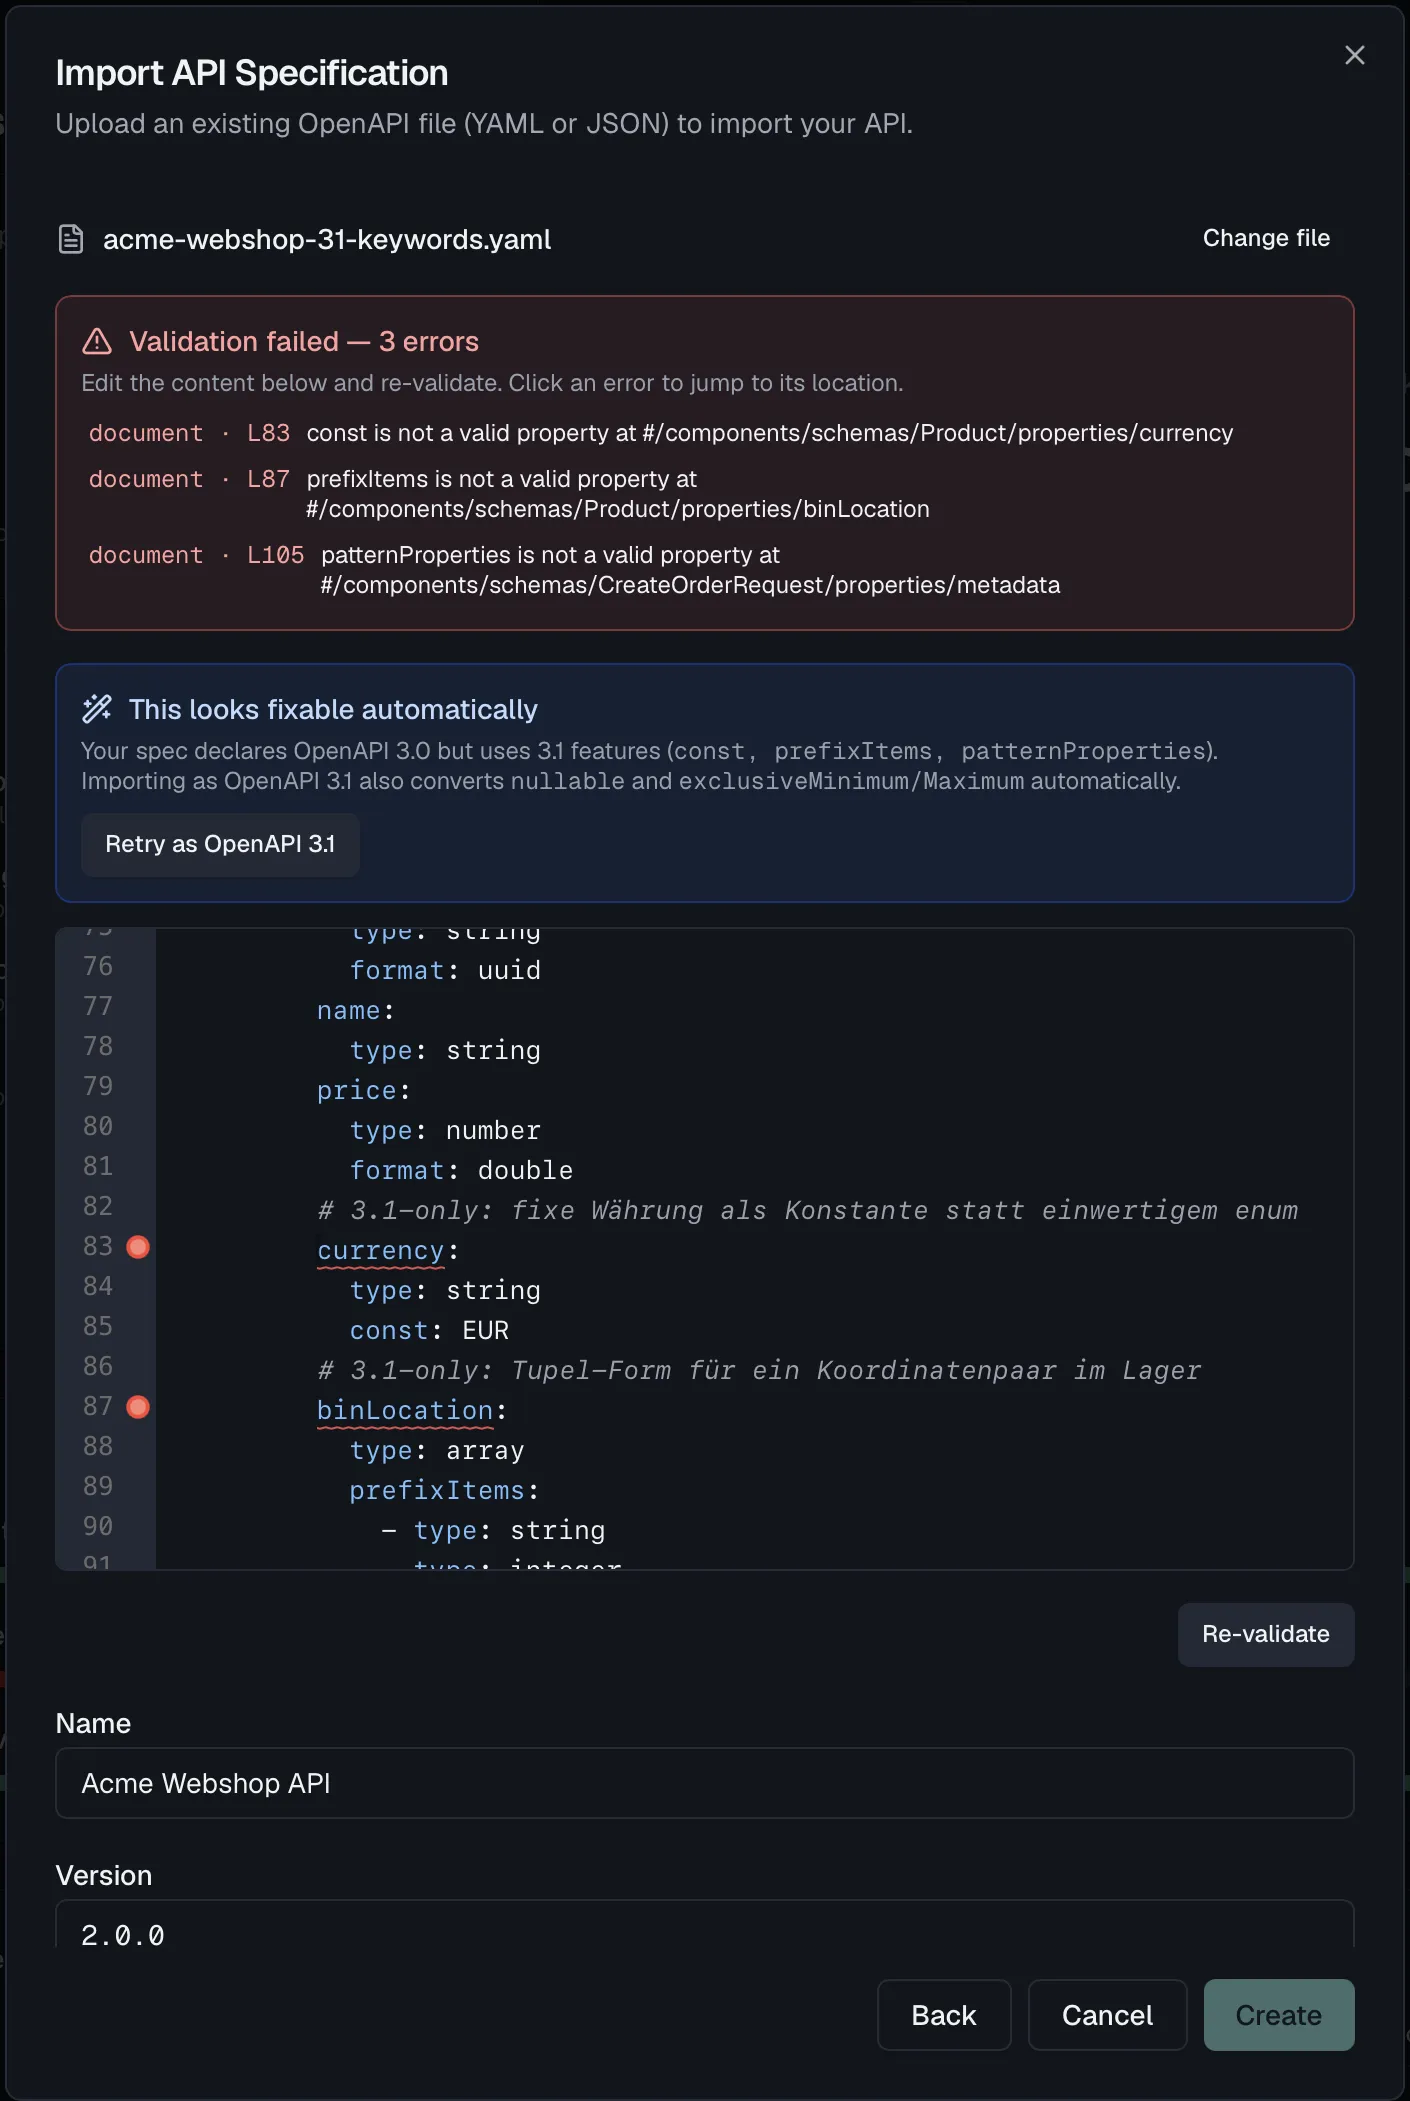

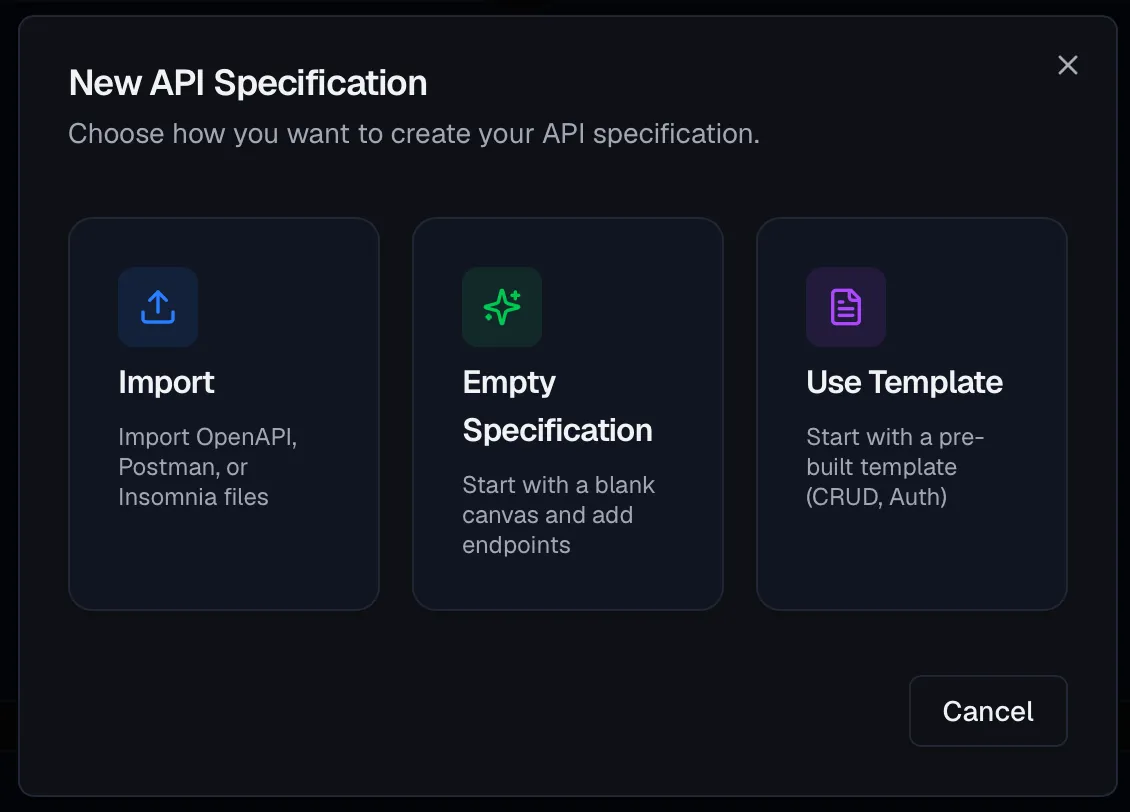 ## Exporting
Every frozen version can be downloaded in four formats:
| Format | Use |
| --- | --- |
| **YAML** | The usual OpenAPI form, readable in review and friendly to version control. |
| **JSON** | The same document for tools that prefer JSON. |
| **Postman** | A collection your consumers can open and call straight away. |
| **Insomnia** | The same, for Insomnia. |
**Exports need a frozen snapshot.** The download buttons appear once a version is actually frozen. A promotion into an environment that does not freeze leaves the version a draft, and a draft has no snapshot to export. This is deliberate, because an export is a copy of a contract, and a contract that can still change underneath the file you handed out is not one.
You reach the exports from the release receipt of the [Release Version wizard](https://docs.routebase.dev/versioning/), and from the version itself afterwards.
### What travels with the export
The export is a complete OpenAPI document, not a Routebase-flavored one. Tag descriptions, enum labels and per-value descriptions (`x-enumNames`, `x-enumDescriptions`), deprecation metadata and your reusable components are all in the file. A generator on the other side therefore produces the same names and the same documentation your portal shows. A schema example is written as the singular `example` on a 3.0 document and as the JSON Schema `examples` list on 3.1 and 3.2, which is the form those versions recommend.
## Permissions
Importing creates a specification and requires **specs:write**, included in the Member role. Exporting requires **specs:read**.
## Related
- [API Design Settings](https://docs.routebase.dev/api-design-settings/) — the specification wizard and per-spec settings
- [Versioning](https://docs.routebase.dev/versioning/) — freezing a version, which is what makes it exportable
- [Endpoints](https://docs.routebase.dev/endpoints/) — what you work with after the import
- [Schemas](https://docs.routebase.dev/schemas/) — including enum labels and how they export
- [Getting Started](https://docs.routebase.dev/getting-started/) — the path from an existing file to a first project
---
## Incidents
Source: https://docs.routebase.dev/incidents/
When a monitor keeps failing, Routebase opens an **incident**, which is a tracked record of the outage with its cause, duration and a timeline of what happened. Incidents live under **Monitoring → Incidents**, and the sidebar entry shows a red badge with the number of currently open incidents.
## When an incident opens
An incident opens once a monitor accumulates enough **consecutive failed checks** to cross the project's incident threshold (default 3, configurable from 1–100 under **Monitoring → Settings**). Two things prevent that:
- An active [maintenance window](https://docs.routebase.dev/maintenance-windows/) covering the monitor, because failed checks during maintenance don't open incidents.
- A disabled monitor, because it isn't checked at all.
## Incident lifecycle
Incidents move through three states:
| Status | Meaning |
| --- | --- |
| **Open** | The incident is active and unhandled. |
| **Acknowledged** | Someone has seen it and is working on it. |
| **Resolved** | The underlying problem is cleared. |
**Acknowledge** is available while an incident is open, and **Resolve** is available until the incident is resolved. Both actions require the **monitoring:write** permission.
## The Incidents page
The table lists every incident with its **Status**, **Monitor**, **Environment**, **Duration** (live-updating for ongoing incidents), and **Started** time, 25 per page. Filter by:
- **Status** offers All Statuses, Open, Acknowledged and Resolved.
- **Environment** appears once your monitors are grouped into environments.
- **Date range** filters between a **From** and a **To** date.
With no incidents on record you'll see *"No incidents recorded. All systems operational."*, which is the best empty state there is.
## Exporting
Every frozen version can be downloaded in four formats:
| Format | Use |
| --- | --- |
| **YAML** | The usual OpenAPI form, readable in review and friendly to version control. |
| **JSON** | The same document for tools that prefer JSON. |
| **Postman** | A collection your consumers can open and call straight away. |
| **Insomnia** | The same, for Insomnia. |
**Exports need a frozen snapshot.** The download buttons appear once a version is actually frozen. A promotion into an environment that does not freeze leaves the version a draft, and a draft has no snapshot to export. This is deliberate, because an export is a copy of a contract, and a contract that can still change underneath the file you handed out is not one.
You reach the exports from the release receipt of the [Release Version wizard](https://docs.routebase.dev/versioning/), and from the version itself afterwards.
### What travels with the export
The export is a complete OpenAPI document, not a Routebase-flavored one. Tag descriptions, enum labels and per-value descriptions (`x-enumNames`, `x-enumDescriptions`), deprecation metadata and your reusable components are all in the file. A generator on the other side therefore produces the same names and the same documentation your portal shows. A schema example is written as the singular `example` on a 3.0 document and as the JSON Schema `examples` list on 3.1 and 3.2, which is the form those versions recommend.
## Permissions
Importing creates a specification and requires **specs:write**, included in the Member role. Exporting requires **specs:read**.
## Related
- [API Design Settings](https://docs.routebase.dev/api-design-settings/) — the specification wizard and per-spec settings
- [Versioning](https://docs.routebase.dev/versioning/) — freezing a version, which is what makes it exportable
- [Endpoints](https://docs.routebase.dev/endpoints/) — what you work with after the import
- [Schemas](https://docs.routebase.dev/schemas/) — including enum labels and how they export
- [Getting Started](https://docs.routebase.dev/getting-started/) — the path from an existing file to a first project
---
## Incidents
Source: https://docs.routebase.dev/incidents/
When a monitor keeps failing, Routebase opens an **incident**, which is a tracked record of the outage with its cause, duration and a timeline of what happened. Incidents live under **Monitoring → Incidents**, and the sidebar entry shows a red badge with the number of currently open incidents.
## When an incident opens
An incident opens once a monitor accumulates enough **consecutive failed checks** to cross the project's incident threshold (default 3, configurable from 1–100 under **Monitoring → Settings**). Two things prevent that:
- An active [maintenance window](https://docs.routebase.dev/maintenance-windows/) covering the monitor, because failed checks during maintenance don't open incidents.
- A disabled monitor, because it isn't checked at all.
## Incident lifecycle
Incidents move through three states:
| Status | Meaning |
| --- | --- |
| **Open** | The incident is active and unhandled. |
| **Acknowledged** | Someone has seen it and is working on it. |
| **Resolved** | The underlying problem is cleared. |
**Acknowledge** is available while an incident is open, and **Resolve** is available until the incident is resolved. Both actions require the **monitoring:write** permission.
## The Incidents page
The table lists every incident with its **Status**, **Monitor**, **Environment**, **Duration** (live-updating for ongoing incidents), and **Started** time, 25 per page. Filter by:
- **Status** offers All Statuses, Open, Acknowledged and Resolved.
- **Environment** appears once your monitors are grouped into environments.
- **Date range** filters between a **From** and a **To** date.
With no incidents on record you'll see *"No incidents recorded. All systems operational."*, which is the best empty state there is.
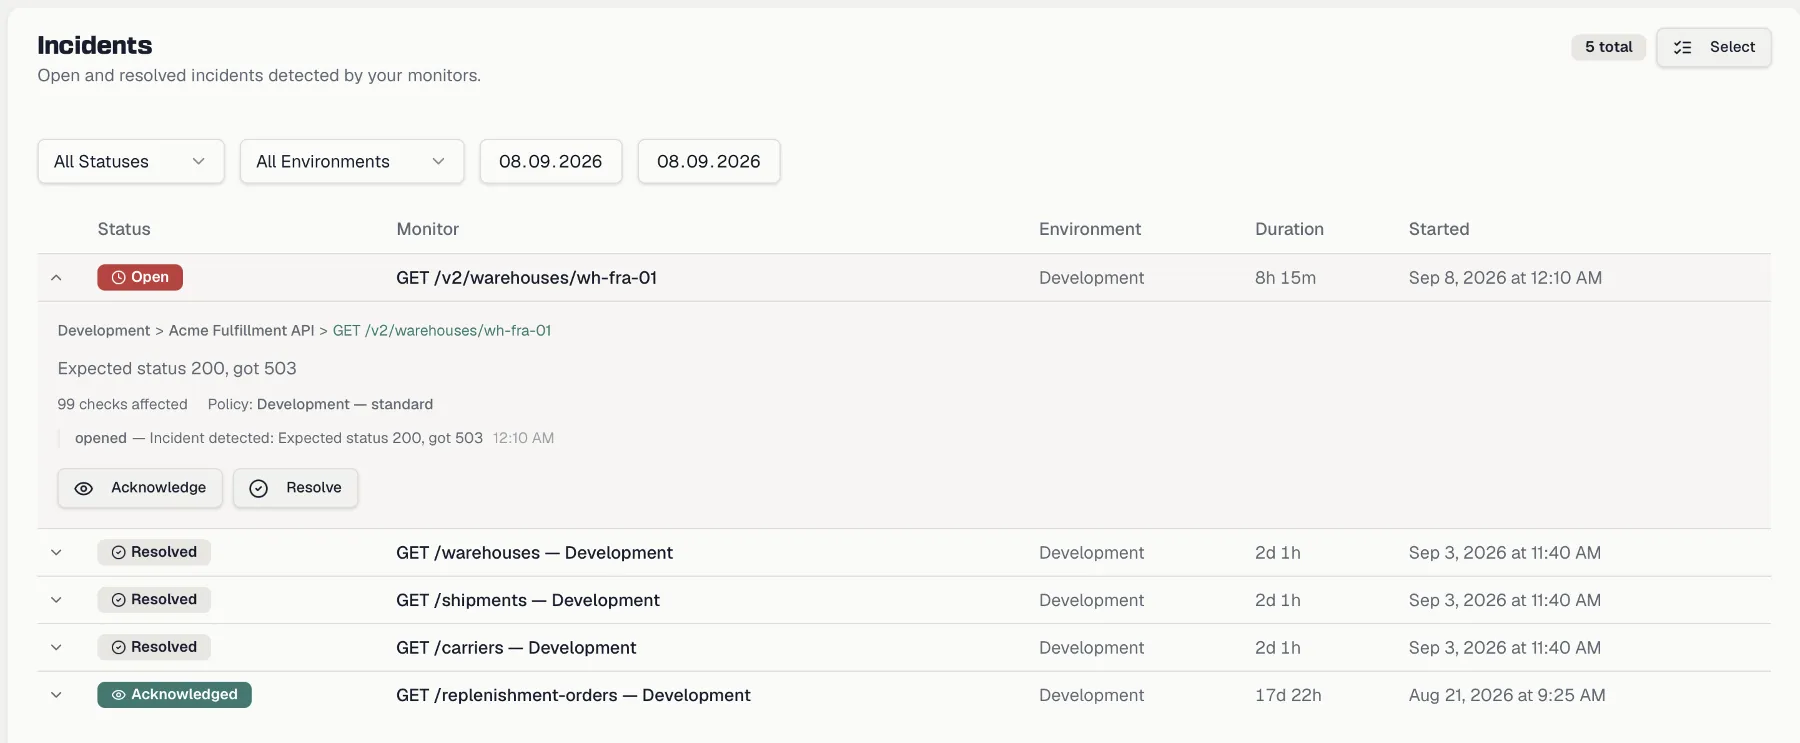
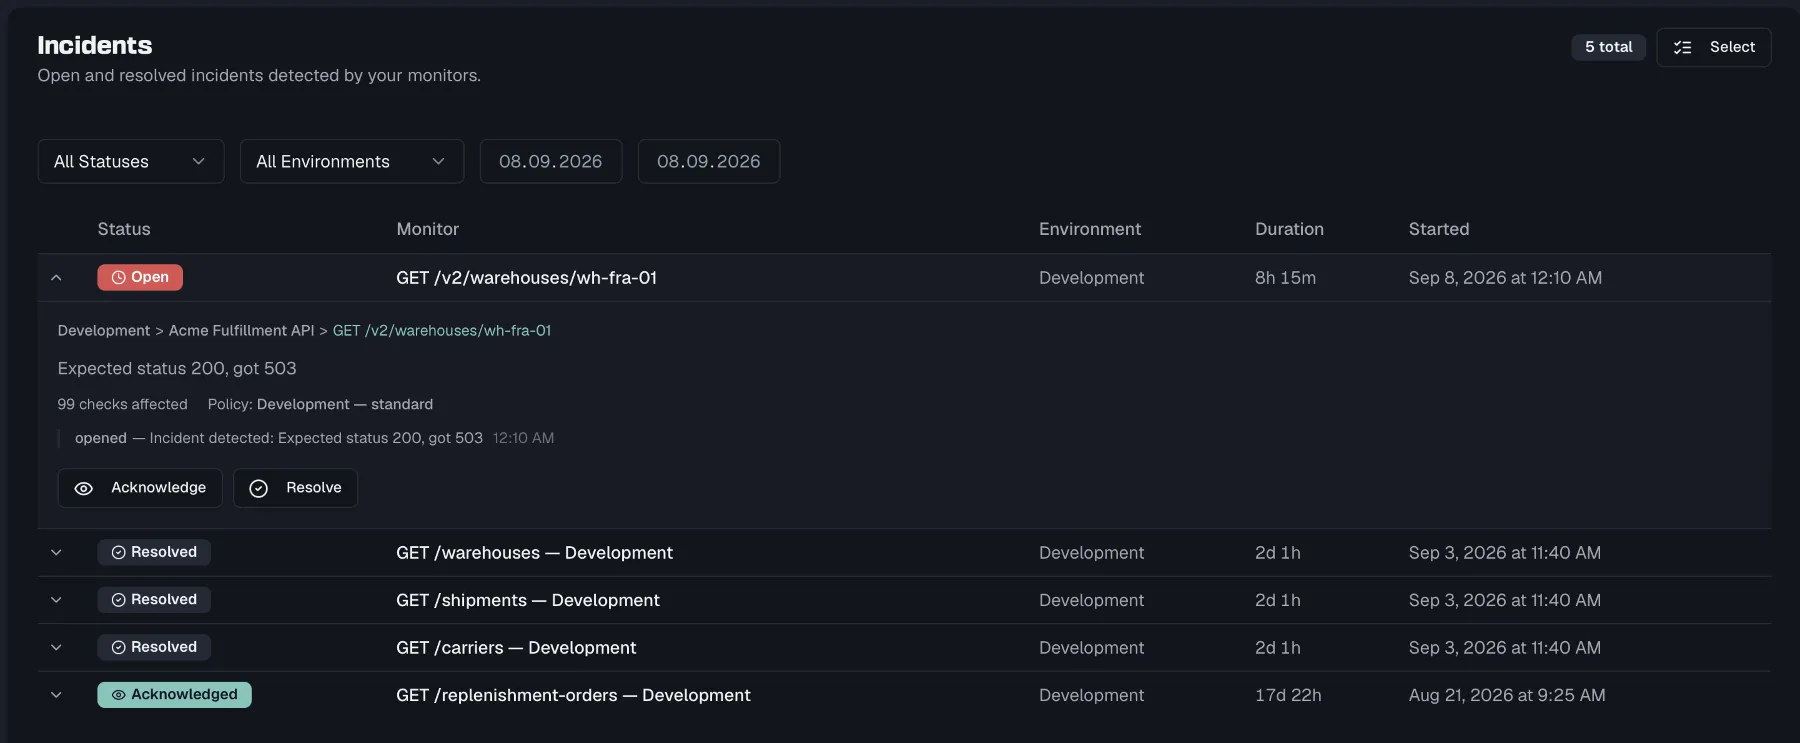 ### Incident detail and timeline
Click a row to expand it inline. The detail shows:
- A context breadcrumb of **environment → API spec → monitor**, with the monitor name linking to its detail page.
- The **cause** and how many **checks** were affected.
- The **policy** that triggered it (see [Alert Policies](https://docs.routebase.dev/alert-policies/)).
- The **event timeline**, where each event carries its type, message and timestamp, so you can trace when the incident opened, was acknowledged and was resolved.
- Inline **Acknowledge** and **Resolve** buttons for unresolved incidents.
### Bulk actions
To handle many incidents at once, click **Select** in the page header. Checkboxes appear per row, plus a select-all in the header. Pick the incidents and click **Acknowledge** or **Resolve**. A confirmation dialog summarizes how many incidents the action affects.
## Incidents elsewhere
Open incidents also surface on the [Health Dashboard](https://docs.routebase.dev/monitoring-overview/) in the **Active Incidents** card, with the same expandable detail and inline actions. And every incident event lands in the notification center under the **Monitoring** category. See [notification preferences](https://docs.routebase.dev/notifications/) for in-app and email delivery.
## Related
- [Monitors](https://docs.routebase.dev/monitors/) — the checks whose failures open incidents
- [Alert Policies](https://docs.routebase.dev/alert-policies/) — the rules that decide when to alert
- [Maintenance Windows](https://docs.routebase.dev/maintenance-windows/) — planned downtime that suppresses incidents
---
## Integrations
Source: https://docs.routebase.dev/integrations/
Routebase connects to the rest of your toolchain in a few ways. There are event-driven [webhooks](https://docs.routebase.dev/webhooks/), formatted alerts in [Slack and Microsoft Teams](https://docs.routebase.dev/messaging/), [API keys](https://docs.routebase.dev/api-keys/) for programmatic access, and the MCP interface for AI agents. This guide gives you the map. Webhooks along with Slack and Teams alerts sit in the **Notifications** group of the settings sidebar, and API keys sit in **Security**.
## Webhooks — push events to your tools
Webhooks are the most flexible integration point. Routebase sends an HTTP POST to your endpoint whenever selected events occur in your organization, so you can wire events into your CI/CD pipeline, Slack, or any other external service. They're managed on **Settings → Webhooks**. See [Webhooks](https://docs.routebase.dev/webhooks/) for event types, payloads, and delivery.
## Messaging — alerts in Slack and Teams
For chat channels there is a dedicated surface. **Settings → Messaging** connects Slack in one click or Microsoft Teams, and it posts formatted alerts for contract drift, incidents and test failures instead of raw JSON. See [Messaging](https://docs.routebase.dev/messaging/).
## API keys — pull data and automate
API keys authenticate scripts, CI jobs, and other machine clients against the Routebase API at `api.routebase.dev`, with scoped permissions and optional project restrictions. They're managed on **Settings → API Keys**. See [API Keys](https://docs.routebase.dev/api-keys/).
## AI agents — connect via MCP
Routebase speaks the Model Context Protocol (MCP), so AI agents and assistants can read and work with your API workspace directly. See the [MCP Quickstart](https://docs.routebase.dev/mcp-quickstart/) to connect an agent, and [MCP Authentication](https://docs.routebase.dev/mcp-authentication/) for how agents authenticate.
## Related
- [Webhooks](https://docs.routebase.dev/webhooks/) — HTTP POST notifications for organization events
- [Messaging](https://docs.routebase.dev/messaging/) — formatted alerts in Slack and Microsoft Teams
- [API Keys](https://docs.routebase.dev/api-keys/) — programmatic access to the Routebase API
- [Notification Defaults](https://docs.routebase.dev/notification-defaults/) — org-wide defaults for in-app and email notifications
---
## Lifecycle Walkthrough
Source: https://docs.routebase.dev/lifecycle-walkthrough/
Every other guide in this documentation explains one feature. This one does the opposite and carries a single small API through the whole cycle, so you can see where the pieces meet. You design it, mock it, test it, document it, then hand it to an agent.
The point of doing it in this order is that each stage produces the input for the next one. You design a contract, the mock is generated from that contract, the tests assert against that contract, the documentation is that contract, and the agent reads and edits that contract. Nothing here is copied by hand from one stage to the next, and that is the whole idea.
**What you need** is a project and the permissions of an Admin or Owner. On the Free plan every step below works, with the caps noted where they apply.
**The example** is a tiny Bookmarks API with the two operations `GET /bookmarks` and `POST /bookmarks`. Substitute your own, because the sequence does not change.
The five stages run in that order, but their dependencies are not a chain, because almost every one of them reads the same contract:
```mermaid
flowchart TB
D["You design it
### Incident detail and timeline
Click a row to expand it inline. The detail shows:
- A context breadcrumb of **environment → API spec → monitor**, with the monitor name linking to its detail page.
- The **cause** and how many **checks** were affected.
- The **policy** that triggered it (see [Alert Policies](https://docs.routebase.dev/alert-policies/)).
- The **event timeline**, where each event carries its type, message and timestamp, so you can trace when the incident opened, was acknowledged and was resolved.
- Inline **Acknowledge** and **Resolve** buttons for unresolved incidents.
### Bulk actions
To handle many incidents at once, click **Select** in the page header. Checkboxes appear per row, plus a select-all in the header. Pick the incidents and click **Acknowledge** or **Resolve**. A confirmation dialog summarizes how many incidents the action affects.
## Incidents elsewhere
Open incidents also surface on the [Health Dashboard](https://docs.routebase.dev/monitoring-overview/) in the **Active Incidents** card, with the same expandable detail and inline actions. And every incident event lands in the notification center under the **Monitoring** category. See [notification preferences](https://docs.routebase.dev/notifications/) for in-app and email delivery.
## Related
- [Monitors](https://docs.routebase.dev/monitors/) — the checks whose failures open incidents
- [Alert Policies](https://docs.routebase.dev/alert-policies/) — the rules that decide when to alert
- [Maintenance Windows](https://docs.routebase.dev/maintenance-windows/) — planned downtime that suppresses incidents
---
## Integrations
Source: https://docs.routebase.dev/integrations/
Routebase connects to the rest of your toolchain in a few ways. There are event-driven [webhooks](https://docs.routebase.dev/webhooks/), formatted alerts in [Slack and Microsoft Teams](https://docs.routebase.dev/messaging/), [API keys](https://docs.routebase.dev/api-keys/) for programmatic access, and the MCP interface for AI agents. This guide gives you the map. Webhooks along with Slack and Teams alerts sit in the **Notifications** group of the settings sidebar, and API keys sit in **Security**.
## Webhooks — push events to your tools
Webhooks are the most flexible integration point. Routebase sends an HTTP POST to your endpoint whenever selected events occur in your organization, so you can wire events into your CI/CD pipeline, Slack, or any other external service. They're managed on **Settings → Webhooks**. See [Webhooks](https://docs.routebase.dev/webhooks/) for event types, payloads, and delivery.
## Messaging — alerts in Slack and Teams
For chat channels there is a dedicated surface. **Settings → Messaging** connects Slack in one click or Microsoft Teams, and it posts formatted alerts for contract drift, incidents and test failures instead of raw JSON. See [Messaging](https://docs.routebase.dev/messaging/).
## API keys — pull data and automate
API keys authenticate scripts, CI jobs, and other machine clients against the Routebase API at `api.routebase.dev`, with scoped permissions and optional project restrictions. They're managed on **Settings → API Keys**. See [API Keys](https://docs.routebase.dev/api-keys/).
## AI agents — connect via MCP
Routebase speaks the Model Context Protocol (MCP), so AI agents and assistants can read and work with your API workspace directly. See the [MCP Quickstart](https://docs.routebase.dev/mcp-quickstart/) to connect an agent, and [MCP Authentication](https://docs.routebase.dev/mcp-authentication/) for how agents authenticate.
## Related
- [Webhooks](https://docs.routebase.dev/webhooks/) — HTTP POST notifications for organization events
- [Messaging](https://docs.routebase.dev/messaging/) — formatted alerts in Slack and Microsoft Teams
- [API Keys](https://docs.routebase.dev/api-keys/) — programmatic access to the Routebase API
- [Notification Defaults](https://docs.routebase.dev/notification-defaults/) — org-wide defaults for in-app and email notifications
---
## Lifecycle Walkthrough
Source: https://docs.routebase.dev/lifecycle-walkthrough/
Every other guide in this documentation explains one feature. This one does the opposite and carries a single small API through the whole cycle, so you can see where the pieces meet. You design it, mock it, test it, document it, then hand it to an agent.
The point of doing it in this order is that each stage produces the input for the next one. You design a contract, the mock is generated from that contract, the tests assert against that contract, the documentation is that contract, and the agent reads and edits that contract. Nothing here is copied by hand from one stage to the next, and that is the whole idea.
**What you need** is a project and the permissions of an Admin or Owner. On the Free plan every step below works, with the caps noted where they apply.
**The example** is a tiny Bookmarks API with the two operations `GET /bookmarks` and `POST /bookmarks`. Substitute your own, because the sequence does not change.
The five stages run in that order, but their dependencies are not a chain, because almost every one of them reads the same contract:
```mermaid
flowchart TB
D["You design itAPI Design"] C{{"The contract
a released version, its schemas"}} M["A mock of it
Mock Server"] T["Tests against it
Testing"] P["Docs generated from it
Documentation"] A["An agent that edits it
MCP server"] D --> C C -->|"one rule per endpoint"| M C -->|"imported cases, schema validation"| T C -->|"the API reference"| P C -->|"the same objects, your permissions"| A M -->|"its base URL becomes the environment"| T A -.-> C ``` --- ## 1. Design the contract Open **API Design** in a project and create a specification. Choose **Empty Specification** for this walkthrough, or **Import** if you already have an OpenAPI file, a Postman collection or an Insomnia export. Add the two endpoints: 1. In the endpoint tree, click **+** → **Add Endpoint**. 2. Set the method to `GET` and the path to `/bookmarks`. Add a summary, because it becomes the label everywhere else. 3. Repeat for `POST /bookmarks`. Then give them a shape, because everything downstream depends on it: - On `GET /bookmarks`, open **Responses** and describe the `200` as a `Bookmark` array. - Create the `Bookmark` **schema** once under **Components** and reference it from both endpoints, rather than describing the same object twice. This is what makes the next four stages consistent. - On `POST /bookmarks`, define the request body and a `201` response. Two things are worth doing now rather than later. Run the **style guide** over the spec to catch naming and consistency problems while it is two endpoints rather than fifty. Then **release a version** once the shape settles, because a released version is frozen, which is what gives the mock, the tests and the docs something stable to point at. **In depth:** [Endpoints](https://docs.routebase.dev/endpoints/) · [Schemas](https://docs.routebase.dev/schemas/) · [Style Guide](https://docs.routebase.dev/style-guide/) · [Spec Versioning](https://docs.routebase.dev/versioning/) --- ## 2. Mock it, before any backend exists Open **Mock Server** in the same project and choose **From OpenAPI spec**. This creates the server and generates a rule for every endpoint in the spec in one step. That includes `GET /bookmarks` and `POST /bookmarks`, each answering with data shaped like the schema you just defined. The server has a public base URL of the form `https://abc123de.routebasemock.dev`. Copy it from the workspace header. That URL is the deliverable of this stage. A frontend developer can start against it on the same day the contract was agreed, without waiting for a backend, which is the reason to design the contract first at all. Two refinements that pay off immediately: - Add a rule that returns a `4xx` for a specific input, so the error path is buildable too, not just the happy one. - Use **Try It** in the API Designer with **Mock Server** as the target to confirm each endpoint answers as intended before anyone else builds on it. **In depth:** [Mock Server](https://docs.routebase.dev/mock-server/) · [Mock Server Settings](https://docs.routebase.dev/mock-server-settings/) --- ## 3. Test reality against the contract Testing needs somewhere to point, and that is an **environment**. Open **Environments** in the project and create one called `Mock`, with the mock server's base URL from the previous stage as its **Base URL**. That one field is the join between stage 2 and stage 3. Test URLs are written as `{{baseUrl}}/bookmarks`, and `{{baseUrl}}` resolves from whichever environment is active. The same suite that runs against the mock today runs against staging tomorrow by switching the environment in the header, and no test is edited. Now build the suite: 1. Open **Testing** and create a suite, such as `Bookmarks API`. 2. Use **Import** in the suite toolbar to bulk-create cases from your spec's endpoints. Each imported case arrives with assertions derived from the contract rather than written by hand. 3. Run the suite with the `Mock` environment active. The assertion that matters most is **Schema Validation**, which comes with cases linked to a spec endpoint. It validates the response body against the endpoint's documented schema, so a field that changed type or a required property that went missing fails the run, even when the status code is still `200`. That is the difference between testing that your API answers and testing that it still honours its contract. When the real backend appears, create a second environment pointing at it and run the same suite. Anything that passes against the mock and fails against the backend is a place where the implementation and the contract disagree. **In depth:** [Environments](https://docs.routebase.dev/environments/) · [Test Suites](https://docs.routebase.dev/test-suites/) · [Contract Testing](https://docs.routebase.dev/contract-testing/) --- ## 4. Publish documentation that cannot drift Open **Documentation** in the project. On the first visit, Routebase offers a three-step assistant: 1. Under **Content**, name the portal and tick the spec you want embedded as an API reference. A draft-only spec is published on the way in. 2. Under **Branding**, choose the portal address, which is a subdomain, and a theme. 3. Under **Go Live**, publish. The portal is built and you land on its live URL. The API reference is generated from the spec rather than written alongside it. When the contract changes, you publish a new documentation version and the reference follows, so there is no second copy of the endpoint list to keep in step. Hand-written pages live in the same tree, which puts conceptual guides and generated reference together. If you set up a deprecation plan in stage 1, its banner appears on the affected endpoint's page here, with the sunset date and the migration guide. That is how a consumer finds out without anyone sending an email. **In depth:** [Documentation Overview](https://docs.routebase.dev/doc-overview/) · [Publishing](https://docs.routebase.dev/doc-publishing/) · [Custom Domains](https://docs.routebase.dev/custom-domains/) --- ## 5. Hand it to an agent Everything you just built is reachable by an AI agent through the Routebase **MCP server**, which every workspace has, with nothing to install and nothing to host. Point your client at `https://mcp.routebase.dev`. Claude clients add it as a custom connector and sign you in with your Routebase account, while Claude Code, Cursor and VS Code connect over HTTP with an API key. Anything stdio-only uses the `routebase-mcp` bridge. With that in place, an agent works on the same objects you have been using. It can read the spec, add an endpoint, generate mock rules, run the suite and report what failed, or update a documentation page. All of that runs under the permissions of whoever authenticated rather than above them, and an API key carries only the scopes you gave it. This is the stage that changes how the earlier ones feel. A contract that an agent can read and modify is worth keeping precise, and a test suite an agent can run is worth keeping green. **In depth:** [MCP Quickstart](https://docs.routebase.dev/mcp-quickstart/) · [MCP Authentication](https://docs.routebase.dev/mcp-authentication/) · [Resources & Prompts](https://docs.routebase.dev/mcp-resources-prompts/) --- ## What the cycle looks like on the second lap The first pass is linear. After that it becomes a loop, and the loop is where the value sits: | You change | What notices | | --- | --- | | An endpoint's schema | Linked test cases report **schema drift** and offer **Sync from Spec** | | The spec, before a release | The **breaking-change** check classifies what would break for consumers | | A released version | Documentation publishes the new reference; environments move by their own pin | | An endpoint that has to go | The [deprecation](https://docs.routebase.dev/deprecation/) plan dates it, announces it, and reminds people | | Anything, from an agent | The same permissions, the same audit trail as a person doing it in the UI | For larger changes, work on a [branch](https://docs.routebase.dev/branching/) and merge after review, rather than editing the main draft directly. ## Next steps - Keep an eye on the live API with [Monitoring](https://docs.routebase.dev/monitoring-overview/). - Scan it for the OWASP API risks under [Security](https://docs.routebase.dev/security-overview/). - Run the suite in your pipeline with the [CLI](https://docs.routebase.dev/cli-overview/) or a [scheduled run](https://docs.routebase.dev/scheduling/). --- ## Maintenance Windows Source: https://docs.routebase.dev/maintenance-windows/ A **maintenance window** suppresses monitoring alarms during planned work such as a deployment, a database migration or a patch night, so expected downtime doesn't page anyone. While a window is active, failed checks will not trigger incidents for the monitors it covers. Scheduling and deleting windows requires the **monitoring:write** permission. ## Scopes A window is scheduled against one of three scopes: | Scope | Covers | | --- | --- | | **Monitor** | One specific monitor. | | **API Spec** | Every monitor generated from that spec. | | **Environment** | Every monitor in that environment, which is the right choice for a full-stack deployment. | ## Scheduling a window There are two entry points: - The **monitor tree** on the **Monitors** page. Right-click an environment, an API spec or a monitor in the sidebar tree and choose **Schedule Maintenance**. - The **monitor detail** page. Open a monitor, switch to the **Maintenance** tab and click **Schedule**, which schedules at monitor scope only. In the **Schedule Maintenance** dialog: 1. Enter a **Title** such as *Database migration*. 2. Leave **Recurring schedule** off for a one-off window, then pick a **Start** and an **End** date-time. The end must be after the start, and the dialog validates that. 3. Click **Schedule**.
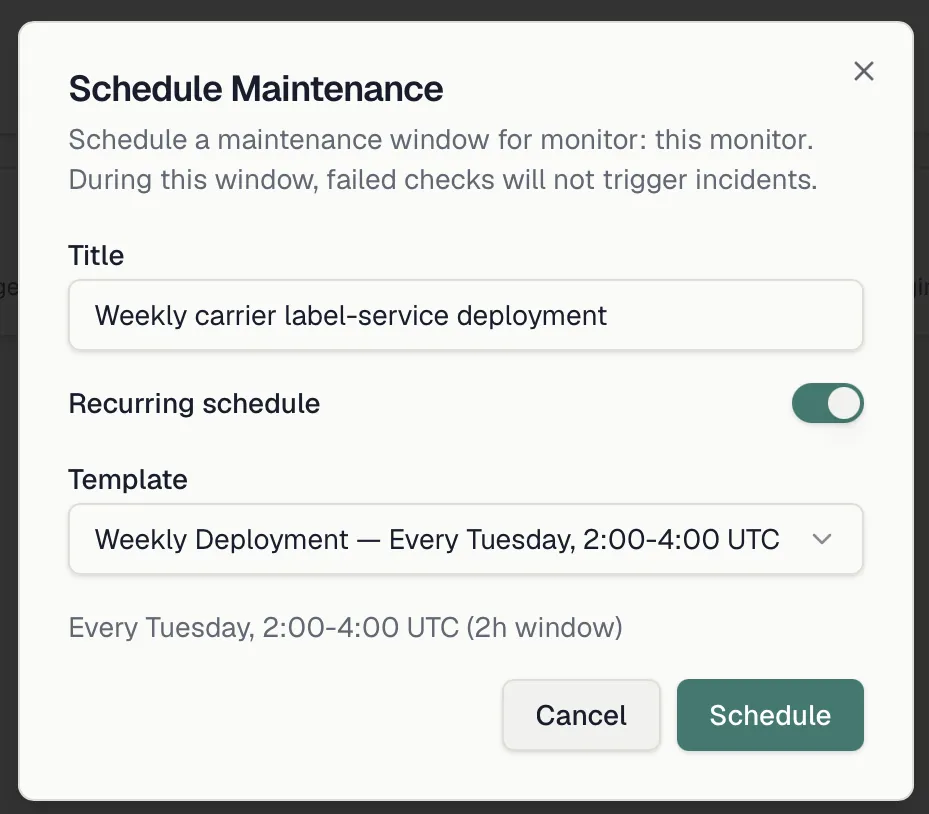
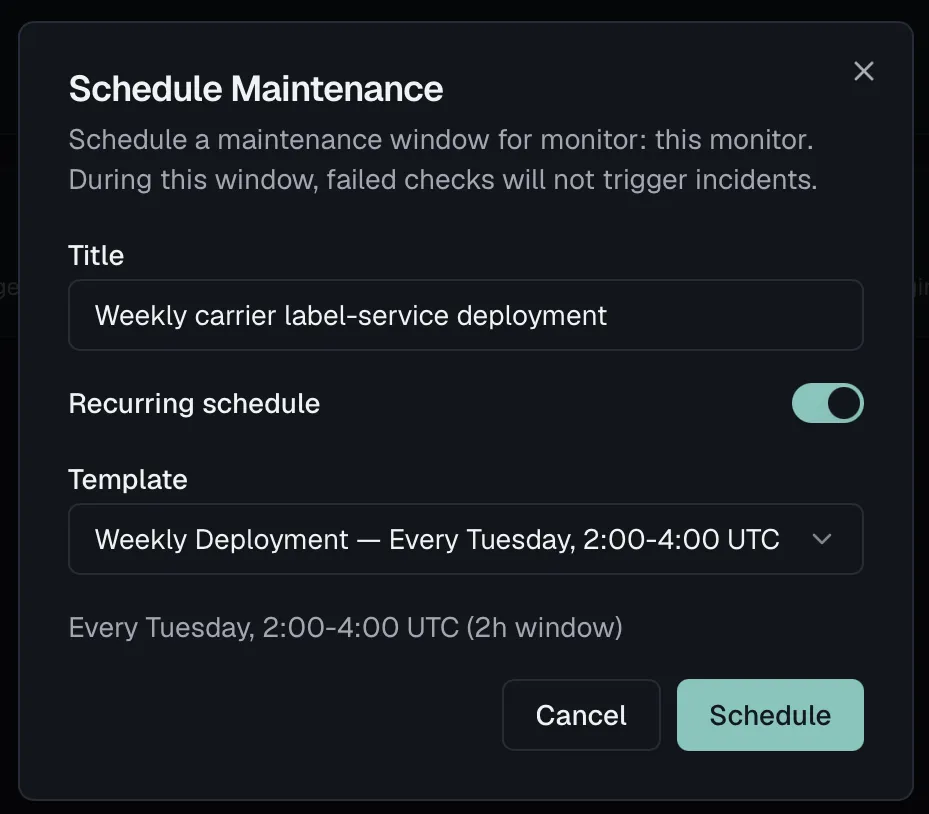 ### Recurring windows
For work that repeats, turn on **Recurring schedule** and pick a **Template**:
| Template | Schedule |
| --- | --- |
| **Weekly Deployment** | Every Tuesday, 2:00–4:00 UTC |
| **Monthly Patching** | First Saturday monthly, 0:00–6:00 UTC |
| **Nightly Window** | Every day, 3:00–4:00 UTC |
| **Custom schedule** | Your own 5-field cron expression (UTC) plus a duration in hours and minutes |
Custom cron expressions are validated as you type (`minute hour day-of-month month weekday`).
## Effect on alerts and incidents
A window reaches a monitor directly, through its spec or through its environment. While one is active for a monitor:
- Failed checks do **not** open [incidents](https://docs.routebase.dev/incidents/).
- The monitor, and its groups in the tree, are marked with a wrench icon.
- The dashboard's **In Maintenance** stat card counts the active windows, and an **Active Maintenance** card lists each one with its scope and end time.
Checks themselves keep running, so you still see the results in the check timeline once the window ends.
## Reviewing and deleting windows
- **Per monitor**, the **Maintenance** tab on the monitor detail page lists that monitor's windows with **Active** and **Recurring** badges, showing either the start and end times or the cron schedule and duration. Delete one with the trash icon.
- **Project-wide**, **Monitoring → Settings** hosts the full calendar of every window in the project with its scope, its target environment or spec, its activity status and its schedule. Windows can be deleted here too, while new ones are scheduled from the monitor tree, as the section itself points out.
### Recurring windows
For work that repeats, turn on **Recurring schedule** and pick a **Template**:
| Template | Schedule |
| --- | --- |
| **Weekly Deployment** | Every Tuesday, 2:00–4:00 UTC |
| **Monthly Patching** | First Saturday monthly, 0:00–6:00 UTC |
| **Nightly Window** | Every day, 3:00–4:00 UTC |
| **Custom schedule** | Your own 5-field cron expression (UTC) plus a duration in hours and minutes |
Custom cron expressions are validated as you type (`minute hour day-of-month month weekday`).
## Effect on alerts and incidents
A window reaches a monitor directly, through its spec or through its environment. While one is active for a monitor:
- Failed checks do **not** open [incidents](https://docs.routebase.dev/incidents/).
- The monitor, and its groups in the tree, are marked with a wrench icon.
- The dashboard's **In Maintenance** stat card counts the active windows, and an **Active Maintenance** card lists each one with its scope and end time.
Checks themselves keep running, so you still see the results in the check timeline once the window ends.
## Reviewing and deleting windows
- **Per monitor**, the **Maintenance** tab on the monitor detail page lists that monitor's windows with **Active** and **Recurring** badges, showing either the start and end times or the cron schedule and duration. Delete one with the trash icon.
- **Project-wide**, **Monitoring → Settings** hosts the full calendar of every window in the project with its scope, its target environment or spec, its activity status and its schedule. Windows can be deleted here too, while new ones are scheduled from the monitor tree, as the section itself points out.
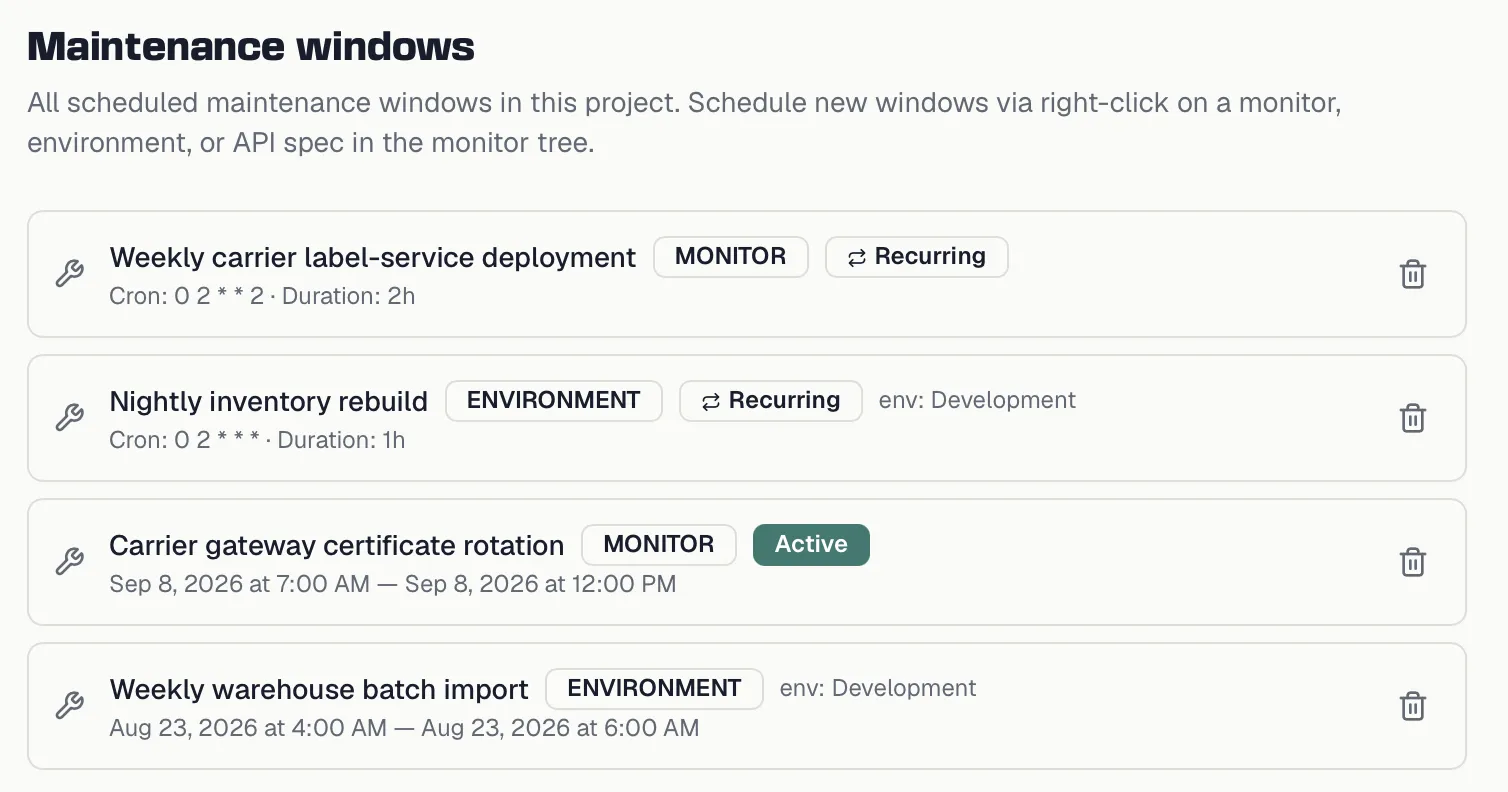
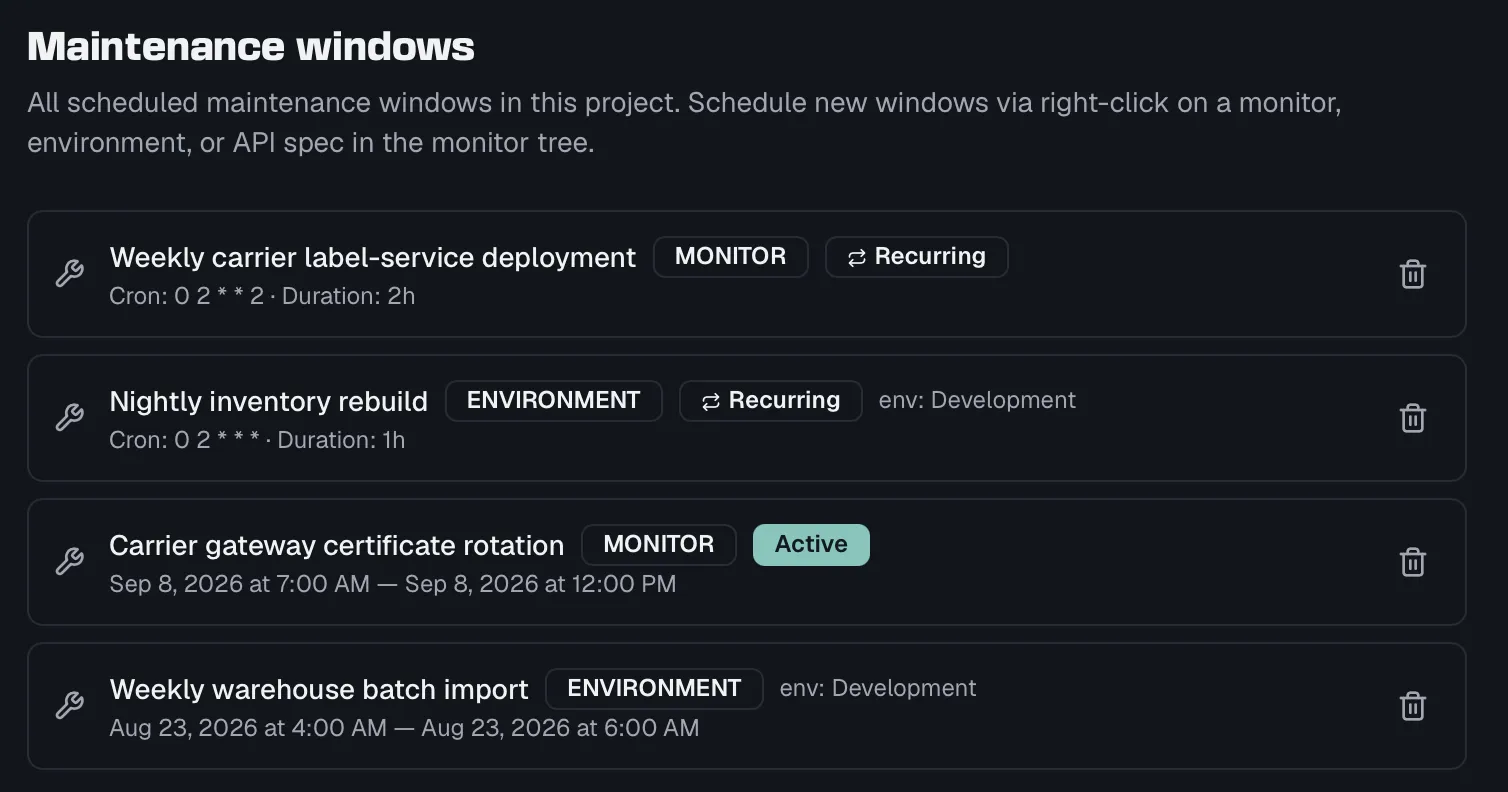 ## Related
- [Incidents](https://docs.routebase.dev/incidents/) — what maintenance windows suppress
- [Monitors](https://docs.routebase.dev/monitors/) — the monitor tree where windows are scheduled
- [Monitoring Overview](https://docs.routebase.dev/monitoring-overview/) — where active windows appear on the dashboard
---
## MCP Authentication
Source: https://docs.routebase.dev/mcp-authentication/
Every call to the Routebase MCP server is authenticated, and you have two options. An **API key** is the simplest and works with every client, while **OAuth 2.1** suits clients that support it. This guide covers both, explains how scopes control what an agent can do, says what an agent can never do regardless of scopes, and shows how to keep your credentials safe.
## API keys
An API key is the quickest way to connect. Create one under **Settings → API Keys**, choose its scopes, and restrict it to a single project wherever you can.
## Related
- [Incidents](https://docs.routebase.dev/incidents/) — what maintenance windows suppress
- [Monitors](https://docs.routebase.dev/monitors/) — the monitor tree where windows are scheduled
- [Monitoring Overview](https://docs.routebase.dev/monitoring-overview/) — where active windows appear on the dashboard
---
## MCP Authentication
Source: https://docs.routebase.dev/mcp-authentication/
Every call to the Routebase MCP server is authenticated, and you have two options. An **API key** is the simplest and works with every client, while **OAuth 2.1** suits clients that support it. This guide covers both, explains how scopes control what an agent can do, says what an agent can never do regardless of scopes, and shows how to keep your credentials safe.
## API keys
An API key is the quickest way to connect. Create one under **Settings → API Keys**, choose its scopes, and restrict it to a single project wherever you can.
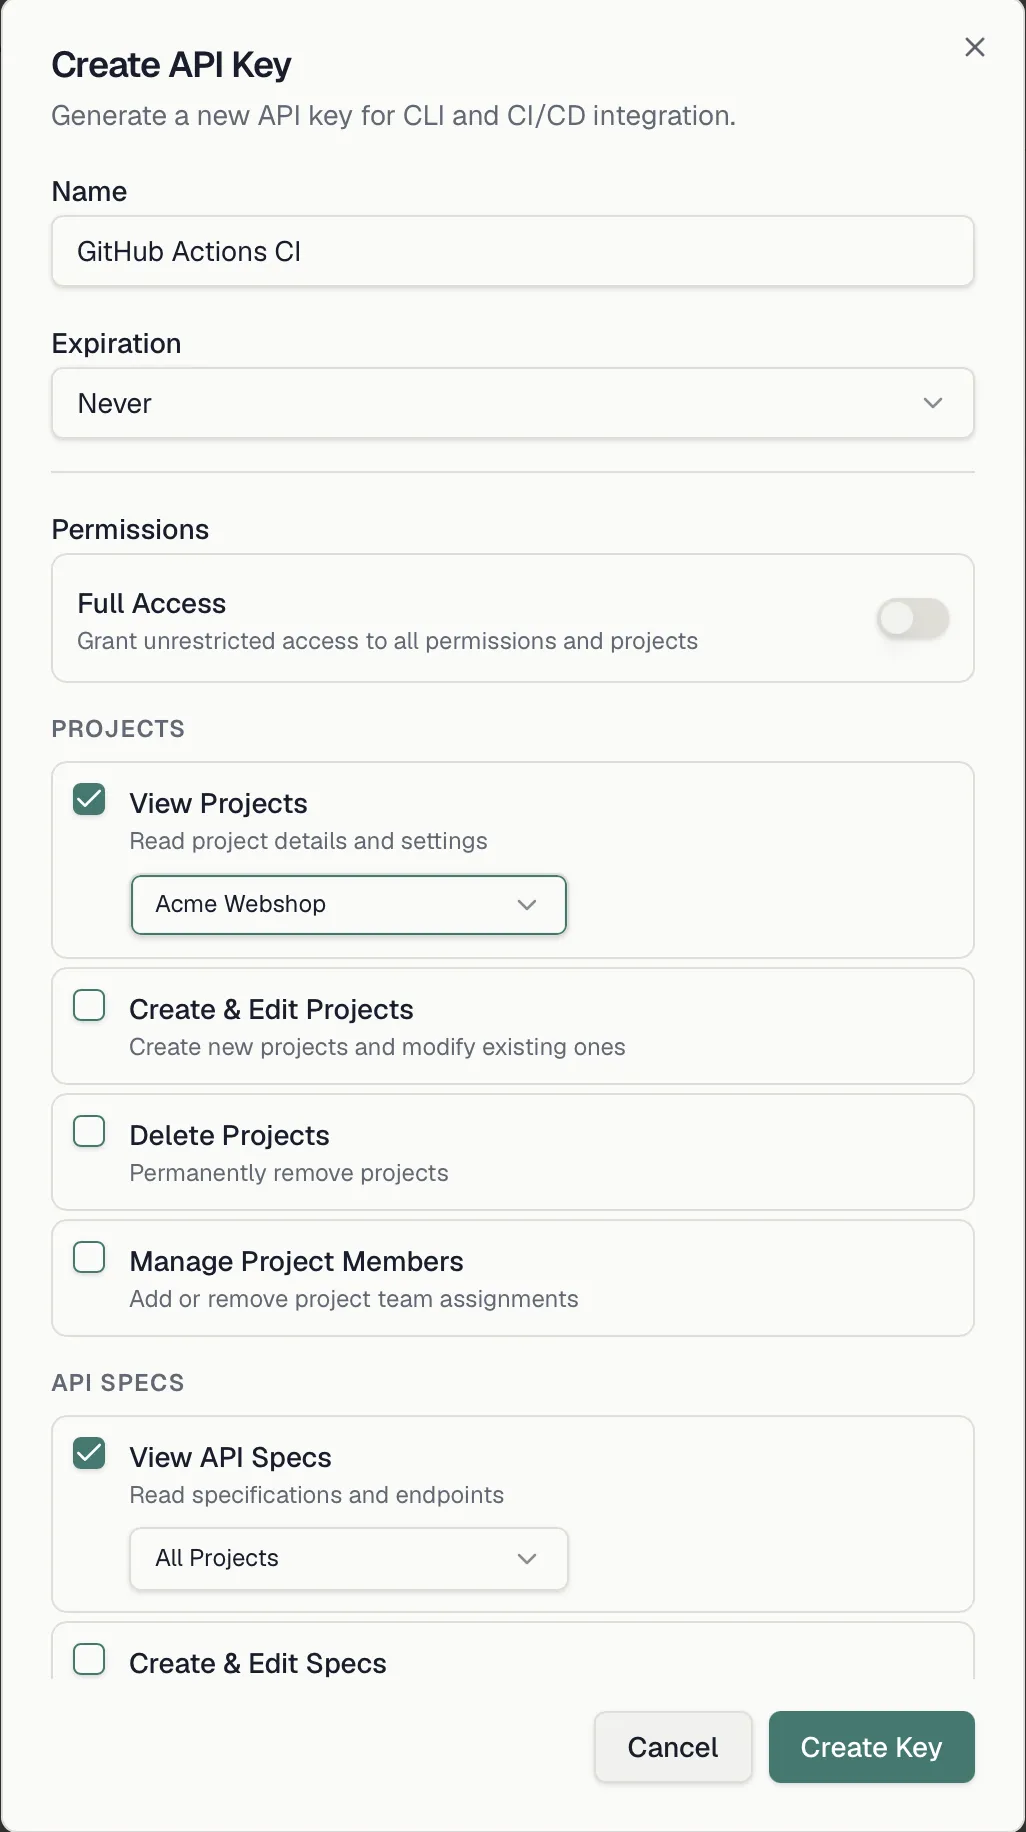
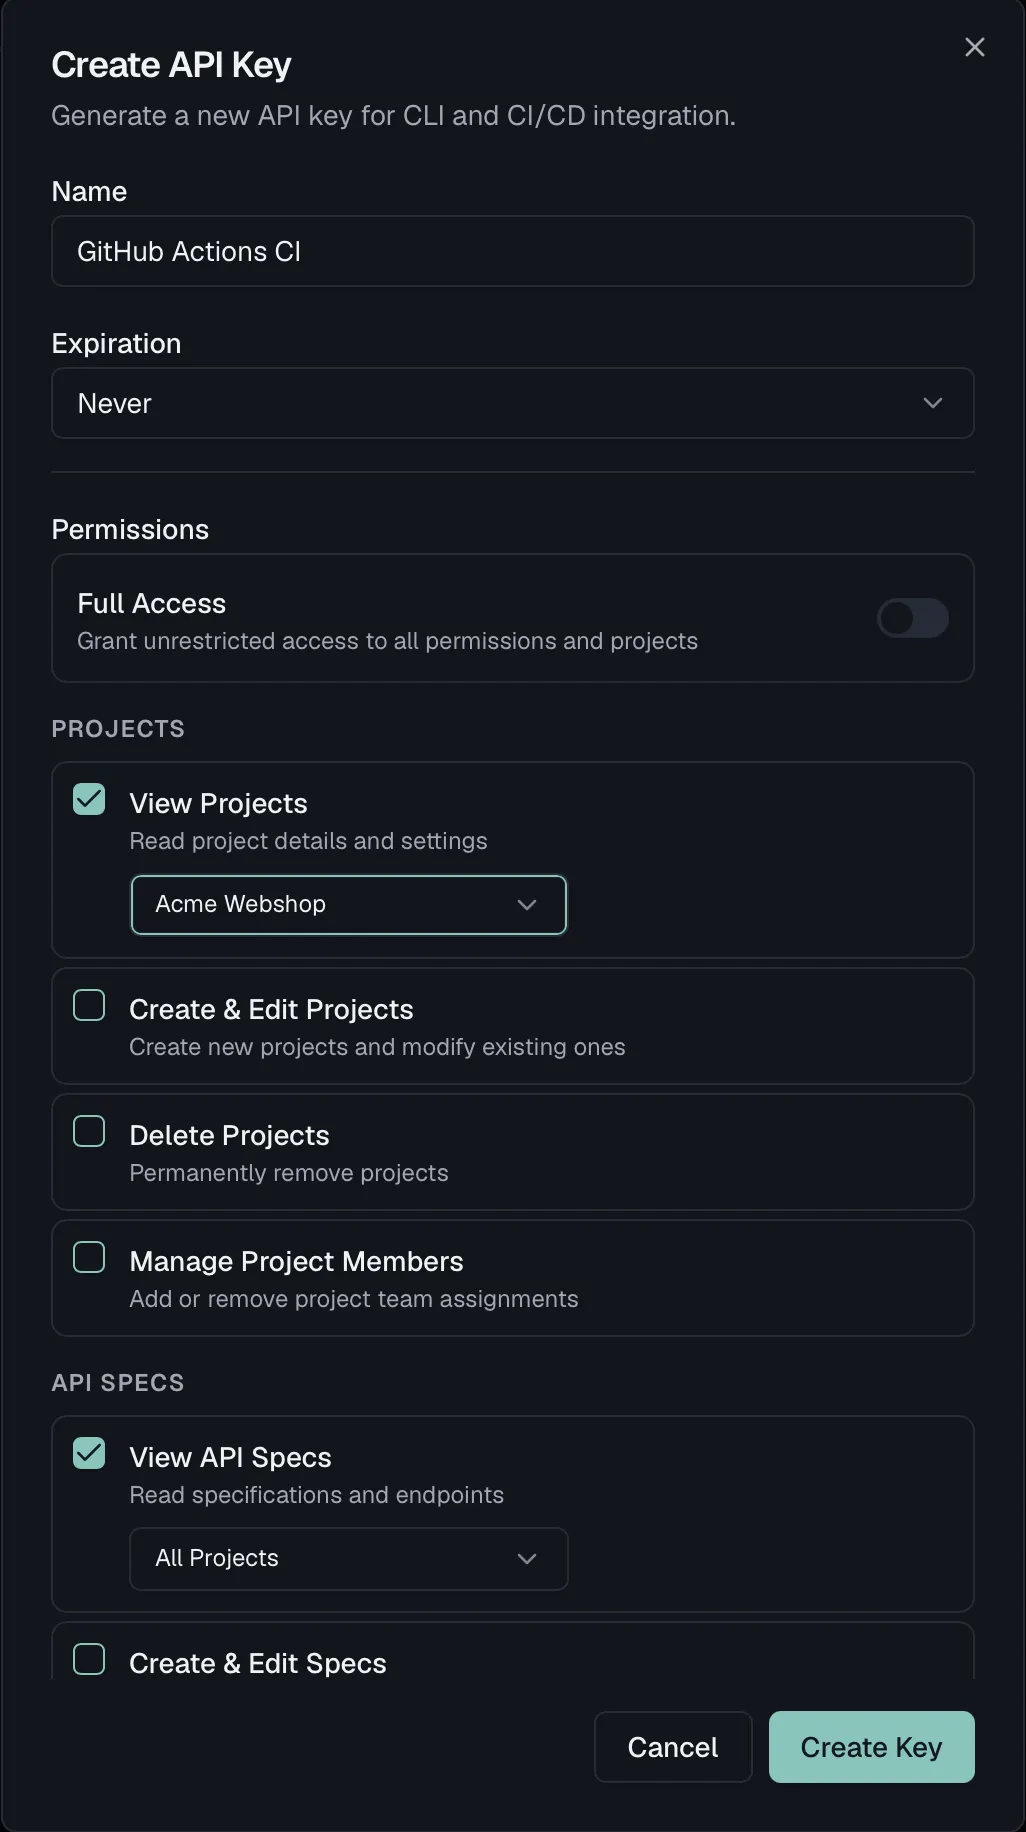 How you present the key depends on how you connect:
- **Remote HTTP** takes it as an `X-API-Key` header on requests to `https://mcp.routebase.dev`. The older `https://api.routebase.dev/mcp` still works.
- **The stdio CLI** `routebase-mcp` takes it in the `ROUTEBASE_API_KEY` environment variable, and it attaches the header for you.
### Scopes control what the agent can do
A key carries a set of **scopes** (permissions), and they are enforced in two places:
1. **Tool discovery** means `tools/list` only advertises the tools your key's scopes allow. A read-only key never even shows write tools, so the agent does not try them. Scoped keys see their full entitled surface immediately, across all toolsets, and the same applies when you connect via **OAuth sign-in**, where visibility follows your organization role. Use a custom role there for least privilege. A key **without** scopes is full access and sees every tool immediately. The lean core set with `enable_toolset`, which is progressive disclosure, applies only to a session that has not authenticated yet, and hidden tools remain callable throughout. For MCP connectors, sign in via OAuth or give the key explicit scopes, and the right tools are there from the first `tools/list`.
2. **Tool execution** means every `tools/call` is checked server-side. Calling a tool your key cannot use returns a clear `Forbidden: … required scope …` error.
Grant the **least privilege** that gets the job done:
| Task | Scopes |
| --- | --- |
| Explore specs, projects, tests (read-only) | `specs:read`, `projects:read`, `tests:read` |
| Design and edit API specs | `specs:read`, `specs:write` |
| Publish specs | `specs:publish` |
| Run tests | `tests:read`, `tests:execute` |
| Manage mock servers | `mock-server:read`, `mock-server:manage` |
| Author documentation / sync to a portal | `specs:read`, `specs:write`, `docs:manage-portal` |
| Triage security findings | `security:read`, `security:write` |
| Run security scans | `security:read`, `security:execute` |
| Watch APIs for contract drift | `monitoring:read`, `monitoring:write`, `specs:read` |
| Branch, review and merge a spec | `specs:read`, `specs:write`, `specs:branch`, `specs:review`, `specs:merge` |
Pair scopes with a **project restriction** whenever you can, because a key scoped to one project cannot touch the rest of your organization, no matter what an agent asks it to do.
### Every scope the MCP tools use
There are thirty scopes in total. If a workflow needs a tool you cannot see, this is the table that tells you which scope to add.
| Scope | Unlocks |
| --- | --- |
| `specs:read` | Reading specs, endpoints, schemas, versions, branches, style-guide state, audit log and deprecation plans. This is the widest read scope. |
| `specs:write` | Creating and editing specs, endpoints, parameters, responses, schemas, folders, tags, versions and components. |
| `specs:delete` | Deleting any of the above, plus retiring a deprecation. |
| `specs:publish` | Publishing a version, changing version status, scheduling a publish, notifying dependent owners, reviewing a deprecation plan. |
| `specs:branch` | Creating and managing branches and merge requests. |
| `specs:review` | Reviewing a merge request (approve / request changes). |
| `specs:merge` | Merging a merge request. |
| `projects:read` | Projects, environments, environment variables, the project dashboard, cross-entity search. |
| `projects:write` | Creating and updating projects and environments, project settings, setting and importing variables. |
| `projects:delete` | Deleting a project or an environment. |
| `tests:read` | Suites, cases, runs, results, fixtures, seeds, snapshots, request configs, resolved auth, schema-drift checks. |
| `tests:write` | Creating and editing everything under testing, which covers cases, assertions, scenarios, fixtures, seeds, schedules and auth configs. |
| `tests:execute` | Running things, meaning test cases, suites, scenarios and seeds, plus recording or restoring a snapshot. |
| `mock-server:read` | Mock server config, rules, request logs, smart-mock previews and diagnostics. |
| `mock-server:manage` | Creating and editing mock servers and rules, generating rules from a spec, clearing request logs, rotating the access token. |
| `docs:read` | Doc pages, tree, revisions, snippets, templates, portal pages, settings. |
| `docs:write` | Creating and editing documentation, folders, snippets, snapshots and the doc tree. |
| `docs:publish` | Publishing a doc version, cloning it, managing version lifecycle. |
| `docs:manage-portal` | Portal settings, branding, custom domains, builds, deployments, analytics, page feedback. |
| `monitoring:read` | Monitors, checks, incidents, alert policies, maintenance windows, contract drift, schema-drift reports. |
| `monitoring:write` | Creating and managing monitors, alert policies, incidents, maintenance windows, drift events and drift watches. |
| `security:read` | Findings, security score, scan runs, scan profiles, personas, guidance, remediation, SARIF export. |
| `security:execute` | Starting and cancelling a security scan. |
| `security:write` | Changing a finding's status, managing scan profiles and personas. |
| `notifications:read` | Webhooks and their delivery history. |
| `notifications:manage` | Creating, updating, testing, toggling and deleting webhooks, and rotating a webhook secret. |
| `billing:read` | **Read-only.** Subscription, usage limits and credit balance, and nothing more, as described below. |
| `org:manage-governance` | Org-level governance, covering style-guide settings and custom rules, org header policies and components, the shared library, org mock defaults, org fixtures, seeds and snapshots, org variables, and the secret audit log. |
| `org:manage-settings` | Org doc templates and org-wide notification defaults. |
| `org:manage-teams` | Listing teams, which is read-only because no MCP tool changes one. |
Scopes not in this table are not used by any MCP tool. That is not an oversight, and the next section explains why.
## What an agent cannot do
Scopes decide what an agent is *allowed* to do. Some things are not a permission question at all, because no tool exists to do them. This is deliberate, and it is the part worth checking before you hand a key to an autonomous agent.
**It cannot spend your money or change your plan.** The entire billing surface is four read-only tools, which report the current subscription, usage limits, credit balance and trial status. There is no tool to change a plan, buy seats, purchase or spend credits, or touch a payment method. `billing:read` is the only billing scope any tool asks for, and there is no writable counterpart to grant.
**It cannot change who has access.** The identity surface is read-only too, so it lists members, teams, custom roles and your own effective permissions. No tool grants a role, invites or removes a member, edits a custom role, changes SSO or SCIM configuration, creates an API key, or deletes an organization. The corresponding permissions exist in Routebase, and an admin has them in the web app, but no MCP tool consumes them, so no key and no OAuth session can reach them.
**It cannot read your secrets back.** Secret variables are write-only through MCP, because every read masks the value without exception. That has a visible consequence worth knowing in advance. When a tool updates a secret variable, the new value is **required**, because the tool genuinely cannot retrieve the stored one to keep it.
**It cannot read a mock server's access token.** `get_mock_server` returns the configuration and URL but never the token. The only MCP path to a usable token is `regenerate_mock_server_token`, which issues a fresh one and invalidates the old one immediately. That is a rotation you chose rather than a quiet read. The Quickstart has a recipe for doing this once and storing the result as a secret variable.
None of this depends on you configuring it correctly. It is the shape of the tool surface, and it holds for every key, every OAuth session, and every organization role.
## OAuth 2.1 (Remote HTTP)
For MCP clients that support it, Routebase accepts **OAuth 2.1 bearer tokens**, so nothing long-lived lands on disk. This is the path the Claude connector uses, and the Quickstart covers the three-step setup. It is also what the MCP Inspector and other spec-current clients discover on their own.
### What happens when you connect
1. You add `https://mcp.routebase.dev` as a server. The client's first call is unauthenticated and comes back **401** with a `WWW-Authenticate` challenge pointing at the metadata document. A client can therefore find its way from a plain rejection, without you configuring an authorization server.
2. The client reads the metadata, discovers `auth.routebase.dev` as the authorization server, and opens a Routebase login window.
3. You authorize. From then on the client sends `Authorization: Bearer
How you present the key depends on how you connect:
- **Remote HTTP** takes it as an `X-API-Key` header on requests to `https://mcp.routebase.dev`. The older `https://api.routebase.dev/mcp` still works.
- **The stdio CLI** `routebase-mcp` takes it in the `ROUTEBASE_API_KEY` environment variable, and it attaches the header for you.
### Scopes control what the agent can do
A key carries a set of **scopes** (permissions), and they are enforced in two places:
1. **Tool discovery** means `tools/list` only advertises the tools your key's scopes allow. A read-only key never even shows write tools, so the agent does not try them. Scoped keys see their full entitled surface immediately, across all toolsets, and the same applies when you connect via **OAuth sign-in**, where visibility follows your organization role. Use a custom role there for least privilege. A key **without** scopes is full access and sees every tool immediately. The lean core set with `enable_toolset`, which is progressive disclosure, applies only to a session that has not authenticated yet, and hidden tools remain callable throughout. For MCP connectors, sign in via OAuth or give the key explicit scopes, and the right tools are there from the first `tools/list`.
2. **Tool execution** means every `tools/call` is checked server-side. Calling a tool your key cannot use returns a clear `Forbidden: … required scope …` error.
Grant the **least privilege** that gets the job done:
| Task | Scopes |
| --- | --- |
| Explore specs, projects, tests (read-only) | `specs:read`, `projects:read`, `tests:read` |
| Design and edit API specs | `specs:read`, `specs:write` |
| Publish specs | `specs:publish` |
| Run tests | `tests:read`, `tests:execute` |
| Manage mock servers | `mock-server:read`, `mock-server:manage` |
| Author documentation / sync to a portal | `specs:read`, `specs:write`, `docs:manage-portal` |
| Triage security findings | `security:read`, `security:write` |
| Run security scans | `security:read`, `security:execute` |
| Watch APIs for contract drift | `monitoring:read`, `monitoring:write`, `specs:read` |
| Branch, review and merge a spec | `specs:read`, `specs:write`, `specs:branch`, `specs:review`, `specs:merge` |
Pair scopes with a **project restriction** whenever you can, because a key scoped to one project cannot touch the rest of your organization, no matter what an agent asks it to do.
### Every scope the MCP tools use
There are thirty scopes in total. If a workflow needs a tool you cannot see, this is the table that tells you which scope to add.
| Scope | Unlocks |
| --- | --- |
| `specs:read` | Reading specs, endpoints, schemas, versions, branches, style-guide state, audit log and deprecation plans. This is the widest read scope. |
| `specs:write` | Creating and editing specs, endpoints, parameters, responses, schemas, folders, tags, versions and components. |
| `specs:delete` | Deleting any of the above, plus retiring a deprecation. |
| `specs:publish` | Publishing a version, changing version status, scheduling a publish, notifying dependent owners, reviewing a deprecation plan. |
| `specs:branch` | Creating and managing branches and merge requests. |
| `specs:review` | Reviewing a merge request (approve / request changes). |
| `specs:merge` | Merging a merge request. |
| `projects:read` | Projects, environments, environment variables, the project dashboard, cross-entity search. |
| `projects:write` | Creating and updating projects and environments, project settings, setting and importing variables. |
| `projects:delete` | Deleting a project or an environment. |
| `tests:read` | Suites, cases, runs, results, fixtures, seeds, snapshots, request configs, resolved auth, schema-drift checks. |
| `tests:write` | Creating and editing everything under testing, which covers cases, assertions, scenarios, fixtures, seeds, schedules and auth configs. |
| `tests:execute` | Running things, meaning test cases, suites, scenarios and seeds, plus recording or restoring a snapshot. |
| `mock-server:read` | Mock server config, rules, request logs, smart-mock previews and diagnostics. |
| `mock-server:manage` | Creating and editing mock servers and rules, generating rules from a spec, clearing request logs, rotating the access token. |
| `docs:read` | Doc pages, tree, revisions, snippets, templates, portal pages, settings. |
| `docs:write` | Creating and editing documentation, folders, snippets, snapshots and the doc tree. |
| `docs:publish` | Publishing a doc version, cloning it, managing version lifecycle. |
| `docs:manage-portal` | Portal settings, branding, custom domains, builds, deployments, analytics, page feedback. |
| `monitoring:read` | Monitors, checks, incidents, alert policies, maintenance windows, contract drift, schema-drift reports. |
| `monitoring:write` | Creating and managing monitors, alert policies, incidents, maintenance windows, drift events and drift watches. |
| `security:read` | Findings, security score, scan runs, scan profiles, personas, guidance, remediation, SARIF export. |
| `security:execute` | Starting and cancelling a security scan. |
| `security:write` | Changing a finding's status, managing scan profiles and personas. |
| `notifications:read` | Webhooks and their delivery history. |
| `notifications:manage` | Creating, updating, testing, toggling and deleting webhooks, and rotating a webhook secret. |
| `billing:read` | **Read-only.** Subscription, usage limits and credit balance, and nothing more, as described below. |
| `org:manage-governance` | Org-level governance, covering style-guide settings and custom rules, org header policies and components, the shared library, org mock defaults, org fixtures, seeds and snapshots, org variables, and the secret audit log. |
| `org:manage-settings` | Org doc templates and org-wide notification defaults. |
| `org:manage-teams` | Listing teams, which is read-only because no MCP tool changes one. |
Scopes not in this table are not used by any MCP tool. That is not an oversight, and the next section explains why.
## What an agent cannot do
Scopes decide what an agent is *allowed* to do. Some things are not a permission question at all, because no tool exists to do them. This is deliberate, and it is the part worth checking before you hand a key to an autonomous agent.
**It cannot spend your money or change your plan.** The entire billing surface is four read-only tools, which report the current subscription, usage limits, credit balance and trial status. There is no tool to change a plan, buy seats, purchase or spend credits, or touch a payment method. `billing:read` is the only billing scope any tool asks for, and there is no writable counterpart to grant.
**It cannot change who has access.** The identity surface is read-only too, so it lists members, teams, custom roles and your own effective permissions. No tool grants a role, invites or removes a member, edits a custom role, changes SSO or SCIM configuration, creates an API key, or deletes an organization. The corresponding permissions exist in Routebase, and an admin has them in the web app, but no MCP tool consumes them, so no key and no OAuth session can reach them.
**It cannot read your secrets back.** Secret variables are write-only through MCP, because every read masks the value without exception. That has a visible consequence worth knowing in advance. When a tool updates a secret variable, the new value is **required**, because the tool genuinely cannot retrieve the stored one to keep it.
**It cannot read a mock server's access token.** `get_mock_server` returns the configuration and URL but never the token. The only MCP path to a usable token is `regenerate_mock_server_token`, which issues a fresh one and invalidates the old one immediately. That is a rotation you chose rather than a quiet read. The Quickstart has a recipe for doing this once and storing the result as a secret variable.
None of this depends on you configuring it correctly. It is the shape of the tool surface, and it holds for every key, every OAuth session, and every organization role.
## OAuth 2.1 (Remote HTTP)
For MCP clients that support it, Routebase accepts **OAuth 2.1 bearer tokens**, so nothing long-lived lands on disk. This is the path the Claude connector uses, and the Quickstart covers the three-step setup. It is also what the MCP Inspector and other spec-current clients discover on their own.
### What happens when you connect
1. You add `https://mcp.routebase.dev` as a server. The client's first call is unauthenticated and comes back **401** with a `WWW-Authenticate` challenge pointing at the metadata document. A client can therefore find its way from a plain rejection, without you configuring an authorization server.
2. The client reads the metadata, discovers `auth.routebase.dev` as the authorization server, and opens a Routebase login window.
3. You authorize. From then on the client sends `Authorization: Bearer 
 Use the sections below in three cases. You want to understand what the card wrote, you are configuring a client it has no tab for, or you need a key with different scopes than the one it creates. Details of the card itself are in the [Dashboard guide](https://docs.routebase.dev/dashboard/).
## Prerequisites
- A Routebase account with at least one **project**, because the agent needs something to work on.
- Claude Code, Cursor, VS Code and the stdio bridge each need a Routebase **API key** with the scopes you want, and `specs:read` is enough to explore. See **MCP Authentication**. The Claude connector needs no key, because you sign in instead.
- The stdio bridge needs **Node.js 18+** to run `npx routebase-mcp`, or a global install with `npm install -g routebase-mcp`.
## Claude: the remote connector
Claude.ai, Claude Desktop, and the Claude mobile apps connect through a **custom connector**. There is no config file and no API key, because you authorize with your Routebase account. The agent then gets exactly your permissions, and tool visibility follows your organization role.
1. Copy the MCP URL `https://mcp.routebase.dev`. US-region accounts use `https://mcp.routebase.dev/?region=us` instead, as described under **Regions**.
2. In Claude, open **Settings → Connectors → Add custom connector** and paste the URL.
3. Authorize in the Routebase login window that opens. The tools then appear in the connector.
Under the hood this is OAuth 2.1 with short-lived tokens, so nothing lands on disk to rotate or leak. See **MCP Authentication** for the details. Once added, the same connector works across Claude.ai, Desktop and mobile.
## The fast path for IDEs: the setup wizard
The CLI ships an interactive wizard that writes the right config for Claude Code, Cursor or VS Code, each in the shape that client actually reads. It also prints the environment variables to export:
```bash
npx routebase-mcp@latest init
```
It asks for your API key, the connection mode and your IDE, then writes `mcp.json`. Choose **Remote** as the connection mode. For VS Code it writes the HTTP form shown below and declares the key as an input variable, so you paste the key into VS Code's prompt rather than into the file. To wire things up by hand, use the per-client sections below.
## Claude Code
Claude Code speaks remote HTTP natively, so one command is enough and nothing gets installed:
```bash
claude mcp add --transport http routebase https://mcp.routebase.dev \
--header "X-API-Key:
Use the sections below in three cases. You want to understand what the card wrote, you are configuring a client it has no tab for, or you need a key with different scopes than the one it creates. Details of the card itself are in the [Dashboard guide](https://docs.routebase.dev/dashboard/).
## Prerequisites
- A Routebase account with at least one **project**, because the agent needs something to work on.
- Claude Code, Cursor, VS Code and the stdio bridge each need a Routebase **API key** with the scopes you want, and `specs:read` is enough to explore. See **MCP Authentication**. The Claude connector needs no key, because you sign in instead.
- The stdio bridge needs **Node.js 18+** to run `npx routebase-mcp`, or a global install with `npm install -g routebase-mcp`.
## Claude: the remote connector
Claude.ai, Claude Desktop, and the Claude mobile apps connect through a **custom connector**. There is no config file and no API key, because you authorize with your Routebase account. The agent then gets exactly your permissions, and tool visibility follows your organization role.
1. Copy the MCP URL `https://mcp.routebase.dev`. US-region accounts use `https://mcp.routebase.dev/?region=us` instead, as described under **Regions**.
2. In Claude, open **Settings → Connectors → Add custom connector** and paste the URL.
3. Authorize in the Routebase login window that opens. The tools then appear in the connector.
Under the hood this is OAuth 2.1 with short-lived tokens, so nothing lands on disk to rotate or leak. See **MCP Authentication** for the details. Once added, the same connector works across Claude.ai, Desktop and mobile.
## The fast path for IDEs: the setup wizard
The CLI ships an interactive wizard that writes the right config for Claude Code, Cursor or VS Code, each in the shape that client actually reads. It also prints the environment variables to export:
```bash
npx routebase-mcp@latest init
```
It asks for your API key, the connection mode and your IDE, then writes `mcp.json`. Choose **Remote** as the connection mode. For VS Code it writes the HTTP form shown below and declares the key as an input variable, so you paste the key into VS Code's prompt rather than into the file. To wire things up by hand, use the per-client sections below.
## Claude Code
Claude Code speaks remote HTTP natively, so one command is enough and nothing gets installed:
```bash
claude mcp add --transport http routebase https://mcp.routebase.dev \
--header "X-API-Key: 
 ## Inviting team members
1. Click **Invite** at the top of the Team Members card.
2. Enter one or more email addresses, separated by commas or new lines. The dialog tells you how many valid addresses it found and flags invalid ones.
3. Pick the role new members should start with, either **Member** for viewing and editing projects, **Admin** for full access plus member management, or one of your **Custom Roles** if you've created any.
4. Click **Send Invitation** (or **Send N Invitations**).
Each person receives an email with a link to accept the invitation. Invitations expire after **7 days**.
If your plan's seat limit is reached, clicking **Invite** prompts you to upgrade before you can add more people. See [Billing & Plans](https://docs.routebase.dev/billing/).
**What an invitation costs.** On a paid plan the invite dialog tells you where you stand before you send. While unused seats remain, it reads *"N unused seats available (as of today). Invitees fill these first at no extra cost"*. Once every seat is taken, it says instead that each invitee adds a paid seat when they join, and it shows the approximate prorated amount per seat. Sending the invitation itself never charges anything. The seat is added when the person **actually joins and signs in**, and at that moment the subscription is updated automatically and the prorated difference is charged. See [Seats](https://docs.routebase.dev/billing/) for the full rule, including what happens when a member leaves.
## Inviting team members
1. Click **Invite** at the top of the Team Members card.
2. Enter one or more email addresses, separated by commas or new lines. The dialog tells you how many valid addresses it found and flags invalid ones.
3. Pick the role new members should start with, either **Member** for viewing and editing projects, **Admin** for full access plus member management, or one of your **Custom Roles** if you've created any.
4. Click **Send Invitation** (or **Send N Invitations**).
Each person receives an email with a link to accept the invitation. Invitations expire after **7 days**.
If your plan's seat limit is reached, clicking **Invite** prompts you to upgrade before you can add more people. See [Billing & Plans](https://docs.routebase.dev/billing/).
**What an invitation costs.** On a paid plan the invite dialog tells you where you stand before you send. While unused seats remain, it reads *"N unused seats available (as of today). Invitees fill these first at no extra cost"*. Once every seat is taken, it says instead that each invitee adds a paid seat when they join, and it shows the approximate prorated amount per seat. Sending the invitation itself never charges anything. The seat is added when the person **actually joins and signs in**, and at that moment the subscription is updated automatically and the prorated difference is charged. See [Seats](https://docs.routebase.dev/billing/) for the full rule, including what happens when a member leaves.
 > **Using SSO?** Users in your SSO-enforced domains are provisioned automatically on first sign-in, with roles from group mappings. Invites are for external users outside those domains, or to pre-assign a role. See [Single Sign-On](https://docs.routebase.dev/sso/).
## Pending invitations
Invitations that have been sent but not yet accepted appear in the **Pending Invitations** card, showing the email, the role it grants, who sent it, and when it expires.
- **Revoke** cancels the invitation, so the link in the email stops working.
- **Resend** appears once an invitation has expired, and issues a fresh invitation to the same address with the same role.
Once someone accepts, they move into the members list automatically.
## Changing a member's role
Open the **⋯** actions menu on a member's card:
- **Make Admin** promotes a Member or custom-role holder to Admin. Only the **Owner** can promote to Admin.
- **Make Member** demotes an Admin or custom-role holder to Member.
- **Assign Custom Role** assigns one of your custom roles, and the submenu previews each role's color, permission count and permissions. See [Roles & Permissions](https://docs.routebase.dev/roles-permissions/).
## Removing a member
Choose **Remove from Organization** in the member's actions menu and confirm. The member loses access to all projects and resources of the organization immediately, and their open sessions are ended, not just their browser tabs.
Two things follow automatically:
- **Their seat is released at the end of the billing period.** The subscription quantity is reduced on a schedule, without a mid-period credit. If you fill the seat again before then, the reduction is cancelled. See [Billing & Plans](https://docs.routebase.dev/billing/).
- **They are notified, and a clock starts on their personal account.** The person receives an email confirming the membership ended. It names the date 30 days out on which their Routebase account would be deleted *if they don't join an organization again*, and it carries a one-time link to download their personal data. Someone who is still a member elsewhere can simply ignore that date. If their address is on one of your [verified domains](https://docs.routebase.dev/custom-domains/), their sign-in is blocked as well, while external collaborators on their own domains keep theirs. The same applies when someone leaves voluntarily, as described in [Organization Settings](https://docs.routebase.dev/organization/).
## Guardrails
A few rules keep member management safe:
- You can't change your own role or remove yourself, because your own card has no actions menu. To exit an organization yourself, use **Leave Organization** on the [General settings page](https://docs.routebase.dev/organization/).
- The **Owner** can manage everyone except other Owners.
- **Admins** can manage Members and custom-role holders, but not other Admins or the Owner.
## Related
- [Roles & Permissions](https://docs.routebase.dev/roles-permissions/) — what each role can do, and how to create custom roles
- [Team Access](https://docs.routebase.dev/team-access/) — grant groups of members access to specific projects
- [Organization Settings](https://docs.routebase.dev/organization/) — the danger zone, and what happens to an account after leaving
- [Billing & Plans](https://docs.routebase.dev/billing/) — seat limits per plan and how seats are billed
---
## Messaging
Source: https://docs.routebase.dev/messaging/
Messaging sends Routebase alerts into a chat channel, formatted for the client instead of as raw JSON. When a live API response drifts from your published contract, when a monitor opens an incident, or when a scheduled test fails, the people who need to act see it where they already work.
Channels are managed per organization under **Settings → Messaging** (in the **Notifications** group).
> Messaging is a **Starter** plan feature and requires the **notifications:manage** permission (Admins and Owners by default). Connected channels are webhooks under the hood, so they count against the webhook limit of your plan, which the Usage panel in [Billing](https://docs.routebase.dev/billing/) tracks.
> **Using SSO?** Users in your SSO-enforced domains are provisioned automatically on first sign-in, with roles from group mappings. Invites are for external users outside those domains, or to pre-assign a role. See [Single Sign-On](https://docs.routebase.dev/sso/).
## Pending invitations
Invitations that have been sent but not yet accepted appear in the **Pending Invitations** card, showing the email, the role it grants, who sent it, and when it expires.
- **Revoke** cancels the invitation, so the link in the email stops working.
- **Resend** appears once an invitation has expired, and issues a fresh invitation to the same address with the same role.
Once someone accepts, they move into the members list automatically.
## Changing a member's role
Open the **⋯** actions menu on a member's card:
- **Make Admin** promotes a Member or custom-role holder to Admin. Only the **Owner** can promote to Admin.
- **Make Member** demotes an Admin or custom-role holder to Member.
- **Assign Custom Role** assigns one of your custom roles, and the submenu previews each role's color, permission count and permissions. See [Roles & Permissions](https://docs.routebase.dev/roles-permissions/).
## Removing a member
Choose **Remove from Organization** in the member's actions menu and confirm. The member loses access to all projects and resources of the organization immediately, and their open sessions are ended, not just their browser tabs.
Two things follow automatically:
- **Their seat is released at the end of the billing period.** The subscription quantity is reduced on a schedule, without a mid-period credit. If you fill the seat again before then, the reduction is cancelled. See [Billing & Plans](https://docs.routebase.dev/billing/).
- **They are notified, and a clock starts on their personal account.** The person receives an email confirming the membership ended. It names the date 30 days out on which their Routebase account would be deleted *if they don't join an organization again*, and it carries a one-time link to download their personal data. Someone who is still a member elsewhere can simply ignore that date. If their address is on one of your [verified domains](https://docs.routebase.dev/custom-domains/), their sign-in is blocked as well, while external collaborators on their own domains keep theirs. The same applies when someone leaves voluntarily, as described in [Organization Settings](https://docs.routebase.dev/organization/).
## Guardrails
A few rules keep member management safe:
- You can't change your own role or remove yourself, because your own card has no actions menu. To exit an organization yourself, use **Leave Organization** on the [General settings page](https://docs.routebase.dev/organization/).
- The **Owner** can manage everyone except other Owners.
- **Admins** can manage Members and custom-role holders, but not other Admins or the Owner.
## Related
- [Roles & Permissions](https://docs.routebase.dev/roles-permissions/) — what each role can do, and how to create custom roles
- [Team Access](https://docs.routebase.dev/team-access/) — grant groups of members access to specific projects
- [Organization Settings](https://docs.routebase.dev/organization/) — the danger zone, and what happens to an account after leaving
- [Billing & Plans](https://docs.routebase.dev/billing/) — seat limits per plan and how seats are billed
---
## Messaging
Source: https://docs.routebase.dev/messaging/
Messaging sends Routebase alerts into a chat channel, formatted for the client instead of as raw JSON. When a live API response drifts from your published contract, when a monitor opens an incident, or when a scheduled test fails, the people who need to act see it where they already work.
Channels are managed per organization under **Settings → Messaging** (in the **Notifications** group).
> Messaging is a **Starter** plan feature and requires the **notifications:manage** permission (Admins and Owners by default). Connected channels are webhooks under the hood, so they count against the webhook limit of your plan, which the Usage panel in [Billing](https://docs.routebase.dev/billing/) tracks.

 ## Connecting Slack
There are two ways, and both end in the same place, which is an incoming webhook that Routebase posts to.
### Add to Slack (one click)
Select **Add to Slack** on the Slack card. Slack asks which workspace and which channel the app may post to, and after you confirm you land back in Routebase with the channel connected and a test message already delivered.
You will see a notice on Slack's authorization screen saying the app **has not been reviewed by Slack**. That is expected and says nothing about the app's safety. Slack shows the notice for every app that is not listed in the Slack Marketplace, and listing requires an app to already be installed in several workspaces. You are granting a single permission called `incoming-webhook`, which lets Routebase post messages to the one channel you pick. It cannot read messages, cannot see other channels, and cannot access files or member data.
If your workspace requires admin approval for apps, your request goes to a workspace admin instead of installing directly.
### Connect manually (webhook URL)
Select **Connect manually** if your workspace blocks third-party apps, or if you would rather own the Slack app yourself. The dialog contains a setup guide and a ready-made app manifest. Create an app from the manifest in your own workspace, enable an incoming webhook for a channel, and paste the resulting URL back into Routebase.
Because the app then belongs to your workspace, Slack shows no marketplace notice at all. The trade-off is a two-minute setup and an app icon you upload yourself.
## Connecting Microsoft Teams
Teams has no equivalent one-click install, because Microsoft retired the classic Office 365 connectors and the replacement runs through Teams Workflows. Select **Connect** on the Teams card and follow the steps in the dialog:
1. In Teams, open the channel menu (**…**) and choose **Workflows**. This entry point preselects the team and channel. If the menu has no **Workflows** entry, the app is not available in your tenant yet, and the dialog links straight to it in the Teams store.
2. Search the templates for **Send webhook alerts to a channel**. The dialog has a copy button for the exact name. Older Teams versions call the same template *Post to a channel when a webhook request is received*.
3. Confirm the team and channel, then add the workflow.
4. Copy the workflow URL and paste it into the dialog.
There is no **Add to Teams** button because a Teams webhook URL can only be created by you inside Power Automate. Microsoft offers no API that lets an outside app mint one, and publishes no stable deep link to an individual workflow template, so the steps above are as short as the platform allows.
Teams messages are sent as Adaptive Cards.
## What gets sent
When you connect a channel you choose categories rather than raw event names:
| Category | Sends | On by default |
| --- | --- | --- |
| **Contract drift** | A live response deviates from your published spec | Yes |
| **Incidents & recovery** | A monitor opens an incident, resolves it, or recovers | Yes |
| **Test failures** | A scheduled test run fails | No |
| **Security findings** | Scan results and newly found issues | No |
| **Spec publishes & breaking changes** | A spec version is published or a breaking change is detected | No |
A drift alert carries the monitor, the affected route, a severity summary and a link straight into Routebase. It also lists up to five concrete changes, each with its field path, its change type and the expected against the received value. The colour follows severity, so the message is red when the drift includes errors and amber when it is warnings only. Every other subscribed event arrives as a one-line message.
Channels connected here do **not** appear on the [Webhooks](https://docs.routebase.dev/webhooks/) page, which is for raw JSON integrations with your own services.
## Managing a channel
The **…** menu on a connected channel offers these actions:
- **Send test message** posts a sample message so you can confirm the channel still works. It is only available while the channel is active.
- **Edit notifications** changes the categories, or the webhook URL for manually connected channels.
- **Delivery history** lists every delivery with its status, HTTP code, attempts and timestamp. It is the first place to look when messages stop arriving.
- **Pause / Resume** stops delivering without losing the configuration.
- **Disconnect** removes the channel from Routebase. This does **not** delete the incoming webhook in Slack or the workflow in Teams, so remove those on the provider side if you want them gone.
## Reconnecting the same channel
Running **Add to Slack** again for a channel that is already connected does not create a second entry. Slack issues a fresh webhook URL on every install, so Routebase updates the existing connection with the new URL and keeps the categories you selected. Use this if messages stopped arriving after someone reinstalled or removed the app in Slack.
## Troubleshooting
**No messages arrive.** Open **Delivery history**. If deliveries are listed as failed, the webhook URL is no longer valid on the provider side, so reconnect the channel. If there are no deliveries at all, nothing you subscribed to has happened yet, and a test message confirms that the channel itself works.
**The connect flow returns with an error.** The message names the reason. A cancelled install, a plan limit that is reached and a rejection from Slack all report themselves directly. An expired link means the connection link ran past its ten minutes, so restart the flow.
**Drift alerts never come, but incidents do.** Drift is only detected for monitors linked to a spec endpoint with schema validation enabled. See [Monitors](https://docs.routebase.dev/monitors/) for how to turn on drift watching for a spec.
**Messages arrive as raw JSON.** The channel was created on the Webhooks page rather than here. Reconnect it under Messaging so it gets the provider formatting.
## Related
- [Webhooks](https://docs.routebase.dev/webhooks/) — raw JSON delivery to your own services
- [Notifications](https://docs.routebase.dev/notifications/) — the same events, delivered to people in Routebase
- [Notification Defaults](https://docs.routebase.dev/notification-defaults/) — org-wide notification settings
- [Monitors](https://docs.routebase.dev/monitors/) — the checks behind drift and incident alerts
---
## Microsoft Entra ID SSO Setup
Source: https://docs.routebase.dev/microsoft-entra-id-sso-setup/
> **You need:** the **Application Administrator** or **Cloud Application Administrator** role in Microsoft Entra ID (formerly Azure AD), and the Owner or Admin role in a Routebase organization on the Enterprise plan.
>
> **Time:** about 25 minutes for SSO, plus 10 for SCIM provisioning.
>
> Read [SSO Setup Overview](https://docs.routebase.dev/sso-setup-overview/) first for the prerequisites that apply to every provider. In particular, verify your email domain under **Settings → Domains** before you begin.
## At a glance
| | |
|---|---|
| **Protocol** | SAML 2.0, with SP-initiated and IdP-initiated sign-in, so the Routebase tile in **My Apps** works. OpenID Connect is not offered. |
| **Routebase plan** | Enterprise. SAML SSO, SCIM provisioning and group role mappings are all included, and there is no separate SSO SKU. |
| **Roles** | In Entra, **Application Administrator** or **Cloud Application Administrator**. In Routebase, **Owner** or **Admin**, which carry the `org:manage-security` permission. |
| **Account key** | The Entra **object ID** from the `objectidentifier` claim, which is immutable and sent in every assertion. It is not the UPN or email, so renaming a user keeps their Routebase account. |
| **Certificate rotation** | Handled through the **App Federation Metadata Url**, which Routebase re-reads, so an Entra signing-certificate rollover needs no change on the Routebase side. |
| **Troubleshooting** | [SSO Troubleshooting](https://docs.routebase.dev/sso-troubleshooting/), organised by symptom, with the error codes Routebase returns. |
| **Support** | support@routebase.dev, and include the **Connection ID** from the wizard's Test step. |
## 1. Start the connection in Routebase and copy the two values
Microsoft Entra ID needs Routebase's Entity ID and ACS URL, and Routebase needs Microsoft Entra ID's metadata. Both values on the Routebase side are known before the connection exists, so you start here and never have to enter placeholders in Microsoft Entra ID.
1. Go to **Settings → Single Sign-On** and click **Create connection**.
2. Choose SAML 2.0 as the **Protocol**.
3. Choose Microsoft Entra ID as the **Vendor**. This preselects the attribute mapping for Entra's claim URIs.
4. On the **Metadata** step, the wizard shows the **Entity ID** and **ACS URL** with copy buttons. Copy both, because you enter them in the next section. Leave the wizard open, since you come back to it in section 3.
> If the wizard says the values are shown *after* this step instead, your organization already has a connection with the same name, such as an abandoned draft. Delete it under **Settings → Single Sign-On** and start again, or continue with placeholders in Microsoft Entra ID and replace them once the **Test** step shows the final values.
## 2. Create the Enterprise Application in Entra ID
1. In the Azure portal, go to **Entra ID → Enterprise applications → New application → Create your own application**.
2. Name it `Routebase`, then choose **Integrate any other application you don't find in the gallery**.
3. Open the application and go to **Single sign-on → SAML**.
4. Open **Basic SAML Configuration → Edit** and fill in three fields.
- **Identifier (Entity ID)** takes the **Entity ID** from section 1.
- **Reply URL (ACS URL)** takes the **ACS URL** from section 1.
- **Sign on URL** stays blank.
5. Open **Attributes & Claims → Edit**.
- Set **Unique User Identifier (Name ID)** to `user.userprincipalname`, with the format **Email address**.
- Add these claims:
- `emailaddress` → `user.userprincipalname`
- `givenname` → `user.givenname`
- `surname` → `user.surname`
- Leave the default claims in place. Routebase identifies the account by the `objectidentifier` claim Entra sends automatically, so a later UPN or email change keeps the account.
> Map email to `user.userprincipalname`, **not** `user.mail`. Users without a mailbox have no `mail` value, and an assertion with no email is rejected, so those users would fail to sign in while everyone else works. This is the single most common Entra misconfiguration.
6. Configure **group claims**, which you only need if you plan to map Entra groups to Routebase roles. Entra sends no group claim by default, and its default source emits object IDs rather than names.
- Click **Add a group claim**.
- Under **Which groups**, **Security groups** emits all of the user's security groups. Choose **Groups assigned to the application** only if you also assign those groups under **Routebase → Users and groups**, because otherwise it emits nothing.
- Under **Source attribute**, select **Cloud-only group display names**, *and* tick the **"Emit group names for cloud-only groups"** checkbox. The dropdown alone is not enough, because without the checkbox Entra still sends group object IDs as GUIDs, which never match name-based mappings.
- Leave the claim name at its default `http://schemas.microsoft.com/ws/2008/06/identity/claims/groups`, because the Microsoft Entra ID preset in Routebase already points its `groups` field at it.
- **Save.** Claim changes only reach a **fresh** sign-in, so a silent token refresh does not pick them up.
7. Under **SAML Certificates → SAML Signing Certificate**, copy the **App Federation Metadata Url**. A metadata URL is preferable to a downloaded XML file, because Routebase re-reads it, so certificate rotations in Entra do not break your sign-ins.
8. Under **Users and groups → Add user/group**, assign at least one test user.
## 3. Finish the connection in Routebase
Back in the wizard, still on the **Metadata** step:
1. Give the **Connection name** something that identifies the IdP and the environment, such as `Acme Entra ID Production`. Only admins ever see it.
2. Paste the **App Federation Metadata Url** from section 2 into **IdP metadata URL**.
3. Under **Mapping**, confirm the claim names match what you configured in **Attributes & Claims**. Email is required and the rest are optional.
4. Click **Next**. Routebase creates the connection in **Draft** status and the **Test** step appears. It repeats the Entity ID and ACS URL you already entered in Entra, and it adds a **Connection ID**, which is only useful when contacting support.
## 4. Test and activate
1. Back in the Routebase wizard, click **Open test login**. A sign-in opens in a new tab.
2. Sign in as an Entra user assigned to the application.
3. When the round-trip succeeds, click **Activate**.
If the test fails, work through [SSO Troubleshooting](https://docs.routebase.dev/sso-troubleshooting/), which is organised by what the user actually sees.
## 5. Optional: require SSO for your domain
Go to **Settings → Domains**, find your verified domain, and turn on **SSO required**. Everyone whose email address is on that domain must then sign in through Entra ID.
Existing password users are not locked out immediately, because they get a 14-day grace period with an in-app banner and a **Link account** button. See [Single Sign-On (SSO)](https://docs.routebase.dev/sso/) for what the banner says and when it appears.
## 6. Optional: SCIM provisioning
Entra ID provisions against Routebase's SCIM 2.0 endpoint natively.
1. In Routebase, go to **Settings → Single Sign-On → SCIM Provisioning Tokens → New token**. Name it `Entra ID Production` and **copy the token immediately**, because it is shown once.
2. In Entra, open the Routebase application → **Provisioning → Get started**.
3. Set **Provisioning Mode** to Automatic.
4. Set **Tenant URL** to `https://api.routebase.dev/scim/v2/
## Connecting Slack
There are two ways, and both end in the same place, which is an incoming webhook that Routebase posts to.
### Add to Slack (one click)
Select **Add to Slack** on the Slack card. Slack asks which workspace and which channel the app may post to, and after you confirm you land back in Routebase with the channel connected and a test message already delivered.
You will see a notice on Slack's authorization screen saying the app **has not been reviewed by Slack**. That is expected and says nothing about the app's safety. Slack shows the notice for every app that is not listed in the Slack Marketplace, and listing requires an app to already be installed in several workspaces. You are granting a single permission called `incoming-webhook`, which lets Routebase post messages to the one channel you pick. It cannot read messages, cannot see other channels, and cannot access files or member data.
If your workspace requires admin approval for apps, your request goes to a workspace admin instead of installing directly.
### Connect manually (webhook URL)
Select **Connect manually** if your workspace blocks third-party apps, or if you would rather own the Slack app yourself. The dialog contains a setup guide and a ready-made app manifest. Create an app from the manifest in your own workspace, enable an incoming webhook for a channel, and paste the resulting URL back into Routebase.
Because the app then belongs to your workspace, Slack shows no marketplace notice at all. The trade-off is a two-minute setup and an app icon you upload yourself.
## Connecting Microsoft Teams
Teams has no equivalent one-click install, because Microsoft retired the classic Office 365 connectors and the replacement runs through Teams Workflows. Select **Connect** on the Teams card and follow the steps in the dialog:
1. In Teams, open the channel menu (**…**) and choose **Workflows**. This entry point preselects the team and channel. If the menu has no **Workflows** entry, the app is not available in your tenant yet, and the dialog links straight to it in the Teams store.
2. Search the templates for **Send webhook alerts to a channel**. The dialog has a copy button for the exact name. Older Teams versions call the same template *Post to a channel when a webhook request is received*.
3. Confirm the team and channel, then add the workflow.
4. Copy the workflow URL and paste it into the dialog.
There is no **Add to Teams** button because a Teams webhook URL can only be created by you inside Power Automate. Microsoft offers no API that lets an outside app mint one, and publishes no stable deep link to an individual workflow template, so the steps above are as short as the platform allows.
Teams messages are sent as Adaptive Cards.
## What gets sent
When you connect a channel you choose categories rather than raw event names:
| Category | Sends | On by default |
| --- | --- | --- |
| **Contract drift** | A live response deviates from your published spec | Yes |
| **Incidents & recovery** | A monitor opens an incident, resolves it, or recovers | Yes |
| **Test failures** | A scheduled test run fails | No |
| **Security findings** | Scan results and newly found issues | No |
| **Spec publishes & breaking changes** | A spec version is published or a breaking change is detected | No |
A drift alert carries the monitor, the affected route, a severity summary and a link straight into Routebase. It also lists up to five concrete changes, each with its field path, its change type and the expected against the received value. The colour follows severity, so the message is red when the drift includes errors and amber when it is warnings only. Every other subscribed event arrives as a one-line message.
Channels connected here do **not** appear on the [Webhooks](https://docs.routebase.dev/webhooks/) page, which is for raw JSON integrations with your own services.
## Managing a channel
The **…** menu on a connected channel offers these actions:
- **Send test message** posts a sample message so you can confirm the channel still works. It is only available while the channel is active.
- **Edit notifications** changes the categories, or the webhook URL for manually connected channels.
- **Delivery history** lists every delivery with its status, HTTP code, attempts and timestamp. It is the first place to look when messages stop arriving.
- **Pause / Resume** stops delivering without losing the configuration.
- **Disconnect** removes the channel from Routebase. This does **not** delete the incoming webhook in Slack or the workflow in Teams, so remove those on the provider side if you want them gone.
## Reconnecting the same channel
Running **Add to Slack** again for a channel that is already connected does not create a second entry. Slack issues a fresh webhook URL on every install, so Routebase updates the existing connection with the new URL and keeps the categories you selected. Use this if messages stopped arriving after someone reinstalled or removed the app in Slack.
## Troubleshooting
**No messages arrive.** Open **Delivery history**. If deliveries are listed as failed, the webhook URL is no longer valid on the provider side, so reconnect the channel. If there are no deliveries at all, nothing you subscribed to has happened yet, and a test message confirms that the channel itself works.
**The connect flow returns with an error.** The message names the reason. A cancelled install, a plan limit that is reached and a rejection from Slack all report themselves directly. An expired link means the connection link ran past its ten minutes, so restart the flow.
**Drift alerts never come, but incidents do.** Drift is only detected for monitors linked to a spec endpoint with schema validation enabled. See [Monitors](https://docs.routebase.dev/monitors/) for how to turn on drift watching for a spec.
**Messages arrive as raw JSON.** The channel was created on the Webhooks page rather than here. Reconnect it under Messaging so it gets the provider formatting.
## Related
- [Webhooks](https://docs.routebase.dev/webhooks/) — raw JSON delivery to your own services
- [Notifications](https://docs.routebase.dev/notifications/) — the same events, delivered to people in Routebase
- [Notification Defaults](https://docs.routebase.dev/notification-defaults/) — org-wide notification settings
- [Monitors](https://docs.routebase.dev/monitors/) — the checks behind drift and incident alerts
---
## Microsoft Entra ID SSO Setup
Source: https://docs.routebase.dev/microsoft-entra-id-sso-setup/
> **You need:** the **Application Administrator** or **Cloud Application Administrator** role in Microsoft Entra ID (formerly Azure AD), and the Owner or Admin role in a Routebase organization on the Enterprise plan.
>
> **Time:** about 25 minutes for SSO, plus 10 for SCIM provisioning.
>
> Read [SSO Setup Overview](https://docs.routebase.dev/sso-setup-overview/) first for the prerequisites that apply to every provider. In particular, verify your email domain under **Settings → Domains** before you begin.
## At a glance
| | |
|---|---|
| **Protocol** | SAML 2.0, with SP-initiated and IdP-initiated sign-in, so the Routebase tile in **My Apps** works. OpenID Connect is not offered. |
| **Routebase plan** | Enterprise. SAML SSO, SCIM provisioning and group role mappings are all included, and there is no separate SSO SKU. |
| **Roles** | In Entra, **Application Administrator** or **Cloud Application Administrator**. In Routebase, **Owner** or **Admin**, which carry the `org:manage-security` permission. |
| **Account key** | The Entra **object ID** from the `objectidentifier` claim, which is immutable and sent in every assertion. It is not the UPN or email, so renaming a user keeps their Routebase account. |
| **Certificate rotation** | Handled through the **App Federation Metadata Url**, which Routebase re-reads, so an Entra signing-certificate rollover needs no change on the Routebase side. |
| **Troubleshooting** | [SSO Troubleshooting](https://docs.routebase.dev/sso-troubleshooting/), organised by symptom, with the error codes Routebase returns. |
| **Support** | support@routebase.dev, and include the **Connection ID** from the wizard's Test step. |
## 1. Start the connection in Routebase and copy the two values
Microsoft Entra ID needs Routebase's Entity ID and ACS URL, and Routebase needs Microsoft Entra ID's metadata. Both values on the Routebase side are known before the connection exists, so you start here and never have to enter placeholders in Microsoft Entra ID.
1. Go to **Settings → Single Sign-On** and click **Create connection**.
2. Choose SAML 2.0 as the **Protocol**.
3. Choose Microsoft Entra ID as the **Vendor**. This preselects the attribute mapping for Entra's claim URIs.
4. On the **Metadata** step, the wizard shows the **Entity ID** and **ACS URL** with copy buttons. Copy both, because you enter them in the next section. Leave the wizard open, since you come back to it in section 3.
> If the wizard says the values are shown *after* this step instead, your organization already has a connection with the same name, such as an abandoned draft. Delete it under **Settings → Single Sign-On** and start again, or continue with placeholders in Microsoft Entra ID and replace them once the **Test** step shows the final values.
## 2. Create the Enterprise Application in Entra ID
1. In the Azure portal, go to **Entra ID → Enterprise applications → New application → Create your own application**.
2. Name it `Routebase`, then choose **Integrate any other application you don't find in the gallery**.
3. Open the application and go to **Single sign-on → SAML**.
4. Open **Basic SAML Configuration → Edit** and fill in three fields.
- **Identifier (Entity ID)** takes the **Entity ID** from section 1.
- **Reply URL (ACS URL)** takes the **ACS URL** from section 1.
- **Sign on URL** stays blank.
5. Open **Attributes & Claims → Edit**.
- Set **Unique User Identifier (Name ID)** to `user.userprincipalname`, with the format **Email address**.
- Add these claims:
- `emailaddress` → `user.userprincipalname`
- `givenname` → `user.givenname`
- `surname` → `user.surname`
- Leave the default claims in place. Routebase identifies the account by the `objectidentifier` claim Entra sends automatically, so a later UPN or email change keeps the account.
> Map email to `user.userprincipalname`, **not** `user.mail`. Users without a mailbox have no `mail` value, and an assertion with no email is rejected, so those users would fail to sign in while everyone else works. This is the single most common Entra misconfiguration.
6. Configure **group claims**, which you only need if you plan to map Entra groups to Routebase roles. Entra sends no group claim by default, and its default source emits object IDs rather than names.
- Click **Add a group claim**.
- Under **Which groups**, **Security groups** emits all of the user's security groups. Choose **Groups assigned to the application** only if you also assign those groups under **Routebase → Users and groups**, because otherwise it emits nothing.
- Under **Source attribute**, select **Cloud-only group display names**, *and* tick the **"Emit group names for cloud-only groups"** checkbox. The dropdown alone is not enough, because without the checkbox Entra still sends group object IDs as GUIDs, which never match name-based mappings.
- Leave the claim name at its default `http://schemas.microsoft.com/ws/2008/06/identity/claims/groups`, because the Microsoft Entra ID preset in Routebase already points its `groups` field at it.
- **Save.** Claim changes only reach a **fresh** sign-in, so a silent token refresh does not pick them up.
7. Under **SAML Certificates → SAML Signing Certificate**, copy the **App Federation Metadata Url**. A metadata URL is preferable to a downloaded XML file, because Routebase re-reads it, so certificate rotations in Entra do not break your sign-ins.
8. Under **Users and groups → Add user/group**, assign at least one test user.
## 3. Finish the connection in Routebase
Back in the wizard, still on the **Metadata** step:
1. Give the **Connection name** something that identifies the IdP and the environment, such as `Acme Entra ID Production`. Only admins ever see it.
2. Paste the **App Federation Metadata Url** from section 2 into **IdP metadata URL**.
3. Under **Mapping**, confirm the claim names match what you configured in **Attributes & Claims**. Email is required and the rest are optional.
4. Click **Next**. Routebase creates the connection in **Draft** status and the **Test** step appears. It repeats the Entity ID and ACS URL you already entered in Entra, and it adds a **Connection ID**, which is only useful when contacting support.
## 4. Test and activate
1. Back in the Routebase wizard, click **Open test login**. A sign-in opens in a new tab.
2. Sign in as an Entra user assigned to the application.
3. When the round-trip succeeds, click **Activate**.
If the test fails, work through [SSO Troubleshooting](https://docs.routebase.dev/sso-troubleshooting/), which is organised by what the user actually sees.
## 5. Optional: require SSO for your domain
Go to **Settings → Domains**, find your verified domain, and turn on **SSO required**. Everyone whose email address is on that domain must then sign in through Entra ID.
Existing password users are not locked out immediately, because they get a 14-day grace period with an in-app banner and a **Link account** button. See [Single Sign-On (SSO)](https://docs.routebase.dev/sso/) for what the banner says and when it appears.
## 6. Optional: SCIM provisioning
Entra ID provisions against Routebase's SCIM 2.0 endpoint natively.
1. In Routebase, go to **Settings → Single Sign-On → SCIM Provisioning Tokens → New token**. Name it `Entra ID Production` and **copy the token immediately**, because it is shown once.
2. In Entra, open the Routebase application → **Provisioning → Get started**.
3. Set **Provisioning Mode** to Automatic.
4. Set **Tenant URL** to `https://api.routebase.dev/scim/v2/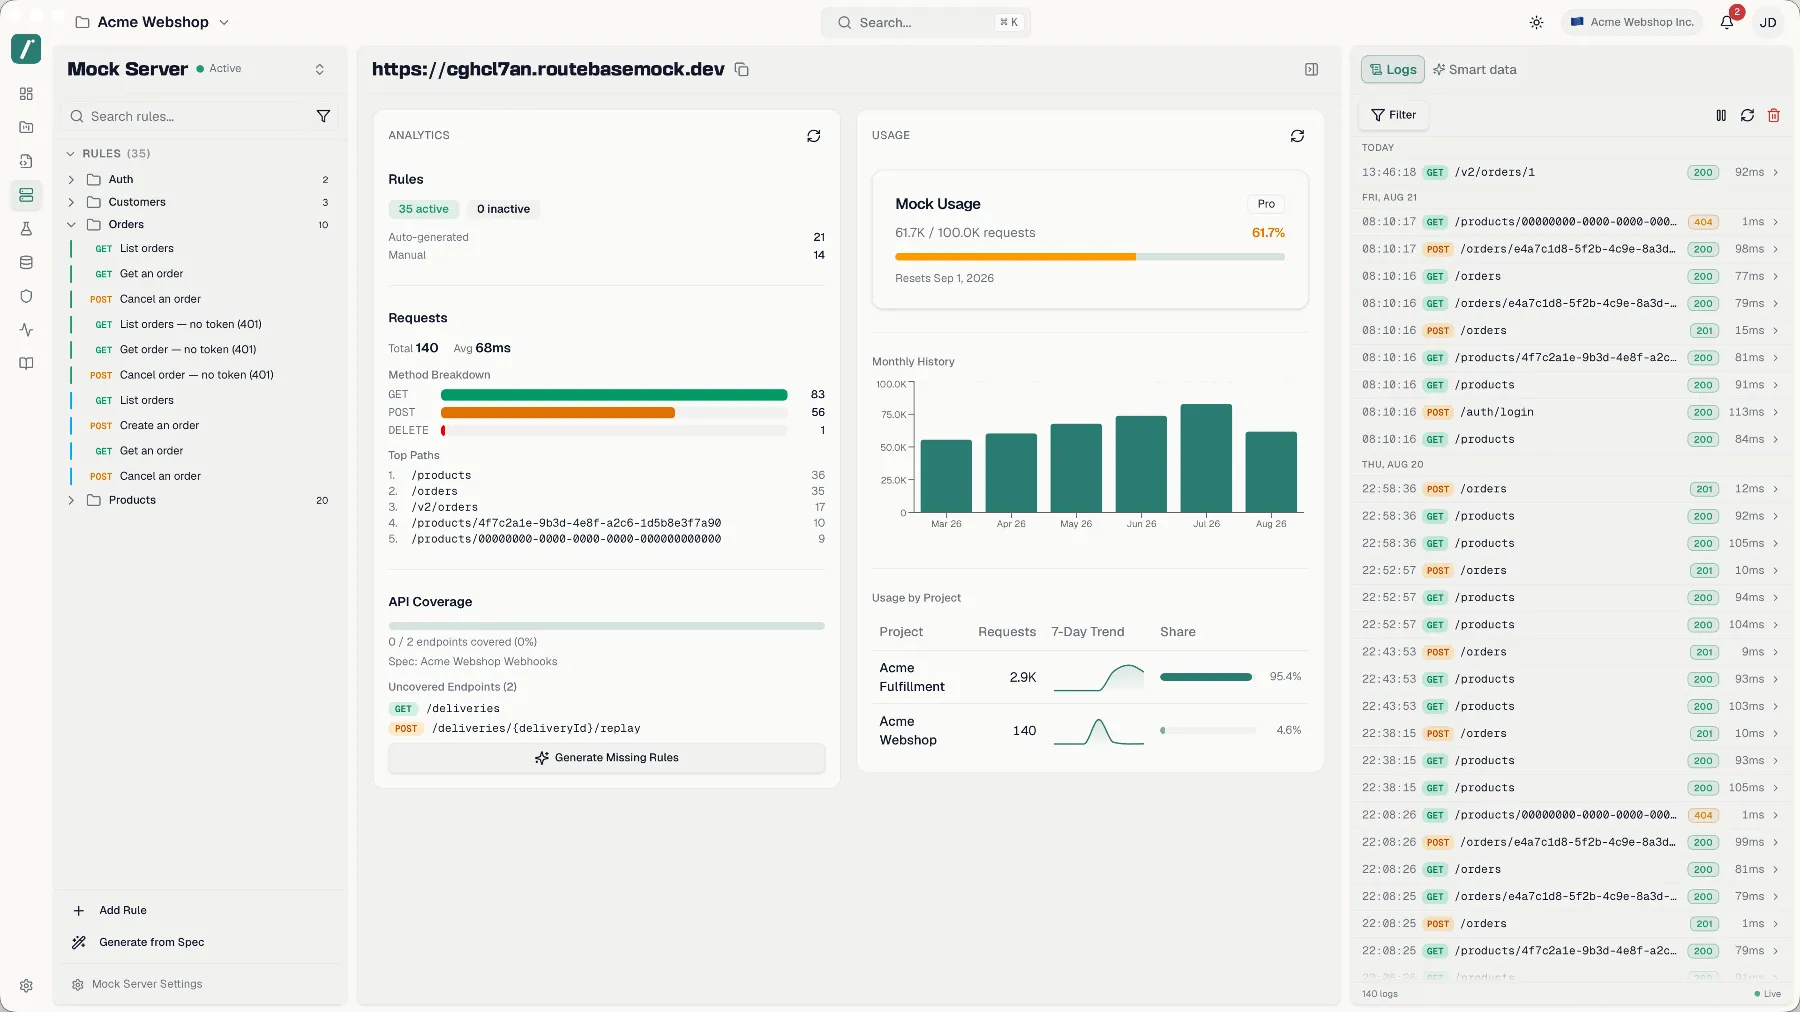
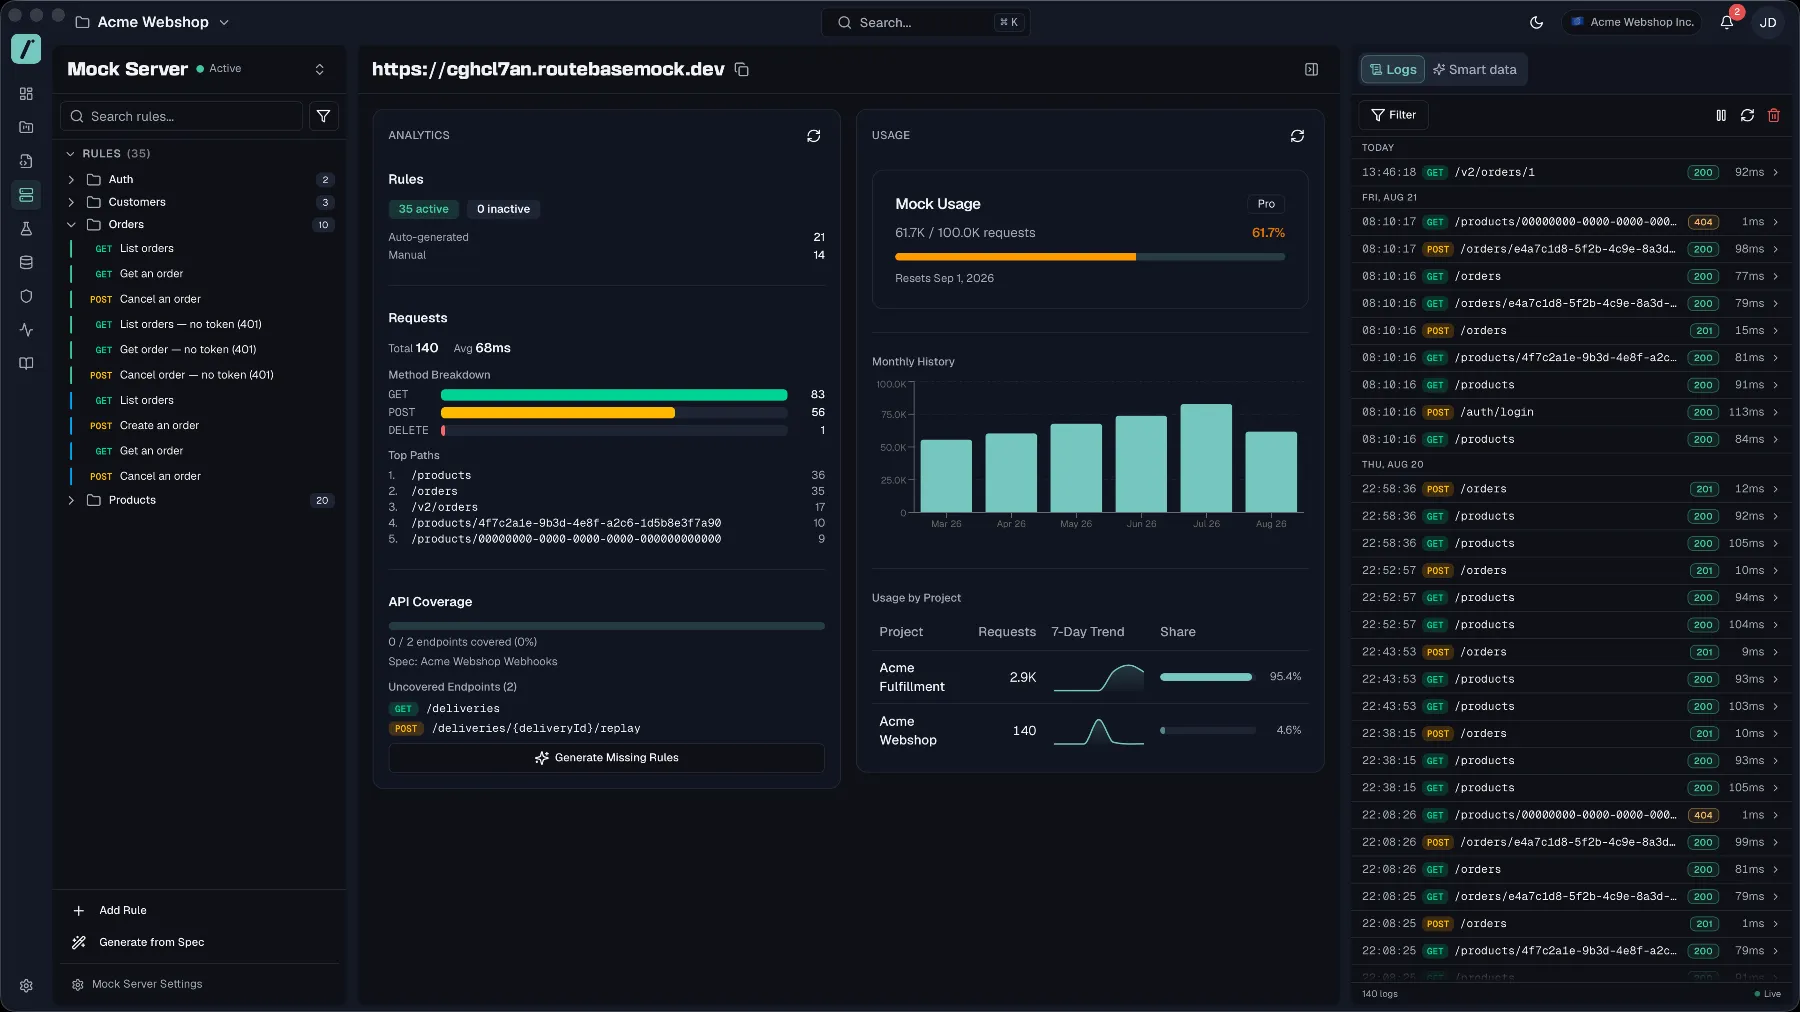 ## The workspace
The Mock Server page is a three-panel layout:
| Panel | Contents |
| --- | --- |
| **Left** | The rule tree, holding all mock rules grouped by path prefix, with search, filters and drag-to-reorder. Below it sit **Add Rule**, **Generate from Spec** and **Mock Server Settings**. |
| **Center** | The dashboard with Analytics and Usage when no rule is selected, and the rule editor when one is. The server's base URL sits in the header with a copy button. |
| **Right** | Two tabs. **Logs** is the live request log, and **Smart data** holds the data-generation matching rules. The panel can be collapsed to give the editor more room. |
## Calling the mock server
The base URL looks like `https://abc123de.routebasemock.dev`. Append any path, and the server matches it against your rules and returns the winning rule's response. Each rule's editor also shows the full **Endpoint URL**, which is the base URL plus the path pattern, with a copy button ready to paste into your client.
The mock server is also wired into the API Designer's **Try It** panel, so pick **Mock Server** as the request target and your requests go straight to the mock URL.
If you enable **Require Access Token** in the [server settings](https://docs.routebase.dev/mock-server-settings/), callers must send the token via an `Authorization: Bearer
## The workspace
The Mock Server page is a three-panel layout:
| Panel | Contents |
| --- | --- |
| **Left** | The rule tree, holding all mock rules grouped by path prefix, with search, filters and drag-to-reorder. Below it sit **Add Rule**, **Generate from Spec** and **Mock Server Settings**. |
| **Center** | The dashboard with Analytics and Usage when no rule is selected, and the rule editor when one is. The server's base URL sits in the header with a copy button. |
| **Right** | Two tabs. **Logs** is the live request log, and **Smart data** holds the data-generation matching rules. The panel can be collapsed to give the editor more room. |
## Calling the mock server
The base URL looks like `https://abc123de.routebasemock.dev`. Append any path, and the server matches it against your rules and returns the winning rule's response. Each rule's editor also shows the full **Endpoint URL**, which is the base URL plus the path pattern, with a copy button ready to paste into your client.
The mock server is also wired into the API Designer's **Try It** panel, so pick **Mock Server** as the request target and your requests go straight to the mock URL.
If you enable **Require Access Token** in the [server settings](https://docs.routebase.dev/mock-server-settings/), callers must send the token via an `Authorization: Bearer 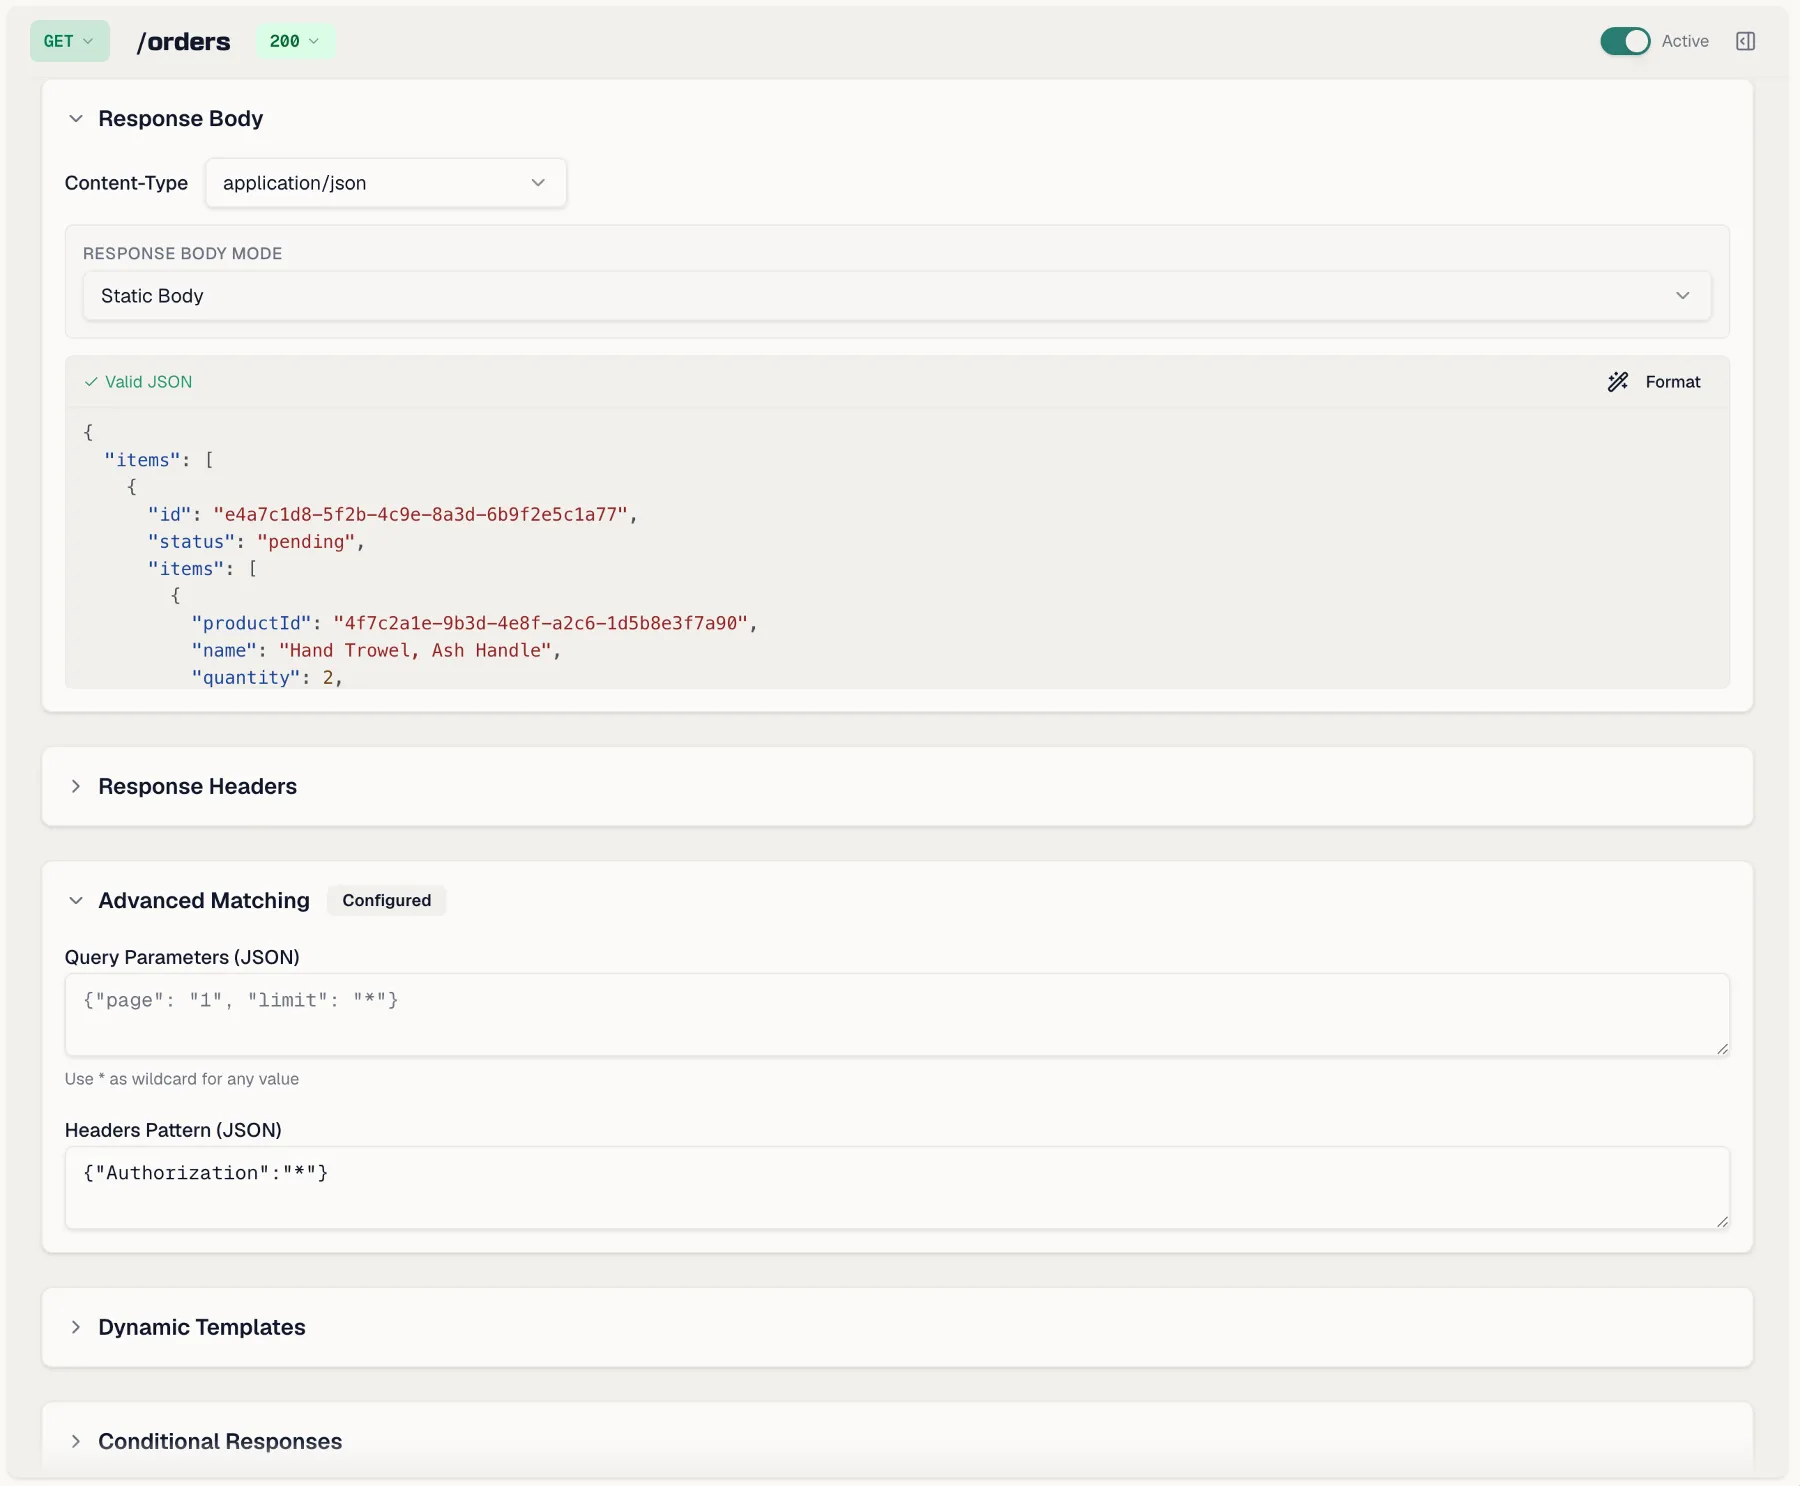
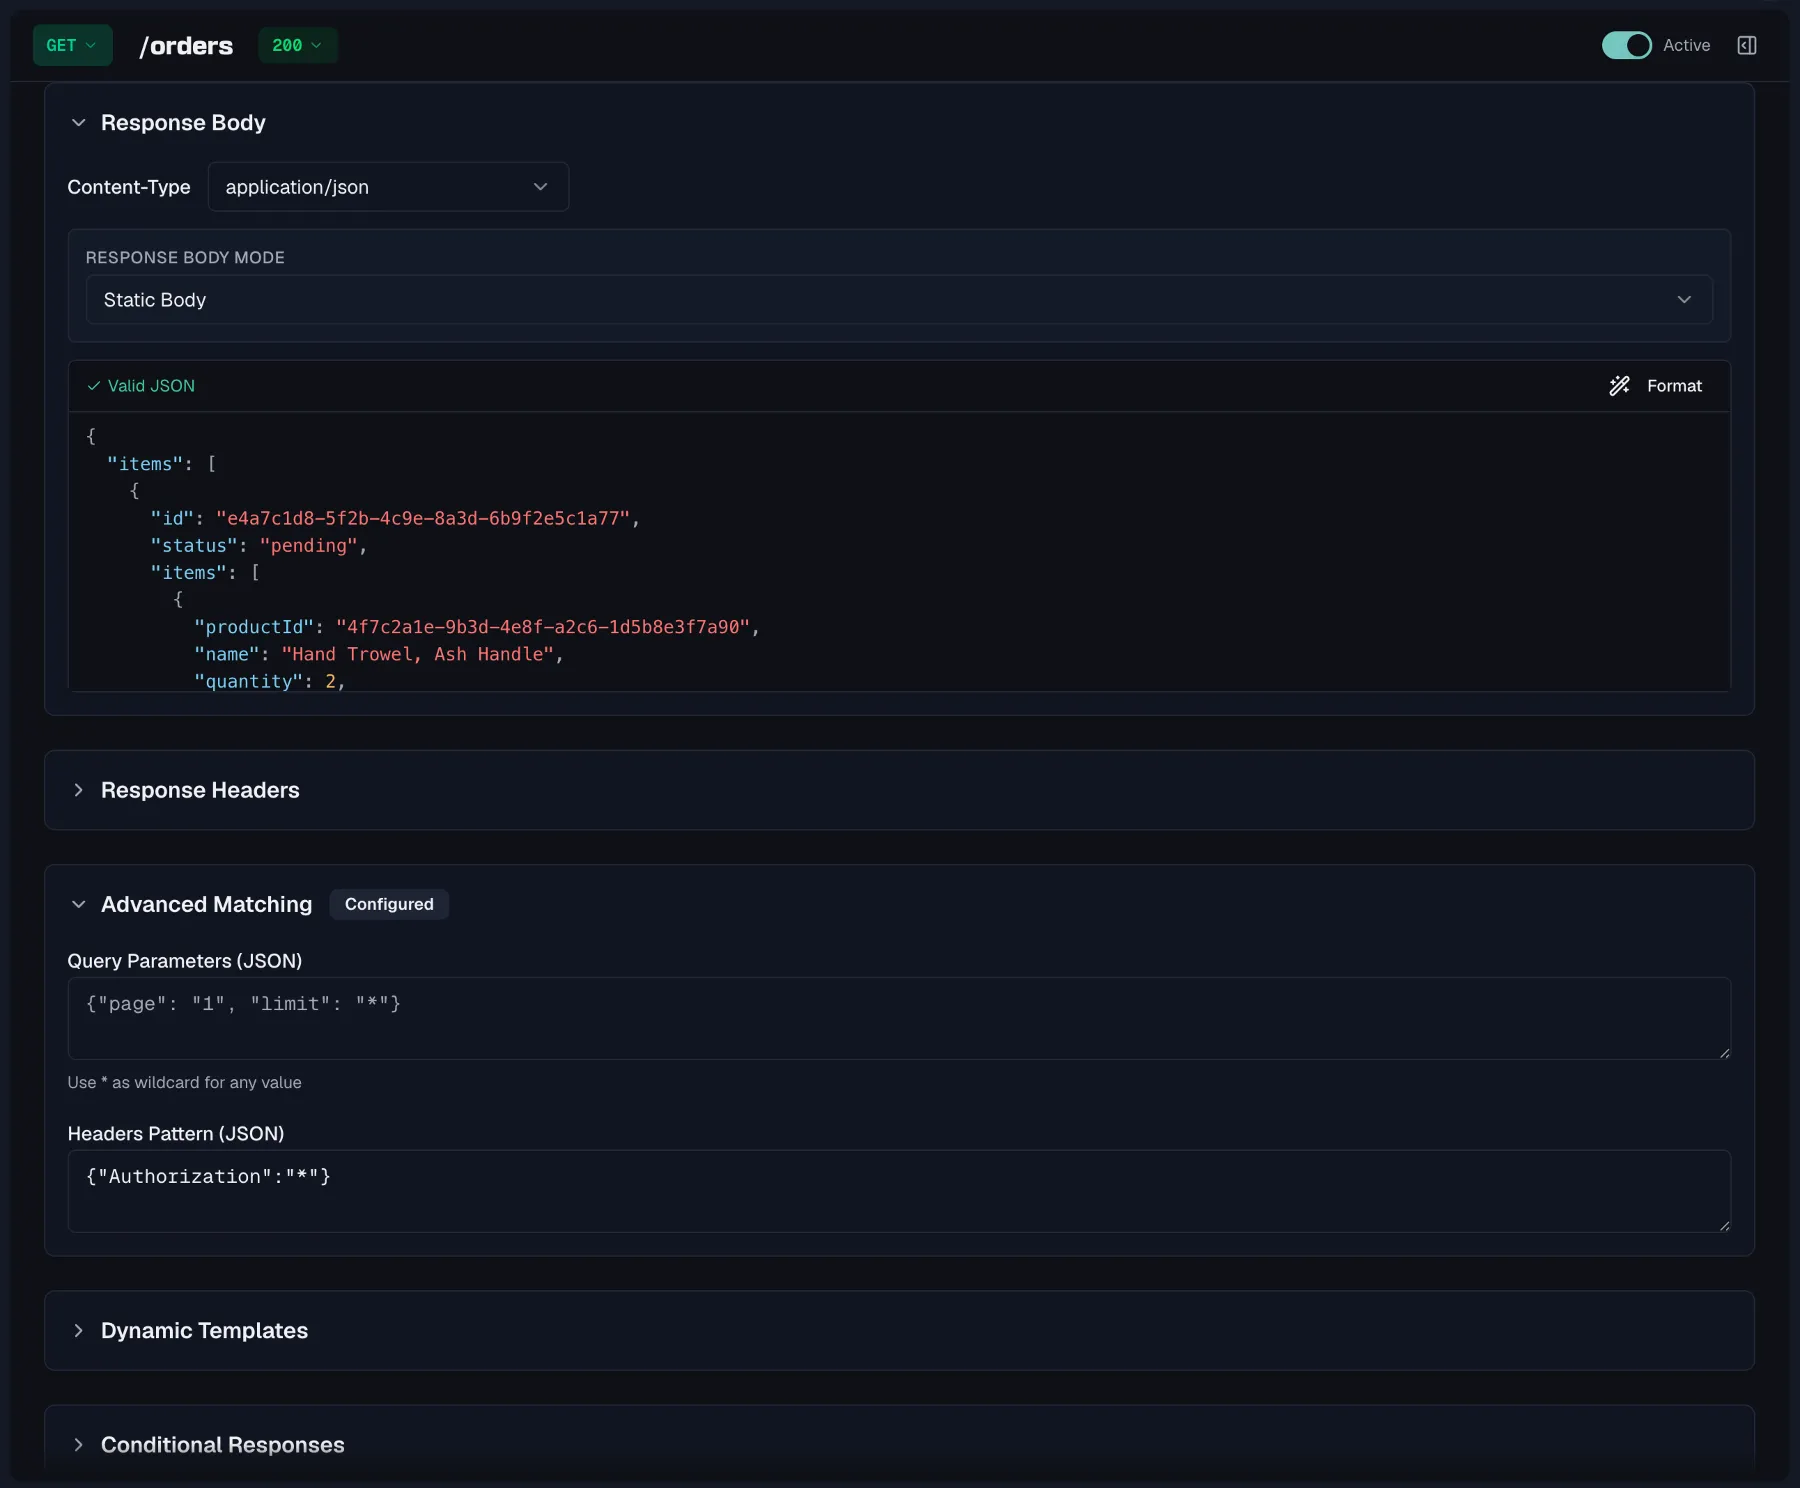 ### Working with rules
- **Create** a rule via **Add Rule** in the left panel, and the create dialog covers all rule settings at once.
- **Edit** by selecting a rule in the tree. The editor auto-saves as you type, while Ctrl+S or Cmd+S saves immediately, and a save indicator shows the current status. Method, path, status code and the Active toggle live in the editor's header toolbar, while everything else is organized into collapsible sections.
- Each rule has a **name** and an optional **description**, both editable inline by clicking them. A rule can be toggled **Active** or **Inactive**, **duplicated** or **deleted**, either from the **⋯** menu in the editor's header or from the same rule's menu in the tree described below.
- The tree offers **search**, a **filter popover** by HTTP method and active or inactive state, and expand and collapse-all controls. A colored line next to each rule shows its status, where green means active, gray means inactive, yellow means out of sync with the source spec, and blue means following the spec draft live.
### Working in the rule tree
Rules are grouped into folders by the first segment of their path, so `/orders/{id}` and `/orders/{id}/items` both land in **Orders**, and anything without a usable first segment collects in **Other**. Folders are sorted alphabetically with **Other** last. They exist only as a view of the paths, so there is nothing to create, name or move a rule into.
### Working with rules
- **Create** a rule via **Add Rule** in the left panel, and the create dialog covers all rule settings at once.
- **Edit** by selecting a rule in the tree. The editor auto-saves as you type, while Ctrl+S or Cmd+S saves immediately, and a save indicator shows the current status. Method, path, status code and the Active toggle live in the editor's header toolbar, while everything else is organized into collapsible sections.
- Each rule has a **name** and an optional **description**, both editable inline by clicking them. A rule can be toggled **Active** or **Inactive**, **duplicated** or **deleted**, either from the **⋯** menu in the editor's header or from the same rule's menu in the tree described below.
- The tree offers **search**, a **filter popover** by HTTP method and active or inactive state, and expand and collapse-all controls. A colored line next to each rule shows its status, where green means active, gray means inactive, yellow means out of sync with the source spec, and blue means following the spec draft live.
### Working in the rule tree
Rules are grouped into folders by the first segment of their path, so `/orders/{id}` and `/orders/{id}/items` both land in **Orders**, and anything without a usable first segment collects in **Other**. Folders are sorted alphabetically with **Other** last. They exist only as a view of the paths, so there is nothing to create, name or move a rule into.
 Every action below needs **mock-server:manage**, and with only **mock-server:read** the menus do not appear at all.
**The rule menu** opens either by right-clicking a rule or from the **⋯** button that appears when you hover it, and both open the same menu:
| Action | Shortcut | Notes |
| --- | --- | --- |
| **Rename** | `F2` | Turns the row's name into an input. `Enter` saves, `Esc` discards, and clicking away also saves. **Double-clicking** the row does the same thing without opening the menu. |
| **Duplicate** | none | Copies the rule with a `(Copy)` suffix. |
| **Activate** / **Deactivate** | none | The label follows the rule's current state. |
| **Move** | `⌥↑` `⌥↓` `⌥⇧↑` `⌥⇧↓` | Up, down, to top, to bottom. |
| **Delete** | none | Asks for confirmation first. |
The keyboard shortcuts act on the **focused** row, so click a rule once before using them.
**Moving is folder-scoped.** Priority is a single project-wide order, but a move only permutes the rule within its own folder. The slots that folder already occupies in the global order stay put, and every rule outside it keeps its position, so reordering two `/orders` rules never disturbs the `/users` rules sitting between them. Dragging a rule works the same way.
**Deleting a folder** removes every rule in it. Right-click the folder row, or use its hover **⋯** button, and choose **Delete Folder**. The confirmation names the count up front with *"All 12 rules in "Orders" will be deleted"*, then lists the first eight by method, name and path, with a `+N more` line for the rest. It is one request, and it cannot be undone.
**While a search or a filter is active**, the folder menu, the **Move** entry and drag-and-drop all disappear. Reordering only makes sense against the full list, so the tree hides those actions rather than reordering a filtered view. Clear the search and the filters to get them back. Renaming, duplicating, toggling and deleting a single rule stay available throughout.
Every action below needs **mock-server:manage**, and with only **mock-server:read** the menus do not appear at all.
**The rule menu** opens either by right-clicking a rule or from the **⋯** button that appears when you hover it, and both open the same menu:
| Action | Shortcut | Notes |
| --- | --- | --- |
| **Rename** | `F2` | Turns the row's name into an input. `Enter` saves, `Esc` discards, and clicking away also saves. **Double-clicking** the row does the same thing without opening the menu. |
| **Duplicate** | none | Copies the rule with a `(Copy)` suffix. |
| **Activate** / **Deactivate** | none | The label follows the rule's current state. |
| **Move** | `⌥↑` `⌥↓` `⌥⇧↑` `⌥⇧↓` | Up, down, to top, to bottom. |
| **Delete** | none | Asks for confirmation first. |
The keyboard shortcuts act on the **focused** row, so click a rule once before using them.
**Moving is folder-scoped.** Priority is a single project-wide order, but a move only permutes the rule within its own folder. The slots that folder already occupies in the global order stay put, and every rule outside it keeps its position, so reordering two `/orders` rules never disturbs the `/users` rules sitting between them. Dragging a rule works the same way.
**Deleting a folder** removes every rule in it. Right-click the folder row, or use its hover **⋯** button, and choose **Delete Folder**. The confirmation names the count up front with *"All 12 rules in "Orders" will be deleted"*, then lists the first eight by method, name and path, with a `+N more` line for the rest. It is one request, and it cannot be undone.
**While a search or a filter is active**, the folder menu, the **Move** entry and drag-and-drop all disappear. Reordering only makes sense against the full list, so the tree hides those actions rather than reordering a filtered view. Clear the search and the filters to get them back. Renaming, duplicating, toggling and deleting a single rule stay available throughout.
 ## Response bodies: the four modes
A rule's body is produced in one of four modes, selected under **Response Body Mode**:
| Mode | What it returns |
| --- | --- |
| **Static Body** | The JSON / text body exactly as entered, on every request. For JSON content types, the editor validates the body and offers a one-click **Format**. |
| **Dynamic (faker / request / state)** | The body is a template, where `{{faker.*}}`, `{{request.*}}` and `{{state.*}}` placeholders resolve on each request, so every call can look different. |
| **Fixture Reference** | The body is loaded from a project [test-data fixture](https://docs.routebase.dev/test-data/) at serve time, so mocks and tests share one source of truth. The body editor is ignored in this mode. |
| **Smart Mock (Fixture + Faker)** | The body is still used as the template. `{{fixture.*}}` placeholders resolve first, then `{{faker.*}}` and `{{request.*}}`, which mixes real fixture data with generated values. |
For the two fixture-backed modes you pick a **fixture** from the project, created under Project Settings → Test Data, and an optional **pipe** to transform it before serving. Presets cover the common cases with `first`, `last`, `random`, `count` and `toJsonArray`. A custom pipe chain additionally supports `toJson`, `pluck:
## Response bodies: the four modes
A rule's body is produced in one of four modes, selected under **Response Body Mode**:
| Mode | What it returns |
| --- | --- |
| **Static Body** | The JSON / text body exactly as entered, on every request. For JSON content types, the editor validates the body and offers a one-click **Format**. |
| **Dynamic (faker / request / state)** | The body is a template, where `{{faker.*}}`, `{{request.*}}` and `{{state.*}}` placeholders resolve on each request, so every call can look different. |
| **Fixture Reference** | The body is loaded from a project [test-data fixture](https://docs.routebase.dev/test-data/) at serve time, so mocks and tests share one source of truth. The body editor is ignored in this mode. |
| **Smart Mock (Fixture + Faker)** | The body is still used as the template. `{{fixture.*}}` placeholders resolve first, then `{{faker.*}}` and `{{request.*}}`, which mixes real fixture data with generated values. |
For the two fixture-backed modes you pick a **fixture** from the project, created under Project Settings → Test Data, and an optional **pipe** to transform it before serving. Presets cover the common cases with `first`, `last`, `random`, `count` and `toJsonArray`. A custom pipe chain additionally supports `toJson`, `pluck:
 ## Realistic behavior: conditions, errors, rate limits, delays, and state
Beyond the base response, each rule can layer on behavior from its collapsible sections:
### Conditional Responses
Return different responses from the same rule depending on the request. Each conditional response carries one or more **conditions**, combined with **Match ALL** or **Match ANY** logic. A condition has four parts:
- A **source**, which is **Query Parameter**, **Request Body**, **Header**, **Path Parameter** or **HTTP Method**.
- A **path**, written in dot notation for body fields as in `user.name`.
- An **operator**, chosen from Equals, Not Equals, Contains, Not Contains, Starts With, Ends With, Regex Match, Exists, Not Exists, Greater Than, Greater or Equal, Less Than and Less or Equal.
- A **value** to compare against.
When a conditional response matches, its **Response Override** applies, which can change the status code, the content type and the body. Fields left empty keep the rule's defaults. In a typical setup a valid ID returns `200`, and everything else falls through to a `404` override.
### Error Simulation
Make the rule fail on purpose, at a configurable **probability**. Leaving the field empty means 100%, so the error always triggers. The error types are **500 Internal Server Error**, **502 Bad Gateway**, **503 Service Unavailable**, **504 Gateway Timeout**, plus **Timeout**, which waits and then closes the connection, and **Connection Reset**, which aborts immediately. Lower probabilities suit testing how your client handles intermittent failures.
### Rate Limiting
Cap the rule at a **max requests** count per window, where the window is **Per Second**, **Per Minute** or **Per Hour**. Requests past the limit get **HTTP 429 Too Many Requests** with a `Retry-After` header until the window resets.
### Delay Settings
Add a fixed **Delay (ms)** before the response, plus an optional **Random Max Delay (ms)** that adds a random extra delay up to that value. Together they mimic real network and processing latency.
A rule whose content type is a sequential media type, such as `application/jsonl` or `text/event-stream`, is delivered item by item. The mock server flushes each JSON line or each event on its own, and the **Item delay (ms)** field pauses between two items, up to ten seconds each. Rules generated from a specification take the item schema of the response and produce two items in the framing of the content type. The total pause of one response is capped at sixty seconds.
### Stateful Mock
Enable **State Management** to give the rule state that persists across requests, so a `POST` followed by a `GET` reflects what changed. Define the **Initial State (JSON)** such as `{"counter": 0, "items": []}`, read values with `{{state.variableName}}` in the response body, and mutate state via a `__state__` block in the body template.
## Generate rules from your spec
Instead of writing rules by hand, choose **Generate from Spec**, or the **From OpenAPI spec** card when creating the server. In the **Generate Mock Rules** dialog, pick an **API Specification**, optionally filter by a specific **version**, and decide whether to **skip existing rules** so endpoints that already have a rule are left untouched. The result toast reports how many rules were generated and how many were skipped.
Generated bodies are built with **Smart Mock**, which maps each response-schema field to a realistic generator based on its name and type. A field containing `email` produces an email address, one containing `phone` produces a phone number, and so on.
### Matching rules (Smart data tab)
The **Smart data** tab in the right panel controls how field names map to generators:
- **Built-in Rules** are the shipped patterns, grouped into the categories Person, Location, Internet, Date/Time, Finance, Identifier, Media and Misc. They cannot be edited, but each can be toggled on or off individually or in bulk with **Enable all** and **Disable all**, and you can search and filter by category.
- **Custom Rules** are your own project-scoped rules. Each one carries a **condition type** of **Exact**, **Wildcard** with `*`, or **Regex**, plus the pattern to match. It also takes a **data type** of Any, String, Integer, Number or Boolean, and the **faker type** to generate, such as `internet.email` or `person.firstName`. It also takes a category, an optional remark, a **sort order** where lower values are evaluated first, and case sensitivity. While you type, a live **Preview** shows the value your rule would generate and which rule matched.
Custom rules are applied at generation time, so changes do not affect existing mock rules until you regenerate them. A banner in the Custom Rules section offers **Regenerate affected rules** to update all auto-generated rules in one click, and existing response bodies are overwritten.
## Realistic behavior: conditions, errors, rate limits, delays, and state
Beyond the base response, each rule can layer on behavior from its collapsible sections:
### Conditional Responses
Return different responses from the same rule depending on the request. Each conditional response carries one or more **conditions**, combined with **Match ALL** or **Match ANY** logic. A condition has four parts:
- A **source**, which is **Query Parameter**, **Request Body**, **Header**, **Path Parameter** or **HTTP Method**.
- A **path**, written in dot notation for body fields as in `user.name`.
- An **operator**, chosen from Equals, Not Equals, Contains, Not Contains, Starts With, Ends With, Regex Match, Exists, Not Exists, Greater Than, Greater or Equal, Less Than and Less or Equal.
- A **value** to compare against.
When a conditional response matches, its **Response Override** applies, which can change the status code, the content type and the body. Fields left empty keep the rule's defaults. In a typical setup a valid ID returns `200`, and everything else falls through to a `404` override.
### Error Simulation
Make the rule fail on purpose, at a configurable **probability**. Leaving the field empty means 100%, so the error always triggers. The error types are **500 Internal Server Error**, **502 Bad Gateway**, **503 Service Unavailable**, **504 Gateway Timeout**, plus **Timeout**, which waits and then closes the connection, and **Connection Reset**, which aborts immediately. Lower probabilities suit testing how your client handles intermittent failures.
### Rate Limiting
Cap the rule at a **max requests** count per window, where the window is **Per Second**, **Per Minute** or **Per Hour**. Requests past the limit get **HTTP 429 Too Many Requests** with a `Retry-After` header until the window resets.
### Delay Settings
Add a fixed **Delay (ms)** before the response, plus an optional **Random Max Delay (ms)** that adds a random extra delay up to that value. Together they mimic real network and processing latency.
A rule whose content type is a sequential media type, such as `application/jsonl` or `text/event-stream`, is delivered item by item. The mock server flushes each JSON line or each event on its own, and the **Item delay (ms)** field pauses between two items, up to ten seconds each. Rules generated from a specification take the item schema of the response and produce two items in the framing of the content type. The total pause of one response is capped at sixty seconds.
### Stateful Mock
Enable **State Management** to give the rule state that persists across requests, so a `POST` followed by a `GET` reflects what changed. Define the **Initial State (JSON)** such as `{"counter": 0, "items": []}`, read values with `{{state.variableName}}` in the response body, and mutate state via a `__state__` block in the body template.
## Generate rules from your spec
Instead of writing rules by hand, choose **Generate from Spec**, or the **From OpenAPI spec** card when creating the server. In the **Generate Mock Rules** dialog, pick an **API Specification**, optionally filter by a specific **version**, and decide whether to **skip existing rules** so endpoints that already have a rule are left untouched. The result toast reports how many rules were generated and how many were skipped.
Generated bodies are built with **Smart Mock**, which maps each response-schema field to a realistic generator based on its name and type. A field containing `email` produces an email address, one containing `phone` produces a phone number, and so on.
### Matching rules (Smart data tab)
The **Smart data** tab in the right panel controls how field names map to generators:
- **Built-in Rules** are the shipped patterns, grouped into the categories Person, Location, Internet, Date/Time, Finance, Identifier, Media and Misc. They cannot be edited, but each can be toggled on or off individually or in bulk with **Enable all** and **Disable all**, and you can search and filter by category.
- **Custom Rules** are your own project-scoped rules. Each one carries a **condition type** of **Exact**, **Wildcard** with `*`, or **Regex**, plus the pattern to match. It also takes a **data type** of Any, String, Integer, Number or Boolean, and the **faker type** to generate, such as `internet.email` or `person.firstName`. It also takes a category, an optional remark, a **sort order** where lower values are evaluated first, and case sensitivity. While you type, a live **Preview** shows the value your rule would generate and which rule matched.
Custom rules are applied at generation time, so changes do not affect existing mock rules until you regenerate them. A banner in the Custom Rules section offers **Regenerate affected rules** to update all auto-generated rules in one click, and existing response bodies are overwritten.
 ## Keeping mocks in sync with your spec
Spec-generated rules stay connected to their source endpoint:
- **Following the draft live** applies to rules generated from a draft version. They project their response from the *current* draft schema on every request, so new fields appear in the mock automatically. The body editor is read-only in this state, because the stored value is only the last snapshot. Click **Customize** to take ownership and edit it, which stops the live updates.
- **Drift detection** applies to a rule pinned to a published version. It shows a banner when the spec's latest published version has moved on, reading *"This mock is frozen at v2, but the spec's latest published version is v3"*. **Review Changes** shows a field-by-field diff, and **Sync from Spec** re-points the mock to the latest published version and regenerates its body, overwriting manual body edits.
- **Re-Generate with Smart Mock** sits in the **⋯** menu in the rule editor's header and appears only for rules generated from a spec. It regenerates the response body from the endpoint's schema at any time, and a side-by-side preview compares the current body with the new one before you **Apply**.
When a server has both a Smart Mock body and a documented response example, the **Default Mock Type** setting decides which wins. See [Mock Server Settings](https://docs.routebase.dev/mock-server-settings/).
## Proxy mode
Enable **Proxy Mode** and set a **Proxy Target URL** in the server settings, and the mock server forwards any request that no rule matches to your real backend. This lets you mock only the endpoints you are working on while everything else passes through to the live service. Proxied responses are marked as such in the request log. Proxy Mode requires a **Starter** plan or higher.
## Request logs
The **Logs** tab records every request the mock server handled. Each entry shows the timestamp, method, path, status and response time. Expanding it reveals whether the response was a **Mock** or **Proxied**, which rule matched, the client IP, the query string, and the full request and response headers and bodies, each of them copyable.
- The log **auto-refreshes** every few seconds while visible. A green **Live** indicator shows it is running, and you can pause it, resume it, or refresh manually.
- **Filter** by HTTP method, path substring, status class of 2xx, 3xx, 4xx or 5xx, and source, meaning mock against proxied. With a rule selected, an **All / Rule** toggle narrows the log to that rule's traffic.
- **Clear logs** wipes the history when you want a clean slate.
## Keeping mocks in sync with your spec
Spec-generated rules stay connected to their source endpoint:
- **Following the draft live** applies to rules generated from a draft version. They project their response from the *current* draft schema on every request, so new fields appear in the mock automatically. The body editor is read-only in this state, because the stored value is only the last snapshot. Click **Customize** to take ownership and edit it, which stops the live updates.
- **Drift detection** applies to a rule pinned to a published version. It shows a banner when the spec's latest published version has moved on, reading *"This mock is frozen at v2, but the spec's latest published version is v3"*. **Review Changes** shows a field-by-field diff, and **Sync from Spec** re-points the mock to the latest published version and regenerates its body, overwriting manual body edits.
- **Re-Generate with Smart Mock** sits in the **⋯** menu in the rule editor's header and appears only for rules generated from a spec. It regenerates the response body from the endpoint's schema at any time, and a side-by-side preview compares the current body with the new one before you **Apply**.
When a server has both a Smart Mock body and a documented response example, the **Default Mock Type** setting decides which wins. See [Mock Server Settings](https://docs.routebase.dev/mock-server-settings/).
## Proxy mode
Enable **Proxy Mode** and set a **Proxy Target URL** in the server settings, and the mock server forwards any request that no rule matches to your real backend. This lets you mock only the endpoints you are working on while everything else passes through to the live service. Proxied responses are marked as such in the request log. Proxy Mode requires a **Starter** plan or higher.
## Request logs
The **Logs** tab records every request the mock server handled. Each entry shows the timestamp, method, path, status and response time. Expanding it reveals whether the response was a **Mock** or **Proxied**, which rule matched, the client IP, the query string, and the full request and response headers and bodies, each of them copyable.
- The log **auto-refreshes** every few seconds while visible. A green **Live** indicator shows it is running, and you can pause it, resume it, or refresh manually.
- **Filter** by HTTP method, path substring, status class of 2xx, 3xx, 4xx or 5xx, and source, meaning mock against proxied. With a rule selected, an **All / Rule** toggle narrows the log to that rule's traffic.
- **Clear logs** wipes the history when you want a clean slate.
 ## Analytics and usage
When no rule is selected, the center panel shows the server dashboard:
- **Analytics** carries rule counts split by active against inactive and auto-generated against manual, how many rules use conditions, error simulation, rate limiting or state, and log statistics. It also carries **API Coverage**, which lists the uncovered endpoints and offers a **Generate Missing Rules** shortcut. Coverage counts the endpoints of the current version of every spec in the project, and an endpoint counts as mocked once an active rule answers requests to it. The Mock Coverage bar on the project dashboard uses the same measure.
- **Usage** shows mock requests served this month against your plan's limit with your tier badge, warnings from 80% usage onward, a monthly history chart covering the last six months, and a per-project breakdown. At 100% of the monthly limit, new mock requests are blocked until the counter resets or you upgrade, and the banner offers **Upgrade Plan** directly.
## Permissions
- **mock-server:read** allows viewing the server, rules, logs and usage. All roles have this by default.
- **mock-server:manage** allows creating the server, adding, editing, reordering and deleting rules, and changing matching rules and settings. Admins and Owners have it by default, and rule hover actions and editing controls are hidden without it.
## Related
- [Mock Server Settings](https://docs.routebase.dev/mock-server-settings/) — server configuration, CORS, tokens, and organization-wide defaults
- [Test Data](https://docs.routebase.dev/test-data/) — fixtures you can serve as mock responses
- [Endpoints](https://docs.routebase.dev/endpoints/) — the operations rule generation starts from
- [Schemas](https://docs.routebase.dev/schemas/) — the structures Smart Mock bodies are generated from
- [Test Suites](https://docs.routebase.dev/test-suites/) — validate the real API once it's ready
---
## Mock Server — MCP Tools
Source: https://docs.routebase.dev/mock-server-mcp-tools/
The tools below belong to the **Mock Server** group of the Routebase MCP server.
## clear_request_logs
Delete ALL request logs of a mock server. Cannot be undone — do this before a clean test run, not while investigating. Requires project context.
**Required scope:** `mock-server:manage`
| Parameter | Type | Required | Description |
| --- | --- | --- | --- |
| `mockServerId` | string | Yes | The public Id (Guid) of the mock server |
## create_mock_rule
Create a new mock rule that defines how the mock server responds to matching requests. At minimum, provide a name, path pattern, and response status code. The path pattern supports wildcards (e.g., '/api/users/*' or '/api/v{version}/items/**'). Requires project context (call set_context first).
**Required scope:** `mock-server:manage`
| Parameter | Type | Required | Description |
| --- | --- | --- | --- |
| `mockServerId` | string | Yes | The public Id (Guid) of the mock server |
| `name` | string | Yes | Display name for the rule |
| `pathPattern` | string | Yes | URL path pattern to match (supports wildcards: * for single segment, ** for multiple) |
| `method` | string | No | HTTP method to match: get, post, put, patch, delete, head, options, query (null = any method) |
| `responseStatusCode` | integer | No (default `200`) | HTTP status code to return (default 200) |
| `responseBody` | string | No | Response body content (string or JSON) |
| `responseContentType` | string | No (default `"application/json"`) | Content-Type header for response (default 'application/json') |
| `description` | string | No | Optional description for the rule |
| `queryPattern` | string | No | Query parameter matching pattern as JSON object |
| `headersPattern` | string | No | Header matching pattern as JSON object |
| `priority` | integer | No | Rule priority — lower number = higher precedence (default 100) |
| `responseHeaders` | string | No | Additional response headers as JSON object |
| `delayMilliseconds` | integer | No | Fixed delay in milliseconds before sending response |
| `isDynamic` | boolean | No | Enable dynamic template processing in response body (Handlebars-style) |
## create_mock_server
Create a new mock server for the active project. Each project can have one mock server. Returns the created server with its unique MockCode and URL. Requires project context (call set_context first).
**Required scope:** `mock-server:manage`
| Parameter | Type | Required | Description |
| --- | --- | --- | --- |
| `name` | string | No | Optional display name for the mock server |
## delete_mock_rule
Delete a mock rule from the active project's mock server. Use 'list_mock_rules' to find the rule's public ID. Requires project context.
**Required scope:** `mock-server:manage`
| Parameter | Type | Required | Description |
| --- | --- | --- | --- |
| `ruleId` | string | Yes | The public ID (GUID) of the mock rule to delete |
## delete_mock_server
Delete the active project's mock server and all its rules. Use 'get_mock_server' to find the mock server's public ID. Requires project context.
**Required scope:** `mock-server:manage`
| Parameter | Type | Required | Description |
| --- | --- | --- | --- |
| `mockServerId` | string | Yes | The public ID (GUID) of the mock server to delete |
## generate_rules_from_spec
Automatically generate mock rules from an API specification. Creates one rule per endpoint with Smart Mock responses based on schemas. Optionally target a specific spec version. By default, skips endpoints that already have rules. Requires project context (call set_context first).
**Required scope:** `mock-server:manage`
| Parameter | Type | Required | Description |
| --- | --- | --- | --- |
| `specId` | string | Yes | The public Id (Guid) of the API specification to generate rules from |
| `versionId` | string | No | Optional: The public Id (Guid) of a specific spec version. If omitted, uses all endpoints. |
| `skipExisting` | boolean | No (default `true`) | If true (default), skip endpoints that already have mock rules |
## get_mock_rule_diagnostics
Inspect one mock rule. view 'drift' (default) compares the rule against the latest published spec version and lists what changed since it was pinned; view 'state' returns the stored state of a stateful rule. Use this to inspect one rule's drift or match history; to browse the rules use list_mock_rules. Requires project context.
**Required scope:** `mock-server:read`
| Parameter | Type | Required | Description |
| --- | --- | --- | --- |
| `ruleId` | string | Yes | The public Id (Guid) of the mock rule |
| `view` | string | No (default `"drift"`) | What to inspect: 'drift' (default) or 'state' |
## get_mock_server
Get the mock server status and URL for the active project. Returns server details including MockCode, URL, active status, rule count, and Smart Mock settings. Returns null if no mock server exists yet (use create_mock_server to create one). Set includeStats to also get rule, request-log and spec-coverage statistics. The access token is never returned; when requireToken is on, the only way to obtain one is 'regenerate_mock_server_token' (which invalidates the old token). Requires project context (call set_context first).
**Required scope:** `mock-server:read`
| Parameter | Type | Required | Description |
| --- | --- | --- | --- |
| `includeStats` | boolean | No (default `false`) | Also return rule counts, request-log aggregates and which spec endpoints have no mock rule yet. Defaults to false. |
## get_mock_usage
Read the organization's mock request usage against its plan limit. view 'current' (default) returns the running month with the limit and reset date, 'history' the monthly totals, 'breakdown' the current month split by project. This is what to check when mock requests start being rejected. Use this for request usage against the plan limit; for the individual requests use get_request_logs. Requires organization context.
_No special scope — available to any authenticated key._
| Parameter | Type | Required | Description |
| --- | --- | --- | --- |
| `view` | string | No (default `"current"`) | What to read: 'current' (default), 'history' or 'breakdown' |
| `months` | integer | No (default `6`) | For view 'history': how many months back. Defaults to 6. |
## get_org_mock_defaults
Read the organization-wide mock server defaults — faker locale, time format, time zone, default mock type and whether the built-in matching rules apply. Every project inherits these unless update_mock_server overrides them. Requires organization context.
**Required scope:** `org:manage-governance`
_No parameters._
## get_request_logs
Get request logs from the mock server showing recent incoming requests and matched rules. Supports filtering by HTTP method, path, status code, and time range. Pass logId to get ONE log with its full request and response bodies and headers instead of the list — that is where you look when a request matched the wrong rule. Requires project context (call set_context first).
**Required scope:** `mock-server:read`
| Parameter | Type | Required | Description |
| --- | --- | --- | --- |
| `mockServerId` | string | Yes | The public Id (Guid) of the mock server |
| `method` | string | No | Filter by HTTP method (e.g., 'GET', 'POST') |
| `pathContains` | string | No | Filter by path containing this text |
| `statusCode` | integer | No | Filter by response status code |
| `skip` | integer | No (default `0`) | Number of logs to skip (for pagination, default 0) |
| `take` | integer | No (default `50`) | Number of logs to return (default 50, max 100) |
| `logId` | string | No | Public Id (Guid) of a single log. When given, returns that one log in full (bodies and headers) and every filter and pagination parameter is ignored. |
## list_mock_rules
List all mock rules for a mock server with pagination. Returns rules sorted by priority (lower = higher precedence) with path pattern, method, status code, and active status. Requires project context (call set_context first).
**Required scope:** `mock-server:read`
| Parameter | Type | Required | Description |
| --- | --- | --- | --- |
| `mockServerId` | string | Yes | The public Id (Guid) of the mock server |
| `skip` | integer | No (default `0`) | Number of rules to skip (for pagination, default 0) |
| `take` | integer | No (default `50`) | Number of rules to return (default 50, max 100) |
## list_org_builtin_rules
List the built-in Smart Mock matching rules with the organization's overrides applied. hasOrgOverride tells you whether a rule was explicitly turned on or off here, or is running on the shipped default. Built-in rules have no id — they are addressed by their conditionType, dataType and conditionDetails. Use this for the built-in rules; for the organization's custom ones use list_org_smart_mock_rules. Requires organization context.
**Required scope:** `org:manage-governance`
| Parameter | Type | Required | Description |
| --- | --- | --- | --- |
| `category` | string | No | Filter by category: person, location, internet, date_time, finance, identifier, media or misc |
## list_org_smart_mock_rules
List the organization's custom Smart Mock matching rules. They apply to every mock server in the organization unless a project overrides them. Use this for organization-wide custom rules; for one server's own use list_smart_mock_matching_rules. Requires organization context.
**Required scope:** `org:manage-governance`
| Parameter | Type | Required | Description |
| --- | --- | --- | --- |
| `category` | string | No | Filter by category: person, location, internet, date_time, finance, identifier, media or misc |
| `skip` | integer | No (default `0`) | Number of rules to skip (for pagination, default 0) |
| `take` | integer | No (default `50`) | Number of rules to return (default 50, max 100) |
## list_smart_mock_matching_rules
List the Smart Mock matching rules of one mock server — the rules that decide which faker value a field name gets. Includes the built-in catalog unless you filter it out. Use this for one mock server's rules; for the organization-wide ones use list_org_smart_mock_rules. Requires project context.
**Required scope:** `mock-server:read`
| Parameter | Type | Required | Description |
| --- | --- | --- | --- |
| `mockServerId` | string | Yes | The public Id (Guid) of the mock server |
| `isBuiltIn` | boolean | No | true for built-in rules only, false for custom rules only. Omit for both. |
| `category` | string | No | Filter by category: person, location, internet, date_time, finance, identifier, media or misc |
| `skip` | integer | No (default `0`) | Number of rules to skip (for pagination, default 0) |
| `take` | integer | No (default `50`) | Number of rules to return (default 50, max 100) |
## manage_mock_rule_ops
Maintenance operations on existing mock rules. action: 'reorder' (rulePublicIds in the new priority order, needs mockServerId), 'regenerate' (re-generate one rule's response body from the spec, needs ruleId; set previewOnly to compare old and new without saving), 'reset_state' (clear a stateful rule's stored state, needs ruleId), 'sync_from_spec' (re-pin one rule to the latest published spec version, needs ruleId), 'bulk_delete' (needs mockServerId and rulePublicIds), 'bulk_regenerate' (re-generate every regenerable rule of the project). Use this for maintenance across rules; to change a single rule's response use update_mock_rule. Requires project context.
**Required scope:** `mock-server:manage`
| Parameter | Type | Required | Description |
| --- | --- | --- | --- |
| `action` | string | Yes | What to do: 'reorder', 'regenerate', 'reset_state', 'sync_from_spec', 'bulk_delete' or 'bulk_regenerate' |
| `ruleId` | string | No | Public Id (Guid) of a single mock rule. Required for 'regenerate', 'reset_state' and 'sync_from_spec'. |
| `mockServerId` | string | No | Public Id (Guid) of the mock server. Required for 'reorder' and 'bulk_delete'. |
| `rulePublicIds` | string | No | Comma-separated mock rule Ids. Required for 'reorder' (in the desired order) and 'bulk_delete'. |
| `previewOnly` | boolean | No (default `false`) | For 'regenerate': return the old and new body without saving. Defaults to false. |
## manage_org_builtin_rules
Enable or disable built-in Smart Mock matching rules for the whole organization. action: 'toggle' for one rule (needs conditionType, dataType, conditionDetails and isEnabled), 'bulk_toggle' for several (needs rulesJson) — use 'bulk_toggle' to switch a whole category at once. Take the addressing fields from list_org_builtin_rules; built-in rules have no id. Requires the org:manage-governance permission.
**Required scope:** `org:manage-governance`
| Parameter | Type | Required | Description |
| --- | --- | --- | --- |
| `action` | string | Yes | What to do: 'toggle' or 'bulk_toggle' |
| `conditionType` | string | No | How the rule matches: 'exact', 'wildcard' or 'regex'. Required for 'toggle'. |
| `dataType` | string | No | The rule's data type: 'any', 'string', 'integer', 'number' or 'boolean'. Required for 'toggle'. |
| `conditionDetails` | string | No | The rule's field-name pattern. Required for 'toggle'. |
| `isEnabled` | boolean | No | Whether the rule applies. Required for 'toggle'. |
| `rulesJson` | string | No | JSON array for 'bulk_toggle'. Each item: { "conditionType": string, "dataType": string, "conditionDetails": string, "isEnabled": bool }. |
## manage_org_smart_mock_rule
Create, update, delete or enable/disable an organization-wide custom Smart Mock matching rule. action: 'create' (needs conditionDetails, fakerType and category), 'update' (needs ruleId; omitted fields keep their value), 'delete' (needs ruleId), 'toggle' (needs ruleId and isEnabled). Requires the org:manage-governance permission. Use this for organization-wide rules; for one server's own use manage_smart_mock_matching_rule.
**Required scope:** `org:manage-governance`
| Parameter | Type | Required | Description |
| --- | --- | --- | --- |
| `action` | string | Yes | What to do: 'create', 'update', 'delete' or 'toggle' |
| `ruleId` | string | No | Public Id (Guid) of the rule. Required for 'update', 'delete' and 'toggle'. |
| `conditionDetails` | string | No | The field-name pattern to match, e.g. 'email' or '*_at'. Required for 'create'. |
| `conditionType` | string | No | How to match: 'exact', 'wildcard' or 'regex'. Defaults to 'exact' on create. |
| `dataType` | string | No | Restrict to a JSON type: 'any' (default), 'string', 'integer', 'number' or 'boolean' |
| `fakerType` | string | No | The faker type to generate, e.g. 'internet.email'. Required for 'create'. |
| `category` | string | No | Category: person, location, internet, date_time, finance, identifier, media or misc. Required for 'create'. |
| `caseSensitive` | boolean | No | Match the field name case-sensitively. Defaults to false on create. |
| `remark` | string | No | Free-text note explaining the rule |
| `sortOrder` | integer | No | Position in the matching order — lower wins. Defaults to 0 on create. |
| `isEnabled` | boolean | No | Whether the rule applies. Required for 'toggle'. |
## manage_smart_mock_matching_rule
Create, update, delete or enable/disable a custom Smart Mock matching rule on ONE mock server. Built-in rules cannot be edited here — toggle them organization-wide with manage_org_builtin_rules. action: 'create' (needs mockServerId, conditionDetails, fakerType and category), 'update' (needs ruleId; omitted fields keep their value), 'delete' (needs ruleId), 'toggle' (needs ruleId and isEnabled). Requires project context.
**Required scope:** `mock-server:manage`
| Parameter | Type | Required | Description |
| --- | --- | --- | --- |
| `action` | string | Yes | What to do: 'create', 'update', 'delete' or 'toggle' |
| `mockServerId` | string | No | Public Id (Guid) of the mock server. Required for 'create' and for reading the current state on 'update'. |
| `ruleId` | string | No | Public Id (Guid) of the matching rule. Required for 'update', 'delete' and 'toggle'. |
| `conditionDetails` | string | No | The field-name pattern to match, e.g. 'email' or '*_at'. Required for 'create'. |
| `conditionType` | string | No | How to match: 'exact', 'wildcard' or 'regex'. Defaults to 'exact' on create. |
| `dataType` | string | No | Restrict to a JSON type: 'any' (default), 'string', 'integer', 'number' or 'boolean' |
| `fakerType` | string | No | The faker type to generate, e.g. 'internet.email'. Required for 'create'. |
| `category` | string | No | Category: person, location, internet, date_time, finance, identifier, media or misc. Required for 'create'. |
| `caseSensitive` | boolean | No | Match the field name case-sensitively. Defaults to false on create. |
| `remark` | string | No | Free-text note explaining the rule |
| `sortOrder` | integer | No | Position in the matching order — lower wins. Defaults to 0 on create. |
| `isEnabled` | boolean | No | Whether the rule applies. Required for 'toggle'. |
## preview_smart_mock
Render a response body template with its {{faker.*}} placeholders replaced by generated values, using the active project's Smart Mock settings. Use this to check a template before saving it on a rule. Requires project context.
**Required scope:** `mock-server:read`
| Parameter | Type | Required | Description |
| --- | --- | --- | --- |
| `responseBody` | string | Yes | The response body template containing {{faker.*}} placeholders |
## regenerate_mock_server_token
Issue a new access token for the mock server of the active project and return it. The old token stops working immediately — every client that sends it starts failing. Only relevant while requireToken is on. Use this to rotate a leaked token; to read the current server details use get_mock_server. Requires project context.
**Required scope:** `mock-server:manage`
_No parameters._
## test_smart_mock
Test Smart Mock matching for a given field name. Returns which matching rule would apply and what value it would generate. Useful for verifying Smart Mock configuration before generating rules. Requires project context (call set_context first).
**Required scope:** `mock-server:read`
| Parameter | Type | Required | Description |
| --- | --- | --- | --- |
| `mockServerId` | string | Yes | The public Id (Guid) of the mock server |
| `fieldName` | string | Yes | The field name to test matching for (e.g., 'email', 'firstName', 'createdAt') |
| `schemaType` | string | No | Optional JSON Schema type hint (e.g., 'string', 'integer', 'number', 'boolean') |
| `schemaFormat` | string | No | Optional JSON Schema format hint (e.g., 'date-time', 'email', 'uri', 'uuid') |
## update_mock_rule
Update an existing mock rule. All fields are required — pass the current values for fields you don't want to change. Use 'list_mock_rules' or 'get_mock_server' to get current rule details first. Requires project context (call set_context first).
**Required scope:** `mock-server:manage`
| Parameter | Type | Required | Description |
| --- | --- | --- | --- |
| `ruleId` | string | Yes | The public Id (Guid) of the mock rule to update |
| `name` | string | Yes | Display name for the rule |
| `pathPattern` | string | Yes | URL path pattern to match |
| `priority` | integer | Yes | Rule priority (lower = higher precedence) |
| `isActive` | boolean | Yes | Whether the rule is active |
| `responseStatusCode` | integer | Yes | HTTP status code to return |
| `responseContentType` | string | No (default `"application/json"`) | Content-Type header for response |
| `method` | string | No | HTTP method to match: get, post, put, patch, delete, head, options, query (null = any) |
| `description` | string | No | Optional description |
| `queryPattern` | string | No | Query parameter matching pattern as JSON |
| `headersPattern` | string | No | Header matching pattern as JSON |
| `responseHeaders` | string | No | Additional response headers as JSON |
| `responseBody` | string | No | Response body content |
| `delayMilliseconds` | integer | No | Fixed delay in milliseconds before response |
| `isDynamic` | boolean | No (default `false`) | Enable dynamic template processing |
## update_mock_server
Update the mock server of the active project: name, active flag, proxy mode, CORS and the Smart Mock defaults. Omit a field to keep its current value — the tool reads the server first. Use the reset* flags to drop a per-project override so the setting follows the organization default again; omitting a value can only keep it, never inherit it. Use this for one server; for the organization-wide defaults use update_org_mock_defaults. Requires project context.
**Required scope:** `mock-server:manage`
| Parameter | Type | Required | Description |
| --- | --- | --- | --- |
| `name` | string | No | New display name for the mock server |
| `isActive` | boolean | No | Whether the mock server answers requests at all |
| `proxyTargetUrl` | string | No | Forward unmatched requests to this URL instead of returning 404 |
| `proxyModeEnabled` | boolean | No | Enable proxy mode for unmatched requests |
| `corsEnabled` | boolean | No | Send CORS headers on mock responses |
| `allowedOrigins` | string | No | Comma-separated allowed origins for CORS. Empty string allows all. |
| `fakerLocale` | string | No | Faker locale for generated values, e.g. 'en', 'de' |
| `defaultTimeFormat` | string | No | Default format for generated timestamps, e.g. 'iso8601' |
| `defaultTimeZone` | string | No | Default time zone for generated timestamps, e.g. 'UTC' |
| `defaultMockType` | string | No | Default mock type for generated responses |
| `builtInMatchingEnabled` | boolean | No | Apply the built-in Smart Mock matching rules on this server |
| `requireToken` | boolean | No | Require the access token on every mock request |
| `resetToOrgDefault` | string | No | Comma-separated settings to reset to the organization default: 'faker_locale', 'time_format', 'time_zone', 'mock_type', 'built_in_matching' |
| `rowVersion` | string | No | Base64 rowVersion from get_mock_server, for optimistic concurrency |
## update_org_mock_defaults
Update the organization-wide mock server defaults. Omitted fields keep their current value — the command treats null as 'leave alone', so no read is needed first. Requires the org:manage-governance permission. Use this for defaults across every mock server; for a single server use update_mock_server.
**Required scope:** `org:manage-governance`
| Parameter | Type | Required | Description |
| --- | --- | --- | --- |
| `fakerLocale` | string | No | Faker locale for generated values, e.g. 'en', 'de' |
| `defaultTimeFormat` | string | No | Default format for generated timestamps, e.g. 'iso8601' |
| `defaultTimeZone` | string | No | Default time zone for generated timestamps, e.g. 'UTC' |
| `defaultMockType` | string | No | Default mock type for generated responses |
| `builtInMatchingEnabled` | boolean | No | Apply the built-in Smart Mock matching rules organization-wide |
| `rowVersion` | string | No | Base64 rowVersion from get_org_mock_defaults, for optimistic concurrency |
---
## Mock Server Settings
Source: https://docs.routebase.dev/mock-server-settings/
These settings decide how a mock behaves before any rule matches, covering CORS, access tokens, proxy mode and the generated data. They are configured on two levels. **Per-server settings** apply to the mock server inside a project, while **organization-wide defaults** decide what every new mock server inherits, so a convention you set once does not have to be repeated per project. This guide covers both.
## Per-server settings
In the Mock Server workspace, click **Mock Server Settings** at the bottom of the left panel. A settings sheet opens with all configuration for this server, and changes are saved as you make them. Editing requires the **mock-server:manage** permission, which Admins and Owners have by default. With only **mock-server:read**, the values are visible but read-only.
## Analytics and usage
When no rule is selected, the center panel shows the server dashboard:
- **Analytics** carries rule counts split by active against inactive and auto-generated against manual, how many rules use conditions, error simulation, rate limiting or state, and log statistics. It also carries **API Coverage**, which lists the uncovered endpoints and offers a **Generate Missing Rules** shortcut. Coverage counts the endpoints of the current version of every spec in the project, and an endpoint counts as mocked once an active rule answers requests to it. The Mock Coverage bar on the project dashboard uses the same measure.
- **Usage** shows mock requests served this month against your plan's limit with your tier badge, warnings from 80% usage onward, a monthly history chart covering the last six months, and a per-project breakdown. At 100% of the monthly limit, new mock requests are blocked until the counter resets or you upgrade, and the banner offers **Upgrade Plan** directly.
## Permissions
- **mock-server:read** allows viewing the server, rules, logs and usage. All roles have this by default.
- **mock-server:manage** allows creating the server, adding, editing, reordering and deleting rules, and changing matching rules and settings. Admins and Owners have it by default, and rule hover actions and editing controls are hidden without it.
## Related
- [Mock Server Settings](https://docs.routebase.dev/mock-server-settings/) — server configuration, CORS, tokens, and organization-wide defaults
- [Test Data](https://docs.routebase.dev/test-data/) — fixtures you can serve as mock responses
- [Endpoints](https://docs.routebase.dev/endpoints/) — the operations rule generation starts from
- [Schemas](https://docs.routebase.dev/schemas/) — the structures Smart Mock bodies are generated from
- [Test Suites](https://docs.routebase.dev/test-suites/) — validate the real API once it's ready
---
## Mock Server — MCP Tools
Source: https://docs.routebase.dev/mock-server-mcp-tools/
The tools below belong to the **Mock Server** group of the Routebase MCP server.
## clear_request_logs
Delete ALL request logs of a mock server. Cannot be undone — do this before a clean test run, not while investigating. Requires project context.
**Required scope:** `mock-server:manage`
| Parameter | Type | Required | Description |
| --- | --- | --- | --- |
| `mockServerId` | string | Yes | The public Id (Guid) of the mock server |
## create_mock_rule
Create a new mock rule that defines how the mock server responds to matching requests. At minimum, provide a name, path pattern, and response status code. The path pattern supports wildcards (e.g., '/api/users/*' or '/api/v{version}/items/**'). Requires project context (call set_context first).
**Required scope:** `mock-server:manage`
| Parameter | Type | Required | Description |
| --- | --- | --- | --- |
| `mockServerId` | string | Yes | The public Id (Guid) of the mock server |
| `name` | string | Yes | Display name for the rule |
| `pathPattern` | string | Yes | URL path pattern to match (supports wildcards: * for single segment, ** for multiple) |
| `method` | string | No | HTTP method to match: get, post, put, patch, delete, head, options, query (null = any method) |
| `responseStatusCode` | integer | No (default `200`) | HTTP status code to return (default 200) |
| `responseBody` | string | No | Response body content (string or JSON) |
| `responseContentType` | string | No (default `"application/json"`) | Content-Type header for response (default 'application/json') |
| `description` | string | No | Optional description for the rule |
| `queryPattern` | string | No | Query parameter matching pattern as JSON object |
| `headersPattern` | string | No | Header matching pattern as JSON object |
| `priority` | integer | No | Rule priority — lower number = higher precedence (default 100) |
| `responseHeaders` | string | No | Additional response headers as JSON object |
| `delayMilliseconds` | integer | No | Fixed delay in milliseconds before sending response |
| `isDynamic` | boolean | No | Enable dynamic template processing in response body (Handlebars-style) |
## create_mock_server
Create a new mock server for the active project. Each project can have one mock server. Returns the created server with its unique MockCode and URL. Requires project context (call set_context first).
**Required scope:** `mock-server:manage`
| Parameter | Type | Required | Description |
| --- | --- | --- | --- |
| `name` | string | No | Optional display name for the mock server |
## delete_mock_rule
Delete a mock rule from the active project's mock server. Use 'list_mock_rules' to find the rule's public ID. Requires project context.
**Required scope:** `mock-server:manage`
| Parameter | Type | Required | Description |
| --- | --- | --- | --- |
| `ruleId` | string | Yes | The public ID (GUID) of the mock rule to delete |
## delete_mock_server
Delete the active project's mock server and all its rules. Use 'get_mock_server' to find the mock server's public ID. Requires project context.
**Required scope:** `mock-server:manage`
| Parameter | Type | Required | Description |
| --- | --- | --- | --- |
| `mockServerId` | string | Yes | The public ID (GUID) of the mock server to delete |
## generate_rules_from_spec
Automatically generate mock rules from an API specification. Creates one rule per endpoint with Smart Mock responses based on schemas. Optionally target a specific spec version. By default, skips endpoints that already have rules. Requires project context (call set_context first).
**Required scope:** `mock-server:manage`
| Parameter | Type | Required | Description |
| --- | --- | --- | --- |
| `specId` | string | Yes | The public Id (Guid) of the API specification to generate rules from |
| `versionId` | string | No | Optional: The public Id (Guid) of a specific spec version. If omitted, uses all endpoints. |
| `skipExisting` | boolean | No (default `true`) | If true (default), skip endpoints that already have mock rules |
## get_mock_rule_diagnostics
Inspect one mock rule. view 'drift' (default) compares the rule against the latest published spec version and lists what changed since it was pinned; view 'state' returns the stored state of a stateful rule. Use this to inspect one rule's drift or match history; to browse the rules use list_mock_rules. Requires project context.
**Required scope:** `mock-server:read`
| Parameter | Type | Required | Description |
| --- | --- | --- | --- |
| `ruleId` | string | Yes | The public Id (Guid) of the mock rule |
| `view` | string | No (default `"drift"`) | What to inspect: 'drift' (default) or 'state' |
## get_mock_server
Get the mock server status and URL for the active project. Returns server details including MockCode, URL, active status, rule count, and Smart Mock settings. Returns null if no mock server exists yet (use create_mock_server to create one). Set includeStats to also get rule, request-log and spec-coverage statistics. The access token is never returned; when requireToken is on, the only way to obtain one is 'regenerate_mock_server_token' (which invalidates the old token). Requires project context (call set_context first).
**Required scope:** `mock-server:read`
| Parameter | Type | Required | Description |
| --- | --- | --- | --- |
| `includeStats` | boolean | No (default `false`) | Also return rule counts, request-log aggregates and which spec endpoints have no mock rule yet. Defaults to false. |
## get_mock_usage
Read the organization's mock request usage against its plan limit. view 'current' (default) returns the running month with the limit and reset date, 'history' the monthly totals, 'breakdown' the current month split by project. This is what to check when mock requests start being rejected. Use this for request usage against the plan limit; for the individual requests use get_request_logs. Requires organization context.
_No special scope — available to any authenticated key._
| Parameter | Type | Required | Description |
| --- | --- | --- | --- |
| `view` | string | No (default `"current"`) | What to read: 'current' (default), 'history' or 'breakdown' |
| `months` | integer | No (default `6`) | For view 'history': how many months back. Defaults to 6. |
## get_org_mock_defaults
Read the organization-wide mock server defaults — faker locale, time format, time zone, default mock type and whether the built-in matching rules apply. Every project inherits these unless update_mock_server overrides them. Requires organization context.
**Required scope:** `org:manage-governance`
_No parameters._
## get_request_logs
Get request logs from the mock server showing recent incoming requests and matched rules. Supports filtering by HTTP method, path, status code, and time range. Pass logId to get ONE log with its full request and response bodies and headers instead of the list — that is where you look when a request matched the wrong rule. Requires project context (call set_context first).
**Required scope:** `mock-server:read`
| Parameter | Type | Required | Description |
| --- | --- | --- | --- |
| `mockServerId` | string | Yes | The public Id (Guid) of the mock server |
| `method` | string | No | Filter by HTTP method (e.g., 'GET', 'POST') |
| `pathContains` | string | No | Filter by path containing this text |
| `statusCode` | integer | No | Filter by response status code |
| `skip` | integer | No (default `0`) | Number of logs to skip (for pagination, default 0) |
| `take` | integer | No (default `50`) | Number of logs to return (default 50, max 100) |
| `logId` | string | No | Public Id (Guid) of a single log. When given, returns that one log in full (bodies and headers) and every filter and pagination parameter is ignored. |
## list_mock_rules
List all mock rules for a mock server with pagination. Returns rules sorted by priority (lower = higher precedence) with path pattern, method, status code, and active status. Requires project context (call set_context first).
**Required scope:** `mock-server:read`
| Parameter | Type | Required | Description |
| --- | --- | --- | --- |
| `mockServerId` | string | Yes | The public Id (Guid) of the mock server |
| `skip` | integer | No (default `0`) | Number of rules to skip (for pagination, default 0) |
| `take` | integer | No (default `50`) | Number of rules to return (default 50, max 100) |
## list_org_builtin_rules
List the built-in Smart Mock matching rules with the organization's overrides applied. hasOrgOverride tells you whether a rule was explicitly turned on or off here, or is running on the shipped default. Built-in rules have no id — they are addressed by their conditionType, dataType and conditionDetails. Use this for the built-in rules; for the organization's custom ones use list_org_smart_mock_rules. Requires organization context.
**Required scope:** `org:manage-governance`
| Parameter | Type | Required | Description |
| --- | --- | --- | --- |
| `category` | string | No | Filter by category: person, location, internet, date_time, finance, identifier, media or misc |
## list_org_smart_mock_rules
List the organization's custom Smart Mock matching rules. They apply to every mock server in the organization unless a project overrides them. Use this for organization-wide custom rules; for one server's own use list_smart_mock_matching_rules. Requires organization context.
**Required scope:** `org:manage-governance`
| Parameter | Type | Required | Description |
| --- | --- | --- | --- |
| `category` | string | No | Filter by category: person, location, internet, date_time, finance, identifier, media or misc |
| `skip` | integer | No (default `0`) | Number of rules to skip (for pagination, default 0) |
| `take` | integer | No (default `50`) | Number of rules to return (default 50, max 100) |
## list_smart_mock_matching_rules
List the Smart Mock matching rules of one mock server — the rules that decide which faker value a field name gets. Includes the built-in catalog unless you filter it out. Use this for one mock server's rules; for the organization-wide ones use list_org_smart_mock_rules. Requires project context.
**Required scope:** `mock-server:read`
| Parameter | Type | Required | Description |
| --- | --- | --- | --- |
| `mockServerId` | string | Yes | The public Id (Guid) of the mock server |
| `isBuiltIn` | boolean | No | true for built-in rules only, false for custom rules only. Omit for both. |
| `category` | string | No | Filter by category: person, location, internet, date_time, finance, identifier, media or misc |
| `skip` | integer | No (default `0`) | Number of rules to skip (for pagination, default 0) |
| `take` | integer | No (default `50`) | Number of rules to return (default 50, max 100) |
## manage_mock_rule_ops
Maintenance operations on existing mock rules. action: 'reorder' (rulePublicIds in the new priority order, needs mockServerId), 'regenerate' (re-generate one rule's response body from the spec, needs ruleId; set previewOnly to compare old and new without saving), 'reset_state' (clear a stateful rule's stored state, needs ruleId), 'sync_from_spec' (re-pin one rule to the latest published spec version, needs ruleId), 'bulk_delete' (needs mockServerId and rulePublicIds), 'bulk_regenerate' (re-generate every regenerable rule of the project). Use this for maintenance across rules; to change a single rule's response use update_mock_rule. Requires project context.
**Required scope:** `mock-server:manage`
| Parameter | Type | Required | Description |
| --- | --- | --- | --- |
| `action` | string | Yes | What to do: 'reorder', 'regenerate', 'reset_state', 'sync_from_spec', 'bulk_delete' or 'bulk_regenerate' |
| `ruleId` | string | No | Public Id (Guid) of a single mock rule. Required for 'regenerate', 'reset_state' and 'sync_from_spec'. |
| `mockServerId` | string | No | Public Id (Guid) of the mock server. Required for 'reorder' and 'bulk_delete'. |
| `rulePublicIds` | string | No | Comma-separated mock rule Ids. Required for 'reorder' (in the desired order) and 'bulk_delete'. |
| `previewOnly` | boolean | No (default `false`) | For 'regenerate': return the old and new body without saving. Defaults to false. |
## manage_org_builtin_rules
Enable or disable built-in Smart Mock matching rules for the whole organization. action: 'toggle' for one rule (needs conditionType, dataType, conditionDetails and isEnabled), 'bulk_toggle' for several (needs rulesJson) — use 'bulk_toggle' to switch a whole category at once. Take the addressing fields from list_org_builtin_rules; built-in rules have no id. Requires the org:manage-governance permission.
**Required scope:** `org:manage-governance`
| Parameter | Type | Required | Description |
| --- | --- | --- | --- |
| `action` | string | Yes | What to do: 'toggle' or 'bulk_toggle' |
| `conditionType` | string | No | How the rule matches: 'exact', 'wildcard' or 'regex'. Required for 'toggle'. |
| `dataType` | string | No | The rule's data type: 'any', 'string', 'integer', 'number' or 'boolean'. Required for 'toggle'. |
| `conditionDetails` | string | No | The rule's field-name pattern. Required for 'toggle'. |
| `isEnabled` | boolean | No | Whether the rule applies. Required for 'toggle'. |
| `rulesJson` | string | No | JSON array for 'bulk_toggle'. Each item: { "conditionType": string, "dataType": string, "conditionDetails": string, "isEnabled": bool }. |
## manage_org_smart_mock_rule
Create, update, delete or enable/disable an organization-wide custom Smart Mock matching rule. action: 'create' (needs conditionDetails, fakerType and category), 'update' (needs ruleId; omitted fields keep their value), 'delete' (needs ruleId), 'toggle' (needs ruleId and isEnabled). Requires the org:manage-governance permission. Use this for organization-wide rules; for one server's own use manage_smart_mock_matching_rule.
**Required scope:** `org:manage-governance`
| Parameter | Type | Required | Description |
| --- | --- | --- | --- |
| `action` | string | Yes | What to do: 'create', 'update', 'delete' or 'toggle' |
| `ruleId` | string | No | Public Id (Guid) of the rule. Required for 'update', 'delete' and 'toggle'. |
| `conditionDetails` | string | No | The field-name pattern to match, e.g. 'email' or '*_at'. Required for 'create'. |
| `conditionType` | string | No | How to match: 'exact', 'wildcard' or 'regex'. Defaults to 'exact' on create. |
| `dataType` | string | No | Restrict to a JSON type: 'any' (default), 'string', 'integer', 'number' or 'boolean' |
| `fakerType` | string | No | The faker type to generate, e.g. 'internet.email'. Required for 'create'. |
| `category` | string | No | Category: person, location, internet, date_time, finance, identifier, media or misc. Required for 'create'. |
| `caseSensitive` | boolean | No | Match the field name case-sensitively. Defaults to false on create. |
| `remark` | string | No | Free-text note explaining the rule |
| `sortOrder` | integer | No | Position in the matching order — lower wins. Defaults to 0 on create. |
| `isEnabled` | boolean | No | Whether the rule applies. Required for 'toggle'. |
## manage_smart_mock_matching_rule
Create, update, delete or enable/disable a custom Smart Mock matching rule on ONE mock server. Built-in rules cannot be edited here — toggle them organization-wide with manage_org_builtin_rules. action: 'create' (needs mockServerId, conditionDetails, fakerType and category), 'update' (needs ruleId; omitted fields keep their value), 'delete' (needs ruleId), 'toggle' (needs ruleId and isEnabled). Requires project context.
**Required scope:** `mock-server:manage`
| Parameter | Type | Required | Description |
| --- | --- | --- | --- |
| `action` | string | Yes | What to do: 'create', 'update', 'delete' or 'toggle' |
| `mockServerId` | string | No | Public Id (Guid) of the mock server. Required for 'create' and for reading the current state on 'update'. |
| `ruleId` | string | No | Public Id (Guid) of the matching rule. Required for 'update', 'delete' and 'toggle'. |
| `conditionDetails` | string | No | The field-name pattern to match, e.g. 'email' or '*_at'. Required for 'create'. |
| `conditionType` | string | No | How to match: 'exact', 'wildcard' or 'regex'. Defaults to 'exact' on create. |
| `dataType` | string | No | Restrict to a JSON type: 'any' (default), 'string', 'integer', 'number' or 'boolean' |
| `fakerType` | string | No | The faker type to generate, e.g. 'internet.email'. Required for 'create'. |
| `category` | string | No | Category: person, location, internet, date_time, finance, identifier, media or misc. Required for 'create'. |
| `caseSensitive` | boolean | No | Match the field name case-sensitively. Defaults to false on create. |
| `remark` | string | No | Free-text note explaining the rule |
| `sortOrder` | integer | No | Position in the matching order — lower wins. Defaults to 0 on create. |
| `isEnabled` | boolean | No | Whether the rule applies. Required for 'toggle'. |
## preview_smart_mock
Render a response body template with its {{faker.*}} placeholders replaced by generated values, using the active project's Smart Mock settings. Use this to check a template before saving it on a rule. Requires project context.
**Required scope:** `mock-server:read`
| Parameter | Type | Required | Description |
| --- | --- | --- | --- |
| `responseBody` | string | Yes | The response body template containing {{faker.*}} placeholders |
## regenerate_mock_server_token
Issue a new access token for the mock server of the active project and return it. The old token stops working immediately — every client that sends it starts failing. Only relevant while requireToken is on. Use this to rotate a leaked token; to read the current server details use get_mock_server. Requires project context.
**Required scope:** `mock-server:manage`
_No parameters._
## test_smart_mock
Test Smart Mock matching for a given field name. Returns which matching rule would apply and what value it would generate. Useful for verifying Smart Mock configuration before generating rules. Requires project context (call set_context first).
**Required scope:** `mock-server:read`
| Parameter | Type | Required | Description |
| --- | --- | --- | --- |
| `mockServerId` | string | Yes | The public Id (Guid) of the mock server |
| `fieldName` | string | Yes | The field name to test matching for (e.g., 'email', 'firstName', 'createdAt') |
| `schemaType` | string | No | Optional JSON Schema type hint (e.g., 'string', 'integer', 'number', 'boolean') |
| `schemaFormat` | string | No | Optional JSON Schema format hint (e.g., 'date-time', 'email', 'uri', 'uuid') |
## update_mock_rule
Update an existing mock rule. All fields are required — pass the current values for fields you don't want to change. Use 'list_mock_rules' or 'get_mock_server' to get current rule details first. Requires project context (call set_context first).
**Required scope:** `mock-server:manage`
| Parameter | Type | Required | Description |
| --- | --- | --- | --- |
| `ruleId` | string | Yes | The public Id (Guid) of the mock rule to update |
| `name` | string | Yes | Display name for the rule |
| `pathPattern` | string | Yes | URL path pattern to match |
| `priority` | integer | Yes | Rule priority (lower = higher precedence) |
| `isActive` | boolean | Yes | Whether the rule is active |
| `responseStatusCode` | integer | Yes | HTTP status code to return |
| `responseContentType` | string | No (default `"application/json"`) | Content-Type header for response |
| `method` | string | No | HTTP method to match: get, post, put, patch, delete, head, options, query (null = any) |
| `description` | string | No | Optional description |
| `queryPattern` | string | No | Query parameter matching pattern as JSON |
| `headersPattern` | string | No | Header matching pattern as JSON |
| `responseHeaders` | string | No | Additional response headers as JSON |
| `responseBody` | string | No | Response body content |
| `delayMilliseconds` | integer | No | Fixed delay in milliseconds before response |
| `isDynamic` | boolean | No (default `false`) | Enable dynamic template processing |
## update_mock_server
Update the mock server of the active project: name, active flag, proxy mode, CORS and the Smart Mock defaults. Omit a field to keep its current value — the tool reads the server first. Use the reset* flags to drop a per-project override so the setting follows the organization default again; omitting a value can only keep it, never inherit it. Use this for one server; for the organization-wide defaults use update_org_mock_defaults. Requires project context.
**Required scope:** `mock-server:manage`
| Parameter | Type | Required | Description |
| --- | --- | --- | --- |
| `name` | string | No | New display name for the mock server |
| `isActive` | boolean | No | Whether the mock server answers requests at all |
| `proxyTargetUrl` | string | No | Forward unmatched requests to this URL instead of returning 404 |
| `proxyModeEnabled` | boolean | No | Enable proxy mode for unmatched requests |
| `corsEnabled` | boolean | No | Send CORS headers on mock responses |
| `allowedOrigins` | string | No | Comma-separated allowed origins for CORS. Empty string allows all. |
| `fakerLocale` | string | No | Faker locale for generated values, e.g. 'en', 'de' |
| `defaultTimeFormat` | string | No | Default format for generated timestamps, e.g. 'iso8601' |
| `defaultTimeZone` | string | No | Default time zone for generated timestamps, e.g. 'UTC' |
| `defaultMockType` | string | No | Default mock type for generated responses |
| `builtInMatchingEnabled` | boolean | No | Apply the built-in Smart Mock matching rules on this server |
| `requireToken` | boolean | No | Require the access token on every mock request |
| `resetToOrgDefault` | string | No | Comma-separated settings to reset to the organization default: 'faker_locale', 'time_format', 'time_zone', 'mock_type', 'built_in_matching' |
| `rowVersion` | string | No | Base64 rowVersion from get_mock_server, for optimistic concurrency |
## update_org_mock_defaults
Update the organization-wide mock server defaults. Omitted fields keep their current value — the command treats null as 'leave alone', so no read is needed first. Requires the org:manage-governance permission. Use this for defaults across every mock server; for a single server use update_mock_server.
**Required scope:** `org:manage-governance`
| Parameter | Type | Required | Description |
| --- | --- | --- | --- |
| `fakerLocale` | string | No | Faker locale for generated values, e.g. 'en', 'de' |
| `defaultTimeFormat` | string | No | Default format for generated timestamps, e.g. 'iso8601' |
| `defaultTimeZone` | string | No | Default time zone for generated timestamps, e.g. 'UTC' |
| `defaultMockType` | string | No | Default mock type for generated responses |
| `builtInMatchingEnabled` | boolean | No | Apply the built-in Smart Mock matching rules organization-wide |
| `rowVersion` | string | No | Base64 rowVersion from get_org_mock_defaults, for optimistic concurrency |
---
## Mock Server Settings
Source: https://docs.routebase.dev/mock-server-settings/
These settings decide how a mock behaves before any rule matches, covering CORS, access tokens, proxy mode and the generated data. They are configured on two levels. **Per-server settings** apply to the mock server inside a project, while **organization-wide defaults** decide what every new mock server inherits, so a convention you set once does not have to be repeated per project. This guide covers both.
## Per-server settings
In the Mock Server workspace, click **Mock Server Settings** at the bottom of the left panel. A settings sheet opens with all configuration for this server, and changes are saved as you make them. Editing requires the **mock-server:manage** permission, which Admins and Owners have by default. With only **mock-server:read**, the values are visible but read-only.
 ### Server Settings
| Setting | What it does |
| --- | --- |
| **Server Name** | A display name for the server. |
| **Status** | Toggle the server **Active**/**Inactive**. An inactive server stops answering requests without losing configuration. |
| **Mock URL** | The server's public base URL (`https://
### Server Settings
| Setting | What it does |
| --- | --- |
| **Server Name** | A display name for the server. |
| **Status** | Toggle the server **Active**/**Inactive**. An inactive server stops answering requests without losing configuration. |
| **Mock URL** | The server's public base URL (`https://
 The page opens with the organization's **Mock Usage**, which counts the requests this month against the plan limit and warns about an upgrade from 80% onward. Three cards follow it.
### Default Settings
This card sets the same five values as the per-server Smart Mock Settings as organization-wide defaults. Those values are **Data Locale**, **Time Format**, **Timezone**, **Default Mock Type** and **Built-in Matching**. Unlike the per-server sheet, the card uses an explicit **Save Changes** button, with **Reset** to discard unsaved edits.
### Built-in Matching Rules
Override the shipped Smart Mock matching rules for **all projects** in the organization by toggling individual rules on or off, or by using **Enable All** and **Disable All**. The card shows how many rules are currently overridden. Projects can still adjust built-in rules locally in their mock server's **Smart data** tab.
### Custom Matching Rules
Organization-wide custom matching rules apply to all projects and use the same fields as project-level custom rules. Those fields are the condition type and pattern, the data type, the faker type, the category, the remark, the sort order and the case sensitivity. Use **Add Rule** to create one, and edit, toggle or delete existing rules from the same card.
## How defaults, org rules, and project rules interact
- A new mock server starts with all five Smart Mock settings inherited from the organization defaults.
- Changing a setting on the server makes it **Custom**, and **Reset to org default** re-attaches it, so later changes to the org default flow through again.
- For data generation, project-level matching rules in the **Smart data** tab sit alongside org-wide rules and built-in rules. Matching rules are applied when mock bodies are *generated*, so after changing rules use **Regenerate affected rules** or regenerate individual rules to see the effect in existing mocks.
## Related
- [Mock Server](https://docs.routebase.dev/mock-server/) — rules, response bodies, and the mock workflow
- [Test Data](https://docs.routebase.dev/test-data/) — fixtures served by fixture-backed response modes
- [Roles & Permissions](https://docs.routebase.dev/roles-permissions/) — how mock-server and governance permissions map to roles
- [Billing](https://docs.routebase.dev/billing/) — plan limits, including monthly mock requests
---
## Monitoring — MCP Tools
Source: https://docs.routebase.dev/monitoring-mcp-tools/
The tools below belong to the **Monitoring** group of the Routebase MCP server.
## generate_monitors_from_spec
Create monitors for many spec endpoints at once — the two steps of the generate wizard. 'preview' lists the endpoints of a spec with the ones that already have a monitor marked, so you can pick; 'create' then creates monitors for the endpoints you selected. Both need specId; 'create' also needs environmentId and endpoints. Use this to cover many endpoints at once; for a single monitor use manage_monitor. Requires project context.
**Required scope:** `monitoring:write`
| Parameter | Type | Required | Description |
| --- | --- | --- | --- |
| `action` | string | Yes | What to do: 'preview' or 'create' |
| `specId` | string | Yes | Public ID (GUID) of the API specification |
| `specVersionId` | string | No | Public ID (GUID) of the spec version — defaults to the latest published version |
| `environmentId` | string | No | Public ID (GUID) of the environment the monitors check — required for 'create' |
| `endpoints` | string | No | Endpoints to create monitors for, as a JSON array. Each item needs endpointPublicId and may carry nameOverride, expectedStatusCodeOverride, intervalSecondsOverride and pathParameterValues (an object of parameter name to value, required for endpoints with path parameters). Example: [{"endpointPublicId":"...","pathParameterValues":{"id":"42"}}]. Get the ids from action 'preview'. Required for 'create' |
| `defaultIntervalSeconds` | integer | No | Seconds between checks for the created monitors, defaults to 300 |
| `defaultTimeoutSeconds` | integer | No | Request timeout in seconds for the created monitors, defaults to 30 |
| `defaultSchemaMode` | string | No | Response schema validation for the created monitors: 'off', 'warn' or 'strict'. Defaults to 'warn' |
## get_alert_policy
Get one alert policy with its full rule set and how many scopes it is assigned to. Use this when you already have the policy id; to browse a project's policies use list_alert_policies. Requires project context.
**Required scope:** `monitoring:read`
| Parameter | Type | Required | Description |
| --- | --- | --- | --- |
| `policyId` | string | Yes | Public ID (GUID) of the policy, from list_alert_policies |
## get_contract_drift
One contract drift event in full: per-field deviations with the value that actually arrived, the route, the request that was sent, and the response body they were read from (first 4 KB, credential headers redacted). Ids come from list_contract_drift. Requires project context.
**Required scope:** `monitoring:read`
| Parameter | Type | Required | Description |
| --- | --- | --- | --- |
| `driftEventId` | string | Yes | Public ID (GUID) of the drift event |
| `projectId` | string | No | Public ID (GUID) of the project — defaults to the session context |
## get_monitor
Get one monitor with its recent checks. The include flags pull in what the monitor detail page shows next to it: uptime and latency percentiles over 24h to 90d, the alert policy that applies (inherited or its own), its maintenance windows, and the fire/resolve history of its alerts. Use this when you already have the monitor id; to browse a project's monitors use list_monitors. Requires project context.
**Required scope:** `monitoring:read`
| Parameter | Type | Required | Description |
| --- | --- | --- | --- |
| `monitorId` | string | Yes | Public ID (GUID) of the monitor, from list_monitors |
| `includeUptimeStats` | boolean | No (default `false`) | Include uptime percentages and response-time percentiles |
| `includeEffectivePolicy` | boolean | No (default `false`) | Include the alert policy that applies to this monitor and where it comes from |
| `includeMaintenanceWindows` | boolean | No (default `false`) | Include the maintenance windows that cover this monitor |
| `includeAlertHistory` | boolean | No (default `false`) | Include the fire/resolve history of this monitor's alerts |
| `includeFreshnessWatches` | boolean | No (default `false`) | Include watched field paths and how long each value has been unchanged |
## get_monitoring_settings
Get the project's monitoring defaults: how long check history is kept, the default check interval, timeout, incident threshold and schema validation mode, and whether monitors are created automatically when a spec is published. Use this to read the defaults; to change them use update_monitoring_settings. Requires project context.
**Required scope:** `monitoring:read`
| Parameter | Type | Required | Description |
| --- | --- | --- | --- |
| `projectId` | string | No | Public ID (GUID) of the project — defaults to the project in the session context |
## get_monitoring_sync_status
Compare a spec against the monitors that exist for it in one environment: how much of it is covered, which endpoints have no monitor, which monitors point at endpoints that are gone, and how many are drift-watched. The starting point before generating monitors. Requires project context.
**Required scope:** `monitoring:read`
| Parameter | Type | Required | Description |
| --- | --- | --- | --- |
| `specId` | string | Yes | Public ID (GUID) of the API specification |
| `environmentId` | string | Yes | Public ID (GUID) of the environment |
| `projectId` | string | No | Public ID (GUID) of the project — defaults to the project in the session context |
## get_schema_drift_report
Get what a monitor's schema validation found: per check whether it passed, and the drift items with their JSON path, severity, expected and actual value. Only returns something for monitors with schema validation on — see manage_drift_watch. Requires project context.
**Required scope:** `monitoring:read`
| Parameter | Type | Required | Description |
| --- | --- | --- | --- |
| `monitorId` | string | Yes | Public ID (GUID) of the monitor, from list_monitors |
| `from` | string | No | Only checks at or after this UTC timestamp (ISO 8601) |
| `to` | string | No | Only checks at or before this UTC timestamp (ISO 8601) |
| `take` | integer | No (default `50`) | Maximum number of checks to report on, defaults to 50 |
## list_alert_policies
List the alert policies of a project with their rules. Set includeAssignments to also get which environments, specs and monitors each policy is attached to — that is where the assignmentId for unassigning comes from. Use this to browse policies or find an id; to create or change one use manage_alert_policy. Requires project context.
**Required scope:** `monitoring:read`
| Parameter | Type | Required | Description |
| --- | --- | --- | --- |
| `projectId` | string | No | Public ID (GUID) of the project — defaults to the project in the session context |
| `includeAssignments` | boolean | No (default `false`) | Include the scope assignments of the policies |
## list_contract_drift
List the endpoints of a project whose live responses drift from their contract, grouped by endpoint with the drift items, how long it has lasted and the contract version checked against. Resolved events are left out unless asked for. Use get_schema_drift_report for one monitor's history. Use this for the endpoints that drift; for one drift event in full use get_contract_drift. Requires project context.
**Required scope:** `monitoring:read`
| Parameter | Type | Required | Description |
| --- | --- | --- | --- |
| `projectId` | string | No | Public ID (GUID) of the project — defaults to the session context |
| `environmentId` | string | No | Only drift in this environment, by its public ID (GUID) |
| `minSeverity` | string | No | Lowest severity to report: 'error' or 'warning'. Omit for all |
| `status` | string | No | 'all' or 'resolved' includes closed events; omit for the open ones |
| `lookbackDays` | integer | No (default `7`) | How far back to list RESOLVED events, in days (1-30, default 7) |
## list_incidents
List incidents across the organization, newest first, with the monitor that raised each one and its event timeline. Filter by status, by monitor, by environment or spec, and by time window. Works across the organization, no project context needed. Use this to browse incidents; to acknowledge or resolve one use manage_incident.
**Required scope:** `monitoring:read`
| Parameter | Type | Required | Description |
| --- | --- | --- | --- |
| `status` | string | No | Only incidents in this state: 'open', 'acknowledged' or 'resolved' |
| `monitorId` | string | No | Public ID (GUID) of a monitor to filter by |
| `environmentId` | string | No | Public ID (GUID) of an environment to filter by |
| `apiSpecId` | string | No | Public ID (GUID) of an API specification to filter by |
| `from` | string | No | Only incidents started at or after this UTC timestamp (ISO 8601) |
| `to` | string | No | Only incidents started at or before this UTC timestamp (ISO 8601) |
| `skip` | integer | No (default `0`) | Number of incidents to skip, defaults to 0 |
| `take` | integer | No (default `50`) | Maximum number of incidents to return, defaults to 50 |
## list_maintenance_windows
List the maintenance windows of a project across all scopes, with the window ids needed to cancel them. Set activeOnly to see just the ones in effect right now. Requires project context. Use this to browse windows or find an id; to plan or cancel one use manage_maintenance_window.
**Required scope:** `monitoring:read`
| Parameter | Type | Required | Description |
| --- | --- | --- | --- |
| `projectId` | string | No | Public ID (GUID) of the project — defaults to the project in the session context |
| `activeOnly` | boolean | No (default `false`) | Only windows that are in effect right now |
## list_monitor_checks
List the individual checks a monitor ran, newest first — status code, response time and the timing breakdown (DNS, connect, TLS, first byte). Set onlyErrors to see just the failures. Use from and to to narrow the window. Use this for the individual checks of one monitor; for the monitor itself use get_monitor. Requires project context.
**Required scope:** `monitoring:read`
| Parameter | Type | Required | Description |
| --- | --- | --- | --- |
| `monitorId` | string | Yes | Public ID (GUID) of the monitor, from list_monitors |
| `from` | string | No | Only checks at or after this UTC timestamp (ISO 8601, e.g. '2026-07-31T00:00:00Z') |
| `to` | string | No | Only checks at or before this UTC timestamp (ISO 8601) |
| `onlyErrors` | boolean | No | Only return checks that failed |
| `skip` | integer | No (default `0`) | Number of checks to skip, defaults to 0 |
| `take` | integer | No (default `50`) | Maximum number of checks to return, defaults to 50 |
## list_monitors
List the monitors of a project with their current status. Set grouped to see them as an environment → spec tree the way the sidebar shows them (paging does not apply then). Set includeStats to add 24h uptime, p95 latency and the response-time sparkline per monitor. Use this to browse monitors or find a monitor id; for one monitor with its checks use get_monitor. Requires project context.
**Required scope:** `monitoring:read`
| Parameter | Type | Required | Description |
| --- | --- | --- | --- |
| `projectId` | string | No | Public ID (GUID) of the project — defaults to the project in the session context |
| `isEnabled` | boolean | No | Only enabled (true) or only disabled (false) monitors — omit for all |
| `grouped` | boolean | No (default `false`) | Group as an environment → spec → monitor tree instead of a flat list |
| `includeStats` | boolean | No (default `false`) | Include 24h uptime, p95 latency and sparkline buckets per monitor |
| `skip` | integer | No (default `0`) | Number of monitors to skip, defaults to 0 |
| `take` | integer | No (default `100`) | Maximum number of monitors to return, defaults to 100 |
## manage_alert_policy
Create, change, delete or attach an alert policy — a named set of rules that decides when monitors raise an incident. 'create' needs name and rules; 'update' needs policyId and REPLACES the policy, fields you omit keep their current value; 'delete' needs policyId; 'assign' attaches the policy to a scope and needs policyId, scope and the id for that scope; 'unassign' needs assignmentId from list_alert_policies with includeAssignments; 'migrate_legacy_alerts' converts the project's per-monitor alert rules into policies once. For rules on a single monitor use manage_monitor_alert. Requires project context.
**Required scope:** `monitoring:write`
| Parameter | Type | Required | Description |
| --- | --- | --- | --- |
| `action` | string | Yes | What to do: 'create', 'update', 'delete', 'assign', 'unassign' or 'migrate_legacy_alerts' |
| `policyId` | string | No | Public ID (GUID) of the policy — required for 'update', 'delete' and 'assign' |
| `name` | string | No | Policy name (e.g. 'Production — strict') — required for 'create' |
| `description` | string | No | Optional description |
| `isEnabled` | boolean | No | Whether the policy is active — used by 'update' |
| `rules` | string | No | Rules as a JSON array — required for 'create'. Each item needs alertType and condition, and may carry cooldownMinutes (defaults to 30). condition may be an object or a JSON string. Alert types and the condition each one needs: 'downtime' → {"consecutiveFailures":n}; 'latencyThreshold' → {"thresholdMs":n,"windowChecks":n}; 'errorRate' → {"thresholdPercent":1-100,"windowChecks":n}; 'schemaDrift' → {"minSeverity":"error"\|"warning"\|"info"}. Example: [{"alertType":"downtime","condition":{"consecutiveFailures":3}}] |
| `scope` | string | No | What the policy attaches to — required for 'assign': 'environment', 'apiSpec' or 'monitor' |
| `environmentId` | string | No | Public ID (GUID) of the environment — required for 'assign' with scope 'environment' |
| `apiSpecId` | string | No | Public ID (GUID) of the API specification — required for 'assign' with scope 'apiSpec' |
| `monitorId` | string | No | Public ID (GUID) of the monitor — required for 'assign' with scope 'monitor' |
| `assignmentId` | string | No | Public ID (GUID) of the assignment to remove — required for 'unassign' |
## manage_drift_event
Triage one contract drift event. 'acknowledge' marks it as owned — it stops counting as new but stays listed; 'resolve' closes it; 'reopen' undoes either. Drift that stops on its own is closed by the next clean check. Ids come from list_contract_drift. Requires project context.
**Required scope:** `monitoring:write`
| Parameter | Type | Required | Description |
| --- | --- | --- | --- |
| `action` | string | Yes | What to do: 'acknowledge', 'resolve' or 'reopen' |
| `driftEventId` | string | Yes | Public ID (GUID) of the drift event |
| `note` | string | No | Optional note recorded on the event |
| `projectId` | string | No | Public ID (GUID) of the project — defaults to the session context |
## manage_drift_watch
Turn schema drift watching on or off for one spec in one environment. 'enable' provisions or updates a schema-validating monitor for every endpoint of the spec's latest published version — it is idempotent, so running it again after a publish picks up new endpoints. 'disable' stops the validation but keeps the monitors running as plain uptime checks. Both need specId and environmentId. Read the findings with get_schema_drift_report. Requires project context.
**Required scope:** `monitoring:write`
| Parameter | Type | Required | Description |
| --- | --- | --- | --- |
| `action` | string | Yes | What to do: 'enable' or 'disable' |
| `specId` | string | Yes | Public ID (GUID) of the API specification |
| `environmentId` | string | Yes | Public ID (GUID) of the environment to watch |
| `schemaMode` | string | No | How strictly responses are validated — 'enable' only: 'warn' or 'strict'. Defaults to 'warn' |
| `alertSharpness` | string | No | How loudly drift is reported — 'enable' only: 'error' or 'warning'. Defaults to 'error' |
## manage_incident
Acknowledge or resolve incidents. Pass one incident id or several as a comma-separated list — several are handled as one bulk operation and the result reports how many succeeded and failed. 'acknowledge' marks an incident as seen and being worked on; 'resolve' closes it. The optional note is recorded on the incident timeline. Get the ids from list_incidents. Works across the organization, no project context needed.
**Required scope:** `monitoring:write`
| Parameter | Type | Required | Description |
| --- | --- | --- | --- |
| `action` | string | Yes | What to do: 'acknowledge' or 'resolve' |
| `incidentIds` | string | Yes | Public ID (GUID) of the incident, or several separated by commas |
| `note` | string | No | Optional note recorded on the incident timeline |
## manage_maintenance_window
Plan or cancel a maintenance window — a period in which monitors keep running but do not raise incidents, and which is excluded from uptime. 'create' covers a whole scope and needs title, startsAt, endsAt, scope and the id for that scope; it can repeat on a cron schedule. 'create_for_monitor' is the short path for a one-off window on a single monitor and needs monitorId, title, startsAt and endsAt. 'delete' needs windowId from list_maintenance_windows. Requires project context.
**Required scope:** `monitoring:write`
| Parameter | Type | Required | Description |
| --- | --- | --- | --- |
| `action` | string | Yes | What to do: 'create', 'create_for_monitor' or 'delete' |
| `windowId` | string | No | Public ID (GUID) of the window to cancel — required for 'delete' |
| `title` | string | No | What the window is about (e.g. 'Database migration') — required for both create actions |
| `startsAt` | string | No | When the window starts, as a UTC timestamp (ISO 8601, e.g. '2026-08-01T22:00:00Z') — required for both create actions |
| `endsAt` | string | No | When the window ends, as a UTC timestamp (ISO 8601) — required for both create actions |
| `scope` | string | No | What the window covers — required for 'create': 'environment', 'apiSpec' or 'monitor' |
| `environmentId` | string | No | Public ID (GUID) of the environment — required for 'create' with scope 'environment' |
| `apiSpecId` | string | No | Public ID (GUID) of the API specification — required for 'create' with scope 'apiSpec' |
| `monitorId` | string | No | Public ID (GUID) of the monitor — required for 'create_for_monitor', and for 'create' with scope 'monitor' |
| `isRecurring` | boolean | No (default `false`) | Whether the window repeats — 'create' only |
| `cronExpression` | string | No | Cron expression for the repeat (e.g. '0 2 * * SUN') — required when isRecurring is true |
| `durationMinutes` | integer | No | How many minutes each repeat lasts — used with isRecurring |
## manage_monitor
Create, change or run a monitor — an HTTP check against one URL on a fixed interval. 'create' needs name and targetUrl; 'update' needs monitorId and REPLACES the monitor, fields you omit keep their current value, so you can change one alone; 'delete' needs monitorId; 'toggle' needs monitorId and isEnabled (this is the ONLY way to enable or disable — 'update' does not touch it); 'toggle_custom_alerts' switches a monitor between the inherited alert policy and its own rules; 'trigger_check' runs one check right now and returns its result; 'set_freshness_watches' replaces the paths this monitor watches for values that stopped changing. To create many monitors from a spec at once use generate_monitors_from_spec. Requires project context.
**Required scope:** `monitoring:write`
| Parameter | Type | Required | Description |
| --- | --- | --- | --- |
| `action` | string | Yes | What to do: 'create', 'update', 'delete', 'toggle', 'toggle_custom_alerts', 'trigger_check' or 'set_freshness_watches' |
| `monitorId` | string | No | Public ID (GUID) of the monitor — required for every action except 'create' |
| `name` | string | No | Monitor name (e.g. 'GET /customers — production') — required for 'create' |
| `targetUrl` | string | No | Absolute URL the check calls (e.g. 'https://api.example.com/customers') — required for 'create' |
| `httpMethod` | string | No | HTTP method to call, defaults to GET on 'create' |
| `headers` | string | No | Request headers as a JSON object string (e.g. '{"Authorization":"Bearer x"}') |
| `requestBody` | string | No | Request body to send, for POST/PUT/PATCH checks |
| `intervalSeconds` | integer | No | Seconds between checks, defaults to 300 on 'create' |
| `timeoutSeconds` | integer | No | Request timeout in seconds, defaults to 30 on 'create' |
| `expectedStatusCode` | integer | No | HTTP status code that counts as healthy, defaults to 200 on 'create' |
| `region` | string | No | Check region, defaults to 'default' |
| `schemaValidationMode` | string | No | Response schema validation: 'off', 'warn' or 'strict'. Defaults to 'warn' on 'create' |
| `environmentId` | string | No | Public ID (GUID) of the environment this monitor belongs to, from list_environments |
| `isEnabled` | boolean | No | Whether the monitor runs — required for 'toggle' |
| `useCustomAlerts` | boolean | No | Whether the monitor uses its own alert rules instead of the inherited policy — required for 'toggle_custom_alerts' |
| `freshnessPaths` | string | No | For 'set_freshness_watches': the COMPLETE set of watched paths as a JSON array (e.g. '["$.data.updatedAt"]'). Known paths keep their history, omitted ones are removed, '[]' clears them |
## manage_monitor_alert
Create, change or delete an alert rule that belongs to one monitor and overrides the inherited policy. The monitor must have custom alerts switched on — see manage_monitor action 'toggle_custom_alerts'. A monitor can hold at most one rule per alert type. 'create' needs monitorId, alertType and condition; 'update' needs monitorId and alertId, and keeps the fields you omit (the alert type itself cannot change); 'delete' needs both ids. Get alertId from get_monitor with includeAlertHistory. Alert types and the condition each one needs: 'downtime' → {"consecutiveFailures":n}; 'latencyThreshold' → {"thresholdMs":n,"windowChecks":n}; 'errorRate' → {"thresholdPercent":1-100,"windowChecks":n}; 'schemaDrift' → {"minSeverity":"error"|"warning"|"info"}. Requires project context.
**Required scope:** `monitoring:write`
| Parameter | Type | Required | Description |
| --- | --- | --- | --- |
| `action` | string | Yes | What to do: 'create', 'update' or 'delete' |
| `monitorId` | string | Yes | Public ID (GUID) of the monitor the rule belongs to |
| `alertId` | string | No | Public ID (GUID) of the alert rule — required for 'update' and 'delete' |
| `alertType` | string | No | Alert type: 'downtime', 'latencyThreshold', 'errorRate' or 'schemaDrift' — required for 'create' |
| `condition` | string | No | The condition, as an object or a JSON string — required for 'create'. Shape depends on alertType, see the tool description |
| `cooldownMinutes` | integer | No | Minutes to wait before the rule can fire again, defaults to 30 on 'create' |
| `isEnabled` | boolean | No | Whether the rule is active — used by 'update' |
## update_monitoring_settings
Change the project's monitoring defaults. Settings you do not pass keep their current value. These apply to monitors created afterwards; existing monitors keep their own values. Use this to change the defaults; to read the current ones use get_monitoring_settings. Requires project context.
**Required scope:** `monitoring:write`
| Parameter | Type | Required | Description |
| --- | --- | --- | --- |
| `retentionDays` | integer | No | Days of check history to keep |
| `defaultCheckIntervalSeconds` | integer | No | Default seconds between checks for new monitors |
| `defaultTimeoutSeconds` | integer | No | Default request timeout in seconds for new monitors |
| `defaultIncidentThreshold` | integer | No | How many consecutive failures open an incident |
| `defaultSchemaValidationMode` | string | No | Default response schema validation for new monitors: 'off', 'warn' or 'strict' |
| `autoCreateMonitorsOnSpecPublish` | boolean | No | Whether publishing a spec creates monitors for its endpoints automatically |
---
## Monitoring Overview
Source: https://docs.routebase.dev/monitoring-overview/
Routebase Monitoring runs scheduled health checks against your live APIs, tracks uptime and latency over time, and opens incidents the moment something breaks. That way you hear about an outage from your dashboard rather than from your customers. Because monitors can be linked to your documented endpoints, every check can also validate the live response against your OpenAPI schema and catch [contract drift](https://docs.routebase.dev/contract-drift/) in production.
Monitoring requires the **Pro** plan. On lower tiers the Monitoring area shows an upgrade prompt instead. It also runs per project. Select a project first, or you'll see an onboarding screen asking you to pick one.
## How the pieces fit
A **monitor** pings one target on a fixed interval and records each result as a **check**. From those checks Routebase derives a current status, uptime percentages, and response-time trends. When failures cross your configured thresholds, an **alert** fires, and after enough consecutive failures an **incident** opens. You acknowledge and resolve incidents, and you can mute the whole machinery during planned **maintenance windows**.
| Concept | What it is | Guide |
| --- | --- | --- |
| **Monitor** | A scheduled HTTP check against one URL or endpoint | [Monitors](https://docs.routebase.dev/monitors/) |
| **Check** | One execution of a monitor, with timings and result | [Monitors](https://docs.routebase.dev/monitors/) |
| **Alert policy** | Reusable alert rules assigned to monitors, specs, or environments | [Alert Policies](https://docs.routebase.dev/alert-policies/) |
| **Incident** | A tracked outage opened by consecutive failed checks | [Incidents](https://docs.routebase.dev/incidents/) |
| **Maintenance window** | A scheduled period in which failures don't open incidents | [Maintenance Windows](https://docs.routebase.dev/maintenance-windows/) |
| **Schema drift** | Differences between a live response and your spec, detected on a single check | [Schema Drift](https://docs.routebase.dev/schema-drift/) |
| **Drift event** | A run of the same deviations on one endpoint, with a first-seen date and a lifecycle | [Contract Drift](https://docs.routebase.dev/contract-drift/) |
| **Coverage** | How much of each spec is monitored | [Coverage](https://docs.routebase.dev/coverage/) |
## Navigating the Monitoring area
The Monitoring sidebar has six entries:
| Page | What it covers |
| --- | --- |
| **Dashboard** | A health overview with status counts, uptime, active incidents, contract drift and spec coverage |
| **Monitors** | All monitors, plus an inline tree grouped by environment and spec |
| **Incidents** | Every incident in the project, with filters and bulk actions. A red badge shows the number of open incidents. |
| **Contract Drift** | Every endpoint whose live responses no longer match its contract, grouped per endpoint and environment. An amber badge shows how many have drift nobody has picked up yet. |
| **Alert Policies** | Reusable alert rules you assign to monitors, environments, or specs |
| **Settings** | Project defaults, data retention, spec-publish behavior, and the maintenance-window calendar |
On smaller screens the sidebar collapses into a menu button that opens the same navigation in a sheet.
The page opens with the organization's **Mock Usage**, which counts the requests this month against the plan limit and warns about an upgrade from 80% onward. Three cards follow it.
### Default Settings
This card sets the same five values as the per-server Smart Mock Settings as organization-wide defaults. Those values are **Data Locale**, **Time Format**, **Timezone**, **Default Mock Type** and **Built-in Matching**. Unlike the per-server sheet, the card uses an explicit **Save Changes** button, with **Reset** to discard unsaved edits.
### Built-in Matching Rules
Override the shipped Smart Mock matching rules for **all projects** in the organization by toggling individual rules on or off, or by using **Enable All** and **Disable All**. The card shows how many rules are currently overridden. Projects can still adjust built-in rules locally in their mock server's **Smart data** tab.
### Custom Matching Rules
Organization-wide custom matching rules apply to all projects and use the same fields as project-level custom rules. Those fields are the condition type and pattern, the data type, the faker type, the category, the remark, the sort order and the case sensitivity. Use **Add Rule** to create one, and edit, toggle or delete existing rules from the same card.
## How defaults, org rules, and project rules interact
- A new mock server starts with all five Smart Mock settings inherited from the organization defaults.
- Changing a setting on the server makes it **Custom**, and **Reset to org default** re-attaches it, so later changes to the org default flow through again.
- For data generation, project-level matching rules in the **Smart data** tab sit alongside org-wide rules and built-in rules. Matching rules are applied when mock bodies are *generated*, so after changing rules use **Regenerate affected rules** or regenerate individual rules to see the effect in existing mocks.
## Related
- [Mock Server](https://docs.routebase.dev/mock-server/) — rules, response bodies, and the mock workflow
- [Test Data](https://docs.routebase.dev/test-data/) — fixtures served by fixture-backed response modes
- [Roles & Permissions](https://docs.routebase.dev/roles-permissions/) — how mock-server and governance permissions map to roles
- [Billing](https://docs.routebase.dev/billing/) — plan limits, including monthly mock requests
---
## Monitoring — MCP Tools
Source: https://docs.routebase.dev/monitoring-mcp-tools/
The tools below belong to the **Monitoring** group of the Routebase MCP server.
## generate_monitors_from_spec
Create monitors for many spec endpoints at once — the two steps of the generate wizard. 'preview' lists the endpoints of a spec with the ones that already have a monitor marked, so you can pick; 'create' then creates monitors for the endpoints you selected. Both need specId; 'create' also needs environmentId and endpoints. Use this to cover many endpoints at once; for a single monitor use manage_monitor. Requires project context.
**Required scope:** `monitoring:write`
| Parameter | Type | Required | Description |
| --- | --- | --- | --- |
| `action` | string | Yes | What to do: 'preview' or 'create' |
| `specId` | string | Yes | Public ID (GUID) of the API specification |
| `specVersionId` | string | No | Public ID (GUID) of the spec version — defaults to the latest published version |
| `environmentId` | string | No | Public ID (GUID) of the environment the monitors check — required for 'create' |
| `endpoints` | string | No | Endpoints to create monitors for, as a JSON array. Each item needs endpointPublicId and may carry nameOverride, expectedStatusCodeOverride, intervalSecondsOverride and pathParameterValues (an object of parameter name to value, required for endpoints with path parameters). Example: [{"endpointPublicId":"...","pathParameterValues":{"id":"42"}}]. Get the ids from action 'preview'. Required for 'create' |
| `defaultIntervalSeconds` | integer | No | Seconds between checks for the created monitors, defaults to 300 |
| `defaultTimeoutSeconds` | integer | No | Request timeout in seconds for the created monitors, defaults to 30 |
| `defaultSchemaMode` | string | No | Response schema validation for the created monitors: 'off', 'warn' or 'strict'. Defaults to 'warn' |
## get_alert_policy
Get one alert policy with its full rule set and how many scopes it is assigned to. Use this when you already have the policy id; to browse a project's policies use list_alert_policies. Requires project context.
**Required scope:** `monitoring:read`
| Parameter | Type | Required | Description |
| --- | --- | --- | --- |
| `policyId` | string | Yes | Public ID (GUID) of the policy, from list_alert_policies |
## get_contract_drift
One contract drift event in full: per-field deviations with the value that actually arrived, the route, the request that was sent, and the response body they were read from (first 4 KB, credential headers redacted). Ids come from list_contract_drift. Requires project context.
**Required scope:** `monitoring:read`
| Parameter | Type | Required | Description |
| --- | --- | --- | --- |
| `driftEventId` | string | Yes | Public ID (GUID) of the drift event |
| `projectId` | string | No | Public ID (GUID) of the project — defaults to the session context |
## get_monitor
Get one monitor with its recent checks. The include flags pull in what the monitor detail page shows next to it: uptime and latency percentiles over 24h to 90d, the alert policy that applies (inherited or its own), its maintenance windows, and the fire/resolve history of its alerts. Use this when you already have the monitor id; to browse a project's monitors use list_monitors. Requires project context.
**Required scope:** `monitoring:read`
| Parameter | Type | Required | Description |
| --- | --- | --- | --- |
| `monitorId` | string | Yes | Public ID (GUID) of the monitor, from list_monitors |
| `includeUptimeStats` | boolean | No (default `false`) | Include uptime percentages and response-time percentiles |
| `includeEffectivePolicy` | boolean | No (default `false`) | Include the alert policy that applies to this monitor and where it comes from |
| `includeMaintenanceWindows` | boolean | No (default `false`) | Include the maintenance windows that cover this monitor |
| `includeAlertHistory` | boolean | No (default `false`) | Include the fire/resolve history of this monitor's alerts |
| `includeFreshnessWatches` | boolean | No (default `false`) | Include watched field paths and how long each value has been unchanged |
## get_monitoring_settings
Get the project's monitoring defaults: how long check history is kept, the default check interval, timeout, incident threshold and schema validation mode, and whether monitors are created automatically when a spec is published. Use this to read the defaults; to change them use update_monitoring_settings. Requires project context.
**Required scope:** `monitoring:read`
| Parameter | Type | Required | Description |
| --- | --- | --- | --- |
| `projectId` | string | No | Public ID (GUID) of the project — defaults to the project in the session context |
## get_monitoring_sync_status
Compare a spec against the monitors that exist for it in one environment: how much of it is covered, which endpoints have no monitor, which monitors point at endpoints that are gone, and how many are drift-watched. The starting point before generating monitors. Requires project context.
**Required scope:** `monitoring:read`
| Parameter | Type | Required | Description |
| --- | --- | --- | --- |
| `specId` | string | Yes | Public ID (GUID) of the API specification |
| `environmentId` | string | Yes | Public ID (GUID) of the environment |
| `projectId` | string | No | Public ID (GUID) of the project — defaults to the project in the session context |
## get_schema_drift_report
Get what a monitor's schema validation found: per check whether it passed, and the drift items with their JSON path, severity, expected and actual value. Only returns something for monitors with schema validation on — see manage_drift_watch. Requires project context.
**Required scope:** `monitoring:read`
| Parameter | Type | Required | Description |
| --- | --- | --- | --- |
| `monitorId` | string | Yes | Public ID (GUID) of the monitor, from list_monitors |
| `from` | string | No | Only checks at or after this UTC timestamp (ISO 8601) |
| `to` | string | No | Only checks at or before this UTC timestamp (ISO 8601) |
| `take` | integer | No (default `50`) | Maximum number of checks to report on, defaults to 50 |
## list_alert_policies
List the alert policies of a project with their rules. Set includeAssignments to also get which environments, specs and monitors each policy is attached to — that is where the assignmentId for unassigning comes from. Use this to browse policies or find an id; to create or change one use manage_alert_policy. Requires project context.
**Required scope:** `monitoring:read`
| Parameter | Type | Required | Description |
| --- | --- | --- | --- |
| `projectId` | string | No | Public ID (GUID) of the project — defaults to the project in the session context |
| `includeAssignments` | boolean | No (default `false`) | Include the scope assignments of the policies |
## list_contract_drift
List the endpoints of a project whose live responses drift from their contract, grouped by endpoint with the drift items, how long it has lasted and the contract version checked against. Resolved events are left out unless asked for. Use get_schema_drift_report for one monitor's history. Use this for the endpoints that drift; for one drift event in full use get_contract_drift. Requires project context.
**Required scope:** `monitoring:read`
| Parameter | Type | Required | Description |
| --- | --- | --- | --- |
| `projectId` | string | No | Public ID (GUID) of the project — defaults to the session context |
| `environmentId` | string | No | Only drift in this environment, by its public ID (GUID) |
| `minSeverity` | string | No | Lowest severity to report: 'error' or 'warning'. Omit for all |
| `status` | string | No | 'all' or 'resolved' includes closed events; omit for the open ones |
| `lookbackDays` | integer | No (default `7`) | How far back to list RESOLVED events, in days (1-30, default 7) |
## list_incidents
List incidents across the organization, newest first, with the monitor that raised each one and its event timeline. Filter by status, by monitor, by environment or spec, and by time window. Works across the organization, no project context needed. Use this to browse incidents; to acknowledge or resolve one use manage_incident.
**Required scope:** `monitoring:read`
| Parameter | Type | Required | Description |
| --- | --- | --- | --- |
| `status` | string | No | Only incidents in this state: 'open', 'acknowledged' or 'resolved' |
| `monitorId` | string | No | Public ID (GUID) of a monitor to filter by |
| `environmentId` | string | No | Public ID (GUID) of an environment to filter by |
| `apiSpecId` | string | No | Public ID (GUID) of an API specification to filter by |
| `from` | string | No | Only incidents started at or after this UTC timestamp (ISO 8601) |
| `to` | string | No | Only incidents started at or before this UTC timestamp (ISO 8601) |
| `skip` | integer | No (default `0`) | Number of incidents to skip, defaults to 0 |
| `take` | integer | No (default `50`) | Maximum number of incidents to return, defaults to 50 |
## list_maintenance_windows
List the maintenance windows of a project across all scopes, with the window ids needed to cancel them. Set activeOnly to see just the ones in effect right now. Requires project context. Use this to browse windows or find an id; to plan or cancel one use manage_maintenance_window.
**Required scope:** `monitoring:read`
| Parameter | Type | Required | Description |
| --- | --- | --- | --- |
| `projectId` | string | No | Public ID (GUID) of the project — defaults to the project in the session context |
| `activeOnly` | boolean | No (default `false`) | Only windows that are in effect right now |
## list_monitor_checks
List the individual checks a monitor ran, newest first — status code, response time and the timing breakdown (DNS, connect, TLS, first byte). Set onlyErrors to see just the failures. Use from and to to narrow the window. Use this for the individual checks of one monitor; for the monitor itself use get_monitor. Requires project context.
**Required scope:** `monitoring:read`
| Parameter | Type | Required | Description |
| --- | --- | --- | --- |
| `monitorId` | string | Yes | Public ID (GUID) of the monitor, from list_monitors |
| `from` | string | No | Only checks at or after this UTC timestamp (ISO 8601, e.g. '2026-07-31T00:00:00Z') |
| `to` | string | No | Only checks at or before this UTC timestamp (ISO 8601) |
| `onlyErrors` | boolean | No | Only return checks that failed |
| `skip` | integer | No (default `0`) | Number of checks to skip, defaults to 0 |
| `take` | integer | No (default `50`) | Maximum number of checks to return, defaults to 50 |
## list_monitors
List the monitors of a project with their current status. Set grouped to see them as an environment → spec tree the way the sidebar shows them (paging does not apply then). Set includeStats to add 24h uptime, p95 latency and the response-time sparkline per monitor. Use this to browse monitors or find a monitor id; for one monitor with its checks use get_monitor. Requires project context.
**Required scope:** `monitoring:read`
| Parameter | Type | Required | Description |
| --- | --- | --- | --- |
| `projectId` | string | No | Public ID (GUID) of the project — defaults to the project in the session context |
| `isEnabled` | boolean | No | Only enabled (true) or only disabled (false) monitors — omit for all |
| `grouped` | boolean | No (default `false`) | Group as an environment → spec → monitor tree instead of a flat list |
| `includeStats` | boolean | No (default `false`) | Include 24h uptime, p95 latency and sparkline buckets per monitor |
| `skip` | integer | No (default `0`) | Number of monitors to skip, defaults to 0 |
| `take` | integer | No (default `100`) | Maximum number of monitors to return, defaults to 100 |
## manage_alert_policy
Create, change, delete or attach an alert policy — a named set of rules that decides when monitors raise an incident. 'create' needs name and rules; 'update' needs policyId and REPLACES the policy, fields you omit keep their current value; 'delete' needs policyId; 'assign' attaches the policy to a scope and needs policyId, scope and the id for that scope; 'unassign' needs assignmentId from list_alert_policies with includeAssignments; 'migrate_legacy_alerts' converts the project's per-monitor alert rules into policies once. For rules on a single monitor use manage_monitor_alert. Requires project context.
**Required scope:** `monitoring:write`
| Parameter | Type | Required | Description |
| --- | --- | --- | --- |
| `action` | string | Yes | What to do: 'create', 'update', 'delete', 'assign', 'unassign' or 'migrate_legacy_alerts' |
| `policyId` | string | No | Public ID (GUID) of the policy — required for 'update', 'delete' and 'assign' |
| `name` | string | No | Policy name (e.g. 'Production — strict') — required for 'create' |
| `description` | string | No | Optional description |
| `isEnabled` | boolean | No | Whether the policy is active — used by 'update' |
| `rules` | string | No | Rules as a JSON array — required for 'create'. Each item needs alertType and condition, and may carry cooldownMinutes (defaults to 30). condition may be an object or a JSON string. Alert types and the condition each one needs: 'downtime' → {"consecutiveFailures":n}; 'latencyThreshold' → {"thresholdMs":n,"windowChecks":n}; 'errorRate' → {"thresholdPercent":1-100,"windowChecks":n}; 'schemaDrift' → {"minSeverity":"error"\|"warning"\|"info"}. Example: [{"alertType":"downtime","condition":{"consecutiveFailures":3}}] |
| `scope` | string | No | What the policy attaches to — required for 'assign': 'environment', 'apiSpec' or 'monitor' |
| `environmentId` | string | No | Public ID (GUID) of the environment — required for 'assign' with scope 'environment' |
| `apiSpecId` | string | No | Public ID (GUID) of the API specification — required for 'assign' with scope 'apiSpec' |
| `monitorId` | string | No | Public ID (GUID) of the monitor — required for 'assign' with scope 'monitor' |
| `assignmentId` | string | No | Public ID (GUID) of the assignment to remove — required for 'unassign' |
## manage_drift_event
Triage one contract drift event. 'acknowledge' marks it as owned — it stops counting as new but stays listed; 'resolve' closes it; 'reopen' undoes either. Drift that stops on its own is closed by the next clean check. Ids come from list_contract_drift. Requires project context.
**Required scope:** `monitoring:write`
| Parameter | Type | Required | Description |
| --- | --- | --- | --- |
| `action` | string | Yes | What to do: 'acknowledge', 'resolve' or 'reopen' |
| `driftEventId` | string | Yes | Public ID (GUID) of the drift event |
| `note` | string | No | Optional note recorded on the event |
| `projectId` | string | No | Public ID (GUID) of the project — defaults to the session context |
## manage_drift_watch
Turn schema drift watching on or off for one spec in one environment. 'enable' provisions or updates a schema-validating monitor for every endpoint of the spec's latest published version — it is idempotent, so running it again after a publish picks up new endpoints. 'disable' stops the validation but keeps the monitors running as plain uptime checks. Both need specId and environmentId. Read the findings with get_schema_drift_report. Requires project context.
**Required scope:** `monitoring:write`
| Parameter | Type | Required | Description |
| --- | --- | --- | --- |
| `action` | string | Yes | What to do: 'enable' or 'disable' |
| `specId` | string | Yes | Public ID (GUID) of the API specification |
| `environmentId` | string | Yes | Public ID (GUID) of the environment to watch |
| `schemaMode` | string | No | How strictly responses are validated — 'enable' only: 'warn' or 'strict'. Defaults to 'warn' |
| `alertSharpness` | string | No | How loudly drift is reported — 'enable' only: 'error' or 'warning'. Defaults to 'error' |
## manage_incident
Acknowledge or resolve incidents. Pass one incident id or several as a comma-separated list — several are handled as one bulk operation and the result reports how many succeeded and failed. 'acknowledge' marks an incident as seen and being worked on; 'resolve' closes it. The optional note is recorded on the incident timeline. Get the ids from list_incidents. Works across the organization, no project context needed.
**Required scope:** `monitoring:write`
| Parameter | Type | Required | Description |
| --- | --- | --- | --- |
| `action` | string | Yes | What to do: 'acknowledge' or 'resolve' |
| `incidentIds` | string | Yes | Public ID (GUID) of the incident, or several separated by commas |
| `note` | string | No | Optional note recorded on the incident timeline |
## manage_maintenance_window
Plan or cancel a maintenance window — a period in which monitors keep running but do not raise incidents, and which is excluded from uptime. 'create' covers a whole scope and needs title, startsAt, endsAt, scope and the id for that scope; it can repeat on a cron schedule. 'create_for_monitor' is the short path for a one-off window on a single monitor and needs monitorId, title, startsAt and endsAt. 'delete' needs windowId from list_maintenance_windows. Requires project context.
**Required scope:** `monitoring:write`
| Parameter | Type | Required | Description |
| --- | --- | --- | --- |
| `action` | string | Yes | What to do: 'create', 'create_for_monitor' or 'delete' |
| `windowId` | string | No | Public ID (GUID) of the window to cancel — required for 'delete' |
| `title` | string | No | What the window is about (e.g. 'Database migration') — required for both create actions |
| `startsAt` | string | No | When the window starts, as a UTC timestamp (ISO 8601, e.g. '2026-08-01T22:00:00Z') — required for both create actions |
| `endsAt` | string | No | When the window ends, as a UTC timestamp (ISO 8601) — required for both create actions |
| `scope` | string | No | What the window covers — required for 'create': 'environment', 'apiSpec' or 'monitor' |
| `environmentId` | string | No | Public ID (GUID) of the environment — required for 'create' with scope 'environment' |
| `apiSpecId` | string | No | Public ID (GUID) of the API specification — required for 'create' with scope 'apiSpec' |
| `monitorId` | string | No | Public ID (GUID) of the monitor — required for 'create_for_monitor', and for 'create' with scope 'monitor' |
| `isRecurring` | boolean | No (default `false`) | Whether the window repeats — 'create' only |
| `cronExpression` | string | No | Cron expression for the repeat (e.g. '0 2 * * SUN') — required when isRecurring is true |
| `durationMinutes` | integer | No | How many minutes each repeat lasts — used with isRecurring |
## manage_monitor
Create, change or run a monitor — an HTTP check against one URL on a fixed interval. 'create' needs name and targetUrl; 'update' needs monitorId and REPLACES the monitor, fields you omit keep their current value, so you can change one alone; 'delete' needs monitorId; 'toggle' needs monitorId and isEnabled (this is the ONLY way to enable or disable — 'update' does not touch it); 'toggle_custom_alerts' switches a monitor between the inherited alert policy and its own rules; 'trigger_check' runs one check right now and returns its result; 'set_freshness_watches' replaces the paths this monitor watches for values that stopped changing. To create many monitors from a spec at once use generate_monitors_from_spec. Requires project context.
**Required scope:** `monitoring:write`
| Parameter | Type | Required | Description |
| --- | --- | --- | --- |
| `action` | string | Yes | What to do: 'create', 'update', 'delete', 'toggle', 'toggle_custom_alerts', 'trigger_check' or 'set_freshness_watches' |
| `monitorId` | string | No | Public ID (GUID) of the monitor — required for every action except 'create' |
| `name` | string | No | Monitor name (e.g. 'GET /customers — production') — required for 'create' |
| `targetUrl` | string | No | Absolute URL the check calls (e.g. 'https://api.example.com/customers') — required for 'create' |
| `httpMethod` | string | No | HTTP method to call, defaults to GET on 'create' |
| `headers` | string | No | Request headers as a JSON object string (e.g. '{"Authorization":"Bearer x"}') |
| `requestBody` | string | No | Request body to send, for POST/PUT/PATCH checks |
| `intervalSeconds` | integer | No | Seconds between checks, defaults to 300 on 'create' |
| `timeoutSeconds` | integer | No | Request timeout in seconds, defaults to 30 on 'create' |
| `expectedStatusCode` | integer | No | HTTP status code that counts as healthy, defaults to 200 on 'create' |
| `region` | string | No | Check region, defaults to 'default' |
| `schemaValidationMode` | string | No | Response schema validation: 'off', 'warn' or 'strict'. Defaults to 'warn' on 'create' |
| `environmentId` | string | No | Public ID (GUID) of the environment this monitor belongs to, from list_environments |
| `isEnabled` | boolean | No | Whether the monitor runs — required for 'toggle' |
| `useCustomAlerts` | boolean | No | Whether the monitor uses its own alert rules instead of the inherited policy — required for 'toggle_custom_alerts' |
| `freshnessPaths` | string | No | For 'set_freshness_watches': the COMPLETE set of watched paths as a JSON array (e.g. '["$.data.updatedAt"]'). Known paths keep their history, omitted ones are removed, '[]' clears them |
## manage_monitor_alert
Create, change or delete an alert rule that belongs to one monitor and overrides the inherited policy. The monitor must have custom alerts switched on — see manage_monitor action 'toggle_custom_alerts'. A monitor can hold at most one rule per alert type. 'create' needs monitorId, alertType and condition; 'update' needs monitorId and alertId, and keeps the fields you omit (the alert type itself cannot change); 'delete' needs both ids. Get alertId from get_monitor with includeAlertHistory. Alert types and the condition each one needs: 'downtime' → {"consecutiveFailures":n}; 'latencyThreshold' → {"thresholdMs":n,"windowChecks":n}; 'errorRate' → {"thresholdPercent":1-100,"windowChecks":n}; 'schemaDrift' → {"minSeverity":"error"|"warning"|"info"}. Requires project context.
**Required scope:** `monitoring:write`
| Parameter | Type | Required | Description |
| --- | --- | --- | --- |
| `action` | string | Yes | What to do: 'create', 'update' or 'delete' |
| `monitorId` | string | Yes | Public ID (GUID) of the monitor the rule belongs to |
| `alertId` | string | No | Public ID (GUID) of the alert rule — required for 'update' and 'delete' |
| `alertType` | string | No | Alert type: 'downtime', 'latencyThreshold', 'errorRate' or 'schemaDrift' — required for 'create' |
| `condition` | string | No | The condition, as an object or a JSON string — required for 'create'. Shape depends on alertType, see the tool description |
| `cooldownMinutes` | integer | No | Minutes to wait before the rule can fire again, defaults to 30 on 'create' |
| `isEnabled` | boolean | No | Whether the rule is active — used by 'update' |
## update_monitoring_settings
Change the project's monitoring defaults. Settings you do not pass keep their current value. These apply to monitors created afterwards; existing monitors keep their own values. Use this to change the defaults; to read the current ones use get_monitoring_settings. Requires project context.
**Required scope:** `monitoring:write`
| Parameter | Type | Required | Description |
| --- | --- | --- | --- |
| `retentionDays` | integer | No | Days of check history to keep |
| `defaultCheckIntervalSeconds` | integer | No | Default seconds between checks for new monitors |
| `defaultTimeoutSeconds` | integer | No | Default request timeout in seconds for new monitors |
| `defaultIncidentThreshold` | integer | No | How many consecutive failures open an incident |
| `defaultSchemaValidationMode` | string | No | Default response schema validation for new monitors: 'off', 'warn' or 'strict' |
| `autoCreateMonitorsOnSpecPublish` | boolean | No | Whether publishing a spec creates monitors for its endpoints automatically |
---
## Monitoring Overview
Source: https://docs.routebase.dev/monitoring-overview/
Routebase Monitoring runs scheduled health checks against your live APIs, tracks uptime and latency over time, and opens incidents the moment something breaks. That way you hear about an outage from your dashboard rather than from your customers. Because monitors can be linked to your documented endpoints, every check can also validate the live response against your OpenAPI schema and catch [contract drift](https://docs.routebase.dev/contract-drift/) in production.
Monitoring requires the **Pro** plan. On lower tiers the Monitoring area shows an upgrade prompt instead. It also runs per project. Select a project first, or you'll see an onboarding screen asking you to pick one.
## How the pieces fit
A **monitor** pings one target on a fixed interval and records each result as a **check**. From those checks Routebase derives a current status, uptime percentages, and response-time trends. When failures cross your configured thresholds, an **alert** fires, and after enough consecutive failures an **incident** opens. You acknowledge and resolve incidents, and you can mute the whole machinery during planned **maintenance windows**.
| Concept | What it is | Guide |
| --- | --- | --- |
| **Monitor** | A scheduled HTTP check against one URL or endpoint | [Monitors](https://docs.routebase.dev/monitors/) |
| **Check** | One execution of a monitor, with timings and result | [Monitors](https://docs.routebase.dev/monitors/) |
| **Alert policy** | Reusable alert rules assigned to monitors, specs, or environments | [Alert Policies](https://docs.routebase.dev/alert-policies/) |
| **Incident** | A tracked outage opened by consecutive failed checks | [Incidents](https://docs.routebase.dev/incidents/) |
| **Maintenance window** | A scheduled period in which failures don't open incidents | [Maintenance Windows](https://docs.routebase.dev/maintenance-windows/) |
| **Schema drift** | Differences between a live response and your spec, detected on a single check | [Schema Drift](https://docs.routebase.dev/schema-drift/) |
| **Drift event** | A run of the same deviations on one endpoint, with a first-seen date and a lifecycle | [Contract Drift](https://docs.routebase.dev/contract-drift/) |
| **Coverage** | How much of each spec is monitored | [Coverage](https://docs.routebase.dev/coverage/) |
## Navigating the Monitoring area
The Monitoring sidebar has six entries:
| Page | What it covers |
| --- | --- |
| **Dashboard** | A health overview with status counts, uptime, active incidents, contract drift and spec coverage |
| **Monitors** | All monitors, plus an inline tree grouped by environment and spec |
| **Incidents** | Every incident in the project, with filters and bulk actions. A red badge shows the number of open incidents. |
| **Contract Drift** | Every endpoint whose live responses no longer match its contract, grouped per endpoint and environment. An amber badge shows how many have drift nobody has picked up yet. |
| **Alert Policies** | Reusable alert rules you assign to monitors, environments, or specs |
| **Settings** | Project defaults, data retention, spec-publish behavior, and the maintenance-window calendar |
On smaller screens the sidebar collapses into a menu button that opens the same navigation in a sheet.
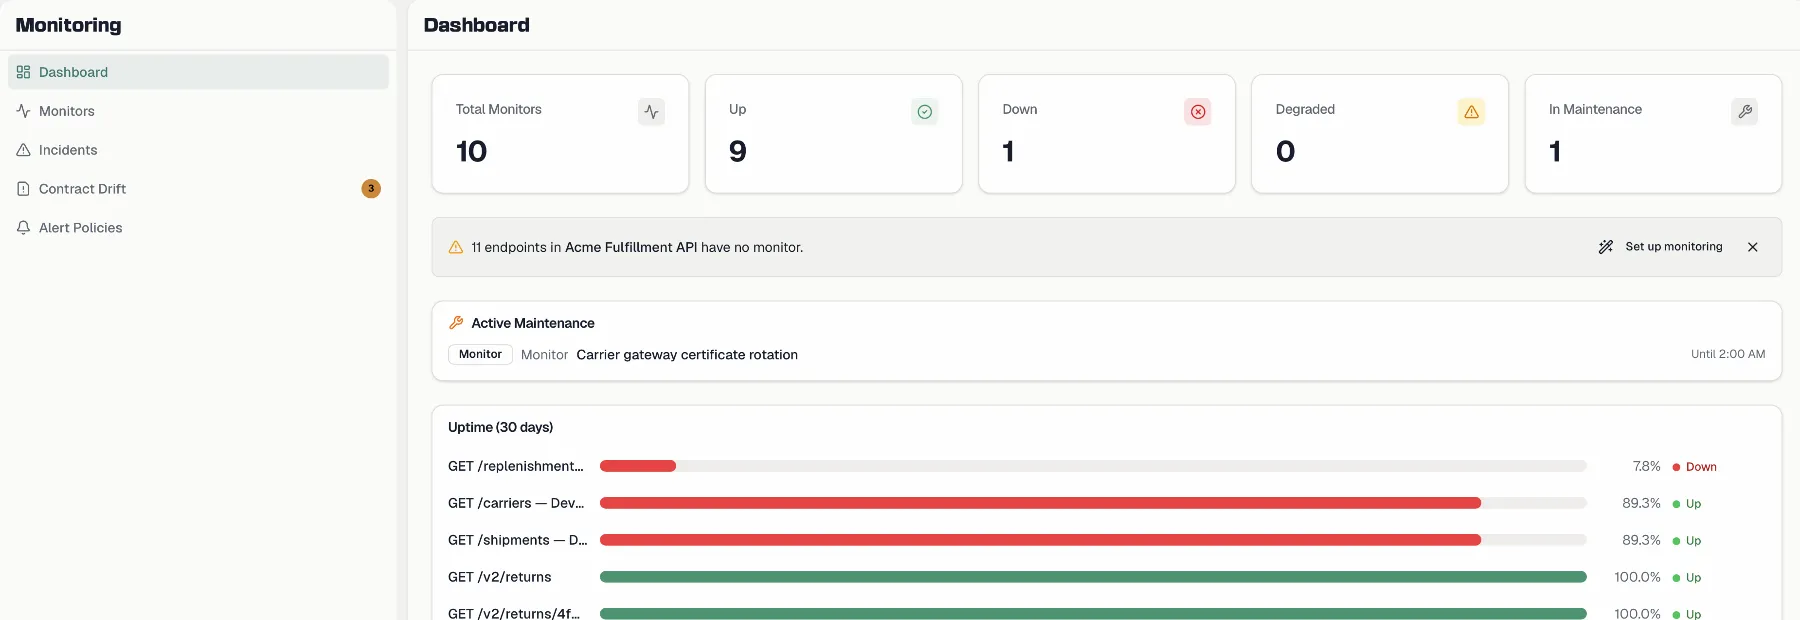
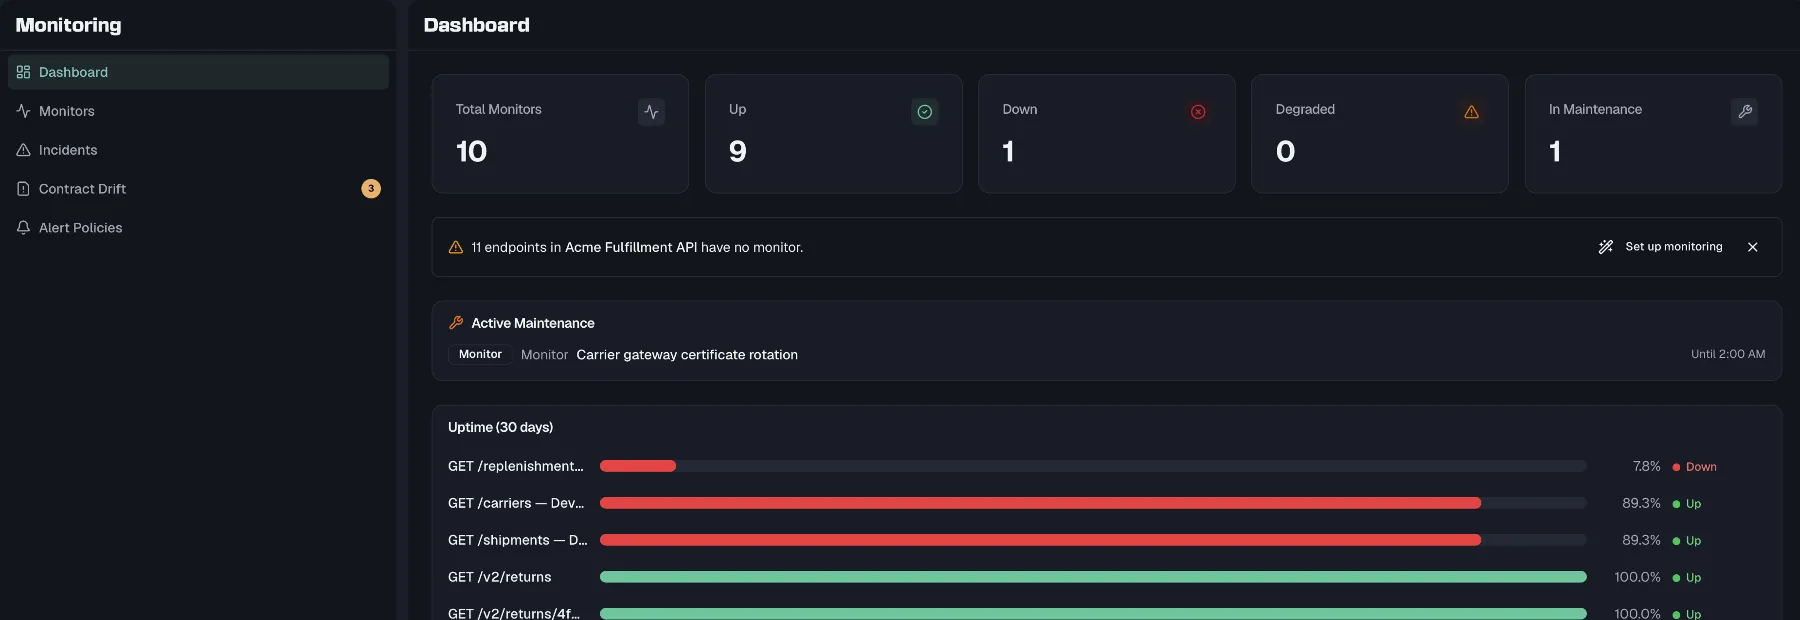 ## The Health Dashboard
**Dashboard** is the default view when you open Monitoring. It summarizes the project's health at a glance:
- **Stat cards** show the **Total Monitors**, **Up**, **Down**, **Degraded** and **In Maintenance** counts.
- **Coverage hints** are dismissable banners that appear when a spec has endpoints without monitors, and each one carries a **Set up monitoring** shortcut. See [Coverage](https://docs.routebase.dev/coverage/).
- **Active Maintenance** lists the windows suppressing alerts right now, each with its scope and end time.
- **Uptime (30 days)** gives one bar per monitor showing its 30-day uptime percentage. The bars are color-coded, with green at 99.5% and above, yellow at 95% and above and red below that, and they are sorted so failing monitors come first. Click a row to jump to that monitor.
- **Active Incidents** appears while incidents are open, with inline **Acknowledge** and **Resolve** actions.
- **Contract Drift** appears while watched endpoints are drifting. It lists up to five of them with their issue count, the contract version they were checked against and their top deviations, and it links onward with **View all →**. See [Contract Drift](https://docs.routebase.dev/contract-drift/).
- **Spec Coverage** shows per-spec progress bars with a **Generate Missing** shortcut.
## The Health Dashboard
**Dashboard** is the default view when you open Monitoring. It summarizes the project's health at a glance:
- **Stat cards** show the **Total Monitors**, **Up**, **Down**, **Degraded** and **In Maintenance** counts.
- **Coverage hints** are dismissable banners that appear when a spec has endpoints without monitors, and each one carries a **Set up monitoring** shortcut. See [Coverage](https://docs.routebase.dev/coverage/).
- **Active Maintenance** lists the windows suppressing alerts right now, each with its scope and end time.
- **Uptime (30 days)** gives one bar per monitor showing its 30-day uptime percentage. The bars are color-coded, with green at 99.5% and above, yellow at 95% and above and red below that, and they are sorted so failing monitors come first. Click a row to jump to that monitor.
- **Active Incidents** appears while incidents are open, with inline **Acknowledge** and **Resolve** actions.
- **Contract Drift** appears while watched endpoints are drifting. It lists up to five of them with their issue count, the contract version they were checked against and their top deviations, and it links onward with **View all →**. See [Contract Drift](https://docs.routebase.dev/contract-drift/).
- **Spec Coverage** shows per-spec progress bars with a **Generate Missing** shortcut.
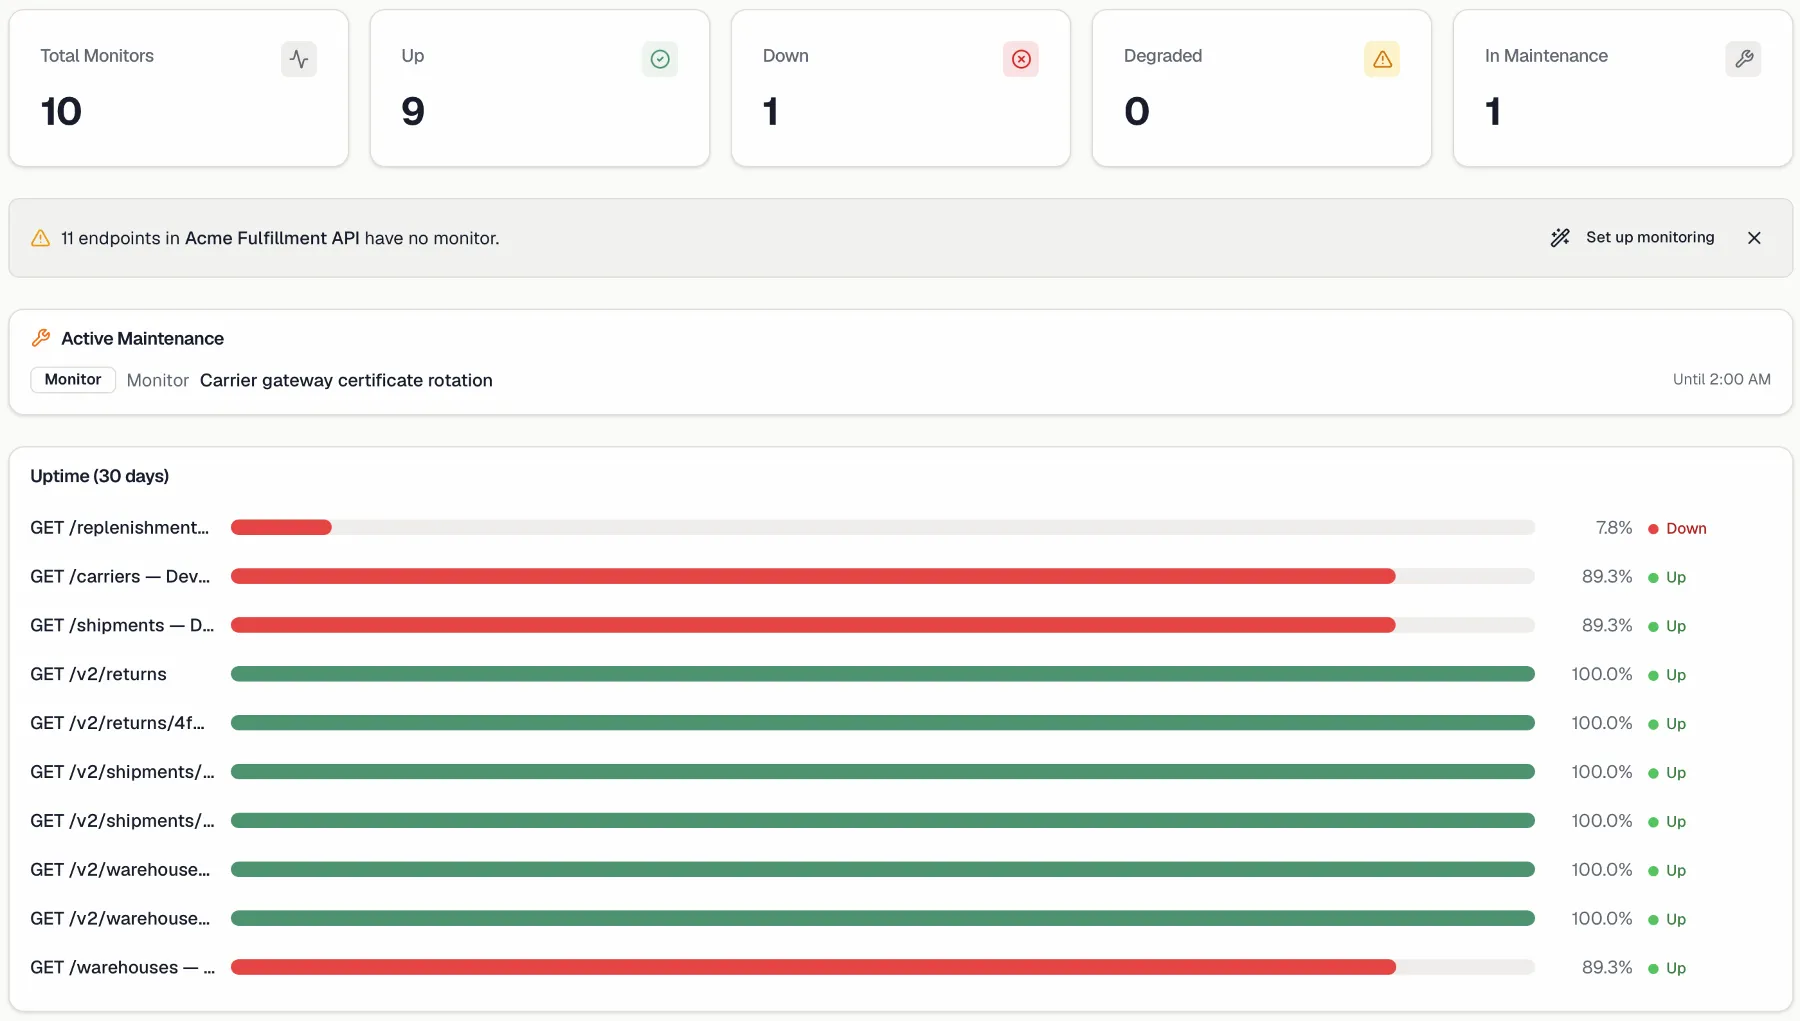
 If the project has no monitors yet, the dashboard shows a setup screen headed "Set up your first monitor" instead. It offers two starting points, which are **Single monitor** for a check against one URL or endpoint and **Generate from spec** for a monitor on every endpoint in your spec. The second option is disabled until the project has an API spec.
## Monitor status
Every monitor shows a current status derived from its recent checks:
| Status | Meaning |
| --- | --- |
| **Up** | Recent checks are passing. |
| **Down** | Checks are failing. |
| **Degraded** | Working but unhealthy, for example slow or intermittently failing. |
| **Unknown** | Not enough data yet (for example, a brand-new monitor). |
| **Waiting** (for deployment) | The endpoint has never answered yet, so the contract is ahead of the service. |
| **Waiting** (for parameters) | The target URL still carries an unresolved path parameter, so no check can run. |
Both **Waiting** states are normal in design-first work, not defects, and both are filter values on the [Monitors](https://docs.routebase.dev/monitors/) page. They share a badge label and are told apart by its tooltip.
**Waiting for deployment** is the state of a freshly generated monitor whose endpoint the environment does not serve yet. Red tests are annoying, and alarming monitors wake people up, so a monitor whose endpoint has never answered waits instead. It stays visible, raises no alert, opens no incident and is excluded from the uptime figures, and it activates itself the moment the endpoint responds.
**Waiting for parameters** is one step earlier, because the address itself is incomplete when a path parameter like `{id}` was never given a value. No check runs at all, so nothing is written to the history and the uptime figure stays honest. Set the value and the next scheduled check runs normally. You can also re-run [drift watch](https://docs.routebase.dev/contract-drift/), which fills parameters from the spec's examples.
## Project settings
Under **Settings** you control the project-wide behavior of monitoring. Changing defaults doesn't touch existing monitors.
| Setting | What it does |
| --- | --- |
| **Check interval (seconds)** | Default interval for new monitors. Range 30–86400 seconds (24h). |
| **Request timeout (seconds)** | Default timeout for new monitors. Range 1–120 seconds. |
| **Incident threshold** | Consecutive failed checks needed to open an incident. Range 1–100. |
| **Schema validation mode** | The default for new monitors. **Off** disables validation, **Warn** logs drift and keeps the check successful, and **Strict** fails the check on error-severity drift. |
| **Auto-create monitors for new endpoints** | On spec publish, automatically create a monitor for each endpoint that isn't monitored yet. When off, you only get a notification about new unmonitored endpoints. |
| **Retention period (days)** | Check records older than this are deleted nightly. Range 1–365 days. Incidents and uptime stats are kept independently. |
The same page lists every maintenance window in the project. See [Maintenance Windows](https://docs.routebase.dev/maintenance-windows/).
## Notifications
Monitoring events such as alerts firing, incidents opening and contract drift appear in the in-app notification center under the **Monitoring** category. You control in-app and email delivery per category in your [notification preferences](https://docs.routebase.dev/notifications/).
They can also go straight into a chat channel, because Slack and Microsoft Teams are first-class delivery targets with their own **Contract drift**, **Monitor incident** and **Monitor recovered** categories. See [Messaging](https://docs.routebase.dev/messaging/).
## Permissions
| Permission | Grants |
| --- | --- |
| **`monitoring:read`** | View monitors, checks, incidents, policies, and dashboards. Editing controls are hidden. Members have this. |
| **`monitoring:write`** | Create and edit monitors, manage alert policies and assignments, acknowledge and resolve incidents, schedule maintenance, and change settings. Admins and Owners have this. |
## Related
- [Monitors](https://docs.routebase.dev/monitors/) — creating and managing health checks
- [Alert Policies](https://docs.routebase.dev/alert-policies/) — when and how you get alerted
- [Incidents](https://docs.routebase.dev/incidents/) — tracking and resolving outages
- [Contract Drift](https://docs.routebase.dev/contract-drift/) — the project-wide view of endpoints that stopped matching their contract
- [Schema Drift](https://docs.routebase.dev/schema-drift/) — validating live responses against your spec
- [Coverage](https://docs.routebase.dev/coverage/) — keeping monitoring in step with your API
---
## Monitors
Source: https://docs.routebase.dev/monitors/
A monitor is a scheduled HTTP health check against one target, which is either a URL you type in or an [endpoint](https://docs.routebase.dev/endpoints/) from your spec. Each run is recorded as a **check** with full timing details, and the results feed the uptime stats, alerts and incidents across the Monitoring area.
## The Monitors page
Open **Monitoring → Monitors** to see every monitor in the project, in one of two views you switch between in the page header:
- **Grid** gives one card per monitor with its status dot, name, method and path, a **24h response-time sparkline**, and the figures that matter at a glance. Those are **uptime over 24 hours**, **p95** response time, and when it was last checked. A down or degraded monitor tints its card and carries a one-line failure summary reading *"503 Service unavailable · 4 consecutive failures · started 12m ago"*. Paused monitors are dashed and dimmed, and they say *"Paused · no checks running"* instead of showing a chart.
- **Table** gives the same figures built for comparing and ranking. **Monitor**, **Uptime**, **p95** and **Checked** are click-sortable, and clicking again reverses the order. The default order is status priority, so problems sort to the top and paused monitors to the bottom. The sparkline rides along in a compact **24h** column.
The sparkline plots one point per hour. Hours without checks leave a gap in the line rather than a straight segment through them, so a monitoring outage does not read as a flat response time.
Two filters narrow the list. The status filter offers **All Status**, **Up**, **Down**, **Degraded**, **Waiting for parameters**, **Waiting for deployment** and **Unknown**. See [monitor states](https://docs.routebase.dev/monitoring-overview/) for what the two waiting states mean. When the project has environments, an **All Environments** filter sits next to it, where you pick an environment to show only its monitors, or **Not linked** for monitors with no environment.
Use the row or card menu, which appears on hover, for quick actions:
- **Run Check** triggers a check immediately, without waiting for the next interval.
- **Edit** changes any part of the configuration.
- **Disable** and **Enable** pause or resume checking without deleting anything.
- **Delete** removes the monitor and its history for good, and it asks for confirmation first.
All of these require the **monitoring:write** permission, so Members see the list but no editing controls.
If the project has no monitors yet, the dashboard shows a setup screen headed "Set up your first monitor" instead. It offers two starting points, which are **Single monitor** for a check against one URL or endpoint and **Generate from spec** for a monitor on every endpoint in your spec. The second option is disabled until the project has an API spec.
## Monitor status
Every monitor shows a current status derived from its recent checks:
| Status | Meaning |
| --- | --- |
| **Up** | Recent checks are passing. |
| **Down** | Checks are failing. |
| **Degraded** | Working but unhealthy, for example slow or intermittently failing. |
| **Unknown** | Not enough data yet (for example, a brand-new monitor). |
| **Waiting** (for deployment) | The endpoint has never answered yet, so the contract is ahead of the service. |
| **Waiting** (for parameters) | The target URL still carries an unresolved path parameter, so no check can run. |
Both **Waiting** states are normal in design-first work, not defects, and both are filter values on the [Monitors](https://docs.routebase.dev/monitors/) page. They share a badge label and are told apart by its tooltip.
**Waiting for deployment** is the state of a freshly generated monitor whose endpoint the environment does not serve yet. Red tests are annoying, and alarming monitors wake people up, so a monitor whose endpoint has never answered waits instead. It stays visible, raises no alert, opens no incident and is excluded from the uptime figures, and it activates itself the moment the endpoint responds.
**Waiting for parameters** is one step earlier, because the address itself is incomplete when a path parameter like `{id}` was never given a value. No check runs at all, so nothing is written to the history and the uptime figure stays honest. Set the value and the next scheduled check runs normally. You can also re-run [drift watch](https://docs.routebase.dev/contract-drift/), which fills parameters from the spec's examples.
## Project settings
Under **Settings** you control the project-wide behavior of monitoring. Changing defaults doesn't touch existing monitors.
| Setting | What it does |
| --- | --- |
| **Check interval (seconds)** | Default interval for new monitors. Range 30–86400 seconds (24h). |
| **Request timeout (seconds)** | Default timeout for new monitors. Range 1–120 seconds. |
| **Incident threshold** | Consecutive failed checks needed to open an incident. Range 1–100. |
| **Schema validation mode** | The default for new monitors. **Off** disables validation, **Warn** logs drift and keeps the check successful, and **Strict** fails the check on error-severity drift. |
| **Auto-create monitors for new endpoints** | On spec publish, automatically create a monitor for each endpoint that isn't monitored yet. When off, you only get a notification about new unmonitored endpoints. |
| **Retention period (days)** | Check records older than this are deleted nightly. Range 1–365 days. Incidents and uptime stats are kept independently. |
The same page lists every maintenance window in the project. See [Maintenance Windows](https://docs.routebase.dev/maintenance-windows/).
## Notifications
Monitoring events such as alerts firing, incidents opening and contract drift appear in the in-app notification center under the **Monitoring** category. You control in-app and email delivery per category in your [notification preferences](https://docs.routebase.dev/notifications/).
They can also go straight into a chat channel, because Slack and Microsoft Teams are first-class delivery targets with their own **Contract drift**, **Monitor incident** and **Monitor recovered** categories. See [Messaging](https://docs.routebase.dev/messaging/).
## Permissions
| Permission | Grants |
| --- | --- |
| **`monitoring:read`** | View monitors, checks, incidents, policies, and dashboards. Editing controls are hidden. Members have this. |
| **`monitoring:write`** | Create and edit monitors, manage alert policies and assignments, acknowledge and resolve incidents, schedule maintenance, and change settings. Admins and Owners have this. |
## Related
- [Monitors](https://docs.routebase.dev/monitors/) — creating and managing health checks
- [Alert Policies](https://docs.routebase.dev/alert-policies/) — when and how you get alerted
- [Incidents](https://docs.routebase.dev/incidents/) — tracking and resolving outages
- [Contract Drift](https://docs.routebase.dev/contract-drift/) — the project-wide view of endpoints that stopped matching their contract
- [Schema Drift](https://docs.routebase.dev/schema-drift/) — validating live responses against your spec
- [Coverage](https://docs.routebase.dev/coverage/) — keeping monitoring in step with your API
---
## Monitors
Source: https://docs.routebase.dev/monitors/
A monitor is a scheduled HTTP health check against one target, which is either a URL you type in or an [endpoint](https://docs.routebase.dev/endpoints/) from your spec. Each run is recorded as a **check** with full timing details, and the results feed the uptime stats, alerts and incidents across the Monitoring area.
## The Monitors page
Open **Monitoring → Monitors** to see every monitor in the project, in one of two views you switch between in the page header:
- **Grid** gives one card per monitor with its status dot, name, method and path, a **24h response-time sparkline**, and the figures that matter at a glance. Those are **uptime over 24 hours**, **p95** response time, and when it was last checked. A down or degraded monitor tints its card and carries a one-line failure summary reading *"503 Service unavailable · 4 consecutive failures · started 12m ago"*. Paused monitors are dashed and dimmed, and they say *"Paused · no checks running"* instead of showing a chart.
- **Table** gives the same figures built for comparing and ranking. **Monitor**, **Uptime**, **p95** and **Checked** are click-sortable, and clicking again reverses the order. The default order is status priority, so problems sort to the top and paused monitors to the bottom. The sparkline rides along in a compact **24h** column.
The sparkline plots one point per hour. Hours without checks leave a gap in the line rather than a straight segment through them, so a monitoring outage does not read as a flat response time.
Two filters narrow the list. The status filter offers **All Status**, **Up**, **Down**, **Degraded**, **Waiting for parameters**, **Waiting for deployment** and **Unknown**. See [monitor states](https://docs.routebase.dev/monitoring-overview/) for what the two waiting states mean. When the project has environments, an **All Environments** filter sits next to it, where you pick an environment to show only its monitors, or **Not linked** for monitors with no environment.
Use the row or card menu, which appears on hover, for quick actions:
- **Run Check** triggers a check immediately, without waiting for the next interval.
- **Edit** changes any part of the configuration.
- **Disable** and **Enable** pause or resume checking without deleting anything.
- **Delete** removes the monitor and its history for good, and it asks for confirmation first.
All of these require the **monitoring:write** permission, so Members see the list but no editing controls.
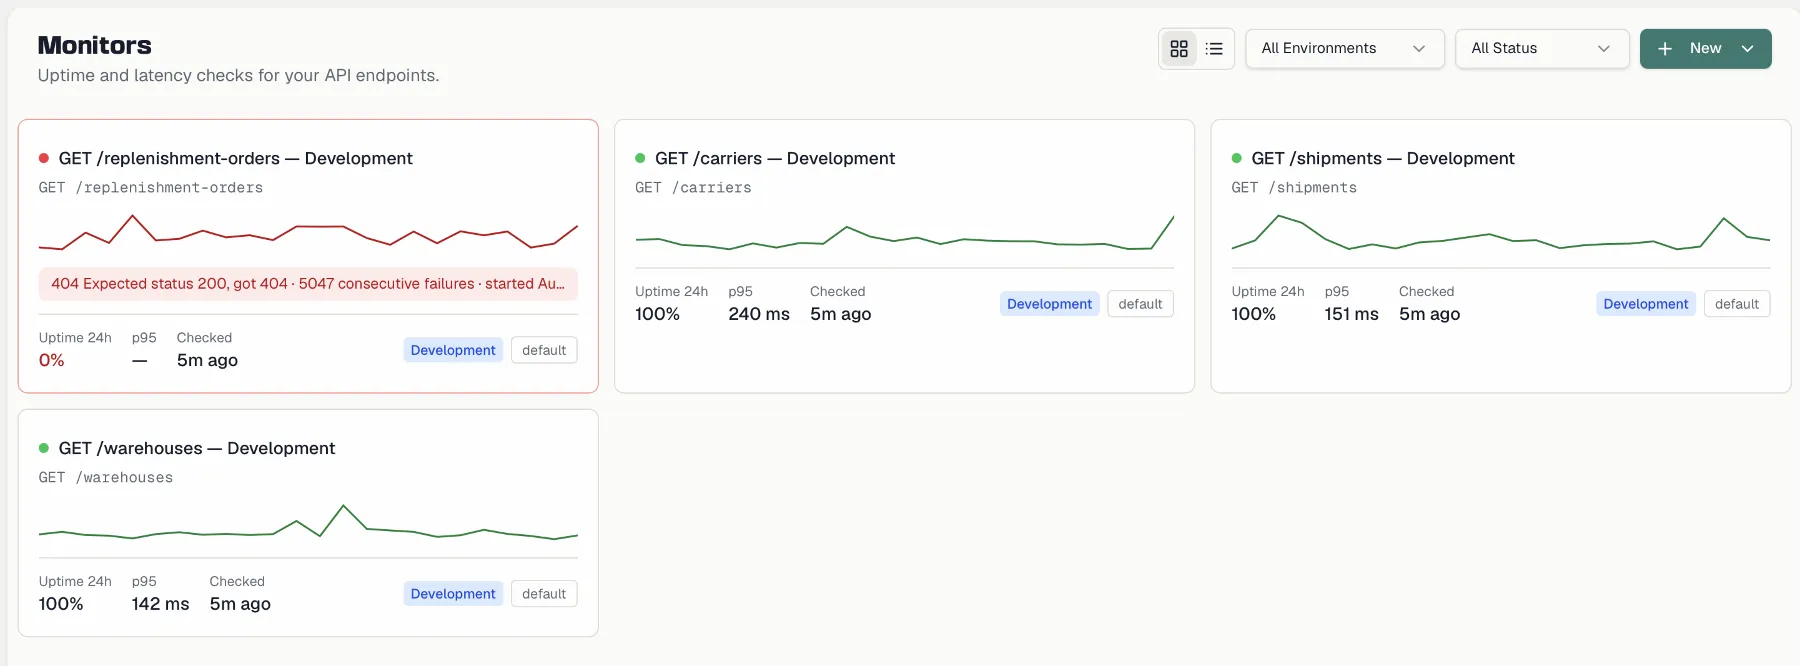
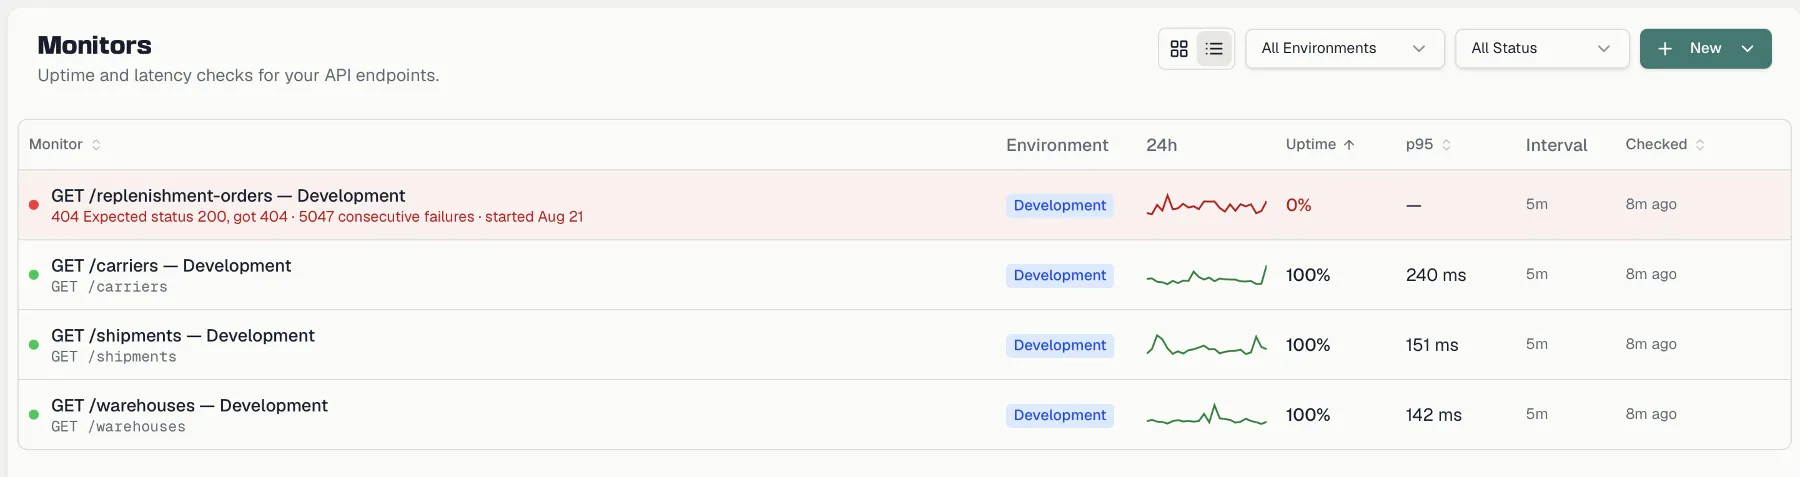
 ### The monitor tree
While you are on the Monitors page, the sidebar shows an inline tree of all monitors grouped by **environment → API spec → monitor**. Each group shows an aggregated status dot and an up-against-total count. Disabled monitors are dimmed, and a wrench icon marks anything currently in maintenance. A search box and status filter sit above the tree.
Right-click any level of the tree to **Schedule Maintenance** or **Assign Alert Policy** at that scope, whether that level is an environment, a spec or a single monitor.
## Creating a single monitor
1. On the **Monitors** page, click **New** and choose **Single Monitor**.
2. Fill in the dialog and click **Create Monitor**.
| Field | Notes |
| --- | --- |
| **Name** | A label for the monitor, such as *User API Health*. |
| **Target URL** | An absolute URL such as `https://api.example.com/health`, or a variable template like `{{baseUrl}}/health` resolved from your [environment variables](https://docs.routebase.dev/variables/). Anything else is rejected with an inline error. |
| **HTTP Method** | One of `GET`, `POST`, `PUT`, `PATCH`, `DELETE`, `HEAD` and `OPTIONS`. |
| **Expected Status** | The status code that counts as healthy. It defaults to `200` and accepts 100 to 599. |
| **Check Interval** | Preset buttons offering `30s`, `1m`, `5m`, `15m`, `30m` and `1h`. The default is `5m`. |
| **Timeout (seconds)** | How long to wait before the check fails. The default is 30 and the maximum is 120. |
| **Schema Validation** | One of `Off`, `Warn` and `Strict`, defaulting to `Warn`. See [Schema Drift](https://docs.routebase.dev/schema-drift/). |
| **Environment** | Optional. Link the monitor to a project [environment](https://docs.routebase.dev/environments/) so its variables and auth are applied to every check. Defaults to *None*. |
| **Headers** | Optional request headers as key and value pairs. |
| **Request Body** | Shown for methods that allow a body, and hidden for `GET`, `HEAD` and `OPTIONS`. |
When you pick an **Environment**, a hint confirms the automatic behavior with *"Variables and auth of this environment are applied to checks automatically (Basic, Bearer, API Key, OAuth2, JWT). A static header with the same name takes precedence."* A linked environment therefore resolves any `{{variable}}` in the target URL and signs each check with the environment's configured auth. The exception is a header you set yourself under the same name, in which case your static header wins.
A monitor starts checking as soon as it is created. The pre-filled interval, timeout and schema-validation values come from the project defaults in **Monitoring → Settings**.
You can also create a monitor straight from the API Designer. Right-click an endpoint in the tree and choose **Create Monitor**. The dialog opens pre-filled with the endpoint's method, a `{{baseUrl}}` target URL, and the endpoint link that enables schema validation.
## Generate from Spec
To cover an API quickly, choose **New → Generate from Spec**. A four-step wizard walks you through it:
1. Under **Spec & Environment**, pick the API specification, a spec version, and the [environment](https://docs.routebase.dev/environments/) to monitor. Leave the version on **Latest published** to always track the most recent published version, or pin a specific one, which [versioning](https://docs.routebase.dev/versioning/) explains. The environment's base URL is previewed, and if none is configured you are warned that monitors will use path-only URLs.
2. Under **Endpoints**, select which endpoints get a monitor. The bulk buttons are **Select All**, **Deselect All** and **Select GET only**. Each endpoint is badged **New**, **Already monitored** so it will be skipped, or **Requires config**, and endpoints with path parameters ask you for a value or a `{{variable}}` per parameter.
3. Under **Configuration**, set **Global Defaults** for the batch, which are the check interval of `1m`, `5m`, `15m` or `30m`, the timeout, and the schema-validation mode. The preview table shows every selected endpoint, and expanding a row lets you override its **Name**, **Expected Status** or **Interval** individually. Endpoints without a response schema automatically get schema validation `off`.
4. Under **Confirmation**, review the summary and click **Generate Monitors**. The result reports how many monitors were **created** and how many were **skipped**, plus any warnings, so re-running the wizard only fills the gaps.
### Or: watch the whole API for drift
When the point of the exercise is contract validation rather than uptime, there is a shorter path. **Watch this API for drift** provisions endpoint-linked monitors with schema validation for a whole spec in one environment from a single dialog. You pick the environment, the validation mode and how sharp the alerts should be, then confirm. It is reachable from the API Designer's toolbar **⋯** menu under *Watch for drift*, and from the empty state of **Monitoring → Contract Drift**.
Like the wizard it is idempotent, so existing monitors are updated rather than duplicated. It is also reversible without losing anything, because disabling turns validation off and leaves the monitors running as uptime checks. See [Contract Drift](https://docs.routebase.dev/contract-drift/).
### The monitor tree
While you are on the Monitors page, the sidebar shows an inline tree of all monitors grouped by **environment → API spec → monitor**. Each group shows an aggregated status dot and an up-against-total count. Disabled monitors are dimmed, and a wrench icon marks anything currently in maintenance. A search box and status filter sit above the tree.
Right-click any level of the tree to **Schedule Maintenance** or **Assign Alert Policy** at that scope, whether that level is an environment, a spec or a single monitor.
## Creating a single monitor
1. On the **Monitors** page, click **New** and choose **Single Monitor**.
2. Fill in the dialog and click **Create Monitor**.
| Field | Notes |
| --- | --- |
| **Name** | A label for the monitor, such as *User API Health*. |
| **Target URL** | An absolute URL such as `https://api.example.com/health`, or a variable template like `{{baseUrl}}/health` resolved from your [environment variables](https://docs.routebase.dev/variables/). Anything else is rejected with an inline error. |
| **HTTP Method** | One of `GET`, `POST`, `PUT`, `PATCH`, `DELETE`, `HEAD` and `OPTIONS`. |
| **Expected Status** | The status code that counts as healthy. It defaults to `200` and accepts 100 to 599. |
| **Check Interval** | Preset buttons offering `30s`, `1m`, `5m`, `15m`, `30m` and `1h`. The default is `5m`. |
| **Timeout (seconds)** | How long to wait before the check fails. The default is 30 and the maximum is 120. |
| **Schema Validation** | One of `Off`, `Warn` and `Strict`, defaulting to `Warn`. See [Schema Drift](https://docs.routebase.dev/schema-drift/). |
| **Environment** | Optional. Link the monitor to a project [environment](https://docs.routebase.dev/environments/) so its variables and auth are applied to every check. Defaults to *None*. |
| **Headers** | Optional request headers as key and value pairs. |
| **Request Body** | Shown for methods that allow a body, and hidden for `GET`, `HEAD` and `OPTIONS`. |
When you pick an **Environment**, a hint confirms the automatic behavior with *"Variables and auth of this environment are applied to checks automatically (Basic, Bearer, API Key, OAuth2, JWT). A static header with the same name takes precedence."* A linked environment therefore resolves any `{{variable}}` in the target URL and signs each check with the environment's configured auth. The exception is a header you set yourself under the same name, in which case your static header wins.
A monitor starts checking as soon as it is created. The pre-filled interval, timeout and schema-validation values come from the project defaults in **Monitoring → Settings**.
You can also create a monitor straight from the API Designer. Right-click an endpoint in the tree and choose **Create Monitor**. The dialog opens pre-filled with the endpoint's method, a `{{baseUrl}}` target URL, and the endpoint link that enables schema validation.
## Generate from Spec
To cover an API quickly, choose **New → Generate from Spec**. A four-step wizard walks you through it:
1. Under **Spec & Environment**, pick the API specification, a spec version, and the [environment](https://docs.routebase.dev/environments/) to monitor. Leave the version on **Latest published** to always track the most recent published version, or pin a specific one, which [versioning](https://docs.routebase.dev/versioning/) explains. The environment's base URL is previewed, and if none is configured you are warned that monitors will use path-only URLs.
2. Under **Endpoints**, select which endpoints get a monitor. The bulk buttons are **Select All**, **Deselect All** and **Select GET only**. Each endpoint is badged **New**, **Already monitored** so it will be skipped, or **Requires config**, and endpoints with path parameters ask you for a value or a `{{variable}}` per parameter.
3. Under **Configuration**, set **Global Defaults** for the batch, which are the check interval of `1m`, `5m`, `15m` or `30m`, the timeout, and the schema-validation mode. The preview table shows every selected endpoint, and expanding a row lets you override its **Name**, **Expected Status** or **Interval** individually. Endpoints without a response schema automatically get schema validation `off`.
4. Under **Confirmation**, review the summary and click **Generate Monitors**. The result reports how many monitors were **created** and how many were **skipped**, plus any warnings, so re-running the wizard only fills the gaps.
### Or: watch the whole API for drift
When the point of the exercise is contract validation rather than uptime, there is a shorter path. **Watch this API for drift** provisions endpoint-linked monitors with schema validation for a whole spec in one environment from a single dialog. You pick the environment, the validation mode and how sharp the alerts should be, then confirm. It is reachable from the API Designer's toolbar **⋯** menu under *Watch for drift*, and from the empty state of **Monitoring → Contract Drift**.
Like the wizard it is idempotent, so existing monitors are updated rather than duplicated. It is also reversible without losing anything, because disabling turns validation off and leaves the monitors running as uptime checks. See [Contract Drift](https://docs.routebase.dev/contract-drift/).
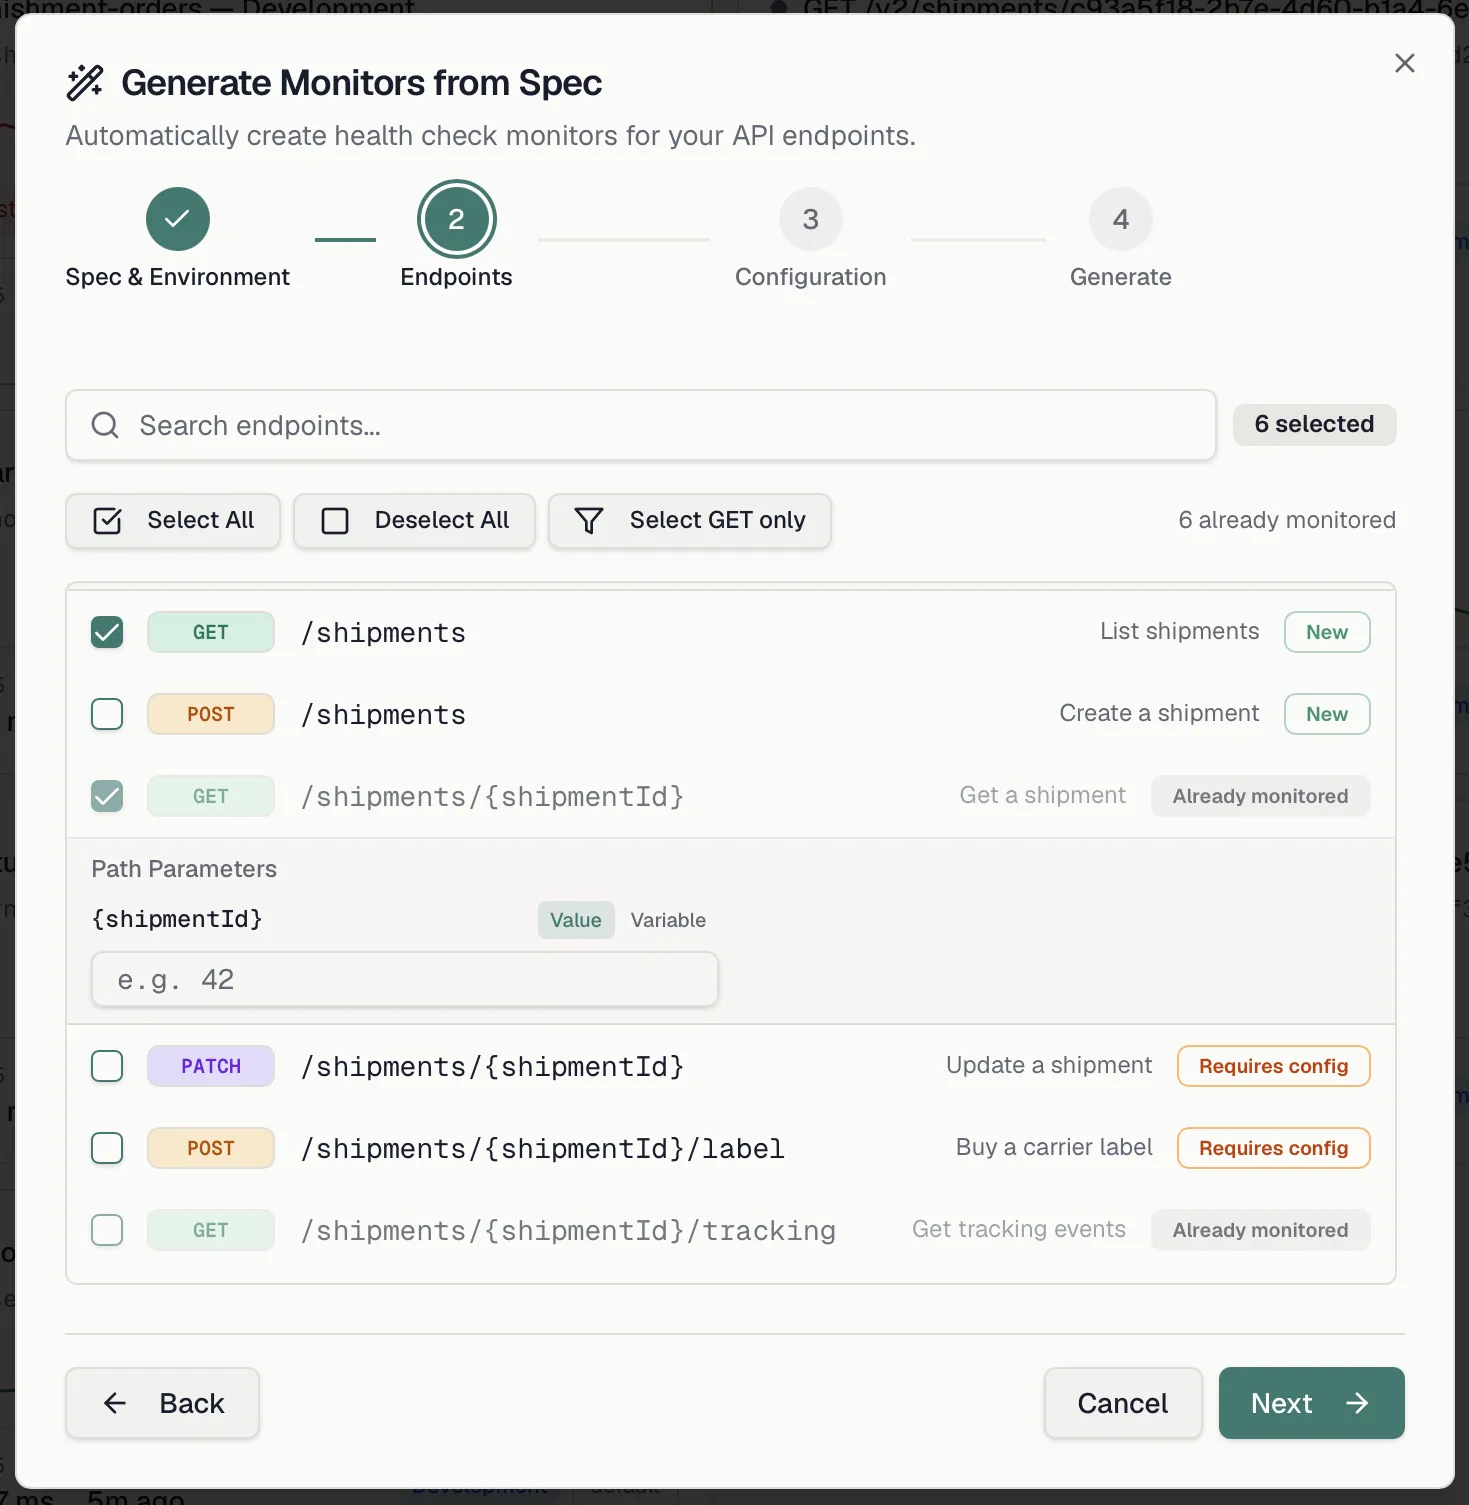
 ## Monitor detail
Click a monitor to open its detail page. The header shows the name, current status, target URL, and the quick actions **Run Check**, **Enable** or **Disable**, **Edit** and **Delete**. If the monitor is linked to an endpoint that has since been deleted, a warning banner reads *"This monitor is linked to a deleted endpoint. Schema validation may fail."*
Below the header you get uptime over **24h**, **7d** and **30d** plus the average response time. A **Configuration** card summarizes method, expected status, interval, timeout, schema-validation mode, environment and the linked spec.
For a monitor with schema validation on, the card also names the contract it is checking against, reading *"Validated against 2.1.0 (environment pin)"*, or *"(latest published)"* where the environment pins nothing. If the pin has fallen behind what is published, the line turns amber and offers a **Re-pin** button, because until then drift against the newer contract stays invisible. See [Contract Drift](https://docs.routebase.dev/contract-drift/).
The right panel has three tabs:
- **Checks** holds the recent check timeline. Each entry shows whether it passed, the status code and the response time, and checks that drifted from the contract carry a drift badge with the number of deviations. Expand an entry for the per-phase timing breakdown across **DNS**, **Connect**, **TLS**, **First Byte** and **Download**, plus the error message for failed checks. A failure that a status code cannot express carries a reason badge, described below.
- **Alerts** holds the monitor's own alert rules and firing history. See [Alert Policies](https://docs.routebase.dev/alert-policies/).
- **Maintenance** holds maintenance windows scoped to this monitor. See [Maintenance Windows](https://docs.routebase.dev/maintenance-windows/).
## Monitor detail
Click a monitor to open its detail page. The header shows the name, current status, target URL, and the quick actions **Run Check**, **Enable** or **Disable**, **Edit** and **Delete**. If the monitor is linked to an endpoint that has since been deleted, a warning banner reads *"This monitor is linked to a deleted endpoint. Schema validation may fail."*
Below the header you get uptime over **24h**, **7d** and **30d** plus the average response time. A **Configuration** card summarizes method, expected status, interval, timeout, schema-validation mode, environment and the linked spec.
For a monitor with schema validation on, the card also names the contract it is checking against, reading *"Validated against 2.1.0 (environment pin)"*, or *"(latest published)"* where the environment pins nothing. If the pin has fallen behind what is published, the line turns amber and offers a **Re-pin** button, because until then drift against the newer contract stays invisible. See [Contract Drift](https://docs.routebase.dev/contract-drift/).
The right panel has three tabs:
- **Checks** holds the recent check timeline. Each entry shows whether it passed, the status code and the response time, and checks that drifted from the contract carry a drift badge with the number of deviations. Expand an entry for the per-phase timing breakdown across **DNS**, **Connect**, **TLS**, **First Byte** and **Download**, plus the error message for failed checks. A failure that a status code cannot express carries a reason badge, described below.
- **Alerts** holds the monitor's own alert rules and firing history. See [Alert Policies](https://docs.routebase.dev/alert-policies/).
- **Maintenance** holds maintenance windows scoped to this monitor. See [Maintenance Windows](https://docs.routebase.dev/maintenance-windows/).
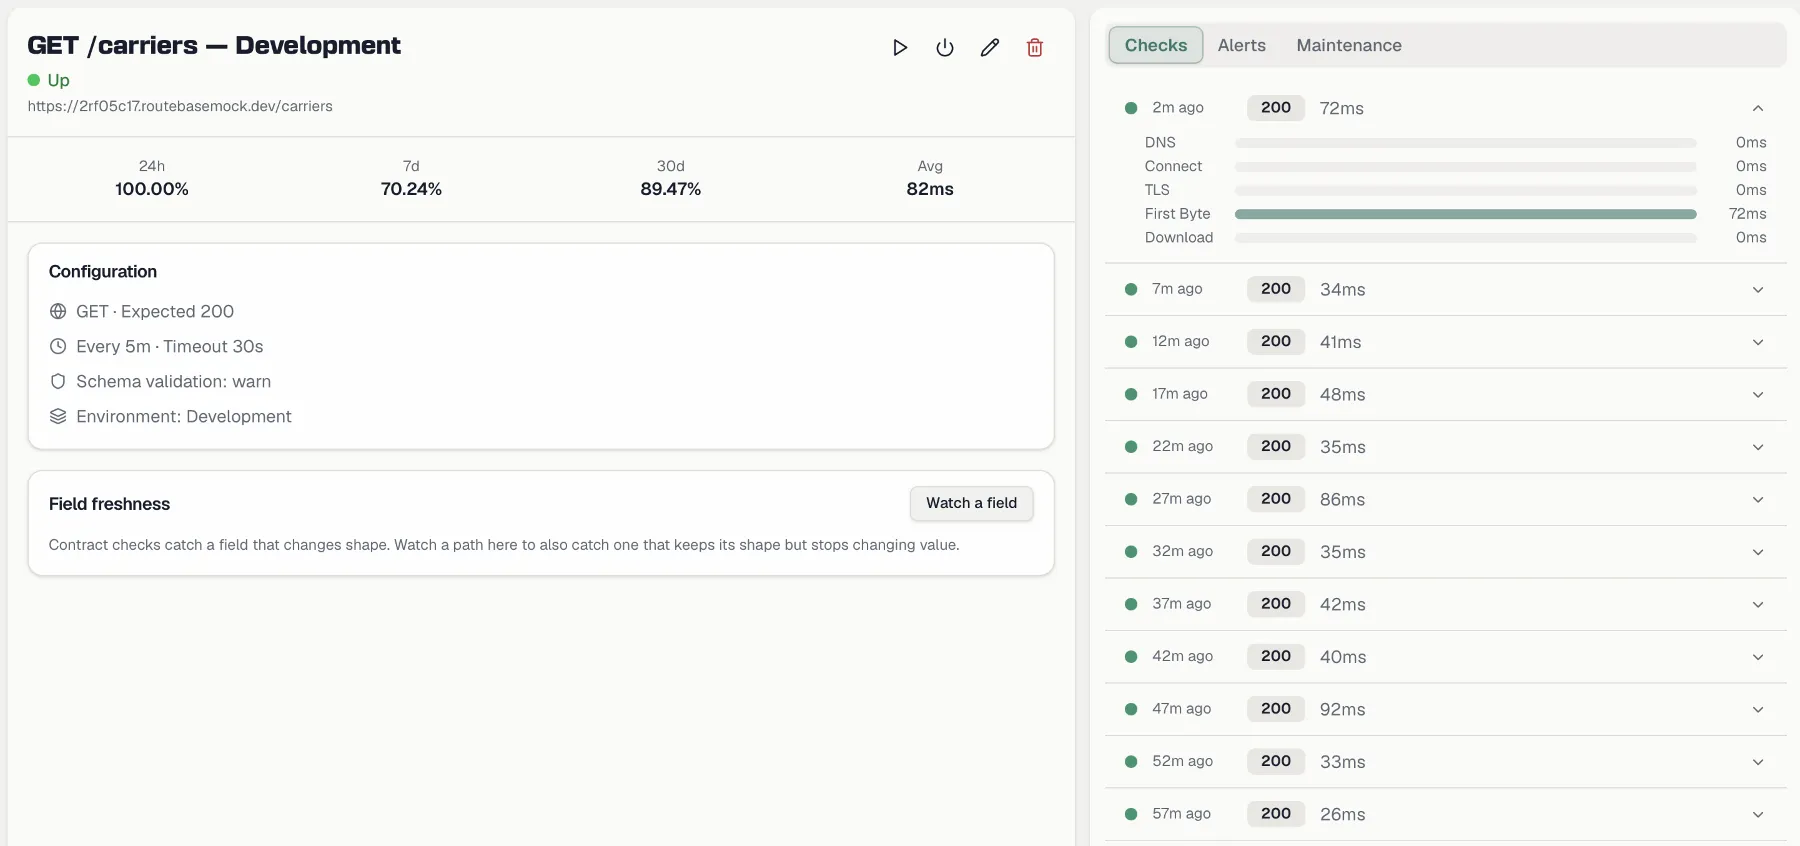
 ### Why a check failed
Every failed check records a structured reason, and the ones a status code cannot express get a badge in the timeline:
| Badge | What happened |
| --- | --- |
| **Auth failure** | The credential is the problem rather than the service. Either the environment's auth could not be resolved at all, so the request never left the building, or the target answered `401` or `403`. A rotated or expired token lands here instead of looking like an outage. |
| **Timeout** | Nobody answered within the monitor's timeout. |
| **Connection error** | No answer for a transport reason such as DNS, TLS, a refused connection or a malformed URL. |
| **Schema drift** | The endpoint answered exactly as expected and the body then failed error-severity validation in **Strict** mode. The only failure that was successful on the wire. |
| **Waiting for deployment** | The endpoint has never answered yet. Informative rather than alarming. |
A plain wrong status code gets no badge, because the status-code badge right next to it already says `500` and a second chip repeating that in words is noise. For the same reason a transport failure shows no status code at all rather than a bare `0`.
**All of these count against uptime and the error-rate window except *waiting for deployment***, which is excluded from every health figure. A monitor that correctly waits for its service must not report 0 % uptime, and its checks must not fill the window that would then fire an alert on recovery.
### Field freshness
Contract checks catch a field that changes *shape*. They cannot catch one that keeps its shape and stops changing *value*, such as a `lastUpdatedAt` frozen since Tuesday, a price feed that went stale, or a counter that stopped counting. Every one of those passes schema validation perfectly.
The **Field freshness** card on the monitor's detail page watches specific values instead. Click **Watch a field**, enter one JSONPath per line such as `$.data.updatedAt` or `$.items[0].price`, and save. A monitor takes up to 20 paths. What you save is a set rather than a list of edits, so paths you keep hold on to their history, and removing a line deletes what is known about that field.
Each watched path then reports what the checks have actually seen:
| State | Meaning |
| --- | --- |
| *No check has read this path yet* | The watch is new, or no check has succeeded since. Nothing has been measured. |
| *First value recorded* | Seen exactly once — there is nothing to compare it against yet. |
| *Changed on the last check* | The value moved on the most recent reading. |
| *Unchanged for 47 checks · last changed …* | It moved once, and has stood still since. |
| *Unchanged for 47 checks · since first seen …* | It has never moved while we have been looking. |
| *Not found in the last response* | The path did not resolve. This is the only state shown as a warning, because it means the watch is measuring nothing. |
**There is deliberately no staleness threshold and no alert.** A value unchanged for 200 checks may be a frozen feed or a perfectly correct constant, and only you know which. Inventing a cut-off would put a verdict on data Routebase cannot judge, so an unchanged value is shown neutrally rather than as a warning.
Two details make the numbers trustworthy. Freshness is read from the **full response body** rather than the 4 KB sample kept for triage, because a field past that cut would otherwise read as missing forever. It is also recorded whenever the server answered as expected, including on a **Strict** monitor whose check was failed by drift. A persistently drifting endpoint must not lose its freshness history exactly while someone is looking closely.
### Why a check failed
Every failed check records a structured reason, and the ones a status code cannot express get a badge in the timeline:
| Badge | What happened |
| --- | --- |
| **Auth failure** | The credential is the problem rather than the service. Either the environment's auth could not be resolved at all, so the request never left the building, or the target answered `401` or `403`. A rotated or expired token lands here instead of looking like an outage. |
| **Timeout** | Nobody answered within the monitor's timeout. |
| **Connection error** | No answer for a transport reason such as DNS, TLS, a refused connection or a malformed URL. |
| **Schema drift** | The endpoint answered exactly as expected and the body then failed error-severity validation in **Strict** mode. The only failure that was successful on the wire. |
| **Waiting for deployment** | The endpoint has never answered yet. Informative rather than alarming. |
A plain wrong status code gets no badge, because the status-code badge right next to it already says `500` and a second chip repeating that in words is noise. For the same reason a transport failure shows no status code at all rather than a bare `0`.
**All of these count against uptime and the error-rate window except *waiting for deployment***, which is excluded from every health figure. A monitor that correctly waits for its service must not report 0 % uptime, and its checks must not fill the window that would then fire an alert on recovery.
### Field freshness
Contract checks catch a field that changes *shape*. They cannot catch one that keeps its shape and stops changing *value*, such as a `lastUpdatedAt` frozen since Tuesday, a price feed that went stale, or a counter that stopped counting. Every one of those passes schema validation perfectly.
The **Field freshness** card on the monitor's detail page watches specific values instead. Click **Watch a field**, enter one JSONPath per line such as `$.data.updatedAt` or `$.items[0].price`, and save. A monitor takes up to 20 paths. What you save is a set rather than a list of edits, so paths you keep hold on to their history, and removing a line deletes what is known about that field.
Each watched path then reports what the checks have actually seen:
| State | Meaning |
| --- | --- |
| *No check has read this path yet* | The watch is new, or no check has succeeded since. Nothing has been measured. |
| *First value recorded* | Seen exactly once — there is nothing to compare it against yet. |
| *Changed on the last check* | The value moved on the most recent reading. |
| *Unchanged for 47 checks · last changed …* | It moved once, and has stood still since. |
| *Unchanged for 47 checks · since first seen …* | It has never moved while we have been looking. |
| *Not found in the last response* | The path did not resolve. This is the only state shown as a warning, because it means the watch is measuring nothing. |
**There is deliberately no staleness threshold and no alert.** A value unchanged for 200 checks may be a frozen feed or a perfectly correct constant, and only you know which. Inventing a cut-off would put a verdict on data Routebase cannot judge, so an unchanged value is shown neutrally rather than as a warning.
Two details make the numbers trustworthy. Freshness is read from the **full response body** rather than the 4 KB sample kept for triage, because a field past that cut would otherwise read as missing forever. It is also recorded whenever the server answered as expected, including on a **Strict** monitor whose check was failed by drift. A persistently drifting endpoint must not lose its freshness history exactly while someone is looking closely.
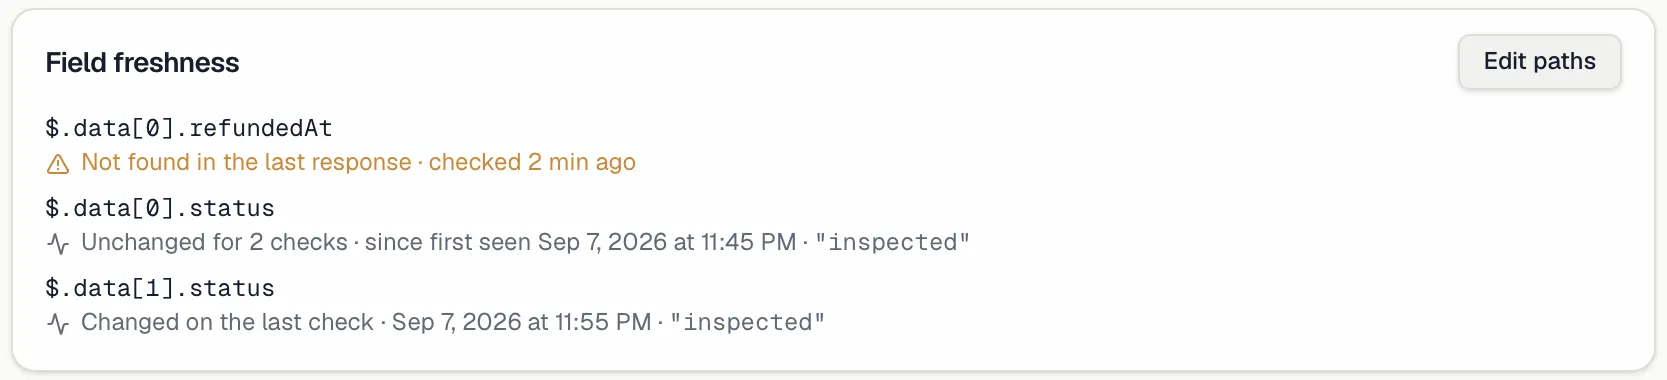
 ## Related
- [Monitoring Overview](https://docs.routebase.dev/monitoring-overview/) — the dashboard and how the pieces fit
- [Schema Drift](https://docs.routebase.dev/schema-drift/) — what schema validation checks and how
- [Contract Drift](https://docs.routebase.dev/contract-drift/) — watching a whole API, and triaging what drifts
- [Coverage](https://docs.routebase.dev/coverage/) — tracking which endpoints have monitors
- [Environments](https://docs.routebase.dev/environments/) — the base URLs and variables monitors resolve against
---
## Navigation & Search — MCP Tools
Source: https://docs.routebase.dev/navigation-search-mcp-tools/
The tools below belong to the **Navigation & Search** group of the Routebase MCP server.
## get_dashboard
Get dashboard statistics for the active project: spec count, environment count, and project info. Requires project context (call set_context first).
**Required scope:** `projects:read`
_No parameters._
## search
Search across API specs and endpoints in the active project by name, path, or description. Returns matching specs and endpoints. Use this to find specs and endpoints by text; for the project's counts and activity use get_dashboard. Requires project context.
**Required scope:** `projects:read`, `specs:read`
| Parameter | Type | Required | Description |
| --- | --- | --- | --- |
| `query` | string | Yes | Search query string (matches against names, paths, summaries, descriptions) |
| `limit` | integer | No (default `10`) | Maximum number of results per category (default 10, max 50) |
---
## Notification Defaults
Source: https://docs.routebase.dev/notification-defaults/
Notification Defaults let your organization set the starting point for everyone's notifications. Instead of each new member deciding from scratch which categories reach them in-app or by email, admins define sensible org-wide defaults once, and every member can still override them personally.
The page lives under **Settings → Notification Defaults** (in the **Notifications** group).
## How defaults and personal preferences interact
An info banner at the top of the page states the rule. It reads *these defaults apply to all members who haven't set personal preferences, and members can override these defaults in their personal notification settings.*
In practice:
- A member who has never touched a category follows the org default. In their personal settings, that category carries an **Org default** badge.
- The moment a member flips a switch for a category, their choice wins for that category, and changing the org default no longer affects them there.
- A member can hand a category back at any time with **Reset to organization default** in their [personal notification preferences](https://docs.routebase.dev/notifications/).
## Setting the defaults
The page shows the same category-by-channel matrix as personal preferences, so there is one row per notification category with an **In-App** and an **Email** switch:
## Related
- [Monitoring Overview](https://docs.routebase.dev/monitoring-overview/) — the dashboard and how the pieces fit
- [Schema Drift](https://docs.routebase.dev/schema-drift/) — what schema validation checks and how
- [Contract Drift](https://docs.routebase.dev/contract-drift/) — watching a whole API, and triaging what drifts
- [Coverage](https://docs.routebase.dev/coverage/) — tracking which endpoints have monitors
- [Environments](https://docs.routebase.dev/environments/) — the base URLs and variables monitors resolve against
---
## Navigation & Search — MCP Tools
Source: https://docs.routebase.dev/navigation-search-mcp-tools/
The tools below belong to the **Navigation & Search** group of the Routebase MCP server.
## get_dashboard
Get dashboard statistics for the active project: spec count, environment count, and project info. Requires project context (call set_context first).
**Required scope:** `projects:read`
_No parameters._
## search
Search across API specs and endpoints in the active project by name, path, or description. Returns matching specs and endpoints. Use this to find specs and endpoints by text; for the project's counts and activity use get_dashboard. Requires project context.
**Required scope:** `projects:read`, `specs:read`
| Parameter | Type | Required | Description |
| --- | --- | --- | --- |
| `query` | string | Yes | Search query string (matches against names, paths, summaries, descriptions) |
| `limit` | integer | No (default `10`) | Maximum number of results per category (default 10, max 50) |
---
## Notification Defaults
Source: https://docs.routebase.dev/notification-defaults/
Notification Defaults let your organization set the starting point for everyone's notifications. Instead of each new member deciding from scratch which categories reach them in-app or by email, admins define sensible org-wide defaults once, and every member can still override them personally.
The page lives under **Settings → Notification Defaults** (in the **Notifications** group).
## How defaults and personal preferences interact
An info banner at the top of the page states the rule. It reads *these defaults apply to all members who haven't set personal preferences, and members can override these defaults in their personal notification settings.*
In practice:
- A member who has never touched a category follows the org default. In their personal settings, that category carries an **Org default** badge.
- The moment a member flips a switch for a category, their choice wins for that category, and changing the org default no longer affects them there.
- A member can hand a category back at any time with **Reset to organization default** in their [personal notification preferences](https://docs.routebase.dev/notifications/).
## Setting the defaults
The page shows the same category-by-channel matrix as personal preferences, so there is one row per notification category with an **In-App** and an **Email** switch:
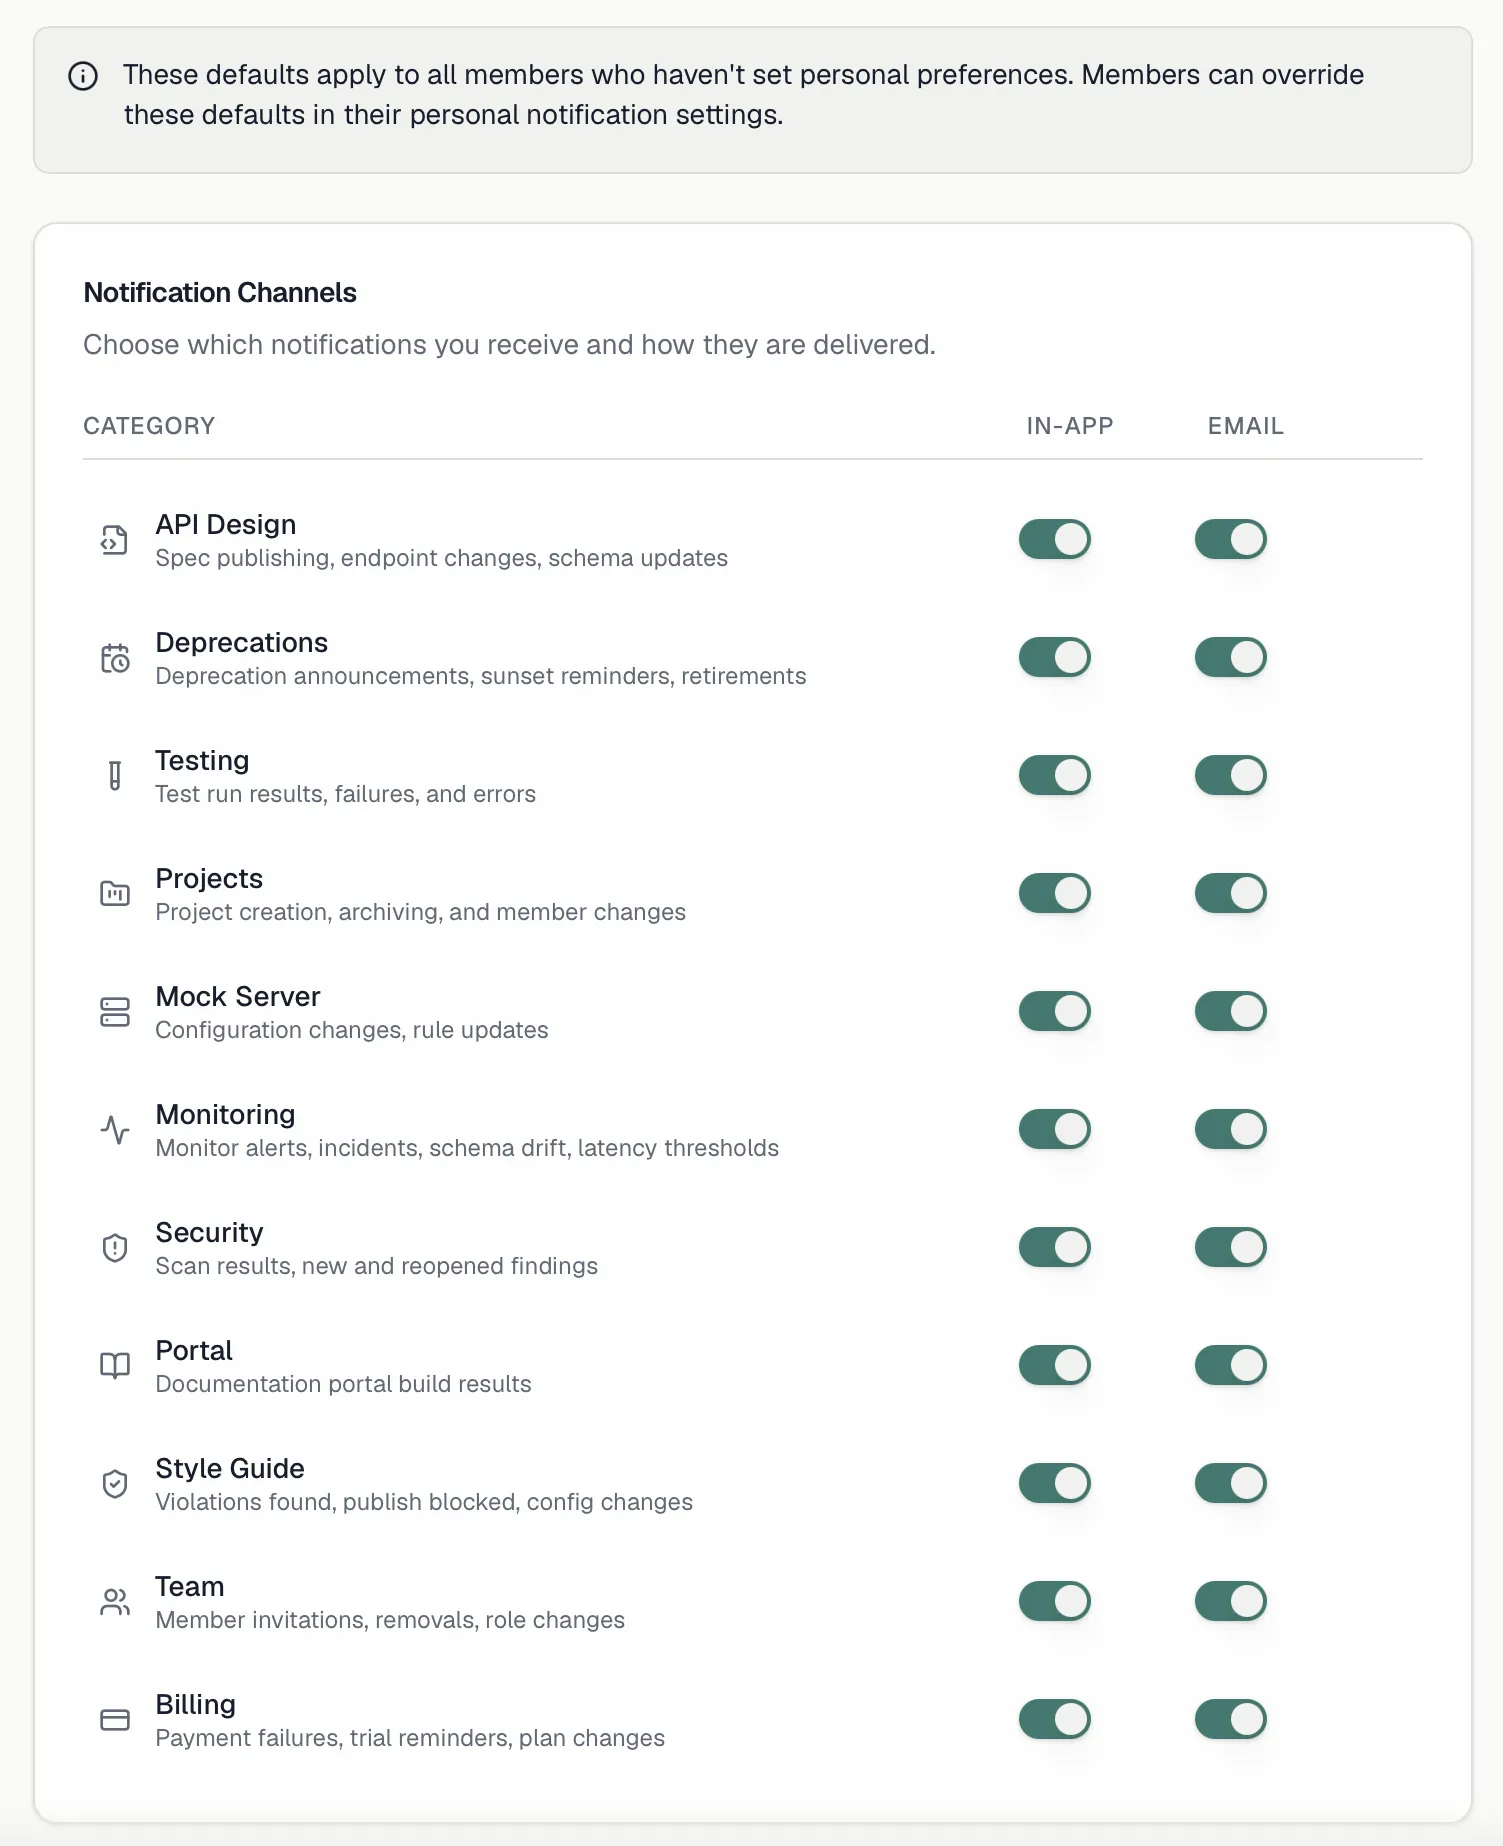
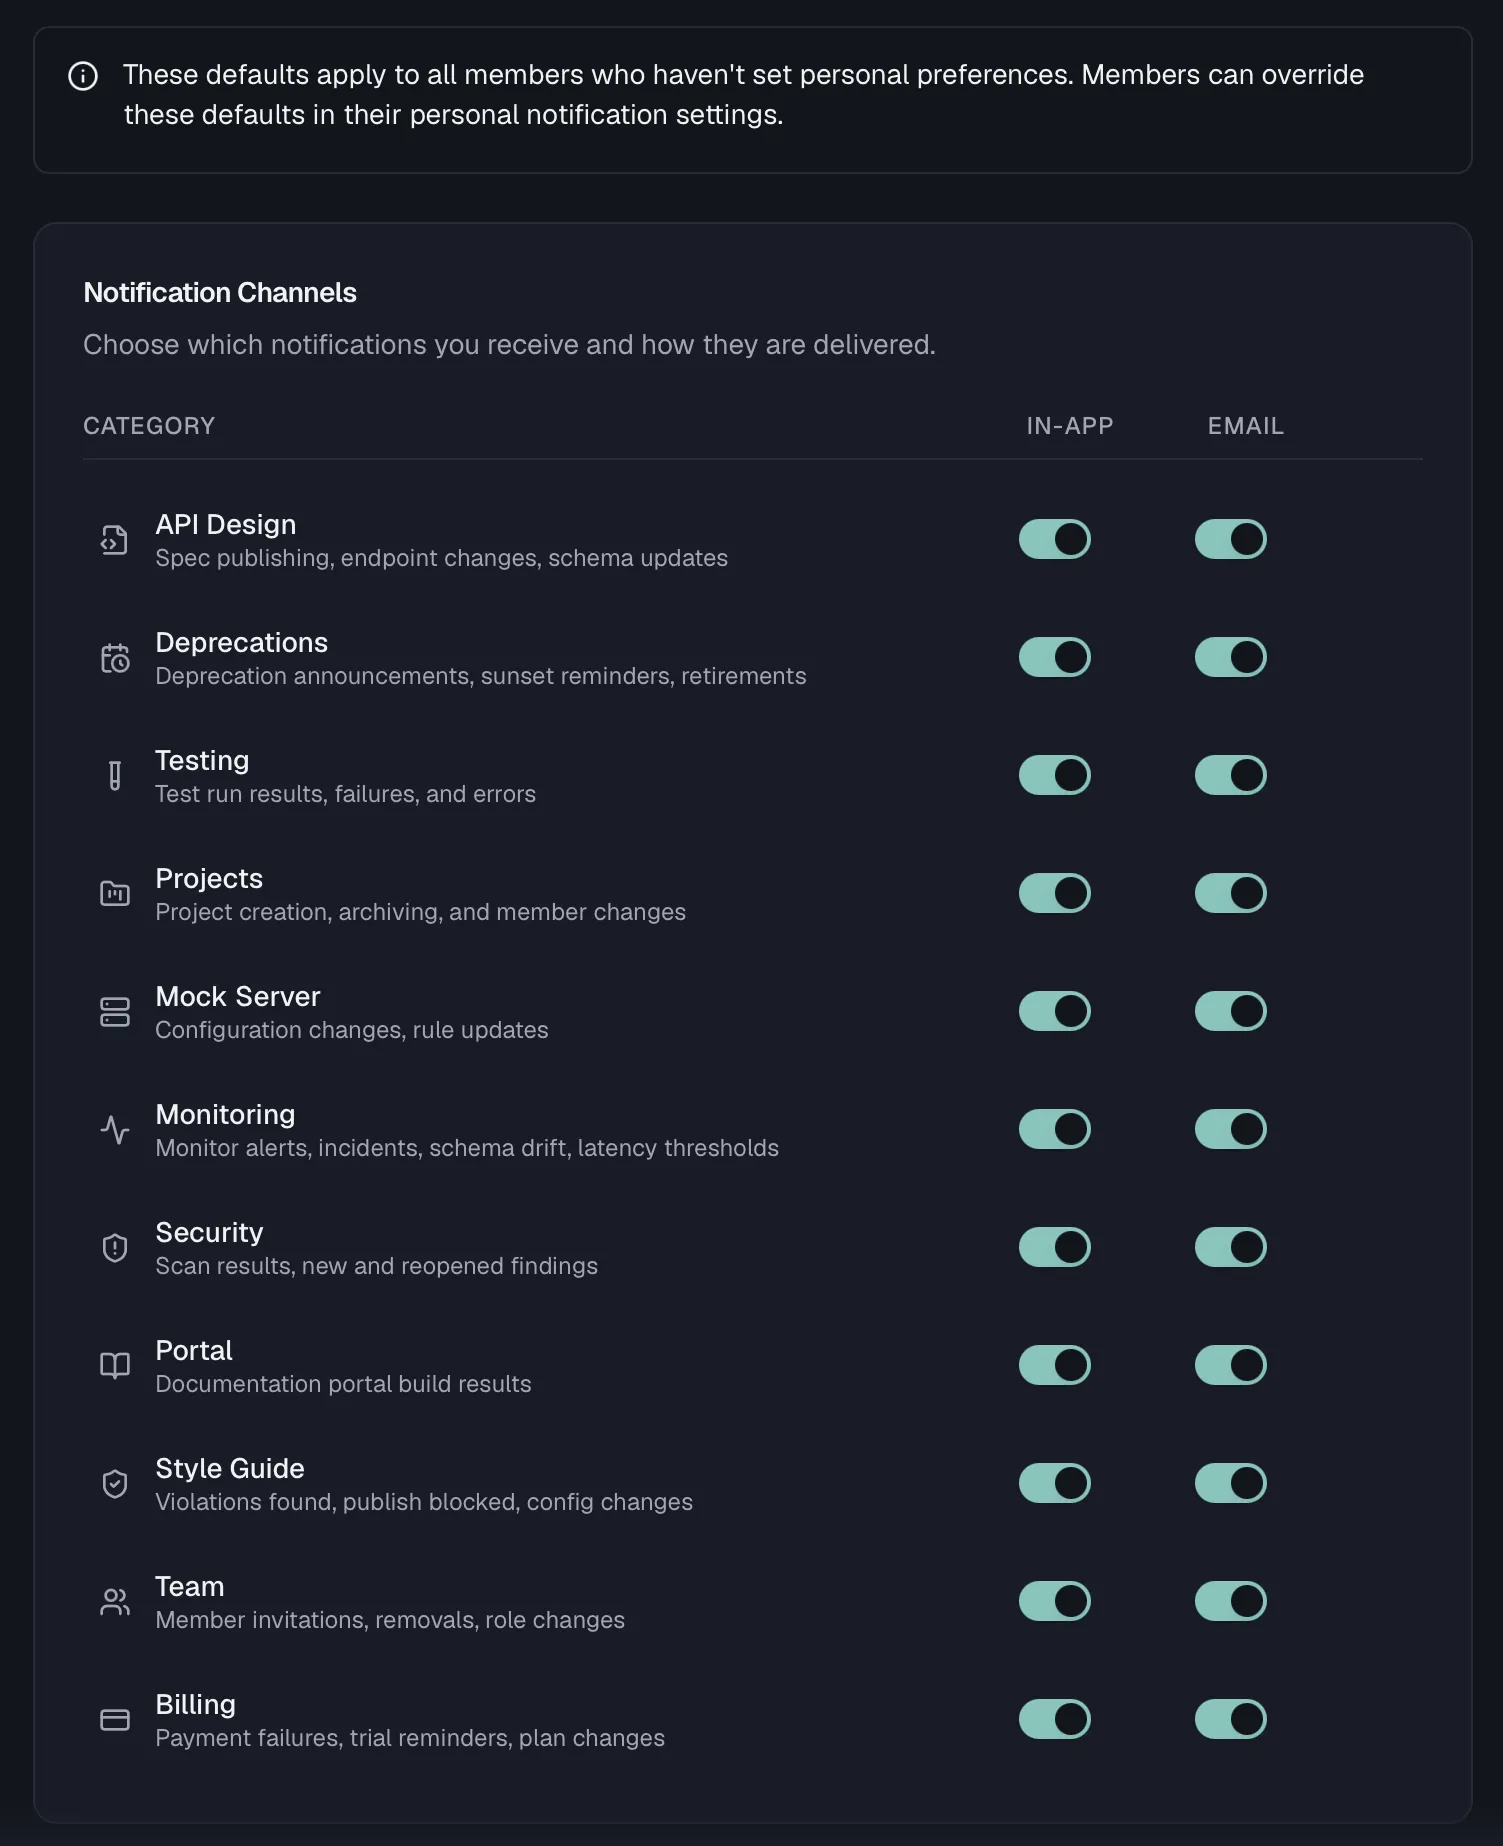 | Category | Covers |
| --- | --- |
| **API Design** | Spec publishing, endpoint changes, schema updates |
| **Testing** | Test run results, failures, and errors |
| **Projects** | Project creation, archiving, and member changes |
| **Mock Server** | Configuration changes, rule updates |
| **Monitoring** | Monitor alerts, incidents, schema drift, latency thresholds |
| **Security** | Scan results, new and reopened findings |
| **Portal** | Documentation portal build results |
| **Style Guide** | Violations found, publish blocked, config changes |
| **Team** | Member invitations, removals, role changes |
| **Billing** | Payment failures, trial reminders, plan changes |
| **Deprecations** | Deprecation announcements, sunset reminders, retirements |
Toggles save automatically, so there is no separate save button.
For example, you could turn on **Email** for **Billing** and **Monitoring** org-wide while leaving noisier categories like **API Design** in-app only. That does not touch anyone who has already chosen for themselves.
## Permissions
Every member can open the page and see the current defaults. **Changing** a default requires the **org:manage-settings** permission, which Admins and Owners hold by default.
## Related
- [Notifications](https://docs.routebase.dev/notifications/) — the notification center and personal preferences
- [Webhooks](https://docs.routebase.dev/webhooks/) — deliver events to external systems instead of people
- [Roles & Permissions](https://docs.routebase.dev/roles-permissions/) — who holds org:manage-settings
- [Organization](https://docs.routebase.dev/organization/) — other organization-wide settings
---
## Notifications
Source: https://docs.routebase.dev/notifications/
Routebase keeps your team informed when things change, such as a spec being published, a test run failing or a teammate being invited. Notifications arrive **in-app** through the bell in the header and, if you choose, by **email**. Every notification belongs to a category, and you decide per category which channels you want to use.
## The notification bell
A bell icon in the header is your notification center. When something happens, an unread badge appears with the count (it caps at `99+`). Click the bell to open a dropdown with your most recent notifications. Each entry shows an icon, a title, a short message, its category, the project it relates to and how long ago it happened.
| Category | Covers |
| --- | --- |
| **API Design** | Spec publishing, endpoint changes, schema updates |
| **Testing** | Test run results, failures, and errors |
| **Projects** | Project creation, archiving, and member changes |
| **Mock Server** | Configuration changes, rule updates |
| **Monitoring** | Monitor alerts, incidents, schema drift, latency thresholds |
| **Security** | Scan results, new and reopened findings |
| **Portal** | Documentation portal build results |
| **Style Guide** | Violations found, publish blocked, config changes |
| **Team** | Member invitations, removals, role changes |
| **Billing** | Payment failures, trial reminders, plan changes |
| **Deprecations** | Deprecation announcements, sunset reminders, retirements |
Toggles save automatically, so there is no separate save button.
For example, you could turn on **Email** for **Billing** and **Monitoring** org-wide while leaving noisier categories like **API Design** in-app only. That does not touch anyone who has already chosen for themselves.
## Permissions
Every member can open the page and see the current defaults. **Changing** a default requires the **org:manage-settings** permission, which Admins and Owners hold by default.
## Related
- [Notifications](https://docs.routebase.dev/notifications/) — the notification center and personal preferences
- [Webhooks](https://docs.routebase.dev/webhooks/) — deliver events to external systems instead of people
- [Roles & Permissions](https://docs.routebase.dev/roles-permissions/) — who holds org:manage-settings
- [Organization](https://docs.routebase.dev/organization/) — other organization-wide settings
---
## Notifications
Source: https://docs.routebase.dev/notifications/
Routebase keeps your team informed when things change, such as a spec being published, a test run failing or a teammate being invited. Notifications arrive **in-app** through the bell in the header and, if you choose, by **email**. Every notification belongs to a category, and you decide per category which channels you want to use.
## The notification bell
A bell icon in the header is your notification center. When something happens, an unread badge appears with the count (it caps at `99+`). Click the bell to open a dropdown with your most recent notifications. Each entry shows an icon, a title, a short message, its category, the project it relates to and how long ago it happened.
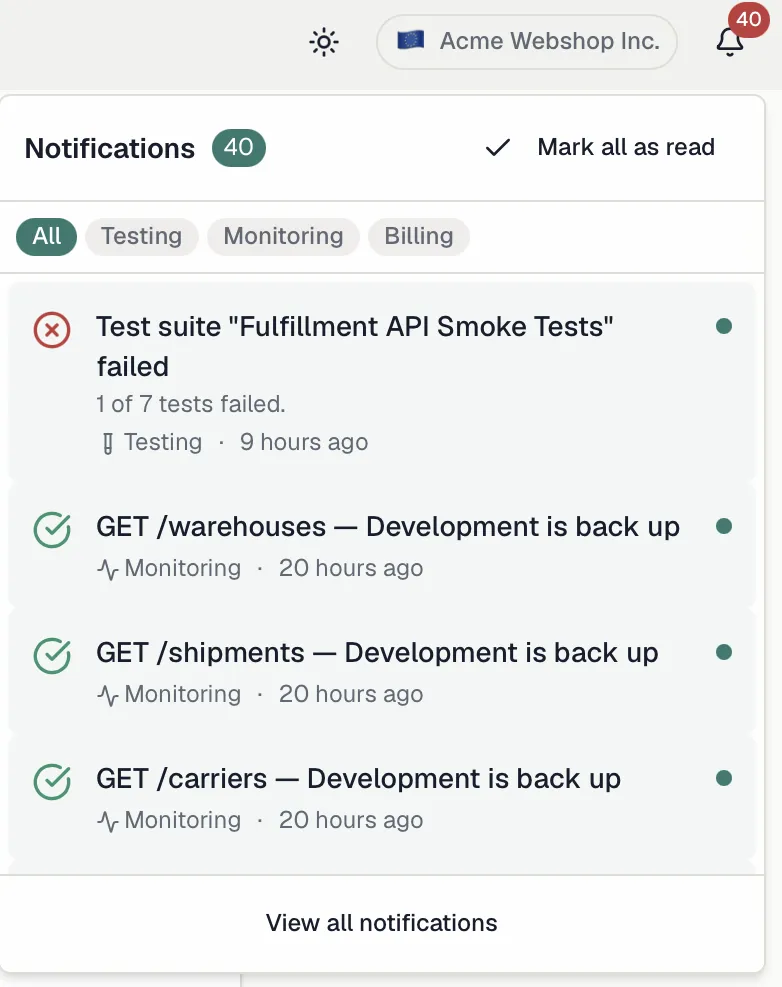
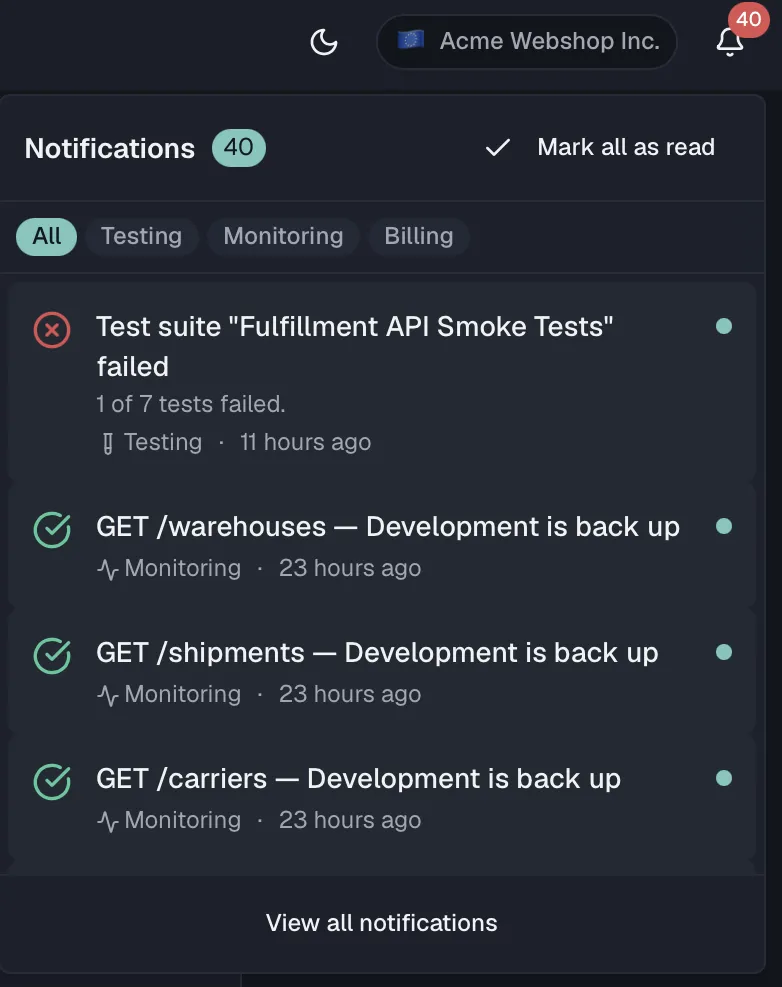 Inside the dropdown you can:
- **Filter by category** with the chips across the top, which narrow the list. **All** is always shown. The other chips, for example **API Design**, **Testing** and **Monitoring**, appear only for categories that actually occur in your recent notifications.
- **Mark as read** by hovering an unread notification and clicking the check button, which marks it read without leaving the dropdown. Clicking a notification that links to something takes you straight there and marks it read at the same time. **Mark all as read** clears the unread count in one go.
- **See everything** with **View all notifications**, which opens the full notifications page.
New notifications arrive in real time. The badge and list update without a page reload, and a toast pops up as the event happens.
## The notifications page
**View all notifications** (or navigating to the **Notifications** page) shows your notification history in one place:
- A filter select switches between **All** and **Unread**.
- **Mark all as read** appears while you have unread notifications. The page header counts them, as in "3 unread notifications", or confirms "All caught up!".
- A footer shows how many of your total notifications are listed.
When there is nothing to show, the page reads **No notifications** above the line "You're all caught up! New notifications will appear here."
## Categories and channels
Every notification belongs to one of these categories:
| Category | Covers |
| --- | --- |
| **API Design** | Spec publishing, endpoint changes, schema updates |
| **Testing** | Test run results, failures, and errors |
| **Projects** | Project creation, archiving, and member changes |
| **Mock Server** | Configuration changes, rule updates |
| **Monitoring** | Monitor alerts, incidents, schema drift, latency thresholds |
| **Security** | Scan results, new and reopened findings |
| **Portal** | Documentation portal build results |
| **Style Guide** | Violations found, publish blocked, config changes |
| **Team** | Member invitations, removals, role changes |
| **Billing** | Payment failures, trial reminders, plan changes |
| **Deprecations** | Deprecation announcements, sunset reminders, retirements |
Each category can be delivered through one or both channels:
| Channel | Where it shows up |
| --- | --- |
| **In-App** | The bell dropdown and the notifications page. |
| **Email** | Sent to your account email address. |
## Your notification preferences
Your personal matrix lives under **Settings → Preferences**, in the **Notifications** card. Each category is a row with an **In-App** and an **Email** switch. Toggle any switch to start or stop receiving that category on that channel. Changes save as you go.
Inside the dropdown you can:
- **Filter by category** with the chips across the top, which narrow the list. **All** is always shown. The other chips, for example **API Design**, **Testing** and **Monitoring**, appear only for categories that actually occur in your recent notifications.
- **Mark as read** by hovering an unread notification and clicking the check button, which marks it read without leaving the dropdown. Clicking a notification that links to something takes you straight there and marks it read at the same time. **Mark all as read** clears the unread count in one go.
- **See everything** with **View all notifications**, which opens the full notifications page.
New notifications arrive in real time. The badge and list update without a page reload, and a toast pops up as the event happens.
## The notifications page
**View all notifications** (or navigating to the **Notifications** page) shows your notification history in one place:
- A filter select switches between **All** and **Unread**.
- **Mark all as read** appears while you have unread notifications. The page header counts them, as in "3 unread notifications", or confirms "All caught up!".
- A footer shows how many of your total notifications are listed.
When there is nothing to show, the page reads **No notifications** above the line "You're all caught up! New notifications will appear here."
## Categories and channels
Every notification belongs to one of these categories:
| Category | Covers |
| --- | --- |
| **API Design** | Spec publishing, endpoint changes, schema updates |
| **Testing** | Test run results, failures, and errors |
| **Projects** | Project creation, archiving, and member changes |
| **Mock Server** | Configuration changes, rule updates |
| **Monitoring** | Monitor alerts, incidents, schema drift, latency thresholds |
| **Security** | Scan results, new and reopened findings |
| **Portal** | Documentation portal build results |
| **Style Guide** | Violations found, publish blocked, config changes |
| **Team** | Member invitations, removals, role changes |
| **Billing** | Payment failures, trial reminders, plan changes |
| **Deprecations** | Deprecation announcements, sunset reminders, retirements |
Each category can be delivered through one or both channels:
| Channel | Where it shows up |
| --- | --- |
| **In-App** | The bell dropdown and the notifications page. |
| **Email** | Sent to your account email address. |
## Your notification preferences
Your personal matrix lives under **Settings → Preferences**, in the **Notifications** card. Each category is a row with an **In-App** and an **Email** switch. Toggle any switch to start or stop receiving that category on that channel. Changes save as you go.
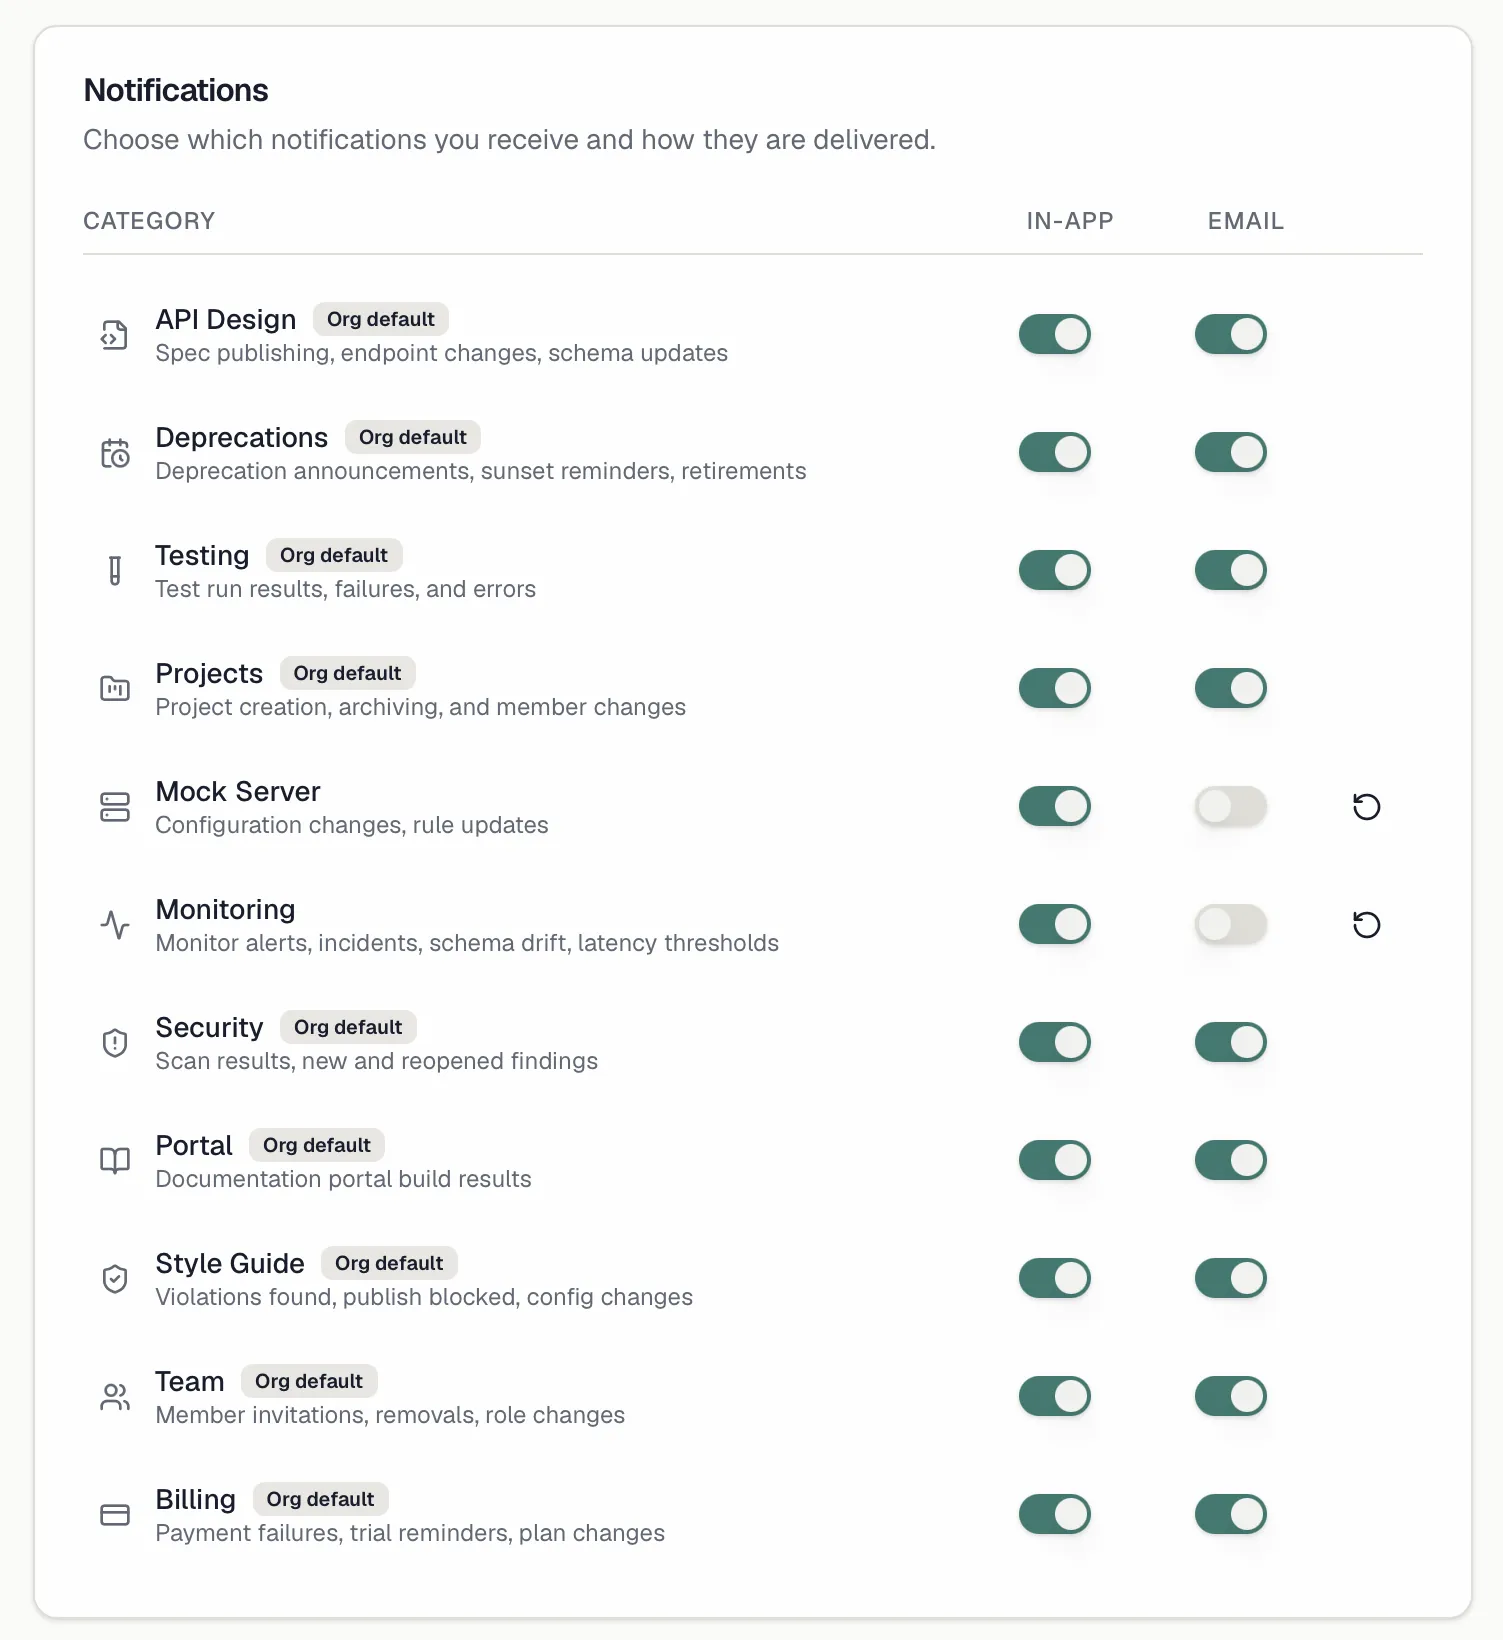
 Until you change anything, a category follows your organization's default and carries an **Org default** badge. The moment you flip a switch, that category becomes your personal choice. A **Reset to organization default** button appears on overridden rows, so you can hand a category back to the org default at any time. See [Notification Defaults](https://docs.routebase.dev/notification-defaults/) for how admins set those defaults.
## How email delivery works
Email notifications are not sent one-by-one. To keep your inbox calm:
- **Routine events are batched into a digest.** Events accumulate for a few minutes and are then sent as one email per category, listing everything that happened.
- **Critical events skip the digest** and are emailed immediately. Examples are a failed or errored test run, a breaking API change, a publish blocked by the style guide and a team invitation.
### Unsubscribing
Every notification email includes an unsubscribe link (including one-click unsubscribe support in mail clients). Following it turns off email for that category without a login. Your in-app notifications are unaffected, and you can re-enable email any time from your notification preferences.
## Permissions
In-app notifications and your personal preferences are available to every member, so you always control your own. Organization-wide controls are separate, and they are described in [Notification Defaults](https://docs.routebase.dev/notification-defaults/) and [Webhooks](https://docs.routebase.dev/webhooks/).
## Related
- [Notification Defaults](https://docs.routebase.dev/notification-defaults/) — the org-wide starting point for everyone's preferences
- [Webhooks](https://docs.routebase.dev/webhooks/) — push the same events to your own services over HTTP
- [Monitoring Overview](https://docs.routebase.dev/monitoring-overview/) — the alerts and incidents behind the Monitoring category
- [Test Suites](https://docs.routebase.dev/test-suites/) — the test runs behind the Testing category
---
## Notifications & Webhooks — MCP Tools
Source: https://docs.routebase.dev/notifications-webhooks-mcp-tools/
The tools below belong to the **Notifications & Webhooks** group of the Routebase MCP server.
## create_webhook
Create a new webhook to receive event notifications via HTTP POST. Subscribe to events like spec.published, test.failed, portal.build.completed, etc. Returns the created webhook with its signing secret (shown only once — save it!). Only accessible by organization admins and owners. Requires organization context (call set_context first).
**Required scope:** `notifications:manage`
| Parameter | Type | Required | Description |
| --- | --- | --- | --- |
| `name` | string | Yes | Human-readable name for the webhook |
| `url` | string | Yes | Target URL for webhook delivery (must be HTTPS) |
| `events` | string | Yes | Comma-separated event types to subscribe to (e.g., 'spec.published,test.failed,portal.build.completed') |
| `description` | string | No | Optional description |
| `projectId` | string | No | Optional project public Id (Guid) to scope the webhook to a specific project |
| `maxRetries` | integer | No (default `3`) | Maximum retry attempts on delivery failure (default 3, max 10) |
| `isEnabled` | boolean | No (default `true`) | Whether the webhook should be active immediately (default true) |
## delete_webhook
Delete a webhook. Only accessible by organization admins and owners. Requires organization context (call set_context first).
**Required scope:** `notifications:manage`
| Parameter | Type | Required | Description |
| --- | --- | --- | --- |
| `webhookId` | string | Yes | The public Id (Guid) of the webhook to delete |
## get_notification_preferences
Read notification preferences per category. scope 'user' (default) returns your own settings, where isUserOverride tells you whether a category follows the organization default or your own choice; scope 'org' returns the organization defaults. Use this to read preferences; to change your own use update_notification_preferences. Requires organization context.
_No special scope — available to any authenticated key._
| Parameter | Type | Required | Description |
| --- | --- | --- | --- |
| `scope` | string | No (default `"user"`) | Whose settings to read: 'user' (default) or 'org' |
## list_notifications
Get notifications for the authenticated user in the active organization. Supports filtering for unread only and pagination. Returns notifications with type, title, message, action URL, and read status. Requires organization context (call set_context first).
_No special scope — available to any authenticated key._
| Parameter | Type | Required | Description |
| --- | --- | --- | --- |
| `unreadOnly` | boolean | No (default `true`) | If true, return only unread notifications (default true) |
| `skip` | integer | No (default `0`) | Number of notifications to skip (for pagination, default 0) |
| `take` | integer | No (default `20`) | Number of notifications to return (default 20, max 100) |
## list_webhook_deliveries
List delivery attempts of one webhook — event type, status, attempt count, HTTP status and error message. This is where you look when a webhook 'does not fire'. Get the webhookId from list_webhooks. Requires organization context.
**Required scope:** `notifications:read`
| Parameter | Type | Required | Description |
| --- | --- | --- | --- |
| `webhookId` | string | Yes | Public ID (GUID) of the webhook |
| `skip` | integer | No (default `0`) | Number of deliveries to skip (for pagination, default 0) |
| `take` | integer | No (default `50`) | Number of deliveries to return (default 50, max 100) |
## list_webhooks
List configured webhooks for the organization, optionally filtered by project. Returns webhook details including URL, subscribed events, and enabled status. Only accessible by organization admins and owners. Requires organization context (call set_context first).
**Required scope:** `notifications:read`
| Parameter | Type | Required | Description |
| --- | --- | --- | --- |
| `projectId` | string | No | Optional project public Id (Guid) to filter webhooks by project |
| `skip` | integer | No (default `0`) | Number of webhooks to skip (for pagination, default 0) |
| `take` | integer | No (default `50`) | Number of webhooks to return (default 50, max 100) |
## mark_all_notifications_read
Mark EVERY unread notification of the authenticated user in the active organization as read. This cannot be undone — to clear a single one use mark_notification_read. Requires organization context (call set_context first).
_No special scope — available to any authenticated key._
_No parameters._
## mark_notification_read
Mark one notification as read. Get the id from list_notifications. Requires organization context (call set_context first).
_No special scope — available to any authenticated key._
| Parameter | Type | Required | Description |
| --- | --- | --- | --- |
| `notificationId` | string | Yes | Public ID (GUID) of the notification |
## regenerate_webhook_secret
Issue a new HMAC signing secret for a webhook and return it. The old secret stops working immediately, so the receiver must be updated — deliveries fail signature verification until it is. The secret is shown only here; save it. Use this to rotate a leaked secret; to change the webhook itself use update_webhook. Requires organization context.
**Required scope:** `notifications:manage`
| Parameter | Type | Required | Description |
| --- | --- | --- | --- |
| `webhookId` | string | Yes | Public ID (GUID) of the webhook |
## test_webhook
Send a test payload to a webhook to verify its configuration. Returns the delivery result including HTTP status code, delivery status, and any errors. Only accessible by organization admins and owners. Requires organization context (call set_context first).
**Required scope:** `notifications:manage`
| Parameter | Type | Required | Description |
| --- | --- | --- | --- |
| `webhookId` | string | Yes | The public Id (Guid) of the webhook to test |
## toggle_webhook
Enable or disable a webhook without changing its configuration. Only accessible by organization admins and owners. Requires organization context (call set_context first).
**Required scope:** `notifications:manage`
| Parameter | Type | Required | Description |
| --- | --- | --- | --- |
| `webhookId` | string | Yes | The public Id (Guid) of the webhook to enable or disable |
| `enable` | boolean | Yes | True to enable the webhook, false to disable it |
## update_notification_preferences
Set YOUR notification preferences for one or more categories. Categories you do not mention keep their current setting. Use resetCategories to drop your override so a category follows the organization default again — an entry in categoriesJson can only set an override, never remove one. Valid categories: api_design, testing, project, mock_server, style_guide, team, portal, monitoring, security, billing, deprecation. Use this for your own preferences; for the organization defaults use update_org_notification_defaults.
_No special scope — available to any authenticated key._
| Parameter | Type | Required | Description |
| --- | --- | --- | --- |
| `categoriesJson` | string | Yes | JSON array of category settings. Each item: { "category": string, "inAppEnabled": bool, "emailEnabled": bool }. |
| `resetCategories` | string | No | Comma-separated categories whose personal override should be removed |
## update_org_notification_defaults
Set the organization-wide notification defaults per category. They apply to every member who has not overridden the category for themselves. Categories you do not mention keep their current setting. Valid categories: api_design, testing, project, mock_server, style_guide, team, portal, monitoring, security, billing, deprecation. Use this for the organization defaults; for your own use update_notification_preferences.
**Required scope:** `org:manage-settings`
| Parameter | Type | Required | Description |
| --- | --- | --- | --- |
| `categoriesJson` | string | Yes | JSON array of category defaults. Each item: { "category": string, "inAppEnabled": bool, "emailEnabled": bool }. |
## update_webhook
Update a webhook's name, description, target URL, subscribed events, and retry count. Pass the current values for fields you don't want to change; use 'toggle_webhook' to enable/disable. Only accessible by organization admins and owners. Requires organization context (call set_context first).
**Required scope:** `notifications:read`, `notifications:manage`
| Parameter | Type | Required | Description |
| --- | --- | --- | --- |
| `webhookId` | string | Yes | The public Id (Guid) of the webhook to update |
| `name` | string | Yes | Human-readable name for the webhook |
| `url` | string | Yes | Target URL for webhook delivery (must be HTTPS) |
| `events` | string | Yes | Comma-separated event types to subscribe to (e.g., 'spec.published,test.failed') |
| `description` | string | No | Optional description |
| `maxRetries` | integer | No (default `3`) | Maximum retry attempts on delivery failure (default 3, max 10) |
---
## Offline Mode
Source: https://docs.routebase.dev/offline-mode/
When your connection drops, Routebase does not. Your changes are written to a local database, queued, and sent to the server the moment you are back, without you doing anything about it.
**This works in the browser too, not only in the desktop app.** The behaviour is the same in both clients, whether you hit a dropped Wi-Fi connection, a tunnel or a flaky conference network.
## What you see
Two pieces of interface tell you where you stand.
**The offline banner** appears across the top as soon as the browser reports no connection:
> You're offline. Changes are saved locally and will sync automatically when you reconnect.
**The sync indicator** sits in the header and shows the state of the queue. It appears when there is something to report and stays out of the way otherwise:
| Label | Meaning |
| --- | --- |
| **Syncing** *n* | Items are being sent right now. |
| **Pending** | Items are queued, waiting for a connection. |
| ***n* failed** | Items the server rejected. |
| ***n* conflicts** | Items that collided with a newer state on the server. |
Clicking it opens a panel with the counts, whether you are online or offline, and the actions described below.
## How it works
Every change you make goes through the same path whether or not you are online. Routebase writes it to a local IndexedDB store, adds it to a sync queue, and executes it against the API. When there is no connection, only the last step waits.
The queue drains automatically when the connection comes back, when the app starts, and periodically while it runs. You do not have to open the indicator for anything to happen.
```mermaid
stateDiagram-v2
state "In the sync queue" as Q
state "Done" as D
state "Failed" as F
state "Concurrency conflict" as CC
state "Cascade conflict" as CD
[*] --> Q: you edit — online or not
Q --> D: the server accepts it
Q --> F: the server rejects it
Q --> CC: the server holds a newer version
Q --> CD: the create it depends on never landed
F --> Q: Retry now
CC --> Q: auto-retry, once or twice
note right of CC: when the auto-retries run out,
Until you change anything, a category follows your organization's default and carries an **Org default** badge. The moment you flip a switch, that category becomes your personal choice. A **Reset to organization default** button appears on overridden rows, so you can hand a category back to the org default at any time. See [Notification Defaults](https://docs.routebase.dev/notification-defaults/) for how admins set those defaults.
## How email delivery works
Email notifications are not sent one-by-one. To keep your inbox calm:
- **Routine events are batched into a digest.** Events accumulate for a few minutes and are then sent as one email per category, listing everything that happened.
- **Critical events skip the digest** and are emailed immediately. Examples are a failed or errored test run, a breaking API change, a publish blocked by the style guide and a team invitation.
### Unsubscribing
Every notification email includes an unsubscribe link (including one-click unsubscribe support in mail clients). Following it turns off email for that category without a login. Your in-app notifications are unaffected, and you can re-enable email any time from your notification preferences.
## Permissions
In-app notifications and your personal preferences are available to every member, so you always control your own. Organization-wide controls are separate, and they are described in [Notification Defaults](https://docs.routebase.dev/notification-defaults/) and [Webhooks](https://docs.routebase.dev/webhooks/).
## Related
- [Notification Defaults](https://docs.routebase.dev/notification-defaults/) — the org-wide starting point for everyone's preferences
- [Webhooks](https://docs.routebase.dev/webhooks/) — push the same events to your own services over HTTP
- [Monitoring Overview](https://docs.routebase.dev/monitoring-overview/) — the alerts and incidents behind the Monitoring category
- [Test Suites](https://docs.routebase.dev/test-suites/) — the test runs behind the Testing category
---
## Notifications & Webhooks — MCP Tools
Source: https://docs.routebase.dev/notifications-webhooks-mcp-tools/
The tools below belong to the **Notifications & Webhooks** group of the Routebase MCP server.
## create_webhook
Create a new webhook to receive event notifications via HTTP POST. Subscribe to events like spec.published, test.failed, portal.build.completed, etc. Returns the created webhook with its signing secret (shown only once — save it!). Only accessible by organization admins and owners. Requires organization context (call set_context first).
**Required scope:** `notifications:manage`
| Parameter | Type | Required | Description |
| --- | --- | --- | --- |
| `name` | string | Yes | Human-readable name for the webhook |
| `url` | string | Yes | Target URL for webhook delivery (must be HTTPS) |
| `events` | string | Yes | Comma-separated event types to subscribe to (e.g., 'spec.published,test.failed,portal.build.completed') |
| `description` | string | No | Optional description |
| `projectId` | string | No | Optional project public Id (Guid) to scope the webhook to a specific project |
| `maxRetries` | integer | No (default `3`) | Maximum retry attempts on delivery failure (default 3, max 10) |
| `isEnabled` | boolean | No (default `true`) | Whether the webhook should be active immediately (default true) |
## delete_webhook
Delete a webhook. Only accessible by organization admins and owners. Requires organization context (call set_context first).
**Required scope:** `notifications:manage`
| Parameter | Type | Required | Description |
| --- | --- | --- | --- |
| `webhookId` | string | Yes | The public Id (Guid) of the webhook to delete |
## get_notification_preferences
Read notification preferences per category. scope 'user' (default) returns your own settings, where isUserOverride tells you whether a category follows the organization default or your own choice; scope 'org' returns the organization defaults. Use this to read preferences; to change your own use update_notification_preferences. Requires organization context.
_No special scope — available to any authenticated key._
| Parameter | Type | Required | Description |
| --- | --- | --- | --- |
| `scope` | string | No (default `"user"`) | Whose settings to read: 'user' (default) or 'org' |
## list_notifications
Get notifications for the authenticated user in the active organization. Supports filtering for unread only and pagination. Returns notifications with type, title, message, action URL, and read status. Requires organization context (call set_context first).
_No special scope — available to any authenticated key._
| Parameter | Type | Required | Description |
| --- | --- | --- | --- |
| `unreadOnly` | boolean | No (default `true`) | If true, return only unread notifications (default true) |
| `skip` | integer | No (default `0`) | Number of notifications to skip (for pagination, default 0) |
| `take` | integer | No (default `20`) | Number of notifications to return (default 20, max 100) |
## list_webhook_deliveries
List delivery attempts of one webhook — event type, status, attempt count, HTTP status and error message. This is where you look when a webhook 'does not fire'. Get the webhookId from list_webhooks. Requires organization context.
**Required scope:** `notifications:read`
| Parameter | Type | Required | Description |
| --- | --- | --- | --- |
| `webhookId` | string | Yes | Public ID (GUID) of the webhook |
| `skip` | integer | No (default `0`) | Number of deliveries to skip (for pagination, default 0) |
| `take` | integer | No (default `50`) | Number of deliveries to return (default 50, max 100) |
## list_webhooks
List configured webhooks for the organization, optionally filtered by project. Returns webhook details including URL, subscribed events, and enabled status. Only accessible by organization admins and owners. Requires organization context (call set_context first).
**Required scope:** `notifications:read`
| Parameter | Type | Required | Description |
| --- | --- | --- | --- |
| `projectId` | string | No | Optional project public Id (Guid) to filter webhooks by project |
| `skip` | integer | No (default `0`) | Number of webhooks to skip (for pagination, default 0) |
| `take` | integer | No (default `50`) | Number of webhooks to return (default 50, max 100) |
## mark_all_notifications_read
Mark EVERY unread notification of the authenticated user in the active organization as read. This cannot be undone — to clear a single one use mark_notification_read. Requires organization context (call set_context first).
_No special scope — available to any authenticated key._
_No parameters._
## mark_notification_read
Mark one notification as read. Get the id from list_notifications. Requires organization context (call set_context first).
_No special scope — available to any authenticated key._
| Parameter | Type | Required | Description |
| --- | --- | --- | --- |
| `notificationId` | string | Yes | Public ID (GUID) of the notification |
## regenerate_webhook_secret
Issue a new HMAC signing secret for a webhook and return it. The old secret stops working immediately, so the receiver must be updated — deliveries fail signature verification until it is. The secret is shown only here; save it. Use this to rotate a leaked secret; to change the webhook itself use update_webhook. Requires organization context.
**Required scope:** `notifications:manage`
| Parameter | Type | Required | Description |
| --- | --- | --- | --- |
| `webhookId` | string | Yes | Public ID (GUID) of the webhook |
## test_webhook
Send a test payload to a webhook to verify its configuration. Returns the delivery result including HTTP status code, delivery status, and any errors. Only accessible by organization admins and owners. Requires organization context (call set_context first).
**Required scope:** `notifications:manage`
| Parameter | Type | Required | Description |
| --- | --- | --- | --- |
| `webhookId` | string | Yes | The public Id (Guid) of the webhook to test |
## toggle_webhook
Enable or disable a webhook without changing its configuration. Only accessible by organization admins and owners. Requires organization context (call set_context first).
**Required scope:** `notifications:manage`
| Parameter | Type | Required | Description |
| --- | --- | --- | --- |
| `webhookId` | string | Yes | The public Id (Guid) of the webhook to enable or disable |
| `enable` | boolean | Yes | True to enable the webhook, false to disable it |
## update_notification_preferences
Set YOUR notification preferences for one or more categories. Categories you do not mention keep their current setting. Use resetCategories to drop your override so a category follows the organization default again — an entry in categoriesJson can only set an override, never remove one. Valid categories: api_design, testing, project, mock_server, style_guide, team, portal, monitoring, security, billing, deprecation. Use this for your own preferences; for the organization defaults use update_org_notification_defaults.
_No special scope — available to any authenticated key._
| Parameter | Type | Required | Description |
| --- | --- | --- | --- |
| `categoriesJson` | string | Yes | JSON array of category settings. Each item: { "category": string, "inAppEnabled": bool, "emailEnabled": bool }. |
| `resetCategories` | string | No | Comma-separated categories whose personal override should be removed |
## update_org_notification_defaults
Set the organization-wide notification defaults per category. They apply to every member who has not overridden the category for themselves. Categories you do not mention keep their current setting. Valid categories: api_design, testing, project, mock_server, style_guide, team, portal, monitoring, security, billing, deprecation. Use this for the organization defaults; for your own use update_notification_preferences.
**Required scope:** `org:manage-settings`
| Parameter | Type | Required | Description |
| --- | --- | --- | --- |
| `categoriesJson` | string | Yes | JSON array of category defaults. Each item: { "category": string, "inAppEnabled": bool, "emailEnabled": bool }. |
## update_webhook
Update a webhook's name, description, target URL, subscribed events, and retry count. Pass the current values for fields you don't want to change; use 'toggle_webhook' to enable/disable. Only accessible by organization admins and owners. Requires organization context (call set_context first).
**Required scope:** `notifications:read`, `notifications:manage`
| Parameter | Type | Required | Description |
| --- | --- | --- | --- |
| `webhookId` | string | Yes | The public Id (Guid) of the webhook to update |
| `name` | string | Yes | Human-readable name for the webhook |
| `url` | string | Yes | Target URL for webhook delivery (must be HTTPS) |
| `events` | string | Yes | Comma-separated event types to subscribe to (e.g., 'spec.published,test.failed') |
| `description` | string | No | Optional description |
| `maxRetries` | integer | No (default `3`) | Maximum retry attempts on delivery failure (default 3, max 10) |
---
## Offline Mode
Source: https://docs.routebase.dev/offline-mode/
When your connection drops, Routebase does not. Your changes are written to a local database, queued, and sent to the server the moment you are back, without you doing anything about it.
**This works in the browser too, not only in the desktop app.** The behaviour is the same in both clients, whether you hit a dropped Wi-Fi connection, a tunnel or a flaky conference network.
## What you see
Two pieces of interface tell you where you stand.
**The offline banner** appears across the top as soon as the browser reports no connection:
> You're offline. Changes are saved locally and will sync automatically when you reconnect.
**The sync indicator** sits in the header and shows the state of the queue. It appears when there is something to report and stays out of the way otherwise:
| Label | Meaning |
| --- | --- |
| **Syncing** *n* | Items are being sent right now. |
| **Pending** | Items are queued, waiting for a connection. |
| ***n* failed** | Items the server rejected. |
| ***n* conflicts** | Items that collided with a newer state on the server. |
Clicking it opens a panel with the counts, whether you are online or offline, and the actions described below.
## How it works
Every change you make goes through the same path whether or not you are online. Routebase writes it to a local IndexedDB store, adds it to a sync queue, and executes it against the API. When there is no connection, only the last step waits.
The queue drains automatically when the connection comes back, when the app starts, and periodically while it runs. You do not have to open the indicator for anything to happen.
```mermaid
stateDiagram-v2
state "In the sync queue" as Q
state "Done" as D
state "Failed" as F
state "Concurrency conflict" as CC
state "Cascade conflict" as CD
[*] --> Q: you edit — online or not
Q --> D: the server accepts it
Q --> F: the server rejects it
Q --> CC: the server holds a newer version
Q --> CD: the create it depends on never landed
F --> Q: Retry now
CC --> Q: auto-retry, once or twice
note right of CC: when the auto-retries run out,open the entity and decide note right of CD: retrying cannot help —
discard, or fix the original create ``` Editing is covered across the product. Projects, API design (endpoints, schemas, components and shared library), documentation, testing and test data, mock server, monitoring, governance, notifications and organization settings all have offline support. Reading is served from the cached data you already loaded. **What offline mode does not do** is run things that only exist on the server. A test run, a security scan, a mock request or a portal build needs the backend, so it waits for one. Offline mode is about not losing your edits, not about a local copy of Routebase. ## Failed items An item is **failed** when the server rejected it. That happens on a validation error, on a permission it turns out you do not have, or when something was deleted underneath you. The panel offers **Retry now**, which puts failed items back in the queue. If the cause was temporary, they go through. If it was not, they fail again, and the change needs looking at in the app. ## Conflicts A **conflict** is the interesting case, because your queued change collided with a newer state on the server. Somebody edited the same thing while you were offline. Two kinds exist, and the panel tells you which you have. **Concurrency conflicts** happen when the server has a newer version of the entity than the one your change was based on. Routebase retries these once or twice on its own, because the common cause is a concurrent edit that a re-fetch resolves. When automatic retries run out, the panel says so: > *n* conflicts reached the auto-retry cap. Try again or open the entity to review the latest server version. **Retry conflicts** tries again. If it keeps failing, open the entity in the app, because you are looking at a genuine disagreement about what the current value should be. That is a decision rather than a retry. **Cascade conflicts** are changes that depend on something that was never created. If a create fails while offline, everything you built on top of it references an object that does not exist. Retrying cannot help, so Routebase does not: > Conflicts are unrecoverable (parent create failed). Discard or fix manually. The way out is to fix the original create, or to discard the dependent changes and redo them now that you can see what actually exists on the server. ## Practical notes - **The queue is per browser and per device.** Changes made offline on your laptop sync from that laptop. Opening Routebase somewhere else will not find them until the first device syncs. - **Don't clear site data with a queue outstanding.** The queue lives in that store, so clearing it discards unsynced changes. - **Check the indicator before you close.** If it shows pending items, give it a moment on a connection first. ## Related - [Desktop App](https://docs.routebase.dev/desktop-app/) — the native macOS and Windows clients - [Spec Versioning](https://docs.routebase.dev/versioning/) — conflict handling for two people editing the same spec online --- ## Okta SSO Setup Source: https://docs.routebase.dev/okta-sso-setup/ > **You need:** Okta admin access, and the Owner or Admin role in a Routebase organization on the Enterprise plan. > > **Time:** about 20 minutes for SSO, plus 10 for SCIM provisioning. > > Read [SSO Setup Overview](https://docs.routebase.dev/sso-setup-overview/) first for the prerequisites that apply to every provider. In particular, verify your email domain under **Settings → Domains** before you begin. ## 1. Start the connection in Routebase and copy the two values Okta needs Routebase's Entity ID and ACS URL, and Routebase needs Okta's metadata. Both values on the Routebase side are known before the connection exists, so you start here and never have to enter placeholders in Okta. 1. Go to **Settings → Single Sign-On** and click **Create connection**. 2. Choose SAML 2.0 as the **Protocol**. 3. Choose Okta as the **Vendor**. This preselects the attribute mapping for the names you configure in section 2. 4. On the **Metadata** step, the wizard shows the **Entity ID** and **ACS URL** with copy buttons. Copy both, because you enter them in the next section. Leave the wizard open, since you come back to it in section 3. > If the wizard says the values are shown *after* this step instead, your organization already has a connection with the same name, such as an abandoned draft. Delete it under **Settings → Single Sign-On** and start again, or continue with placeholders in Okta and replace them once the **Test** step shows the final values. ## 2. Create the SAML application in Okta 1. In Okta admin, go to **Applications → Applications → Create App Integration**. 2. Choose **SAML 2.0**, then **Next**. 3. Under **General Settings**, set the **App name** to `Routebase`. A logo is optional. 4. Fill in the **SAML Settings** fields. - Set **Single sign on URL** to the **ACS URL** from section 1. - Set **Audience URI (SP Entity ID)** to the **Entity ID** from section 1. - Set **Name ID format** to `EmailAddress`. - Set **Application username** to `Email`. 5. Add these three **Attribute Statements**. The names are case-sensitive and must match what you confirm in Routebase in section 3: | Name | Name format | Value | |------|-------------|-------| | `email` | URI Reference | `user.email` | | `firstName` | URI Reference | `user.firstName` | | `lastName` | URI Reference | `user.lastName` | 6. Add a **Group Attribute Statement**, which you only need if you plan to map Okta groups to Routebase roles: | Name | Name format | Filter | |------|-------------|--------| | `groups` | URI Reference | Matches regex `routebase-.*` | 7. Finish the wizard, then **Assign people / groups** to the application. At least one test user must be assigned. 8. Open the application's **Sign On** tab and copy the **Metadata URL**. A metadata URL is preferable to a downloaded XML file, because Routebase re-reads it, so certificate rotations in Okta do not break your sign-ins. ## 3. Finish the connection in Routebase Back in the wizard, still on the **Metadata** step: 1. Give the **Connection name** something that identifies the IdP and the environment, such as `Acme Okta Production`. Only admins ever see it. 2. Paste the Okta metadata URL from section 2 into **IdP metadata URL**. 3. Under **Mapping**, confirm the claim names match your Attribute Statements, which are `email`, `firstName`, `lastName`, and `groups` if you added it. Email is required and the rest are optional. 4. Click **Next**. Routebase creates the connection in **Draft** status and the **Test** step appears. It repeats the Entity ID and ACS URL you already entered in Okta, and it adds a **Connection ID**, which is only useful when contacting support. ## 4. Test and activate 1. Back in the Routebase wizard, click **Open test login**. A sign-in opens in a new tab. 2. Sign in as an Okta user assigned to the application. 3. When the round-trip succeeds, click **Activate**. Your organization can now sign in through Okta. Existing users are prompted to link their accounts on their next sign-in. If the test fails, work through [SSO Troubleshooting](https://docs.routebase.dev/sso-troubleshooting/), which is organised by what the user actually sees. ## 5. Optional: require SSO for your domain Go to **Settings → Domains**, find your verified domain, and turn on **SSO required**. Everyone whose email address is on that domain must then sign in through Okta. Existing password users are not locked out immediately, because they get a 14-day grace period with an in-app banner and a **Link account** button. See [Single Sign-On (SSO)](https://docs.routebase.dev/sso/) for what the banner says and when it appears. ## 6. Optional: SCIM provisioning SCIM is independent of SSO. Set it up only after SSO works. 1. In Routebase, go to **Settings → Single Sign-On** and scroll to **SCIM Provisioning Tokens**. Click **New token**, name it `Okta Production`, and optionally set an expiry. **Copy the token immediately**, because it is shown once and only its prefix remains visible afterwards. 2. In Okta, open the Routebase app → **Provisioning → Configure API Integration → Enable API integration**. 3. Fill in two fields. - Set **Base URL** to `https://api.routebase.dev/scim/v2/
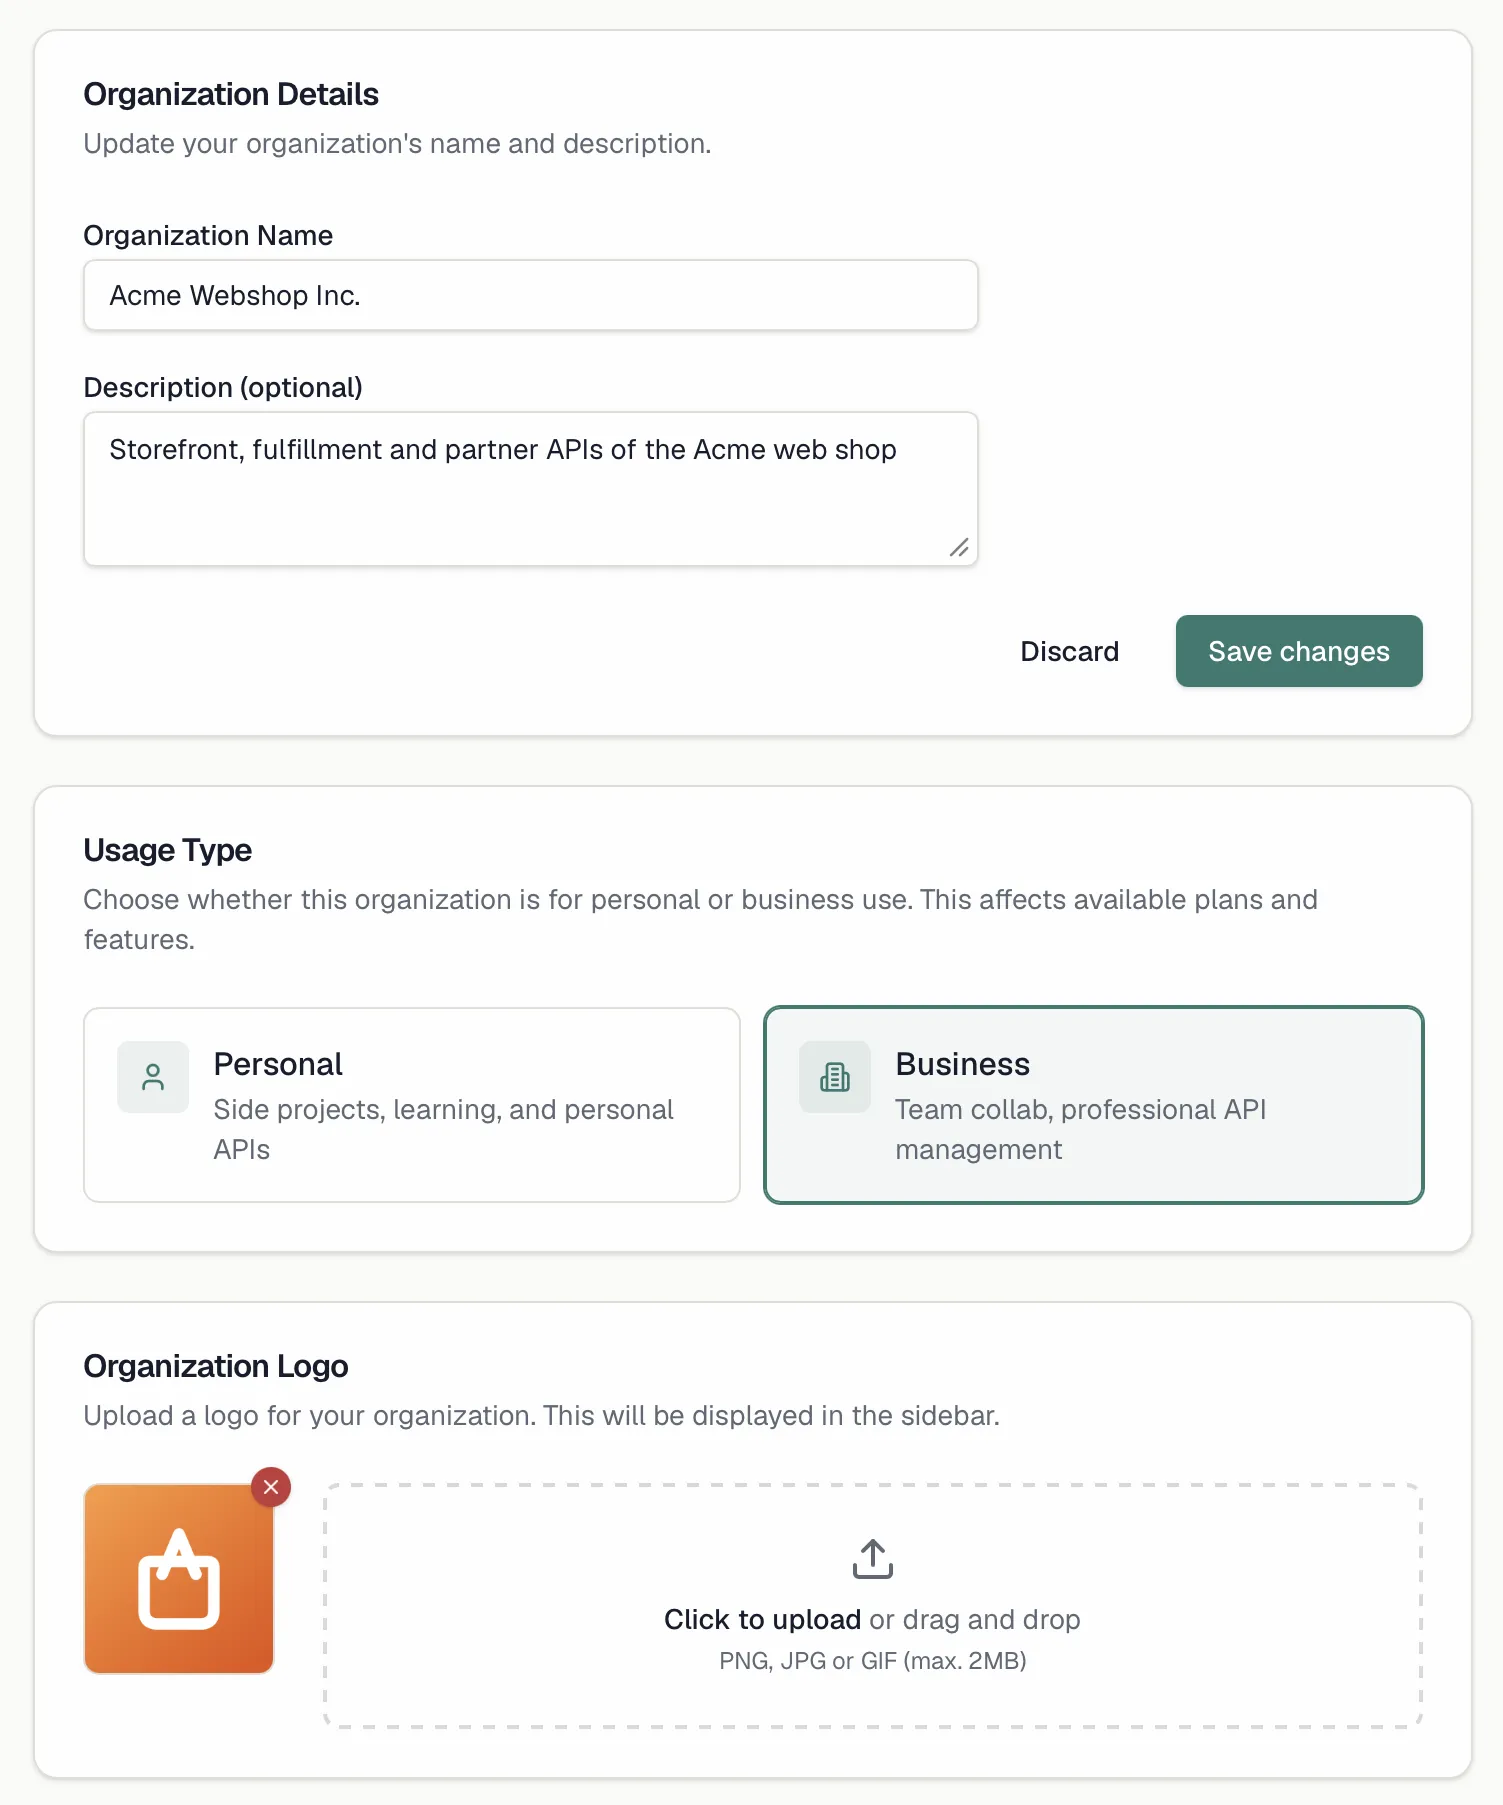
 ## Usage type
Choose whether this organization is for **Personal** use or **Business** use. Personal suits side projects, learning and personal APIs, while Business suits team collaboration and professional API management. The choice affects which plans and features are available:
- Switching to **Business** unlocks the Enterprise plan and enables team-oriented features.
- Switching to **Personal** hides the Enterprise plan option, so if you have an Enterprise subscription you need to change your plan first.
See [Billing & Plans](https://docs.routebase.dev/billing/).
## Organization logo
Upload a logo to be displayed in the sidebar and on your documentation. Click the upload area or drag and drop a **PNG, JPG or GIF** image of at most 2 MB.
## Default versioning strategy
Set a recommended versioning strategy for new API specifications. This is a suggestion rather than a rule, because each spec can override it.
| Field | Options |
| --- | --- |
| **Strategy Type** | None (no default), URL Path, Header, Query Parameter, or Content Negotiation |
| **Parameter Name** | The version carrier, such as `v` for URL path, `Api-Version` for header, or `version` for query parameter |
| **URL Pattern** | The pattern for URL-path versioning, such as `/v{major}` |
| **Default Version Behavior** | Latest version, Specific version, or Require explicit version |
| **Strict Mode** | Reject requests with invalid versions |
Click **Save Default** to apply, or **Clear Default** to remove the recommendation. See [Versioning](https://docs.routebase.dev/versioning/) for how strategies play out in your specs.
> Your organization's data region, either US or EU, is chosen once at signup and cannot be changed here. See [Region Selection](https://docs.routebase.dev/region-selection/).
## Danger zone
The two account-ending actions live at the bottom of the General page. Neither destroys anything on the spot, because deleting an organization stays reversible for 30 days, and leaving one starts a 30-day clock on your own account.
- **Leave Organization** removes you as a member, so you lose access to all projects, API specifications, test suites and mock servers of this organization. Admins and Members see this option, while the Owner does not, and an Owner winding the workspace down deletes the organization instead. Leaving has consequences for your personal account too, described under [After you leave](#after-you-leave) below.
- **Delete Organization** *schedules* the organization for deletion. Everyone is signed out immediately and the workspace becomes unreachable, but nothing is erased yet. The Owner receives an email titled *"…is scheduled for deletion"*, carrying a **Restore workspace** link that works without logging in. Only when the 30 days are up do the projects, API specifications, test suites and mock servers get removed for good. Memberships are deliberately kept during those 30 days, so restoring brings every member back with their role. You must type the organization's name to confirm. Only the organization **Owner** can delete it, through the **org:delete** permission, and for everyone else the button is disabled with a tooltip saying so. Your own user account survives either way, so you can sign in and start fresh later.
## Usage type
Choose whether this organization is for **Personal** use or **Business** use. Personal suits side projects, learning and personal APIs, while Business suits team collaboration and professional API management. The choice affects which plans and features are available:
- Switching to **Business** unlocks the Enterprise plan and enables team-oriented features.
- Switching to **Personal** hides the Enterprise plan option, so if you have an Enterprise subscription you need to change your plan first.
See [Billing & Plans](https://docs.routebase.dev/billing/).
## Organization logo
Upload a logo to be displayed in the sidebar and on your documentation. Click the upload area or drag and drop a **PNG, JPG or GIF** image of at most 2 MB.
## Default versioning strategy
Set a recommended versioning strategy for new API specifications. This is a suggestion rather than a rule, because each spec can override it.
| Field | Options |
| --- | --- |
| **Strategy Type** | None (no default), URL Path, Header, Query Parameter, or Content Negotiation |
| **Parameter Name** | The version carrier, such as `v` for URL path, `Api-Version` for header, or `version` for query parameter |
| **URL Pattern** | The pattern for URL-path versioning, such as `/v{major}` |
| **Default Version Behavior** | Latest version, Specific version, or Require explicit version |
| **Strict Mode** | Reject requests with invalid versions |
Click **Save Default** to apply, or **Clear Default** to remove the recommendation. See [Versioning](https://docs.routebase.dev/versioning/) for how strategies play out in your specs.
> Your organization's data region, either US or EU, is chosen once at signup and cannot be changed here. See [Region Selection](https://docs.routebase.dev/region-selection/).
## Danger zone
The two account-ending actions live at the bottom of the General page. Neither destroys anything on the spot, because deleting an organization stays reversible for 30 days, and leaving one starts a 30-day clock on your own account.
- **Leave Organization** removes you as a member, so you lose access to all projects, API specifications, test suites and mock servers of this organization. Admins and Members see this option, while the Owner does not, and an Owner winding the workspace down deletes the organization instead. Leaving has consequences for your personal account too, described under [After you leave](#after-you-leave) below.
- **Delete Organization** *schedules* the organization for deletion. Everyone is signed out immediately and the workspace becomes unreachable, but nothing is erased yet. The Owner receives an email titled *"…is scheduled for deletion"*, carrying a **Restore workspace** link that works without logging in. Only when the 30 days are up do the projects, API specifications, test suites and mock servers get removed for good. Memberships are deliberately kept during those 30 days, so restoring brings every member back with their role. You must type the organization's name to confirm. Only the organization **Owner** can delete it, through the **org:delete** permission, and for everyone else the button is disabled with a tooltip saying so. Your own user account survives either way, so you can sign in and start fresh later.
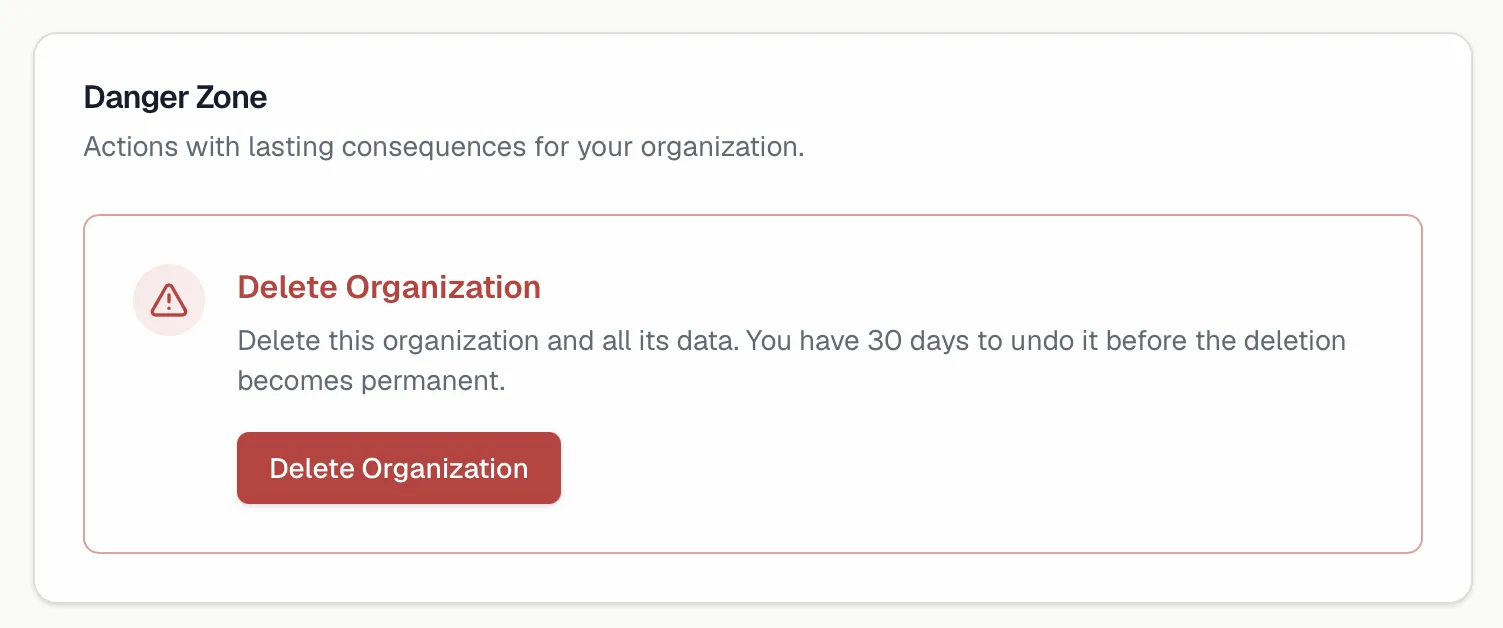
 ### Before you can delete: cancel the subscription
An organization with a **live, uncancelled subscription cannot be deleted**. The confirmation dialog checks this when it opens, and if a subscription is running it shows a *"Cancel your subscription first"* notice with a **Go to Billing** shortcut instead of letting you proceed. Cancel the subscription first, because you keep access until the end of the current billing period, and a subscription that is already cancelled but still running does **not** block the deletion. See [Billing & Plans](https://docs.routebase.dev/billing/).
Before you confirm, the dialog also tells you how many members will lose access. If the organization has ever been invoiced, it adds that invoices and billing records are kept for the statutory retention period while everything else is removed.
### Before you can delete: cancel the subscription
An organization with a **live, uncancelled subscription cannot be deleted**. The confirmation dialog checks this when it opens, and if a subscription is running it shows a *"Cancel your subscription first"* notice with a **Go to Billing** shortcut instead of letting you proceed. Cancel the subscription first, because you keep access until the end of the current billing period, and a subscription that is already cancelled but still running does **not** block the deletion. See [Billing & Plans](https://docs.routebase.dev/billing/).
Before you confirm, the dialog also tells you how many members will lose access. If the organization has ever been invoiced, it adds that invoices and billing records are kept for the statutory retention period while everything else is removed.
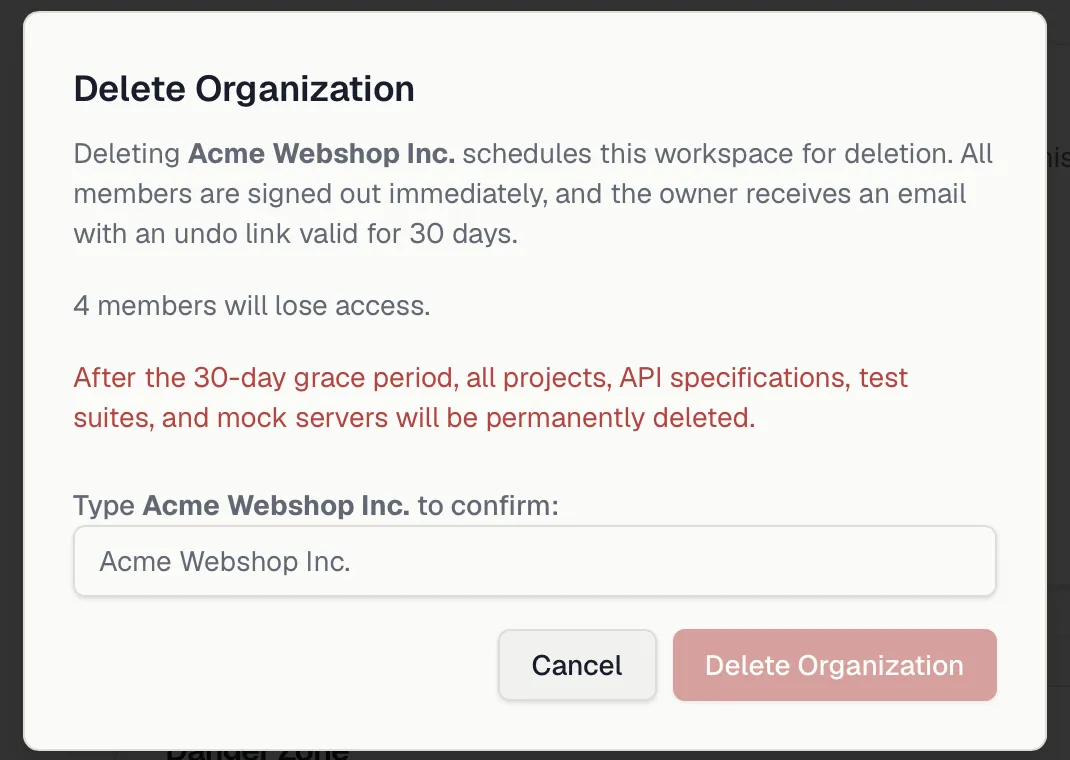
 ## After you leave
Ending a membership always sends you a mail and starts a 30-day clock, and the clock only bites if that was your **last** organization. The mechanic is identical whether you left voluntarily, an Admin removed you, or the organization was deleted around you:
- You get an email confirming that the membership ended. It names the **exact date** on which your account and personal data would be deleted if you do not join an organization again. It also carries a one-time **Download my data** link so you can take your data with you. See [Profile & Preferences](https://docs.routebase.dev/profile/). If you are still a member of another workspace, that date never arrives.
- Joining an organization before the date stops the clock, and so does signing in again. Nothing is deleted while you hold a membership anywhere.
- **If your email address is on a verified domain of the organization you left**, your sign-in is blocked as well. The address belongs to the company, so it can neither keep the account alive nor found a separate workspace under that domain. Collaborators on their own domains, such as agencies, freelancers and contractors, are never blocked, and for them a single sign-in is enough to keep the account. See [Custom Domains](https://docs.routebase.dev/custom-domains/) for what verifying a domain claims.
## Tenant isolation
Every organization is fully isolated. Members, invitations, roles, teams, API keys, variables and audit logs are scoped to a single organization, so there is no way for one organization to see another's data, even if they share a name. When you belong to more than one organization, each keeps its own members and settings entirely separate.
## Related
- [Members & Invitations](https://docs.routebase.dev/members/) — invite teammates and manage their roles
- [Roles & Permissions](https://docs.routebase.dev/roles-permissions/) — built-in roles, custom roles, and the full permission matrix
- [Team Access](https://docs.routebase.dev/team-access/) — control which teams can reach which projects
- [Billing & Plans](https://docs.routebase.dev/billing/) — plan limits, seats, and what each tier unlocks
- [Region Selection](https://docs.routebase.dev/region-selection/) — choose where your organization's data lives
- [Profile & Preferences](https://docs.routebase.dev/profile/) — your personal data export and account deletion
- [Custom Domains](https://docs.routebase.dev/custom-domains/) — claim your email domains for this organization
---
## Organization & Access (read-only) — MCP Tools
Source: https://docs.routebase.dev/organization-access-read-only-mcp-tools/
The tools below belong to the **Organization & Access (read-only)** group of the Routebase MCP server.
## get_custom_role
Get one custom role by ID: its permission strings, how many members hold it and when it was last changed. Get the ID from list_custom_roles or from a member's customRoleId. Requires organization context. Read-only: members, roles, teams and SSO are not changeable through MCP by design — a human does those in the web app.
_No special scope — available to any authenticated key._
| Parameter | Type | Required | Description |
| --- | --- | --- | --- |
| `roleId` | string | Yes | Public ID (GUID) of the custom role |
## get_my_permissions
Get the caller's own role and effective permission strings in the active organization — custom roles resolved. This is the tool to reach for after a permission error: it says what the caller actually holds. Set includeCatalog to also get every permission the product defines with its description, to map a denied action onto a name. Requires organization context. Read-only: members, roles, teams and SSO are not changeable through MCP by design — a human does those in the web app.
_No special scope — available to any authenticated key._
| Parameter | Type | Required | Description |
| --- | --- | --- | --- |
| `includeCatalog` | boolean | No (default `false`) | Also return the full catalog of permissions the product defines (default false) |
## list_custom_roles
List the organization's custom roles with the permission strings each one grants and how many members hold it. Use this to browse custom roles; for one role with its permissions use get_custom_role. Requires organization context. Read-only: members, roles, teams and SSO are not changeable through MCP by design — a human does those in the web app.
_No special scope — available to any authenticated key._
_No parameters._
## list_members
List the organization's members with their role, the custom role if they have one, when they joined and when they last logged in. Use this for the organization's members; for the teams they belong to use list_teams. Requires organization context. Read-only: members, roles, teams and SSO are not changeable through MCP by design — a human does those in the web app.
_No special scope — available to any authenticated key._
_No parameters._
## list_project_teams
List the teams that reach the active project and with which role. The other direction of list_team_projects — this is the tool for 'who can write here'. Requires project context. Read-only: members, roles, teams and SSO are not changeable through MCP by design — a human does those in the web app.
_No special scope — available to any authenticated key._
_No parameters._
## list_team_projects
List the projects a team is assigned to and with which role (read or write). Unlike list_teams this only needs organization membership. Requires organization context. Read-only: members, roles, teams and SSO are not changeable through MCP by design — a human does those in the web app.
_No special scope — available to any authenticated key._
| Parameter | Type | Required | Description |
| --- | --- | --- | --- |
| `teamId` | string | Yes | Public ID (GUID) of the team |
## list_teams
List the organization's teams with their member and project counts. Set includeMembers to also get who is in each team — that costs one query per team and is capped at the first 25. Use list_team_projects for which projects a team reaches. Requires organization context. Read-only: members, roles, teams and SSO are not changeable through MCP by design — a human does those in the web app.
**Required scope:** `org:manage-teams`
| Parameter | Type | Required | Description |
| --- | --- | --- | --- |
| `includeMembers` | boolean | No (default `false`) | Also return the members of each team (default false, first 25 teams) |
---
## Parameters
Source: https://docs.routebase.dev/parameters/
Parameters are the inputs an endpoint accepts alongside its request body. Each parameter has a **location** that tells a client where to put the value, a **type** that describes its shape, and a flag for whether it's **required**.
## Parameter locations
| Location | Where it goes | Example |
| --- | --- | --- |
| **Path** | Inside the URL itself, matching a `{variable}` in the endpoint path | `/users/{id}` → `id` |
| **Query** | After the `?` in the URL | `/users?role=admin` → `role` |
| **Header** | An HTTP request header | `X-Request-Id` |
| **Cookie** | A cookie sent with the request | `session_id` |
| **Query string** | The whole query string as one value, available in specifications written as OpenAPI 3.2 | `/search?foo=a+b&bar=true` → `filter` |
Path parameters are **always required**, because the URL is meaningless without them. Routebase enforces this by setting the required flag automatically when you switch a parameter's location to Path. Query, header and cookie parameters are optional unless you mark them required.
A **Query string** parameter describes the entire query string instead of one pair in it, so an endpoint has at most one of them and no query parameters beside it. Its type is always an object. In place of the type you pick the **content type** that the client encodes the object with, which is `application/x-www-form-urlencoded` by default and can also be `application/json` or `text/plain`. Routebase rejects a second query string parameter and a query parameter next to one, because the OpenAPI specification forbids both.
## After you leave
Ending a membership always sends you a mail and starts a 30-day clock, and the clock only bites if that was your **last** organization. The mechanic is identical whether you left voluntarily, an Admin removed you, or the organization was deleted around you:
- You get an email confirming that the membership ended. It names the **exact date** on which your account and personal data would be deleted if you do not join an organization again. It also carries a one-time **Download my data** link so you can take your data with you. See [Profile & Preferences](https://docs.routebase.dev/profile/). If you are still a member of another workspace, that date never arrives.
- Joining an organization before the date stops the clock, and so does signing in again. Nothing is deleted while you hold a membership anywhere.
- **If your email address is on a verified domain of the organization you left**, your sign-in is blocked as well. The address belongs to the company, so it can neither keep the account alive nor found a separate workspace under that domain. Collaborators on their own domains, such as agencies, freelancers and contractors, are never blocked, and for them a single sign-in is enough to keep the account. See [Custom Domains](https://docs.routebase.dev/custom-domains/) for what verifying a domain claims.
## Tenant isolation
Every organization is fully isolated. Members, invitations, roles, teams, API keys, variables and audit logs are scoped to a single organization, so there is no way for one organization to see another's data, even if they share a name. When you belong to more than one organization, each keeps its own members and settings entirely separate.
## Related
- [Members & Invitations](https://docs.routebase.dev/members/) — invite teammates and manage their roles
- [Roles & Permissions](https://docs.routebase.dev/roles-permissions/) — built-in roles, custom roles, and the full permission matrix
- [Team Access](https://docs.routebase.dev/team-access/) — control which teams can reach which projects
- [Billing & Plans](https://docs.routebase.dev/billing/) — plan limits, seats, and what each tier unlocks
- [Region Selection](https://docs.routebase.dev/region-selection/) — choose where your organization's data lives
- [Profile & Preferences](https://docs.routebase.dev/profile/) — your personal data export and account deletion
- [Custom Domains](https://docs.routebase.dev/custom-domains/) — claim your email domains for this organization
---
## Organization & Access (read-only) — MCP Tools
Source: https://docs.routebase.dev/organization-access-read-only-mcp-tools/
The tools below belong to the **Organization & Access (read-only)** group of the Routebase MCP server.
## get_custom_role
Get one custom role by ID: its permission strings, how many members hold it and when it was last changed. Get the ID from list_custom_roles or from a member's customRoleId. Requires organization context. Read-only: members, roles, teams and SSO are not changeable through MCP by design — a human does those in the web app.
_No special scope — available to any authenticated key._
| Parameter | Type | Required | Description |
| --- | --- | --- | --- |
| `roleId` | string | Yes | Public ID (GUID) of the custom role |
## get_my_permissions
Get the caller's own role and effective permission strings in the active organization — custom roles resolved. This is the tool to reach for after a permission error: it says what the caller actually holds. Set includeCatalog to also get every permission the product defines with its description, to map a denied action onto a name. Requires organization context. Read-only: members, roles, teams and SSO are not changeable through MCP by design — a human does those in the web app.
_No special scope — available to any authenticated key._
| Parameter | Type | Required | Description |
| --- | --- | --- | --- |
| `includeCatalog` | boolean | No (default `false`) | Also return the full catalog of permissions the product defines (default false) |
## list_custom_roles
List the organization's custom roles with the permission strings each one grants and how many members hold it. Use this to browse custom roles; for one role with its permissions use get_custom_role. Requires organization context. Read-only: members, roles, teams and SSO are not changeable through MCP by design — a human does those in the web app.
_No special scope — available to any authenticated key._
_No parameters._
## list_members
List the organization's members with their role, the custom role if they have one, when they joined and when they last logged in. Use this for the organization's members; for the teams they belong to use list_teams. Requires organization context. Read-only: members, roles, teams and SSO are not changeable through MCP by design — a human does those in the web app.
_No special scope — available to any authenticated key._
_No parameters._
## list_project_teams
List the teams that reach the active project and with which role. The other direction of list_team_projects — this is the tool for 'who can write here'. Requires project context. Read-only: members, roles, teams and SSO are not changeable through MCP by design — a human does those in the web app.
_No special scope — available to any authenticated key._
_No parameters._
## list_team_projects
List the projects a team is assigned to and with which role (read or write). Unlike list_teams this only needs organization membership. Requires organization context. Read-only: members, roles, teams and SSO are not changeable through MCP by design — a human does those in the web app.
_No special scope — available to any authenticated key._
| Parameter | Type | Required | Description |
| --- | --- | --- | --- |
| `teamId` | string | Yes | Public ID (GUID) of the team |
## list_teams
List the organization's teams with their member and project counts. Set includeMembers to also get who is in each team — that costs one query per team and is capped at the first 25. Use list_team_projects for which projects a team reaches. Requires organization context. Read-only: members, roles, teams and SSO are not changeable through MCP by design — a human does those in the web app.
**Required scope:** `org:manage-teams`
| Parameter | Type | Required | Description |
| --- | --- | --- | --- |
| `includeMembers` | boolean | No (default `false`) | Also return the members of each team (default false, first 25 teams) |
---
## Parameters
Source: https://docs.routebase.dev/parameters/
Parameters are the inputs an endpoint accepts alongside its request body. Each parameter has a **location** that tells a client where to put the value, a **type** that describes its shape, and a flag for whether it's **required**.
## Parameter locations
| Location | Where it goes | Example |
| --- | --- | --- |
| **Path** | Inside the URL itself, matching a `{variable}` in the endpoint path | `/users/{id}` → `id` |
| **Query** | After the `?` in the URL | `/users?role=admin` → `role` |
| **Header** | An HTTP request header | `X-Request-Id` |
| **Cookie** | A cookie sent with the request | `session_id` |
| **Query string** | The whole query string as one value, available in specifications written as OpenAPI 3.2 | `/search?foo=a+b&bar=true` → `filter` |
Path parameters are **always required**, because the URL is meaningless without them. Routebase enforces this by setting the required flag automatically when you switch a parameter's location to Path. Query, header and cookie parameters are optional unless you mark them required.
A **Query string** parameter describes the entire query string instead of one pair in it, so an endpoint has at most one of them and no query parameters beside it. Its type is always an object. In place of the type you pick the **content type** that the client encodes the object with, which is `application/x-www-form-urlencoded` by default and can also be `application/json` or `text/plain`. Routebase rejects a second query string parameter and a query parameter next to one, because the OpenAPI specification forbids both.
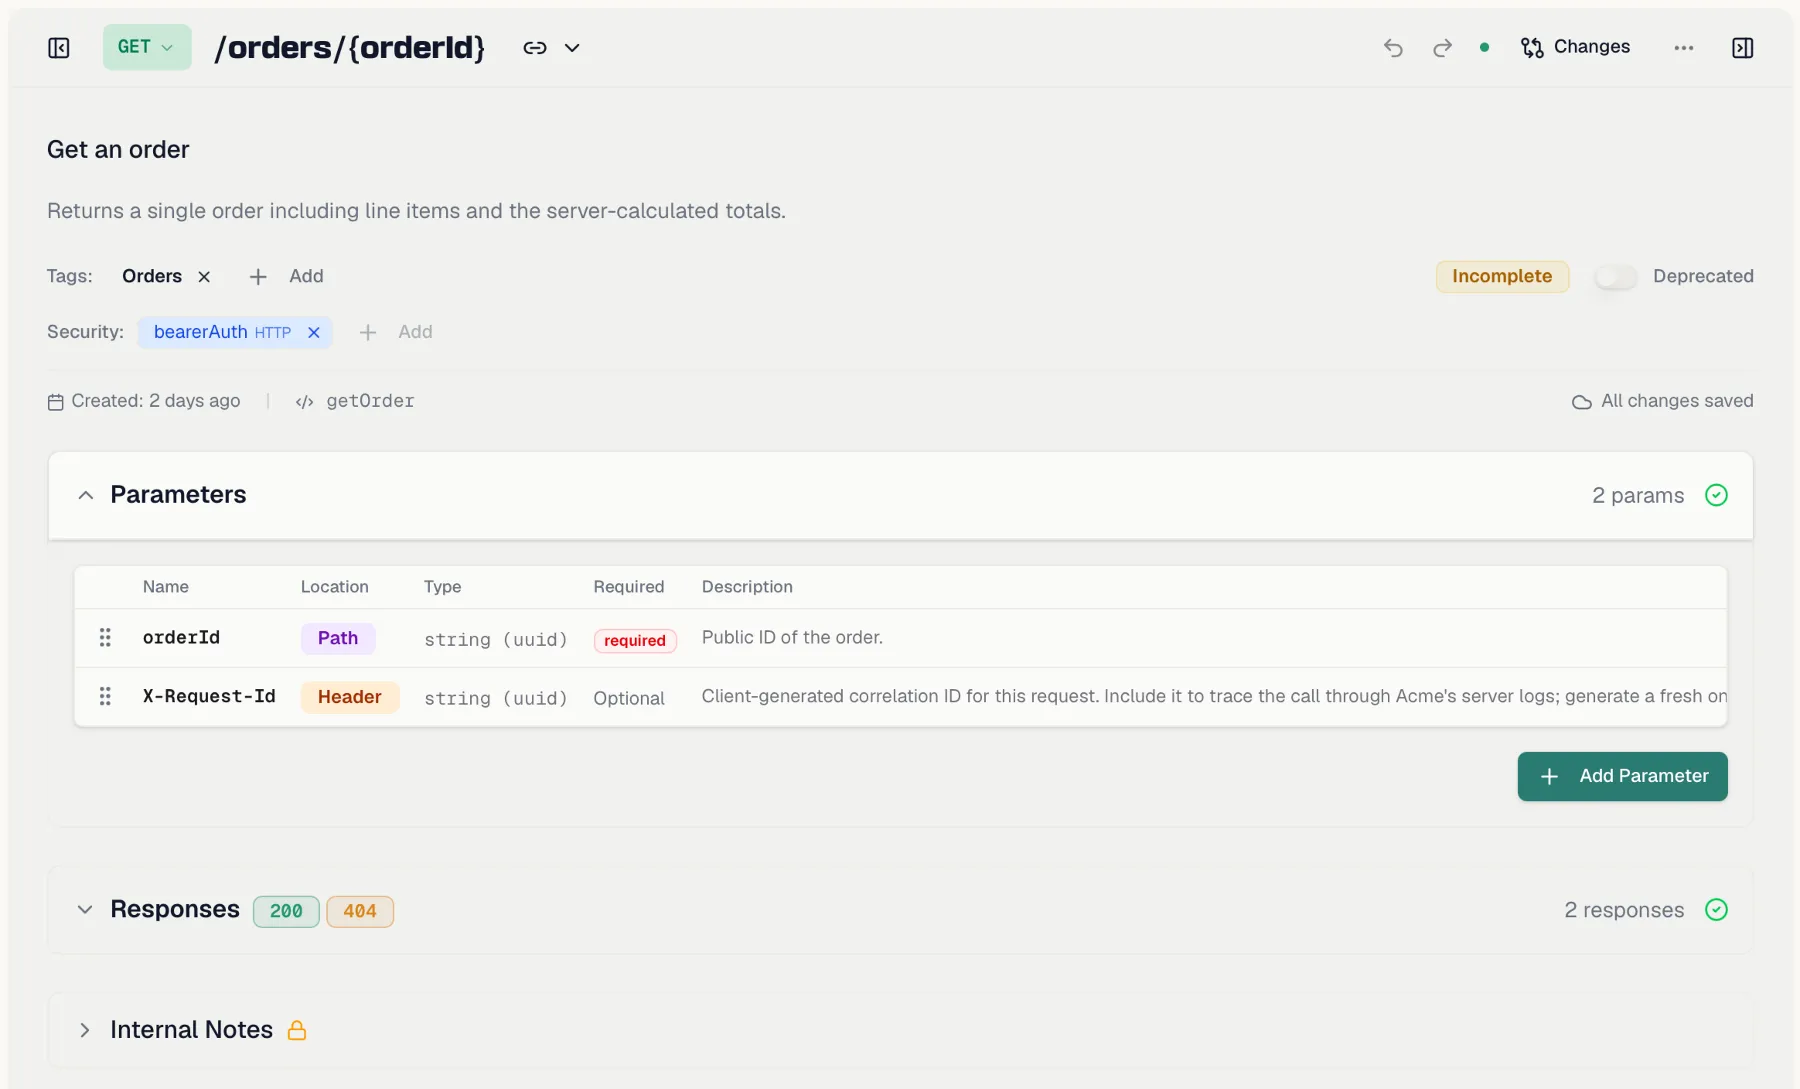
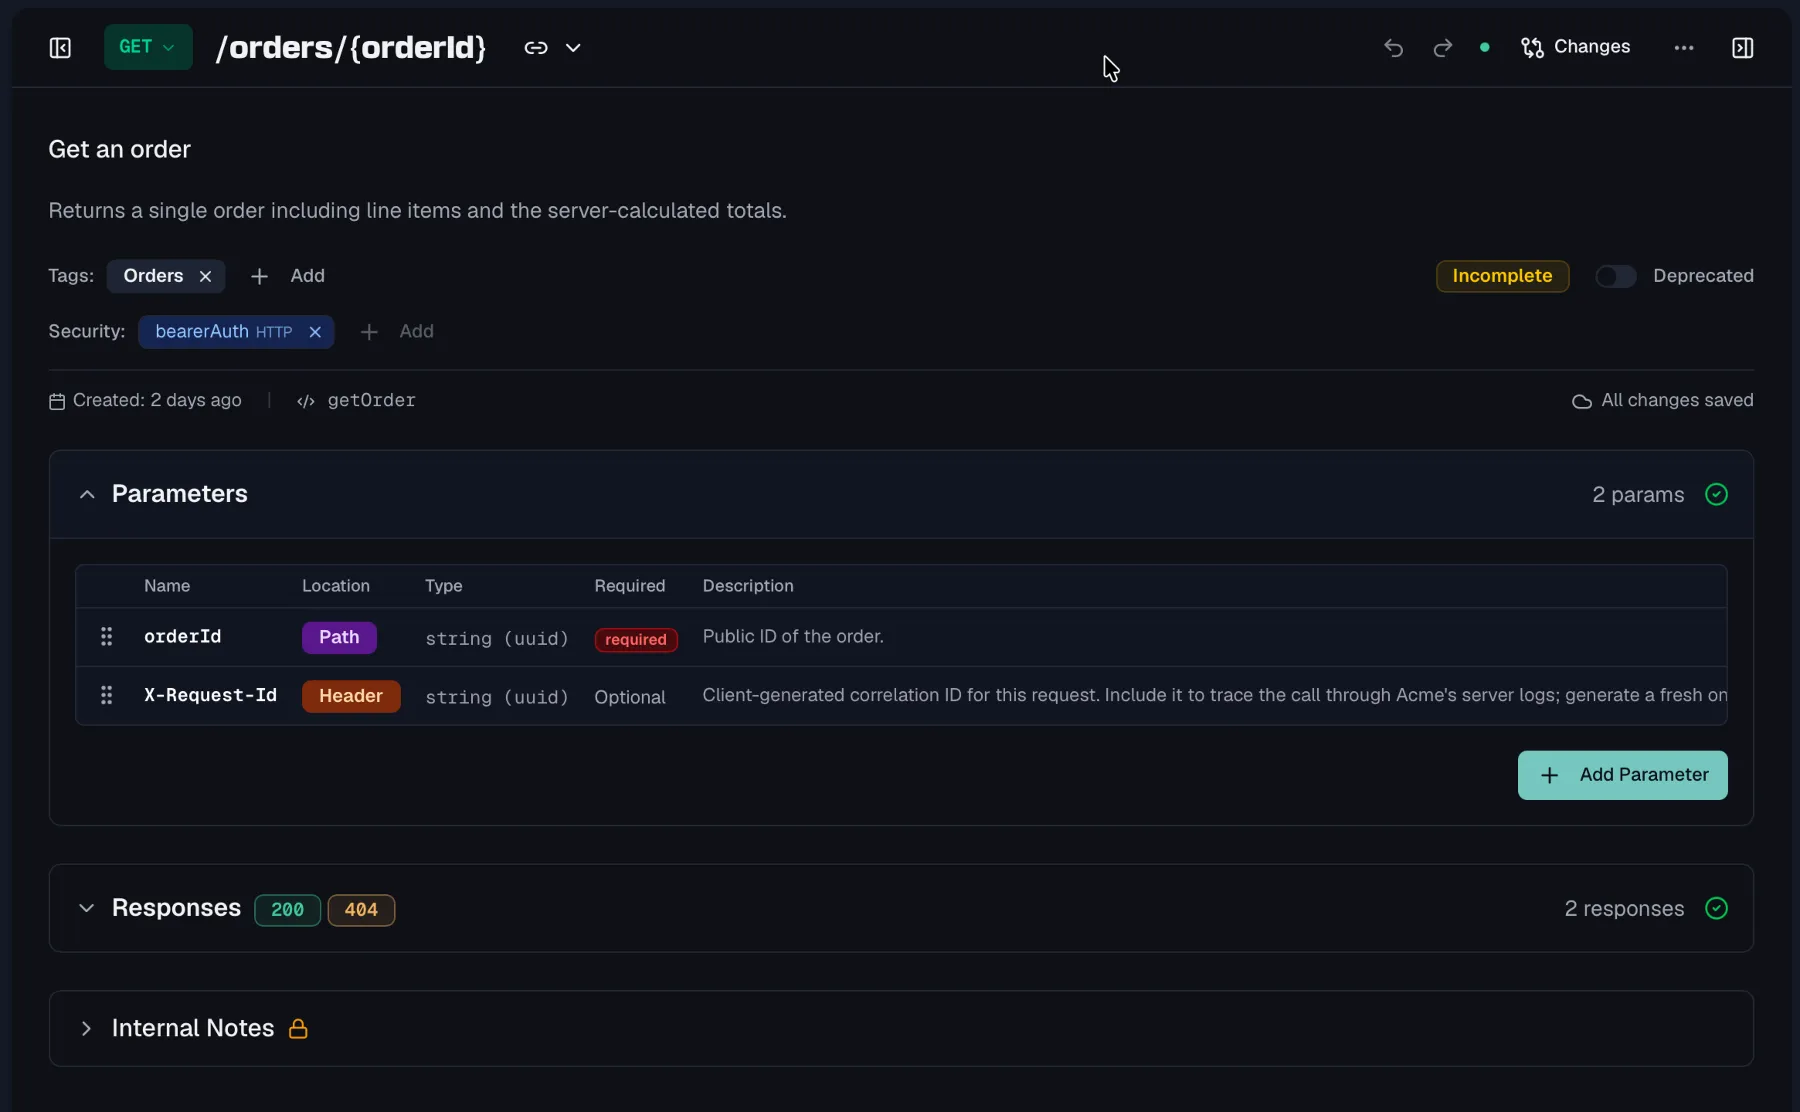 ## Path parameters stay in sync with the URL
Path parameters are detected automatically from `{variable}` placeholders in the endpoint path. Add `{id}` to the path and the `id` parameter appears in the table. Remove it from the path and the parameter is removed again. If a parameter about to be removed carries extra data such as a description, format, example or default value, Routebase asks first. The **Remove Path Parameters** dialog lists what would be lost, so **Cancel** keeps the parameters and **Remove** deletes them.
## Adding a parameter
1. Open an endpoint and expand the **Parameters** section.
2. Click **Add Parameter**.
3. Set the **Name**, **Location** (Path, Query, Header, Cookie, or Query string in a 3.2 specification), and **Type**.
4. Optionally add a **Format**, **Description**, **Example**, and **Default Value**, and toggle **Required**.
## Type and format
Give every parameter a **type**, which is `String`, `Integer`, `Number`, `Boolean`, `Array` or `Object`. You can refine a type with an optional **Format** hint such as `int32`, `date-time`, `uuid` or `email`, which tells consumers and code generators exactly what to expect.
Add a **Default Value** for optional parameters and an **Example** to make your documentation concrete and your mock responses realistic. These live in the parameter's **Advanced Settings** popover in the table, and a highlighted icon shows when advanced settings are configured.
On an OpenAPI 3.2 specification the popover also offers a **Serialized example**, which is the same value as it appears on the wire, such as a percent-encoded query value. The export then writes an Example Object with the example as `dataValue` and the serialized form as `serializedValue`, and the documentation portal shows both.
## Style and explode
The same popover holds the OpenAPI **Style** and **Explode** fields, which describe how a client serializes an array or object value. Each location offers the styles the OpenAPI specification allows for it. A path parameter can use `simple`, `matrix` or `label`, and a query parameter `form`, `spaceDelimited`, `pipeDelimited` or `deepObject`. A header parameter uses `simple`, and a cookie parameter `form` or, in a 3.2 specification, `cookie`. Both fields default to what OpenAPI assumes when they are absent, and Routebase only writes them to the exported document when you set them, so a specification stays as compact as the one you imported. An imported document keeps the styles it declares.
## Path parameters stay in sync with the URL
Path parameters are detected automatically from `{variable}` placeholders in the endpoint path. Add `{id}` to the path and the `id` parameter appears in the table. Remove it from the path and the parameter is removed again. If a parameter about to be removed carries extra data such as a description, format, example or default value, Routebase asks first. The **Remove Path Parameters** dialog lists what would be lost, so **Cancel** keeps the parameters and **Remove** deletes them.
## Adding a parameter
1. Open an endpoint and expand the **Parameters** section.
2. Click **Add Parameter**.
3. Set the **Name**, **Location** (Path, Query, Header, Cookie, or Query string in a 3.2 specification), and **Type**.
4. Optionally add a **Format**, **Description**, **Example**, and **Default Value**, and toggle **Required**.
## Type and format
Give every parameter a **type**, which is `String`, `Integer`, `Number`, `Boolean`, `Array` or `Object`. You can refine a type with an optional **Format** hint such as `int32`, `date-time`, `uuid` or `email`, which tells consumers and code generators exactly what to expect.
Add a **Default Value** for optional parameters and an **Example** to make your documentation concrete and your mock responses realistic. These live in the parameter's **Advanced Settings** popover in the table, and a highlighted icon shows when advanced settings are configured.
On an OpenAPI 3.2 specification the popover also offers a **Serialized example**, which is the same value as it appears on the wire, such as a percent-encoded query value. The export then writes an Example Object with the example as `dataValue` and the serialized form as `serializedValue`, and the documentation portal shows both.
## Style and explode
The same popover holds the OpenAPI **Style** and **Explode** fields, which describe how a client serializes an array or object value. Each location offers the styles the OpenAPI specification allows for it. A path parameter can use `simple`, `matrix` or `label`, and a query parameter `form`, `spaceDelimited`, `pipeDelimited` or `deepObject`. A header parameter uses `simple`, and a cookie parameter `form` or, in a 3.2 specification, `cookie`. Both fields default to what OpenAPI assumes when they are absent, and Routebase only writes them to the exported document when you set them, so a specification stays as compact as the one you imported. An imported document keeps the styles it declares.
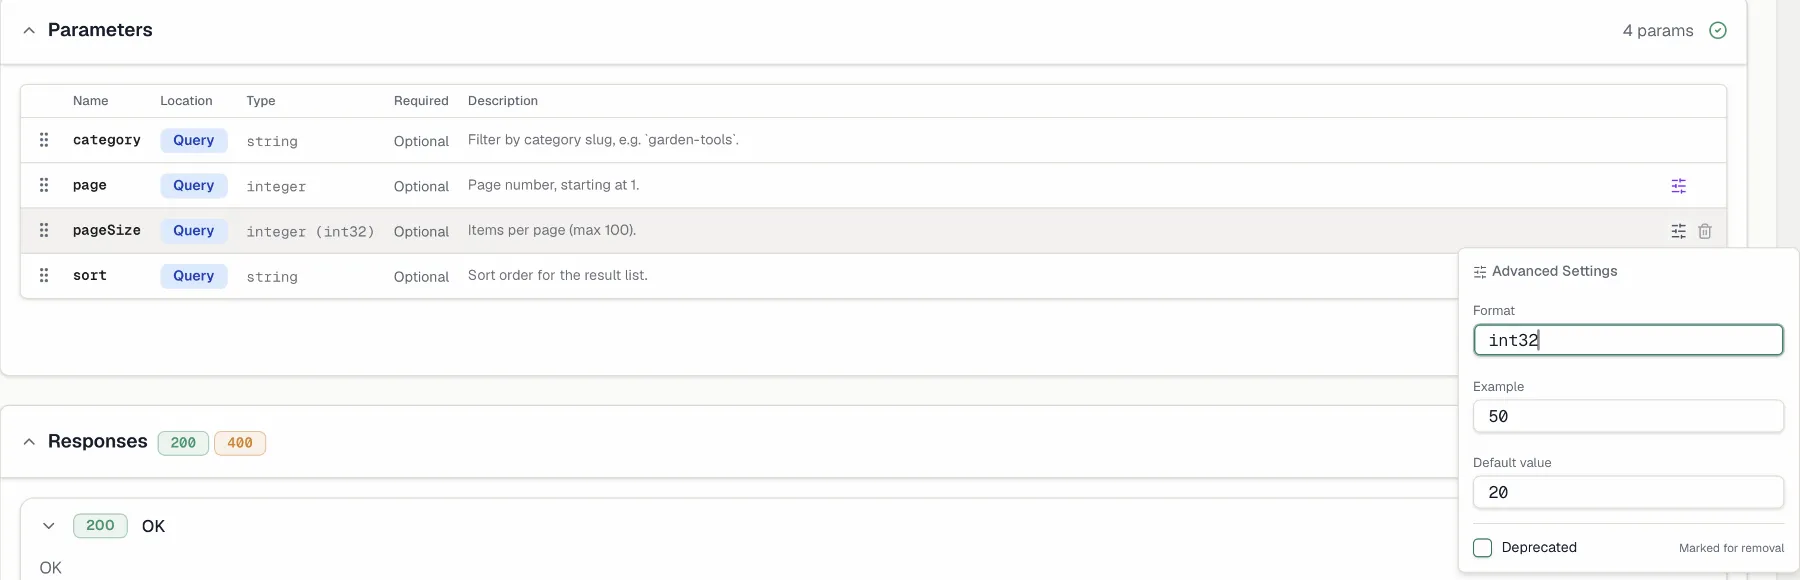
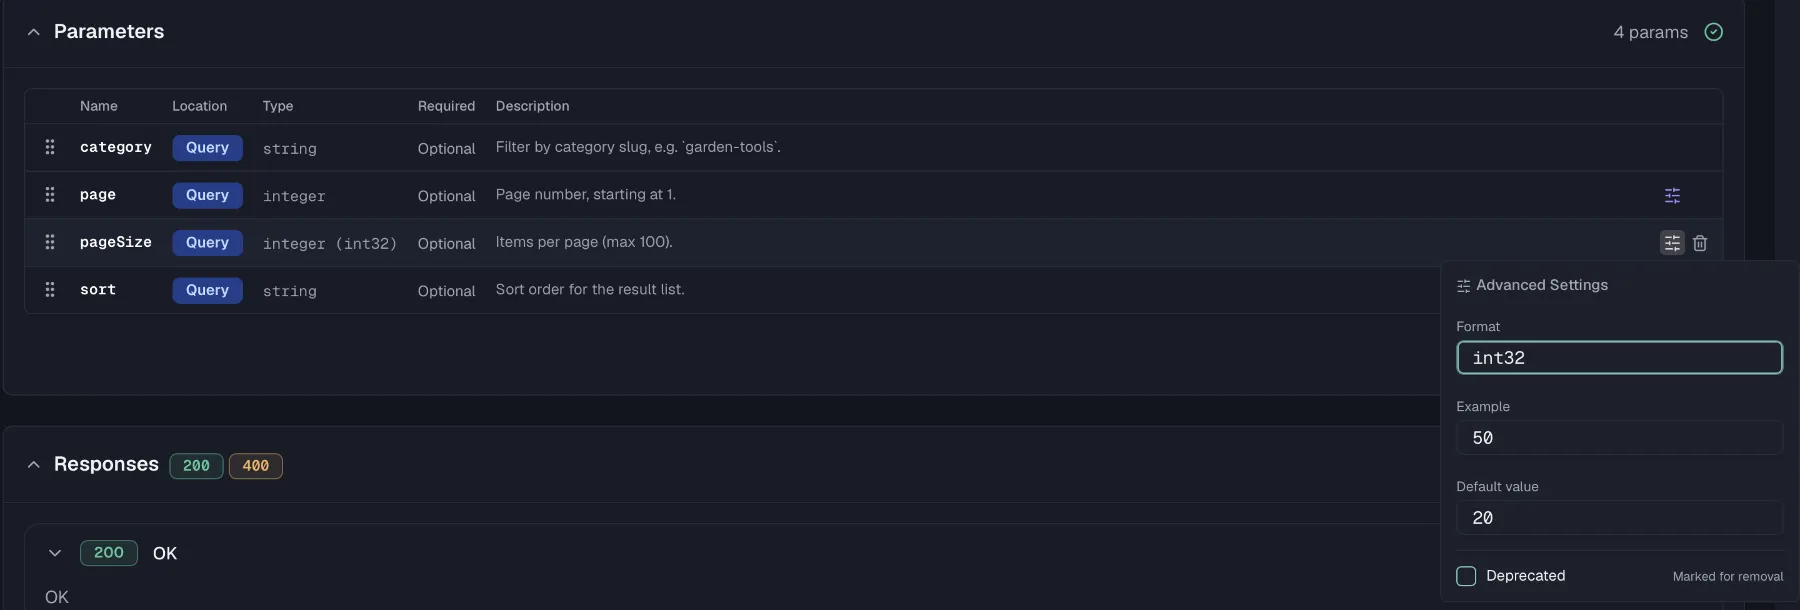 ## Editing in the table
The parameter table is built for fast, inline editing:
- **Double-click** a row to edit it in place. Enter commits, Escape cancels.
- **Arrow keys** commit the current row and move to the parameter above or below, and Tab on the last row's description creates a new parameter.
- **Drag the handle** at the left of a row to reorder parameters, and the order you set is the order shown in your documentation.
- **Right-click** a row for a context menu holding **Add Parameter**, **Edit**, **Move Up**, **Move Down** and **Delete**.
Deleting a parameter asks for confirmation, and the action cannot be undone.
## Deprecating a parameter
When a parameter is being retired, open its advanced settings and check **Deprecated**. Consumers see the deprecation marker in your documentation while the parameter still works, giving them time to migrate.
## Reusing parameters
Some parameters appear on many endpoints, such as a pagination `PageSize`, a tenant header or a cursor. Define such a parameter once as a **parameter component** in the Components section of the sidebar, and it becomes the single source of truth for name, type, format and defaults. Specs imported from OpenAPI keep their referenced (`$ref`) parameters as parameter components, and each component tracks which endpoints use it. See [Components](https://docs.routebase.dev/components/).
## Permissions
Editing parameters requires **specs:write**, which is included in the Member role. On a published, locked version the parameter table is read-only, so create a new version to make changes. See [Versioning](https://docs.routebase.dev/versioning/) for that flow.
## Related
- [Endpoints](https://docs.routebase.dev/endpoints/) — where parameters are defined
- [Components](https://docs.routebase.dev/components/) — reusable parameter definitions
- [Responses](https://docs.routebase.dev/responses/) — the other half of the request/response contract
- [Schemas](https://docs.routebase.dev/schemas/) — reusable structures for bodies and payloads
---
## Security Personas
Source: https://docs.routebase.dev/personas/
A **security persona** is a stored authentication identity, meaning a named set of credentials that a scanner can send when it calls your API. Personas let the authorization scanners act as different users so they can prove whether one user can reach another user's data or an admin-only function. You manage them on the **Personas** page in the Security area.
Personas are only used by the security scanners. They are separate from a project's [environment authentication](https://docs.routebase.dev/environments/) and from test-suite auth.
## Editing in the table
The parameter table is built for fast, inline editing:
- **Double-click** a row to edit it in place. Enter commits, Escape cancels.
- **Arrow keys** commit the current row and move to the parameter above or below, and Tab on the last row's description creates a new parameter.
- **Drag the handle** at the left of a row to reorder parameters, and the order you set is the order shown in your documentation.
- **Right-click** a row for a context menu holding **Add Parameter**, **Edit**, **Move Up**, **Move Down** and **Delete**.
Deleting a parameter asks for confirmation, and the action cannot be undone.
## Deprecating a parameter
When a parameter is being retired, open its advanced settings and check **Deprecated**. Consumers see the deprecation marker in your documentation while the parameter still works, giving them time to migrate.
## Reusing parameters
Some parameters appear on many endpoints, such as a pagination `PageSize`, a tenant header or a cursor. Define such a parameter once as a **parameter component** in the Components section of the sidebar, and it becomes the single source of truth for name, type, format and defaults. Specs imported from OpenAPI keep their referenced (`$ref`) parameters as parameter components, and each component tracks which endpoints use it. See [Components](https://docs.routebase.dev/components/).
## Permissions
Editing parameters requires **specs:write**, which is included in the Member role. On a published, locked version the parameter table is read-only, so create a new version to make changes. See [Versioning](https://docs.routebase.dev/versioning/) for that flow.
## Related
- [Endpoints](https://docs.routebase.dev/endpoints/) — where parameters are defined
- [Components](https://docs.routebase.dev/components/) — reusable parameter definitions
- [Responses](https://docs.routebase.dev/responses/) — the other half of the request/response contract
- [Schemas](https://docs.routebase.dev/schemas/) — reusable structures for bodies and payloads
---
## Security Personas
Source: https://docs.routebase.dev/personas/
A **security persona** is a stored authentication identity, meaning a named set of credentials that a scanner can send when it calls your API. Personas let the authorization scanners act as different users so they can prove whether one user can reach another user's data or an admin-only function. You manage them on the **Personas** page in the Security area.
Personas are only used by the security scanners. They are separate from a project's [environment authentication](https://docs.routebase.dev/environments/) and from test-suite auth.
 ## Why personas exist
Four scanners test authorization by comparing what different identities can do, so they need real credentials to send:
| Scanner | Personas needed | What it uses them for |
| --- | --- | --- |
| **`api1-bola`** (Broken Object Level Authorization) | 2 or more | Creates a resource as one persona, then tries to read it as another. |
| **`api1-bola-enum`** (BOLA Enumeration) | 2 or more | The fallback for `GET /resource/{id}` endpoints with no sibling create call, which enumerates sequential ids as two personas. |
| **`api3-property-auth`** (Broken Object Property Level Authorization) | 1 or more | Calls endpoints as each persona and inspects the response for sensitive fields. |
| **`api5-bfla`** (Broken Function Level Authorization) | 1 or more | Calls admin-looking endpoints as a normal-user persona. |
The remaining scanners are passive and need no personas. In a [scan profile](https://docs.routebase.dev/scan-profiles/), a persona-requiring scanner stays disabled until the project has at least one persona, and you assign specific personas to each of those scanners when you configure the profile.
For BOLA, use personas from **different tenants or organizations**, because cross-tenant access is exactly what the scanner is trying to trigger. For property and function-level checks, use personas with a clear **privilege gap** (for example an owner and a plain member).
## Credential security
Persona secrets are **encrypted at rest** and are never returned to the browser after you save them. When you view a persona the app only shows its auth **type**. Because the plain secrets never come back, editing keeps the stored auth config untouched unless you deliberately re-enter it (see [Editing a persona](#editing-a-persona)).
## Supported auth types
The persona auth editor is the same one used across Routebase, so a persona can carry any of these:
| Group | Types |
| --- | --- |
| **Common** | Basic Auth, Bearer Token, API Key |
| **OAuth** | OAuth 2.0, OAuth 1.0 |
| **Token** | JWT Bearer |
| **Other** | Digest Auth, AWS Signature V4, Hawk Auth, NTLM Auth |
A persona must use a real auth type, and **None** is rejected because a persona with no credentials tests nothing. For API Key auth you choose whether the key travels as a header or a query parameter and set its name. Auth fields accept `{{VARIABLE_NAME}}` placeholders so you can pull values from environment variables rather than hard-coding secrets.
## Why personas exist
Four scanners test authorization by comparing what different identities can do, so they need real credentials to send:
| Scanner | Personas needed | What it uses them for |
| --- | --- | --- |
| **`api1-bola`** (Broken Object Level Authorization) | 2 or more | Creates a resource as one persona, then tries to read it as another. |
| **`api1-bola-enum`** (BOLA Enumeration) | 2 or more | The fallback for `GET /resource/{id}` endpoints with no sibling create call, which enumerates sequential ids as two personas. |
| **`api3-property-auth`** (Broken Object Property Level Authorization) | 1 or more | Calls endpoints as each persona and inspects the response for sensitive fields. |
| **`api5-bfla`** (Broken Function Level Authorization) | 1 or more | Calls admin-looking endpoints as a normal-user persona. |
The remaining scanners are passive and need no personas. In a [scan profile](https://docs.routebase.dev/scan-profiles/), a persona-requiring scanner stays disabled until the project has at least one persona, and you assign specific personas to each of those scanners when you configure the profile.
For BOLA, use personas from **different tenants or organizations**, because cross-tenant access is exactly what the scanner is trying to trigger. For property and function-level checks, use personas with a clear **privilege gap** (for example an owner and a plain member).
## Credential security
Persona secrets are **encrypted at rest** and are never returned to the browser after you save them. When you view a persona the app only shows its auth **type**. Because the plain secrets never come back, editing keeps the stored auth config untouched unless you deliberately re-enter it (see [Editing a persona](#editing-a-persona)).
## Supported auth types
The persona auth editor is the same one used across Routebase, so a persona can carry any of these:
| Group | Types |
| --- | --- |
| **Common** | Basic Auth, Bearer Token, API Key |
| **OAuth** | OAuth 2.0, OAuth 1.0 |
| **Token** | JWT Bearer |
| **Other** | Digest Auth, AWS Signature V4, Hawk Auth, NTLM Auth |
A persona must use a real auth type, and **None** is rejected because a persona with no credentials tests nothing. For API Key auth you choose whether the key travels as a header or a query parameter and set its name. Auth fields accept `{{VARIABLE_NAME}}` placeholders so you can pull values from environment variables rather than hard-coding secrets.
 ## Creating a persona
Creating and editing personas requires the **security:write** permission (Admins and Owners). Members can view the page but not change it.
1. Open **Security → Personas**.
2. Click **Create Persona**.
3. Enter a **Name**. The name is referenced verbatim by scan profiles, so choose a clear, stable one (for example `Owner A`, `Member B`).
4. Optionally add a **Description** of what the identity represents.
5. Pick the **auth type** and fill in the credentials.
6. Click **Create persona**.
Each persona appears as a card showing its name, creation date, auth type and description.
## Editing a persona
Because secrets are never returned to the browser, the editor separates the identity fields from the credentials. Open a persona with **Edit** and the **Auth configuration** card shows the auth editor collapsed behind a **Re-configure auth** button, alongside a note that reads *"The server never returns plain secrets after creation. Leave this section closed to keep the existing auth config, or re-configure it to replace the stored credentials in full."*
- To **rename or change the description**, edit the **Name** or **Description** and click **Save changes**. Leave the auth section closed, and the stored, encrypted credentials are preserved untouched. No re-entry is needed for the common case.
- To **change credentials**, click **Re-configure auth** to open the editor and complete the form again. Saving then **replaces the stored auth config in full**, because there is no partial edit and a re-configured persona overwrites the whole config. As when creating, **None** is rejected, so pick a real auth type.
Avoid renaming a persona that scan profiles already reference, because profiles match personas **by name** and a rename breaks the assignment.
## Testing a persona
To confirm a persona's credentials actually reach your API, use **Test** on the persona card (requires **security:execute**). The dialog walks through three steps:
1. Pick a target **environment**.
2. Enter an optional **probe path**, which defaults to `/`. A lightweight endpoint that requires auth works best, such as `/me`.
3. Click **Run probe**. Routebase sends a request with the persona's auth and reports the result.
A **2xx, 401 or 403** response all count as "auth reached the target", because the point is to confirm the credentials travelled rather than that they were accepted. The result shows the probed URL, the status code and the elapsed time. A transport error (the request never reached the server) reports as a failed probe.
## Creating a persona
Creating and editing personas requires the **security:write** permission (Admins and Owners). Members can view the page but not change it.
1. Open **Security → Personas**.
2. Click **Create Persona**.
3. Enter a **Name**. The name is referenced verbatim by scan profiles, so choose a clear, stable one (for example `Owner A`, `Member B`).
4. Optionally add a **Description** of what the identity represents.
5. Pick the **auth type** and fill in the credentials.
6. Click **Create persona**.
Each persona appears as a card showing its name, creation date, auth type and description.
## Editing a persona
Because secrets are never returned to the browser, the editor separates the identity fields from the credentials. Open a persona with **Edit** and the **Auth configuration** card shows the auth editor collapsed behind a **Re-configure auth** button, alongside a note that reads *"The server never returns plain secrets after creation. Leave this section closed to keep the existing auth config, or re-configure it to replace the stored credentials in full."*
- To **rename or change the description**, edit the **Name** or **Description** and click **Save changes**. Leave the auth section closed, and the stored, encrypted credentials are preserved untouched. No re-entry is needed for the common case.
- To **change credentials**, click **Re-configure auth** to open the editor and complete the form again. Saving then **replaces the stored auth config in full**, because there is no partial edit and a re-configured persona overwrites the whole config. As when creating, **None** is rejected, so pick a real auth type.
Avoid renaming a persona that scan profiles already reference, because profiles match personas **by name** and a rename breaks the assignment.
## Testing a persona
To confirm a persona's credentials actually reach your API, use **Test** on the persona card (requires **security:execute**). The dialog walks through three steps:
1. Pick a target **environment**.
2. Enter an optional **probe path**, which defaults to `/`. A lightweight endpoint that requires auth works best, such as `/me`.
3. Click **Run probe**. Routebase sends a request with the persona's auth and reports the result.
A **2xx, 401 or 403** response all count as "auth reached the target", because the point is to confirm the credentials travelled rather than that they were accepted. The result shows the probed URL, the status code and the elapsed time. A transport error (the request never reached the server) reports as a failed probe.
 ## Deleting a persona
Use the delete (trash) action on a persona card. Deletion is blocked if a scan profile still references the persona, so remove the assignment from those profiles first and then delete.
## Limits
A project can hold up to **10 personas**. Trying to create an 11th is rejected with a validation error, so delete an unused persona to make room. This is enough to cover a typical role hierarchy (owner, admin, member, viewer) across a couple of tenants.
## Related
- [Scan profiles](https://docs.routebase.dev/scan-profiles/) — assigning personas to persona-requiring scanners
- [Scanner reference](https://docs.routebase.dev/scanner-reference/) — exactly how each scanner uses its personas
- [Security overview](https://docs.routebase.dev/security-overview/) — the wider scanning and triage workflow
- [Environments](https://docs.routebase.dev/environments/) — where the scan target's base URL is defined
---
## Ping Identity SSO Setup
Source: https://docs.routebase.dev/ping-identity-sso-setup/
> **You need:** the PingOne **Identity Data Admin** role (or PingFederate administrator access), and the Owner or Admin role in a Routebase organization on the Enterprise plan.
>
> **Time:** about 25 minutes for SSO, plus 10 for SCIM provisioning.
>
> Read [SSO Setup Overview](https://docs.routebase.dev/sso-setup-overview/) first for the prerequisites that apply to every provider. In particular, verify your email domain under **Settings → Domains** before you begin.
This guide follows **PingOne (cloud)**. PingFederate uses different screens but the same field names, and the Routebase side is identical.
Routebase has no Ping-specific vendor preset, so you pick **Generic SAML** in the wizard and enter the four claim names yourself. Everything else works exactly as with the presets.
## 1. Start the connection in Routebase and copy the two values
PingOne needs Routebase's Entity ID and ACS URL, and Routebase needs PingOne's metadata. Both values on the Routebase side are known before the connection exists, so you start here and never have to enter placeholders in PingOne.
1. Go to **Settings → Single Sign-On** and click **Create connection**.
2. Choose SAML 2.0 as the **Protocol**.
3. Choose **Generic SAML** as the **Vendor**.
4. On the **Metadata** step, the wizard shows the **Entity ID** and **ACS URL** with copy buttons. Copy both, because you enter them in the next section. Leave the wizard open, since you come back to it in section 3.
> If the wizard says the values are shown *after* this step instead, your organization already has a connection with the same name, such as an abandoned draft. Delete it under **Settings → Single Sign-On** and start again, or continue with placeholders in PingOne and replace them once the **Test** step shows the final values.
## 2. Create the SAML application in PingOne
1. In the PingOne admin console, go to **Connections → Applications → + Application**.
2. Choose **Web App → SAML → Configure**.
3. Set the **Application name** to `Routebase`, then save and continue.
4. On the **Configuration** step, choose **Manually Enter** and fill in five fields.
- Set **ACS URLs** to the **ACS URL** from section 1.
- Set **Entity ID** to the **Entity ID** from section 1.
- Leave **Sign-on URL** blank.
- Leave **SLO endpoint** blank.
- Set **Subject NameID Format** to `urn:oasis:names:tc:SAML:1.1:nameid-format:emailAddress`.
5. Add the **Attribute Mappings**. The outgoing claim names are case-sensitive and must match what you type in Routebase in section 3:
| PingOne attribute | Outgoing claim name |
|-------------------|---------------------|
| Email Address | `email` |
| Given Name | `firstName` |
| Family Name | `lastName` |
6. Optionally add a `groups` claim sourced from **Group Names** if you plan to map groups to Routebase roles. Filter to a prefix such as `routebase-` so you are not leaking your whole group structure into an assertion.
7. Save the application.
8. On the application detail page, copy the **Metadata URL**. A metadata URL is preferable to a download, because Routebase re-reads it, so certificate rotations in Ping do not break your sign-ins. If your PingFederate instance exposes no public metadata URL, download the metadata XML instead. You then paste it into the **IdP metadata XML** field in section 3, and you have to re-paste it yourself after every certificate rotation.
9. On the **Access** tab, assign the population or groups that should reach Routebase.
## 3. Finish the connection in Routebase
Back in the wizard, still on the **Metadata** step:
1. Give the **Connection name** something that identifies the IdP and the environment, such as `Acme PingOne Production`. Only admins ever see it.
2. Paste the PingOne metadata URL from section 2 into **IdP metadata URL**. If you had to download the metadata instead, paste the XML into **IdP metadata XML**.
3. Under **Mapping**, type the four claim names exactly as you set them in PingOne, because Generic SAML has no preset. Those names are `email`, `firstName`, `lastName`, and `groups` if you added it. Email is required and the rest are optional.
4. Click **Next**. Routebase creates the connection in **Draft** status and the **Test** step appears. It repeats the Entity ID and ACS URL you already entered in PingOne, and it adds a **Connection ID**, which is only useful when contacting support.
## 4. Test and activate
1. Back in the Routebase wizard, click **Open test login**. A sign-in opens in a new tab.
2. Sign in as a Ping user in the application's assigned population.
3. When the round-trip succeeds, click **Activate**.
If the test fails, work through [SSO Troubleshooting](https://docs.routebase.dev/sso-troubleshooting/), which is organised by what the user actually sees.
## 5. Optional: require SSO for your domain
Go to **Settings → Domains**, find your verified domain, and turn on **SSO required**. Everyone whose email address is on that domain must then sign in through Ping.
Existing password users are not locked out immediately, because they get a 14-day grace period with an in-app banner and a **Link account** button. See [Single Sign-On (SSO)](https://docs.routebase.dev/sso/) for what the banner says and when it appears.
## 6. Optional: SCIM provisioning
PingOne's outbound SCIM 2.0 with bearer authentication matches Routebase directly.
1. In Routebase, go to **Settings → Single Sign-On → SCIM Provisioning Tokens → New token**. Name it `PingOne Production` and **copy the token immediately**, because it is shown once.
2. In PingOne, open the Routebase application → **Provisioning → Add Provisioning** and choose **SCIM Outbound**.
3. Fill in three fields.
- Set **SCIM URL** to `https://api.routebase.dev/scim/v2/
## Deleting a persona
Use the delete (trash) action on a persona card. Deletion is blocked if a scan profile still references the persona, so remove the assignment from those profiles first and then delete.
## Limits
A project can hold up to **10 personas**. Trying to create an 11th is rejected with a validation error, so delete an unused persona to make room. This is enough to cover a typical role hierarchy (owner, admin, member, viewer) across a couple of tenants.
## Related
- [Scan profiles](https://docs.routebase.dev/scan-profiles/) — assigning personas to persona-requiring scanners
- [Scanner reference](https://docs.routebase.dev/scanner-reference/) — exactly how each scanner uses its personas
- [Security overview](https://docs.routebase.dev/security-overview/) — the wider scanning and triage workflow
- [Environments](https://docs.routebase.dev/environments/) — where the scan target's base URL is defined
---
## Ping Identity SSO Setup
Source: https://docs.routebase.dev/ping-identity-sso-setup/
> **You need:** the PingOne **Identity Data Admin** role (or PingFederate administrator access), and the Owner or Admin role in a Routebase organization on the Enterprise plan.
>
> **Time:** about 25 minutes for SSO, plus 10 for SCIM provisioning.
>
> Read [SSO Setup Overview](https://docs.routebase.dev/sso-setup-overview/) first for the prerequisites that apply to every provider. In particular, verify your email domain under **Settings → Domains** before you begin.
This guide follows **PingOne (cloud)**. PingFederate uses different screens but the same field names, and the Routebase side is identical.
Routebase has no Ping-specific vendor preset, so you pick **Generic SAML** in the wizard and enter the four claim names yourself. Everything else works exactly as with the presets.
## 1. Start the connection in Routebase and copy the two values
PingOne needs Routebase's Entity ID and ACS URL, and Routebase needs PingOne's metadata. Both values on the Routebase side are known before the connection exists, so you start here and never have to enter placeholders in PingOne.
1. Go to **Settings → Single Sign-On** and click **Create connection**.
2. Choose SAML 2.0 as the **Protocol**.
3. Choose **Generic SAML** as the **Vendor**.
4. On the **Metadata** step, the wizard shows the **Entity ID** and **ACS URL** with copy buttons. Copy both, because you enter them in the next section. Leave the wizard open, since you come back to it in section 3.
> If the wizard says the values are shown *after* this step instead, your organization already has a connection with the same name, such as an abandoned draft. Delete it under **Settings → Single Sign-On** and start again, or continue with placeholders in PingOne and replace them once the **Test** step shows the final values.
## 2. Create the SAML application in PingOne
1. In the PingOne admin console, go to **Connections → Applications → + Application**.
2. Choose **Web App → SAML → Configure**.
3. Set the **Application name** to `Routebase`, then save and continue.
4. On the **Configuration** step, choose **Manually Enter** and fill in five fields.
- Set **ACS URLs** to the **ACS URL** from section 1.
- Set **Entity ID** to the **Entity ID** from section 1.
- Leave **Sign-on URL** blank.
- Leave **SLO endpoint** blank.
- Set **Subject NameID Format** to `urn:oasis:names:tc:SAML:1.1:nameid-format:emailAddress`.
5. Add the **Attribute Mappings**. The outgoing claim names are case-sensitive and must match what you type in Routebase in section 3:
| PingOne attribute | Outgoing claim name |
|-------------------|---------------------|
| Email Address | `email` |
| Given Name | `firstName` |
| Family Name | `lastName` |
6. Optionally add a `groups` claim sourced from **Group Names** if you plan to map groups to Routebase roles. Filter to a prefix such as `routebase-` so you are not leaking your whole group structure into an assertion.
7. Save the application.
8. On the application detail page, copy the **Metadata URL**. A metadata URL is preferable to a download, because Routebase re-reads it, so certificate rotations in Ping do not break your sign-ins. If your PingFederate instance exposes no public metadata URL, download the metadata XML instead. You then paste it into the **IdP metadata XML** field in section 3, and you have to re-paste it yourself after every certificate rotation.
9. On the **Access** tab, assign the population or groups that should reach Routebase.
## 3. Finish the connection in Routebase
Back in the wizard, still on the **Metadata** step:
1. Give the **Connection name** something that identifies the IdP and the environment, such as `Acme PingOne Production`. Only admins ever see it.
2. Paste the PingOne metadata URL from section 2 into **IdP metadata URL**. If you had to download the metadata instead, paste the XML into **IdP metadata XML**.
3. Under **Mapping**, type the four claim names exactly as you set them in PingOne, because Generic SAML has no preset. Those names are `email`, `firstName`, `lastName`, and `groups` if you added it. Email is required and the rest are optional.
4. Click **Next**. Routebase creates the connection in **Draft** status and the **Test** step appears. It repeats the Entity ID and ACS URL you already entered in PingOne, and it adds a **Connection ID**, which is only useful when contacting support.
## 4. Test and activate
1. Back in the Routebase wizard, click **Open test login**. A sign-in opens in a new tab.
2. Sign in as a Ping user in the application's assigned population.
3. When the round-trip succeeds, click **Activate**.
If the test fails, work through [SSO Troubleshooting](https://docs.routebase.dev/sso-troubleshooting/), which is organised by what the user actually sees.
## 5. Optional: require SSO for your domain
Go to **Settings → Domains**, find your verified domain, and turn on **SSO required**. Everyone whose email address is on that domain must then sign in through Ping.
Existing password users are not locked out immediately, because they get a 14-day grace period with an in-app banner and a **Link account** button. See [Single Sign-On (SSO)](https://docs.routebase.dev/sso/) for what the banner says and when it appears.
## 6. Optional: SCIM provisioning
PingOne's outbound SCIM 2.0 with bearer authentication matches Routebase directly.
1. In Routebase, go to **Settings → Single Sign-On → SCIM Provisioning Tokens → New token**. Name it `PingOne Production` and **copy the token immediately**, because it is shown once.
2. In PingOne, open the Routebase application → **Provisioning → Add Provisioning** and choose **SCIM Outbound**.
3. Fill in three fields.
- Set **SCIM URL** to `https://api.routebase.dev/scim/v2/
 ### Changing your password
Under **Security**, click **Change Password** to request a password reset email from your authentication provider. Check your inbox for the reset link and follow it to set a new password.
### Account information
The **Account Information** card shows when you joined ("Member since") and your last login date.
## Your data
Below the account cards, **Your data** lets you download a copy of your personal data as a single JSON file, which covers your profile, memberships, chat history, personal variables, notifications and usage records. Click **Download my data**. The file is prepared on the spot and saved as `routebase-data-export-
### Changing your password
Under **Security**, click **Change Password** to request a password reset email from your authentication provider. Check your inbox for the reset link and follow it to set a new password.
### Account information
The **Account Information** card shows when you joined ("Member since") and your last login date.
## Your data
Below the account cards, **Your data** lets you download a copy of your personal data as a single JSON file, which covers your profile, memberships, chat history, personal variables, notifications and usage records. Click **Download my data**. The file is prepared on the spot and saved as `routebase-data-export-
 The export is deliberately about *you*, not about your workspace. Specs, tests and documentation belong to the organization, so they are exported through the regular export features instead. For specs, see [Import & Export](https://docs.routebase.dev/import-export/).
> **Left an organization?** You don't lose access to your export. The email you receive when a membership ends carries a **Download my data** link that works without signing in. It is single-use and expires with the deletion date named in that mail, so download the file rather than bookmarking the link.
## Deleting your account
The last card on the Profile page is **Delete account**. It reads *"Permanently delete your Routebase account and personal data. This starts a 30-day grace period during which you can change your mind."*
### If your account is managed by your identity provider
Users who sign in via SSO or are provisioned by SCIM see an explanation instead of a button, which reads *"Managed by your identity provider"*. Your organization's IdP owns the account lifecycle, so ask your administrator to remove you there.
### What can block the deletion
Two situations stop the deletion until you resolve them. Each one appears as an alert on the card, and the **Delete account** button is disabled:
| Blocker | What to do |
| --- | --- |
| **Transfer ownership first** | You are the only Owner of an organization that still has members. Promote another member to Owner under [Settings → Team](https://docs.routebase.dev/members/), then come back. |
| **Cancel your subscription first** | Your workspace has an active subscription. Cancel it under [Billing](https://docs.routebase.dev/billing/), and you keep access until the end of the current billing period. |
The export is deliberately about *you*, not about your workspace. Specs, tests and documentation belong to the organization, so they are exported through the regular export features instead. For specs, see [Import & Export](https://docs.routebase.dev/import-export/).
> **Left an organization?** You don't lose access to your export. The email you receive when a membership ends carries a **Download my data** link that works without signing in. It is single-use and expires with the deletion date named in that mail, so download the file rather than bookmarking the link.
## Deleting your account
The last card on the Profile page is **Delete account**. It reads *"Permanently delete your Routebase account and personal data. This starts a 30-day grace period during which you can change your mind."*
### If your account is managed by your identity provider
Users who sign in via SSO or are provisioned by SCIM see an explanation instead of a button, which reads *"Managed by your identity provider"*. Your organization's IdP owns the account lifecycle, so ask your administrator to remove you there.
### What can block the deletion
Two situations stop the deletion until you resolve them. Each one appears as an alert on the card, and the **Delete account** button is disabled:
| Blocker | What to do |
| --- | --- |
| **Transfer ownership first** | You are the only Owner of an organization that still has members. Promote another member to Owner under [Settings → Team](https://docs.routebase.dev/members/), then come back. |
| **Cancel your subscription first** | Your workspace has an active subscription. Cancel it under [Billing](https://docs.routebase.dev/billing/), and you keep access until the end of the current billing period. |
 ### The confirmation
Clicking **Delete account** opens a dialog that first tells you exactly what happens, then asks you to type your **email address** to confirm:
- **What gets deleted** — your login and all active sessions, your profile (name, email, avatar), your personal data across all workspaces (chat history, personal variables, notifications, review assignments), and your API keys. If you are the sole Owner of an organization that has no other members, that workspace is listed here too and goes with you.
- **What is retained** — if your organization was ever invoiced, Routebase keeps the invoices and billing records for the statutory retention period, plus an anonymized account record so those documents stay verifiable. Otherwise it keeps a privacy-preserving fingerprint that prevents repeated free trials, automatically deleted after 24 months.
Confirming signs you out immediately and sends you a confirmation email with an **undo link**. The deletion becomes permanent only after **30 days**. Until then the link restores the account, along with the workspace if one went with it, and it works without signing in because the account is already deactivated. Grab your export from the **Your data** card *before* you delete. The dialog reminds you of this.
## Preferences
Open **Settings → Preferences** to customize your personal experience.
### Theme
Choose your preferred color scheme from **Light**, **Dark**, or **System**, where **System** follows your operating system setting. The choice applies immediately and is remembered on this device.
### The confirmation
Clicking **Delete account** opens a dialog that first tells you exactly what happens, then asks you to type your **email address** to confirm:
- **What gets deleted** — your login and all active sessions, your profile (name, email, avatar), your personal data across all workspaces (chat history, personal variables, notifications, review assignments), and your API keys. If you are the sole Owner of an organization that has no other members, that workspace is listed here too and goes with you.
- **What is retained** — if your organization was ever invoiced, Routebase keeps the invoices and billing records for the statutory retention period, plus an anonymized account record so those documents stay verifiable. Otherwise it keeps a privacy-preserving fingerprint that prevents repeated free trials, automatically deleted after 24 months.
Confirming signs you out immediately and sends you a confirmation email with an **undo link**. The deletion becomes permanent only after **30 days**. Until then the link restores the account, along with the workspace if one went with it, and it works without signing in because the account is already deactivated. Grab your export from the **Your data** card *before* you delete. The dialog reminds you of this.
## Preferences
Open **Settings → Preferences** to customize your personal experience.
### Theme
Choose your preferred color scheme from **Light**, **Dark**, or **System**, where **System** follows your operating system setting. The choice applies immediately and is remembered on this device.
 ### Notifications
The **Notifications** card lets you choose which notification categories you receive and through which channel (in-app or email), per category. This is your personal override of the organization's defaults. See [Notifications](https://docs.routebase.dev/notifications/) for the full breakdown.
### Language & Localization
This card is marked **Coming soon**. Language and regional settings will be available in a future update.
## Personal API Designer settings
The Account section also contains an **API Designer** page with your personal editor preferences for the API Designer. See [API Design Settings](https://docs.routebase.dev/api-design-settings/).
## Related
- [Notifications](https://docs.routebase.dev/notifications/) — notification categories and channels in detail
- [Organization Settings](https://docs.routebase.dev/organization/) — settings that apply to your whole organization
- [Members & Invitations](https://docs.routebase.dev/members/) — how your profile appears to teammates
- [Organization Settings](https://docs.routebase.dev/organization/) — what happens to your account when you leave an organization
---
## Project Auth
Source: https://docs.routebase.dev/project-auth/
Routebase configures API authentication **per environment**, so each environment of a project carries its own auth scheme and credentials, and test runs inherit it automatically. Configure Basic Auth once on Staging and OAuth 2.0 on Production, and the same test suite authenticates correctly against both.
## Where auth is configured
- The **Auth** tab of the environment detail sheet is where you set, test, copy and clear the configuration. Open an environment from the **Projects** page sidebar and switch to **Auth**. The tab notes *"Authentication for this environment. Test suites inherit this unless overridden."*
- **Project Settings → Authentication by Environment** is a read-only overview table listing every environment with its auth type badge and when it was last updated, so you can spot unconfigured environments at a glance.
### Notifications
The **Notifications** card lets you choose which notification categories you receive and through which channel (in-app or email), per category. This is your personal override of the organization's defaults. See [Notifications](https://docs.routebase.dev/notifications/) for the full breakdown.
### Language & Localization
This card is marked **Coming soon**. Language and regional settings will be available in a future update.
## Personal API Designer settings
The Account section also contains an **API Designer** page with your personal editor preferences for the API Designer. See [API Design Settings](https://docs.routebase.dev/api-design-settings/).
## Related
- [Notifications](https://docs.routebase.dev/notifications/) — notification categories and channels in detail
- [Organization Settings](https://docs.routebase.dev/organization/) — settings that apply to your whole organization
- [Members & Invitations](https://docs.routebase.dev/members/) — how your profile appears to teammates
- [Organization Settings](https://docs.routebase.dev/organization/) — what happens to your account when you leave an organization
---
## Project Auth
Source: https://docs.routebase.dev/project-auth/
Routebase configures API authentication **per environment**, so each environment of a project carries its own auth scheme and credentials, and test runs inherit it automatically. Configure Basic Auth once on Staging and OAuth 2.0 on Production, and the same test suite authenticates correctly against both.
## Where auth is configured
- The **Auth** tab of the environment detail sheet is where you set, test, copy and clear the configuration. Open an environment from the **Projects** page sidebar and switch to **Auth**. The tab notes *"Authentication for this environment. Test suites inherit this unless overridden."*
- **Project Settings → Authentication by Environment** is a read-only overview table listing every environment with its auth type badge and when it was last updated, so you can spot unconfigured environments at a glance.
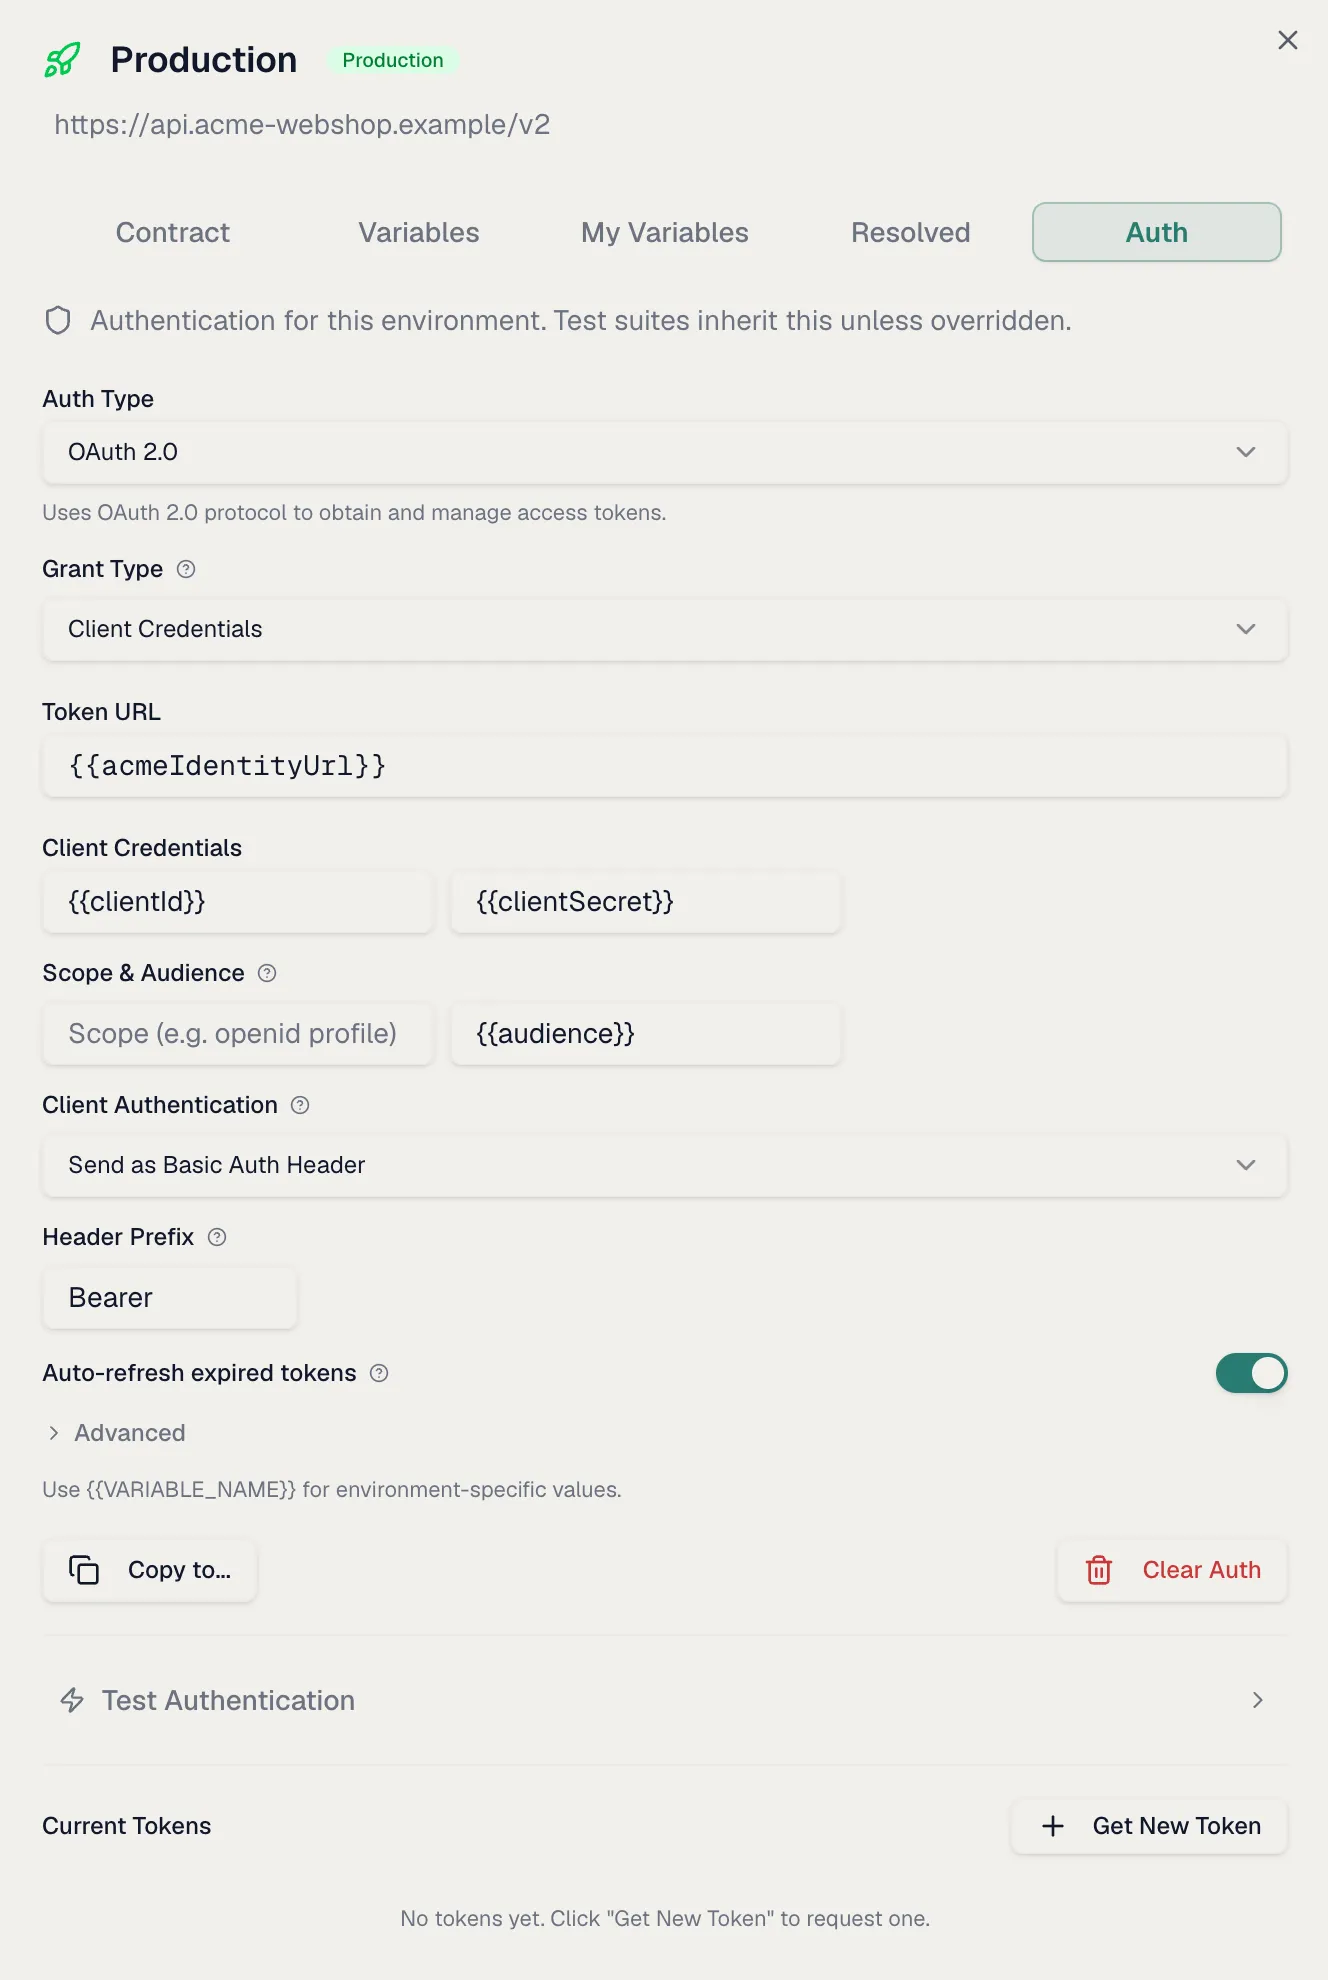
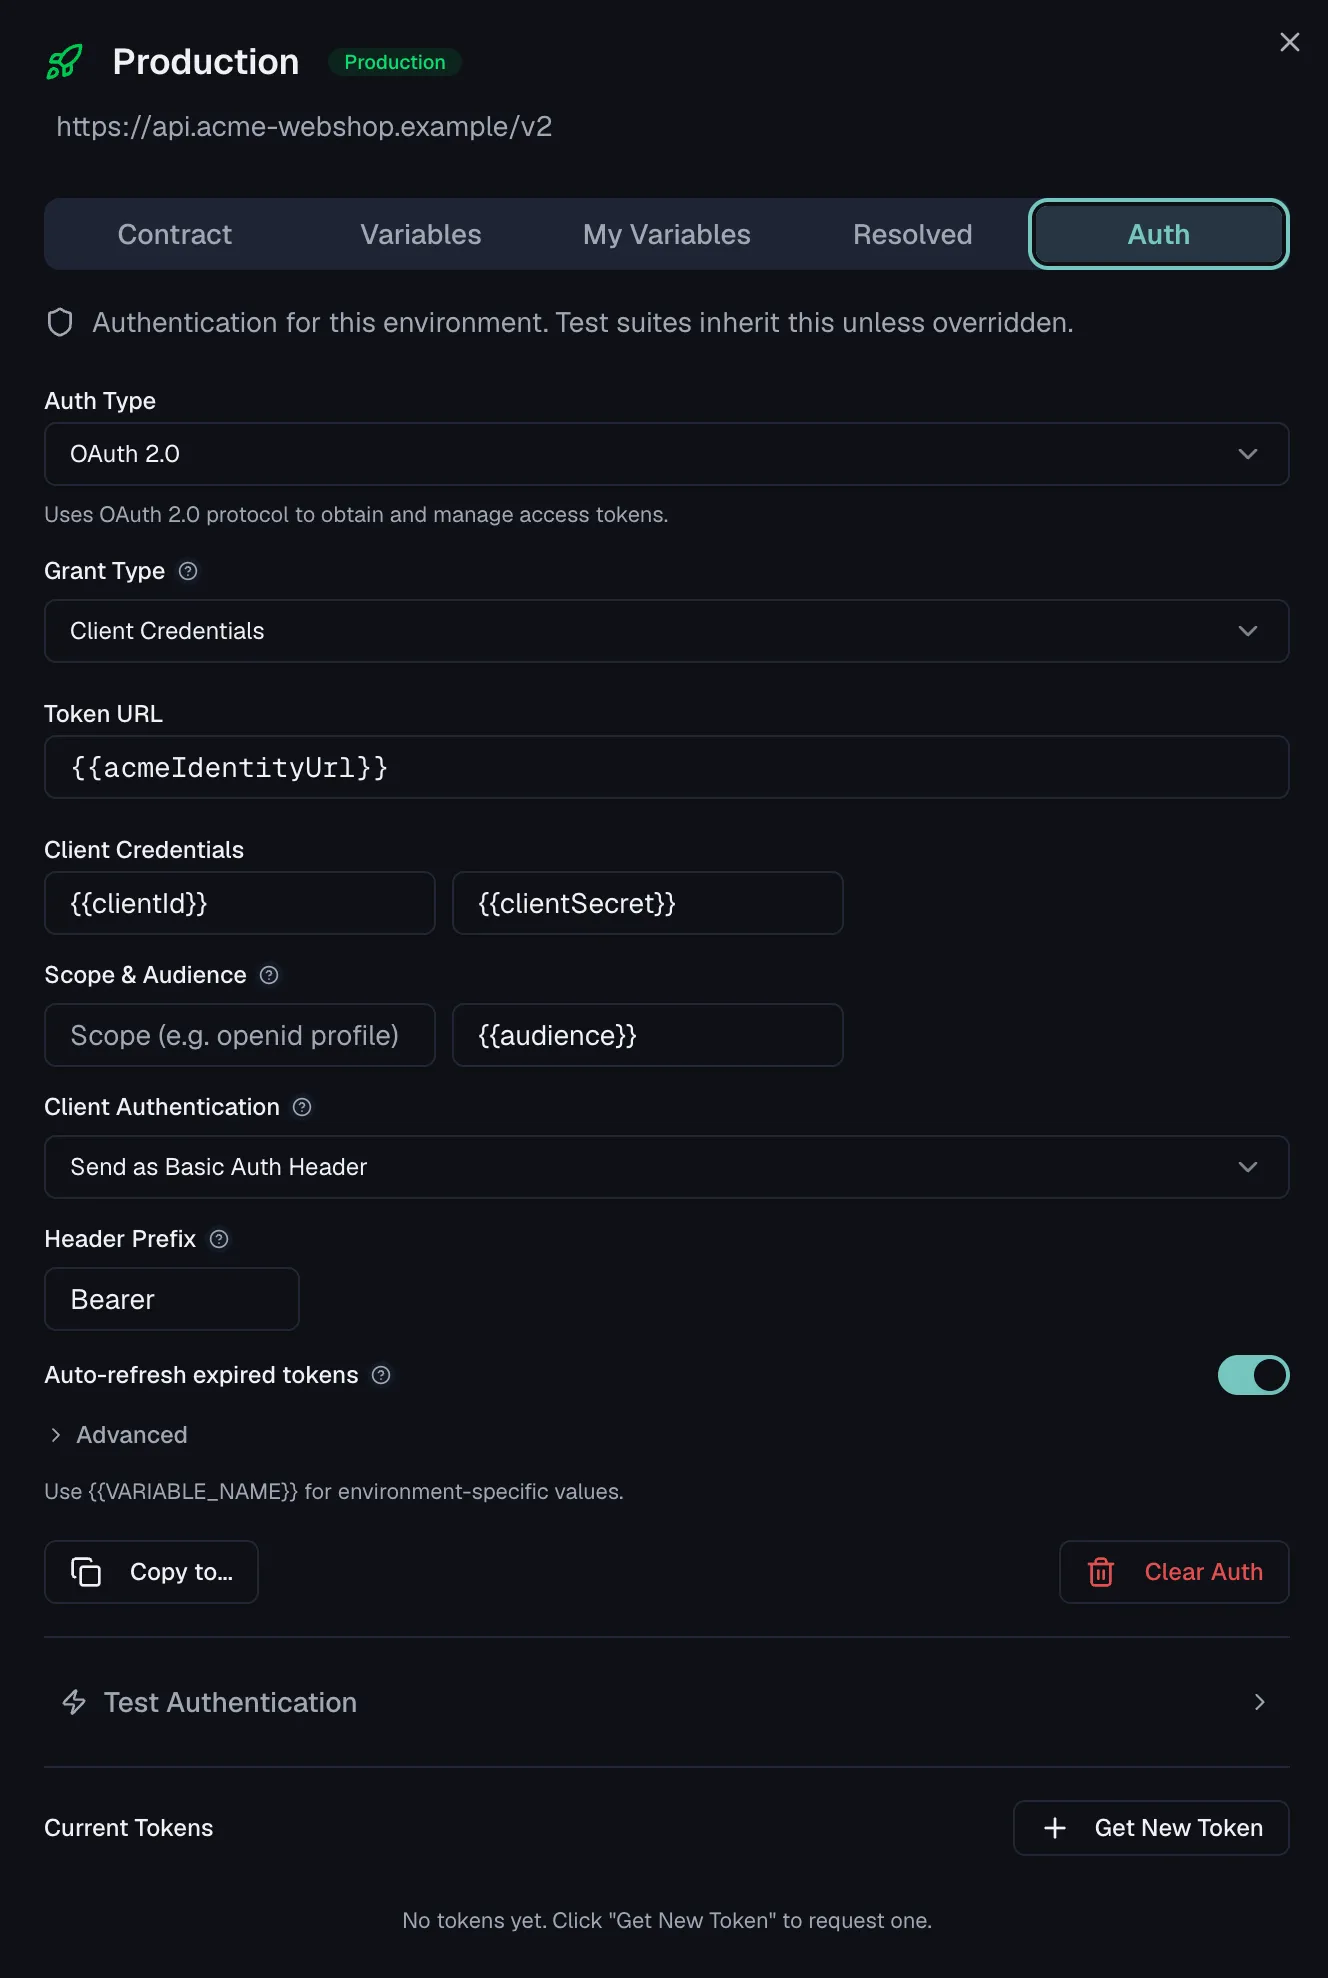 ## Supported auth types
The **Auth Type** selector offers:
| Group | Type | What it does |
| --- | --- | --- |
| Common | **None** | No authentication headers. |
| Common | **Basic Auth** | Sends username and password encoded with Base64 in the Authorization header. |
| Common | **Bearer Token** | Sends a token in the Authorization header as `Bearer
## Supported auth types
The **Auth Type** selector offers:
| Group | Type | What it does |
| --- | --- | --- |
| Common | **None** | No authentication headers. |
| Common | **Basic Auth** | Sends username and password encoded with Base64 in the Authorization header. |
| Common | **Bearer Token** | Sends a token in the Authorization header as `Bearer 
 Monitors do not use the environment auth configuration, so give a monitor explicit request headers instead and use `{{variable}}` placeholders for the credentials (see [Monitors](https://docs.routebase.dev/monitors/)). Security scans authenticate through **personas**, which carry their own credential configuration (see [Personas](https://docs.routebase.dev/personas/)).
## Permissions
Configuring environment and suite auth requires the **tests:write** permission, which all roles (Member, Admin, Owner) have by default. Secret credential values follow the same encryption and masking rules as secret [variables](https://docs.routebase.dev/variables/).
## Related
- [Environments](https://docs.routebase.dev/environments/) — where auth configurations live
- [Variables](https://docs.routebase.dev/variables/) — keep credentials in secret variables
- [Test Suites](https://docs.routebase.dev/test-suites/) — suite-level auth modes and inheritance
- [Personas](https://docs.routebase.dev/personas/) — credentials for security scanning
- [Monitors](https://docs.routebase.dev/monitors/) — header-based auth for uptime checks
---
## Projects
Source: https://docs.routebase.dev/projects/
Projects are the top-level containers in Routebase. Each project groups everything that belongs to one API effort and gives your team one place to work on it. That covers the API specifications, environments and variables as well as the test suites, mock servers, documentation and monitors.
## The Projects page
Open **Projects** from the main navigation. The page uses a three-column layout:
| Column | What it shows |
| --- | --- |
| **Projects** (left) | All projects in your organization. Expand a project to see its environments and their variable counts. |
| **Overview** (middle) | The dashboard for the selected project, with inline-editable name and description. |
| **API Specifications** (right) | The specs in the selected project. Click a spec to open it in the API Designer, or right-click it to rename or delete it. |
The columns are resizable, and the right panel can be collapsed. If no project is selected, the middle panel shows a **Select a project** empty state with a **New Project** button.
Monitors do not use the environment auth configuration, so give a monitor explicit request headers instead and use `{{variable}}` placeholders for the credentials (see [Monitors](https://docs.routebase.dev/monitors/)). Security scans authenticate through **personas**, which carry their own credential configuration (see [Personas](https://docs.routebase.dev/personas/)).
## Permissions
Configuring environment and suite auth requires the **tests:write** permission, which all roles (Member, Admin, Owner) have by default. Secret credential values follow the same encryption and masking rules as secret [variables](https://docs.routebase.dev/variables/).
## Related
- [Environments](https://docs.routebase.dev/environments/) — where auth configurations live
- [Variables](https://docs.routebase.dev/variables/) — keep credentials in secret variables
- [Test Suites](https://docs.routebase.dev/test-suites/) — suite-level auth modes and inheritance
- [Personas](https://docs.routebase.dev/personas/) — credentials for security scanning
- [Monitors](https://docs.routebase.dev/monitors/) — header-based auth for uptime checks
---
## Projects
Source: https://docs.routebase.dev/projects/
Projects are the top-level containers in Routebase. Each project groups everything that belongs to one API effort and gives your team one place to work on it. That covers the API specifications, environments and variables as well as the test suites, mock servers, documentation and monitors.
## The Projects page
Open **Projects** from the main navigation. The page uses a three-column layout:
| Column | What it shows |
| --- | --- |
| **Projects** (left) | All projects in your organization. Expand a project to see its environments and their variable counts. |
| **Overview** (middle) | The dashboard for the selected project, with inline-editable name and description. |
| **API Specifications** (right) | The specs in the selected project. Click a spec to open it in the API Designer, or right-click it to rename or delete it. |
The columns are resizable, and the right panel can be collapsed. If no project is selected, the middle panel shows a **Select a project** empty state with a **New Project** button.
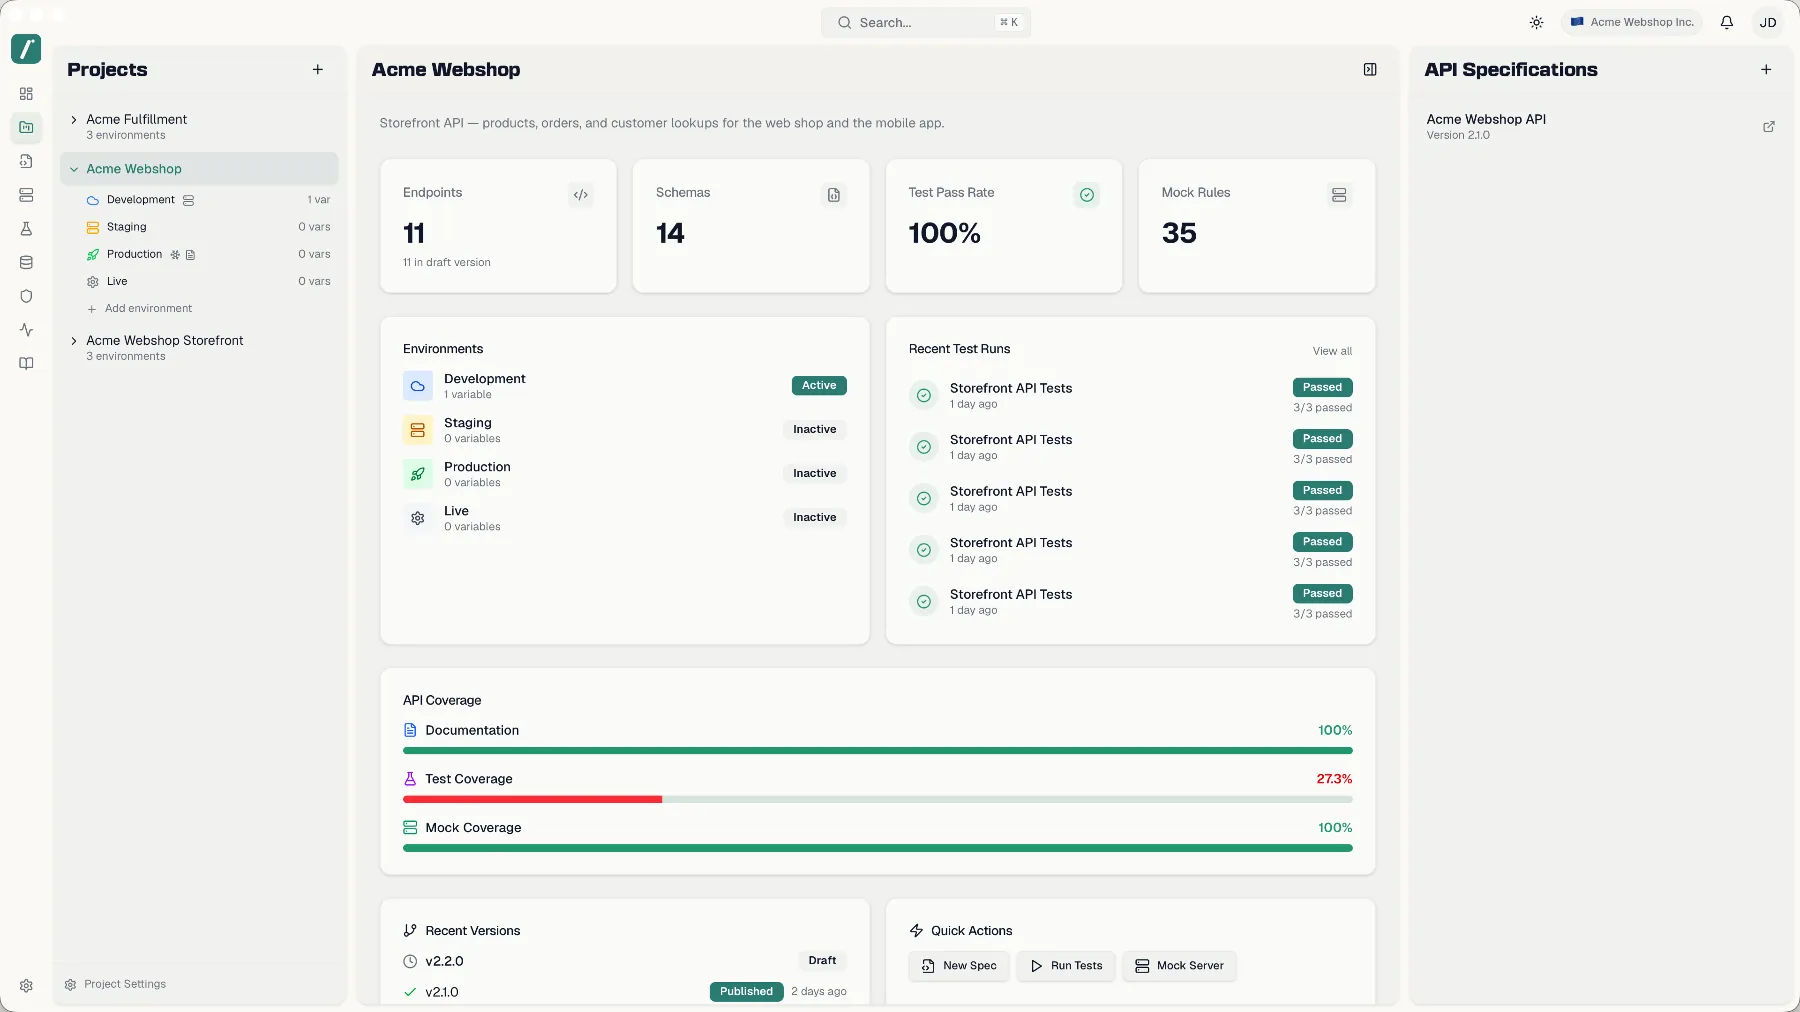
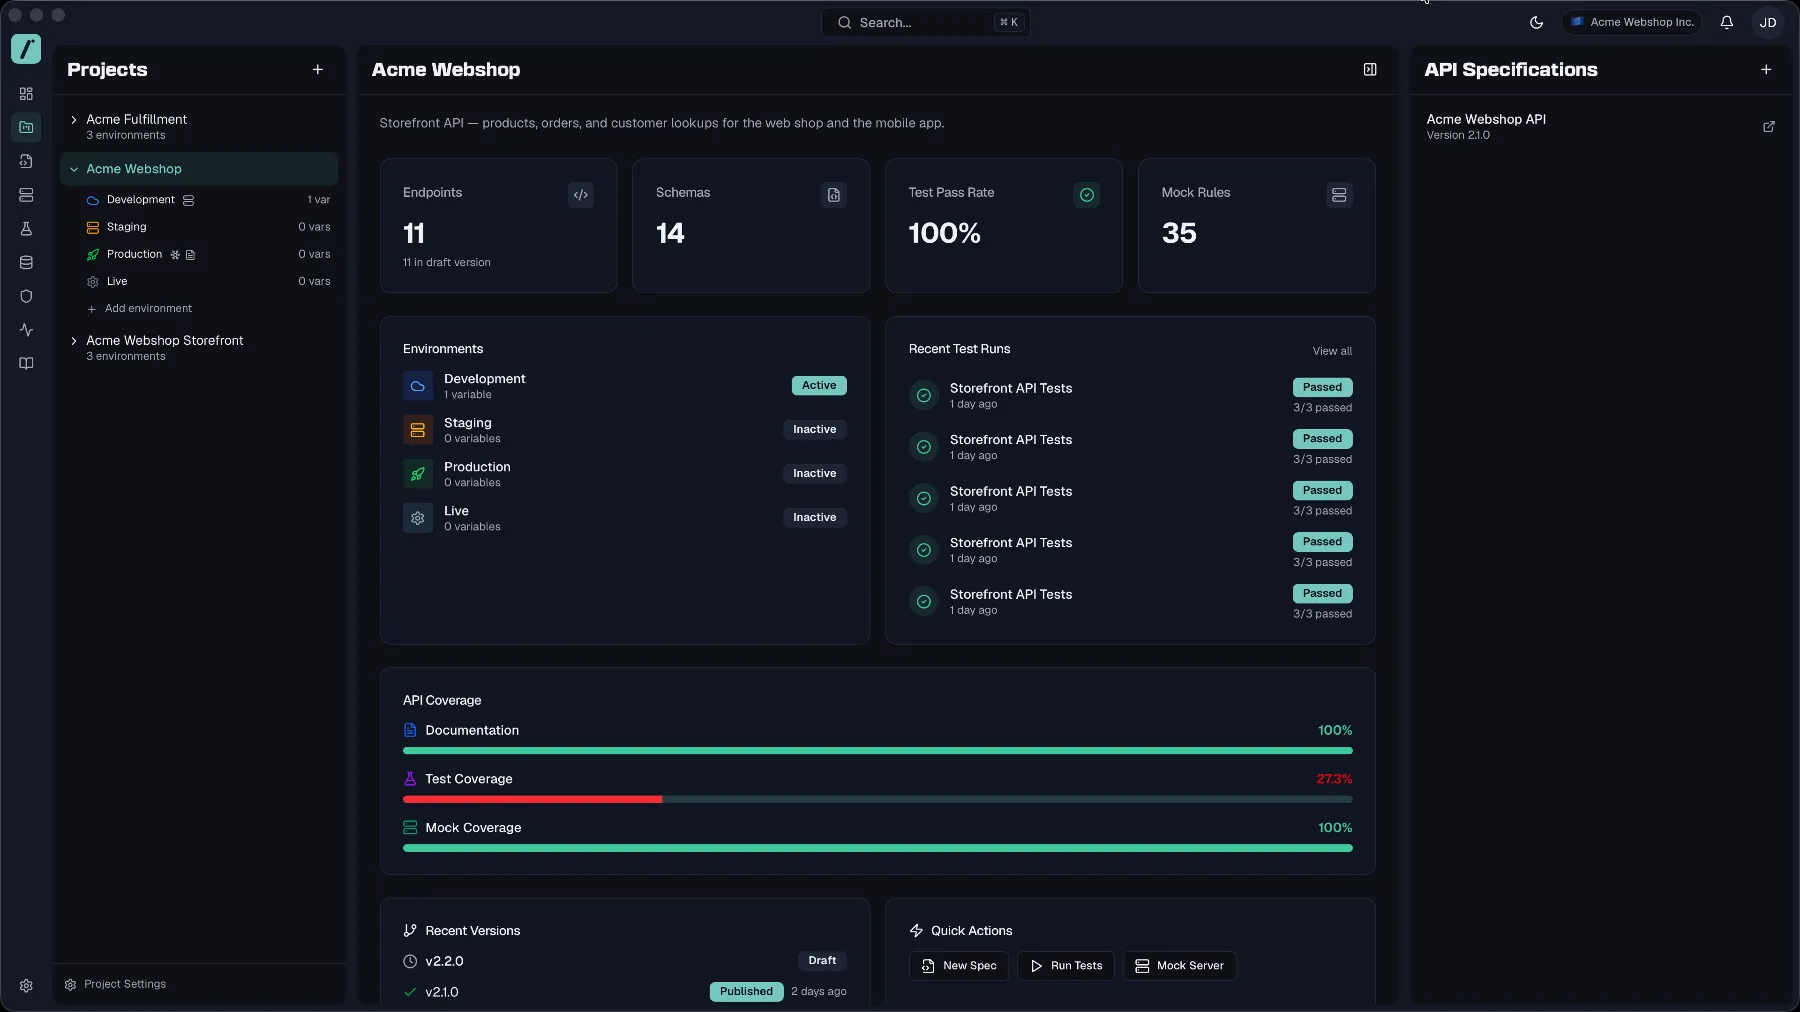 ## Creating a project
1. On the **Projects** page, click the **+** button at the top of the project list, whose tooltip reads **Add project**. In an empty organization, click **Create project** instead.
2. Enter a **Name** of 2 to 100 characters. Routebase shows a preview of the URL slug generated from the name.
3. Optionally add a **Description**.
4. Optionally expand **Advanced options**:
- **Environments** decides which environments to create. The defaults are Development, Staging and Production, and you can add Test and Custom with a name of your own. See [Environments](https://docs.routebase.dev/environments/).
- **Mock Server** creates a mock server for frontend development right away.
- **Sample Test Data** seeds the project with ready-to-use fixtures and seeds. Pick **None**, **Hello World Starter** with 3 fixtures plus a `/health` ping seed, or **Pet Store (rich demo)** with 5 fixtures plus 2 seeds. See [Test Data](https://docs.routebase.dev/test-data/).
5. Click **Create**. You land directly in the new project.
## Creating a project
1. On the **Projects** page, click the **+** button at the top of the project list, whose tooltip reads **Add project**. In an empty organization, click **Create project** instead.
2. Enter a **Name** of 2 to 100 characters. Routebase shows a preview of the URL slug generated from the name.
3. Optionally add a **Description**.
4. Optionally expand **Advanced options**:
- **Environments** decides which environments to create. The defaults are Development, Staging and Production, and you can add Test and Custom with a name of your own. See [Environments](https://docs.routebase.dev/environments/).
- **Mock Server** creates a mock server for frontend development right away.
- **Sample Test Data** seeds the project with ready-to-use fixtures and seeds. Pick **None**, **Hello World Starter** with 3 fixtures plus a `/health` ping seed, or **Pet Store (rich demo)** with 5 fixtures plus 2 seeds. See [Test Data](https://docs.routebase.dev/test-data/).
5. Click **Create**. You land directly in the new project.
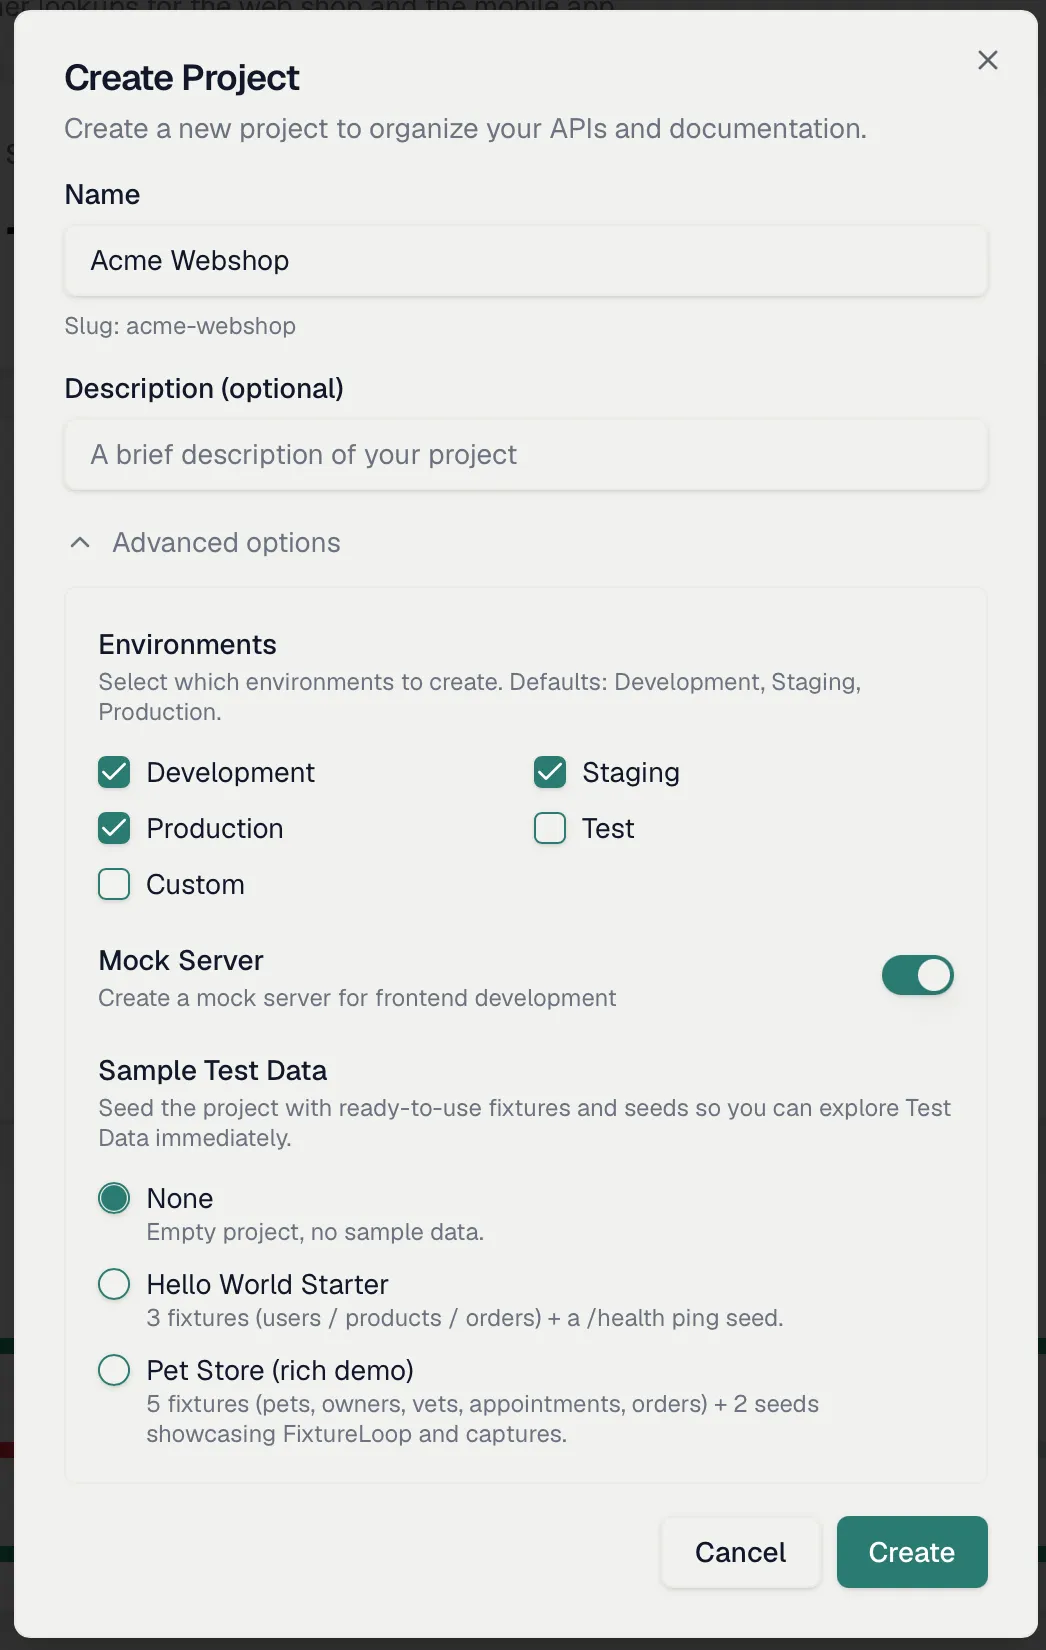
 ## The project overview
The middle panel shows a live dashboard for the selected project:
- **Stat cards** for Endpoints with its draft count, Schemas with its unused count, Test Pass Rate and Mock Rules. Each card links to the matching feature.
- **Environments** shows the project's environments at a glance.
- **Recent Test Runs** lists the latest runs with a **View all** shortcut to the test runner.
- **API Coverage** draws bars for Documentation, Test Coverage and Mock Coverage. Each bar measures the endpoints of the current spec version. An endpoint counts as tested once a test case calls it or links to it, and as mocked once an active mock rule answers requests to it.
- **Version History** shows recent spec versions.
- **Quick Actions** holds the shortcuts **New Spec**, **Run Tests** and **Mock Server**.
## Renaming and editing a project
Two ways to edit:
- **Inline editing** starts when you click the project name or description in the overview header, whose tooltip reads **Click to modify**. Type your change and press Enter.
- The **Edit** dialog opens when you right-click the project in the list and choose **Edit**, and it changes the name and description together.
## Deleting a project
Deleting a project permanently removes all of its data, which covers the API specifications, environments, variables, test suites and mock server rules. There is no undo.
1. Right-click the project in the list and choose **Delete**, or open **Project Settings** and use the **Danger Zone** → **Delete Project**.
2. Confirm in the **Delete Project** dialog.
Deleting requires the **projects:delete** permission, which Admins and Owners have, and the option is hidden for Members.
## Project settings
With a project selected, click **Project Settings** at the bottom of the project list. The settings sheet contains:
| Section | Settings |
| --- | --- |
| **General** | **Default Environment** (used when no specific environment is selected), **Request Timeout** (1 to 300 seconds), **Default Response Format** (JSON or XML). |
| **Features** | Toggles for **Mock Server**, **API Testing**, and **Auto Documentation** in this project. |
| **Authentication by Environment** | Overview of the auth configuration per environment. See [Project Auth](https://docs.routebase.dev/project-auth/). |
| **Webhooks** | Receive notifications when test runs complete. See [Webhooks](https://docs.routebase.dev/webhooks/). |
| **API Style Guide** | Override style guide rule severities for this project. See [Style Guide](https://docs.routebase.dev/style-guide/). |
| **Header Policies** | Project-level header policies, with organization-wide policies inherited and read-only. See [Header Policies](https://docs.routebase.dev/header-policies/). |
| **Danger Zone** | Delete the project. |
Changes are saved with the **Save Changes** button that appears once you edit a setting.
## The project overview
The middle panel shows a live dashboard for the selected project:
- **Stat cards** for Endpoints with its draft count, Schemas with its unused count, Test Pass Rate and Mock Rules. Each card links to the matching feature.
- **Environments** shows the project's environments at a glance.
- **Recent Test Runs** lists the latest runs with a **View all** shortcut to the test runner.
- **API Coverage** draws bars for Documentation, Test Coverage and Mock Coverage. Each bar measures the endpoints of the current spec version. An endpoint counts as tested once a test case calls it or links to it, and as mocked once an active mock rule answers requests to it.
- **Version History** shows recent spec versions.
- **Quick Actions** holds the shortcuts **New Spec**, **Run Tests** and **Mock Server**.
## Renaming and editing a project
Two ways to edit:
- **Inline editing** starts when you click the project name or description in the overview header, whose tooltip reads **Click to modify**. Type your change and press Enter.
- The **Edit** dialog opens when you right-click the project in the list and choose **Edit**, and it changes the name and description together.
## Deleting a project
Deleting a project permanently removes all of its data, which covers the API specifications, environments, variables, test suites and mock server rules. There is no undo.
1. Right-click the project in the list and choose **Delete**, or open **Project Settings** and use the **Danger Zone** → **Delete Project**.
2. Confirm in the **Delete Project** dialog.
Deleting requires the **projects:delete** permission, which Admins and Owners have, and the option is hidden for Members.
## Project settings
With a project selected, click **Project Settings** at the bottom of the project list. The settings sheet contains:
| Section | Settings |
| --- | --- |
| **General** | **Default Environment** (used when no specific environment is selected), **Request Timeout** (1 to 300 seconds), **Default Response Format** (JSON or XML). |
| **Features** | Toggles for **Mock Server**, **API Testing**, and **Auto Documentation** in this project. |
| **Authentication by Environment** | Overview of the auth configuration per environment. See [Project Auth](https://docs.routebase.dev/project-auth/). |
| **Webhooks** | Receive notifications when test runs complete. See [Webhooks](https://docs.routebase.dev/webhooks/). |
| **API Style Guide** | Override style guide rule severities for this project. See [Style Guide](https://docs.routebase.dev/style-guide/). |
| **Header Policies** | Project-level header policies, with organization-wide policies inherited and read-only. See [Header Policies](https://docs.routebase.dev/header-policies/). |
| **Danger Zone** | Delete the project. |
Changes are saved with the **Save Changes** button that appears once you edit a setting.
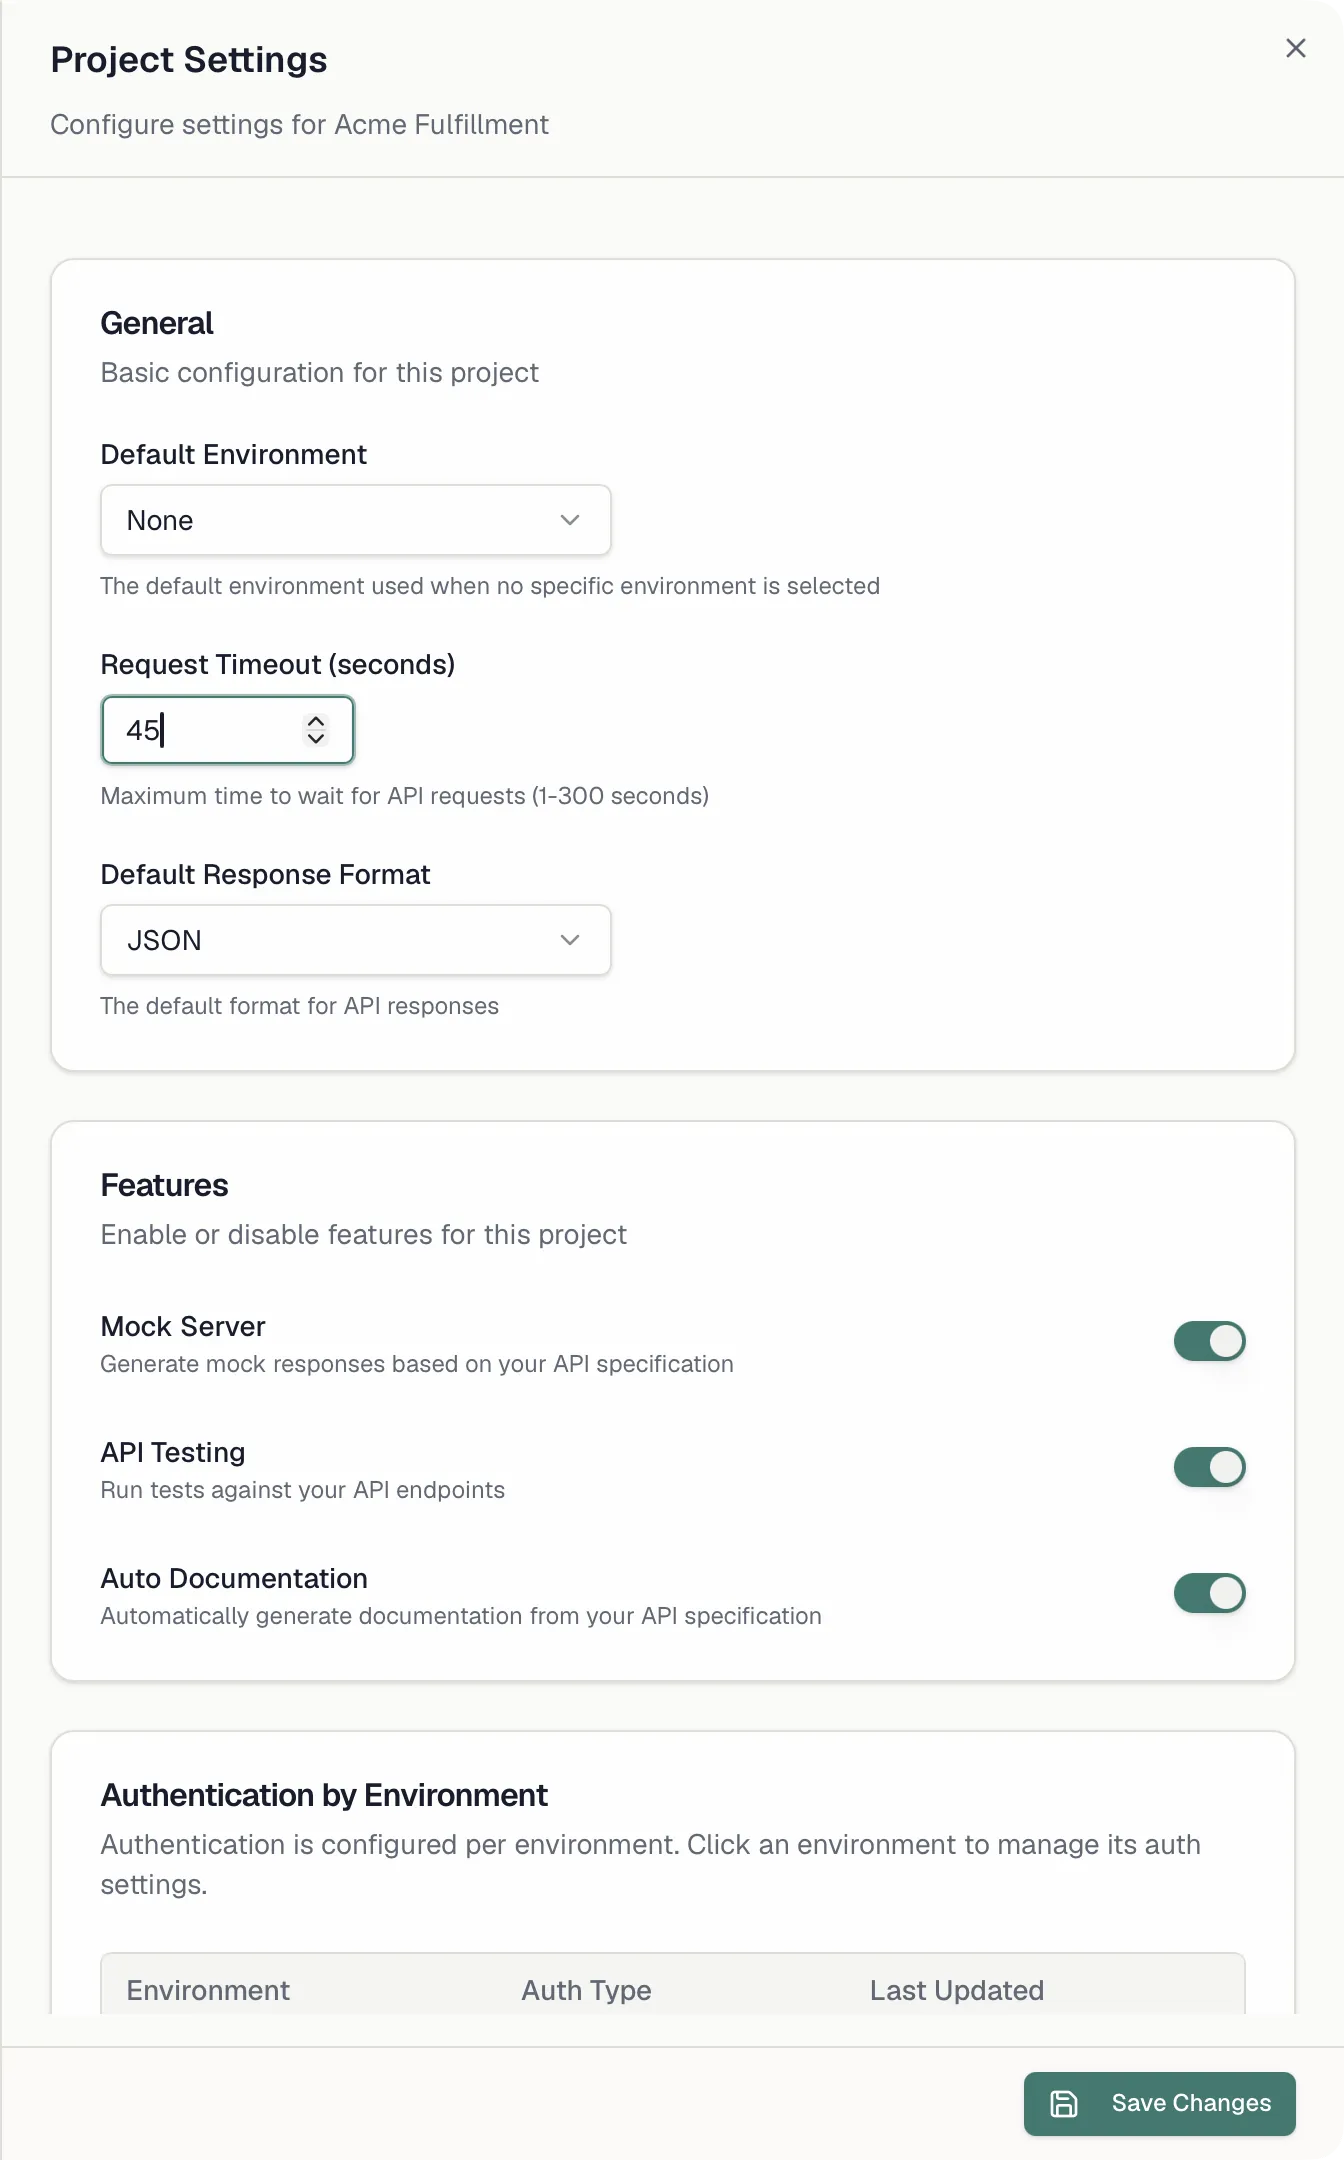
 ## Switching projects
The **project switcher** sits in the header whenever you work inside a project. Click the project name, or press **Ctrl+P** or **Cmd+P**, to open it:
- **Search** projects by name or slug.
- **Favorites** holds the projects you star to pin them to the top.
- **Recently used** keeps your last five projects.
- **All Projects** lists everything else.
- **New Project** jumps straight to project creation.
Switching keeps you on the current page where it makes sense. If you switch projects while in the API Designer, the test runner or the mock server, you stay in that tool with the new project's data.
## Members and access
Project access is governed by your organization's roles and, optionally, team assignments:
- **Members** can view projects (**projects:read**) and work on specs and tests, but cannot create, edit, or delete projects.
- **Admins and Owners** can create and edit projects (**projects:write**) and delete them (**projects:delete**).
- With **Team Access** (Starter and above), teams can be assigned to specific projects with a Read or Write role, restricting what non-admin members can touch. See [Team Access](https://docs.routebase.dev/team-access/).
## Plan limits
Project and spec counts are gated by your plan:
| Plan | Projects | Specs per project |
| --- | --- | --- |
| Free | 2 | 3 |
| Starter | 10 | 10 |
| Pro / Enterprise | Unlimited | Unlimited |
When you approach a limit, an upgrade nudge appears above the project list. At the limit, creating a project opens an upgrade dialog instead. Projects that exceed your plan's limit, for example after a trial ends, become **read-only** and are marked with a lock icon until you upgrade. See [Billing](https://docs.routebase.dev/billing/).
## Related
- [Environments](https://docs.routebase.dev/environments/) — development, staging, production and more per project
- [Variables](https://docs.routebase.dev/variables/) — configuration values across org, project, and personal scopes
- [Project Auth](https://docs.routebase.dev/project-auth/) — authentication configuration per environment
- [Team Access](https://docs.routebase.dev/team-access/) — restrict projects to specific teams
- [Billing](https://docs.routebase.dev/billing/) — plans and limits
---
## Projects & Environments — MCP Tools
Source: https://docs.routebase.dev/projects-environments-mcp-tools/
The tools below belong to the **Projects & Environments** group of the Routebase MCP server.
## create_environment
Create a new environment in a project. Type must be one of: development, test, staging, production, custom. Requires organization context (call set_context first).
**Required scope:** `projects:write`
| Parameter | Type | Required | Description |
| --- | --- | --- | --- |
| `name` | string | Yes | Display name for the environment |
| `type` | string | Yes | Environment type: development, test, staging, production, or custom |
| `baseUrl` | string | No | Optional base URL for the environment |
| `projectId` | string | No | Public ID (GUID) of the project. If omitted, uses the active project context. |
## create_project
Create a new project in the active organization. Without environmentsJson the backend creates its standard set of environments. Requires organization context (call set_context first). The new project does NOT become the active context — call set_context with the returned id.
**Required scope:** `projects:write`
| Parameter | Type | Required | Description |
| --- | --- | --- | --- |
| `name` | string | Yes | Display name for the project |
| `description` | string | No | Optional project description |
| `environmentsJson` | string | No | Optional JSON array of environments to create instead of the defaults. Each item: { "type": "development"\|"test"\|"staging"\|"production"\|"custom", "name"?: string, "baseUrl"?: string }. Name is required for type 'custom'. |
| `includeMockServer` | boolean | No (default `false`) | Create a mock server for the project right away. Default false. |
| `sampleDataSet` | string | No (default `"none"`) | Sample test data to seed: 'none' (default), 'hello_world' (3 fixtures + a /health seed) or 'pet_store' (5 fixtures + 2 seeds, the full demo). |
## delete_environment
Delete an environment and ALL of its variables. This is destructive and cannot be undone. Requires organization context (call set_context first).
**Required scope:** `projects:delete`
| Parameter | Type | Required | Description |
| --- | --- | --- | --- |
| `environmentId` | string | Yes | Public ID (GUID) of the environment to delete |
| `projectId` | string | No | Public ID (GUID) of the project. If omitted, uses the active project context. |
## delete_project
Delete a project with everything in it — specs, tests, mocks, documentation and environments. This is destructive and cannot be undone. Use this to remove the whole project; for a single environment use delete_environment. Requires organization context.
**Required scope:** `projects:delete`
| Parameter | Type | Required | Description |
| --- | --- | --- | --- |
| `projectId` | string | No | Public ID (GUID) of the project to delete. If omitted, uses the active project context. |
## get_environment_variables
Get resolved variables for a specific environment. Secret values are always masked for security. Use this to read resolved values; to change them use set_environment_variables. Requires organization context.
**Required scope:** `projects:read`
| Parameter | Type | Required | Description |
| --- | --- | --- | --- |
| `environmentId` | string | Yes | Public ID (GUID) of the environment |
| `projectId` | string | No | Public ID (GUID) of the project. If omitted, uses the active project context. |
## get_project
Get detailed information about a project, including its environments. Use this when you already have the project id; to browse the organization's projects use list_projects. Requires organization context (call set_context first). If no projectId is given, uses the active project context.
**Required scope:** `projects:read`
| Parameter | Type | Required | Description |
| --- | --- | --- | --- |
| `projectId` | string | No | Public ID (GUID) of the project. If omitted, uses the active project context. |
## get_project_settings
Get a project's settings: default environment, which modules are enabled, default response format and request timeout. Use this to read the settings; to change them use update_project_settings. Requires organization context.
**Required scope:** `projects:write`
| Parameter | Type | Required | Description |
| --- | --- | --- | --- |
| `projectId` | string | No | Public ID (GUID) of the project. If omitted, uses the active project context. |
## list_environments
List all environments of a project with variable counts. Use this to browse a project's environments; for the variables of one use get_environment_variables. Requires organization context. If no projectId is given, uses the active project context.
**Required scope:** `projects:read`
| Parameter | Type | Required | Description |
| --- | --- | --- | --- |
| `projectId` | string | No | Public ID (GUID) of the project. If omitted, uses the active project context. |
## set_environment_readonly
Protect an environment against writes, or lift that protection. While read-only, only GET/HEAD/OPTIONS requests reach the environment — used to keep production safe from test runs. Requires the org:manage-governance permission and organization context. Use this to protect or unprotect an environment; to change its name or URL use update_environment.
**Required scope:** `org:manage-governance`
| Parameter | Type | Required | Description |
| --- | --- | --- | --- |
| `environmentId` | string | Yes | Public ID (GUID) of the environment |
| `isReadOnly` | boolean | Yes | true to protect the environment, false to lift the protection |
| `projectId` | string | No | Public ID (GUID) of the project. If omitted, uses the active project context. |
## set_environment_variables
Set/update environment variables in batch. WARNING — FULL REPLACE: this replaces the ENTIRE variable set of the environment. Any variable whose key is NOT in the provided array will be DELETED. To add or change a single variable without losing the others, first call 'get_environment_variables', then send back the complete desired list. Secret values are encrypted server-side; secret values in the response are masked. Requires organization context (call set_context first).
**Required scope:** `projects:write`
| Parameter | Type | Required | Description |
| --- | --- | --- | --- |
| `environmentId` | string | Yes | Public ID (GUID) of the environment |
| `variablesJson` | string | Yes | JSON array of variables to set. Each item: { "key": string, "value": string, "isSecret"?: bool, "description"?: string }. This is the COMPLETE desired set — omitted keys are deleted. |
| `projectId` | string | No | Public ID (GUID) of the project. If omitted, uses the active project context. |
## update_environment
Update an environment's name, type, and base URL. Type (if provided) must be one of: development, test, staging, production, custom. Requires organization context (call set_context first).
**Required scope:** `projects:write`
| Parameter | Type | Required | Description |
| --- | --- | --- | --- |
| `environmentId` | string | Yes | Public ID (GUID) of the environment to update |
| `name` | string | Yes | New display name for the environment |
| `type` | string | No | New environment type: development, test, staging, production, or custom. If omitted, the type is unchanged. |
| `baseUrl` | string | No | New base URL for the environment |
| `projectId` | string | No | Public ID (GUID) of the project. If omitted, uses the active project context. |
## update_project
Rename a project and/or change its description. Omit a field to keep its current value; pass an empty string for description to clear it. Use this for name and description; for modules and defaults use update_project_settings. Requires organization context.
**Required scope:** `projects:write`
| Parameter | Type | Required | Description |
| --- | --- | --- | --- |
| `name` | string | No | New display name. If omitted, the current name is kept. |
| `description` | string | No | New description. Pass an empty string to clear it. If omitted, the current description is kept. |
| `projectId` | string | No | Public ID (GUID) of the project. If omitted, uses the active project context. |
## update_project_settings
Update a project's settings. Omit a field to keep its current value — the tool reads the current settings first. Pass clearDefaultEnvironment to unset the default environment. Use this for the settings; to rename the project use update_project. Requires organization context.
**Required scope:** `projects:write`
| Parameter | Type | Required | Description |
| --- | --- | --- | --- |
| `defaultEnvironmentId` | string | No | Public ID (GUID) of the environment to use as default. Get it from list_environments. |
| `clearDefaultEnvironment` | boolean | No (default `false`) | Set to true to remove the default environment. Ignored when defaultEnvironmentId is given. |
| `enableMockServer` | boolean | No | Enable or disable the mock server module for this project |
| `enableApiTesting` | boolean | No | Enable or disable the API testing module for this project |
| `enableAutoDocumentation` | boolean | No | Enable or disable automatic documentation for this project |
| `defaultResponseFormat` | string | No | Default response format: 'json' or 'xml' |
| `requestTimeoutSeconds` | integer | No | Request timeout in seconds |
| `projectId` | string | No | Public ID (GUID) of the project. If omitted, uses the active project context. |
---
## Promotions, Sync & Audit — MCP Tools
Source: https://docs.routebase.dev/promotions-sync-audit-mcp-tools/
The tools below belong to the **Promotions, Sync & Audit** group of the Routebase MCP server.
## get_audit_log
Read the API design audit log: who changed what, when, and whether it was a person or an API key. Filter by entityId for the history of one endpoint or schema — worth doing before changing something you did not write. Paginated; without filters it returns the whole organization's history newest first. Requires organization context.
**Required scope:** `specs:read`
| Parameter | Type | Required | Description |
| --- | --- | --- | --- |
| `specId` | string | No | Optional spec ID (GUID) to filter by |
| `entityId` | string | No | Optional entity ID (GUID) — the endpoint, schema or folder to trace |
| `entityType` | string | No | Optional entity type to filter by, e.g. 'endpoint', 'schema', 'folder' |
| `action` | string | No | Optional action to filter by, e.g. 'created', 'updated', 'deleted' |
| `actorUserId` | integer | No | Optional numeric user ID to filter by |
| `dateFrom` | string | No | Optional lower bound, ISO 8601 (e.g. '2026-07-01T00:00:00Z') |
| `dateTo` | string | No | Optional upper bound, ISO 8601 |
| `page` | integer | No (default `1`) | Page number, 1-based (default 1) |
| `pageSize` | integer | No (default `50`) | Entries per page (default 50, max 200) |
## list_artifact_sync_reviews
List what in this project has fallen out of sync with the specs behind it — mocks, tests and monitors whose endpoint changed or disappeared. Worth reading after changing a draft: these are the follow-ups that change created. Requires project context.
**Required scope:** `specs:read`
_No parameters._
## list_promotions
List how versions of a spec reached their environments: which version, which environment, whether it was a rollback and whether it froze the version. get_environment_pins shows the current state; this is how it got there. Requires project context.
**Required scope:** `specs:read`
| Parameter | Type | Required | Description |
| --- | --- | --- | --- |
| `specId` | string | Yes | Public ID (GUID) of the API specification |
| `environmentId` | string | No | Optional environment ID (GUID) to filter by |
| `take` | integer | No (default `50`) | How many entries to return, newest first (default 50) |
---
## Region Selection
Source: https://docs.routebase.dev/region-selection/
When you create a Routebase workspace, you choose where its data lives, either the **European Union** or the **United States**. The choice is permanent, so it's worth a moment's thought.
> **In short.** Pick **EU** if you're a European company, work with European customers, or have any GDPR exposure. Pick **US** if your team and most of your traffic are in North America.
## What a region is
Routebase runs as physically isolated deployments. Each region has its own database, object storage, monitoring, and background-job processing. **Nothing is shared between regions**, so everything you create stays in the region you chose, including projects, specifications, test data and uploaded files.
| Region | Hosting location |
| --- | --- |
| **European Union** | Frankfurt, Germany |
| **United States** | US West Coast |
A region can span more than one data centre in that location, and which one a given service sits in is an operational detail we may change. What does not change is the country.
You choose the region twice on your way in. The first time is on the **Set up your workspace** page, before you create your account. The second is the **Hosting Region** field in the [onboarding wizard](https://docs.routebase.dev/onboarding/), right before your organization is provisioned. It's then recorded permanently against that organization.
## Switching projects
The **project switcher** sits in the header whenever you work inside a project. Click the project name, or press **Ctrl+P** or **Cmd+P**, to open it:
- **Search** projects by name or slug.
- **Favorites** holds the projects you star to pin them to the top.
- **Recently used** keeps your last five projects.
- **All Projects** lists everything else.
- **New Project** jumps straight to project creation.
Switching keeps you on the current page where it makes sense. If you switch projects while in the API Designer, the test runner or the mock server, you stay in that tool with the new project's data.
## Members and access
Project access is governed by your organization's roles and, optionally, team assignments:
- **Members** can view projects (**projects:read**) and work on specs and tests, but cannot create, edit, or delete projects.
- **Admins and Owners** can create and edit projects (**projects:write**) and delete them (**projects:delete**).
- With **Team Access** (Starter and above), teams can be assigned to specific projects with a Read or Write role, restricting what non-admin members can touch. See [Team Access](https://docs.routebase.dev/team-access/).
## Plan limits
Project and spec counts are gated by your plan:
| Plan | Projects | Specs per project |
| --- | --- | --- |
| Free | 2 | 3 |
| Starter | 10 | 10 |
| Pro / Enterprise | Unlimited | Unlimited |
When you approach a limit, an upgrade nudge appears above the project list. At the limit, creating a project opens an upgrade dialog instead. Projects that exceed your plan's limit, for example after a trial ends, become **read-only** and are marked with a lock icon until you upgrade. See [Billing](https://docs.routebase.dev/billing/).
## Related
- [Environments](https://docs.routebase.dev/environments/) — development, staging, production and more per project
- [Variables](https://docs.routebase.dev/variables/) — configuration values across org, project, and personal scopes
- [Project Auth](https://docs.routebase.dev/project-auth/) — authentication configuration per environment
- [Team Access](https://docs.routebase.dev/team-access/) — restrict projects to specific teams
- [Billing](https://docs.routebase.dev/billing/) — plans and limits
---
## Projects & Environments — MCP Tools
Source: https://docs.routebase.dev/projects-environments-mcp-tools/
The tools below belong to the **Projects & Environments** group of the Routebase MCP server.
## create_environment
Create a new environment in a project. Type must be one of: development, test, staging, production, custom. Requires organization context (call set_context first).
**Required scope:** `projects:write`
| Parameter | Type | Required | Description |
| --- | --- | --- | --- |
| `name` | string | Yes | Display name for the environment |
| `type` | string | Yes | Environment type: development, test, staging, production, or custom |
| `baseUrl` | string | No | Optional base URL for the environment |
| `projectId` | string | No | Public ID (GUID) of the project. If omitted, uses the active project context. |
## create_project
Create a new project in the active organization. Without environmentsJson the backend creates its standard set of environments. Requires organization context (call set_context first). The new project does NOT become the active context — call set_context with the returned id.
**Required scope:** `projects:write`
| Parameter | Type | Required | Description |
| --- | --- | --- | --- |
| `name` | string | Yes | Display name for the project |
| `description` | string | No | Optional project description |
| `environmentsJson` | string | No | Optional JSON array of environments to create instead of the defaults. Each item: { "type": "development"\|"test"\|"staging"\|"production"\|"custom", "name"?: string, "baseUrl"?: string }. Name is required for type 'custom'. |
| `includeMockServer` | boolean | No (default `false`) | Create a mock server for the project right away. Default false. |
| `sampleDataSet` | string | No (default `"none"`) | Sample test data to seed: 'none' (default), 'hello_world' (3 fixtures + a /health seed) or 'pet_store' (5 fixtures + 2 seeds, the full demo). |
## delete_environment
Delete an environment and ALL of its variables. This is destructive and cannot be undone. Requires organization context (call set_context first).
**Required scope:** `projects:delete`
| Parameter | Type | Required | Description |
| --- | --- | --- | --- |
| `environmentId` | string | Yes | Public ID (GUID) of the environment to delete |
| `projectId` | string | No | Public ID (GUID) of the project. If omitted, uses the active project context. |
## delete_project
Delete a project with everything in it — specs, tests, mocks, documentation and environments. This is destructive and cannot be undone. Use this to remove the whole project; for a single environment use delete_environment. Requires organization context.
**Required scope:** `projects:delete`
| Parameter | Type | Required | Description |
| --- | --- | --- | --- |
| `projectId` | string | No | Public ID (GUID) of the project to delete. If omitted, uses the active project context. |
## get_environment_variables
Get resolved variables for a specific environment. Secret values are always masked for security. Use this to read resolved values; to change them use set_environment_variables. Requires organization context.
**Required scope:** `projects:read`
| Parameter | Type | Required | Description |
| --- | --- | --- | --- |
| `environmentId` | string | Yes | Public ID (GUID) of the environment |
| `projectId` | string | No | Public ID (GUID) of the project. If omitted, uses the active project context. |
## get_project
Get detailed information about a project, including its environments. Use this when you already have the project id; to browse the organization's projects use list_projects. Requires organization context (call set_context first). If no projectId is given, uses the active project context.
**Required scope:** `projects:read`
| Parameter | Type | Required | Description |
| --- | --- | --- | --- |
| `projectId` | string | No | Public ID (GUID) of the project. If omitted, uses the active project context. |
## get_project_settings
Get a project's settings: default environment, which modules are enabled, default response format and request timeout. Use this to read the settings; to change them use update_project_settings. Requires organization context.
**Required scope:** `projects:write`
| Parameter | Type | Required | Description |
| --- | --- | --- | --- |
| `projectId` | string | No | Public ID (GUID) of the project. If omitted, uses the active project context. |
## list_environments
List all environments of a project with variable counts. Use this to browse a project's environments; for the variables of one use get_environment_variables. Requires organization context. If no projectId is given, uses the active project context.
**Required scope:** `projects:read`
| Parameter | Type | Required | Description |
| --- | --- | --- | --- |
| `projectId` | string | No | Public ID (GUID) of the project. If omitted, uses the active project context. |
## set_environment_readonly
Protect an environment against writes, or lift that protection. While read-only, only GET/HEAD/OPTIONS requests reach the environment — used to keep production safe from test runs. Requires the org:manage-governance permission and organization context. Use this to protect or unprotect an environment; to change its name or URL use update_environment.
**Required scope:** `org:manage-governance`
| Parameter | Type | Required | Description |
| --- | --- | --- | --- |
| `environmentId` | string | Yes | Public ID (GUID) of the environment |
| `isReadOnly` | boolean | Yes | true to protect the environment, false to lift the protection |
| `projectId` | string | No | Public ID (GUID) of the project. If omitted, uses the active project context. |
## set_environment_variables
Set/update environment variables in batch. WARNING — FULL REPLACE: this replaces the ENTIRE variable set of the environment. Any variable whose key is NOT in the provided array will be DELETED. To add or change a single variable without losing the others, first call 'get_environment_variables', then send back the complete desired list. Secret values are encrypted server-side; secret values in the response are masked. Requires organization context (call set_context first).
**Required scope:** `projects:write`
| Parameter | Type | Required | Description |
| --- | --- | --- | --- |
| `environmentId` | string | Yes | Public ID (GUID) of the environment |
| `variablesJson` | string | Yes | JSON array of variables to set. Each item: { "key": string, "value": string, "isSecret"?: bool, "description"?: string }. This is the COMPLETE desired set — omitted keys are deleted. |
| `projectId` | string | No | Public ID (GUID) of the project. If omitted, uses the active project context. |
## update_environment
Update an environment's name, type, and base URL. Type (if provided) must be one of: development, test, staging, production, custom. Requires organization context (call set_context first).
**Required scope:** `projects:write`
| Parameter | Type | Required | Description |
| --- | --- | --- | --- |
| `environmentId` | string | Yes | Public ID (GUID) of the environment to update |
| `name` | string | Yes | New display name for the environment |
| `type` | string | No | New environment type: development, test, staging, production, or custom. If omitted, the type is unchanged. |
| `baseUrl` | string | No | New base URL for the environment |
| `projectId` | string | No | Public ID (GUID) of the project. If omitted, uses the active project context. |
## update_project
Rename a project and/or change its description. Omit a field to keep its current value; pass an empty string for description to clear it. Use this for name and description; for modules and defaults use update_project_settings. Requires organization context.
**Required scope:** `projects:write`
| Parameter | Type | Required | Description |
| --- | --- | --- | --- |
| `name` | string | No | New display name. If omitted, the current name is kept. |
| `description` | string | No | New description. Pass an empty string to clear it. If omitted, the current description is kept. |
| `projectId` | string | No | Public ID (GUID) of the project. If omitted, uses the active project context. |
## update_project_settings
Update a project's settings. Omit a field to keep its current value — the tool reads the current settings first. Pass clearDefaultEnvironment to unset the default environment. Use this for the settings; to rename the project use update_project. Requires organization context.
**Required scope:** `projects:write`
| Parameter | Type | Required | Description |
| --- | --- | --- | --- |
| `defaultEnvironmentId` | string | No | Public ID (GUID) of the environment to use as default. Get it from list_environments. |
| `clearDefaultEnvironment` | boolean | No (default `false`) | Set to true to remove the default environment. Ignored when defaultEnvironmentId is given. |
| `enableMockServer` | boolean | No | Enable or disable the mock server module for this project |
| `enableApiTesting` | boolean | No | Enable or disable the API testing module for this project |
| `enableAutoDocumentation` | boolean | No | Enable or disable automatic documentation for this project |
| `defaultResponseFormat` | string | No | Default response format: 'json' or 'xml' |
| `requestTimeoutSeconds` | integer | No | Request timeout in seconds |
| `projectId` | string | No | Public ID (GUID) of the project. If omitted, uses the active project context. |
---
## Promotions, Sync & Audit — MCP Tools
Source: https://docs.routebase.dev/promotions-sync-audit-mcp-tools/
The tools below belong to the **Promotions, Sync & Audit** group of the Routebase MCP server.
## get_audit_log
Read the API design audit log: who changed what, when, and whether it was a person or an API key. Filter by entityId for the history of one endpoint or schema — worth doing before changing something you did not write. Paginated; without filters it returns the whole organization's history newest first. Requires organization context.
**Required scope:** `specs:read`
| Parameter | Type | Required | Description |
| --- | --- | --- | --- |
| `specId` | string | No | Optional spec ID (GUID) to filter by |
| `entityId` | string | No | Optional entity ID (GUID) — the endpoint, schema or folder to trace |
| `entityType` | string | No | Optional entity type to filter by, e.g. 'endpoint', 'schema', 'folder' |
| `action` | string | No | Optional action to filter by, e.g. 'created', 'updated', 'deleted' |
| `actorUserId` | integer | No | Optional numeric user ID to filter by |
| `dateFrom` | string | No | Optional lower bound, ISO 8601 (e.g. '2026-07-01T00:00:00Z') |
| `dateTo` | string | No | Optional upper bound, ISO 8601 |
| `page` | integer | No (default `1`) | Page number, 1-based (default 1) |
| `pageSize` | integer | No (default `50`) | Entries per page (default 50, max 200) |
## list_artifact_sync_reviews
List what in this project has fallen out of sync with the specs behind it — mocks, tests and monitors whose endpoint changed or disappeared. Worth reading after changing a draft: these are the follow-ups that change created. Requires project context.
**Required scope:** `specs:read`
_No parameters._
## list_promotions
List how versions of a spec reached their environments: which version, which environment, whether it was a rollback and whether it froze the version. get_environment_pins shows the current state; this is how it got there. Requires project context.
**Required scope:** `specs:read`
| Parameter | Type | Required | Description |
| --- | --- | --- | --- |
| `specId` | string | Yes | Public ID (GUID) of the API specification |
| `environmentId` | string | No | Optional environment ID (GUID) to filter by |
| `take` | integer | No (default `50`) | How many entries to return, newest first (default 50) |
---
## Region Selection
Source: https://docs.routebase.dev/region-selection/
When you create a Routebase workspace, you choose where its data lives, either the **European Union** or the **United States**. The choice is permanent, so it's worth a moment's thought.
> **In short.** Pick **EU** if you're a European company, work with European customers, or have any GDPR exposure. Pick **US** if your team and most of your traffic are in North America.
## What a region is
Routebase runs as physically isolated deployments. Each region has its own database, object storage, monitoring, and background-job processing. **Nothing is shared between regions**, so everything you create stays in the region you chose, including projects, specifications, test data and uploaded files.
| Region | Hosting location |
| --- | --- |
| **European Union** | Frankfurt, Germany |
| **United States** | US West Coast |
A region can span more than one data centre in that location, and which one a given service sits in is an operational detail we may change. What does not change is the country.
You choose the region twice on your way in. The first time is on the **Set up your workspace** page, before you create your account. The second is the **Hosting Region** field in the [onboarding wizard](https://docs.routebase.dev/onboarding/), right before your organization is provisioned. It's then recorded permanently against that organization.

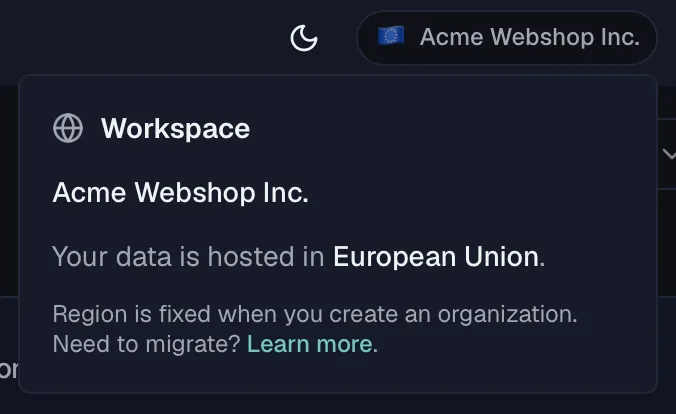 ## Trade-offs
### Compliance & data residency
| Concern | US region | EU region |
| --- | --- | --- |
| **GDPR** | Standard contractual clauses (SCCs) apply; data leaves the EU | Data stays in the EU; SCCs not required for EU customers |
| **CLOUD Act** | US-hosted data can be requested under US law | Data is held on EU infrastructure, outside US jurisdiction |
| **Schrems II** | Requires additional safeguards for EU personal data | Not applicable — no transfer to a third country |
| **EU data residency** | Cannot satisfy EU residency requirements | Satisfies EU residency requirements |
If your customers, contracts, or auditors require **EU data residency**, choose the EU region.
### Latency
Routebase is highly interactive, because the API designer, mock preview and test runner all round-trip to the server constantly. Pick the region closest to your team, since a cross-continent round-trip adds noticeable lag in editor-heavy flows.
### Cost
Both regions cost the same.
## Seeing your region in the app
The **workspace badge** in the header shows your organization's name next to a region flag. Click it to see where your data is hosted. The popover reads "Your data is hosted in **European Union**" (or **United States**), and it reminds you that the region is fixed when you create an organization.
The flag always reflects where your organization's data actually lives, not which server happened to answer the request. Those can differ, because a European workspace reached through the US entry point still shows the EU on its badge.
## What you can and can't change
- ✅ Organization name, billing, members, projects, specs — all editable as normal.
- ✅ Your login identity — the same email works across everything.
- ❌ The region of an existing organization. Changing it is a manual migration, not a setting.
## Need to migrate?
Email **support@routebase.dev** with your organization name and the target region. Migrations are scheduled individually, usually take a few business days, and require a maintenance window during which the organization is read-only.
## Frequently asked
**Can a single account belong to organizations in both regions?**
An organization lives in exactly one region. Your login identity binds to one region's user record on first sign-in.
**Does the region affect how I reach the app?**
No. You always sign in at `app.routebase.dev`, and Routebase routes you to the region your organization lives in. There is no per-region address to remember.
**Will you add more regions later?**
Possibly. Additional regions are on the long-term roadmap. We'll add one only when there's enough demand to keep both our latency and our compliance promises.
## Related
- [Onboarding](https://docs.routebase.dev/onboarding/) — where the region choice happens
- [Getting Started](https://docs.routebase.dev/getting-started/) — from sign-up to your first spec
- [Organization](https://docs.routebase.dev/organization/) — organization settings
---
## Release Notes
Source: https://docs.routebase.dev/release-notes/
Product updates and new capabilities are announced here — newest first.
## 1.9.0 — September 14, 2026
### Added
- **Specifications can be authored, imported and exported as OpenAPI 3.2.** The designer now reads and writes 3.0, 3.1 and 3.2, and a new specification starts as 3.2 unless you pick another version. An imported file keeps the version it declares, and the import preview lists everything it found before anything is created. The 3.2 constructs travel all the way through. Reusable media types under `components.mediaTypes`, the document `$self` URI, `discriminator.defaultMapping`, `xml.nodeType` and examples in both data and wire form are imported, edited in the designer, exported and rendered in the documentation portal.
- **The HTTP method QUERY can be designed, tested, mocked and monitored.** QUERY is a safe read whose parameters travel in the request body, and OpenAPI 3.2 gives it a field of its own. The designer offers it on 3.2 specifications, and the test runner, the mock server, monitors and the security scanner send it. The documentation portal renders it with its own badge and code samples in every language.
- **Streaming responses carry an item schema.** JSON Lines, JSON text sequences, server-sent events and multipart bodies describe the shape of one item with `itemSchema`, and Routebase imports, edits and exports it alongside the body schema. The mock server streams such a body as a sequence of items, with a delay per item you choose, and the test runner validates every item on its own.
- **The test runner obtains tokens through the OAuth device authorization flow.** Security schemes carry the 3.2 fields `deprecated` and `oauth2MetadataUrl` together with the device flow, and the OAuth 2.0 configuration of a suite or test case gains the grant type `deviceCode`. Get New Token shows the user code and the verification link, polls the token endpoint at the interval the provider names, and a token obtained this way refreshes like any other.
- **Parameters carry style and explode, and a 3.2 specification can describe the whole query string as one parameter.** All eight OpenAPI styles are available for path, query, header and cookie parameters, only a value that differs from the default is stored and exported, and `in: querystring` describes the complete query string through a media type. The designer edits them in the Advanced popover, Try It sends a query string exactly as written, and the documentation portal shows the settings on the lines that carry them.
- **The designer has a tag manager, and tags form a hierarchy.** A new Tags row in the sidebar opens a list where you order tags, edit their summary, choose a parent and assign a kind, as OpenAPI 3.2 describes them. A published portal without designer folders nests its navigation from that hierarchy, with stable anchors and slugs.
- **Review mode has an Only changes switch.** It reduces endpoints and schemas to what changed since the baseline, hides folders without a change and expands the rest, so a large specification shows its changes without scrolling. The bar above counts endpoints and schemas separately, and the folder badges tell new endpoints from changed ones.
- **The suite overview shows the contract coverage of a test suite.** The card names how many test cases are linked to a specification endpoint, how many endpoints that covers and how many links show schema drift since they were made. It appears as soon as a suite has its first link.
- **A running security scan shows its progress.** The live view names the scanner at work and counts finished scanners and checks while the run is going, in the product and through `list_scan_runs`. A cancelled run reports how far it got.
- **The style guide checks whether a create endpoint accepts an idempotency key.** The rule `should-have-idempotency-key` reports a POST that declares a 201 response without an idempotency header, with Info severity by default and the usual overrides per organization and project. Accepted are `Idempotency-Key`, `X-Idempotency-Key` and `Idempotency-Token`.
- **Routebase has a public API reference, built with Routebase.** The new API Reference section on docs.routebase.dev documents the endpoints the CLI and SCIM use, rendered by the same portal you publish with. Everything else under `/api/` is internal and documented as such.
- **Ten long-form guides are live on routebase.dev.** They cover API testing, authentication, versioning, documentation, OpenAPI, monitoring, the decisions before a specification, mock servers, governance and security, each chapter under its own URL. The guides show how each method looks in Routebase and link the matching product guide.
### Improved
- **MCP tool descriptions say when to use a tool and name its neighbour.** Each description that had a close alternative gained a sentence naming it, and single-item and list tools point at each other. No tool was renamed and no signature changed.
- **`list_schemas` returns the row version that `update_schema` needs.** An agent updating many schemas no longer fetches each one first.
- **A vulnerability report to routebase.dev can be encrypted, and the domain's DNS answers are signed.** The `security.txt` names an OpenPGP key for reports, DNSSEC covers every answer for routebase.dev, and mail to the domain is protected by DMARC at its strictest level.
- **The website is fully operable with keyboard and screen reader, and every text meets the highest contrast level.** Focus rings are visible on every button, tables and code blocks scroll by keyboard, and a Pause animation switch stops moving backgrounds.
## 1.8.0 — September 4, 2026
### Added
- **Routebase is on the Microsoft Marketplace.** Buy Routebase through Azure and pay for it on your existing Microsoft bill, with the seat count and the plan coming straight from the purchase. The activation page shows what you bought before anything is created, and **you choose where your workspace lives** — European Union or United States — the same choice every other sign-up gets, because a workspace's region is fixed once it exists. Starter and Pro include **14 free days**, and the plan card names the trial and its end date, so a subscription that turns into a paid one by doing nothing is visible in the product rather than only in the purchase mail. During the trial the full limits of the purchased plan apply.
- **Sign in with Microsoft.** Alongside email and password, the sign-in page offers **Continue with Microsoft** — work, school and personal Microsoft accounts through one entry point. If you already have an account under the same address, signing in this way attaches to it rather than creating a second one.
- **Routebase runs as a GitHub Action.** `routebase-dev/routebase-action` runs a test suite, starts a security scan, or records after a deploy which version an environment actually serves — three lines in a workflow file, with nothing to install first. **Two results land where GitHub shows them itself:** test runs as a JUnit report in the pull request summary, security findings as SARIF in the Security tab. The CLI version the action uses is pinned rather than floating, so an action that evolves cannot quietly change your pipeline.
- **The desktop app ships as an MSIX package.** For Windows fleets rolled out through Microsoft Intune, Routebase now comes as an MSIX for **x64 and ARM64** alongside the `.exe` and `.msi` installers. MSIX is the native format for managed deployment: Intune treats it as a line-of-business app, with no silent-install switches to work out. Both packages are signed through Microsoft Trusted Signing, so **no certificate has to be pushed to your devices first**. See [Desktop App](https://docs.routebase.dev/desktop-app/) for the deployment steps.
- **A new endpoint is testable against the mock server the moment you create it.** Until now the mock answered a freshly designed endpoint with `404 No matching rule found` until someone ran *Generate from Spec* by hand. A rule is now created with the endpoint, using the same logic — including a schema-based dynamic template when the endpoint already carries a response. **Add a response schema later and the mock serves the body without a further step.** Hand-written rules are untouched: the automatic rule attaches at the lowest priority, and an existing rule on the same path keeps winning.
- **The API Designer opens on an overview of the specification.** Opening a spec without a selected endpoint used to show one sentence on the widest surface of the app. That space now carries the shape of the specification: how many endpoints, schemas and other components it holds, how the endpoints spread across HTTP methods, what changed most recently — each of it clickable — and where it stands on summaries, validation errors and warnings. At the top sits the place you last worked, one click away, and it survives a reload. The overview appears whenever orientation helps most: a freshly opened spec, a deleted endpoint, a version or branch switch, or Escape. **The way back is the heading** — *API Designer* above the tree, and *Mock Server* likewise, which returns to its dashboard.
### Improved
- **SSO setup shows the Entity ID and the ACS URL before the connection exists.** Both values used to appear only on the test step — after the connection had been created — so administrators configured their identity provider with placeholders, came back, and then went in a second time to enter the real values. That second pass is where typos come from. The metadata step now shows both with copy buttons, computed the same way the connection itself computes them.
- **The light appearance takes its colours from the theme.** Charts, status bars and surfaces used to draw from a stock palette that sat beside the rest of the product rather than in it, and the layers were stacked the wrong way round — a raised card could read as lower than the surface behind it. Both are corrected, and the status bars have stopped shouting.
- **Run history is back in the right panel of the test runner**, and the run rows hold up at any panel width.
- **The settings navigation is sorted**, most noticeably where no order was recognisable before, and the governance settings now mark their place in it.
### Changed
- **An API key without the necessary permission reports an authentication error everywhere in the CLI.** `run` and `list` used to answer a `403` with the exit code for a network problem, which sent CI users looking at their firewall instead of at a missing scope. All commands now map `403` to exit code **4**. Exit codes are part of the CLI contract, so this is a major version: **`Routebase.Cli` 2.0.0**. Pipelines that branch on exit codes from `run` or `list` should be checked once.
## 1.7.1 — August 24, 2026
### Added
- **An agent can put images into your documentation.** Writing a documentation page over MCP covered the words but not a single screenshot: every image had to be uploaded by hand in the editor and its address carried back. Five new tools close that — `upload_doc_image` for content images, and `upload_branding_asset`, `delete_branding_asset`, `upload_custom_font` and `delete_custom_font` for a portal's logo, favicon, social image, backgrounds and typefaces. The limits are the editor's own (5 MB per image, 2 MB per font, WOFF2) and the conversion to WebP still happens on our side. The file travels **base64-encoded in the call** rather than as a path, because the MCP server runs in the Routebase cloud and not on the machine your agent works from. The address that comes back is **root-relative** and belongs in the page exactly as given — an absolute blob address stops loading once a portal moves to your own domain.
- **Documentation images can be listed and removed.** `list_doc_images` names every content image of a documentation with its address, size, dimensions and whether a page still points at it; `delete_doc_image` removes one. **An image a page or snippet still uses is refused rather than deleted**, and that check covers every version of the documentation, not just the newest — a published older version keeps the images its pages were written with. Both are available over REST as well.
- **Guides in a repository carry their images.** `sync-guides` transfers Markdown and images together: write a repo-relative reference such as ` apply; data leaves the EU | Data stays in the EU; SCCs not required for EU customers |
| **CLOUD Act** | US-hosted data can be requested under US law | Data is held on EU infrastructure, outside US jurisdiction |
| **Schrems II** | Requires additional safeguards for EU personal data | Not applicable — no transfer to a third country |
| **EU data residency** | Cannot satisfy EU residency requirements | Satisfies EU residency requirements |
If your customers, contracts, or auditors require **EU data residency**, choose the EU region.
### Latency
Routebase is highly interactive, because the API designer, mock preview and test runner all round-trip to the server constantly. Pick the region closest to your team, since a cross-continent round-trip adds noticeable lag in editor-heavy flows.
### Cost
Both regions cost the same.
## Seeing your region in the app
The **workspace badge** in the header shows your organization's name next to a region flag. Click it to see where your data is hosted. The popover reads "Your data is hosted in **European Union**" (or **United States**), and it reminds you that the region is fixed when you create an organization.
The flag always reflects where your organization's data actually lives, not which server happened to answer the request. Those can differ, because a European workspace reached through the US entry point still shows the EU on its badge.
## What you can and can't change
- ✅ Organization name, billing, members, projects, specs — all editable as normal.
- ✅ Your login identity — the same email works across everything.
- ❌ The region of an existing organization. Changing it is a manual migration, not a setting.
## Need to migrate?
Email **support@routebase.dev** with your organization name and the target region. Migrations are scheduled individually, usually take a few business days, and require a maintenance window during which the organization is read-only.
## Frequently asked
**Can a single account belong to organizations in both regions?**
An organization lives in exactly one region. Your login identity binds to one region's user record on first sign-in.
**Does the region affect how I reach the app?**
No. You always sign in at `app.routebase.dev`, and Routebase routes you to the region your organization lives in. There is no per-region address to remember.
**Will you add more regions later?**
Possibly. Additional regions are on the long-term roadmap. We'll add one only when there's enough demand to keep both our latency and our compliance promises.
## Related
- [Onboarding](https://docs.routebase.dev/onboarding/) — where the region choice happens
- [Getting Started](https://docs.routebase.dev/getting-started/) — from sign-up to your first spec
- [Organization](https://docs.routebase.dev/organization/) — organization settings
---
## Release Notes
Source: https://docs.routebase.dev/release-notes/
Product updates and new capabilities are announced here — newest first.
## 1.9.0 — September 14, 2026
### Added
- **Specifications can be authored, imported and exported as OpenAPI 3.2.** The designer now reads and writes 3.0, 3.1 and 3.2, and a new specification starts as 3.2 unless you pick another version. An imported file keeps the version it declares, and the import preview lists everything it found before anything is created. The 3.2 constructs travel all the way through. Reusable media types under `components.mediaTypes`, the document `$self` URI, `discriminator.defaultMapping`, `xml.nodeType` and examples in both data and wire form are imported, edited in the designer, exported and rendered in the documentation portal.
- **The HTTP method QUERY can be designed, tested, mocked and monitored.** QUERY is a safe read whose parameters travel in the request body, and OpenAPI 3.2 gives it a field of its own. The designer offers it on 3.2 specifications, and the test runner, the mock server, monitors and the security scanner send it. The documentation portal renders it with its own badge and code samples in every language.
- **Streaming responses carry an item schema.** JSON Lines, JSON text sequences, server-sent events and multipart bodies describe the shape of one item with `itemSchema`, and Routebase imports, edits and exports it alongside the body schema. The mock server streams such a body as a sequence of items, with a delay per item you choose, and the test runner validates every item on its own.
- **The test runner obtains tokens through the OAuth device authorization flow.** Security schemes carry the 3.2 fields `deprecated` and `oauth2MetadataUrl` together with the device flow, and the OAuth 2.0 configuration of a suite or test case gains the grant type `deviceCode`. Get New Token shows the user code and the verification link, polls the token endpoint at the interval the provider names, and a token obtained this way refreshes like any other.
- **Parameters carry style and explode, and a 3.2 specification can describe the whole query string as one parameter.** All eight OpenAPI styles are available for path, query, header and cookie parameters, only a value that differs from the default is stored and exported, and `in: querystring` describes the complete query string through a media type. The designer edits them in the Advanced popover, Try It sends a query string exactly as written, and the documentation portal shows the settings on the lines that carry them.
- **The designer has a tag manager, and tags form a hierarchy.** A new Tags row in the sidebar opens a list where you order tags, edit their summary, choose a parent and assign a kind, as OpenAPI 3.2 describes them. A published portal without designer folders nests its navigation from that hierarchy, with stable anchors and slugs.
- **Review mode has an Only changes switch.** It reduces endpoints and schemas to what changed since the baseline, hides folders without a change and expands the rest, so a large specification shows its changes without scrolling. The bar above counts endpoints and schemas separately, and the folder badges tell new endpoints from changed ones.
- **The suite overview shows the contract coverage of a test suite.** The card names how many test cases are linked to a specification endpoint, how many endpoints that covers and how many links show schema drift since they were made. It appears as soon as a suite has its first link.
- **A running security scan shows its progress.** The live view names the scanner at work and counts finished scanners and checks while the run is going, in the product and through `list_scan_runs`. A cancelled run reports how far it got.
- **The style guide checks whether a create endpoint accepts an idempotency key.** The rule `should-have-idempotency-key` reports a POST that declares a 201 response without an idempotency header, with Info severity by default and the usual overrides per organization and project. Accepted are `Idempotency-Key`, `X-Idempotency-Key` and `Idempotency-Token`.
- **Routebase has a public API reference, built with Routebase.** The new API Reference section on docs.routebase.dev documents the endpoints the CLI and SCIM use, rendered by the same portal you publish with. Everything else under `/api/` is internal and documented as such.
- **Ten long-form guides are live on routebase.dev.** They cover API testing, authentication, versioning, documentation, OpenAPI, monitoring, the decisions before a specification, mock servers, governance and security, each chapter under its own URL. The guides show how each method looks in Routebase and link the matching product guide.
### Improved
- **MCP tool descriptions say when to use a tool and name its neighbour.** Each description that had a close alternative gained a sentence naming it, and single-item and list tools point at each other. No tool was renamed and no signature changed.
- **`list_schemas` returns the row version that `update_schema` needs.** An agent updating many schemas no longer fetches each one first.
- **A vulnerability report to routebase.dev can be encrypted, and the domain's DNS answers are signed.** The `security.txt` names an OpenPGP key for reports, DNSSEC covers every answer for routebase.dev, and mail to the domain is protected by DMARC at its strictest level.
- **The website is fully operable with keyboard and screen reader, and every text meets the highest contrast level.** Focus rings are visible on every button, tables and code blocks scroll by keyboard, and a Pause animation switch stops moving backgrounds.
## 1.8.0 — September 4, 2026
### Added
- **Routebase is on the Microsoft Marketplace.** Buy Routebase through Azure and pay for it on your existing Microsoft bill, with the seat count and the plan coming straight from the purchase. The activation page shows what you bought before anything is created, and **you choose where your workspace lives** — European Union or United States — the same choice every other sign-up gets, because a workspace's region is fixed once it exists. Starter and Pro include **14 free days**, and the plan card names the trial and its end date, so a subscription that turns into a paid one by doing nothing is visible in the product rather than only in the purchase mail. During the trial the full limits of the purchased plan apply.
- **Sign in with Microsoft.** Alongside email and password, the sign-in page offers **Continue with Microsoft** — work, school and personal Microsoft accounts through one entry point. If you already have an account under the same address, signing in this way attaches to it rather than creating a second one.
- **Routebase runs as a GitHub Action.** `routebase-dev/routebase-action` runs a test suite, starts a security scan, or records after a deploy which version an environment actually serves — three lines in a workflow file, with nothing to install first. **Two results land where GitHub shows them itself:** test runs as a JUnit report in the pull request summary, security findings as SARIF in the Security tab. The CLI version the action uses is pinned rather than floating, so an action that evolves cannot quietly change your pipeline.
- **The desktop app ships as an MSIX package.** For Windows fleets rolled out through Microsoft Intune, Routebase now comes as an MSIX for **x64 and ARM64** alongside the `.exe` and `.msi` installers. MSIX is the native format for managed deployment: Intune treats it as a line-of-business app, with no silent-install switches to work out. Both packages are signed through Microsoft Trusted Signing, so **no certificate has to be pushed to your devices first**. See [Desktop App](https://docs.routebase.dev/desktop-app/) for the deployment steps.
- **A new endpoint is testable against the mock server the moment you create it.** Until now the mock answered a freshly designed endpoint with `404 No matching rule found` until someone ran *Generate from Spec* by hand. A rule is now created with the endpoint, using the same logic — including a schema-based dynamic template when the endpoint already carries a response. **Add a response schema later and the mock serves the body without a further step.** Hand-written rules are untouched: the automatic rule attaches at the lowest priority, and an existing rule on the same path keeps winning.
- **The API Designer opens on an overview of the specification.** Opening a spec without a selected endpoint used to show one sentence on the widest surface of the app. That space now carries the shape of the specification: how many endpoints, schemas and other components it holds, how the endpoints spread across HTTP methods, what changed most recently — each of it clickable — and where it stands on summaries, validation errors and warnings. At the top sits the place you last worked, one click away, and it survives a reload. The overview appears whenever orientation helps most: a freshly opened spec, a deleted endpoint, a version or branch switch, or Escape. **The way back is the heading** — *API Designer* above the tree, and *Mock Server* likewise, which returns to its dashboard.
### Improved
- **SSO setup shows the Entity ID and the ACS URL before the connection exists.** Both values used to appear only on the test step — after the connection had been created — so administrators configured their identity provider with placeholders, came back, and then went in a second time to enter the real values. That second pass is where typos come from. The metadata step now shows both with copy buttons, computed the same way the connection itself computes them.
- **The light appearance takes its colours from the theme.** Charts, status bars and surfaces used to draw from a stock palette that sat beside the rest of the product rather than in it, and the layers were stacked the wrong way round — a raised card could read as lower than the surface behind it. Both are corrected, and the status bars have stopped shouting.
- **Run history is back in the right panel of the test runner**, and the run rows hold up at any panel width.
- **The settings navigation is sorted**, most noticeably where no order was recognisable before, and the governance settings now mark their place in it.
### Changed
- **An API key without the necessary permission reports an authentication error everywhere in the CLI.** `run` and `list` used to answer a `403` with the exit code for a network problem, which sent CI users looking at their firewall instead of at a missing scope. All commands now map `403` to exit code **4**. Exit codes are part of the CLI contract, so this is a major version: **`Routebase.Cli` 2.0.0**. Pipelines that branch on exit codes from `run` or `list` should be checked once.
## 1.7.1 — August 24, 2026
### Added
- **An agent can put images into your documentation.** Writing a documentation page over MCP covered the words but not a single screenshot: every image had to be uploaded by hand in the editor and its address carried back. Five new tools close that — `upload_doc_image` for content images, and `upload_branding_asset`, `delete_branding_asset`, `upload_custom_font` and `delete_custom_font` for a portal's logo, favicon, social image, backgrounds and typefaces. The limits are the editor's own (5 MB per image, 2 MB per font, WOFF2) and the conversion to WebP still happens on our side. The file travels **base64-encoded in the call** rather than as a path, because the MCP server runs in the Routebase cloud and not on the machine your agent works from. The address that comes back is **root-relative** and belongs in the page exactly as given — an absolute blob address stops loading once a portal moves to your own domain.
- **Documentation images can be listed and removed.** `list_doc_images` names every content image of a documentation with its address, size, dimensions and whether a page still points at it; `delete_doc_image` removes one. **An image a page or snippet still uses is refused rather than deleted**, and that check covers every version of the documentation, not just the newest — a published older version keeps the images its pages were written with. Both are available over REST as well.
- **Guides in a repository carry their images.** `sync-guides` transfers Markdown and images together: write a repo-relative reference such as `
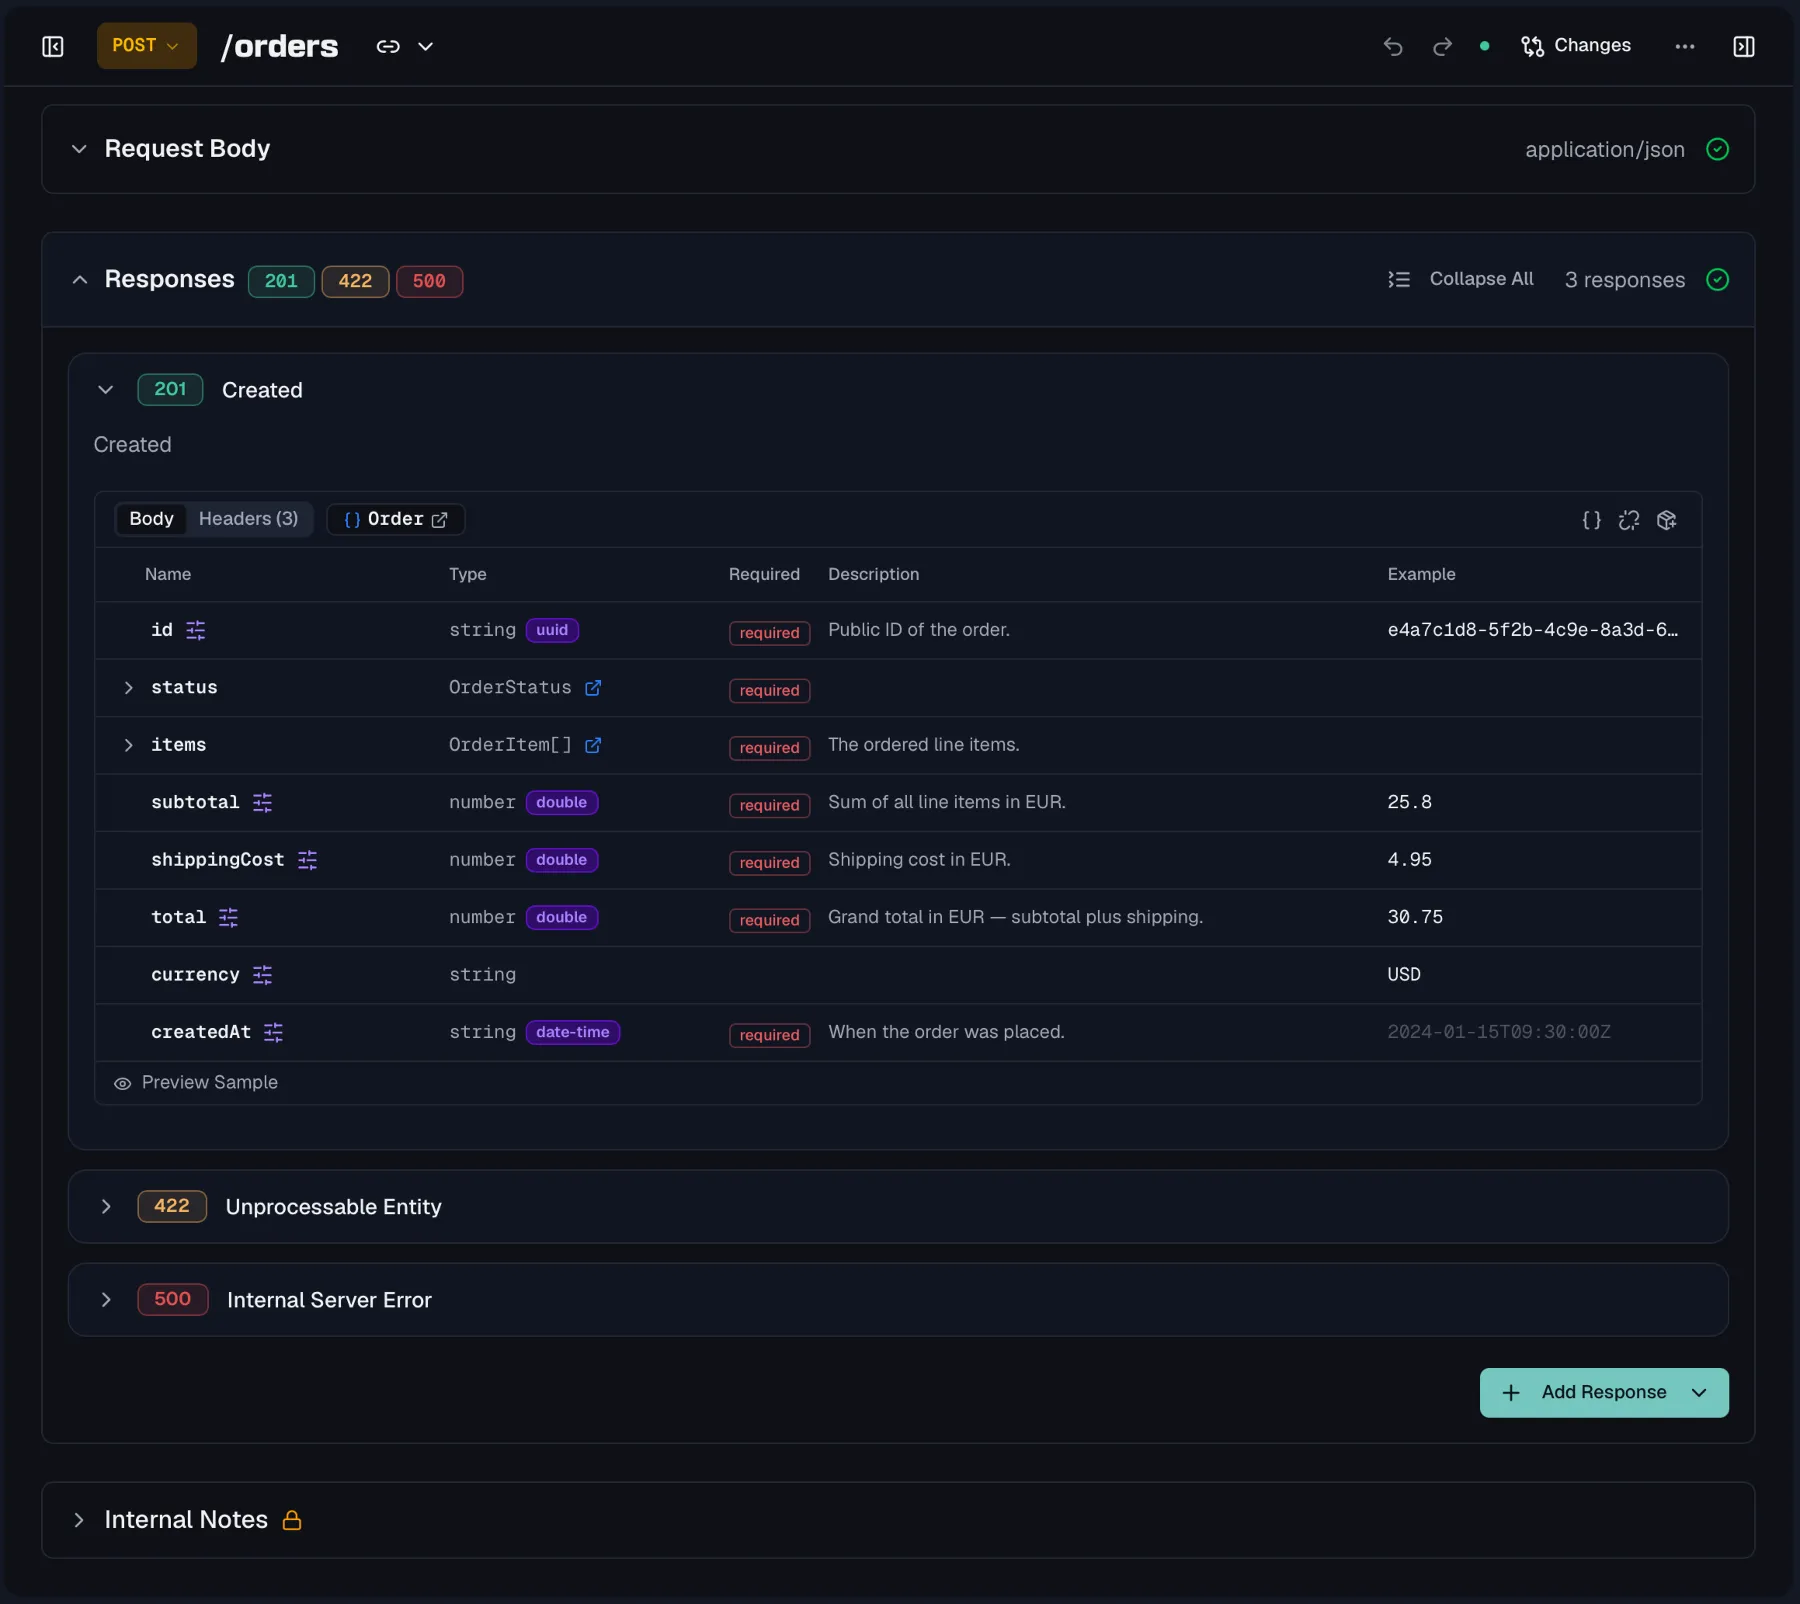 ### Streaming responses
A response that streams JSON Lines, a JSON text sequence or Server-Sent Events has no single body document. OpenAPI 3.2 describes such a body with an `itemSchema`, the schema of one item. Pick one of the sequential content types on a specification that uses OpenAPI 3.2 and the body table shows an **Item schema** badge, so the properties you define apply to each item. The published documentation lists those properties under an "Each item" caption and shows a two-item sample. Specifications on OpenAPI 3.0 or 3.1 keep sequential content types without a schema, because the field does not exist there.
## Adding responses quickly
Click **Add Response** to open the add menu. Besides picking individual codes from three template groups, the **Quick Add** entry scaffolds a whole set matched to the endpoint's method in one click. A `GET` endpoint gets `200, 401, 403, 404, 500` and a `POST` gets `201, 400, 401, 403, 409, 500`. Click the set to customize the selection before adding.
The template groups cover the common families:
- **Success Responses** holds `200`, `201` and `204`.
- **Client Errors** holds `400`, `401`, `403`, `404`, `409` and `422`.
- **Server Errors** holds `500`, `502` and `503`.
With two or more responses defined, use **Expand All** / **Collapse All** to manage the list.
## Response bodies
Define the body structure directly in the response card's property table, or reference a reusable definition:
- **Inline** bodies take properties with name, type, format and description right in the response, and they are fine for one-off shapes.
- **Link a schema** by dragging a schema from the sidebar onto the response card. The response then shows a schema badge, and changing the schema updates every endpoint that references it. See [Schemas](https://docs.routebase.dev/schemas/).
- **Link a response component** by dragging a reusable component such as a shared `NotFound` error response onto the responses area. It adds or replaces a response complete with its body, headers and example. See [Components](https://docs.routebase.dev/components/).
When an inline definition turns out to be reusable, extract it instead of copying it. **Extract to Component** turns the whole response into a reusable response component, and **Extract Schema to Component** turns just the inline body into a schema. In both cases the endpoint is re-linked to the new definition automatically.
### Streaming responses
A response that streams JSON Lines, a JSON text sequence or Server-Sent Events has no single body document. OpenAPI 3.2 describes such a body with an `itemSchema`, the schema of one item. Pick one of the sequential content types on a specification that uses OpenAPI 3.2 and the body table shows an **Item schema** badge, so the properties you define apply to each item. The published documentation lists those properties under an "Each item" caption and shows a two-item sample. Specifications on OpenAPI 3.0 or 3.1 keep sequential content types without a schema, because the field does not exist there.
## Adding responses quickly
Click **Add Response** to open the add menu. Besides picking individual codes from three template groups, the **Quick Add** entry scaffolds a whole set matched to the endpoint's method in one click. A `GET` endpoint gets `200, 401, 403, 404, 500` and a `POST` gets `201, 400, 401, 403, 409, 500`. Click the set to customize the selection before adding.
The template groups cover the common families:
- **Success Responses** holds `200`, `201` and `204`.
- **Client Errors** holds `400`, `401`, `403`, `404`, `409` and `422`.
- **Server Errors** holds `500`, `502` and `503`.
With two or more responses defined, use **Expand All** / **Collapse All** to manage the list.
## Response bodies
Define the body structure directly in the response card's property table, or reference a reusable definition:
- **Inline** bodies take properties with name, type, format and description right in the response, and they are fine for one-off shapes.
- **Link a schema** by dragging a schema from the sidebar onto the response card. The response then shows a schema badge, and changing the schema updates every endpoint that references it. See [Schemas](https://docs.routebase.dev/schemas/).
- **Link a response component** by dragging a reusable component such as a shared `NotFound` error response onto the responses area. It adds or replaces a response complete with its body, headers and example. See [Components](https://docs.routebase.dev/components/).
When an inline definition turns out to be reusable, extract it instead of copying it. **Extract to Component** turns the whole response into a reusable response component, and **Extract Schema to Component** turns just the inline body into a schema. In both cases the endpoint is re-linked to the new definition automatically.
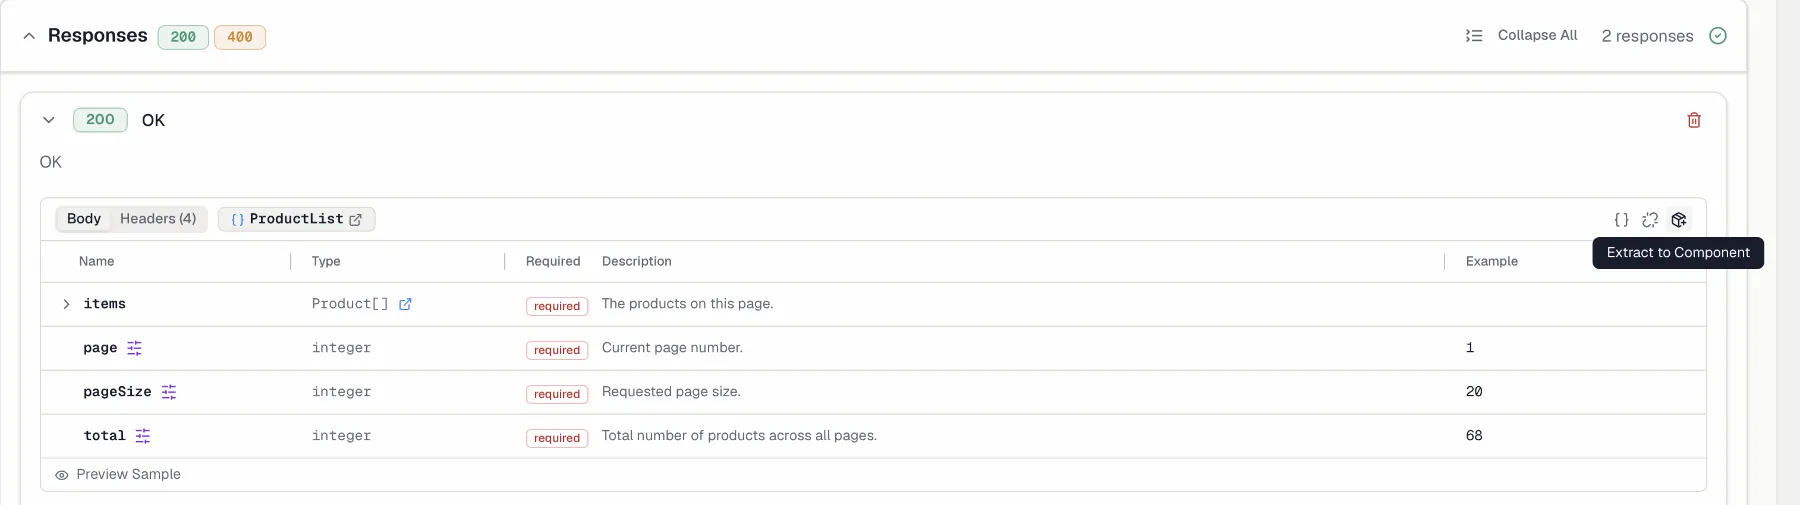
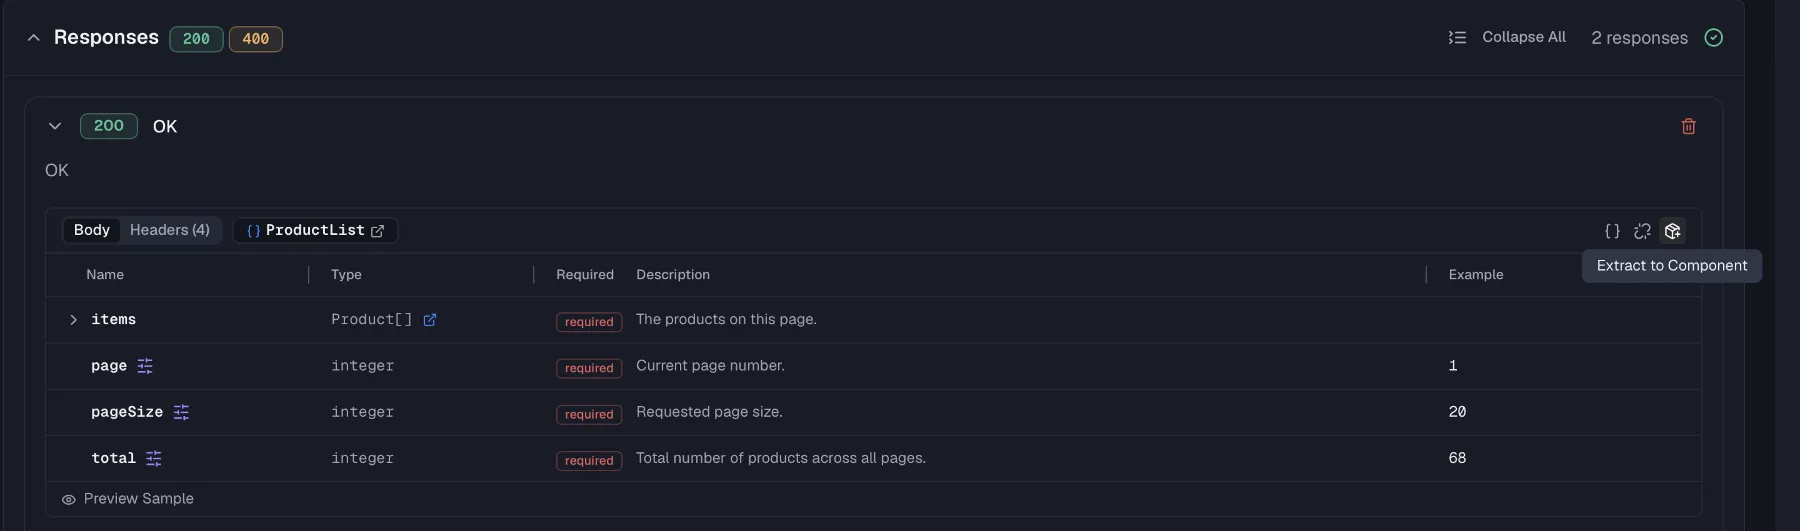 ## Response headers
Document the headers your endpoint returns in the response's **Headers** tab, such as `Location` on a `201` or rate-limit headers. Each header has a **Name**, a **Type** (`string`, `integer`, `number` or `boolean`), a **Required** flag and a **Description**. Click **Add Header** to add one inline. Headers can also be linked to reusable header components so their definition stays consistent across responses.
Responses can additionally inherit headers from [header policies](https://docs.routebase.dev/header-policies/) defined at the organization, project or spec level. Inherited headers are listed beneath your own, and you can group them by level or view them flat. Each one can be **overridden locally** or **excluded from this response**, and excluded headers can be restored later.
## Examples
Every structured response has an **Example** panel. Routebase generates a realistic sample payload from the body's properties automatically, so the example fills itself in when you open the panel. **Regenerate** rebuilds it after schema changes and **Copy** grabs it for tests or docs. You can also edit the example freely, and it is validated against the schema and used by your [mock server](https://docs.routebase.dev/mock-server/).
A response component or a request body component on an OpenAPI 3.2 specification also takes a **Serialized example** below the example, which is the payload in its wire form, such as an XML document or a form-encoded string. The export writes an Example Object with the example as `dataValue` and the serialized form as `serializedValue`, and the documentation portal shows the serialized form verbatim instead of a generated sample.
## Deleting a response
Click the delete icon on a response card. The confirmation dialog names the status code and warns that the action cannot be undone.
## Permissions
Editing responses requires **specs:write**, which is included in the Member role. On a published, locked version the responses section is read-only, so create a new version to make changes. See [Versioning](https://docs.routebase.dev/versioning/) for that flow.
## Related
- [Endpoints](https://docs.routebase.dev/endpoints/) — where responses are defined
- [Schemas](https://docs.routebase.dev/schemas/) — reusable body structures
- [Components](https://docs.routebase.dev/components/) — reusable response definitions
- [Header policies](https://docs.routebase.dev/header-policies/) — headers inherited across responses
- [Test suites](https://docs.routebase.dev/test-suites/) — validate that your live API matches these responses
---
## Reusable Components — MCP Tools
Source: https://docs.routebase.dev/reusable-components-mcp-tools/
The tools below belong to the **Reusable Components** group of the Routebase MCP server.
## get_media_type_component
Get one reusable media type component (OpenAPI 3.2) with its schema, itemSchema, example and rowVersion. Use this when you already have the component id; to browse them use list_media_type_components. Requires project context.
**Required scope:** `specs:read`
| Parameter | Type | Required | Description |
| --- | --- | --- | --- |
| `specId` | string | Yes | Public ID (GUID) of the API specification |
| `componentId` | string | Yes | Public ID (GUID) of the media type component |
## get_parameter_component
Get one reusable parameter component with its schema details and rowVersion. Set includeUsage to also list the endpoints referencing it — do that before deleting one. Use this when you already have the component id; to browse them or find an id use list_parameter_components. Requires project context.
**Required scope:** `specs:read`
| Parameter | Type | Required | Description |
| --- | --- | --- | --- |
| `specId` | string | Yes | Public ID (GUID) of the API specification |
| `componentId` | string | Yes | Public ID (GUID) of the parameter component |
| `includeUsage` | boolean | No (default `false`) | Also list what references this component (default false) |
## get_response_component
Get one reusable response component with its schema, headers and rowVersion. Set includeUsage to also list what references it. Use this when you already have the component id; to browse them or find an id use list_response_components. Requires project context.
**Required scope:** `specs:read`
| Parameter | Type | Required | Description |
| --- | --- | --- | --- |
| `specId` | string | Yes | Public ID (GUID) of the API specification |
| `componentId` | string | Yes | Public ID (GUID) of the response component |
| `includeUsage` | boolean | No (default `false`) | Also list what references this component (default false) |
## get_security_scheme_component
Get one security scheme with its type-specific settings and rowVersion. Set includeUsage to also list the endpoints requiring it. Use this when you already have the scheme id; to browse them or find an id use list_security_scheme_components. Requires project context.
**Required scope:** `specs:read`
| Parameter | Type | Required | Description |
| --- | --- | --- | --- |
| `specId` | string | Yes | Public ID (GUID) of the API specification |
| `componentId` | string | Yes | Public ID (GUID) of the security scheme component |
| `includeUsage` | boolean | No (default `false`) | Also list what references this scheme (default false) |
## list_media_type_components
List the reusable media type components (OpenAPI 3.2 components/mediaTypes) of a spec version. A media type component holds schema, itemSchema and example; a response, request body or component references it by id and keeps only its own content type. Use this to browse or find an id; to create, change or delete one use manage_media_type_component. Only 3.2 specs have them. Requires project context.
**Required scope:** `specs:read`
| Parameter | Type | Required | Description |
| --- | --- | --- | --- |
| `specId` | string | Yes | Public ID (GUID) of the API specification |
| `versionId` | string | No | Optional version ID (GUID) to filter by a specific version |
## list_parameter_components
List the reusable parameter components of a spec version. Set includeUsageCounts to see how often each one is referenced. Use this to browse or find an id; to create, change or delete one use manage_parameter_component. Requires project context.
**Required scope:** `specs:read`
| Parameter | Type | Required | Description |
| --- | --- | --- | --- |
| `specId` | string | Yes | Public ID (GUID) of the API specification |
| `versionId` | string | No | Optional version ID (GUID) to filter by a specific version |
| `includeUsageCounts` | boolean | No (default `false`) | Also return how often each component is referenced (default false) |
## list_response_components
List the reusable response components of a spec version. Set includeUsageCounts to see how often each one is referenced. Use this to browse or find an id; to create, change or delete one use manage_response_component. Requires project context.
**Required scope:** `specs:read`
| Parameter | Type | Required | Description |
| --- | --- | --- | --- |
| `specId` | string | Yes | Public ID (GUID) of the API specification |
| `versionId` | string | No | Optional version ID (GUID) to filter by a specific version |
| `includeUsageCounts` | boolean | No (default `false`) | Also return how often each component is referenced (default false) |
## list_security_scheme_components
List the security schemes a spec version defines (OpenAPI components/securitySchemes). Set includeUsageCounts to see how often each is referenced. Use this to browse or find an id; to create, change or delete one use manage_security_scheme_component. Requires project context.
**Required scope:** `specs:read`
| Parameter | Type | Required | Description |
| --- | --- | --- | --- |
| `specId` | string | Yes | Public ID (GUID) of the API specification |
| `versionId` | string | No | Optional version ID (GUID) to filter by a specific version |
| `includeUsageCounts` | boolean | No (default `false`) | Also return how often each scheme is referenced (default false) |
## manage_media_type_component
Create, update or delete a reusable media type component (OpenAPI 3.2 components/mediaTypes). Only accepted on 3.2 specs (MEDIA_TYPE_COMPONENT_REQUIRES_OPENAPI_3_2 otherwise). 'create' needs name; 'update' needs componentId and rowVersion and REPLACES the component — omitted fields are carried over, an empty string clears schemaJson/itemSchemaJson/example. 'delete' needs componentId; rows that reference it fall back to their inline content. To reference the component pass mediaTypeComponentId to add_response, update_response, set_request_body, manage_response_component or create/update_request_body_component. Requires project context.
**Required scope:** `specs:write`
| Parameter | Type | Required | Description |
| --- | --- | --- | --- |
| `specId` | string | Yes | Public ID (GUID) of the API specification |
| `versionId` | string | Yes | Public ID (GUID) of the spec version |
| `action` | string | Yes | What to do: 'create', 'update' or 'delete' |
| `componentId` | string | No | Public ID (GUID) of the component — required for 'update' and 'delete' |
| `rowVersion` | string | No | Base64-encoded row version — required for 'update' |
| `name` | string | No | Component name (e.g. 'CollectionLinks') — required for 'create' |
| `schemaJson` | string | No | Inline JSON schema of the complete body; on update omit to keep, empty string to clear |
| `itemSchemaJson` | string | No | Item schema of a sequential media type (JSON Lines, SSE); on update omit to keep, empty string to clear |
| `example` | string | No | Example value; on update omit to keep, empty string to clear |
| `serializedExample` | string | No | 3.2 only: example in wire form (serializedValue); omit keeps, empty string clears |
## manage_parameter_component
Create, update or delete a reusable parameter component (OpenAPI components/parameters). 'create' and 'update' need name, location and schemaType; 'update' additionally needs componentId and rowVersion and REPLACES the component — fields you omit are carried over from the current state, so you can change one field alone. 'delete' needs componentId; check get_parameter_component with includeUsage first. Requires project context.
**Required scope:** `specs:write`
| Parameter | Type | Required | Description |
| --- | --- | --- | --- |
| `specId` | string | Yes | Public ID (GUID) of the API specification |
| `versionId` | string | Yes | Public ID (GUID) of the spec version |
| `action` | string | Yes | What to do: 'create', 'update' or 'delete' |
| `componentId` | string | No | Public ID (GUID) of the component — required for 'update' and 'delete' |
| `rowVersion` | string | No | Base64-encoded row version — required for 'update' |
| `name` | string | No | Parameter name (e.g. 'pageSize') — required for 'create' |
| `location` | string | No | Where it goes: 'path', 'query', 'header', 'cookie' or 'querystring' (3.2 only) — required for 'create' |
| `schemaType` | string | No | Schema type: 'string', 'integer', 'number', 'boolean', 'array' or 'object' — required for 'create' |
| `required` | boolean | No (default `false`) | Whether the parameter is required (default false) |
| `description` | string | No | Optional description |
| `schemaFormat` | string | No | Optional schema format (e.g. 'date-time') |
| `example` | string | No | Optional example value |
| `defaultValue` | string | No | Optional default value |
| `isDeprecated` | boolean | No (default `false`) | Mark the parameter as deprecated (default false) |
| `style` | string | No | Serialization style per OpenAPI ('form', 'simple', 'deepObject', …; 'cookie' is 3.2 only). Omit for the default; '' clears on update. |
| `explode` | boolean | No | Explode flag; omit for the OpenAPI default |
| `contentType` | string | No | Media type of a querystring parameter (default 'application/x-www-form-urlencoded') |
| `serializedExample` | string | No | 3.2 only: example in wire form (serializedValue); omit keeps, empty string clears |
## manage_response_component
Create, update or delete a reusable response component (OpenAPI components/responses). 'create' needs name and contentType; 'update' needs componentId and rowVersion and REPLACES the component — omitted fields are carried over from the current state. 'delete' needs componentId; check get_response_component with includeUsage first. Requires project context.
**Required scope:** `specs:write`
| Parameter | Type | Required | Description |
| --- | --- | --- | --- |
| `specId` | string | Yes | Public ID (GUID) of the API specification |
| `versionId` | string | Yes | Public ID (GUID) of the spec version |
| `action` | string | Yes | What to do: 'create', 'update' or 'delete' |
| `componentId` | string | No | Public ID (GUID) of the component — required for 'update' and 'delete' |
| `rowVersion` | string | No | Base64-encoded row version — required for 'update' |
| `name` | string | No | Component name (e.g. 'NotFoundError') — required for 'create' |
| `contentType` | string | No | Content type (e.g. 'application/json') — required for 'create' |
| `description` | string | No | Optional description |
| `schemaJson` | string | No | Optional inline JSON schema for the body |
| `example` | string | No | Optional example value |
| `isDeprecated` | boolean | No (default `false`) | Mark the component as deprecated (default false) |
| `itemSchemaJson` | string | No | OpenAPI 3.2 only: item schema of a sequential media type; on update omit to keep, empty string to clear |
| `mediaTypeComponentId` | string | No | OpenAPI 3.2 only: id of a media type component whose schema/itemSchema/example the content entry references ($ref); on update omit to keep, empty string to detach |
| `serializedExample` | string | No | 3.2 only: example in wire form (serializedValue); omit keeps, empty string clears |
## manage_response_component_header
Manage the headers a reusable response component declares. Actions: 'add', 'update', 'delete'. 'add' and 'update' need name and schemaType; 'update' and 'delete' need responseHeaderId. For the headers of an endpoint's own response, use manage_response_header instead. Requires project context.
**Required scope:** `specs:write`
| Parameter | Type | Required | Description |
| --- | --- | --- | --- |
| `specId` | string | Yes | Public ID (GUID) of the API specification |
| `componentId` | string | Yes | Public ID (GUID) of the response component |
| `action` | string | Yes | What to do: 'add', 'update' or 'delete' |
| `responseHeaderId` | string | No | Public ID (GUID) of the header — required for 'update' and 'delete' |
| `name` | string | No | Header name (e.g. 'X-Rate-Limit') — required for 'add' and 'update' |
| `schemaType` | string | No | Schema type: 'string', 'integer', 'number', 'boolean', 'array' or 'object' — required for 'add' and 'update' |
| `required` | boolean | No (default `false`) | Whether the header is always present (default false) |
| `description` | string | No | Optional description |
| `schemaFormat` | string | No | Optional schema format |
| `example` | string | No | Optional example value |
| `serializedExample` | string | No | 3.2 only: example in wire form (serializedValue) |
## manage_security_scheme_component
Create, update or delete a security scheme (OpenAPI components/securitySchemes). 'create' and 'update' need name and type ('apiKey', 'http', 'oauth2' or 'openIdConnect'); which of the other fields matter depends on the type: 'http' uses scheme and bearerFormat, 'apiKey' uses apiKeyName and apiKeyLocation, 'openIdConnect' uses openIdConnectUrl, 'oauth2' uses flowsJson (keys implicit, password, clientCredentials, authorizationCode and, on OpenAPI 3.2 specs, deviceAuthorization). deprecated and oauth2MetadataUrl are OpenAPI 3.2 fields and rejected on 3.0/3.1 specs. 'update' needs componentId and REPLACES the scheme — omitted fields are carried over. Use add_security_scheme to attach one to an endpoint. Requires project context.
**Required scope:** `specs:write`
| Parameter | Type | Required | Description |
| --- | --- | --- | --- |
| `specId` | string | Yes | Public ID (GUID) of the API specification |
| `versionId` | string | Yes | Public ID (GUID) of the spec version |
| `action` | string | Yes | What to do: 'create', 'update' or 'delete' |
| `componentId` | string | No | Public ID (GUID) of the scheme — required for 'update' and 'delete' |
| `rowVersion` | string | No | Base64-encoded row version — required for 'update' |
| `name` | string | No | Scheme name as referenced in the spec (e.g. 'bearerAuth') — required for 'create' |
| `type` | string | No | Type: 'apiKey', 'http', 'oauth2' or 'openIdConnect' — required for 'create' |
| `description` | string | No | Optional description |
| `scheme` | string | No | For type 'http': the HTTP scheme, e.g. 'bearer' or 'basic' |
| `bearerFormat` | string | No | For type 'http' with bearer: the token format, e.g. 'JWT' |
| `apiKeyName` | string | No | For type 'apiKey': the name of the key parameter |
| `apiKeyLocation` | string | No | For type 'apiKey': where the key goes — 'header', 'query' or 'cookie' |
| `openIdConnectUrl` | string | No | For type 'openIdConnect': the discovery URL |
| `flowsJson` | string | No | For type 'oauth2': the flows object as JSON |
| `deprecated` | boolean | No | OpenAPI 3.2: mark the scheme deprecated (false clears it) |
| `oauth2MetadataUrl` | string | No | OpenAPI 3.2, type 'oauth2': URL of the RFC 8414 authorization server metadata ('' clears it) |
---
## Roles & Permissions
Source: https://docs.routebase.dev/roles-permissions/
Routebase controls what each person can do through **roles**. Every member has exactly one role, either one of the three built-in roles or a custom role you define yourself. This guide explains the built-in hierarchy, how to create custom roles, and lists the full permission matrix.
## Built-in roles
The three built-in roles form a simple hierarchy, because each higher role includes everything the role below it can do and adds more.
| Role | What they can do |
| --- | --- |
| **Member** | The day-to-day contributor, who can view projects, design and edit API specs, write and execute tests, write documentation, create spec branches and review changes. Mock servers, monitoring, security findings and billing stay read-only. |
| **Admin** | Everything a Member can do, plus full management. Admins create and delete projects, publish and delete specs, merge branches, and manage mock servers, monitoring, security scans, webhooks and the docs portal. They also manage members, teams and organization settings. |
| **Owner** | Everything an Admin can do, plus the two controls reserved for the account holder, which are managing billing and deleting the organization. |
Roles are assigned per member on the [Team page](https://docs.routebase.dev/members/).
## Custom roles
If the built-in roles aren't granular enough, **custom roles** let you define your own permission sets. Common examples are a read-only "Viewer" for external stakeholders, a "QA Lead" who can run tests but not publish, or a "Billing Admin".
Custom roles are a **Pro** plan feature, so on lower plans the page shows an upgrade prompt. Opening **Settings → Roles & Permissions** requires the **org:manage-settings** permission, which Admins and Owners have.
### Creating a custom role
1. Open **Settings → Roles & Permissions** and click **Create Role**.
2. Give the role a **Name** such as Viewer, QA Lead or Billing Admin, plus an optional **Description** and an optional **Color**. The color shows up on the role's badge throughout the app.
3. Tick the **Permissions** the role should grant. You can start from a preset (**Member** or **Admin**) and adjust, select whole groups at once, or pick individual permissions. At least one permission is required.
4. Click **Create Role**.
**You can only grant permissions you hold yourself.** Anything outside your own permission set is shown greyed out and cannot be ticked. For an Admin that means the two Owner-only permissions, *Manage subscription & payment* (`billing:manage`) and *Delete the organization* (`org:delete`). Only an Owner can put those into a role. The same boundary applies when you edit a role, so a role carrying an Owner-only permission can be created and changed by Owners alone.
## Response headers
Document the headers your endpoint returns in the response's **Headers** tab, such as `Location` on a `201` or rate-limit headers. Each header has a **Name**, a **Type** (`string`, `integer`, `number` or `boolean`), a **Required** flag and a **Description**. Click **Add Header** to add one inline. Headers can also be linked to reusable header components so their definition stays consistent across responses.
Responses can additionally inherit headers from [header policies](https://docs.routebase.dev/header-policies/) defined at the organization, project or spec level. Inherited headers are listed beneath your own, and you can group them by level or view them flat. Each one can be **overridden locally** or **excluded from this response**, and excluded headers can be restored later.
## Examples
Every structured response has an **Example** panel. Routebase generates a realistic sample payload from the body's properties automatically, so the example fills itself in when you open the panel. **Regenerate** rebuilds it after schema changes and **Copy** grabs it for tests or docs. You can also edit the example freely, and it is validated against the schema and used by your [mock server](https://docs.routebase.dev/mock-server/).
A response component or a request body component on an OpenAPI 3.2 specification also takes a **Serialized example** below the example, which is the payload in its wire form, such as an XML document or a form-encoded string. The export writes an Example Object with the example as `dataValue` and the serialized form as `serializedValue`, and the documentation portal shows the serialized form verbatim instead of a generated sample.
## Deleting a response
Click the delete icon on a response card. The confirmation dialog names the status code and warns that the action cannot be undone.
## Permissions
Editing responses requires **specs:write**, which is included in the Member role. On a published, locked version the responses section is read-only, so create a new version to make changes. See [Versioning](https://docs.routebase.dev/versioning/) for that flow.
## Related
- [Endpoints](https://docs.routebase.dev/endpoints/) — where responses are defined
- [Schemas](https://docs.routebase.dev/schemas/) — reusable body structures
- [Components](https://docs.routebase.dev/components/) — reusable response definitions
- [Header policies](https://docs.routebase.dev/header-policies/) — headers inherited across responses
- [Test suites](https://docs.routebase.dev/test-suites/) — validate that your live API matches these responses
---
## Reusable Components — MCP Tools
Source: https://docs.routebase.dev/reusable-components-mcp-tools/
The tools below belong to the **Reusable Components** group of the Routebase MCP server.
## get_media_type_component
Get one reusable media type component (OpenAPI 3.2) with its schema, itemSchema, example and rowVersion. Use this when you already have the component id; to browse them use list_media_type_components. Requires project context.
**Required scope:** `specs:read`
| Parameter | Type | Required | Description |
| --- | --- | --- | --- |
| `specId` | string | Yes | Public ID (GUID) of the API specification |
| `componentId` | string | Yes | Public ID (GUID) of the media type component |
## get_parameter_component
Get one reusable parameter component with its schema details and rowVersion. Set includeUsage to also list the endpoints referencing it — do that before deleting one. Use this when you already have the component id; to browse them or find an id use list_parameter_components. Requires project context.
**Required scope:** `specs:read`
| Parameter | Type | Required | Description |
| --- | --- | --- | --- |
| `specId` | string | Yes | Public ID (GUID) of the API specification |
| `componentId` | string | Yes | Public ID (GUID) of the parameter component |
| `includeUsage` | boolean | No (default `false`) | Also list what references this component (default false) |
## get_response_component
Get one reusable response component with its schema, headers and rowVersion. Set includeUsage to also list what references it. Use this when you already have the component id; to browse them or find an id use list_response_components. Requires project context.
**Required scope:** `specs:read`
| Parameter | Type | Required | Description |
| --- | --- | --- | --- |
| `specId` | string | Yes | Public ID (GUID) of the API specification |
| `componentId` | string | Yes | Public ID (GUID) of the response component |
| `includeUsage` | boolean | No (default `false`) | Also list what references this component (default false) |
## get_security_scheme_component
Get one security scheme with its type-specific settings and rowVersion. Set includeUsage to also list the endpoints requiring it. Use this when you already have the scheme id; to browse them or find an id use list_security_scheme_components. Requires project context.
**Required scope:** `specs:read`
| Parameter | Type | Required | Description |
| --- | --- | --- | --- |
| `specId` | string | Yes | Public ID (GUID) of the API specification |
| `componentId` | string | Yes | Public ID (GUID) of the security scheme component |
| `includeUsage` | boolean | No (default `false`) | Also list what references this scheme (default false) |
## list_media_type_components
List the reusable media type components (OpenAPI 3.2 components/mediaTypes) of a spec version. A media type component holds schema, itemSchema and example; a response, request body or component references it by id and keeps only its own content type. Use this to browse or find an id; to create, change or delete one use manage_media_type_component. Only 3.2 specs have them. Requires project context.
**Required scope:** `specs:read`
| Parameter | Type | Required | Description |
| --- | --- | --- | --- |
| `specId` | string | Yes | Public ID (GUID) of the API specification |
| `versionId` | string | No | Optional version ID (GUID) to filter by a specific version |
## list_parameter_components
List the reusable parameter components of a spec version. Set includeUsageCounts to see how often each one is referenced. Use this to browse or find an id; to create, change or delete one use manage_parameter_component. Requires project context.
**Required scope:** `specs:read`
| Parameter | Type | Required | Description |
| --- | --- | --- | --- |
| `specId` | string | Yes | Public ID (GUID) of the API specification |
| `versionId` | string | No | Optional version ID (GUID) to filter by a specific version |
| `includeUsageCounts` | boolean | No (default `false`) | Also return how often each component is referenced (default false) |
## list_response_components
List the reusable response components of a spec version. Set includeUsageCounts to see how often each one is referenced. Use this to browse or find an id; to create, change or delete one use manage_response_component. Requires project context.
**Required scope:** `specs:read`
| Parameter | Type | Required | Description |
| --- | --- | --- | --- |
| `specId` | string | Yes | Public ID (GUID) of the API specification |
| `versionId` | string | No | Optional version ID (GUID) to filter by a specific version |
| `includeUsageCounts` | boolean | No (default `false`) | Also return how often each component is referenced (default false) |
## list_security_scheme_components
List the security schemes a spec version defines (OpenAPI components/securitySchemes). Set includeUsageCounts to see how often each is referenced. Use this to browse or find an id; to create, change or delete one use manage_security_scheme_component. Requires project context.
**Required scope:** `specs:read`
| Parameter | Type | Required | Description |
| --- | --- | --- | --- |
| `specId` | string | Yes | Public ID (GUID) of the API specification |
| `versionId` | string | No | Optional version ID (GUID) to filter by a specific version |
| `includeUsageCounts` | boolean | No (default `false`) | Also return how often each scheme is referenced (default false) |
## manage_media_type_component
Create, update or delete a reusable media type component (OpenAPI 3.2 components/mediaTypes). Only accepted on 3.2 specs (MEDIA_TYPE_COMPONENT_REQUIRES_OPENAPI_3_2 otherwise). 'create' needs name; 'update' needs componentId and rowVersion and REPLACES the component — omitted fields are carried over, an empty string clears schemaJson/itemSchemaJson/example. 'delete' needs componentId; rows that reference it fall back to their inline content. To reference the component pass mediaTypeComponentId to add_response, update_response, set_request_body, manage_response_component or create/update_request_body_component. Requires project context.
**Required scope:** `specs:write`
| Parameter | Type | Required | Description |
| --- | --- | --- | --- |
| `specId` | string | Yes | Public ID (GUID) of the API specification |
| `versionId` | string | Yes | Public ID (GUID) of the spec version |
| `action` | string | Yes | What to do: 'create', 'update' or 'delete' |
| `componentId` | string | No | Public ID (GUID) of the component — required for 'update' and 'delete' |
| `rowVersion` | string | No | Base64-encoded row version — required for 'update' |
| `name` | string | No | Component name (e.g. 'CollectionLinks') — required for 'create' |
| `schemaJson` | string | No | Inline JSON schema of the complete body; on update omit to keep, empty string to clear |
| `itemSchemaJson` | string | No | Item schema of a sequential media type (JSON Lines, SSE); on update omit to keep, empty string to clear |
| `example` | string | No | Example value; on update omit to keep, empty string to clear |
| `serializedExample` | string | No | 3.2 only: example in wire form (serializedValue); omit keeps, empty string clears |
## manage_parameter_component
Create, update or delete a reusable parameter component (OpenAPI components/parameters). 'create' and 'update' need name, location and schemaType; 'update' additionally needs componentId and rowVersion and REPLACES the component — fields you omit are carried over from the current state, so you can change one field alone. 'delete' needs componentId; check get_parameter_component with includeUsage first. Requires project context.
**Required scope:** `specs:write`
| Parameter | Type | Required | Description |
| --- | --- | --- | --- |
| `specId` | string | Yes | Public ID (GUID) of the API specification |
| `versionId` | string | Yes | Public ID (GUID) of the spec version |
| `action` | string | Yes | What to do: 'create', 'update' or 'delete' |
| `componentId` | string | No | Public ID (GUID) of the component — required for 'update' and 'delete' |
| `rowVersion` | string | No | Base64-encoded row version — required for 'update' |
| `name` | string | No | Parameter name (e.g. 'pageSize') — required for 'create' |
| `location` | string | No | Where it goes: 'path', 'query', 'header', 'cookie' or 'querystring' (3.2 only) — required for 'create' |
| `schemaType` | string | No | Schema type: 'string', 'integer', 'number', 'boolean', 'array' or 'object' — required for 'create' |
| `required` | boolean | No (default `false`) | Whether the parameter is required (default false) |
| `description` | string | No | Optional description |
| `schemaFormat` | string | No | Optional schema format (e.g. 'date-time') |
| `example` | string | No | Optional example value |
| `defaultValue` | string | No | Optional default value |
| `isDeprecated` | boolean | No (default `false`) | Mark the parameter as deprecated (default false) |
| `style` | string | No | Serialization style per OpenAPI ('form', 'simple', 'deepObject', …; 'cookie' is 3.2 only). Omit for the default; '' clears on update. |
| `explode` | boolean | No | Explode flag; omit for the OpenAPI default |
| `contentType` | string | No | Media type of a querystring parameter (default 'application/x-www-form-urlencoded') |
| `serializedExample` | string | No | 3.2 only: example in wire form (serializedValue); omit keeps, empty string clears |
## manage_response_component
Create, update or delete a reusable response component (OpenAPI components/responses). 'create' needs name and contentType; 'update' needs componentId and rowVersion and REPLACES the component — omitted fields are carried over from the current state. 'delete' needs componentId; check get_response_component with includeUsage first. Requires project context.
**Required scope:** `specs:write`
| Parameter | Type | Required | Description |
| --- | --- | --- | --- |
| `specId` | string | Yes | Public ID (GUID) of the API specification |
| `versionId` | string | Yes | Public ID (GUID) of the spec version |
| `action` | string | Yes | What to do: 'create', 'update' or 'delete' |
| `componentId` | string | No | Public ID (GUID) of the component — required for 'update' and 'delete' |
| `rowVersion` | string | No | Base64-encoded row version — required for 'update' |
| `name` | string | No | Component name (e.g. 'NotFoundError') — required for 'create' |
| `contentType` | string | No | Content type (e.g. 'application/json') — required for 'create' |
| `description` | string | No | Optional description |
| `schemaJson` | string | No | Optional inline JSON schema for the body |
| `example` | string | No | Optional example value |
| `isDeprecated` | boolean | No (default `false`) | Mark the component as deprecated (default false) |
| `itemSchemaJson` | string | No | OpenAPI 3.2 only: item schema of a sequential media type; on update omit to keep, empty string to clear |
| `mediaTypeComponentId` | string | No | OpenAPI 3.2 only: id of a media type component whose schema/itemSchema/example the content entry references ($ref); on update omit to keep, empty string to detach |
| `serializedExample` | string | No | 3.2 only: example in wire form (serializedValue); omit keeps, empty string clears |
## manage_response_component_header
Manage the headers a reusable response component declares. Actions: 'add', 'update', 'delete'. 'add' and 'update' need name and schemaType; 'update' and 'delete' need responseHeaderId. For the headers of an endpoint's own response, use manage_response_header instead. Requires project context.
**Required scope:** `specs:write`
| Parameter | Type | Required | Description |
| --- | --- | --- | --- |
| `specId` | string | Yes | Public ID (GUID) of the API specification |
| `componentId` | string | Yes | Public ID (GUID) of the response component |
| `action` | string | Yes | What to do: 'add', 'update' or 'delete' |
| `responseHeaderId` | string | No | Public ID (GUID) of the header — required for 'update' and 'delete' |
| `name` | string | No | Header name (e.g. 'X-Rate-Limit') — required for 'add' and 'update' |
| `schemaType` | string | No | Schema type: 'string', 'integer', 'number', 'boolean', 'array' or 'object' — required for 'add' and 'update' |
| `required` | boolean | No (default `false`) | Whether the header is always present (default false) |
| `description` | string | No | Optional description |
| `schemaFormat` | string | No | Optional schema format |
| `example` | string | No | Optional example value |
| `serializedExample` | string | No | 3.2 only: example in wire form (serializedValue) |
## manage_security_scheme_component
Create, update or delete a security scheme (OpenAPI components/securitySchemes). 'create' and 'update' need name and type ('apiKey', 'http', 'oauth2' or 'openIdConnect'); which of the other fields matter depends on the type: 'http' uses scheme and bearerFormat, 'apiKey' uses apiKeyName and apiKeyLocation, 'openIdConnect' uses openIdConnectUrl, 'oauth2' uses flowsJson (keys implicit, password, clientCredentials, authorizationCode and, on OpenAPI 3.2 specs, deviceAuthorization). deprecated and oauth2MetadataUrl are OpenAPI 3.2 fields and rejected on 3.0/3.1 specs. 'update' needs componentId and REPLACES the scheme — omitted fields are carried over. Use add_security_scheme to attach one to an endpoint. Requires project context.
**Required scope:** `specs:write`
| Parameter | Type | Required | Description |
| --- | --- | --- | --- |
| `specId` | string | Yes | Public ID (GUID) of the API specification |
| `versionId` | string | Yes | Public ID (GUID) of the spec version |
| `action` | string | Yes | What to do: 'create', 'update' or 'delete' |
| `componentId` | string | No | Public ID (GUID) of the scheme — required for 'update' and 'delete' |
| `rowVersion` | string | No | Base64-encoded row version — required for 'update' |
| `name` | string | No | Scheme name as referenced in the spec (e.g. 'bearerAuth') — required for 'create' |
| `type` | string | No | Type: 'apiKey', 'http', 'oauth2' or 'openIdConnect' — required for 'create' |
| `description` | string | No | Optional description |
| `scheme` | string | No | For type 'http': the HTTP scheme, e.g. 'bearer' or 'basic' |
| `bearerFormat` | string | No | For type 'http' with bearer: the token format, e.g. 'JWT' |
| `apiKeyName` | string | No | For type 'apiKey': the name of the key parameter |
| `apiKeyLocation` | string | No | For type 'apiKey': where the key goes — 'header', 'query' or 'cookie' |
| `openIdConnectUrl` | string | No | For type 'openIdConnect': the discovery URL |
| `flowsJson` | string | No | For type 'oauth2': the flows object as JSON |
| `deprecated` | boolean | No | OpenAPI 3.2: mark the scheme deprecated (false clears it) |
| `oauth2MetadataUrl` | string | No | OpenAPI 3.2, type 'oauth2': URL of the RFC 8414 authorization server metadata ('' clears it) |
---
## Roles & Permissions
Source: https://docs.routebase.dev/roles-permissions/
Routebase controls what each person can do through **roles**. Every member has exactly one role, either one of the three built-in roles or a custom role you define yourself. This guide explains the built-in hierarchy, how to create custom roles, and lists the full permission matrix.
## Built-in roles
The three built-in roles form a simple hierarchy, because each higher role includes everything the role below it can do and adds more.
| Role | What they can do |
| --- | --- |
| **Member** | The day-to-day contributor, who can view projects, design and edit API specs, write and execute tests, write documentation, create spec branches and review changes. Mock servers, monitoring, security findings and billing stay read-only. |
| **Admin** | Everything a Member can do, plus full management. Admins create and delete projects, publish and delete specs, merge branches, and manage mock servers, monitoring, security scans, webhooks and the docs portal. They also manage members, teams and organization settings. |
| **Owner** | Everything an Admin can do, plus the two controls reserved for the account holder, which are managing billing and deleting the organization. |
Roles are assigned per member on the [Team page](https://docs.routebase.dev/members/).
## Custom roles
If the built-in roles aren't granular enough, **custom roles** let you define your own permission sets. Common examples are a read-only "Viewer" for external stakeholders, a "QA Lead" who can run tests but not publish, or a "Billing Admin".
Custom roles are a **Pro** plan feature, so on lower plans the page shows an upgrade prompt. Opening **Settings → Roles & Permissions** requires the **org:manage-settings** permission, which Admins and Owners have.
### Creating a custom role
1. Open **Settings → Roles & Permissions** and click **Create Role**.
2. Give the role a **Name** such as Viewer, QA Lead or Billing Admin, plus an optional **Description** and an optional **Color**. The color shows up on the role's badge throughout the app.
3. Tick the **Permissions** the role should grant. You can start from a preset (**Member** or **Admin**) and adjust, select whole groups at once, or pick individual permissions. At least one permission is required.
4. Click **Create Role**.
**You can only grant permissions you hold yourself.** Anything outside your own permission set is shown greyed out and cannot be ticked. For an Admin that means the two Owner-only permissions, *Manage subscription & payment* (`billing:manage`) and *Delete the organization* (`org:delete`). Only an Owner can put those into a role. The same boundary applies when you edit a role, so a role carrying an Owner-only permission can be created and changed by Owners alone.
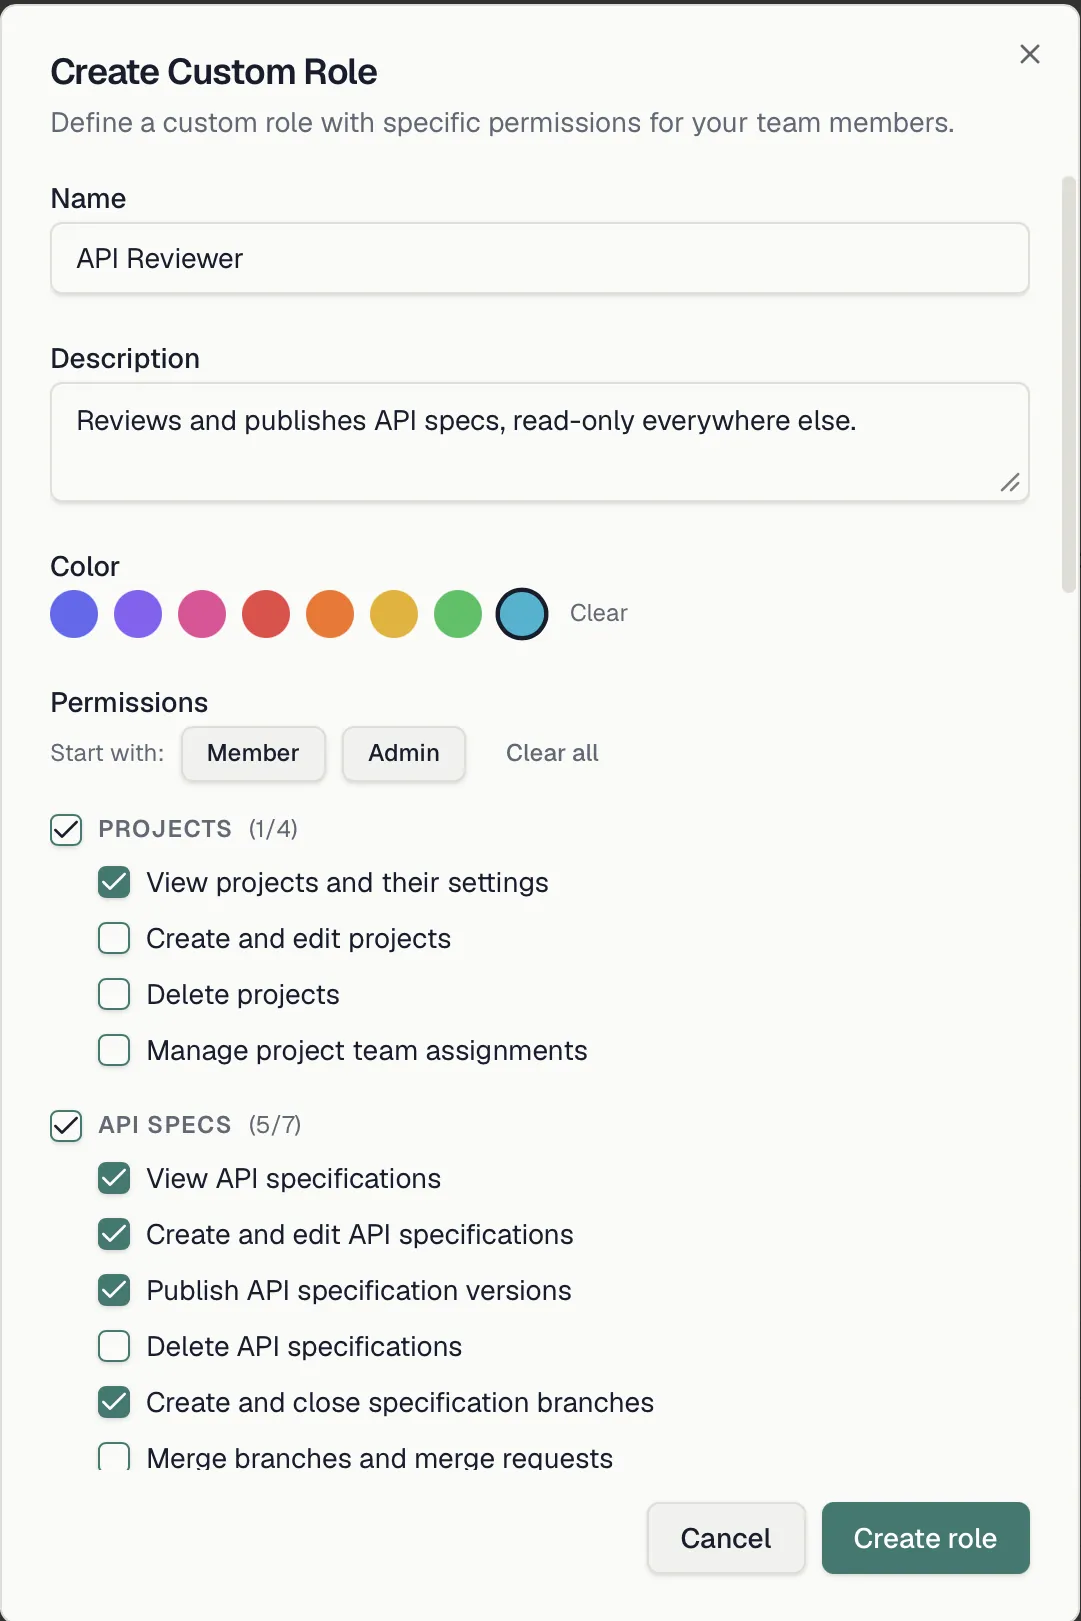
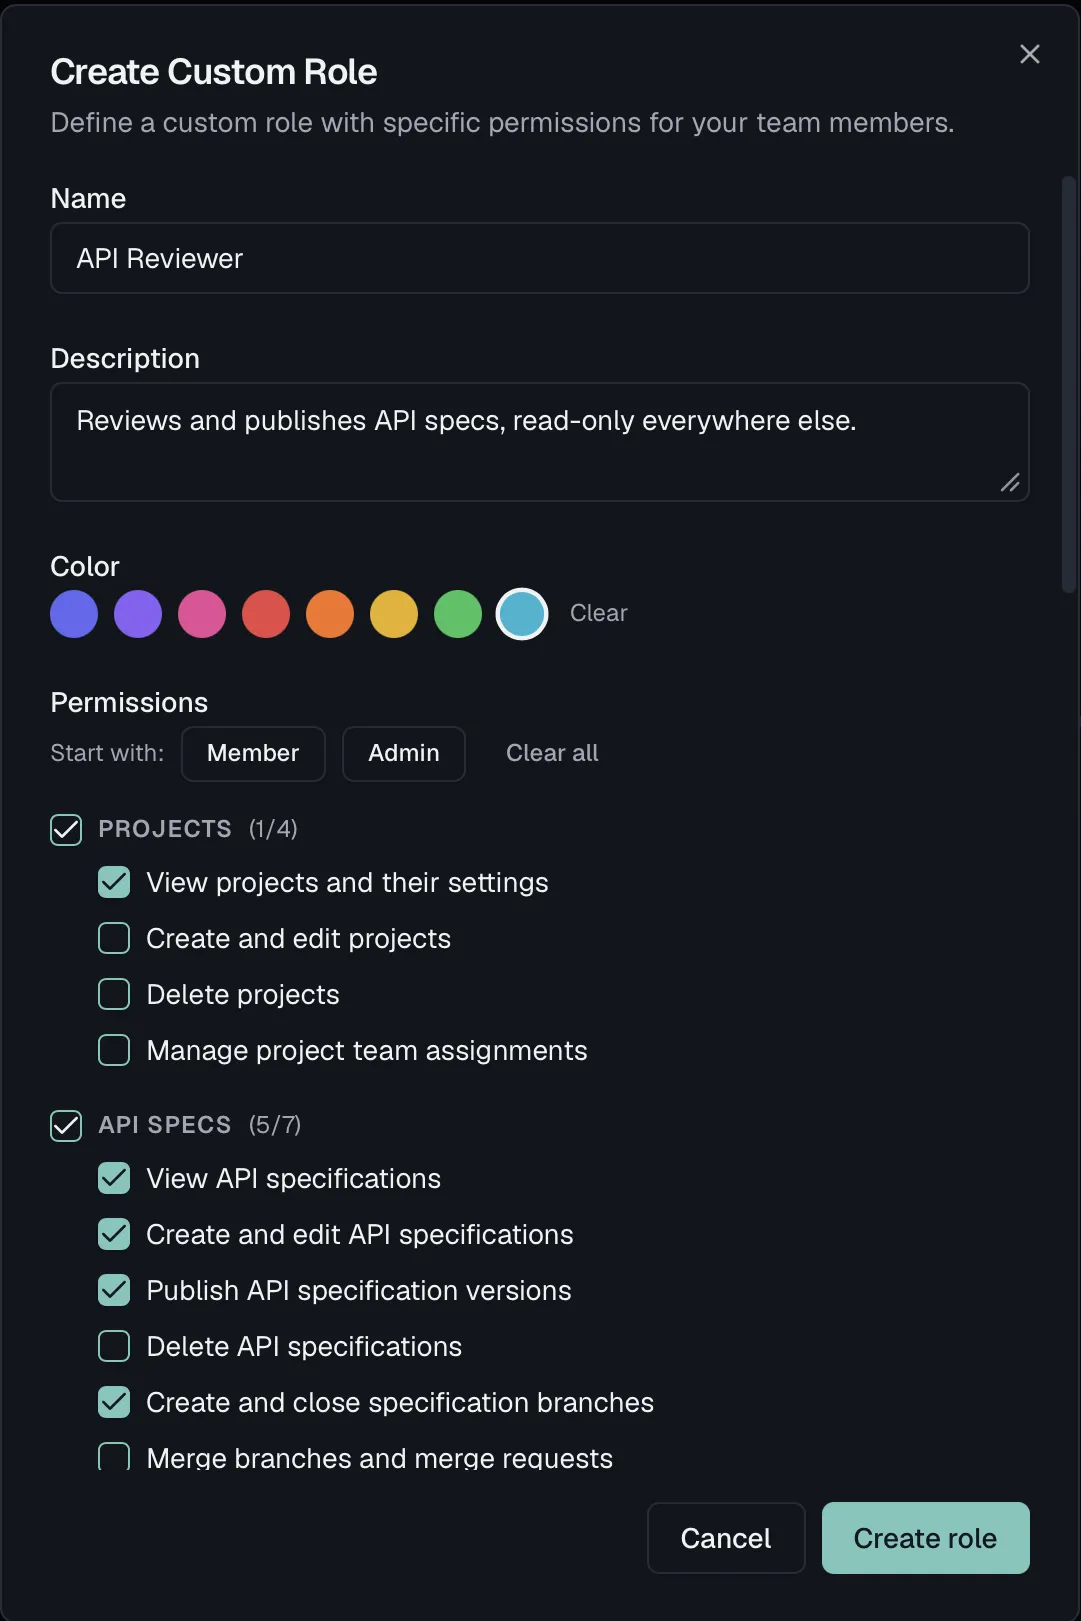 ### Assigning, editing, and deleting
- **Assign** a custom role to a member from the actions menu on the [Team page](https://docs.routebase.dev/members/), or pick it as the starting role when sending an invite.
- **Edit** a role's name, description, color and permissions at any time, and the change applies to everyone holding the role.
- **Delete** a role from its card. Members currently assigned to a deleted role are downgraded to the built-in **Member** role.
### After a downgrade from Pro
If your plan drops below Pro, the custom roles you already created stay in place and everyone holding one keeps working. Nothing is silently reassigned. What stops is handing them out, because **assigning a custom role to another member, and inviting someone into one, both ask you to upgrade**. Editing and deleting keep working, so you can still narrow a role down or remove it while on the lower plan.
Each role card shows its permission count and how many members currently hold it.
## Permission matrix
The Roles & Permissions page includes a read-only matrix showing exactly which permissions each role grants, including columns for your custom roles. The same information is listed below, grouped by area as in the app. The code in parentheses is the permission identifier you'll also see when configuring [API key scopes](https://docs.routebase.dev/api-keys/).
### Assigning, editing, and deleting
- **Assign** a custom role to a member from the actions menu on the [Team page](https://docs.routebase.dev/members/), or pick it as the starting role when sending an invite.
- **Edit** a role's name, description, color and permissions at any time, and the change applies to everyone holding the role.
- **Delete** a role from its card. Members currently assigned to a deleted role are downgraded to the built-in **Member** role.
### After a downgrade from Pro
If your plan drops below Pro, the custom roles you already created stay in place and everyone holding one keeps working. Nothing is silently reassigned. What stops is handing them out, because **assigning a custom role to another member, and inviting someone into one, both ask you to upgrade**. Editing and deleting keep working, so you can still narrow a role down or remove it while on the lower plan.
Each role card shows its permission count and how many members currently hold it.
## Permission matrix
The Roles & Permissions page includes a read-only matrix showing exactly which permissions each role grants, including columns for your custom roles. The same information is listed below, grouped by area as in the app. The code in parentheses is the permission identifier you'll also see when configuring [API key scopes](https://docs.routebase.dev/api-keys/).
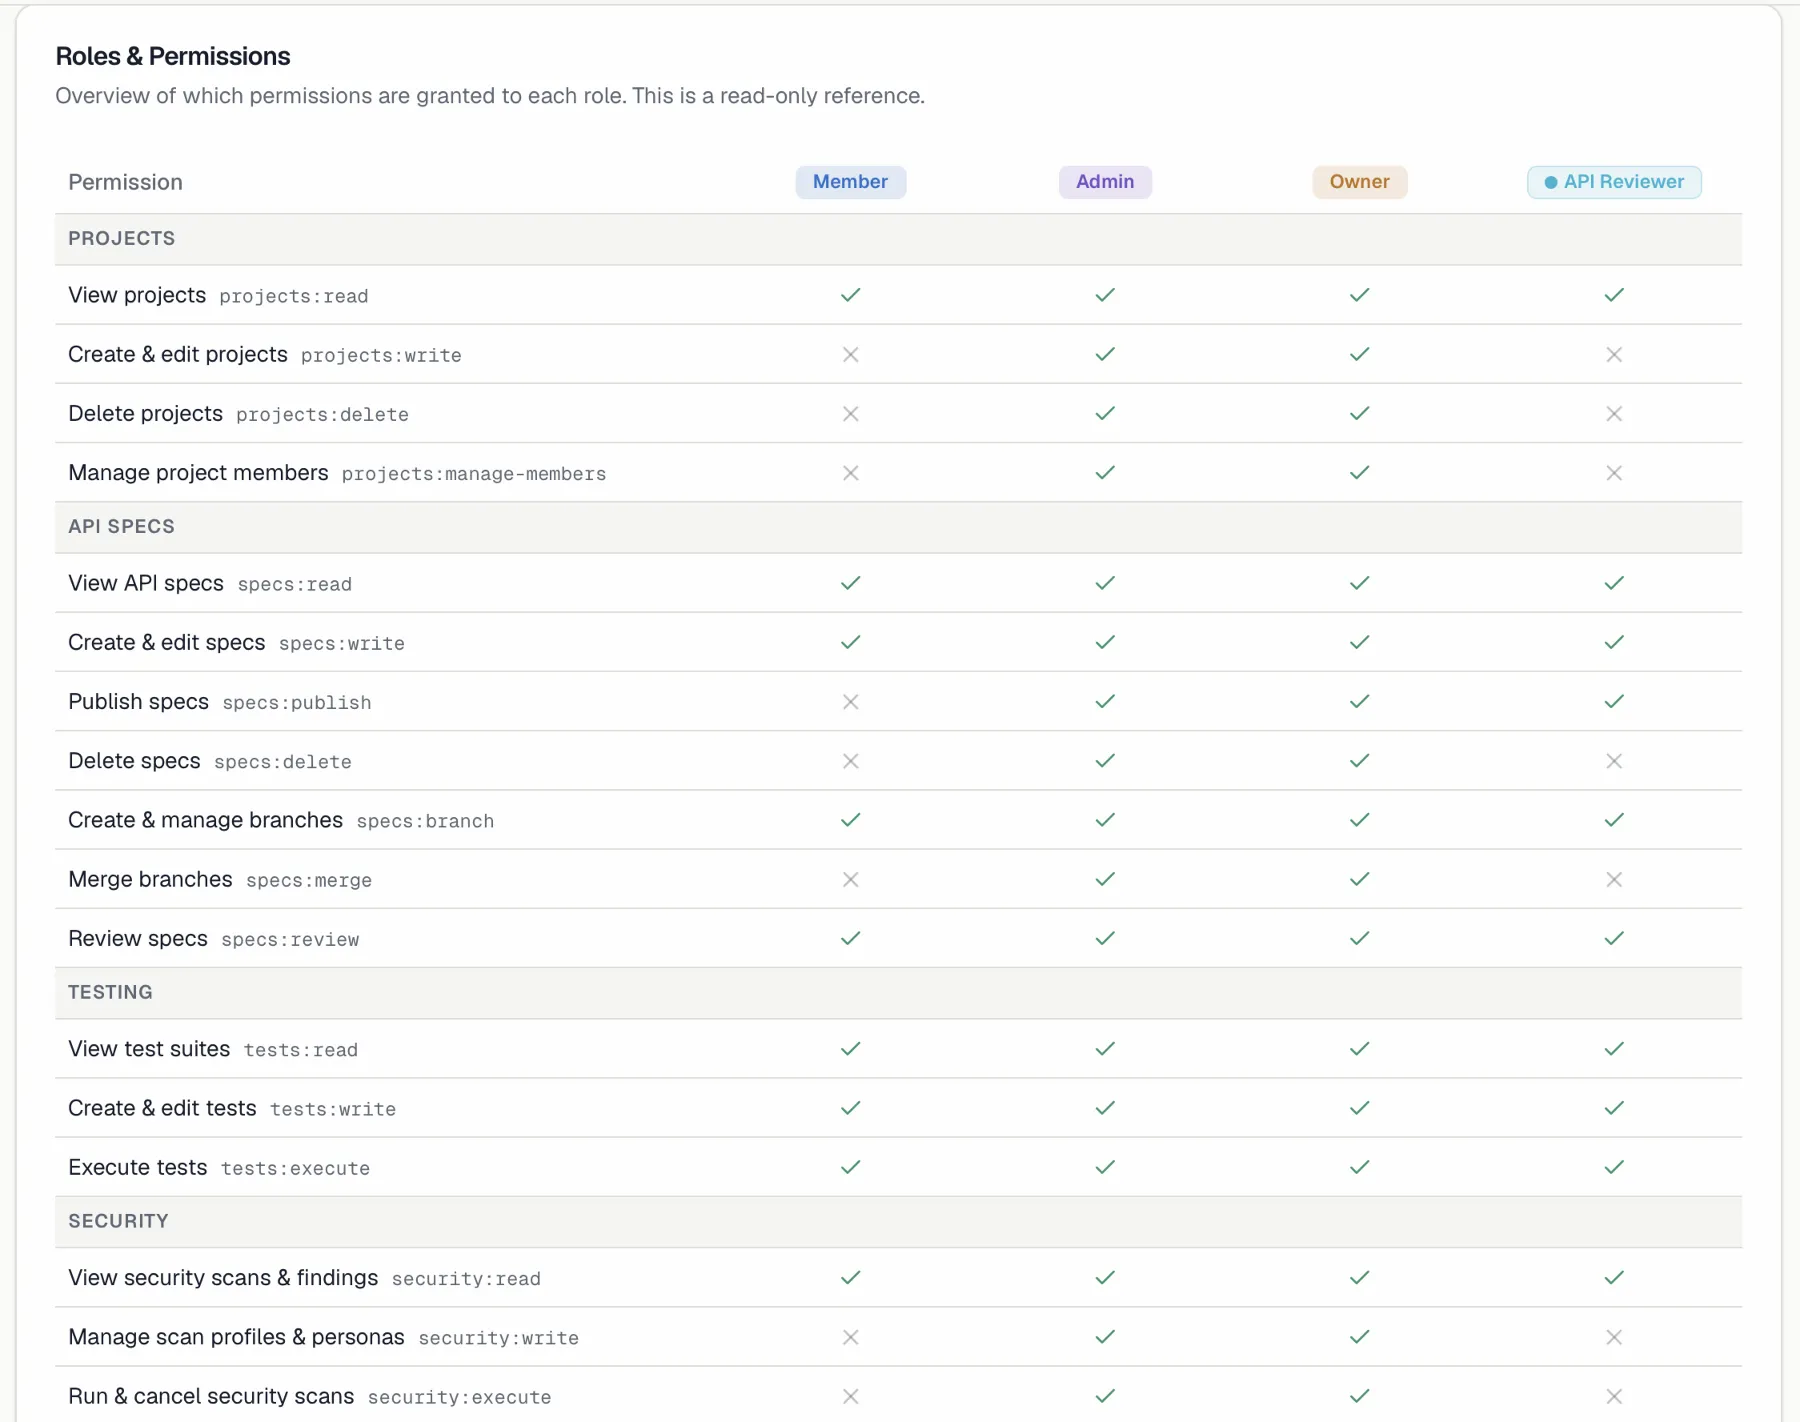
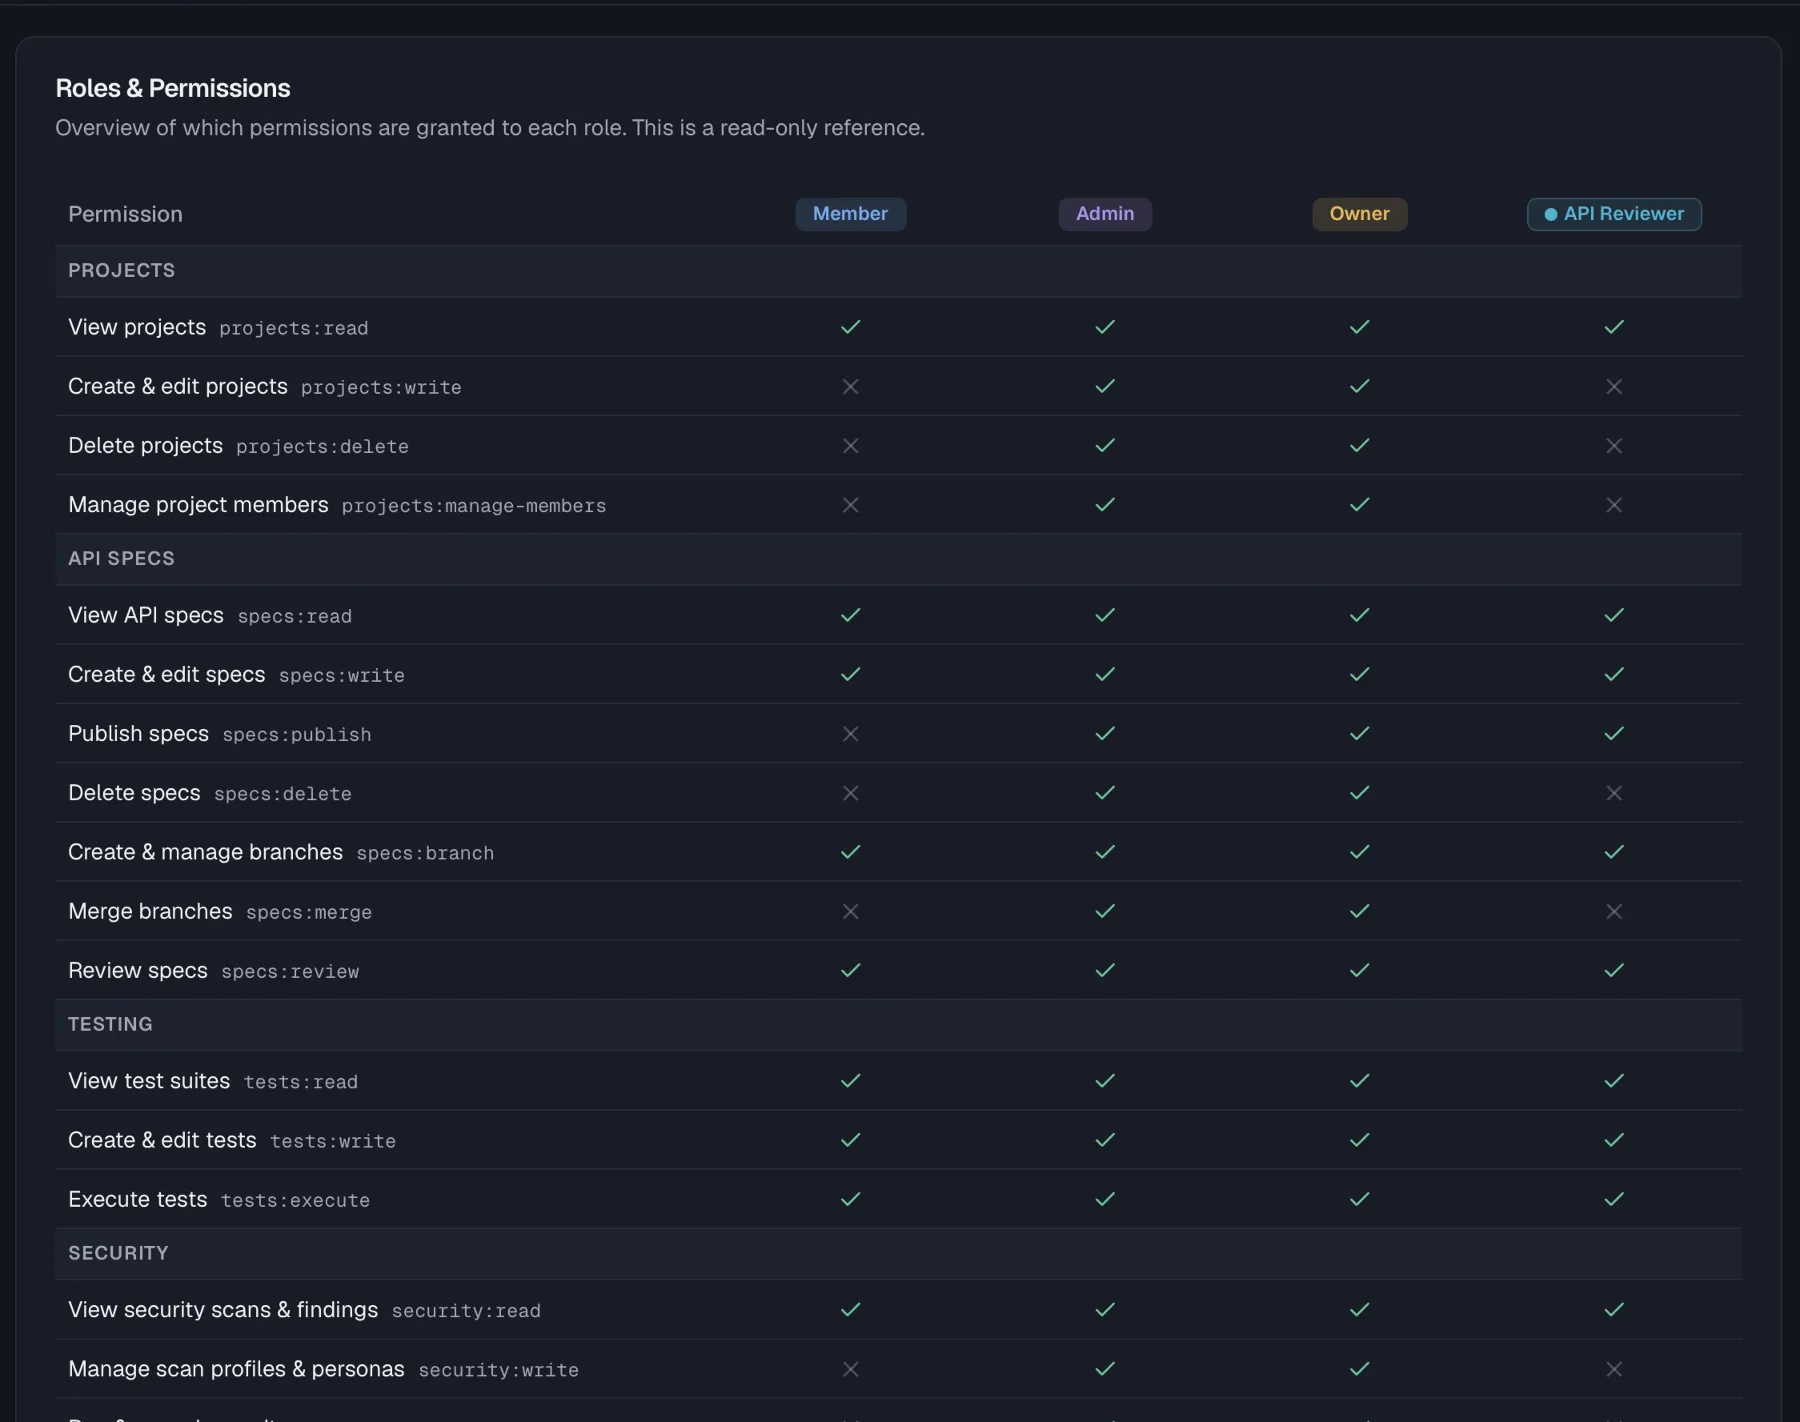 ### Projects
| Permission | Member | Admin | Owner |
| --- | :-: | :-: | :-: |
| View projects (`projects:read`) | ✓ | ✓ | ✓ |
| Create & edit projects (`projects:write`) | — | ✓ | ✓ |
| Delete projects (`projects:delete`) | — | ✓ | ✓ |
| Manage project members (`projects:manage-members`) | — | ✓ | ✓ |
### API Specs
| Permission | Member | Admin | Owner |
| --- | :-: | :-: | :-: |
| View API specs (`specs:read`) | ✓ | ✓ | ✓ |
| Create & edit specs (`specs:write`) | ✓ | ✓ | ✓ |
| Publish specs (`specs:publish`) | — | ✓ | ✓ |
| Delete specs (`specs:delete`) | — | ✓ | ✓ |
| Create & manage branches (`specs:branch`) | ✓ | ✓ | ✓ |
| Merge branches (`specs:merge`) | — | ✓ | ✓ |
| Review specs (`specs:review`) | ✓ | ✓ | ✓ |
### Testing
| Permission | Member | Admin | Owner |
| --- | :-: | :-: | :-: |
| View test suites (`tests:read`) | ✓ | ✓ | ✓ |
| Create & edit tests (`tests:write`) | ✓ | ✓ | ✓ |
| Execute tests (`tests:execute`) | ✓ | ✓ | ✓ |
### Security
| Permission | Member | Admin | Owner |
| --- | :-: | :-: | :-: |
| View security scans & findings (`security:read`) | ✓ | ✓ | ✓ |
| Manage scan profiles & personas (`security:write`) | — | ✓ | ✓ |
| Run & cancel security scans (`security:execute`) | — | ✓ | ✓ |
### Mock Server
| Permission | Member | Admin | Owner |
| --- | :-: | :-: | :-: |
| View mock server (`mock-server:read`) | ✓ | ✓ | ✓ |
| Manage mock server (`mock-server:manage`) | — | ✓ | ✓ |
### Monitoring
| Permission | Member | Admin | Owner |
| --- | :-: | :-: | :-: |
| View monitoring (`monitoring:read`) | ✓ | ✓ | ✓ |
| Manage monitoring (`monitoring:write`) | — | ✓ | ✓ |
### Documentation
| Permission | Member | Admin | Owner |
| --- | :-: | :-: | :-: |
| View documentation content (`docs:read`) | ✓ | ✓ | ✓ |
| Create & edit documentation (`docs:write`) | ✓ | ✓ | ✓ |
| Publish documentation versions (`docs:publish`) | — | ✓ | ✓ |
| Manage documentation portal (`docs:manage-portal`) | — | ✓ | ✓ |
### Notifications
| Permission | Member | Admin | Owner |
| --- | :-: | :-: | :-: |
| View webhooks & delivery history (`notifications:read`) | — | ✓ | ✓ |
| Manage webhooks (`notifications:manage`) | — | ✓ | ✓ |
### Billing
| Permission | Member | Admin | Owner |
| --- | :-: | :-: | :-: |
| View subscription & usage (`billing:read`) | ✓ | ✓ | ✓ |
| Manage subscription & payment (`billing:manage`) | — | — | ✓ |
### Organization
| Permission | Member | Admin | Owner |
| --- | :-: | :-: | :-: |
| Manage members (`org:manage-members`) | — | ✓ | ✓ |
| Manage teams (`org:manage-teams`) | — | ✓ | ✓ |
| Manage general settings (`org:manage-settings`) | — | ✓ | ✓ |
| Manage SSO, SCIM, API keys & domains (`org:manage-security`) | — | ✓ | ✓ |
| Manage API governance & org defaults (`org:manage-governance`) | — | ✓ | ✓ |
| Delete organization (`org:delete`) | — | — | ✓ |
## Related
- [Members & Invitations](https://docs.routebase.dev/members/) — assign roles to members and invites
- [Team Access](https://docs.routebase.dev/team-access/) — project-level access on top of org roles
- [API Keys](https://docs.routebase.dev/api-keys/) — the same permissions, applied to machine access
- [Billing & Plans](https://docs.routebase.dev/billing/) — custom roles require the Pro plan
---
## Scanner Reference
Source: https://docs.routebase.dev/scanner-reference/
Routebase runs 13 scanners across the OWASP API Security Top 10 from 2023, and some categories have more than one. You choose which scanners to run in a [scan profile](https://docs.routebase.dev/scan-profiles/). This page documents what each one probes, the severity it raises, and the personas it needs. For the workflow around scanning, findings and scoring, start with the [Security overview](https://docs.routebase.dev/security-overview/).
## Scanner catalog
| Scanner | OWASP category | Personas needed | Severities raised |
| --- | --- | --- | --- |
| `api1-bola` · Broken Object Level Authorization | API1:2023 | 2+ | Critical |
| `api1-bola-enum` · BOLA Enumeration (fallback) | API1:2023 | 2+ | High |
| `api2-broken-auth` · Broken Authentication (passive) | API2:2023 | None | Critical, High |
| `api3-property-auth` · Broken Object Property Level Authorization | API3:2023 | 1+ | High, Medium |
| `api4-resource-consumption` · Unrestricted Resource Consumption | API4:2023 | None | High, Medium |
| `api5-bfla` · Broken Function Level Authorization | API5:2023 | 1+ | Critical |
| `api6-business-flow` · Unrestricted Access to Sensitive Business Flows | API6:2023 | None | Medium |
| `api7-ssrf` · Server-Side Request Forgery | API7:2023 | None | Critical, Medium |
| `api8-misconfig` · Security Misconfiguration | API8:2023 | None | High, Medium |
| `api8-tls-version` · Legacy TLS Version | API8:2023 | None | Medium |
| `api9-inventory` · Improper Inventory Management | API9:2023 | None | Medium |
| `fuzz-schema` · Schema and Body Fuzzing | API4:2023 | None | High, Medium |
| `fuzz-mutation` · Mutation Fuzzing | API4:2023 | None | High, Medium |
Scanners that need personas are disabled in the profile editor until you have enough [personas](https://docs.routebase.dev/personas/) in the project. If a persona-requiring scanner ends up with too few personas assigned at run time, it skips its checks and records that it was skipped in the run progress.
The two fuzzing scanners `fuzz-schema` and `fuzz-mutation` have a second gate. Even when selected, they stay silent until the profile's **Fuzzing intensity** is raised above *Off*. See [Scan profiles](https://docs.routebase.dev/scan-profiles/) for that setting.
### Projects
| Permission | Member | Admin | Owner |
| --- | :-: | :-: | :-: |
| View projects (`projects:read`) | ✓ | ✓ | ✓ |
| Create & edit projects (`projects:write`) | — | ✓ | ✓ |
| Delete projects (`projects:delete`) | — | ✓ | ✓ |
| Manage project members (`projects:manage-members`) | — | ✓ | ✓ |
### API Specs
| Permission | Member | Admin | Owner |
| --- | :-: | :-: | :-: |
| View API specs (`specs:read`) | ✓ | ✓ | ✓ |
| Create & edit specs (`specs:write`) | ✓ | ✓ | ✓ |
| Publish specs (`specs:publish`) | — | ✓ | ✓ |
| Delete specs (`specs:delete`) | — | ✓ | ✓ |
| Create & manage branches (`specs:branch`) | ✓ | ✓ | ✓ |
| Merge branches (`specs:merge`) | — | ✓ | ✓ |
| Review specs (`specs:review`) | ✓ | ✓ | ✓ |
### Testing
| Permission | Member | Admin | Owner |
| --- | :-: | :-: | :-: |
| View test suites (`tests:read`) | ✓ | ✓ | ✓ |
| Create & edit tests (`tests:write`) | ✓ | ✓ | ✓ |
| Execute tests (`tests:execute`) | ✓ | ✓ | ✓ |
### Security
| Permission | Member | Admin | Owner |
| --- | :-: | :-: | :-: |
| View security scans & findings (`security:read`) | ✓ | ✓ | ✓ |
| Manage scan profiles & personas (`security:write`) | — | ✓ | ✓ |
| Run & cancel security scans (`security:execute`) | — | ✓ | ✓ |
### Mock Server
| Permission | Member | Admin | Owner |
| --- | :-: | :-: | :-: |
| View mock server (`mock-server:read`) | ✓ | ✓ | ✓ |
| Manage mock server (`mock-server:manage`) | — | ✓ | ✓ |
### Monitoring
| Permission | Member | Admin | Owner |
| --- | :-: | :-: | :-: |
| View monitoring (`monitoring:read`) | ✓ | ✓ | ✓ |
| Manage monitoring (`monitoring:write`) | — | ✓ | ✓ |
### Documentation
| Permission | Member | Admin | Owner |
| --- | :-: | :-: | :-: |
| View documentation content (`docs:read`) | ✓ | ✓ | ✓ |
| Create & edit documentation (`docs:write`) | ✓ | ✓ | ✓ |
| Publish documentation versions (`docs:publish`) | — | ✓ | ✓ |
| Manage documentation portal (`docs:manage-portal`) | — | ✓ | ✓ |
### Notifications
| Permission | Member | Admin | Owner |
| --- | :-: | :-: | :-: |
| View webhooks & delivery history (`notifications:read`) | — | ✓ | ✓ |
| Manage webhooks (`notifications:manage`) | — | ✓ | ✓ |
### Billing
| Permission | Member | Admin | Owner |
| --- | :-: | :-: | :-: |
| View subscription & usage (`billing:read`) | ✓ | ✓ | ✓ |
| Manage subscription & payment (`billing:manage`) | — | — | ✓ |
### Organization
| Permission | Member | Admin | Owner |
| --- | :-: | :-: | :-: |
| Manage members (`org:manage-members`) | — | ✓ | ✓ |
| Manage teams (`org:manage-teams`) | — | ✓ | ✓ |
| Manage general settings (`org:manage-settings`) | — | ✓ | ✓ |
| Manage SSO, SCIM, API keys & domains (`org:manage-security`) | — | ✓ | ✓ |
| Manage API governance & org defaults (`org:manage-governance`) | — | ✓ | ✓ |
| Delete organization (`org:delete`) | — | — | ✓ |
## Related
- [Members & Invitations](https://docs.routebase.dev/members/) — assign roles to members and invites
- [Team Access](https://docs.routebase.dev/team-access/) — project-level access on top of org roles
- [API Keys](https://docs.routebase.dev/api-keys/) — the same permissions, applied to machine access
- [Billing & Plans](https://docs.routebase.dev/billing/) — custom roles require the Pro plan
---
## Scanner Reference
Source: https://docs.routebase.dev/scanner-reference/
Routebase runs 13 scanners across the OWASP API Security Top 10 from 2023, and some categories have more than one. You choose which scanners to run in a [scan profile](https://docs.routebase.dev/scan-profiles/). This page documents what each one probes, the severity it raises, and the personas it needs. For the workflow around scanning, findings and scoring, start with the [Security overview](https://docs.routebase.dev/security-overview/).
## Scanner catalog
| Scanner | OWASP category | Personas needed | Severities raised |
| --- | --- | --- | --- |
| `api1-bola` · Broken Object Level Authorization | API1:2023 | 2+ | Critical |
| `api1-bola-enum` · BOLA Enumeration (fallback) | API1:2023 | 2+ | High |
| `api2-broken-auth` · Broken Authentication (passive) | API2:2023 | None | Critical, High |
| `api3-property-auth` · Broken Object Property Level Authorization | API3:2023 | 1+ | High, Medium |
| `api4-resource-consumption` · Unrestricted Resource Consumption | API4:2023 | None | High, Medium |
| `api5-bfla` · Broken Function Level Authorization | API5:2023 | 1+ | Critical |
| `api6-business-flow` · Unrestricted Access to Sensitive Business Flows | API6:2023 | None | Medium |
| `api7-ssrf` · Server-Side Request Forgery | API7:2023 | None | Critical, Medium |
| `api8-misconfig` · Security Misconfiguration | API8:2023 | None | High, Medium |
| `api8-tls-version` · Legacy TLS Version | API8:2023 | None | Medium |
| `api9-inventory` · Improper Inventory Management | API9:2023 | None | Medium |
| `fuzz-schema` · Schema and Body Fuzzing | API4:2023 | None | High, Medium |
| `fuzz-mutation` · Mutation Fuzzing | API4:2023 | None | High, Medium |
Scanners that need personas are disabled in the profile editor until you have enough [personas](https://docs.routebase.dev/personas/) in the project. If a persona-requiring scanner ends up with too few personas assigned at run time, it skips its checks and records that it was skipped in the run progress.
The two fuzzing scanners `fuzz-schema` and `fuzz-mutation` have a second gate. Even when selected, they stay silent until the profile's **Fuzzing intensity** is raised above *Off*. See [Scan profiles](https://docs.routebase.dev/scan-profiles/) for that setting.
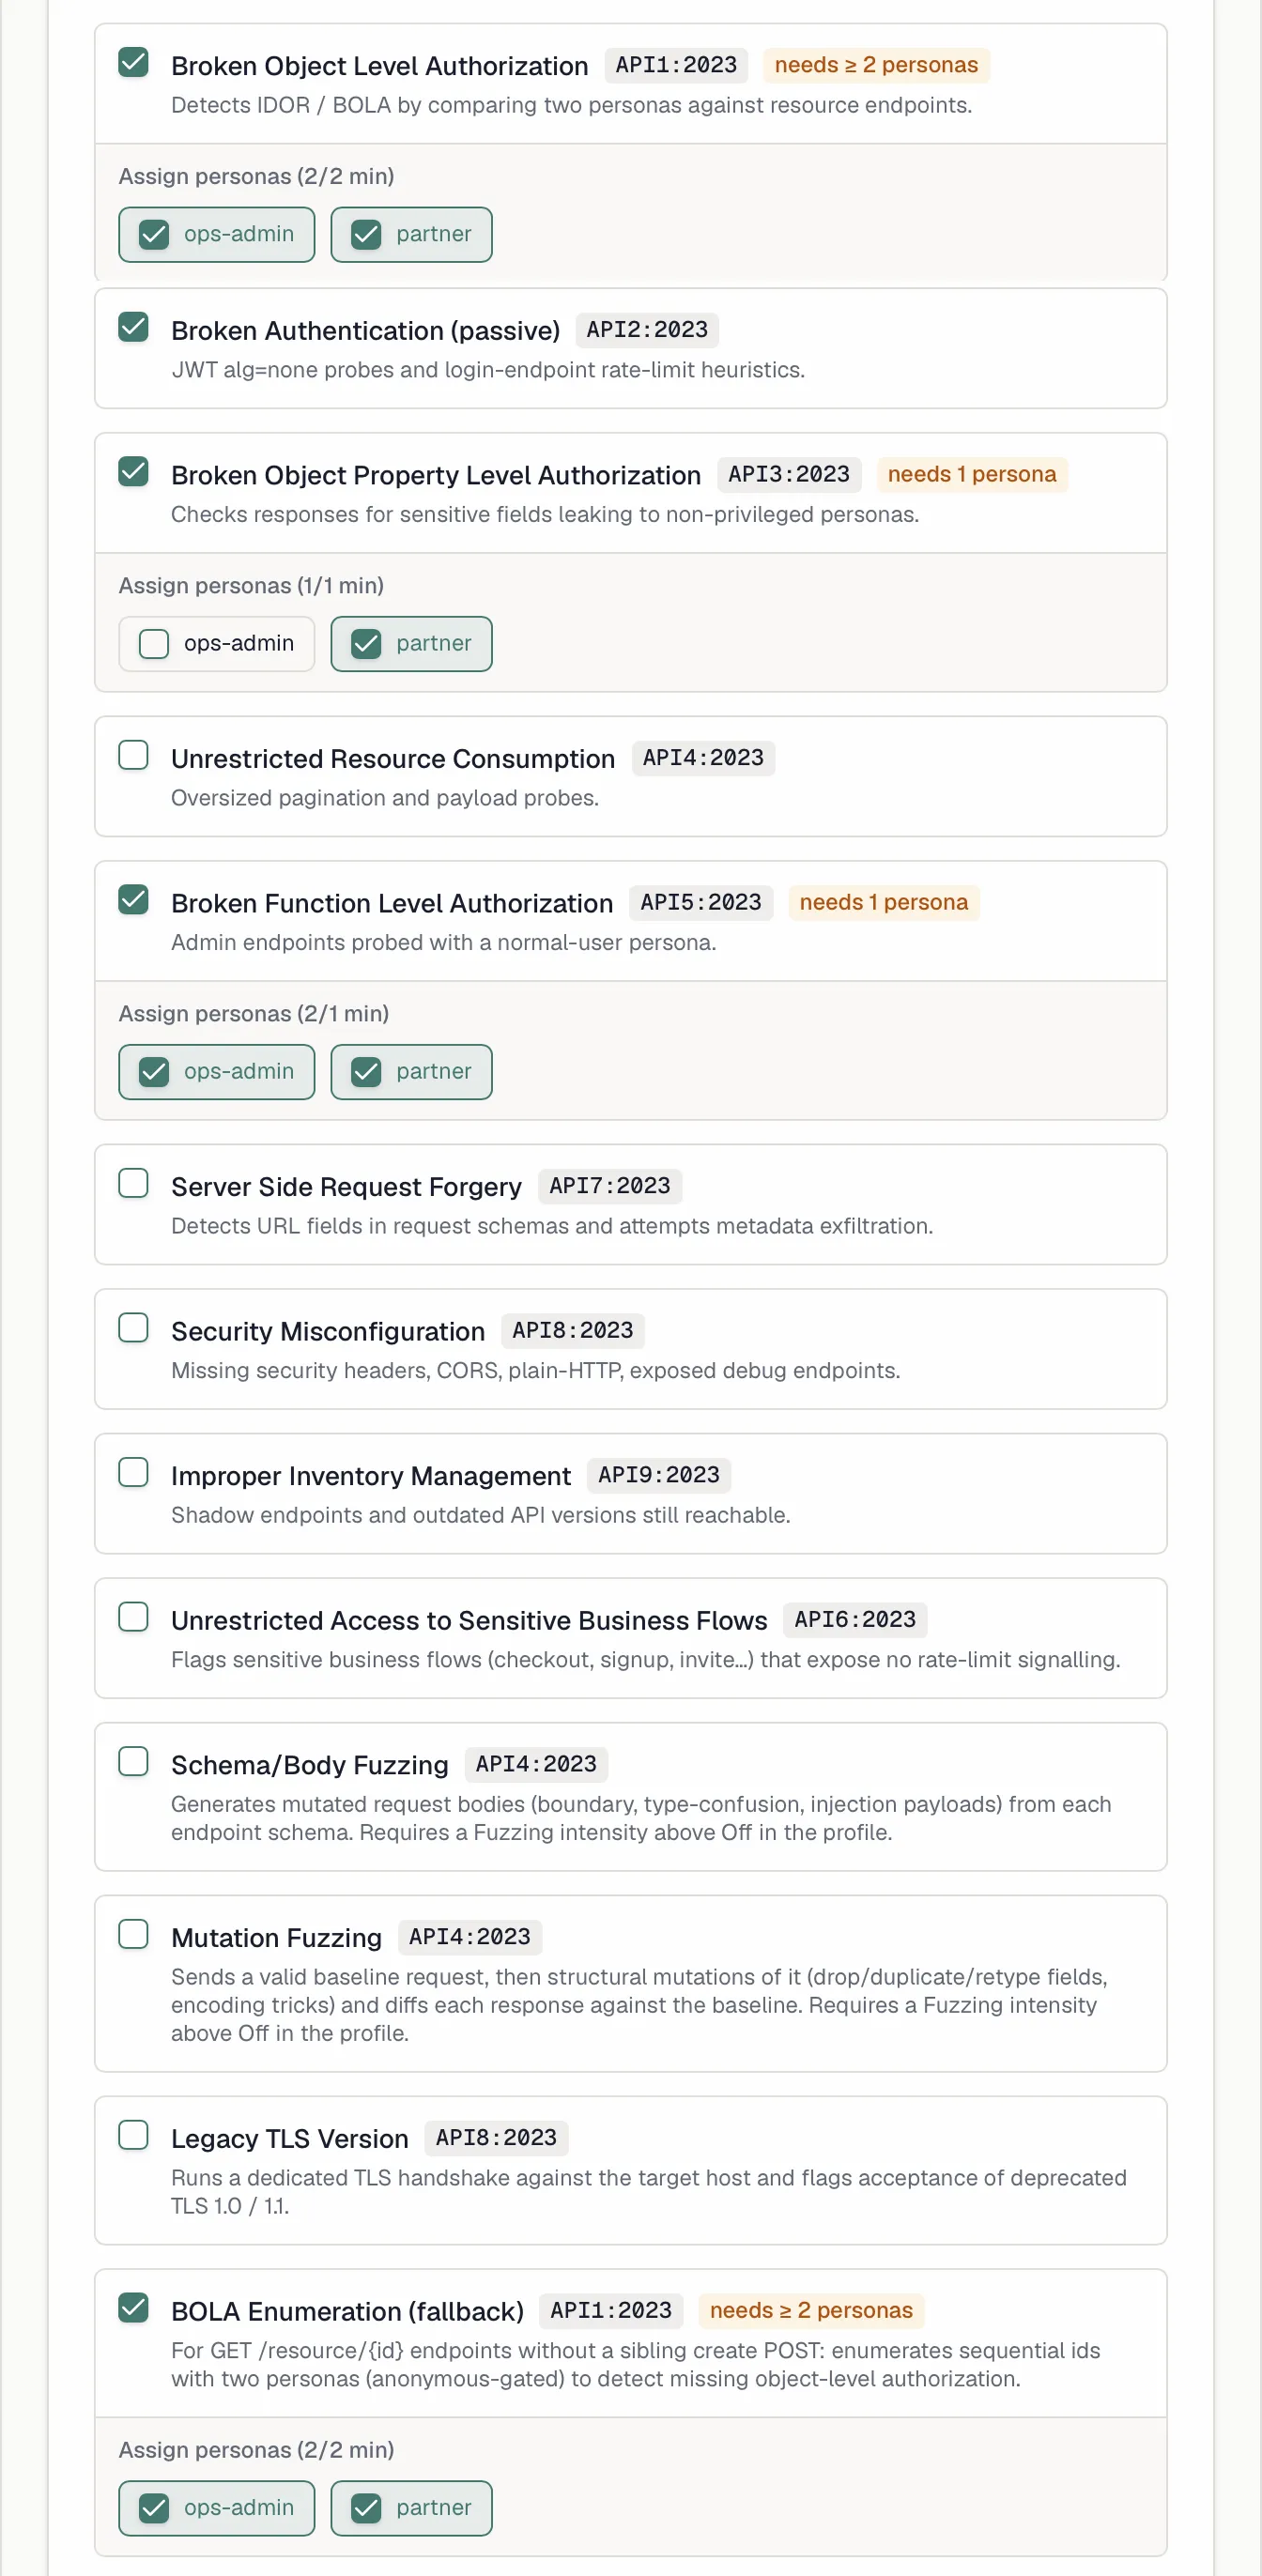
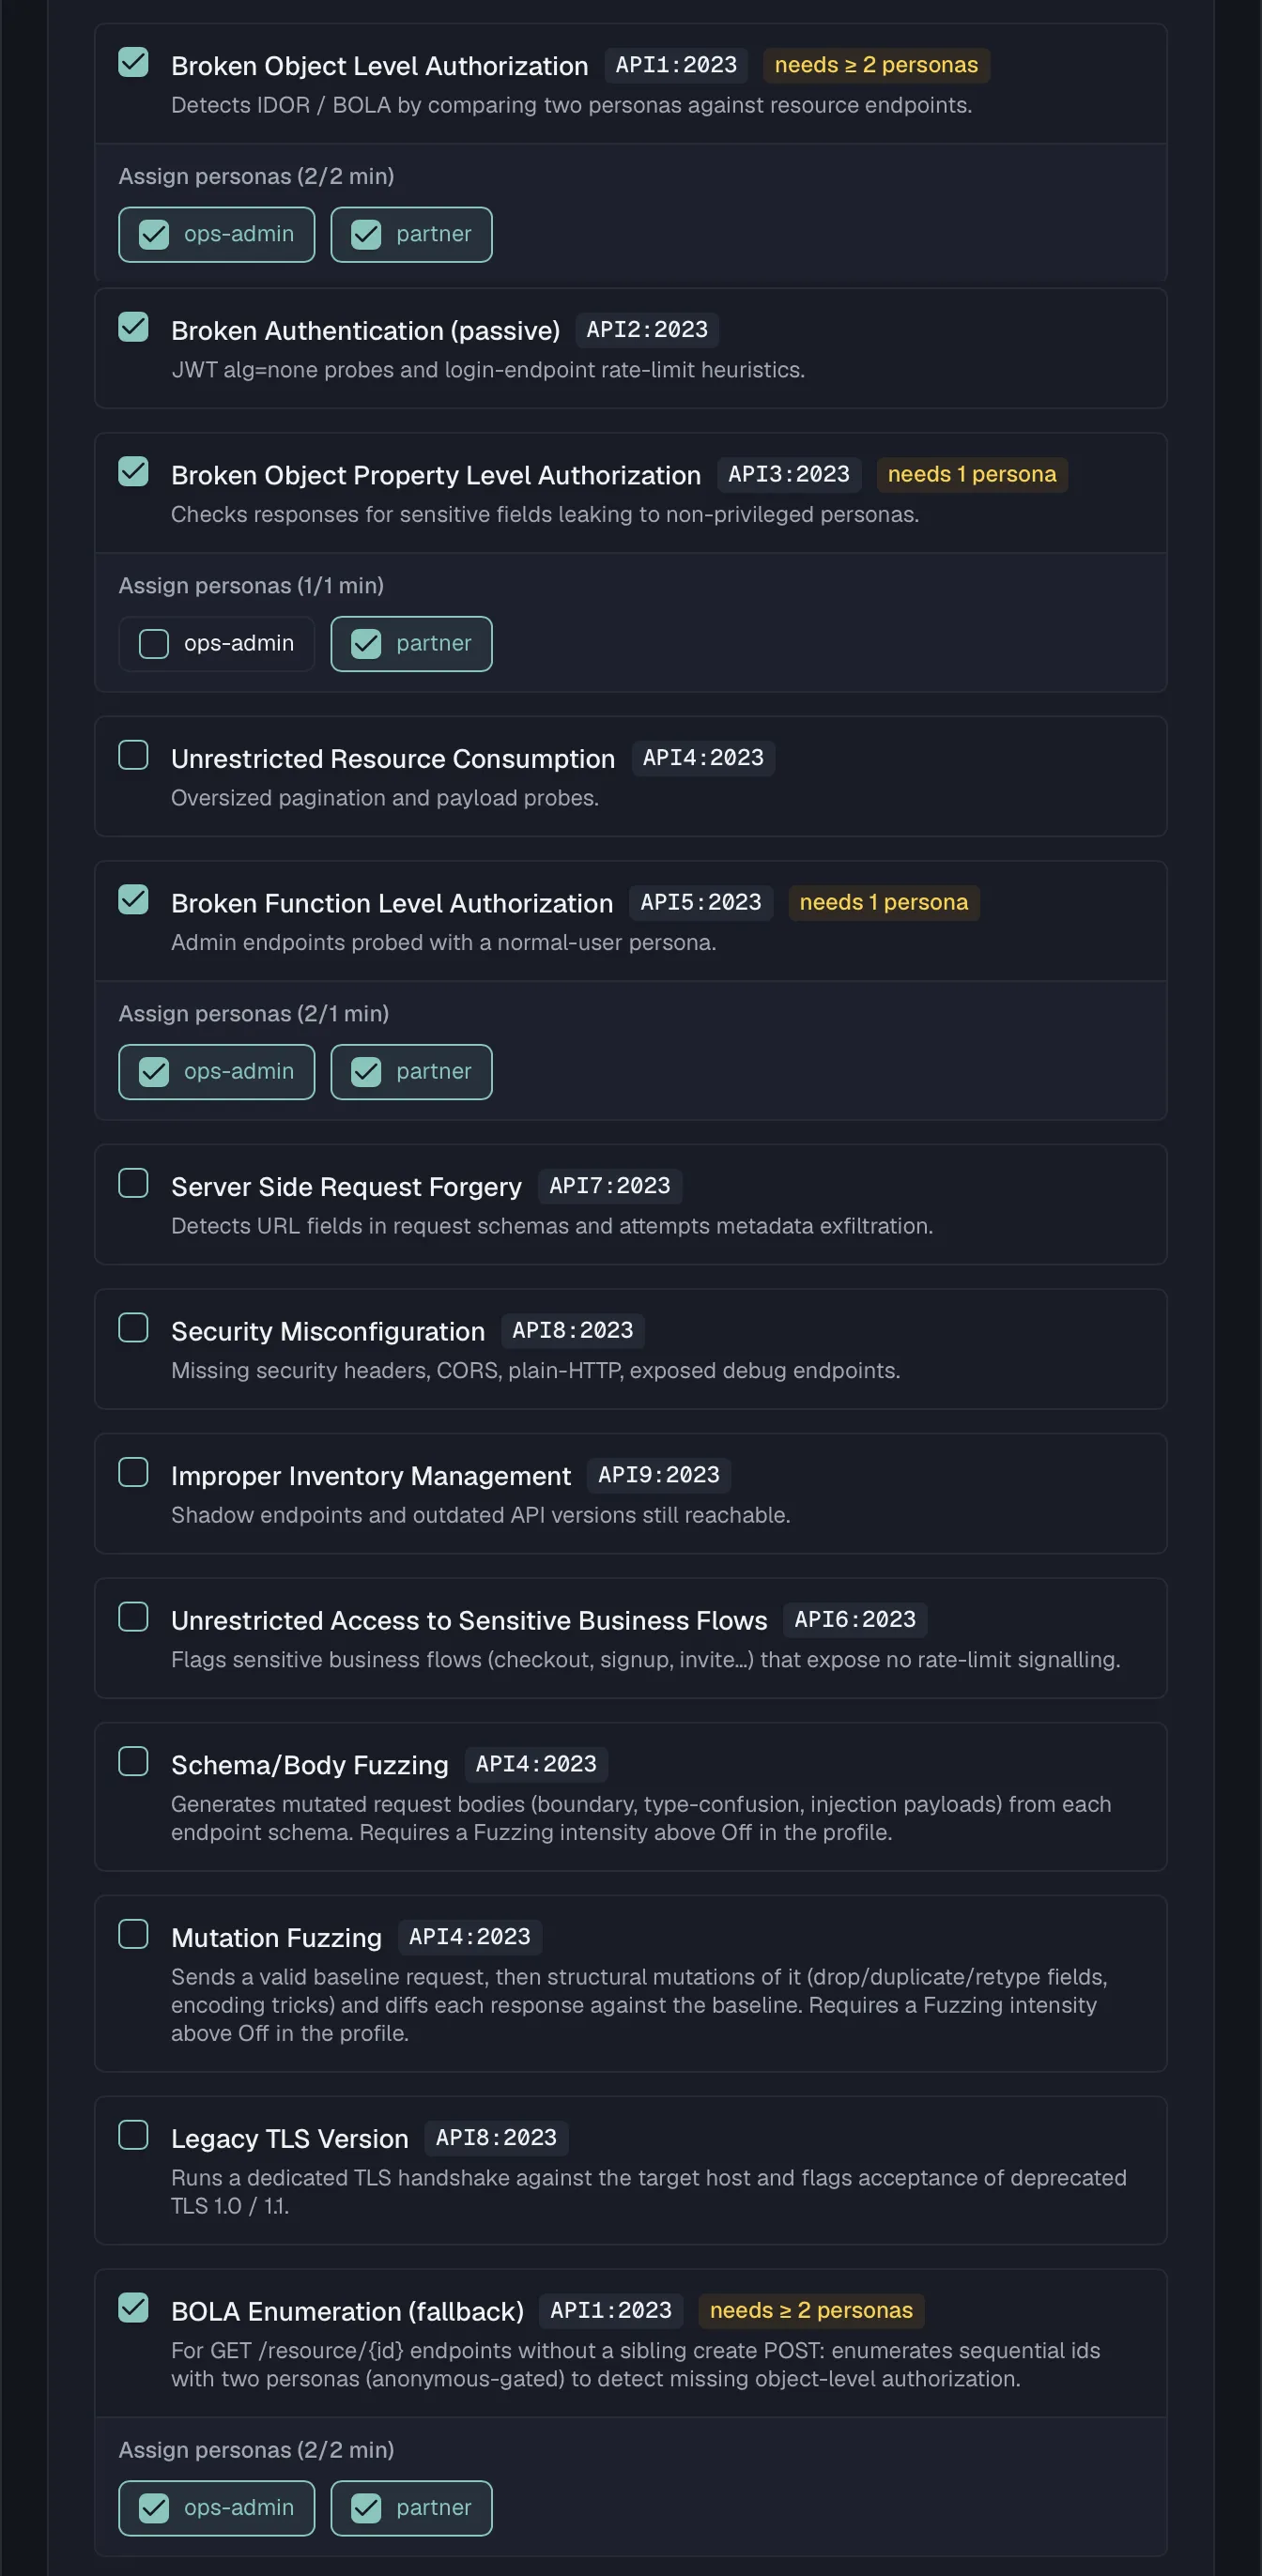 ## API1 — Broken Object Level Authorization (`api1-bola`)
**This scanner requires two or more personas.**
The BOLA scanner uses a create-then-read approach. For each `GET /resource/{id}` endpoint it looks for a matching create endpoint, meaning a `POST /resource` on the collection path. If it finds one, it does three things.
1. It creates a resource as the **first** assigned persona.
2. It extracts the id from the response body, looking for `id`, `uuid`, `publicId`, `_id` and similar keys.
3. It reads that id back as the **second** persona.
If the second persona gets a 2xx response, the endpoint is not enforcing ownership and a **Critical** finding is raised. Endpoints without a matching create endpoint are skipped to keep false positives low, and the scanner probes at most 20 candidate endpoints per run.
**Common false positives** are genuinely public resources, and resources intentionally shared within a team or organization. Assign personas from **different tenants** for the most meaningful results, and exclude known-public resources by picking a spec that does not include them.
## API1 — BOLA Enumeration fallback (`api1-bola-enum`)
**This scanner requires two or more personas.**
This scanner covers the `GET /resource/{id}` endpoints that `api1-bola` skips, which are the ones **without** a sibling create `POST` on the collection path. Instead of create-then-read, it enumerates sequential ids from 1 upward and looks for an endpoint that authenticates the caller but does not authorise per object. Because enumeration is weaker evidence than create-then-read, the heuristic is deliberately conservative:
1. The **enumerable check** has the first persona read ids `1..N`. If the first few return nothing, the id space is not sequentially readable, as with GUIDs, and the endpoint is abandoned.
2. The **anonymous gate** raises no finding if an unauthenticated request can already read a readable id, because the resource is public rather than access-controlled.
3. **Cross-persona identity** requires that the two personas read the **same** objects for several ids, meaning identical response bodies. Those objects also have to be **distinct** from one another, so a single constant response for every id does not trigger it.
When those conditions hold, it raises a **High**, medium-confidence finding. It probes at most 10 endpoints per run.
**Common false positives** are deliberately shared or public catalogues that happen to sit behind auth. Use personas from **different tenants** so a real cross-tenant read is what the scanner is measuring.
## API2 — Broken Authentication (`api2-broken-auth`)
**No personas required.** This scanner is passive and runs two probes.
| Probe | What it does | Severity / confidence |
| --- | --- | --- |
| **JWT `alg=none`** | Sends every `GET` endpoint a bearer token whose header declares `alg: none`. A 2xx response means the server isn't validating the signature. | Critical / Medium |
| **Login rate-limit** | Finds a login-style `POST` endpoint, matching paths such as `login`, `signin`, `authenticate`, `auth/token` and `oauth/token`, then fires up to 20 failed login attempts. If it never sees a `429 Too Many Requests`, it raises a finding. | High / Low |
**Common false positives** come from a gateway or WAF that strips malformed JWTs or rate-limits at the edge above the burst threshold. That hides these issues from the scanner, while the app-layer weakness may still exist behind it.
## API3 — Broken Object Property Level Authorization (`api3-property-auth`)
**This scanner requires one or more personas.**
For each `GET` endpoint and each assigned persona, this scanner parses the JSON response and walks it recursively, matching property names against a dictionary of sensitive field names. A match becomes a finding, with the value truncated to 50 characters in the evidence so nothing sensitive is stored in full.
The dictionary is split into two confidence tiers:
| Confidence | Example field names | Severity |
| --- | --- | --- |
| **High** | `password`, `passwordHash`, `ssn`, `creditCard`, `cvv`, `apiKey`, `secret`, `privateKey`, `stripeCustomerId`, `access_token`, `refresh_token` | High |
| **Medium** | `internalNote`, `internal_id`, `tax_id`, `vat_number`, `phone_number`, `billing_address`, `date_of_birth` | Medium |
**Common false positives** are fields named `token` that are not auth tokens, such as pagination or CSRF tokens, sandbox data that happens to match the patterns, and self-service fields like a user's own `apiKey`. Use personas with a clear privilege gap and review matches in context.
## API4 — Unrestricted Resource Consumption (`api4-resource-consumption`)
**No personas required.** Three probes.
| Probe | What it does | Severity |
| --- | --- | --- |
| **Unbounded pagination** | Sends collection `GET` endpoints `?limit=999999&pageSize=999999`. If the endpoint returns 2xx instead of a 400 or a capped page, it flags the endpoint. | High |
| **Oversized payload** | Sends `POST` endpoints a large JSON body, sized by the profile's **Max probe payload** setting and about 1 MB by default. A 2xx response means it was accepted and a 5xx means it crashed, and both are flagged, because a healthy server should reject it with `413 Payload Too Large`. | High |
| **Rate-limit burst** *(opt-in)* | Fires a short burst of rapid `GET` requests at the first collection endpoint. If it never sees a `429 Too Many Requests`, it flags the endpoint. It runs **only** when the profile's **Enable rate-limit probe** toggle is on, which is off by default because a burst can stress a shared target. | Medium |
The oversized-payload size and the rate-limit-burst opt-in are both set on the scan profile. See [Scan profiles](https://docs.routebase.dev/scan-profiles/).
**Common false positives** are APIs that silently cap results regardless of the requested limit, and endpoints designed to accept large bodies such as file upload or bulk import. A gateway that rate-limits at the edge above the burst threshold also hides the burst probe.
## API5 — Broken Function Level Authorization (`api5-bfla`)
**This scanner requires one or more personas.**
The BFLA scanner classifies endpoints as admin endpoints by a path heuristic. It matches paths containing `/admin`, `/internal`, `/management`, `/manage`, `/system`, `/superuser`, `/sudo` or `/root`, and it also uses spec tags naming those areas once they are present. It then calls each admin-looking endpoint using the assigned normal-user persona. Any 2xx response is a **Critical** finding, because a non-admin reached an admin function, while 400, 401, 403 and 404 are treated as the endpoint correctly rejecting the request.
**Common false positives** are endpoints with `admin` in the path that are intentionally public, such as `/admin/health`, and feature names that happen to contain the word admin. Pick a spec scoped to the surface you actually want tested.
## API6 — Unrestricted Access to Sensitive Business Flows (`api6-business-flow`)
**No personas required.** The scanner flags state-changing endpoints, meaning `POST`, `PUT`, `PATCH` and `DELETE`, whose path or spec tags identify them as a sensitive business flow. It matches keyword tokens such as `checkout`, `purchase`, `order`, `payment`, `transfer`, `signup`, `register`, `invite`, `redeem`, `coupon`, `vote` and `subscribe`.
The probe is deliberately passive. It sends a single `OPTIONS` request per matched endpoint rather than the real write, which would trigger the flow, and it inspects the response headers for rate-limit signalling in `Retry-After`, `X-RateLimit-*` and `RateLimit-*`. If none are present, it raises a **Medium**, low-confidence finding. The absence of those headers is a hint rather than proof that the flow is unthrottled and open to automation abuse such as scalping, spam, coupon abuse or credential stuffing. No burst or flood probe is performed here, since that DoS-shaped check lives behind the opt-in in `api4-resource-consumption`.
**Common false positives** are flows protected by rate-limiting, bot detection or step-up challenges that do not surface a rate-limit header on an `OPTIONS` response. Another is an endpoint whose path merely contains a keyword without being a real flow. Treat every finding as a prompt for a manual check.
## API7 — Server-Side Request Forgery (`api7-ssrf`)
**No personas required.**
This scanner inspects `POST` and `PUT` request body schemas for URL-shaped fields, meaning property names like `url`, `uri`, `link`, `callback`, `webhook`, `redirect`, `target`, `endpoint`, `host`, `image`, `imageUrl`, `fetch` and `src`. For each such field it submits a set of SSRF payloads:
| Payload | Target |
| --- | --- |
| `http://169.254.169.254/latest/meta-data/` | Cloud instance metadata |
| `http://localhost:22` | Internal service probing |
| `file:///etc/passwd` | Local file read |
It detects a hit two ways. A response that **echoes metadata markers** such as cloud metadata fields, SSH banners or `/etc/passwd` contents raises a **Critical** finding. A successful response that takes **longer than 5 seconds** suggests the server made an outbound call, and that raises a **Medium**, low-confidence finding.
**Common false positives** are URL fields validated server-side, where the scanner cannot see the validation. Others are slow responses caused by network latency rather than SSRF, and URL fields the server only stores or displays but never fetches.
## API8 — Security Misconfiguration (`api8-misconfig`)
**No personas required.** Four checks.
| Check | What it looks for | Severity |
| --- | --- | --- |
| **Plain HTTP** | The environment base URL uses `http://` instead of `https://`. | High |
| **Security headers** | Missing `Strict-Transport-Security`, `X-Content-Type-Options`, `X-Frame-Options` or `Content-Security-Policy` on endpoint responses. | Medium |
| **CORS wildcard** | A response returns `Access-Control-Allow-Origin: *`. | High |
| **Debug endpoints** | The paths `/debug`, `/trace`, `/actuator` and `/actuator/health` respond successfully at the base URL. | Medium |
Header and CORS checks probe each endpoint with a `HEAD` request, falling back to `GET`, while the plain-HTTP check produces a single finding for the whole target.
**Common false positives** are internal APIs where a CORS wildcard is acceptable, development environments that intentionally expose debug endpoints, and reverse proxies that add security headers above the origin the scanner sees. Point the scan at the proxied URL for accurate header results.
## API8 — Legacy TLS Version (`api8-tls-version`)
**No personas required.** `api8-misconfig` can only report plain `http://`, because the HTTP client hides the negotiated TLS protocol. This scanner fills that gap. It runs a dedicated TLS handshake against the target host once per run and raises a **Medium**, high-confidence finding only when the host provably completes a handshake using deprecated **TLS 1.0** or **TLS 1.1**. A plain-HTTP base URL is skipped, because there is no TLS layer to probe and `api8-misconfig` already covers it.
TLS 1.0 and TLS 1.1 are deprecated under RFC 8996 and fail modern baselines such as PCI DSS. The remediation is to disable them at the load balancer or reverse proxy and serve TLS 1.2 and above only.
**Common false positives** are none of note, because the finding is only raised on a completed weak-protocol handshake.
## API9 — Improper Inventory Management (`api9-inventory`)
**No personas required.** Two discovery probes, both raising **Medium** findings.
| Probe | What it does |
| --- | --- |
| **Old versions** | If the base URL path contains `/vN`, the scanner requests every lower version from `/v{N-1}` down to `/v0`. Any that responds successfully is flagged as a still-reachable old version. |
| **Shadow endpoints** | Sends `OPTIONS` to `/admin`, `/api/internal`, `/health`, `/metrics`, `/swagger` and `/openapi.json`. A path that answers with 2xx, 401 or 403 is flagged as an undocumented reachable endpoint. |
**Common false positives** are intentionally maintained and patched old versions, plus health and metrics endpoints that are meant to be reachable for monitoring.
## Schema/Body Fuzzing (`fuzz-schema`)
**No personas required. Requires Fuzzing intensity above *Off*** in the profile, because even when selected the scanner sends no requests while intensity is *Off*. See [Scan profiles](https://docs.routebase.dev/scan-profiles/).
For every write endpoint that declares a request-body schema, meaning `POST`, `PUT` and `PATCH`, the scanner generates mutated bodies from that schema and looks for three failure classes. The mutations cover boundary values, type confusion, format violations and an injection dictionary, with more payload classes enabled at higher intensity.
| Failure class | What it means | Severity |
| --- | --- | --- |
| **server-error** | A mutated body drove the handler to a 5xx. | High |
| **type-leak** | The response echoed a stack trace or framework error. | Medium |
| **missing-validation** | A payload a spec-compliant server should reject (wrong type, bad format, out of range) was accepted with a 2xx. | Medium |
Findings are clustered per endpoint, field and error class, so a large payload set produces one finding per real issue rather than a flood. The scanner honours a hard per-scan request cap and the profile's time budget.
**Common false positives** are endpoints that intentionally coerce loose input, and validation performed downstream that the scanner cannot observe.
## Mutation Fuzzing (`fuzz-mutation`)
**No personas required. Requires Fuzzing intensity above *Off*** in the profile, which is the same gate as `fuzz-schema`.
This scanner starts from a **valid** baseline request and sends it. Only if the baseline is accepted with a 2xx does it fire structural mutations, which drop or duplicate fields, retype values and apply encoding tricks, and it diffs each response against the baseline. The baseline comparison is what sets it apart from `fuzz-schema`, because a 5xx here means a mutation broke an endpoint that provably worked a moment earlier. It reports the same three failure classes and severities as `fuzz-schema`, so **server-error** is High while **type-leak** and **missing-validation** are Medium, clustered the same way and under the same request cap and time budget.
**Common false positives** are endpoints with lenient input handling by design, as with `fuzz-schema`.
## Not covered
One OWASP API Security Top 10 category has no scanner:
| Category | Why it isn't automated |
| --- | --- |
| **API10:2023 — Unsafe Consumption of APIs** | Requires analysis of the upstream and third-party APIs your service calls, which are outside the scanner's visibility into your API surface. |
## Related
- [Security overview](https://docs.routebase.dev/security-overview/) — scans, findings, and the security score
- [Security personas](https://docs.routebase.dev/personas/) — the identities that authorization scanners need
- [Scan profiles](https://docs.routebase.dev/scan-profiles/) — selecting scanners and assigning personas
- [Security in CI/CD](https://docs.routebase.dev/security-in-cicd/) — running these scanners from a pipeline and exporting findings as SARIF
---
## Scan Profiles
Source: https://docs.routebase.dev/scan-profiles/
A **scan profile** is a reusable security-scan configuration. It names the target environment and API specification, selects which scanners run, assigns personas to the scanners that need them, and sets the rate limits. You run a profile on demand or give it a schedule to run automatically. Profiles live on the **Scan Profiles** page in the Security area.
For the surrounding workflow of scan runs, findings and scoring, see the [Security overview](https://docs.routebase.dev/security-overview/).
## Permissions
| Action | Permission |
| --- | --- |
| View profiles | **security:read** |
| Create, edit, delete profiles | **security:write** |
| Run a profile | **security:execute** |
Members can see the list but the **Create Profile**, **Edit**, **Run** and delete controls are hidden for them.
## The profile list
Each profile is shown as a card with its name, the number of enabled scanners, an **Enabled** / **Disabled** badge, its description, and its schedule (if any). The card's actions are **Run**, **Edit** and delete. **Run** is disabled while a profile is disabled.
## API1 — Broken Object Level Authorization (`api1-bola`)
**This scanner requires two or more personas.**
The BOLA scanner uses a create-then-read approach. For each `GET /resource/{id}` endpoint it looks for a matching create endpoint, meaning a `POST /resource` on the collection path. If it finds one, it does three things.
1. It creates a resource as the **first** assigned persona.
2. It extracts the id from the response body, looking for `id`, `uuid`, `publicId`, `_id` and similar keys.
3. It reads that id back as the **second** persona.
If the second persona gets a 2xx response, the endpoint is not enforcing ownership and a **Critical** finding is raised. Endpoints without a matching create endpoint are skipped to keep false positives low, and the scanner probes at most 20 candidate endpoints per run.
**Common false positives** are genuinely public resources, and resources intentionally shared within a team or organization. Assign personas from **different tenants** for the most meaningful results, and exclude known-public resources by picking a spec that does not include them.
## API1 — BOLA Enumeration fallback (`api1-bola-enum`)
**This scanner requires two or more personas.**
This scanner covers the `GET /resource/{id}` endpoints that `api1-bola` skips, which are the ones **without** a sibling create `POST` on the collection path. Instead of create-then-read, it enumerates sequential ids from 1 upward and looks for an endpoint that authenticates the caller but does not authorise per object. Because enumeration is weaker evidence than create-then-read, the heuristic is deliberately conservative:
1. The **enumerable check** has the first persona read ids `1..N`. If the first few return nothing, the id space is not sequentially readable, as with GUIDs, and the endpoint is abandoned.
2. The **anonymous gate** raises no finding if an unauthenticated request can already read a readable id, because the resource is public rather than access-controlled.
3. **Cross-persona identity** requires that the two personas read the **same** objects for several ids, meaning identical response bodies. Those objects also have to be **distinct** from one another, so a single constant response for every id does not trigger it.
When those conditions hold, it raises a **High**, medium-confidence finding. It probes at most 10 endpoints per run.
**Common false positives** are deliberately shared or public catalogues that happen to sit behind auth. Use personas from **different tenants** so a real cross-tenant read is what the scanner is measuring.
## API2 — Broken Authentication (`api2-broken-auth`)
**No personas required.** This scanner is passive and runs two probes.
| Probe | What it does | Severity / confidence |
| --- | --- | --- |
| **JWT `alg=none`** | Sends every `GET` endpoint a bearer token whose header declares `alg: none`. A 2xx response means the server isn't validating the signature. | Critical / Medium |
| **Login rate-limit** | Finds a login-style `POST` endpoint, matching paths such as `login`, `signin`, `authenticate`, `auth/token` and `oauth/token`, then fires up to 20 failed login attempts. If it never sees a `429 Too Many Requests`, it raises a finding. | High / Low |
**Common false positives** come from a gateway or WAF that strips malformed JWTs or rate-limits at the edge above the burst threshold. That hides these issues from the scanner, while the app-layer weakness may still exist behind it.
## API3 — Broken Object Property Level Authorization (`api3-property-auth`)
**This scanner requires one or more personas.**
For each `GET` endpoint and each assigned persona, this scanner parses the JSON response and walks it recursively, matching property names against a dictionary of sensitive field names. A match becomes a finding, with the value truncated to 50 characters in the evidence so nothing sensitive is stored in full.
The dictionary is split into two confidence tiers:
| Confidence | Example field names | Severity |
| --- | --- | --- |
| **High** | `password`, `passwordHash`, `ssn`, `creditCard`, `cvv`, `apiKey`, `secret`, `privateKey`, `stripeCustomerId`, `access_token`, `refresh_token` | High |
| **Medium** | `internalNote`, `internal_id`, `tax_id`, `vat_number`, `phone_number`, `billing_address`, `date_of_birth` | Medium |
**Common false positives** are fields named `token` that are not auth tokens, such as pagination or CSRF tokens, sandbox data that happens to match the patterns, and self-service fields like a user's own `apiKey`. Use personas with a clear privilege gap and review matches in context.
## API4 — Unrestricted Resource Consumption (`api4-resource-consumption`)
**No personas required.** Three probes.
| Probe | What it does | Severity |
| --- | --- | --- |
| **Unbounded pagination** | Sends collection `GET` endpoints `?limit=999999&pageSize=999999`. If the endpoint returns 2xx instead of a 400 or a capped page, it flags the endpoint. | High |
| **Oversized payload** | Sends `POST` endpoints a large JSON body, sized by the profile's **Max probe payload** setting and about 1 MB by default. A 2xx response means it was accepted and a 5xx means it crashed, and both are flagged, because a healthy server should reject it with `413 Payload Too Large`. | High |
| **Rate-limit burst** *(opt-in)* | Fires a short burst of rapid `GET` requests at the first collection endpoint. If it never sees a `429 Too Many Requests`, it flags the endpoint. It runs **only** when the profile's **Enable rate-limit probe** toggle is on, which is off by default because a burst can stress a shared target. | Medium |
The oversized-payload size and the rate-limit-burst opt-in are both set on the scan profile. See [Scan profiles](https://docs.routebase.dev/scan-profiles/).
**Common false positives** are APIs that silently cap results regardless of the requested limit, and endpoints designed to accept large bodies such as file upload or bulk import. A gateway that rate-limits at the edge above the burst threshold also hides the burst probe.
## API5 — Broken Function Level Authorization (`api5-bfla`)
**This scanner requires one or more personas.**
The BFLA scanner classifies endpoints as admin endpoints by a path heuristic. It matches paths containing `/admin`, `/internal`, `/management`, `/manage`, `/system`, `/superuser`, `/sudo` or `/root`, and it also uses spec tags naming those areas once they are present. It then calls each admin-looking endpoint using the assigned normal-user persona. Any 2xx response is a **Critical** finding, because a non-admin reached an admin function, while 400, 401, 403 and 404 are treated as the endpoint correctly rejecting the request.
**Common false positives** are endpoints with `admin` in the path that are intentionally public, such as `/admin/health`, and feature names that happen to contain the word admin. Pick a spec scoped to the surface you actually want tested.
## API6 — Unrestricted Access to Sensitive Business Flows (`api6-business-flow`)
**No personas required.** The scanner flags state-changing endpoints, meaning `POST`, `PUT`, `PATCH` and `DELETE`, whose path or spec tags identify them as a sensitive business flow. It matches keyword tokens such as `checkout`, `purchase`, `order`, `payment`, `transfer`, `signup`, `register`, `invite`, `redeem`, `coupon`, `vote` and `subscribe`.
The probe is deliberately passive. It sends a single `OPTIONS` request per matched endpoint rather than the real write, which would trigger the flow, and it inspects the response headers for rate-limit signalling in `Retry-After`, `X-RateLimit-*` and `RateLimit-*`. If none are present, it raises a **Medium**, low-confidence finding. The absence of those headers is a hint rather than proof that the flow is unthrottled and open to automation abuse such as scalping, spam, coupon abuse or credential stuffing. No burst or flood probe is performed here, since that DoS-shaped check lives behind the opt-in in `api4-resource-consumption`.
**Common false positives** are flows protected by rate-limiting, bot detection or step-up challenges that do not surface a rate-limit header on an `OPTIONS` response. Another is an endpoint whose path merely contains a keyword without being a real flow. Treat every finding as a prompt for a manual check.
## API7 — Server-Side Request Forgery (`api7-ssrf`)
**No personas required.**
This scanner inspects `POST` and `PUT` request body schemas for URL-shaped fields, meaning property names like `url`, `uri`, `link`, `callback`, `webhook`, `redirect`, `target`, `endpoint`, `host`, `image`, `imageUrl`, `fetch` and `src`. For each such field it submits a set of SSRF payloads:
| Payload | Target |
| --- | --- |
| `http://169.254.169.254/latest/meta-data/` | Cloud instance metadata |
| `http://localhost:22` | Internal service probing |
| `file:///etc/passwd` | Local file read |
It detects a hit two ways. A response that **echoes metadata markers** such as cloud metadata fields, SSH banners or `/etc/passwd` contents raises a **Critical** finding. A successful response that takes **longer than 5 seconds** suggests the server made an outbound call, and that raises a **Medium**, low-confidence finding.
**Common false positives** are URL fields validated server-side, where the scanner cannot see the validation. Others are slow responses caused by network latency rather than SSRF, and URL fields the server only stores or displays but never fetches.
## API8 — Security Misconfiguration (`api8-misconfig`)
**No personas required.** Four checks.
| Check | What it looks for | Severity |
| --- | --- | --- |
| **Plain HTTP** | The environment base URL uses `http://` instead of `https://`. | High |
| **Security headers** | Missing `Strict-Transport-Security`, `X-Content-Type-Options`, `X-Frame-Options` or `Content-Security-Policy` on endpoint responses. | Medium |
| **CORS wildcard** | A response returns `Access-Control-Allow-Origin: *`. | High |
| **Debug endpoints** | The paths `/debug`, `/trace`, `/actuator` and `/actuator/health` respond successfully at the base URL. | Medium |
Header and CORS checks probe each endpoint with a `HEAD` request, falling back to `GET`, while the plain-HTTP check produces a single finding for the whole target.
**Common false positives** are internal APIs where a CORS wildcard is acceptable, development environments that intentionally expose debug endpoints, and reverse proxies that add security headers above the origin the scanner sees. Point the scan at the proxied URL for accurate header results.
## API8 — Legacy TLS Version (`api8-tls-version`)
**No personas required.** `api8-misconfig` can only report plain `http://`, because the HTTP client hides the negotiated TLS protocol. This scanner fills that gap. It runs a dedicated TLS handshake against the target host once per run and raises a **Medium**, high-confidence finding only when the host provably completes a handshake using deprecated **TLS 1.0** or **TLS 1.1**. A plain-HTTP base URL is skipped, because there is no TLS layer to probe and `api8-misconfig` already covers it.
TLS 1.0 and TLS 1.1 are deprecated under RFC 8996 and fail modern baselines such as PCI DSS. The remediation is to disable them at the load balancer or reverse proxy and serve TLS 1.2 and above only.
**Common false positives** are none of note, because the finding is only raised on a completed weak-protocol handshake.
## API9 — Improper Inventory Management (`api9-inventory`)
**No personas required.** Two discovery probes, both raising **Medium** findings.
| Probe | What it does |
| --- | --- |
| **Old versions** | If the base URL path contains `/vN`, the scanner requests every lower version from `/v{N-1}` down to `/v0`. Any that responds successfully is flagged as a still-reachable old version. |
| **Shadow endpoints** | Sends `OPTIONS` to `/admin`, `/api/internal`, `/health`, `/metrics`, `/swagger` and `/openapi.json`. A path that answers with 2xx, 401 or 403 is flagged as an undocumented reachable endpoint. |
**Common false positives** are intentionally maintained and patched old versions, plus health and metrics endpoints that are meant to be reachable for monitoring.
## Schema/Body Fuzzing (`fuzz-schema`)
**No personas required. Requires Fuzzing intensity above *Off*** in the profile, because even when selected the scanner sends no requests while intensity is *Off*. See [Scan profiles](https://docs.routebase.dev/scan-profiles/).
For every write endpoint that declares a request-body schema, meaning `POST`, `PUT` and `PATCH`, the scanner generates mutated bodies from that schema and looks for three failure classes. The mutations cover boundary values, type confusion, format violations and an injection dictionary, with more payload classes enabled at higher intensity.
| Failure class | What it means | Severity |
| --- | --- | --- |
| **server-error** | A mutated body drove the handler to a 5xx. | High |
| **type-leak** | The response echoed a stack trace or framework error. | Medium |
| **missing-validation** | A payload a spec-compliant server should reject (wrong type, bad format, out of range) was accepted with a 2xx. | Medium |
Findings are clustered per endpoint, field and error class, so a large payload set produces one finding per real issue rather than a flood. The scanner honours a hard per-scan request cap and the profile's time budget.
**Common false positives** are endpoints that intentionally coerce loose input, and validation performed downstream that the scanner cannot observe.
## Mutation Fuzzing (`fuzz-mutation`)
**No personas required. Requires Fuzzing intensity above *Off*** in the profile, which is the same gate as `fuzz-schema`.
This scanner starts from a **valid** baseline request and sends it. Only if the baseline is accepted with a 2xx does it fire structural mutations, which drop or duplicate fields, retype values and apply encoding tricks, and it diffs each response against the baseline. The baseline comparison is what sets it apart from `fuzz-schema`, because a 5xx here means a mutation broke an endpoint that provably worked a moment earlier. It reports the same three failure classes and severities as `fuzz-schema`, so **server-error** is High while **type-leak** and **missing-validation** are Medium, clustered the same way and under the same request cap and time budget.
**Common false positives** are endpoints with lenient input handling by design, as with `fuzz-schema`.
## Not covered
One OWASP API Security Top 10 category has no scanner:
| Category | Why it isn't automated |
| --- | --- |
| **API10:2023 — Unsafe Consumption of APIs** | Requires analysis of the upstream and third-party APIs your service calls, which are outside the scanner's visibility into your API surface. |
## Related
- [Security overview](https://docs.routebase.dev/security-overview/) — scans, findings, and the security score
- [Security personas](https://docs.routebase.dev/personas/) — the identities that authorization scanners need
- [Scan profiles](https://docs.routebase.dev/scan-profiles/) — selecting scanners and assigning personas
- [Security in CI/CD](https://docs.routebase.dev/security-in-cicd/) — running these scanners from a pipeline and exporting findings as SARIF
---
## Scan Profiles
Source: https://docs.routebase.dev/scan-profiles/
A **scan profile** is a reusable security-scan configuration. It names the target environment and API specification, selects which scanners run, assigns personas to the scanners that need them, and sets the rate limits. You run a profile on demand or give it a schedule to run automatically. Profiles live on the **Scan Profiles** page in the Security area.
For the surrounding workflow of scan runs, findings and scoring, see the [Security overview](https://docs.routebase.dev/security-overview/).
## Permissions
| Action | Permission |
| --- | --- |
| View profiles | **security:read** |
| Create, edit, delete profiles | **security:write** |
| Run a profile | **security:execute** |
Members can see the list but the **Create Profile**, **Edit**, **Run** and delete controls are hidden for them.
## The profile list
Each profile is shown as a card with its name, the number of enabled scanners, an **Enabled** / **Disabled** badge, its description, and its schedule (if any). The card's actions are **Run**, **Edit** and delete. **Run** is disabled while a profile is disabled.
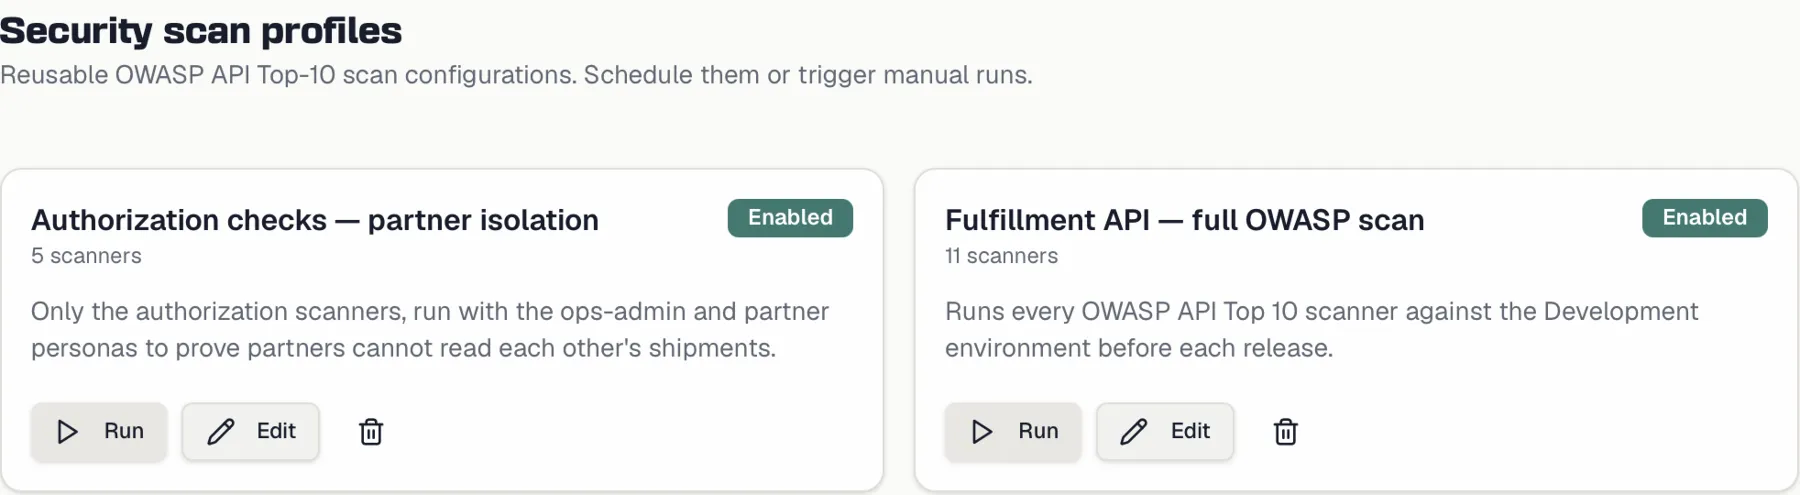
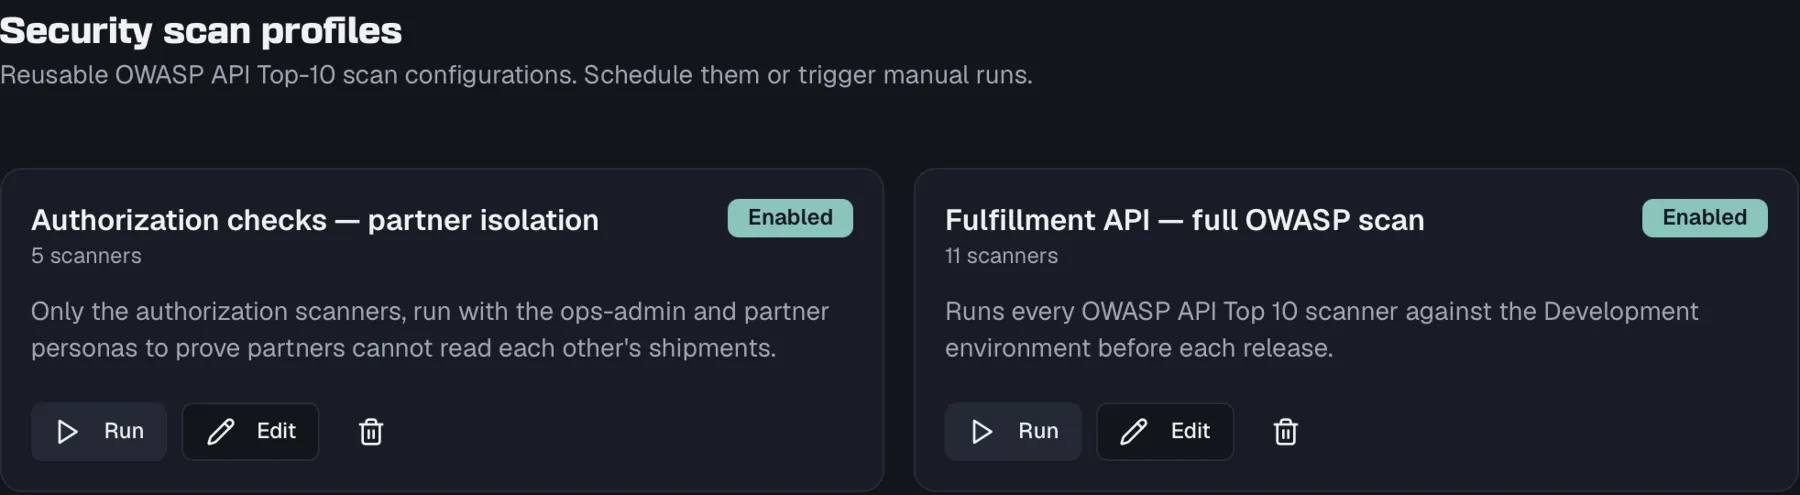 ## Creating a profile
Click **Create Profile** to open the editor. It has three sections when creating, and a fourth section for schedule and notifications appears once the profile exists.
### Profile
| Field | Description |
| --- | --- |
| **Name** | Required. A descriptive label, e.g. "Nightly OWASP baseline". |
| **Description** | Optional free text. |
| **Target environment** | Required. The [environment](https://docs.routebase.dev/environments/) whose base URL the scan runs against. |
| **API specification** | Required. Which spec's endpoints the scanners test. |
The target environment must have a base URL, and its API must be running and reachable from Routebase for a scan to produce results.
### Scanners
Enable the scanners you want by ticking their checkboxes. Each row shows the scanner name, its OWASP category and, for scanners that need personas, a badge indicating how many. You must enable **at least one** scanner.
## Creating a profile
Click **Create Profile** to open the editor. It has three sections when creating, and a fourth section for schedule and notifications appears once the profile exists.
### Profile
| Field | Description |
| --- | --- |
| **Name** | Required. A descriptive label, e.g. "Nightly OWASP baseline". |
| **Description** | Optional free text. |
| **Target environment** | Required. The [environment](https://docs.routebase.dev/environments/) whose base URL the scan runs against. |
| **API specification** | Required. Which spec's endpoints the scanners test. |
The target environment must have a base URL, and its API must be running and reachable from Routebase for a scan to produce results.
### Scanners
Enable the scanners you want by ticking their checkboxes. Each row shows the scanner name, its OWASP category and, for scanners that need personas, a badge indicating how many. You must enable **at least one** scanner.
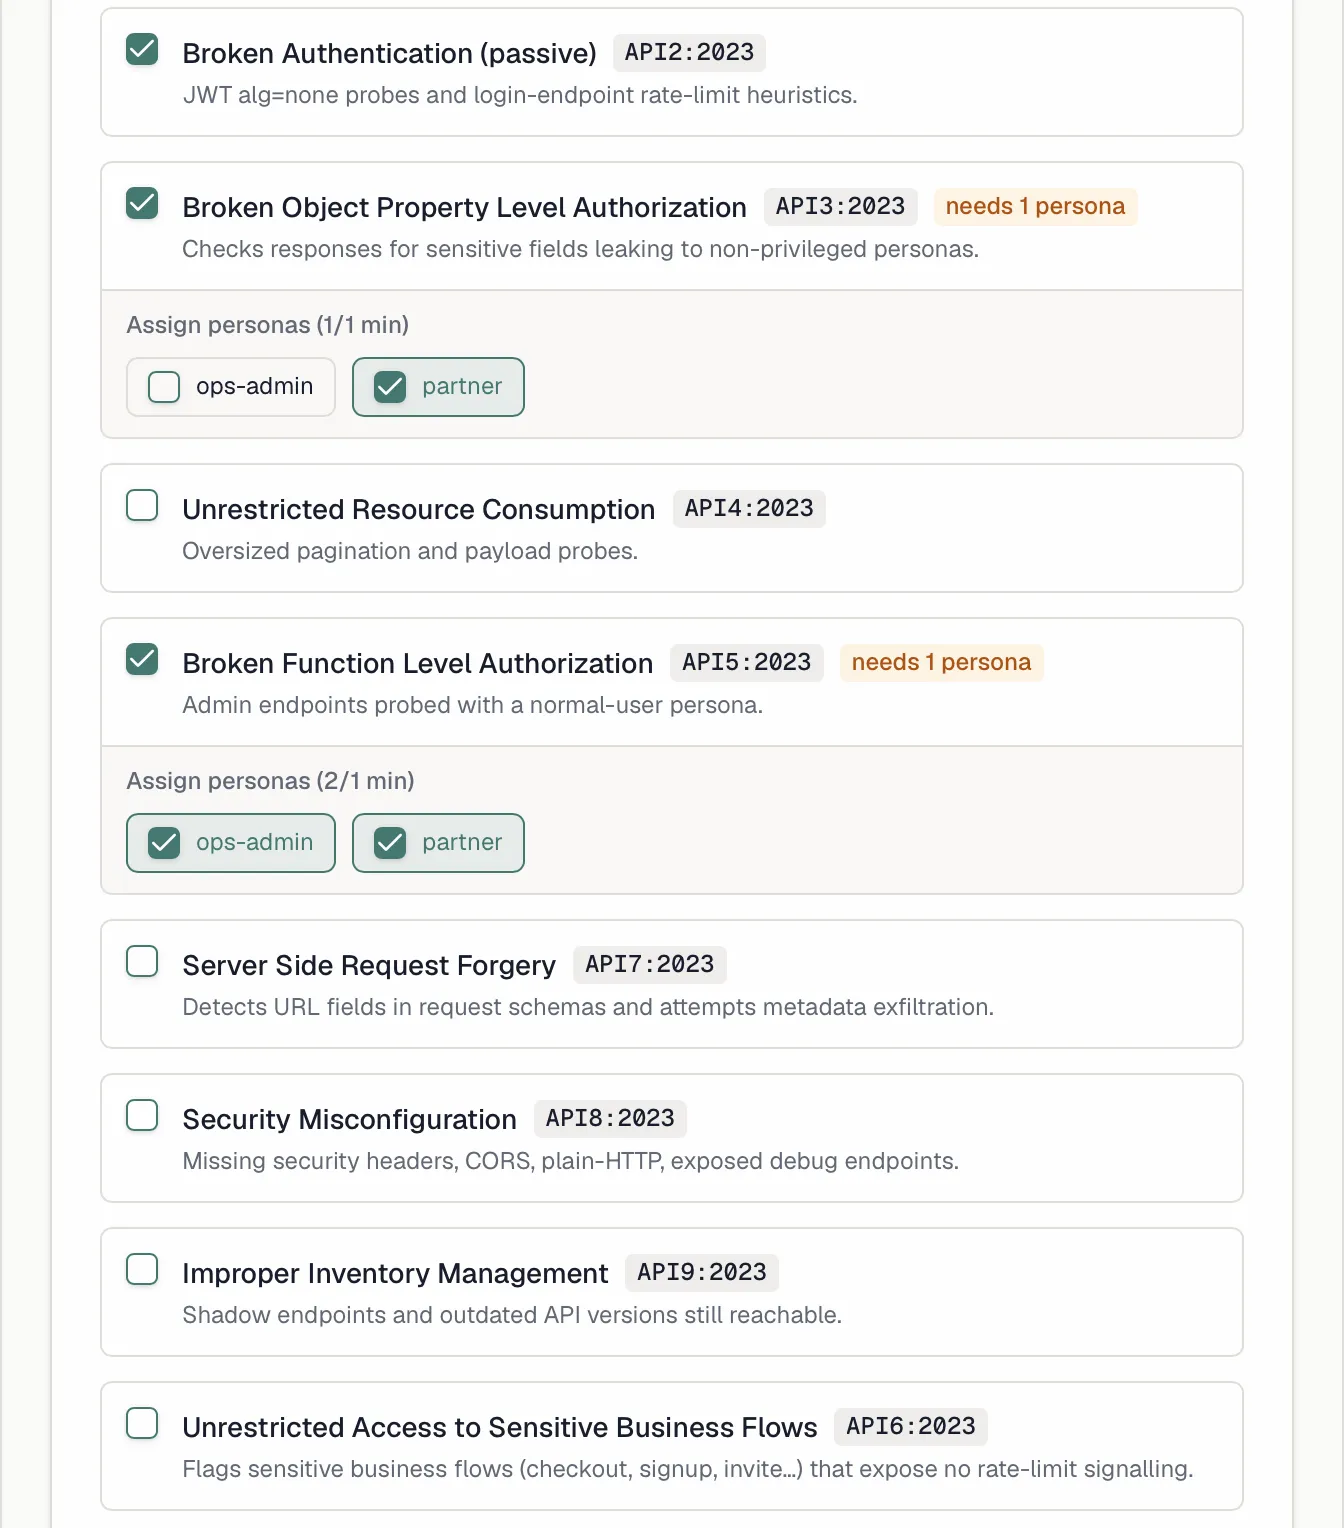
 Scanners that require personas (`api1-bola`, `api1-bola-enum`, `api3-property-auth`, `api5-bfla`) behave specially:
- If the project has **no personas**, those rows are locked with a link to configure [personas](https://docs.routebase.dev/personas/) first.
- Once personas exist and you enable such a scanner, a **persona picker** appears under it. Assign personas by ticking them, and the picker shows how many you've assigned against the minimum. `api1-bola` and `api1-bola-enum` each need **at least 2**, while `api3-property-auth` and `api5-bfla` each need **at least 1**.
The editor won't let you save if an enabled persona-requiring scanner has fewer personas assigned than its minimum. Persona assignments are stored by persona **name**, which is why renaming an in-use persona breaks a profile.
Scanners that require personas (`api1-bola`, `api1-bola-enum`, `api3-property-auth`, `api5-bfla`) behave specially:
- If the project has **no personas**, those rows are locked with a link to configure [personas](https://docs.routebase.dev/personas/) first.
- Once personas exist and you enable such a scanner, a **persona picker** appears under it. Assign personas by ticking them, and the picker shows how many you've assigned against the minimum. `api1-bola` and `api1-bola-enum` each need **at least 2**, while `api3-property-auth` and `api5-bfla` each need **at least 1**.
The editor won't let you save if an enabled persona-requiring scanner has fewer personas assigned than its minimum. Persona assignments are stored by persona **name**, which is why renaming an in-use persona breaks a profile.
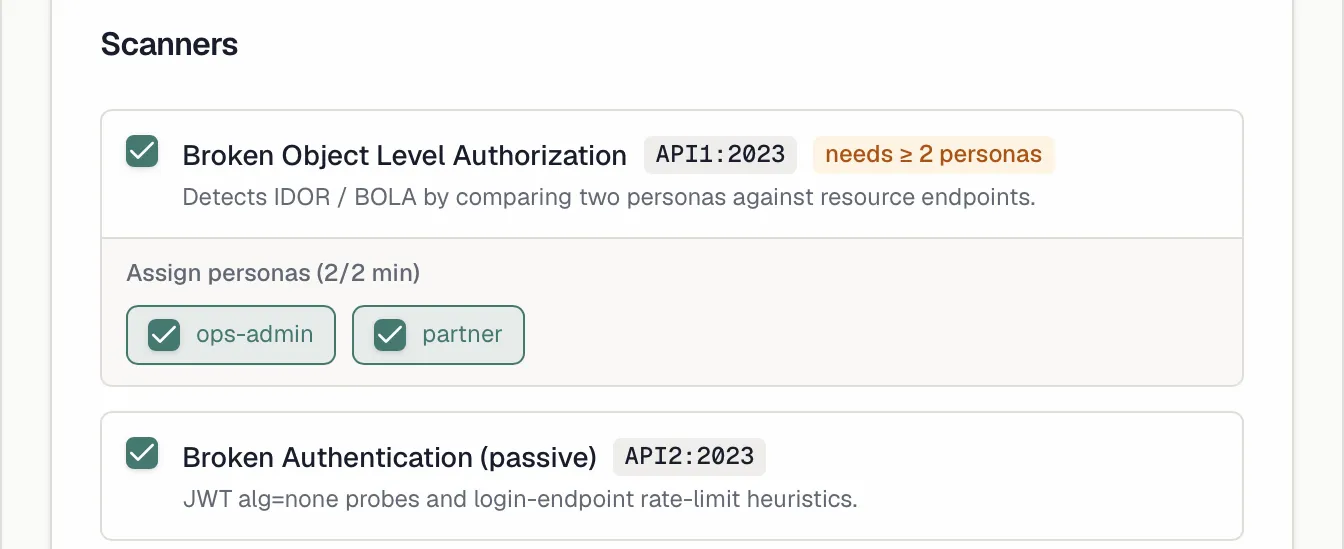
 ### Rate limits
Control how hard the scan hits the target:
| Setting | Default | Range | Meaning |
| --- | ---: | --- | --- |
| **Max concurrent requests** | 5 | 1–50 | How many requests are in flight at once. |
| **Request delay (ms)** | 200 | 0–10000 | Minimum delay between consecutive requests. |
| **Time budget (seconds)** | 600 | 30–3600 | Maximum wall-clock time for the scan. |
Lower concurrency and a higher delay are gentler on the target, so use conservative values for anything close to production. When the time budget is reached, the scan stops and saves the results it has.
The same section carries three settings that tune specific scanners:
| Setting | Default | Meaning |
| --- | --- | --- |
| **Max probe payload (KB)** | 1024 (1 MB) | Size of the oversized-body probe the `api4-resource-consumption` scanner sends. Configurable from 1 KB up to 10 MB. |
| **Enable rate-limit probe** | Off | When on, `api4-resource-consumption` also fires a short burst of requests at the first collection endpoint to check for missing rate limiting. Off by default because a burst can stress a shared target, so only enable it against environments you own. |
| **Fuzzing intensity** | Off | Gates the two fuzzing scanners (`fuzz-schema`, `fuzz-mutation`). At *Off* they send **no** requests even when selected. *Low*, *Medium* and *High* progressively enable more payload classes and a larger per-scan request budget. Because fuzzing fires many mutated requests, only raise this against environments you own. |
Selecting a fuzzing scanner alone does nothing until **Fuzzing intensity** is above *Off*, because the two settings work together. See the [Scanner reference](https://docs.routebase.dev/scanner-reference/) for what each fuzzer probes.
Click **Create profile** to save. The new profile starts **enabled** with no schedule.
## Scheduling and notifications
Scheduling and notification settings are only available when **editing an existing profile**, so they don't appear in the create form. The pattern is to create the profile and then reopen it with **Edit** to add a schedule or change notifications.
The **Schedule & notifications** section has:
| Setting | Description |
| --- | --- |
| **Cron schedule (local time)** | A cron expression, e.g. `0 3 * * *` for daily at 3 AM. Leave blank to run the profile manually only. The expression is validated on save. |
| **Notify on critical findings** | Send scan and finding notifications when critical issues are detected. |
| **Notify on high findings** | Extend notifications to high-severity findings and summary events. |
| **Enabled** | When off, the profile is skipped by both the scheduler and manual runs. |
Scheduled runs use the same settings as a manual run and appear in the same scan history. Deleting a profile also removes its recurring schedule.
### Rate limits
Control how hard the scan hits the target:
| Setting | Default | Range | Meaning |
| --- | ---: | --- | --- |
| **Max concurrent requests** | 5 | 1–50 | How many requests are in flight at once. |
| **Request delay (ms)** | 200 | 0–10000 | Minimum delay between consecutive requests. |
| **Time budget (seconds)** | 600 | 30–3600 | Maximum wall-clock time for the scan. |
Lower concurrency and a higher delay are gentler on the target, so use conservative values for anything close to production. When the time budget is reached, the scan stops and saves the results it has.
The same section carries three settings that tune specific scanners:
| Setting | Default | Meaning |
| --- | --- | --- |
| **Max probe payload (KB)** | 1024 (1 MB) | Size of the oversized-body probe the `api4-resource-consumption` scanner sends. Configurable from 1 KB up to 10 MB. |
| **Enable rate-limit probe** | Off | When on, `api4-resource-consumption` also fires a short burst of requests at the first collection endpoint to check for missing rate limiting. Off by default because a burst can stress a shared target, so only enable it against environments you own. |
| **Fuzzing intensity** | Off | Gates the two fuzzing scanners (`fuzz-schema`, `fuzz-mutation`). At *Off* they send **no** requests even when selected. *Low*, *Medium* and *High* progressively enable more payload classes and a larger per-scan request budget. Because fuzzing fires many mutated requests, only raise this against environments you own. |
Selecting a fuzzing scanner alone does nothing until **Fuzzing intensity** is above *Off*, because the two settings work together. See the [Scanner reference](https://docs.routebase.dev/scanner-reference/) for what each fuzzer probes.
Click **Create profile** to save. The new profile starts **enabled** with no schedule.
## Scheduling and notifications
Scheduling and notification settings are only available when **editing an existing profile**, so they don't appear in the create form. The pattern is to create the profile and then reopen it with **Edit** to add a schedule or change notifications.
The **Schedule & notifications** section has:
| Setting | Description |
| --- | --- |
| **Cron schedule (local time)** | A cron expression, e.g. `0 3 * * *` for daily at 3 AM. Leave blank to run the profile manually only. The expression is validated on save. |
| **Notify on critical findings** | Send scan and finding notifications when critical issues are detected. |
| **Notify on high findings** | Extend notifications to high-severity findings and summary events. |
| **Enabled** | When off, the profile is skipped by both the scheduler and manual runs. |
Scheduled runs use the same settings as a manual run and appear in the same scan history. Deleting a profile also removes its recurring schedule.
 ## Running a profile
To run a scan manually, click **Run** on an enabled profile (requires **security:execute**). The scan is queued and you're taken to the live [scan run view](https://docs.routebase.dev/security-overview/), which updates automatically while the scan progresses and lets you cancel it. A profile that is disabled can't be run, so enable it first.
## Editing and deleting
- **Edit** reopens the full editor, including the schedule and notifications section.
- **Delete** removes the profile and its schedule after a confirmation prompt. Past scan runs and their findings are kept.
## Limits
How many scan profiles a project can hold depends on your plan, with **10** on Pro and unlimited on Enterprise. That covers separate environments and scan strategies such as a quick smoke profile and a full nightly profile. Creating one past the limit is rejected, so delete an unused profile to make room.
## Related
- [Security overview](https://docs.routebase.dev/security-overview/) — scan runs, findings, and the security score
- [Scanner reference](https://docs.routebase.dev/scanner-reference/) — what each scanner you enable actually checks
- [Security personas](https://docs.routebase.dev/personas/) — the identities you assign to authorization scanners
- [Security in CI/CD](https://docs.routebase.dev/security-in-cicd/) — running a profile from a pipeline instead of a cron schedule
- [Environments](https://docs.routebase.dev/environments/) — the scan target's base URL
---
## Scheduling
Source: https://docs.routebase.dev/scheduling/
Scheduled test runs execute a test suite automatically on a cron schedule, such as nightly regression runs, hourly smoke tests or weekday-morning health checks, without anyone clicking **Run All**. Combined with webhooks for failure notifications and ready-made CI/CD snippets, they turn your suites into continuous monitoring for your API.
Scheduled test runs are available on the **Starter** plan and above. On the Free plan the schedule dialog shows a **Starter Feature** notice with a **View Plans** link.
## Where schedules live
Schedules are per suite. Open the suite in the **Test Runner**, click **Suite Settings** at the bottom of the sidebar, and scroll to the **Schedules** section. Before the first schedule you'll see **No scheduled runs configured** with a **Create First Schedule** button. Afterwards a table lists each schedule with its **Name**, its **Schedule** as a cron expression, **Next Run**, **Last Run**, an **Enabled** toggle and **Actions**.
## Creating a schedule
Click **Add Schedule** (requires the **tests:write** permission):
| Field | Meaning |
| --- | --- |
| **Name** | Required, for example `Daily morning tests`. |
| **Description** | Optional. |
| **Cron Expression** | Required, as a standard 5-field cron reading `minute hour day month weekday`, for example `0 8 * * 1-5` for 8 AM on weekdays. Invalid expressions are rejected with an inline error. |
| **Timezone** | The timezone the cron times are interpreted in. The default is **UTC**, and common zones such as Europe/Berlin, America/New_York and Asia/Tokyo are available. |
| **Environment** | Which environment's base URL, variables and auth the scheduled run uses, or **None (use defaults)**. |
| **Enabled** | "Schedule will run automatically when enabled." |
The **Presets** button fills in common schedules, each with a human-readable preview:
| Preset | Cron |
| --- | --- |
| Every hour | `0 * * * *` |
| Every 6 hours | `0 */6 * * *` |
| Daily at midnight | `0 0 * * *` |
| Daily at 8 AM | `0 8 * * *` |
| Daily at 6 PM | `0 18 * * *` |
| Weekly on Monday | `0 0 * * 1` |
| Weekly on Friday | `0 18 * * 5` |
| Monthly on 1st | `0 0 1 * *` |
| Monthly on 15th | `0 0 15 * *` |
## Running a profile
To run a scan manually, click **Run** on an enabled profile (requires **security:execute**). The scan is queued and you're taken to the live [scan run view](https://docs.routebase.dev/security-overview/), which updates automatically while the scan progresses and lets you cancel it. A profile that is disabled can't be run, so enable it first.
## Editing and deleting
- **Edit** reopens the full editor, including the schedule and notifications section.
- **Delete** removes the profile and its schedule after a confirmation prompt. Past scan runs and their findings are kept.
## Limits
How many scan profiles a project can hold depends on your plan, with **10** on Pro and unlimited on Enterprise. That covers separate environments and scan strategies such as a quick smoke profile and a full nightly profile. Creating one past the limit is rejected, so delete an unused profile to make room.
## Related
- [Security overview](https://docs.routebase.dev/security-overview/) — scan runs, findings, and the security score
- [Scanner reference](https://docs.routebase.dev/scanner-reference/) — what each scanner you enable actually checks
- [Security personas](https://docs.routebase.dev/personas/) — the identities you assign to authorization scanners
- [Security in CI/CD](https://docs.routebase.dev/security-in-cicd/) — running a profile from a pipeline instead of a cron schedule
- [Environments](https://docs.routebase.dev/environments/) — the scan target's base URL
---
## Scheduling
Source: https://docs.routebase.dev/scheduling/
Scheduled test runs execute a test suite automatically on a cron schedule, such as nightly regression runs, hourly smoke tests or weekday-morning health checks, without anyone clicking **Run All**. Combined with webhooks for failure notifications and ready-made CI/CD snippets, they turn your suites into continuous monitoring for your API.
Scheduled test runs are available on the **Starter** plan and above. On the Free plan the schedule dialog shows a **Starter Feature** notice with a **View Plans** link.
## Where schedules live
Schedules are per suite. Open the suite in the **Test Runner**, click **Suite Settings** at the bottom of the sidebar, and scroll to the **Schedules** section. Before the first schedule you'll see **No scheduled runs configured** with a **Create First Schedule** button. Afterwards a table lists each schedule with its **Name**, its **Schedule** as a cron expression, **Next Run**, **Last Run**, an **Enabled** toggle and **Actions**.
## Creating a schedule
Click **Add Schedule** (requires the **tests:write** permission):
| Field | Meaning |
| --- | --- |
| **Name** | Required, for example `Daily morning tests`. |
| **Description** | Optional. |
| **Cron Expression** | Required, as a standard 5-field cron reading `minute hour day month weekday`, for example `0 8 * * 1-5` for 8 AM on weekdays. Invalid expressions are rejected with an inline error. |
| **Timezone** | The timezone the cron times are interpreted in. The default is **UTC**, and common zones such as Europe/Berlin, America/New_York and Asia/Tokyo are available. |
| **Environment** | Which environment's base URL, variables and auth the scheduled run uses, or **None (use defaults)**. |
| **Enabled** | "Schedule will run automatically when enabled." |
The **Presets** button fills in common schedules, each with a human-readable preview:
| Preset | Cron |
| --- | --- |
| Every hour | `0 * * * *` |
| Every 6 hours | `0 */6 * * *` |
| Daily at midnight | `0 0 * * *` |
| Daily at 8 AM | `0 8 * * *` |
| Daily at 6 PM | `0 18 * * *` |
| Weekly on Monday | `0 0 * * 1` |
| Weekly on Friday | `0 18 * * 5` |
| Monthly on 1st | `0 0 1 * *` |
| Monthly on 15th | `0 0 15 * *` |
 ## Managing schedules
- **Pause / resume** with the **Enabled** toggle in the list.
- **Run now** (the play button) triggers an immediate run outside the schedule.
- **Edit** reopens the dialog, and **Delete** removes the schedule after warning that "Any pending scheduled runs will be cancelled."
Scheduled runs produce regular test runs, so their results appear in the suite's **History** tab alongside manual runs, with the same results detail, export and sharing options. See [Test Suites](https://docs.routebase.dev/test-suites/).
## Notifications on failure: webhooks
Webhooks push run outcomes to your own systems, such as Slack bridges, incident tooling and chat bots. They live in the **Webhooks** section of the Suite Configuration sheet and are **project-wide**, so one webhook receives events from every suite in the project, whether the run was scheduled or manual.
### Creating a webhook
Click **Add Webhook**:
| Field | Meaning |
| --- | --- |
| **Name** | Required, for example `CI/CD Pipeline Webhook`. |
| **Description** | Optional. |
| **Payload URL** | Required. This is the HTTPS endpoint that receives the POST, and the field notes "We recommend using HTTPS for security". |
| **Events** | At least one of the event types below. |
| **Max Retries** | How often failed deliveries are retried, offering **No retries**, 1, 2, 3 as the default, 5 or 10. |
| **Enabled** | "Webhook will receive events when enabled." |
| Event | Fires when |
| --- | --- |
| **Test Run Completed** (`test_run.completed`) | Any test run finishes. |
| **Test Run Passed** (`test_run.passed`) | All assertions pass. |
| **Test Run Failed** (`test_run.failed`) | One or more assertions fail. |
| **Test Run Error** (`test_run.error`) | A run encounters an execution error. |
For failure alerting, subscribe to **Test Run Failed** and **Test Run Error**.
### Verifying deliveries
When a webhook is created, Routebase shows its **Webhook Secret** exactly once, under the warning "Save this secret now!". Verify it with the secret before trusting a payload. You can regenerate the secret at any time (**Regenerate secret**), which invalidates the old one.
Every delivery carries three headers:
| Header | Value |
| --- | --- |
| `X-Routebase-Signature` | `sha256=` followed by the **HMAC-SHA256** signature of the raw request body (hex, lowercase), computed with the webhook's secret |
| `X-Routebase-Event` | The event type, e.g. `test_run.failed` |
| `X-Routebase-Delivery` | The delivery's unique id, which is useful for deduplicating retries |
Each webhook row expands into a delivery log that holds the most recent deliveries with their **Status** of **Pending**, **Delivered**, **Failed** or **Retrying**, plus the event, the HTTP response, the attempt count and the time. Use **Send test delivery** to fire a test event at your endpoint without waiting for a real run.
## Running suites from CI/CD
The **CI/CD** section of the Suite Configuration sheet generates copy-paste pipeline snippets that trigger the suite from your build system and fail the build when tests fail:
1. Create an API key under **Settings → API Keys** and store it as the `ROUTEBASE_API_KEY` secret in your pipeline. The panel links directly to [API key management](https://docs.routebase.dev/api-keys/).
2. Optionally pick an **Environment** for the pipeline runs.
3. Choose your platform tab from **GitHub Actions**, **Azure Pipelines**, **GitLab CI**, **Jenkins** and **Bitbucket Pipelines**, then copy the snippet. Each tab shows the target filename, such as `.github/workflows/api-tests.yml`.
## Managing schedules
- **Pause / resume** with the **Enabled** toggle in the list.
- **Run now** (the play button) triggers an immediate run outside the schedule.
- **Edit** reopens the dialog, and **Delete** removes the schedule after warning that "Any pending scheduled runs will be cancelled."
Scheduled runs produce regular test runs, so their results appear in the suite's **History** tab alongside manual runs, with the same results detail, export and sharing options. See [Test Suites](https://docs.routebase.dev/test-suites/).
## Notifications on failure: webhooks
Webhooks push run outcomes to your own systems, such as Slack bridges, incident tooling and chat bots. They live in the **Webhooks** section of the Suite Configuration sheet and are **project-wide**, so one webhook receives events from every suite in the project, whether the run was scheduled or manual.
### Creating a webhook
Click **Add Webhook**:
| Field | Meaning |
| --- | --- |
| **Name** | Required, for example `CI/CD Pipeline Webhook`. |
| **Description** | Optional. |
| **Payload URL** | Required. This is the HTTPS endpoint that receives the POST, and the field notes "We recommend using HTTPS for security". |
| **Events** | At least one of the event types below. |
| **Max Retries** | How often failed deliveries are retried, offering **No retries**, 1, 2, 3 as the default, 5 or 10. |
| **Enabled** | "Webhook will receive events when enabled." |
| Event | Fires when |
| --- | --- |
| **Test Run Completed** (`test_run.completed`) | Any test run finishes. |
| **Test Run Passed** (`test_run.passed`) | All assertions pass. |
| **Test Run Failed** (`test_run.failed`) | One or more assertions fail. |
| **Test Run Error** (`test_run.error`) | A run encounters an execution error. |
For failure alerting, subscribe to **Test Run Failed** and **Test Run Error**.
### Verifying deliveries
When a webhook is created, Routebase shows its **Webhook Secret** exactly once, under the warning "Save this secret now!". Verify it with the secret before trusting a payload. You can regenerate the secret at any time (**Regenerate secret**), which invalidates the old one.
Every delivery carries three headers:
| Header | Value |
| --- | --- |
| `X-Routebase-Signature` | `sha256=` followed by the **HMAC-SHA256** signature of the raw request body (hex, lowercase), computed with the webhook's secret |
| `X-Routebase-Event` | The event type, e.g. `test_run.failed` |
| `X-Routebase-Delivery` | The delivery's unique id, which is useful for deduplicating retries |
Each webhook row expands into a delivery log that holds the most recent deliveries with their **Status** of **Pending**, **Delivered**, **Failed** or **Retrying**, plus the event, the HTTP response, the attempt count and the time. Use **Send test delivery** to fire a test event at your endpoint without waiting for a real run.
## Running suites from CI/CD
The **CI/CD** section of the Suite Configuration sheet generates copy-paste pipeline snippets that trigger the suite from your build system and fail the build when tests fail:
1. Create an API key under **Settings → API Keys** and store it as the `ROUTEBASE_API_KEY` secret in your pipeline. The panel links directly to [API key management](https://docs.routebase.dev/api-keys/).
2. Optionally pick an **Environment** for the pipeline runs.
3. Choose your platform tab from **GitHub Actions**, **Azure Pipelines**, **GitLab CI**, **Jenkins** and **Bitbucket Pipelines**, then copy the snippet. Each tab shows the target filename, such as `.github/workflows/api-tests.yml`.
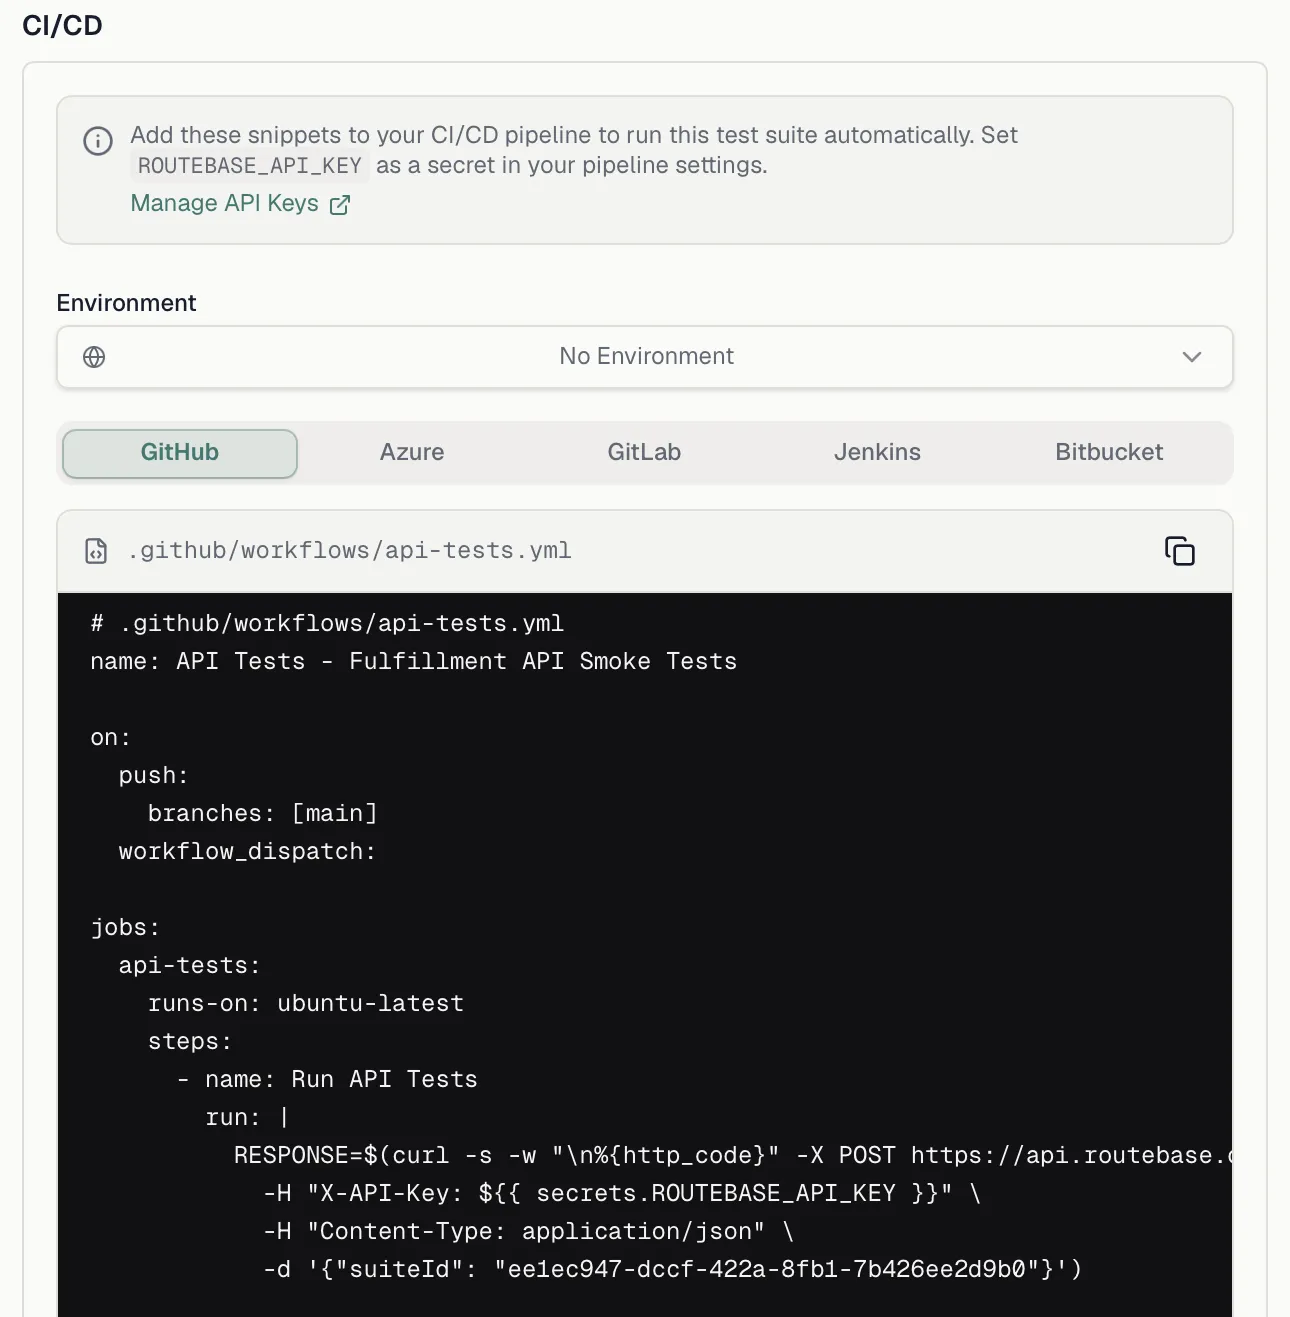
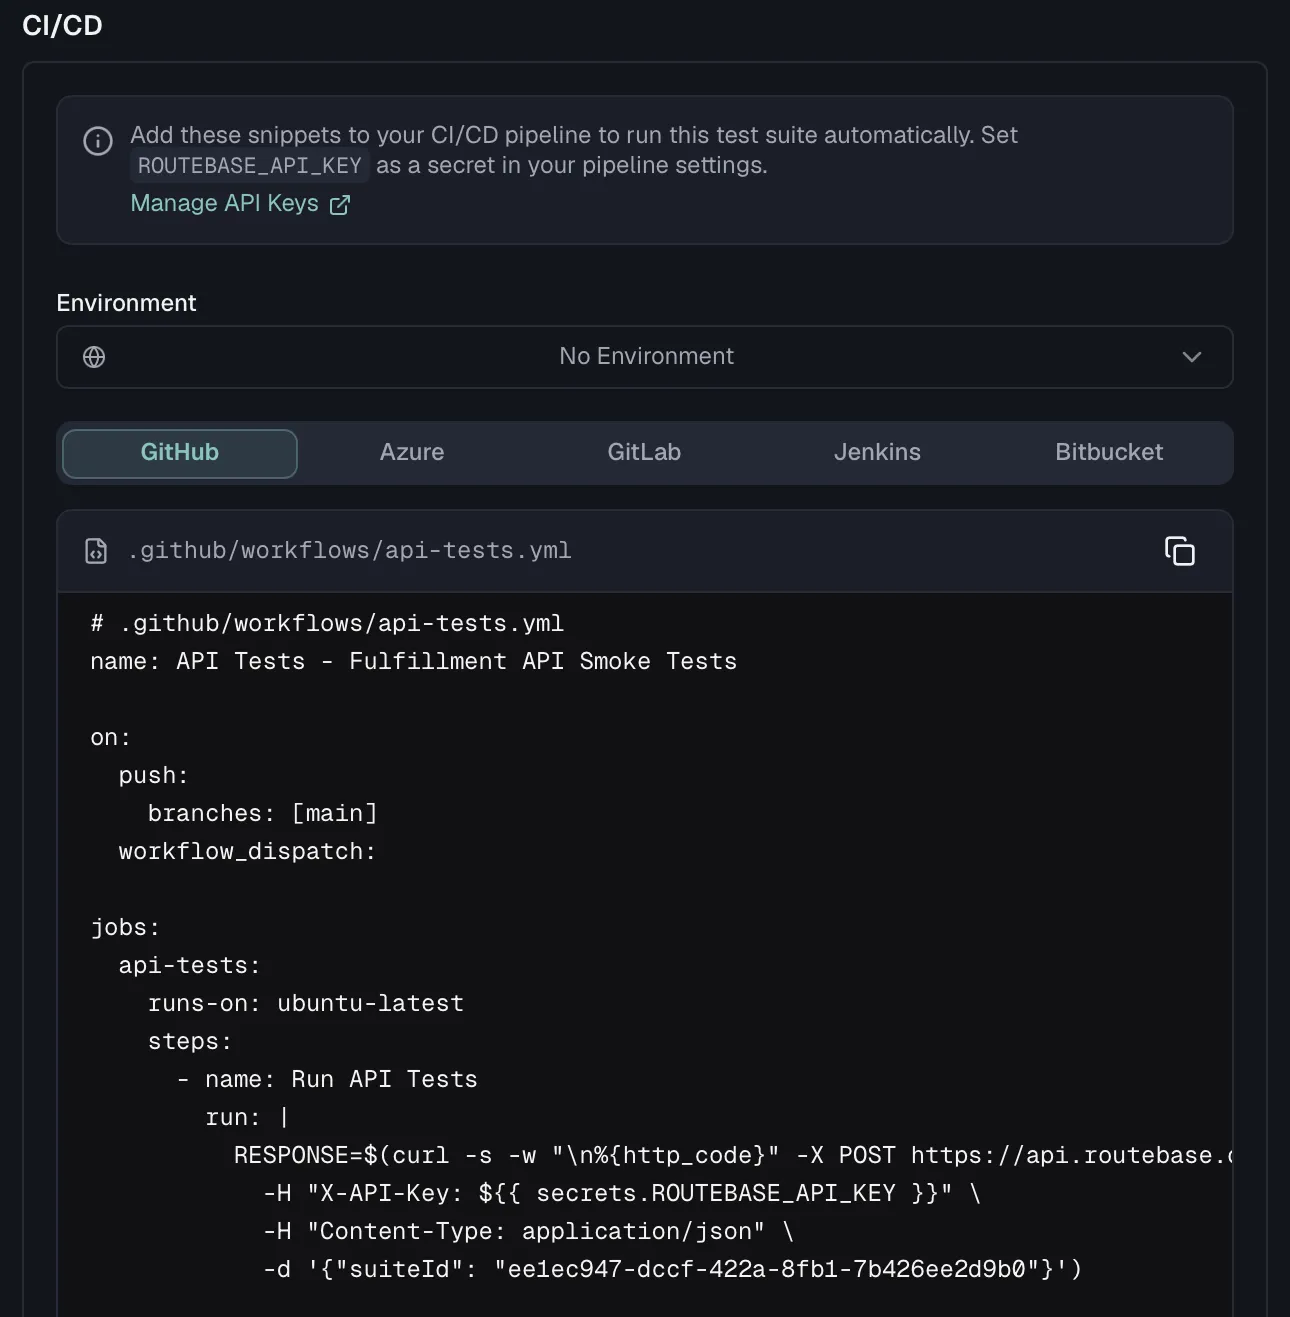 Every snippet does the same thing:
```
POST
Every snippet does the same thing:
```
POST 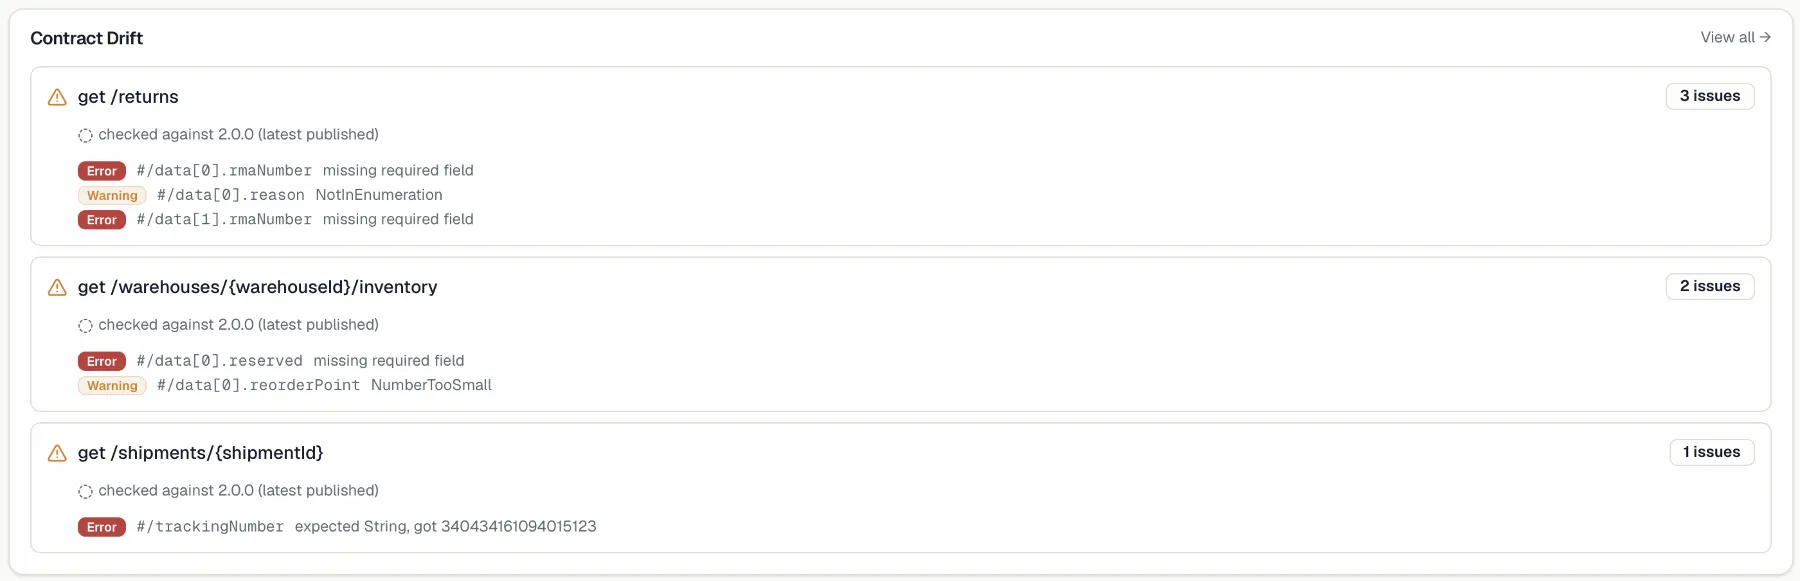
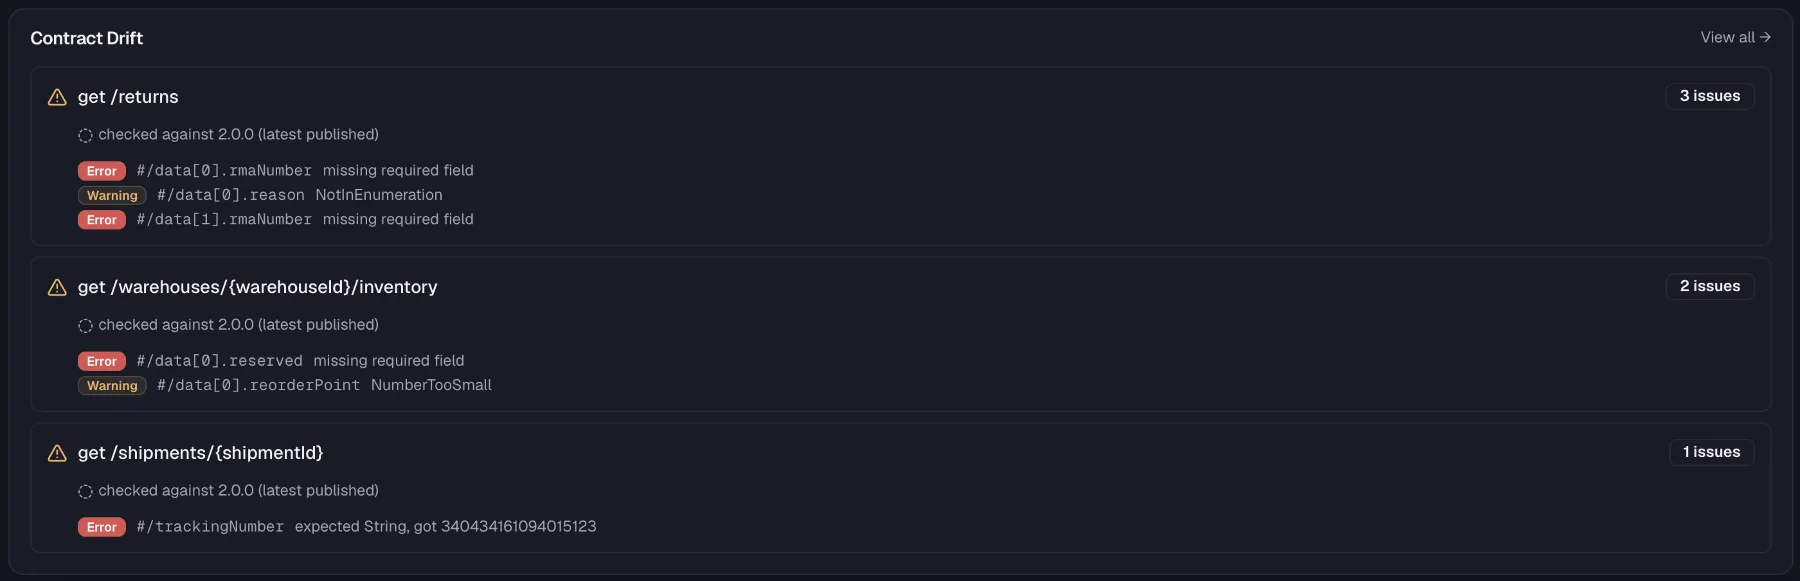 ## Drift vs. contract testing
Schema drift detection and [contract testing](https://docs.routebase.dev/contract-testing/) answer the same question from two sides, and that question is whether the implementation matches the spec. Contract tests run on demand or on a schedule in your test pipeline, while drift detection rides along on every monitor check against the live system. Use both, because tests catch drift before deployment and monitors catch it after.
## Related
- [Monitors](https://docs.routebase.dev/monitors/) — configuring validation when creating monitors
- [Contract Drift](https://docs.routebase.dev/contract-drift/) — what happens to a deviation that keeps coming back
- [Alert Policies](https://docs.routebase.dev/alert-policies/) — alerting on drift by severity
- [Endpoints](https://docs.routebase.dev/endpoints/) — the documented operations checks validate against
- [Contract Testing](https://docs.routebase.dev/contract-testing/) — spec conformance checks in your test suite
---
## Schemas
Source: https://docs.routebase.dev/schemas/
Schemas are reusable data structures that model the objects your API works with, such as a `User`, a `CreateOrderRequest` or a shared `ErrorResponse`. Define a structure once as a schema and reference it from every request body and [response](https://docs.routebase.dev/responses/) that needs it, instead of repeating the definition. Because schemas are standard JSON Schema, what you define here exports cleanly to OpenAPI and is understood by code generators, validators and your mock server.
## Schema kinds
Every schema has one of four structural kinds:
| Kind | What it models |
| --- | --- |
| **Object** | A structured object with named properties, which is the most common kind. |
| **Primitive** | A string, integer, number or boolean, optionally with an enum. |
| **Array** | An ordered list of items. |
| **Composition** | A schema built from other schemas with `allOf`, `oneOf` or `anyOf`. |
You can switch a schema's kind at any time from the kind selector in the editor. If the switch would hide existing data such as properties, enum values or composition members, Routebase warns you first, and it offers to restore the previous state if you switch back.
## Drift vs. contract testing
Schema drift detection and [contract testing](https://docs.routebase.dev/contract-testing/) answer the same question from two sides, and that question is whether the implementation matches the spec. Contract tests run on demand or on a schedule in your test pipeline, while drift detection rides along on every monitor check against the live system. Use both, because tests catch drift before deployment and monitors catch it after.
## Related
- [Monitors](https://docs.routebase.dev/monitors/) — configuring validation when creating monitors
- [Contract Drift](https://docs.routebase.dev/contract-drift/) — what happens to a deviation that keeps coming back
- [Alert Policies](https://docs.routebase.dev/alert-policies/) — alerting on drift by severity
- [Endpoints](https://docs.routebase.dev/endpoints/) — the documented operations checks validate against
- [Contract Testing](https://docs.routebase.dev/contract-testing/) — spec conformance checks in your test suite
---
## Schemas
Source: https://docs.routebase.dev/schemas/
Schemas are reusable data structures that model the objects your API works with, such as a `User`, a `CreateOrderRequest` or a shared `ErrorResponse`. Define a structure once as a schema and reference it from every request body and [response](https://docs.routebase.dev/responses/) that needs it, instead of repeating the definition. Because schemas are standard JSON Schema, what you define here exports cleanly to OpenAPI and is understood by code generators, validators and your mock server.
## Schema kinds
Every schema has one of four structural kinds:
| Kind | What it models |
| --- | --- |
| **Object** | A structured object with named properties, which is the most common kind. |
| **Primitive** | A string, integer, number or boolean, optionally with an enum. |
| **Array** | An ordered list of items. |
| **Composition** | A schema built from other schemas with `allOf`, `oneOf` or `anyOf`. |
You can switch a schema's kind at any time from the kind selector in the editor. If the switch would hide existing data such as properties, enum values or composition members, Routebase warns you first, and it offers to restore the previous state if you switch back.
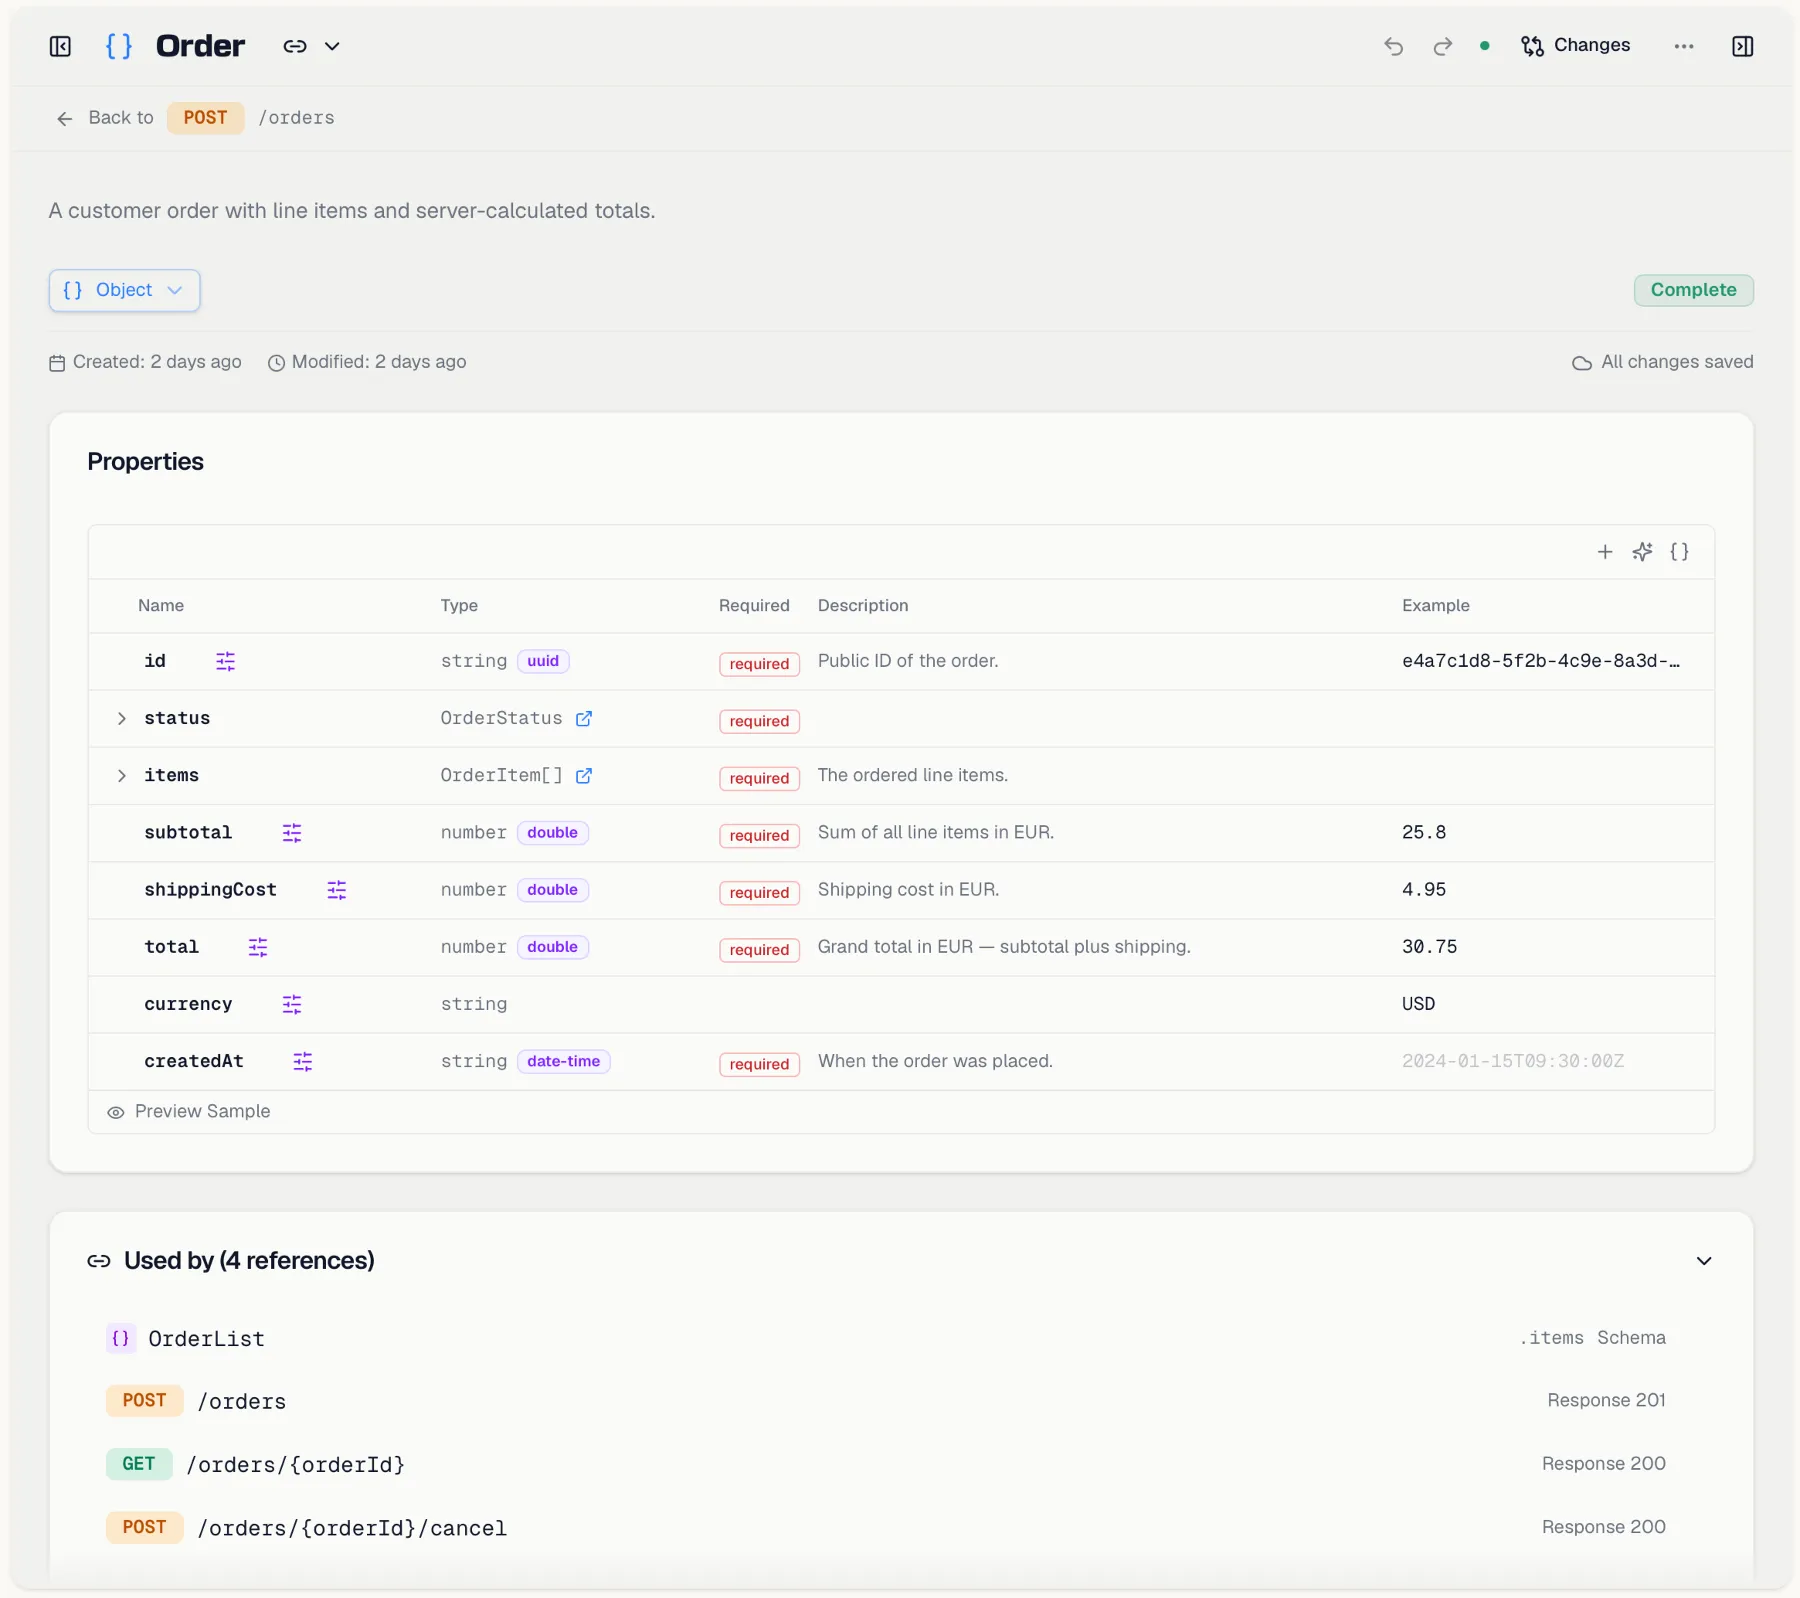
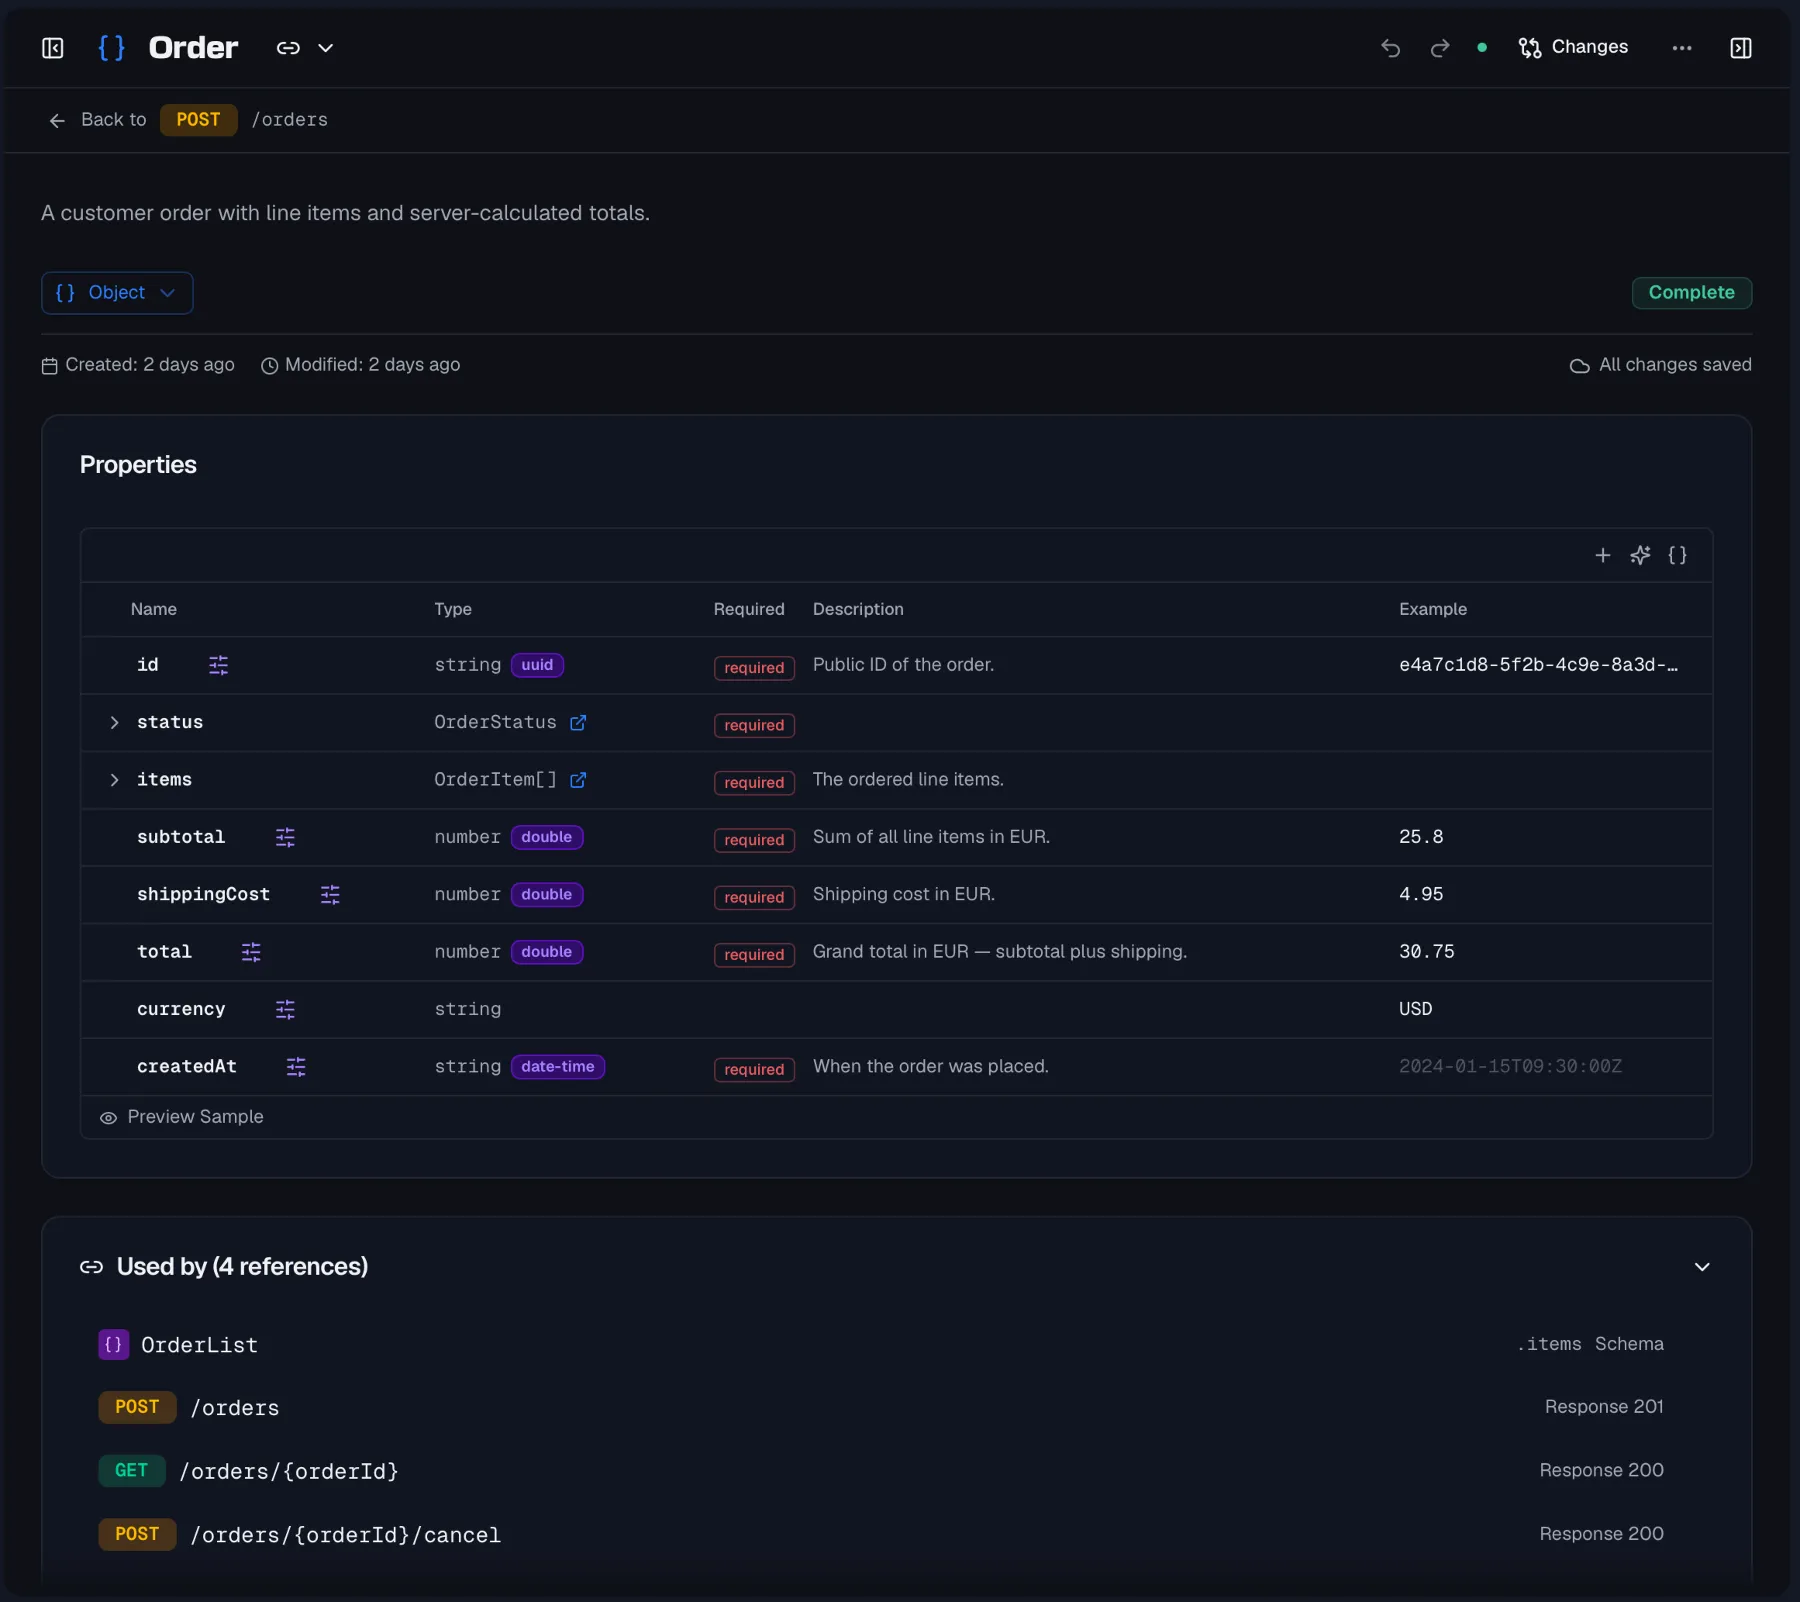 ## Creating a schema
1. Open the **Schemas** subsection under **Components** in the sidebar and click **+**.
2. Give the schema a **Name** in PascalCase, such as `User`, `CreateUserRequest` or `ErrorResponse`, and an optional **Description**.
3. Click **Create**, then define the structure in the editor.
While you type the name, Routebase checks for **similar existing schemas**, matching on name and shared properties with a percentage score. If a likely duplicate is found, an alert offers three ways out. **Use This** jumps to the existing schema, **View Diff** compares the two side by side, and **Create Anyway** proceeds regardless.
Use **Duplicate** from a schema's **…** menu to start from an existing schema when two structures are similar, and double-click a schema in the list to rename it.
## Editing properties (object schemas)
Object schemas are edited in a **Properties** table. Each property has:
- A **Name** and a **Description**.
- A **Type**, which is `string`, `integer`, `number`, `boolean`, `array`, `object`, or a **reference** to another schema. The type field autocompletes both, so you type a primitive name or switch to the **Reference** tab to pick a schema. Array properties additionally get an **Items Type**, which can itself reference a schema.
- An optional **Format** such as `email`, `date-time` or `uuid`, plus an **enum value** editor for enum-capable types.
- A **Required** toggle.
### Naming and explaining enum values
## Creating a schema
1. Open the **Schemas** subsection under **Components** in the sidebar and click **+**.
2. Give the schema a **Name** in PascalCase, such as `User`, `CreateUserRequest` or `ErrorResponse`, and an optional **Description**.
3. Click **Create**, then define the structure in the editor.
While you type the name, Routebase checks for **similar existing schemas**, matching on name and shared properties with a percentage score. If a likely duplicate is found, an alert offers three ways out. **Use This** jumps to the existing schema, **View Diff** compares the two side by side, and **Create Anyway** proceeds regardless.
Use **Duplicate** from a schema's **…** menu to start from an existing schema when two structures are similar, and double-click a schema in the list to rename it.
## Editing properties (object schemas)
Object schemas are edited in a **Properties** table. Each property has:
- A **Name** and a **Description**.
- A **Type**, which is `string`, `integer`, `number`, `boolean`, `array`, `object`, or a **reference** to another schema. The type field autocompletes both, so you type a primitive name or switch to the **Reference** tab to pick a schema. Array properties additionally get an **Items Type**, which can itself reference a schema.
- An optional **Format** such as `email`, `date-time` or `uuid`, plus an **enum value** editor for enum-capable types.
- A **Required** toggle.
### Naming and explaining enum values
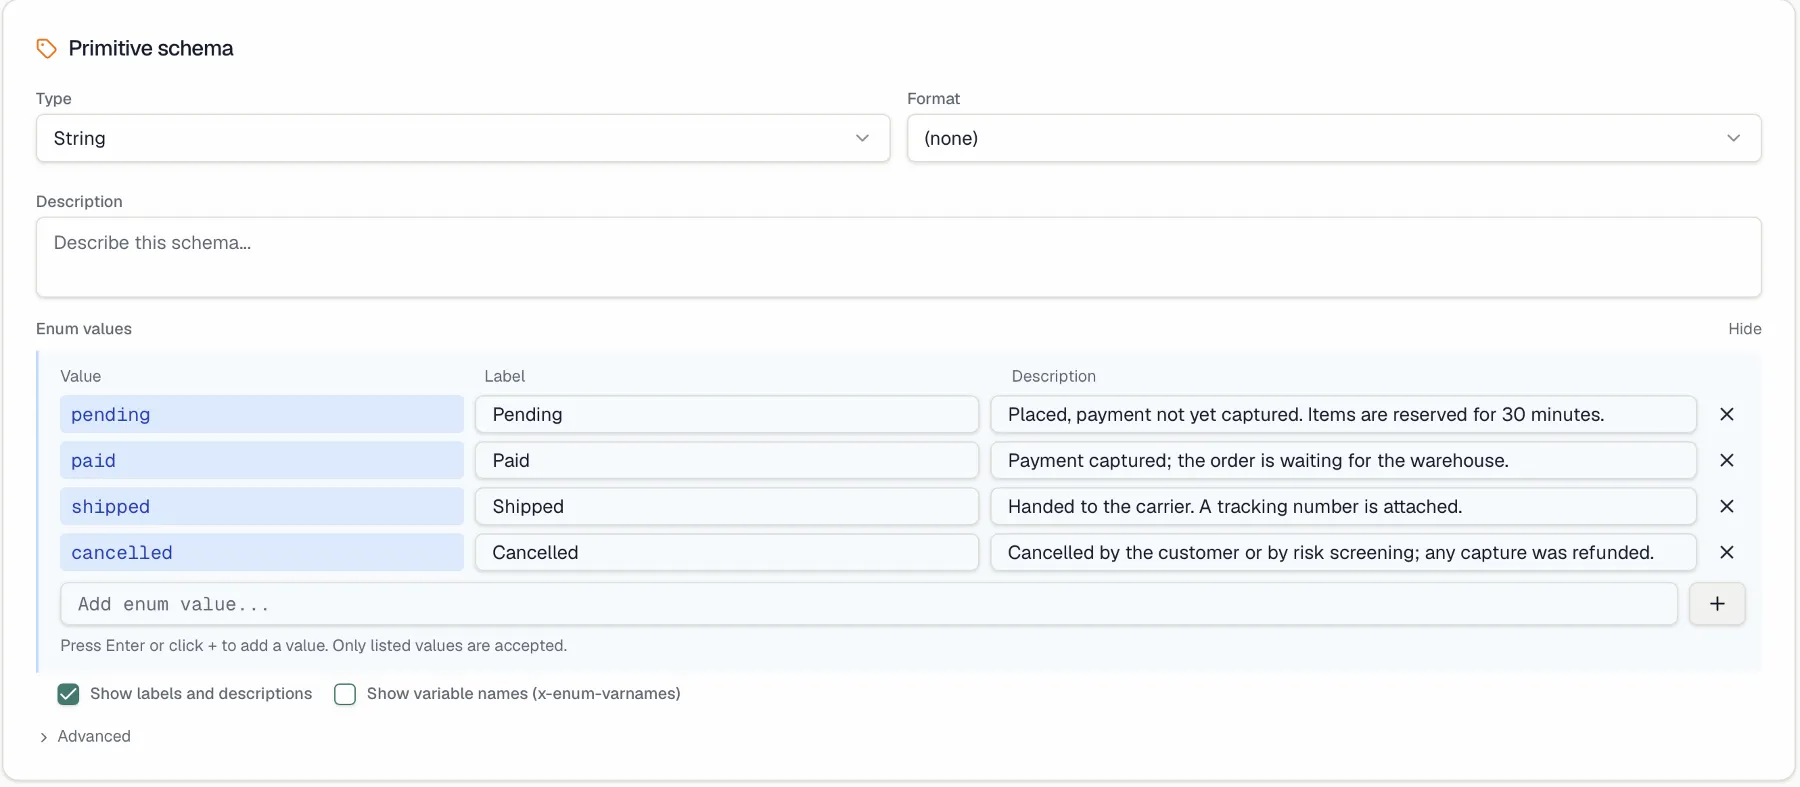
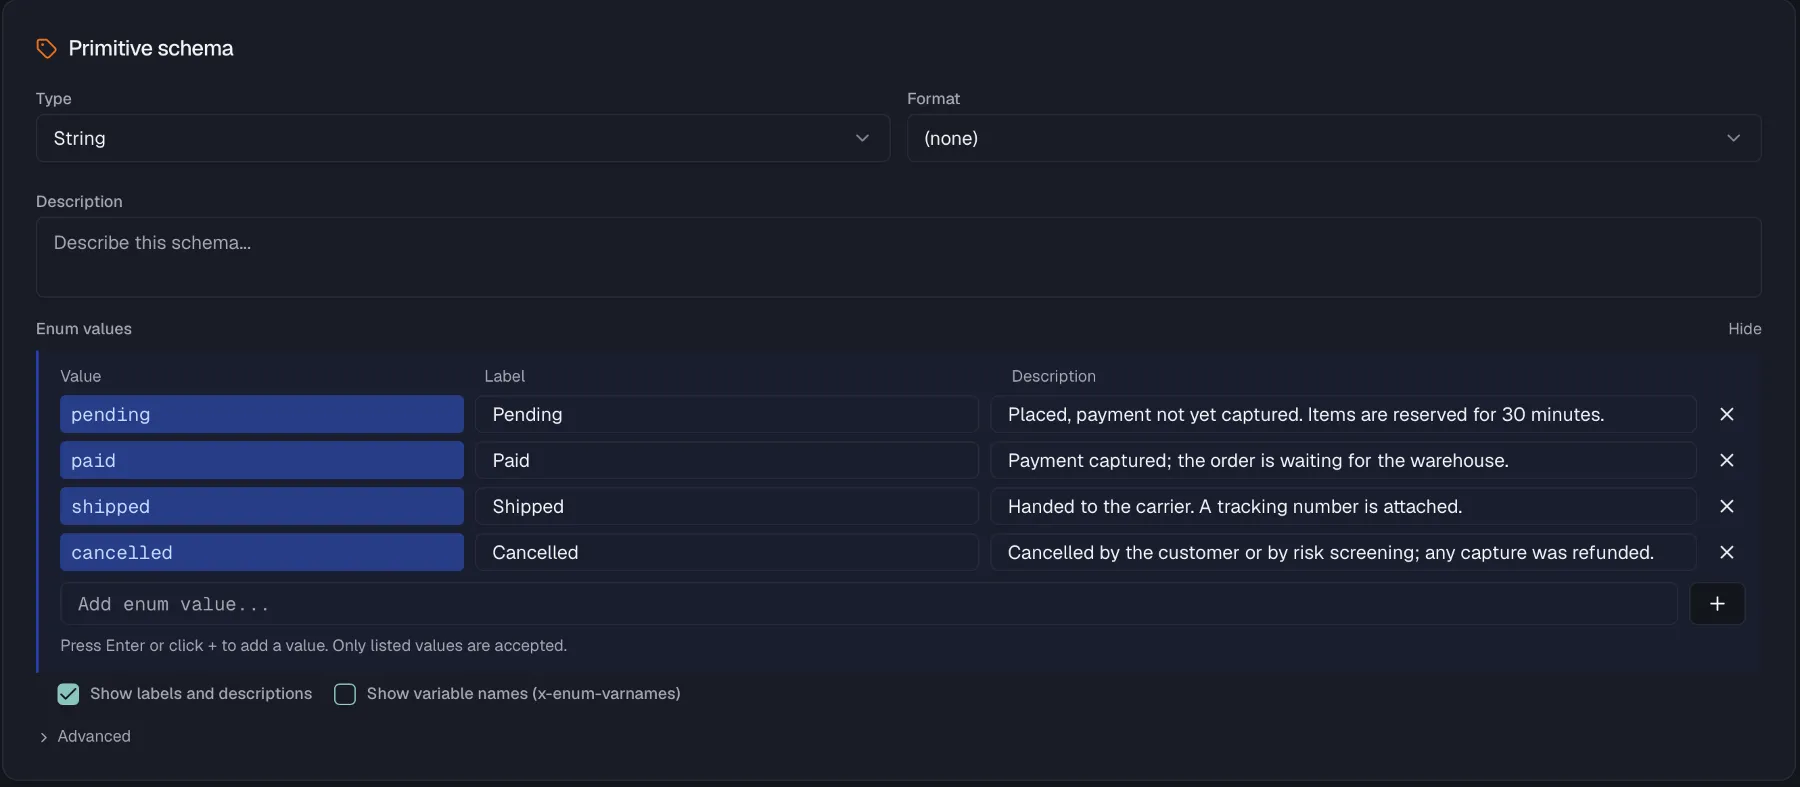 An enum value like `PARTIALLY_FULFILLED` carries its meaning only for the person who invented it. Each value can therefore also get a **display label** and a **description**, both optional.
They travel with the spec rather than living only in Routebase. Labels are exported as `x-enumNames`, descriptions as `x-enumDescriptions`, and the codegen-friendly `x-enum-varnames` is preserved on import. Your published documentation and portal show them next to the raw values, and generators that understand these extensions, NSwag among them, turn the labels into named constants instead of bare strings.
Structure the table the way you structure your data. Nested `object` properties expand into indented child rows, up to three levels deep, and rows can be dragged to reorder or to nest a property into an object. The right-click menu offers move, insert, nest and delete operations.
## Primitive, array, and composition editors
- **Primitive** schemas get a type and format selector, an enum editor, and validation constraints. Strings take length limits and a regex pattern, while numbers take a minimum, a maximum and a multiple-of.
- **Array** schemas define their item type, which is a primitive or a schema reference, plus item-count and uniqueness constraints.
- **Composition** schemas choose an **Operator** and combine members that are either references to other schemas or inline JSON Schema fragments. The operators are `allOf` where all members must match, `oneOf` where exactly one matches, and `anyOf` where one or more match. For `oneOf` and `anyOf`, a **discriminator** editor maps a property value to the matching member schema. On an OpenAPI 3.2 specification it also offers a **Default mapping**, which names the schema that applies when the discriminating property is missing or carries an unmapped value, and the specification requires it whenever that property is optional.
## Examples
The example panel below the properties table generates a realistic sample JSON payload from the schema, and optional properties are dimmed so readers can tell them apart. Copy it, or regenerate it after structural changes.
## Where a schema is used
Referencing one schema from many places keeps your API consistent, because you change the `User` shape once and every endpoint that returns a user updates with it. Routebase shows a **usage count** on each schema in the list, reading "Referenced by N endpoints". A **Used by** section in the editor then lists every reference. That covers endpoints with their method, path and the place in the contract where the schema appears, plus other schemas that reference it and reusable components built on it. Click any entry to jump there. This helps when spotting unused definitions, or when gauging the blast radius of a change before you make it.
An enum value like `PARTIALLY_FULFILLED` carries its meaning only for the person who invented it. Each value can therefore also get a **display label** and a **description**, both optional.
They travel with the spec rather than living only in Routebase. Labels are exported as `x-enumNames`, descriptions as `x-enumDescriptions`, and the codegen-friendly `x-enum-varnames` is preserved on import. Your published documentation and portal show them next to the raw values, and generators that understand these extensions, NSwag among them, turn the labels into named constants instead of bare strings.
Structure the table the way you structure your data. Nested `object` properties expand into indented child rows, up to three levels deep, and rows can be dragged to reorder or to nest a property into an object. The right-click menu offers move, insert, nest and delete operations.
## Primitive, array, and composition editors
- **Primitive** schemas get a type and format selector, an enum editor, and validation constraints. Strings take length limits and a regex pattern, while numbers take a minimum, a maximum and a multiple-of.
- **Array** schemas define their item type, which is a primitive or a schema reference, plus item-count and uniqueness constraints.
- **Composition** schemas choose an **Operator** and combine members that are either references to other schemas or inline JSON Schema fragments. The operators are `allOf` where all members must match, `oneOf` where exactly one matches, and `anyOf` where one or more match. For `oneOf` and `anyOf`, a **discriminator** editor maps a property value to the matching member schema. On an OpenAPI 3.2 specification it also offers a **Default mapping**, which names the schema that applies when the discriminating property is missing or carries an unmapped value, and the specification requires it whenever that property is optional.
## Examples
The example panel below the properties table generates a realistic sample JSON payload from the schema, and optional properties are dimmed so readers can tell them apart. Copy it, or regenerate it after structural changes.
## Where a schema is used
Referencing one schema from many places keeps your API consistent, because you change the `User` shape once and every endpoint that returns a user updates with it. Routebase shows a **usage count** on each schema in the list, reading "Referenced by N endpoints". A **Used by** section in the editor then lists every reference. That covers endpoints with their method, path and the place in the contract where the schema appears, plus other schemas that reference it and reusable components built on it. Click any entry to jump there. This helps when spotting unused definitions, or when gauging the blast radius of a change before you make it.
 ## Referencing and extracting
Schemas are referenced from request bodies, responses, and array and property types. The fastest ways to connect them are these:
- **Drag** a schema from the sidebar onto a response or request body to link it as the body structure.
- **Autocomplete** a property's type and pick a schema from the **Reference** tab.
- **Extract Schema to Component** on an inline body turns an ad-hoc structure into a named schema and re-links the endpoint to it.
## Sharing across projects
A schema that several projects depend on, such as a company-wide `ErrorResponse` envelope or a `Money` type, can be promoted via **Promote to Library**. That makes it available across projects, so teams build on the same definitions. Linked library schemas carry an **Org** or **Project** badge and show an update indicator when the library version moves ahead. They can accept the update or be unlinked at any time. See [Shared library](https://docs.routebase.dev/shared-library/).
## Deleting a schema
Choose **Delete** from a schema's **…** menu. The dialog warns that endpoints referencing the schema will need to be updated and that the action cannot be undone, so check the **Used by** section first.
## Permissions
Creating and editing schemas requires **specs:write**, and deleting requires **specs:delete**, which Admins and Owners have. The Delete action is hidden for Members. Promote to Library requires **specs:write**. On a published, locked version schemas are read-only.
## Related
- [Endpoints](https://docs.routebase.dev/endpoints/) — operations that reference schemas
- [Responses](https://docs.routebase.dev/responses/) — reference a schema as a response body
- [Components](https://docs.routebase.dev/components/) — the other reusable building blocks
- [Shared library](https://docs.routebase.dev/shared-library/) — share schemas across projects
---
## Schemas — MCP Tools
Source: https://docs.routebase.dev/schemas-mcp-tools/
The tools below belong to the **Schemas** group of the Routebase MCP server.
## create_schema
Create a new reusable schema in an API specification. The schema can then be referenced by endpoints, request bodies, and responses. Use this for a new reusable schema; to point existing inline copies at it afterwards use migrate_schema_links. Requires project context.
**Required scope:** `specs:write`
| Parameter | Type | Required | Description |
| --- | --- | --- | --- |
| `specId` | string | Yes | Public ID (GUID) of the API specification |
| `versionId` | string | Yes | Public ID (GUID) of the spec version to add the schema to |
| `name` | string | Yes | Schema name (e.g., 'User', 'ErrorResponse', 'PaginatedList') |
| `jsonSchema` | string | Yes | JSON Schema definition as a string (e.g., '{"type":"object","properties":{...}}') |
| `description` | string | No | Description of the schema |
## delete_schema
Delete a schema (soft delete). This does NOT check references — a schema still used by endpoints, request bodies or responses is deleted anyway, and every one of them becomes a review item. Call get_schema with includeUsage first and clear the references you do not want to break. Requires project context.
**Required scope:** `specs:delete`
| Parameter | Type | Required | Description |
| --- | --- | --- | --- |
| `specId` | string | Yes | Public ID (GUID) of the API specification |
| `versionId` | string | Yes | Public ID (GUID) of the spec version |
| `schemaId` | string | Yes | Public ID (GUID) of the schema to delete |
## get_schema
Get detailed information about a schema including its full JSON Schema definition. Optionally include usage details showing which endpoints reference it. Use this when you already have the schema id; to browse a spec's schemas or find an id use list_schemas. Requires project context.
**Required scope:** `specs:read`
| Parameter | Type | Required | Description |
| --- | --- | --- | --- |
| `specId` | string | Yes | Public ID (GUID) of the API specification |
| `schemaId` | string | Yes | Public ID (GUID) of the schema |
| `includeUsage` | boolean | No (default `false`) | Include usage details showing which endpoints reference this schema (default false) |
## list_schemas
List all schemas of an API specification. Optionally include usage counts showing how many endpoints reference each schema. Set scope to 'project' to look across every spec in the project instead — that returns the groups of structurally identical schemas (candidates for the shared library) plus counts, not the full list, and specId is then ignored. Every entry carries the rowVersion update_schema needs, so a batch of updates does not need a get_schema per schema first. Use this to browse schemas or find a schema id; for one schema with its full definition use get_schema. Requires project context.
**Required scope:** `specs:read`
| Parameter | Type | Required | Description |
| --- | --- | --- | --- |
| `specId` | string | Yes | Public ID (GUID) of the API specification |
| `versionId` | string | No | Optional version ID (GUID) to filter schemas by a specific version |
| `includeUsageCounts` | boolean | No (default `false`) | Include usage counts per schema (default false, slightly slower) |
| `scope` | string | No (default `"spec"`) | What to look at: 'spec' (default) or 'project' |
## migrate_schema_links
Find inline request bodies, responses and parameters across a spec that match an existing reusable component and link them to it, so the shape lives in one place. ALWAYS run with dryRun first and read the report — the matching is similarity-based, and a run with dryRun false rewrites every match it found. Use this to replace matching inline copies with a reference; to create the schema itself use create_schema. Requires project context.
**Required scope:** `specs:write`
| Parameter | Type | Required | Description |
| --- | --- | --- | --- |
| `specId` | string | Yes | Public ID (GUID) of the API specification |
| `dryRun` | boolean | No (default `true`) | Report what would change without writing anything (default true). Set false only after reviewing a dry run. |
| `minimumSimilarity` | number | No (default `0.9`) | How close a match has to be, 0.0–1.0 (default 0.9). Lower values link more aggressively and are more likely to link things that only look alike. |
## restore_schema
Restore a soft-deleted schema into its version. Use this to bring a soft-deleted schema back; to remove one use delete_schema. Requires project context.
**Required scope:** `specs:write`
| Parameter | Type | Required | Description |
| --- | --- | --- | --- |
| `specId` | string | Yes | Public ID (GUID) of the API specification |
| `versionId` | string | Yes | Public ID (GUID) of the spec version the schema belongs to |
| `schemaId` | string | Yes | Public ID (GUID) of the deleted schema |
## update_schema
Update an existing schema. Requires the rowVersion from get_schema for optimistic concurrency control (Base64-encoded string). Requires project context.
**Required scope:** `specs:write`
| Parameter | Type | Required | Description |
| --- | --- | --- | --- |
| `specId` | string | Yes | Public ID (GUID) of the API specification |
| `versionId` | string | Yes | Public ID (GUID) of the spec version |
| `schemaId` | string | Yes | Public ID (GUID) of the schema to update |
| `name` | string | Yes | Schema name |
| `jsonSchema` | string | Yes | JSON Schema definition as a string |
| `rowVersion` | string | Yes | Base64-encoded row version from get_schema (for concurrency control) |
| `description` | string | No | Description of the schema |
---
## Security in CI/CD
Source: https://docs.routebase.dev/security-in-cicd/
A security scan is most useful when it runs on every change, not when someone remembers to click **Run**. Routebase exposes the whole scan lifecycle over its REST API, so a pipeline can queue a scan against a deployed environment, wait for it and fail the build on findings above a severity you choose. It can also hand the results to your code-scanning tool as **SARIF 2.1.0**.
This guide covers the automation path. The scan itself, meaning profiles, scanners, personas and triage, is described in the [Security overview](https://docs.routebase.dev/security-overview/).
## What you need
| Prerequisite | Where it comes from |
| --- | --- |
| **Pro plan** | The Security area is a Pro feature, so on Free and Starter the app shows an upgrade prompt instead of the tools. |
| **An API key** | **Settings → API Keys**. Create it with **Full Access**, because queueing a scan needs **security:execute** and write access to the project, while reading runs and findings needs **security:read**. Store it as a pipeline secret, and see [API Keys](https://docs.routebase.dev/api-keys/). |
| **A scan profile** | Build it in the UI first ([Scan profiles](https://docs.routebase.dev/scan-profiles/)). The pipeline runs an existing profile and does not create one. |
| **A reachable target** | The profile's environment base URL has to be reachable from Routebase, which means a deployed staging or preview environment rather than `localhost`. |
Authenticate every request with the key in an `X-API-Key` header against `https://api.routebase.dev`.
> **If your organization is hosted in the US region**, add `X-RB-Region: us` to every request as well. One address serves both regions, and the browser app picks the region from a cookie your pipeline doesn't have. Without the header, requests land in the EU region and are rejected. EU organizations need nothing extra. Check your region under **Settings → Organization**, and see [Region selection](https://docs.routebase.dev/region-selection/).
### Finding the two ids
The **project id** is the GUID in the app URL `app.routebase.dev/projects/
## Referencing and extracting
Schemas are referenced from request bodies, responses, and array and property types. The fastest ways to connect them are these:
- **Drag** a schema from the sidebar onto a response or request body to link it as the body structure.
- **Autocomplete** a property's type and pick a schema from the **Reference** tab.
- **Extract Schema to Component** on an inline body turns an ad-hoc structure into a named schema and re-links the endpoint to it.
## Sharing across projects
A schema that several projects depend on, such as a company-wide `ErrorResponse` envelope or a `Money` type, can be promoted via **Promote to Library**. That makes it available across projects, so teams build on the same definitions. Linked library schemas carry an **Org** or **Project** badge and show an update indicator when the library version moves ahead. They can accept the update or be unlinked at any time. See [Shared library](https://docs.routebase.dev/shared-library/).
## Deleting a schema
Choose **Delete** from a schema's **…** menu. The dialog warns that endpoints referencing the schema will need to be updated and that the action cannot be undone, so check the **Used by** section first.
## Permissions
Creating and editing schemas requires **specs:write**, and deleting requires **specs:delete**, which Admins and Owners have. The Delete action is hidden for Members. Promote to Library requires **specs:write**. On a published, locked version schemas are read-only.
## Related
- [Endpoints](https://docs.routebase.dev/endpoints/) — operations that reference schemas
- [Responses](https://docs.routebase.dev/responses/) — reference a schema as a response body
- [Components](https://docs.routebase.dev/components/) — the other reusable building blocks
- [Shared library](https://docs.routebase.dev/shared-library/) — share schemas across projects
---
## Schemas — MCP Tools
Source: https://docs.routebase.dev/schemas-mcp-tools/
The tools below belong to the **Schemas** group of the Routebase MCP server.
## create_schema
Create a new reusable schema in an API specification. The schema can then be referenced by endpoints, request bodies, and responses. Use this for a new reusable schema; to point existing inline copies at it afterwards use migrate_schema_links. Requires project context.
**Required scope:** `specs:write`
| Parameter | Type | Required | Description |
| --- | --- | --- | --- |
| `specId` | string | Yes | Public ID (GUID) of the API specification |
| `versionId` | string | Yes | Public ID (GUID) of the spec version to add the schema to |
| `name` | string | Yes | Schema name (e.g., 'User', 'ErrorResponse', 'PaginatedList') |
| `jsonSchema` | string | Yes | JSON Schema definition as a string (e.g., '{"type":"object","properties":{...}}') |
| `description` | string | No | Description of the schema |
## delete_schema
Delete a schema (soft delete). This does NOT check references — a schema still used by endpoints, request bodies or responses is deleted anyway, and every one of them becomes a review item. Call get_schema with includeUsage first and clear the references you do not want to break. Requires project context.
**Required scope:** `specs:delete`
| Parameter | Type | Required | Description |
| --- | --- | --- | --- |
| `specId` | string | Yes | Public ID (GUID) of the API specification |
| `versionId` | string | Yes | Public ID (GUID) of the spec version |
| `schemaId` | string | Yes | Public ID (GUID) of the schema to delete |
## get_schema
Get detailed information about a schema including its full JSON Schema definition. Optionally include usage details showing which endpoints reference it. Use this when you already have the schema id; to browse a spec's schemas or find an id use list_schemas. Requires project context.
**Required scope:** `specs:read`
| Parameter | Type | Required | Description |
| --- | --- | --- | --- |
| `specId` | string | Yes | Public ID (GUID) of the API specification |
| `schemaId` | string | Yes | Public ID (GUID) of the schema |
| `includeUsage` | boolean | No (default `false`) | Include usage details showing which endpoints reference this schema (default false) |
## list_schemas
List all schemas of an API specification. Optionally include usage counts showing how many endpoints reference each schema. Set scope to 'project' to look across every spec in the project instead — that returns the groups of structurally identical schemas (candidates for the shared library) plus counts, not the full list, and specId is then ignored. Every entry carries the rowVersion update_schema needs, so a batch of updates does not need a get_schema per schema first. Use this to browse schemas or find a schema id; for one schema with its full definition use get_schema. Requires project context.
**Required scope:** `specs:read`
| Parameter | Type | Required | Description |
| --- | --- | --- | --- |
| `specId` | string | Yes | Public ID (GUID) of the API specification |
| `versionId` | string | No | Optional version ID (GUID) to filter schemas by a specific version |
| `includeUsageCounts` | boolean | No (default `false`) | Include usage counts per schema (default false, slightly slower) |
| `scope` | string | No (default `"spec"`) | What to look at: 'spec' (default) or 'project' |
## migrate_schema_links
Find inline request bodies, responses and parameters across a spec that match an existing reusable component and link them to it, so the shape lives in one place. ALWAYS run with dryRun first and read the report — the matching is similarity-based, and a run with dryRun false rewrites every match it found. Use this to replace matching inline copies with a reference; to create the schema itself use create_schema. Requires project context.
**Required scope:** `specs:write`
| Parameter | Type | Required | Description |
| --- | --- | --- | --- |
| `specId` | string | Yes | Public ID (GUID) of the API specification |
| `dryRun` | boolean | No (default `true`) | Report what would change without writing anything (default true). Set false only after reviewing a dry run. |
| `minimumSimilarity` | number | No (default `0.9`) | How close a match has to be, 0.0–1.0 (default 0.9). Lower values link more aggressively and are more likely to link things that only look alike. |
## restore_schema
Restore a soft-deleted schema into its version. Use this to bring a soft-deleted schema back; to remove one use delete_schema. Requires project context.
**Required scope:** `specs:write`
| Parameter | Type | Required | Description |
| --- | --- | --- | --- |
| `specId` | string | Yes | Public ID (GUID) of the API specification |
| `versionId` | string | Yes | Public ID (GUID) of the spec version the schema belongs to |
| `schemaId` | string | Yes | Public ID (GUID) of the deleted schema |
## update_schema
Update an existing schema. Requires the rowVersion from get_schema for optimistic concurrency control (Base64-encoded string). Requires project context.
**Required scope:** `specs:write`
| Parameter | Type | Required | Description |
| --- | --- | --- | --- |
| `specId` | string | Yes | Public ID (GUID) of the API specification |
| `versionId` | string | Yes | Public ID (GUID) of the spec version |
| `schemaId` | string | Yes | Public ID (GUID) of the schema to update |
| `name` | string | Yes | Schema name |
| `jsonSchema` | string | Yes | JSON Schema definition as a string |
| `rowVersion` | string | Yes | Base64-encoded row version from get_schema (for concurrency control) |
| `description` | string | No | Description of the schema |
---
## Security in CI/CD
Source: https://docs.routebase.dev/security-in-cicd/
A security scan is most useful when it runs on every change, not when someone remembers to click **Run**. Routebase exposes the whole scan lifecycle over its REST API, so a pipeline can queue a scan against a deployed environment, wait for it and fail the build on findings above a severity you choose. It can also hand the results to your code-scanning tool as **SARIF 2.1.0**.
This guide covers the automation path. The scan itself, meaning profiles, scanners, personas and triage, is described in the [Security overview](https://docs.routebase.dev/security-overview/).
## What you need
| Prerequisite | Where it comes from |
| --- | --- |
| **Pro plan** | The Security area is a Pro feature, so on Free and Starter the app shows an upgrade prompt instead of the tools. |
| **An API key** | **Settings → API Keys**. Create it with **Full Access**, because queueing a scan needs **security:execute** and write access to the project, while reading runs and findings needs **security:read**. Store it as a pipeline secret, and see [API Keys](https://docs.routebase.dev/api-keys/). |
| **A scan profile** | Build it in the UI first ([Scan profiles](https://docs.routebase.dev/scan-profiles/)). The pipeline runs an existing profile and does not create one. |
| **A reachable target** | The profile's environment base URL has to be reachable from Routebase, which means a deployed staging or preview environment rather than `localhost`. |
Authenticate every request with the key in an `X-API-Key` header against `https://api.routebase.dev`.
> **If your organization is hosted in the US region**, add `X-RB-Region: us` to every request as well. One address serves both regions, and the browser app picks the region from a cookie your pipeline doesn't have. Without the header, requests land in the EU region and are rejected. EU organizations need nothing extra. Check your region under **Settings → Organization**, and see [Region selection](https://docs.routebase.dev/region-selection/).
### Finding the two ids
The **project id** is the GUID in the app URL `app.routebase.dev/projects/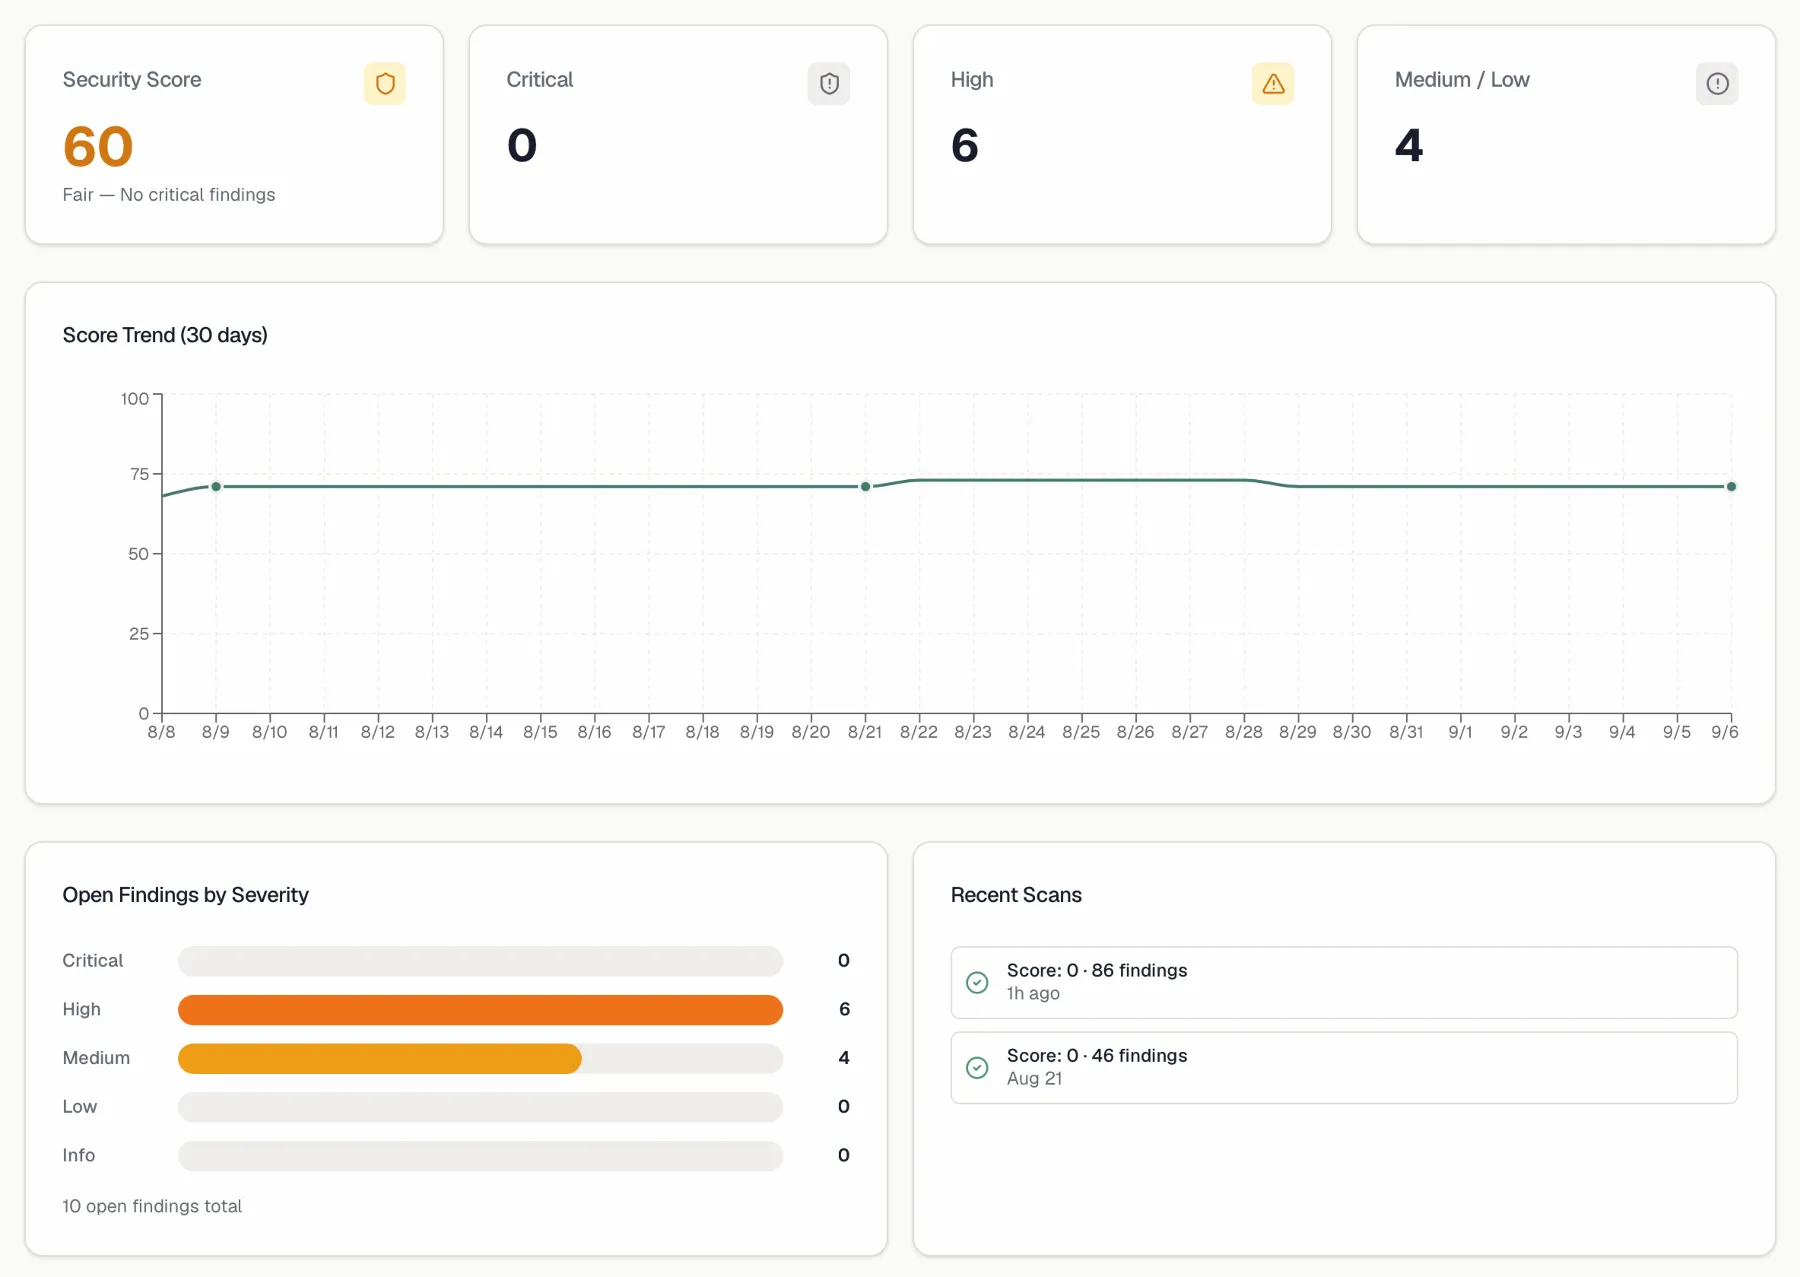
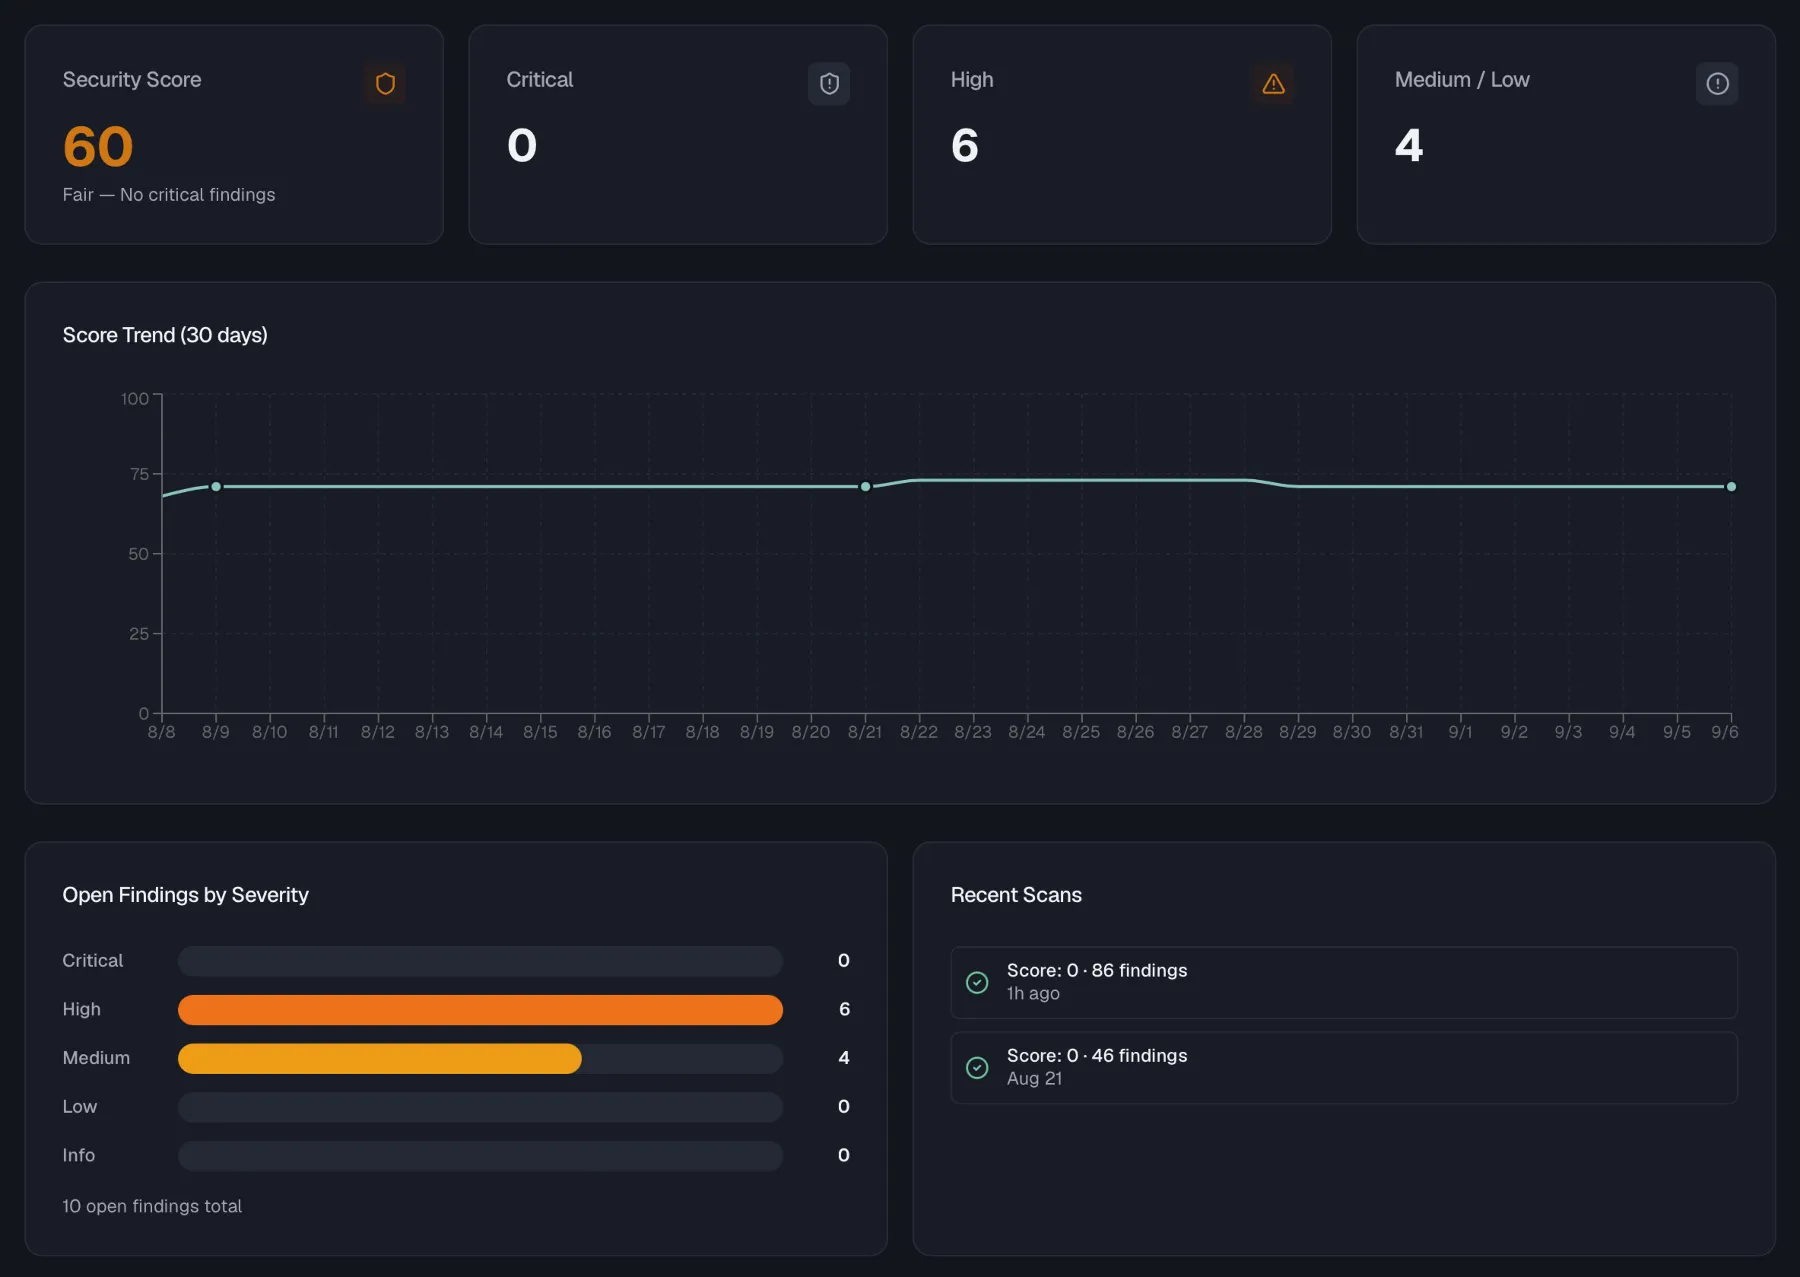 ## Running scans
A scan is driven by a **scan profile**, which is a saved configuration that names the target environment, the API specification, which scanners to run and the rate limits. You can trigger a profile manually from the Scan Profiles page or give it a cron schedule to run automatically. Each execution is a **scan run**.
The full profile lifecycle is covered in [Scan profiles](https://docs.routebase.dev/scan-profiles/). In short:
1. Confirm your target [environment](https://docs.routebase.dev/environments/) has a base URL and that the API is reachable from Routebase.
2. If you want to test authorization flaws, add [security personas](https://docs.routebase.dev/personas/).
3. Create a scan profile, pick your scanners, and click **Run**.
### Scan run view
Clicking **Run** takes you to the live run view, which refreshes automatically while the scan is active (it polls every few seconds while a run is Queued or Running). It shows:
- A **status** badge reading Queued, Running, Completed, Failed or Cancelled.
- A **progress bar** measured as scanners completed out of scanners enabled, plus the id of the scanner currently executing.
- Counters for **Checks**, **Passed**, **Failed** and **Open findings**.
- A **Cancel scan** button (requires **security:execute**). Cancellation is cooperative, so in-flight work is allowed to finish and all findings detected up to that point are preserved. The run is marked **Cancelled**.
The **Scan Runs** page lists every past run with its status, resulting score, open-findings count, enabled-scanner count, trigger, start time, and duration.
## Running scans
A scan is driven by a **scan profile**, which is a saved configuration that names the target environment, the API specification, which scanners to run and the rate limits. You can trigger a profile manually from the Scan Profiles page or give it a cron schedule to run automatically. Each execution is a **scan run**.
The full profile lifecycle is covered in [Scan profiles](https://docs.routebase.dev/scan-profiles/). In short:
1. Confirm your target [environment](https://docs.routebase.dev/environments/) has a base URL and that the API is reachable from Routebase.
2. If you want to test authorization flaws, add [security personas](https://docs.routebase.dev/personas/).
3. Create a scan profile, pick your scanners, and click **Run**.
### Scan run view
Clicking **Run** takes you to the live run view, which refreshes automatically while the scan is active (it polls every few seconds while a run is Queued or Running). It shows:
- A **status** badge reading Queued, Running, Completed, Failed or Cancelled.
- A **progress bar** measured as scanners completed out of scanners enabled, plus the id of the scanner currently executing.
- Counters for **Checks**, **Passed**, **Failed** and **Open findings**.
- A **Cancel scan** button (requires **security:execute**). Cancellation is cooperative, so in-flight work is allowed to finish and all findings detected up to that point are preserved. The run is marked **Cancelled**.
The **Scan Runs** page lists every past run with its status, resulting score, open-findings count, enabled-scanner count, trigger, start time, and duration.

 ## Findings
Every time a scanner detects a potential issue it raises a **finding**. The Findings page is where your team triages them.
### The findings list
The list is a table with columns for **Severity**, **Title**, **Method**, **Path**, **Status**, and **Assigned to**. A filter bar above it lets you:
- **Search** by title.
- Filter by **status** (Open, In progress, Fixed, False positive, Accepted risk, Duplicate) or **All statuses**.
- Filter by **severity** (Critical, High, Medium, Low, Info) or **All severities**.
- Sort by **Severity** (default), **Last seen**, or **First seen**.
- Restrict to findings **assigned to me**.
## Findings
Every time a scanner detects a potential issue it raises a **finding**. The Findings page is where your team triages them.
### The findings list
The list is a table with columns for **Severity**, **Title**, **Method**, **Path**, **Status**, and **Assigned to**. A filter bar above it lets you:
- **Search** by title.
- Filter by **status** (Open, In progress, Fixed, False positive, Accepted risk, Duplicate) or **All statuses**.
- Filter by **severity** (Critical, High, Medium, Low, Info) or **All severities**.
- Sort by **Severity** (default), **Last seen**, or **First seen**.
- Restrict to findings **assigned to me**.
 ### Severity and confidence
Each finding carries a **severity** and a **confidence**.
| Severity | Meaning |
| --- | --- |
| **Critical** | Exploitable with severe impact, so fix it immediately. |
| **High** | A significant issue, so fix it promptly. |
| **Medium** | Moderate risk, usually needs specific conditions. |
| **Low** | Minor issue with limited impact. |
| **Info** | Informational observation, not a vulnerability. |
| Confidence | Meaning |
| --- | --- |
| **High** | Strong evidence, so the finding is very likely real. |
| **Medium** | Reasonable evidence, may need manual verification. |
| **Low** | A weak or indirect signal, so review it before acting. |
### Finding detail
Selecting a finding opens a side sheet with three tabs:
- **Overview** shows the scanner that raised it, the confidence, who it's assigned to, when it was resolved, any resolution notes and the full description.
- **Evidence** carries a ready-to-run **reproduction `curl`** command (with a copy button) so you can verify the issue independently. A **Show raw evidence** button lazily loads the scanner's full evidence payload as pretty-printed, copyable JSON (its shape varies per scanner) for pasting into an issue tracker.
- **Guidance** carries remediation content for the finding's OWASP category. It explains what the issue means and how to fix it, with code examples in C#, TypeScript and Python where available, plus reference links to OWASP and CWE.
### Severity and confidence
Each finding carries a **severity** and a **confidence**.
| Severity | Meaning |
| --- | --- |
| **Critical** | Exploitable with severe impact, so fix it immediately. |
| **High** | A significant issue, so fix it promptly. |
| **Medium** | Moderate risk, usually needs specific conditions. |
| **Low** | Minor issue with limited impact. |
| **Info** | Informational observation, not a vulnerability. |
| Confidence | Meaning |
| --- | --- |
| **High** | Strong evidence, so the finding is very likely real. |
| **Medium** | Reasonable evidence, may need manual verification. |
| **Low** | A weak or indirect signal, so review it before acting. |
### Finding detail
Selecting a finding opens a side sheet with three tabs:
- **Overview** shows the scanner that raised it, the confidence, who it's assigned to, when it was resolved, any resolution notes and the full description.
- **Evidence** carries a ready-to-run **reproduction `curl`** command (with a copy button) so you can verify the issue independently. A **Show raw evidence** button lazily loads the scanner's full evidence payload as pretty-printed, copyable JSON (its shape varies per scanner) for pasting into an issue tracker.
- **Guidance** carries remediation content for the finding's OWASP category. It explains what the issue means and how to fix it, with code examples in C#, TypeScript and Python where available, plus reference links to OWASP and CWE.
 ### Triaging findings
With **security:write**, the detail sheet exposes a **Status** control. Findings follow a fixed workflow:
| Status | When to use |
| --- | --- |
| **Open** | Default state after detection. |
| **In progress** | Someone is actively working on a fix. |
| **Fixed** | The underlying vulnerability is resolved. |
| **False positive** | Not actually a vulnerability. |
| **Accepted risk** | Acknowledged but intentionally not fixed. |
| **Duplicate** | A duplicate of another finding. |
You can move a finding between **Open** and **In progress** freely. Moving it to a resolving status (Fixed, False positive, Accepted risk, or Duplicate) opens a dialog that requires a short **resolution note** explaining the decision, and that note is saved with the finding. Resolved findings cannot be reopened by hand. If a later scan detects the same issue again, the scanner reopens it automatically.
#### Bulk triage
To triage many findings at once, tick the checkbox on each row (or the **Select all findings** checkbox in the table header). A selection bar then appears above the table showing the count, such as *3 selected*. Its quick actions are **Mark in progress**, **Mark fixed** and **Mark false positive**, plus **Clear** to drop the selection. Each action applies the one target status to every selected finding. The backend enforces the same per-finding state machine as single triage, so any finding whose current status can't legally make that transition is skipped rather than forced. Bulk triage requires **security:write**, so the selection controls don't appear for Members.
## Security score
The **security score** is a single 0–100 indicator of a project's posture, recalculated from open findings.
### How it's calculated
The score starts at **100** and subtracts penalties for **open** findings only (findings that are In progress, Fixed, False positive, Accepted risk, or Duplicate do not reduce the score):
| Severity | Penalty per finding | Penalty cap |
| --- | ---: | ---: |
| **Critical** | −25 | −60 |
| **High** | −10 | −30 |
| **Medium** | −3 | −15 |
| **Low** | −1 | −5 |
Two small bonuses reward active scanning:
- **+2** if the project has a completed scan within the last 7 days.
- **+3** if at least one enabled scan profile has a schedule.
The result is clamped to the 0–100 range.
### Score bands
The dashboard score card colours the number by band:
| Score | Label | Colour |
| --- | --- | --- |
| 80–100 | Good | Green |
| 50–79 | Fair | Amber |
| 0–49 | Poor | Red |
### Governance
The security score also feeds the project's overall **governance score** as one weighted component, which defaults to 20% and is configurable in governance settings. A project that has never been scanned contributes no security component to governance.
## Defensive limits
To keep scans bounded and storage manageable, the module enforces hard limits:
| Resource | Limit |
| --- | --- |
| Endpoints processed per scan | 500 |
| Personas per project | 10 |
| Scan profiles per project | 10 on Pro, unlimited on Enterprise |
| Findings per project | 10,000 |
When the findings cap is reached, the oldest **resolved** findings are archived automatically to make room, and open findings are never archived. Creating a persona or a profile beyond the limit is rejected with a validation error, so delete an unused one first.
## Related
- [Scanner reference](https://docs.routebase.dev/scanner-reference/) — what each scanner checks and the severities it raises
- [Security personas](https://docs.routebase.dev/personas/) — the auth identities that power authorization testing
- [Scan profiles](https://docs.routebase.dev/scan-profiles/) — building and scheduling scan configurations
- [Security in CI/CD](https://docs.routebase.dev/security-in-cicd/) — running scans from a pipeline and exporting findings as SARIF
- [Environments](https://docs.routebase.dev/environments/) — where the scan target's base URL is defined
---
## Shared Library
Source: https://docs.routebase.dev/shared-library/
The Shared Library holds organization-wide schemas and responses that every project can reuse. Define common building blocks such as an `ErrorResponse` schema or a standard `NotFound` response once at the organization level, then link them into any API specification. Linked components stay connected to the library, so updates flow to consumers on their own schedule.
## Where to find it
Open **Settings → Shared Library**. Managing the library requires the **org:manage-governance** permission, which Admins and Owners hold. Members see the library in read-only mode. The page is available on all plans.
The page has two tabs, **Schemas** and **Responses**, and each one shows a searchable **Shared Components** list with the component name and its current version badge such as `v3`.
### Triaging findings
With **security:write**, the detail sheet exposes a **Status** control. Findings follow a fixed workflow:
| Status | When to use |
| --- | --- |
| **Open** | Default state after detection. |
| **In progress** | Someone is actively working on a fix. |
| **Fixed** | The underlying vulnerability is resolved. |
| **False positive** | Not actually a vulnerability. |
| **Accepted risk** | Acknowledged but intentionally not fixed. |
| **Duplicate** | A duplicate of another finding. |
You can move a finding between **Open** and **In progress** freely. Moving it to a resolving status (Fixed, False positive, Accepted risk, or Duplicate) opens a dialog that requires a short **resolution note** explaining the decision, and that note is saved with the finding. Resolved findings cannot be reopened by hand. If a later scan detects the same issue again, the scanner reopens it automatically.
#### Bulk triage
To triage many findings at once, tick the checkbox on each row (or the **Select all findings** checkbox in the table header). A selection bar then appears above the table showing the count, such as *3 selected*. Its quick actions are **Mark in progress**, **Mark fixed** and **Mark false positive**, plus **Clear** to drop the selection. Each action applies the one target status to every selected finding. The backend enforces the same per-finding state machine as single triage, so any finding whose current status can't legally make that transition is skipped rather than forced. Bulk triage requires **security:write**, so the selection controls don't appear for Members.
## Security score
The **security score** is a single 0–100 indicator of a project's posture, recalculated from open findings.
### How it's calculated
The score starts at **100** and subtracts penalties for **open** findings only (findings that are In progress, Fixed, False positive, Accepted risk, or Duplicate do not reduce the score):
| Severity | Penalty per finding | Penalty cap |
| --- | ---: | ---: |
| **Critical** | −25 | −60 |
| **High** | −10 | −30 |
| **Medium** | −3 | −15 |
| **Low** | −1 | −5 |
Two small bonuses reward active scanning:
- **+2** if the project has a completed scan within the last 7 days.
- **+3** if at least one enabled scan profile has a schedule.
The result is clamped to the 0–100 range.
### Score bands
The dashboard score card colours the number by band:
| Score | Label | Colour |
| --- | --- | --- |
| 80–100 | Good | Green |
| 50–79 | Fair | Amber |
| 0–49 | Poor | Red |
### Governance
The security score also feeds the project's overall **governance score** as one weighted component, which defaults to 20% and is configurable in governance settings. A project that has never been scanned contributes no security component to governance.
## Defensive limits
To keep scans bounded and storage manageable, the module enforces hard limits:
| Resource | Limit |
| --- | --- |
| Endpoints processed per scan | 500 |
| Personas per project | 10 |
| Scan profiles per project | 10 on Pro, unlimited on Enterprise |
| Findings per project | 10,000 |
When the findings cap is reached, the oldest **resolved** findings are archived automatically to make room, and open findings are never archived. Creating a persona or a profile beyond the limit is rejected with a validation error, so delete an unused one first.
## Related
- [Scanner reference](https://docs.routebase.dev/scanner-reference/) — what each scanner checks and the severities it raises
- [Security personas](https://docs.routebase.dev/personas/) — the auth identities that power authorization testing
- [Scan profiles](https://docs.routebase.dev/scan-profiles/) — building and scheduling scan configurations
- [Security in CI/CD](https://docs.routebase.dev/security-in-cicd/) — running scans from a pipeline and exporting findings as SARIF
- [Environments](https://docs.routebase.dev/environments/) — where the scan target's base URL is defined
---
## Shared Library
Source: https://docs.routebase.dev/shared-library/
The Shared Library holds organization-wide schemas and responses that every project can reuse. Define common building blocks such as an `ErrorResponse` schema or a standard `NotFound` response once at the organization level, then link them into any API specification. Linked components stay connected to the library, so updates flow to consumers on their own schedule.
## Where to find it
Open **Settings → Shared Library**. Managing the library requires the **org:manage-governance** permission, which Admins and Owners hold. Members see the library in read-only mode. The page is available on all plans.
The page has two tabs, **Schemas** and **Responses**, and each one shows a searchable **Shared Components** list with the component name and its current version badge such as `v3`.
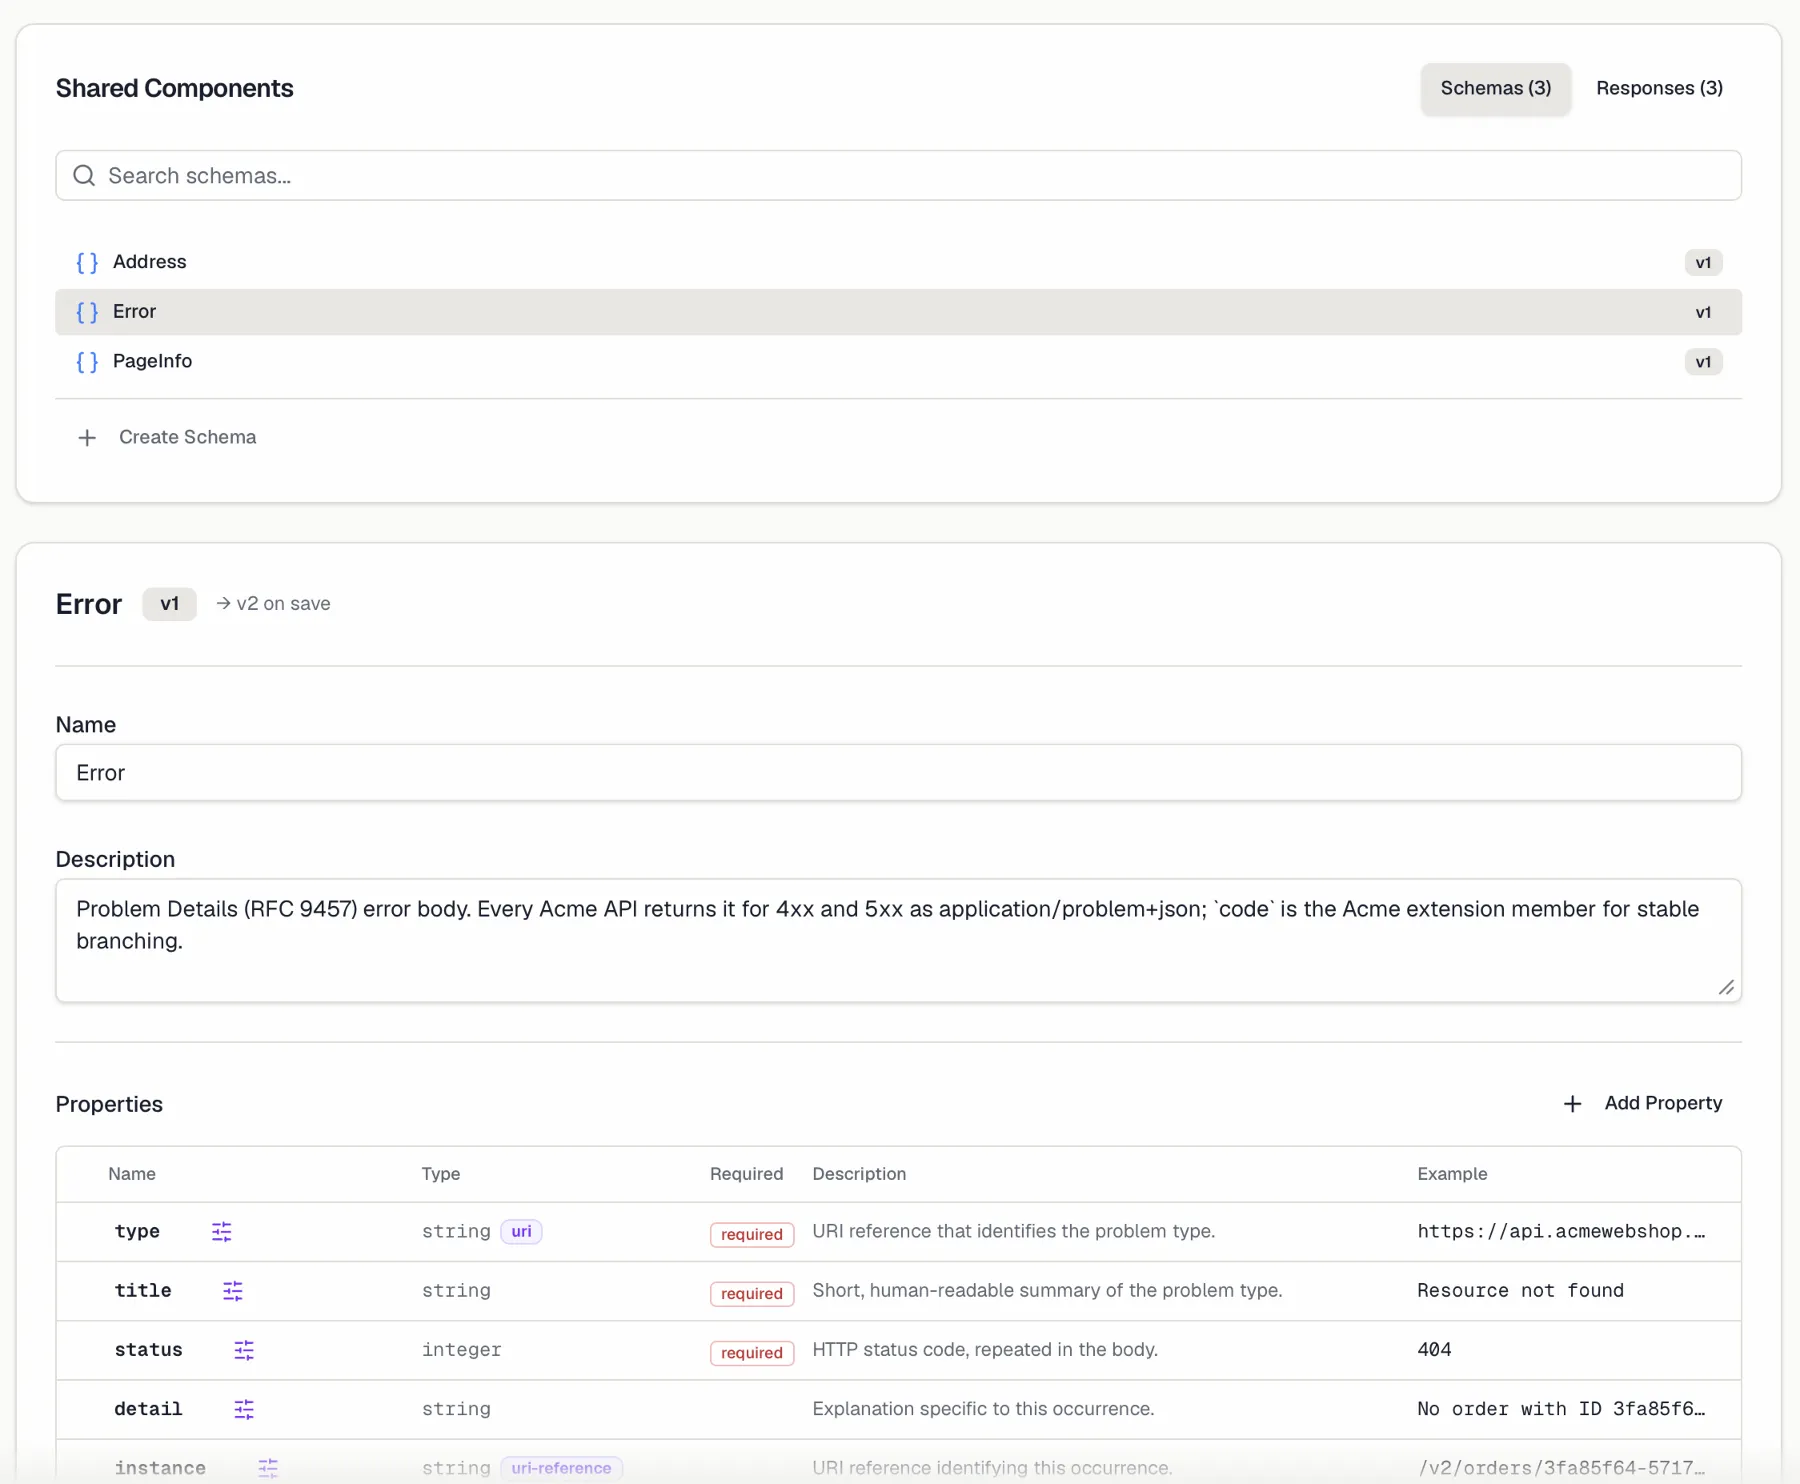
 ## Creating a shared schema
1. On the **Schemas** tab, click **Create Schema**.
2. In the **Create Shared Schema** dialog, enter a **Name** (e.g. `ErrorResponse`, `PaginatedResult`), an optional **Description**, and the **JSON Schema** definition.
3. Click **Create Schema**. Invalid JSON is rejected before saving.
Once created, the schema opens in an editor where you can maintain its **Properties** in a table (**Add Property**) and check the collapsible **JSON Schema Preview**.
## Creating a shared response
1. On the **Responses** tab, click **Create Response**.
2. In the **Create Shared Response** dialog, enter a **Name** (e.g. `NotFound`, `Unauthorized`, `ValidationError`), an optional **Description**, and pick a **Content Type** (`application/json`, `application/xml`, `text/plain`, `text/html`, `multipart/form-data`, or `application/octet-stream`).
3. Optionally define a **Response Schema** and an **Example** as JSON.
4. Click **Create Response**.
The response editor additionally lets you edit the **Response Body Schema** for JSON content types, the response **Headers** as JSON such as `{"X-Request-Id": "string"}`, and the **Example**.
## Versioning
Every shared component carries a version number. Saving a change increments it, and while you edit, the header shows the pending bump such as `→ v4 on save`. Specs that link the component keep the version they linked, so a library update never silently changes a consuming spec (see [Staying up to date](#staying-up-to-date) below).
## Deleting a component
Delete a component from its editor or via the trash icon in the list. The confirmation warns *"Are you sure you want to delete "{name}"? This action cannot be undone. Any specs referencing this schema will lose the link."* Deletion is not blocked while the component is in use, so the linked copies in specs remain, but they lose their connection to the library.
## Using shared components in the API Designer
In the designer sidebar, the **Shared** section lists the components linked to the current specification, grouped into **Schemas** and **Responses**.
1. Click the **+** button in the **Shared** section header.
2. The **Link Shared Components** dialog opens, described as *"Select components from the shared library to link to this specification."* Components are grouped into the **Organization Library**, whose components are copied into this project when linked, and the **Project Library**. Search, select one or more, and click **Link Selected**.
Each linked component shows a scope badge reading **Org** or **Project**, with a tooltip indicating which library it came from. Linking follows your spec editing rights through **specs:write**, while creating or changing library components themselves still requires **org:manage-governance**.
You can also go the other way. Promote a schema or response you built in a spec to the library via its **Promote to Library** action, which makes it reusable elsewhere.
## Creating a shared schema
1. On the **Schemas** tab, click **Create Schema**.
2. In the **Create Shared Schema** dialog, enter a **Name** (e.g. `ErrorResponse`, `PaginatedResult`), an optional **Description**, and the **JSON Schema** definition.
3. Click **Create Schema**. Invalid JSON is rejected before saving.
Once created, the schema opens in an editor where you can maintain its **Properties** in a table (**Add Property**) and check the collapsible **JSON Schema Preview**.
## Creating a shared response
1. On the **Responses** tab, click **Create Response**.
2. In the **Create Shared Response** dialog, enter a **Name** (e.g. `NotFound`, `Unauthorized`, `ValidationError`), an optional **Description**, and pick a **Content Type** (`application/json`, `application/xml`, `text/plain`, `text/html`, `multipart/form-data`, or `application/octet-stream`).
3. Optionally define a **Response Schema** and an **Example** as JSON.
4. Click **Create Response**.
The response editor additionally lets you edit the **Response Body Schema** for JSON content types, the response **Headers** as JSON such as `{"X-Request-Id": "string"}`, and the **Example**.
## Versioning
Every shared component carries a version number. Saving a change increments it, and while you edit, the header shows the pending bump such as `→ v4 on save`. Specs that link the component keep the version they linked, so a library update never silently changes a consuming spec (see [Staying up to date](#staying-up-to-date) below).
## Deleting a component
Delete a component from its editor or via the trash icon in the list. The confirmation warns *"Are you sure you want to delete "{name}"? This action cannot be undone. Any specs referencing this schema will lose the link."* Deletion is not blocked while the component is in use, so the linked copies in specs remain, but they lose their connection to the library.
## Using shared components in the API Designer
In the designer sidebar, the **Shared** section lists the components linked to the current specification, grouped into **Schemas** and **Responses**.
1. Click the **+** button in the **Shared** section header.
2. The **Link Shared Components** dialog opens, described as *"Select components from the shared library to link to this specification."* Components are grouped into the **Organization Library**, whose components are copied into this project when linked, and the **Project Library**. Search, select one or more, and click **Link Selected**.
Each linked component shows a scope badge reading **Org** or **Project**, with a tooltip indicating which library it came from. Linking follows your spec editing rights through **specs:write**, while creating or changing library components themselves still requires **org:manage-governance**.
You can also go the other way. Promote a schema or response you built in a spec to the library via its **Promote to Library** action, which makes it reusable elsewhere.
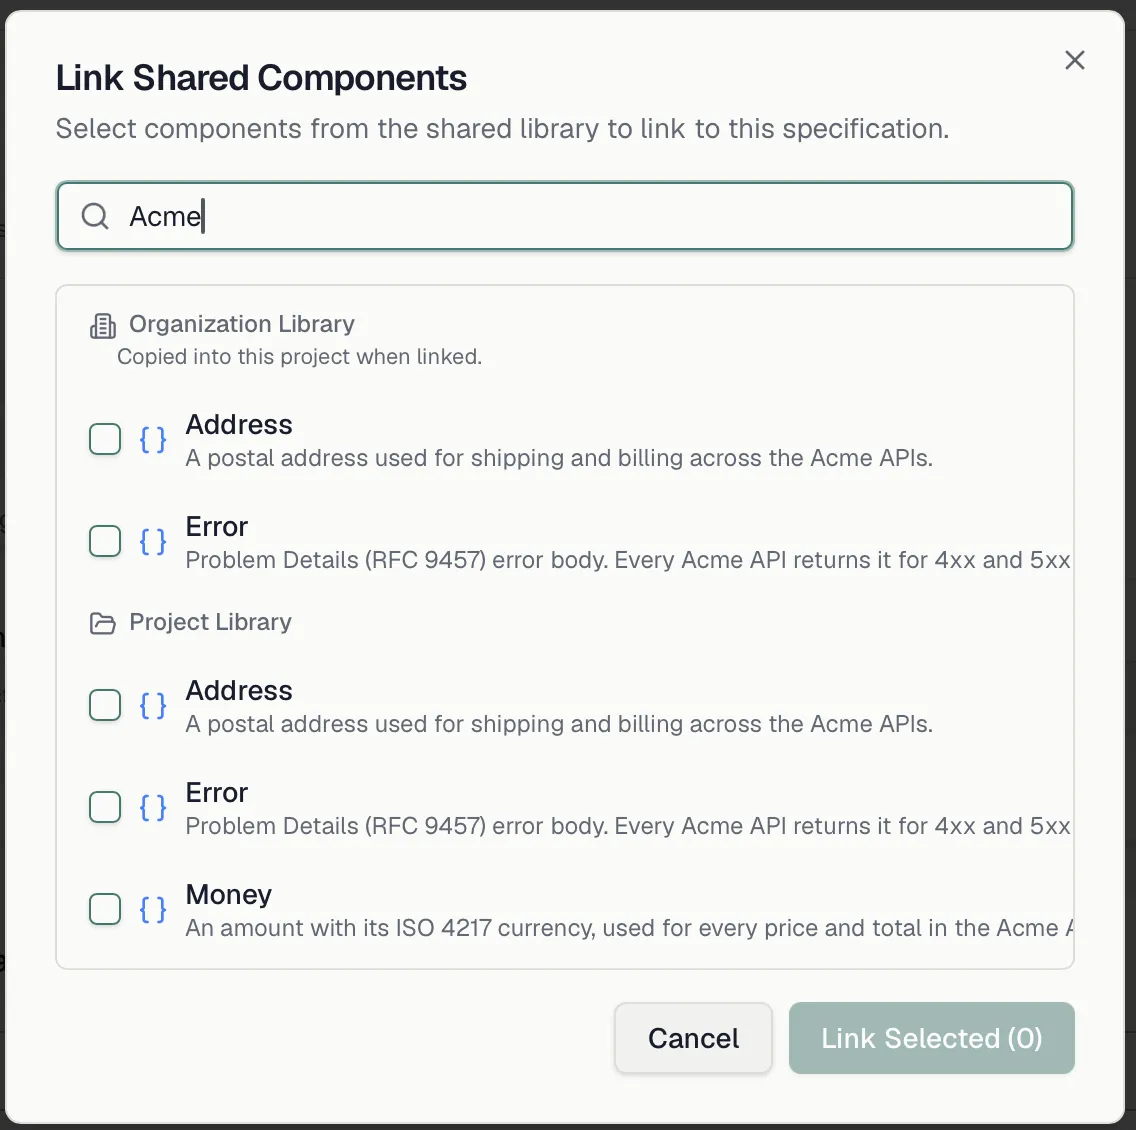
 ## Staying up to date
Links are pinned to the version you linked, so library updates are opt-in per spec:
- When a newer library version exists, the component shows a pulsing update indicator with the tooltip *"Update available: v{linked} → v{current}"*.
- Hover the component and click **Accept update** to move the link to the latest version.
- To disconnect a component from the library entirely, use the **Unlink from library** hover action. The component's content stays in your spec, and only the link is removed.
## Related
- [Schemas](https://docs.routebase.dev/schemas/) — building data structures inside a spec
- [Responses](https://docs.routebase.dev/responses/) — defining what endpoints return
- [Components](https://docs.routebase.dev/components/) — spec-level reusable components
- [Style Guide](https://docs.routebase.dev/style-guide/) — organization-wide design rules
---
## Shared Library — MCP Tools
Source: https://docs.routebase.dev/shared-library-mcp-tools/
The tools below belong to the **Shared Library** group of the Routebase MCP server.
## fork_org_component_to_project
Copy a schema or response from the ORGANIZATION library into the current project's library, where it can be edited independently. Get sourceId from list_shared_schemas/list_shared_responses with scope 'org'. Requires project context.
**Required scope:** `specs:write`
| Parameter | Type | Required | Description |
| --- | --- | --- | --- |
| `componentType` | string | Yes | What to fork: 'schema' or 'response' |
| `sourceId` | string | Yes | Public ID (GUID) of the organization-library schema or response |
## get_shared_response
Get one shared response with its schema, headers, example and rowVersion. Scope 'project' (default) or 'org'. Set includeUsedBy to also list the specs linking it — project scope only. Use this when you already have the response id; to browse the library use list_shared_responses.
**Required scope:** `specs:read`
| Parameter | Type | Required | Description |
| --- | --- | --- | --- |
| `responseId` | string | Yes | Public ID (GUID) of the shared response |
| `scope` | string | No (default `"project"`) | Which library to read: 'project' (default) or 'org' |
| `includeUsedBy` | boolean | No (default `false`) | Also list the specs using this response — project scope only (default false) |
## get_shared_schema
Get one shared schema with its full JSON Schema and rowVersion. Scope 'project' (default) or 'org'. Set includeUsedBy to also list the specs linking it — do that before deleting one; it only works in project scope. Use this when you already have the schema id; to browse the library use list_shared_schemas.
**Required scope:** `specs:read`
| Parameter | Type | Required | Description |
| --- | --- | --- | --- |
| `schemaId` | string | Yes | Public ID (GUID) of the shared schema |
| `scope` | string | No (default `"project"`) | Which library to read: 'project' (default) or 'org' |
| `includeUsedBy` | boolean | No (default `false`) | Also list the specs using this schema — project scope only (default false) |
## list_shared_component_usages
List which shared-library components a spec links, including whether the library has a newer version than the spec is pinned to (hasUpdate). The usage ids returned here are what manage_shared_component_link needs for 'unlink' and 'accept_update'. Requires project context.
**Required scope:** `specs:read`
| Parameter | Type | Required | Description |
| --- | --- | --- | --- |
| `specId` | string | Yes | Public ID (GUID) of the API specification |
| `versionId` | string | No | Optional version ID (GUID) to filter by a specific version |
## list_shared_responses
List the reusable responses of the shared library. Scope 'project' (default) reads the current project's library, 'org' the organization-wide one. Each entry carries the id and rowVersion needed to update or link it. Use this to browse or find an id; to create, change or delete one use manage_shared_response.
**Required scope:** `specs:read`
| Parameter | Type | Required | Description |
| --- | --- | --- | --- |
| `scope` | string | No (default `"project"`) | Which library to read: 'project' (default) or 'org' |
## list_shared_schemas
List the reusable schemas of the shared library. Scope 'project' (default) reads the current project's library, 'org' the organization-wide one. Each entry carries the id and rowVersion needed to update or link it. Use this to browse or find an id; to create, change or delete one use manage_shared_schema.
**Required scope:** `specs:read`
| Parameter | Type | Required | Description |
| --- | --- | --- | --- |
| `scope` | string | No (default `"project"`) | Which library to read: 'project' (default) or 'org' |
## manage_org_shared_response
Create, update or delete a response in the ORGANIZATION shared library — the standards every project can fork. 'create' needs name; 'update' needs responseId and rowVersion and REPLACES the response, omitted fields are carried over; 'delete' needs responseId. Read them with list_shared_responses(scope: 'org').
**Required scope:** `org:manage-governance`
| Parameter | Type | Required | Description |
| --- | --- | --- | --- |
| `action` | string | Yes | What to do: 'create', 'update' or 'delete' |
| `responseId` | string | No | Public ID (GUID) of the shared response — required for 'update' and 'delete' |
| `rowVersion` | string | No | Base64-encoded row version from list_shared_responses — required for 'update' |
| `name` | string | No | Response name, unique within the library — required for 'create' |
| `description` | string | No | Optional description |
| `contentType` | string | No | Content type, defaults to 'application/json' when creating |
| `schemaJson` | string | No | Optional JSON Schema for the response body, as a JSON string |
| `headers` | string | No | Optional response headers as a JSON object string |
| `example` | string | No | Optional example payload |
## manage_org_shared_schema
Create, update or delete a schema in the ORGANIZATION shared library — the standards every project can fork. 'create' needs name and jsonSchema; 'update' needs schemaId and rowVersion and REPLACES the schema, omitted fields are carried over; 'delete' needs schemaId. Read them with list_shared_schemas(scope: 'org').
**Required scope:** `org:manage-governance`
| Parameter | Type | Required | Description |
| --- | --- | --- | --- |
| `action` | string | Yes | What to do: 'create', 'update' or 'delete' |
| `schemaId` | string | No | Public ID (GUID) of the shared schema — required for 'update' and 'delete' |
| `rowVersion` | string | No | Base64-encoded row version from list_shared_schemas — required for 'update' |
| `name` | string | No | Schema name, unique within the library — required for 'create' |
| `jsonSchema` | string | No | The JSON Schema document as a JSON string — required for 'create' |
| `description` | string | No | Optional description |
## manage_shared_component_link
Link a shared-library component into a spec, remove that link, or pull in the library's newer version. 'link' needs componentType and componentId (from list_shared_schemas or list_shared_responses); 'unlink' and 'accept_update' need usageId from list_shared_component_usages. Requires project context.
**Required scope:** `specs:write`
| Parameter | Type | Required | Description |
| --- | --- | --- | --- |
| `specId` | string | Yes | Public ID (GUID) of the API specification |
| `action` | string | Yes | What to do: 'link', 'unlink' or 'accept_update' |
| `componentType` | string | No | What is being linked: 'schema' or 'response' — required for 'link' |
| `componentId` | string | No | Public ID (GUID) of the shared component — required for 'link' |
| `usageId` | string | No | Public ID (GUID) of the usage — required for 'unlink' and 'accept_update' |
| `versionId` | string | No | Optional version ID (GUID) to link into a specific version |
| `localOverrideName` | string | No | Optional name the component gets inside this spec, if it should differ |
## manage_shared_response
Create, update or delete a response in the PROJECT shared library. 'create' needs name; 'update' needs responseId and rowVersion and REPLACES the response — omitted fields are carried over from the current state; 'delete' needs responseId, check get_shared_response with includeUsedBy first. For the organization library use manage_org_shared_response. Requires project context.
**Required scope:** `specs:write`
| Parameter | Type | Required | Description |
| --- | --- | --- | --- |
| `action` | string | Yes | What to do: 'create', 'update' or 'delete' |
| `responseId` | string | No | Public ID (GUID) of the shared response — required for 'update' and 'delete' |
| `rowVersion` | string | No | Base64-encoded row version from list_shared_responses — required for 'update' |
| `name` | string | No | Response name, unique within the library (e.g. 'NotFound') — required for 'create' |
| `description` | string | No | Optional description |
| `contentType` | string | No | Content type, defaults to 'application/json' when creating |
| `schemaJson` | string | No | Optional JSON Schema for the response body, as a JSON string |
| `headers` | string | No | Optional response headers as a JSON object string |
| `example` | string | No | Optional example payload |
## manage_shared_schema
Create, update or delete a schema in the PROJECT shared library. 'create' needs name and jsonSchema; 'update' needs schemaId and rowVersion and REPLACES the schema — fields you omit are carried over from the current state, so you can change one alone; 'delete' needs schemaId, check get_shared_schema with includeUsedBy first. For the organization library use manage_org_shared_schema. Requires project context.
**Required scope:** `specs:write`
| Parameter | Type | Required | Description |
| --- | --- | --- | --- |
| `action` | string | Yes | What to do: 'create', 'update' or 'delete' |
| `schemaId` | string | No | Public ID (GUID) of the shared schema — required for 'update' and 'delete' |
| `rowVersion` | string | No | Base64-encoded row version from list_shared_schemas — required for 'update' |
| `name` | string | No | Schema name, unique within the library (e.g. 'Customer') — required for 'create' |
| `jsonSchema` | string | No | The JSON Schema document as a JSON string — required for 'create' |
| `description` | string | No | Optional description |
## promote_to_shared_library
Promote a schema or response that lives inside one spec into the project's shared library, so other specs can link it. Get componentId from list_schemas or list_response_components. Fails if the library already holds that name. Requires project context.
**Required scope:** `specs:write`
| Parameter | Type | Required | Description |
| --- | --- | --- | --- |
| `specId` | string | Yes | Public ID (GUID) of the API specification the component lives in |
| `componentType` | string | Yes | What to promote: 'schema' or 'response' |
| `componentId` | string | Yes | Public ID (GUID) of the spec-local schema or response component |
---
## Single Sign-On (SSO)
Source: https://docs.routebase.dev/sso/
With Single Sign-On, members of your organization sign in to Routebase through your company's identity provider instead of individual passwords. Routebase supports **SAML 2.0**, which works with Okta, Microsoft Entra ID, Google Workspace, OneLogin, Ping and any other SAML-compatible identity provider. It also supports **SCIM 2.0** for automatic user provisioning. SAML connections and SCIM live on **Settings → Single Sign-On**, in the **Security** group of the settings sidebar. The page describes itself as "Configure SAML connections, manage SSO enforcement, and provision users via SCIM." The verified domains that enforcement is based on sit on their own page, **Settings → Domains**, right above it.
SAML SSO and SCIM provisioning are available on the **Enterprise** plan. On lower plans the sidebar entry shows a lock icon and the page shows an upgrade card. Opening the page also requires the **org:manage-security** permission, which Admins and Owners have.
## Setup at a glance
1. **Verify your email domain** by proving you own `acme.com` with a DNS TXT record on **Settings → Domains**. That page needs no Enterprise plan, and [Custom Domains](https://docs.routebase.dev/custom-domains/) describes it.
2. **Create an SSO connection** by walking through the connection wizard and exchanging SAML metadata with your identity provider.
3. **Test and activate** the connection by running a test sign-in, then flipping it to Active.
4. **Optionally enforce SSO** to require it for everyone whose email is on a verified domain.
5. **Optionally add SCIM** so your identity provider can create, update and deactivate Routebase users automatically.
### Step-by-step guides for your provider
Each guide covers the whole round trip. That means creating the SAML app in the identity provider, running the Routebase wizard, pasting the Entity ID and ACS URL back, and the optional SCIM and group-mapping steps:
- [Okta](https://docs.routebase.dev/okta-sso-setup/)
- [Microsoft Entra ID](https://docs.routebase.dev/microsoft-entra-id-sso-setup/) (formerly Azure AD)
- [Google Workspace](https://docs.routebase.dev/google-workspace-sso-setup/)
- [OneLogin](https://docs.routebase.dev/onelogin-sso-setup/)
- [Ping Identity](https://docs.routebase.dev/ping-identity-sso-setup/)
For a different SAML 2.0 provider, start from [SSO Setup Overview](https://docs.routebase.dev/sso-setup-overview/) and choose the **Generic SAML** vendor preset.
You can have **one active connection at a time**. While a connection is active, the **Create connection** button is hidden, so disable the active one first if you need to set up a replacement.
## Creating a connection
Click **Create connection** in the **SSO Connections** card. The **Configure Single Sign-On** wizard walks you through six steps:
| Step | What you do |
| --- | --- |
| **Protocol** | Choose **SAML 2.0**. OIDC is shown but not yet available ("coming soon"). |
| **Vendor** | Pick **Okta**, **Microsoft Entra ID**, **Google Workspace** or **Generic SAML**. Each preset pre-fills the attribute mapping for that vendor. |
| **Metadata** | Name the connection and paste your identity provider's metadata, either as a URL or as XML. |
| **Mapping** | Map SAML assertion attributes to Routebase user fields. |
| **Test** | Copy the Entity ID and ACS URL into your IdP, then run a test sign-in. |
| **Activate** | Turn the connection on for your users. |
### Metadata
On the Metadata step, enter:
- **Connection name** is required and only visible to admins. Use a name that identifies the provider and environment, such as `Acme Okta Production`.
- **IdP metadata URL** is the preferred option, because Routebase auto-refreshes it when your identity provider rotates its signing certificates.
- **IdP metadata XML** takes the full XML up to 1 MB, and you use it when your provider does not expose a public metadata URL. Google Workspace, for example, only offers a download.
The step includes vendor-specific guidance on where to create the SAML app in your identity provider and where to find its metadata, with a collapsible **Show step-by-step** checklist.
The metadata exchange goes both ways. After this step, the wizard shows the **Entity ID** and **ACS URL** that you paste back into your provider's SAML app configuration.
### Attribute mapping
Map each Routebase user field to the claim name your identity provider sends:
| Field | Required | Notes |
| --- | --- | --- |
| **Email** | Yes | Unique identifier. SSO login fails without it. |
| **First name** and **Last name** | No | Used for the profile display name. |
| **Avatar URL** | No | Optional profile picture URL from the IdP. |
| **Groups claim** | No | A comma-separated list or a JSON array, used for Group to Role mapping. |
Vendor presets fill these in for you. Two Microsoft Entra pitfalls are flagged inline in the editor:
- Map **email** to `user.userprincipalname` rather than `user.mail`, because users without a mailbox have no mail value and would fail to sign in.
- For groups, configure the group claim to emit **"Cloud-only group display names"**. By default, Entra sends group object IDs as GUIDs, which do not match name-based group mappings.
### Test and activate
Moving past the Mapping step saves the connection in **Draft** status. The Test step then shows the connection's **Entity ID**, **ACS URL** and **Connection ID** with copy buttons, so make sure these are configured in your identity provider. An **Open test login** button opens a test sign-in in a new tab, and completing that sign-in confirms the SAML handshake works end to end.
Finally, click **Activate**. Members of your organization can now sign in via your identity provider, and existing users are prompted to link their accounts on their next login.
## Managing connections
Each connection in the **SSO Connections** card shows its name, a status badge, its connection ID, when it was last used, and the last error message if something went wrong. The badge reads **Active**, **Draft**, **Disabled** or **Error**. Four actions are available per connection:
- **Manage** opens a details dialog. It carries the read-only identity provider details, which are Entity ID, ACS URL, Connection ID and Metadata URL, all with copy buttons. The editable fields are name, metadata URL, metadata XML, signing certificate, attribute mapping, and the **Just-in-time provisioning** toggle described as "Automatically create a Routebase user on first SSO login". Metadata XML and the signing certificate are stored encrypted and never displayed, so leave those fields blank to keep the current values.
- **Test** opens a test sign-in in a new tab, the same as in the wizard.
- **Disable** and **Enable** temporarily turn the connection off without deleting it.
- **Delete** removes the connection after confirmation. Users can then no longer sign in with it, and this cannot be undone.
## Enforcing SSO
SSO enforcement is per verified domain. Once a domain is verified, an **SSO required** switch appears next to it in the **Verified domains** card on **Settings → Domains**. Turning it on requires everyone whose email address is on that domain to sign in via SSO.
Existing members who currently use a password get a **14-day grace period**. During it, a banner at the top of the app reads *"Single Sign-On will be required soon. Password login for your account will be disabled in N days."* and carries a **Link account** button to connect their SSO identity. After the grace period, or when an enforced user tries to sign in with a password, they see a **"Single Sign-On required"** page with a **Continue to sign in** button that routes them through SSO.
If **Just-in-time provisioning** is enabled on the connection, users on a verified domain get a Routebase account automatically on their first SSO sign-in, so no invitation is needed. If it is disabled, only users who already have a membership can sign in, whether they were invited or SCIM-provisioned.
## Group role mappings
The **Group Role Mappings** card maps identity provider groups such as `routebase-admins` to Routebase [custom roles](https://docs.routebase.dev/roles-permissions/), so role assignment follows your directory. Click **Add mapping** and fill in:
| Field | Purpose |
| --- | --- |
| **External group name** | Must match the group name your identity provider sends in the groups claim, and matching is case-insensitive. |
| **External group ID** (optional) | A stable provider-side identifier that survives group renames. |
| **Routebase role** | The custom role members of this group receive. |
| **Team** (optional) | Also add matched users to a [team](https://docs.routebase.dev/team-access/). |
| **Priority** | Higher number wins when a user is in multiple mapped groups. |
Users who match no mapping fall back to the SSO connection's default role. Deleting a mapping does not change anyone immediately, because existing members keep their current role until their next SSO login or SCIM update.
## SCIM provisioning
SCIM 2.0 lets your identity provider create, update and deactivate Routebase users automatically, and it syncs groups as well. Your organization's SCIM endpoint is:
```
https://api.routebase.dev/scim/v2/{your-org-slug}
```
Calls are authenticated with bearer tokens from the **SCIM Provisioning Tokens** card:
1. Click **New token**, give it a name that identifies the provider such as *Okta Production*, and optionally set an expiry date. Leaving it blank gives you a non-expiring token that you rotate manually.
2. The full token is shown **only once**, in a copy dialog. Paste it straight into your provider's SCIM configuration, where it is sent as `Authorization: Bearer ...`. After you close the dialog, only the token prefix remains visible.
3. Use **Rotate** to invalidate a token and get a fresh one, shown once as at creation, or **Revoke** to kill it permanently. Provisioning calls signed with a revoked token fail immediately.
Each token row shows its prefix, when it was last used or "Never used", its expiry, and **Revoked** or **Expired** badges where applicable. Treat SCIM tokens like passwords, because anyone holding one can provision and deprovision users in your organization.
SSO and SCIM are independent, so you can run SSO with just-in-time provisioning and no SCIM, or both together.
## Troubleshooting
- **Users cannot sign in.** Check the connection's status badge, which must read **Active**, and the row's last error message, then run **Test** to reproduce the handshake yourself.
- **Sign-ins suddenly fail after working fine.** Your identity provider may have rotated its signing certificate. Connections configured with a metadata **URL** refresh automatically, and if you pasted metadata **XML**, open **Manage** and paste the updated XML.
- **Some Microsoft Entra users fail while others work.** Usually the email claim is mapped to `user.mail` and the failing users have no mailbox. Map it to `user.userprincipalname` instead.
- **Group mappings do not apply.** Verify that your identity provider sends group *names* rather than object IDs in the groups claim, and that the mapping's external group name matches exactly. Matching itself is case-insensitive.
- **A user sees "Single Sign-On required".** Their email domain has SSO enforcement turned on and they tried a password login, so this is enforcement working as designed.
- **New users cannot get in at all.** If just-in-time provisioning is off, users need an existing membership before SSO sign-in succeeds, which means either an [invitation](https://docs.routebase.dev/members/) or a SCIM-provisioned account.
The [Audit Log](https://docs.routebase.dev/audit-log/) records sign-in and membership events, which helps pin down when a failure started.
For a symptom-by-symptom walkthrough, see [SSO Troubleshooting](https://docs.routebase.dev/sso-troubleshooting/). It covers the SCIM error codes, a `curl` recipe to reproduce a provisioning failure, and why group mappings silently fall back to the default role.
## Related
- [SSO Setup Overview](https://docs.routebase.dev/sso-setup-overview/) — concepts, prerequisites, and the guide for your identity provider
- [SSO Troubleshooting](https://docs.routebase.dev/sso-troubleshooting/) — sign-in, SCIM and group-mapping failures by symptom
- [Custom Domains](https://docs.routebase.dev/custom-domains/) — verify and claim the email domains SSO enforcement is based on
- [Roles & Permissions](https://docs.routebase.dev/roles-permissions/) — the custom roles used by group mappings
- [Members & Invitations](https://docs.routebase.dev/members/) — manually inviting users outside your SSO domains
- [Audit Log](https://docs.routebase.dev/audit-log/) — track sign-ins and membership changes
---
## SSO Setup Overview
Source: https://docs.routebase.dev/sso-setup-overview/
These guides walk you through connecting Routebase to your identity provider (IdP) with SAML 2.0. Where your IdP supports it, they also cover automatic user provisioning with SCIM 2.0.
Start here for the concepts and the prerequisites that apply to every provider, then follow the guide for yours.
| Identity provider | Guide | SCIM provisioning |
| --- | --- | --- |
| Okta | [Okta SSO Setup](https://docs.routebase.dev/okta-sso-setup/) | Native |
| Microsoft Entra ID (formerly Azure AD) | [Microsoft Entra ID SSO Setup](https://docs.routebase.dev/microsoft-entra-id-sso-setup/) | Native |
| Google Workspace | [Google Workspace SSO Setup](https://docs.routebase.dev/google-workspace-sso-setup/) | Not offered by Google, so see the guide for alternatives |
| OneLogin | [OneLogin SSO Setup](https://docs.routebase.dev/onelogin-sso-setup/) | Native |
| Ping Identity (PingOne / PingFederate) | [Ping Identity SSO Setup](https://docs.routebase.dev/ping-identity-sso-setup/) | Native |
| Any other SAML 2.0 IdP | Follow the guide closest to yours and pick the **Generic SAML** vendor preset | If it can push SCIM 2.0 with a bearer token, yes |
When something does not work, [SSO Troubleshooting](https://docs.routebase.dev/sso-troubleshooting/) is organised by symptom.
## How the connection works
Routebase brokers SAML rather than terminating it directly. Your IdP connects to a Routebase-managed connection, which in turn issues the token Routebase's API trusts:
```
[Your IdP] --SAML--> [Routebase-managed SAML connection] --OIDC--> [Routebase]
```
Two things follow from this, and they explain most of what the guides ask you to do:
- **You get one ACS URL and one Entity ID per organization.** Both are generated by Routebase and shown in the connection wizard before the connection exists. You paste them into your IdP, and you never invent them yourself.
- **You can swap identity providers without changing anything on the Routebase side** beyond the connection's metadata.
User provisioning is separate and does not go through the broker. SCIM clients talk to Routebase directly:
```
[Your IdP SCIM client] --Bearer token--> https://api.routebase.dev/scim/v2/
## Staying up to date
Links are pinned to the version you linked, so library updates are opt-in per spec:
- When a newer library version exists, the component shows a pulsing update indicator with the tooltip *"Update available: v{linked} → v{current}"*.
- Hover the component and click **Accept update** to move the link to the latest version.
- To disconnect a component from the library entirely, use the **Unlink from library** hover action. The component's content stays in your spec, and only the link is removed.
## Related
- [Schemas](https://docs.routebase.dev/schemas/) — building data structures inside a spec
- [Responses](https://docs.routebase.dev/responses/) — defining what endpoints return
- [Components](https://docs.routebase.dev/components/) — spec-level reusable components
- [Style Guide](https://docs.routebase.dev/style-guide/) — organization-wide design rules
---
## Shared Library — MCP Tools
Source: https://docs.routebase.dev/shared-library-mcp-tools/
The tools below belong to the **Shared Library** group of the Routebase MCP server.
## fork_org_component_to_project
Copy a schema or response from the ORGANIZATION library into the current project's library, where it can be edited independently. Get sourceId from list_shared_schemas/list_shared_responses with scope 'org'. Requires project context.
**Required scope:** `specs:write`
| Parameter | Type | Required | Description |
| --- | --- | --- | --- |
| `componentType` | string | Yes | What to fork: 'schema' or 'response' |
| `sourceId` | string | Yes | Public ID (GUID) of the organization-library schema or response |
## get_shared_response
Get one shared response with its schema, headers, example and rowVersion. Scope 'project' (default) or 'org'. Set includeUsedBy to also list the specs linking it — project scope only. Use this when you already have the response id; to browse the library use list_shared_responses.
**Required scope:** `specs:read`
| Parameter | Type | Required | Description |
| --- | --- | --- | --- |
| `responseId` | string | Yes | Public ID (GUID) of the shared response |
| `scope` | string | No (default `"project"`) | Which library to read: 'project' (default) or 'org' |
| `includeUsedBy` | boolean | No (default `false`) | Also list the specs using this response — project scope only (default false) |
## get_shared_schema
Get one shared schema with its full JSON Schema and rowVersion. Scope 'project' (default) or 'org'. Set includeUsedBy to also list the specs linking it — do that before deleting one; it only works in project scope. Use this when you already have the schema id; to browse the library use list_shared_schemas.
**Required scope:** `specs:read`
| Parameter | Type | Required | Description |
| --- | --- | --- | --- |
| `schemaId` | string | Yes | Public ID (GUID) of the shared schema |
| `scope` | string | No (default `"project"`) | Which library to read: 'project' (default) or 'org' |
| `includeUsedBy` | boolean | No (default `false`) | Also list the specs using this schema — project scope only (default false) |
## list_shared_component_usages
List which shared-library components a spec links, including whether the library has a newer version than the spec is pinned to (hasUpdate). The usage ids returned here are what manage_shared_component_link needs for 'unlink' and 'accept_update'. Requires project context.
**Required scope:** `specs:read`
| Parameter | Type | Required | Description |
| --- | --- | --- | --- |
| `specId` | string | Yes | Public ID (GUID) of the API specification |
| `versionId` | string | No | Optional version ID (GUID) to filter by a specific version |
## list_shared_responses
List the reusable responses of the shared library. Scope 'project' (default) reads the current project's library, 'org' the organization-wide one. Each entry carries the id and rowVersion needed to update or link it. Use this to browse or find an id; to create, change or delete one use manage_shared_response.
**Required scope:** `specs:read`
| Parameter | Type | Required | Description |
| --- | --- | --- | --- |
| `scope` | string | No (default `"project"`) | Which library to read: 'project' (default) or 'org' |
## list_shared_schemas
List the reusable schemas of the shared library. Scope 'project' (default) reads the current project's library, 'org' the organization-wide one. Each entry carries the id and rowVersion needed to update or link it. Use this to browse or find an id; to create, change or delete one use manage_shared_schema.
**Required scope:** `specs:read`
| Parameter | Type | Required | Description |
| --- | --- | --- | --- |
| `scope` | string | No (default `"project"`) | Which library to read: 'project' (default) or 'org' |
## manage_org_shared_response
Create, update or delete a response in the ORGANIZATION shared library — the standards every project can fork. 'create' needs name; 'update' needs responseId and rowVersion and REPLACES the response, omitted fields are carried over; 'delete' needs responseId. Read them with list_shared_responses(scope: 'org').
**Required scope:** `org:manage-governance`
| Parameter | Type | Required | Description |
| --- | --- | --- | --- |
| `action` | string | Yes | What to do: 'create', 'update' or 'delete' |
| `responseId` | string | No | Public ID (GUID) of the shared response — required for 'update' and 'delete' |
| `rowVersion` | string | No | Base64-encoded row version from list_shared_responses — required for 'update' |
| `name` | string | No | Response name, unique within the library — required for 'create' |
| `description` | string | No | Optional description |
| `contentType` | string | No | Content type, defaults to 'application/json' when creating |
| `schemaJson` | string | No | Optional JSON Schema for the response body, as a JSON string |
| `headers` | string | No | Optional response headers as a JSON object string |
| `example` | string | No | Optional example payload |
## manage_org_shared_schema
Create, update or delete a schema in the ORGANIZATION shared library — the standards every project can fork. 'create' needs name and jsonSchema; 'update' needs schemaId and rowVersion and REPLACES the schema, omitted fields are carried over; 'delete' needs schemaId. Read them with list_shared_schemas(scope: 'org').
**Required scope:** `org:manage-governance`
| Parameter | Type | Required | Description |
| --- | --- | --- | --- |
| `action` | string | Yes | What to do: 'create', 'update' or 'delete' |
| `schemaId` | string | No | Public ID (GUID) of the shared schema — required for 'update' and 'delete' |
| `rowVersion` | string | No | Base64-encoded row version from list_shared_schemas — required for 'update' |
| `name` | string | No | Schema name, unique within the library — required for 'create' |
| `jsonSchema` | string | No | The JSON Schema document as a JSON string — required for 'create' |
| `description` | string | No | Optional description |
## manage_shared_component_link
Link a shared-library component into a spec, remove that link, or pull in the library's newer version. 'link' needs componentType and componentId (from list_shared_schemas or list_shared_responses); 'unlink' and 'accept_update' need usageId from list_shared_component_usages. Requires project context.
**Required scope:** `specs:write`
| Parameter | Type | Required | Description |
| --- | --- | --- | --- |
| `specId` | string | Yes | Public ID (GUID) of the API specification |
| `action` | string | Yes | What to do: 'link', 'unlink' or 'accept_update' |
| `componentType` | string | No | What is being linked: 'schema' or 'response' — required for 'link' |
| `componentId` | string | No | Public ID (GUID) of the shared component — required for 'link' |
| `usageId` | string | No | Public ID (GUID) of the usage — required for 'unlink' and 'accept_update' |
| `versionId` | string | No | Optional version ID (GUID) to link into a specific version |
| `localOverrideName` | string | No | Optional name the component gets inside this spec, if it should differ |
## manage_shared_response
Create, update or delete a response in the PROJECT shared library. 'create' needs name; 'update' needs responseId and rowVersion and REPLACES the response — omitted fields are carried over from the current state; 'delete' needs responseId, check get_shared_response with includeUsedBy first. For the organization library use manage_org_shared_response. Requires project context.
**Required scope:** `specs:write`
| Parameter | Type | Required | Description |
| --- | --- | --- | --- |
| `action` | string | Yes | What to do: 'create', 'update' or 'delete' |
| `responseId` | string | No | Public ID (GUID) of the shared response — required for 'update' and 'delete' |
| `rowVersion` | string | No | Base64-encoded row version from list_shared_responses — required for 'update' |
| `name` | string | No | Response name, unique within the library (e.g. 'NotFound') — required for 'create' |
| `description` | string | No | Optional description |
| `contentType` | string | No | Content type, defaults to 'application/json' when creating |
| `schemaJson` | string | No | Optional JSON Schema for the response body, as a JSON string |
| `headers` | string | No | Optional response headers as a JSON object string |
| `example` | string | No | Optional example payload |
## manage_shared_schema
Create, update or delete a schema in the PROJECT shared library. 'create' needs name and jsonSchema; 'update' needs schemaId and rowVersion and REPLACES the schema — fields you omit are carried over from the current state, so you can change one alone; 'delete' needs schemaId, check get_shared_schema with includeUsedBy first. For the organization library use manage_org_shared_schema. Requires project context.
**Required scope:** `specs:write`
| Parameter | Type | Required | Description |
| --- | --- | --- | --- |
| `action` | string | Yes | What to do: 'create', 'update' or 'delete' |
| `schemaId` | string | No | Public ID (GUID) of the shared schema — required for 'update' and 'delete' |
| `rowVersion` | string | No | Base64-encoded row version from list_shared_schemas — required for 'update' |
| `name` | string | No | Schema name, unique within the library (e.g. 'Customer') — required for 'create' |
| `jsonSchema` | string | No | The JSON Schema document as a JSON string — required for 'create' |
| `description` | string | No | Optional description |
## promote_to_shared_library
Promote a schema or response that lives inside one spec into the project's shared library, so other specs can link it. Get componentId from list_schemas or list_response_components. Fails if the library already holds that name. Requires project context.
**Required scope:** `specs:write`
| Parameter | Type | Required | Description |
| --- | --- | --- | --- |
| `specId` | string | Yes | Public ID (GUID) of the API specification the component lives in |
| `componentType` | string | Yes | What to promote: 'schema' or 'response' |
| `componentId` | string | Yes | Public ID (GUID) of the spec-local schema or response component |
---
## Single Sign-On (SSO)
Source: https://docs.routebase.dev/sso/
With Single Sign-On, members of your organization sign in to Routebase through your company's identity provider instead of individual passwords. Routebase supports **SAML 2.0**, which works with Okta, Microsoft Entra ID, Google Workspace, OneLogin, Ping and any other SAML-compatible identity provider. It also supports **SCIM 2.0** for automatic user provisioning. SAML connections and SCIM live on **Settings → Single Sign-On**, in the **Security** group of the settings sidebar. The page describes itself as "Configure SAML connections, manage SSO enforcement, and provision users via SCIM." The verified domains that enforcement is based on sit on their own page, **Settings → Domains**, right above it.
SAML SSO and SCIM provisioning are available on the **Enterprise** plan. On lower plans the sidebar entry shows a lock icon and the page shows an upgrade card. Opening the page also requires the **org:manage-security** permission, which Admins and Owners have.
## Setup at a glance
1. **Verify your email domain** by proving you own `acme.com` with a DNS TXT record on **Settings → Domains**. That page needs no Enterprise plan, and [Custom Domains](https://docs.routebase.dev/custom-domains/) describes it.
2. **Create an SSO connection** by walking through the connection wizard and exchanging SAML metadata with your identity provider.
3. **Test and activate** the connection by running a test sign-in, then flipping it to Active.
4. **Optionally enforce SSO** to require it for everyone whose email is on a verified domain.
5. **Optionally add SCIM** so your identity provider can create, update and deactivate Routebase users automatically.
### Step-by-step guides for your provider
Each guide covers the whole round trip. That means creating the SAML app in the identity provider, running the Routebase wizard, pasting the Entity ID and ACS URL back, and the optional SCIM and group-mapping steps:
- [Okta](https://docs.routebase.dev/okta-sso-setup/)
- [Microsoft Entra ID](https://docs.routebase.dev/microsoft-entra-id-sso-setup/) (formerly Azure AD)
- [Google Workspace](https://docs.routebase.dev/google-workspace-sso-setup/)
- [OneLogin](https://docs.routebase.dev/onelogin-sso-setup/)
- [Ping Identity](https://docs.routebase.dev/ping-identity-sso-setup/)
For a different SAML 2.0 provider, start from [SSO Setup Overview](https://docs.routebase.dev/sso-setup-overview/) and choose the **Generic SAML** vendor preset.
You can have **one active connection at a time**. While a connection is active, the **Create connection** button is hidden, so disable the active one first if you need to set up a replacement.
## Creating a connection
Click **Create connection** in the **SSO Connections** card. The **Configure Single Sign-On** wizard walks you through six steps:
| Step | What you do |
| --- | --- |
| **Protocol** | Choose **SAML 2.0**. OIDC is shown but not yet available ("coming soon"). |
| **Vendor** | Pick **Okta**, **Microsoft Entra ID**, **Google Workspace** or **Generic SAML**. Each preset pre-fills the attribute mapping for that vendor. |
| **Metadata** | Name the connection and paste your identity provider's metadata, either as a URL or as XML. |
| **Mapping** | Map SAML assertion attributes to Routebase user fields. |
| **Test** | Copy the Entity ID and ACS URL into your IdP, then run a test sign-in. |
| **Activate** | Turn the connection on for your users. |
### Metadata
On the Metadata step, enter:
- **Connection name** is required and only visible to admins. Use a name that identifies the provider and environment, such as `Acme Okta Production`.
- **IdP metadata URL** is the preferred option, because Routebase auto-refreshes it when your identity provider rotates its signing certificates.
- **IdP metadata XML** takes the full XML up to 1 MB, and you use it when your provider does not expose a public metadata URL. Google Workspace, for example, only offers a download.
The step includes vendor-specific guidance on where to create the SAML app in your identity provider and where to find its metadata, with a collapsible **Show step-by-step** checklist.
The metadata exchange goes both ways. After this step, the wizard shows the **Entity ID** and **ACS URL** that you paste back into your provider's SAML app configuration.
### Attribute mapping
Map each Routebase user field to the claim name your identity provider sends:
| Field | Required | Notes |
| --- | --- | --- |
| **Email** | Yes | Unique identifier. SSO login fails without it. |
| **First name** and **Last name** | No | Used for the profile display name. |
| **Avatar URL** | No | Optional profile picture URL from the IdP. |
| **Groups claim** | No | A comma-separated list or a JSON array, used for Group to Role mapping. |
Vendor presets fill these in for you. Two Microsoft Entra pitfalls are flagged inline in the editor:
- Map **email** to `user.userprincipalname` rather than `user.mail`, because users without a mailbox have no mail value and would fail to sign in.
- For groups, configure the group claim to emit **"Cloud-only group display names"**. By default, Entra sends group object IDs as GUIDs, which do not match name-based group mappings.
### Test and activate
Moving past the Mapping step saves the connection in **Draft** status. The Test step then shows the connection's **Entity ID**, **ACS URL** and **Connection ID** with copy buttons, so make sure these are configured in your identity provider. An **Open test login** button opens a test sign-in in a new tab, and completing that sign-in confirms the SAML handshake works end to end.
Finally, click **Activate**. Members of your organization can now sign in via your identity provider, and existing users are prompted to link their accounts on their next login.
## Managing connections
Each connection in the **SSO Connections** card shows its name, a status badge, its connection ID, when it was last used, and the last error message if something went wrong. The badge reads **Active**, **Draft**, **Disabled** or **Error**. Four actions are available per connection:
- **Manage** opens a details dialog. It carries the read-only identity provider details, which are Entity ID, ACS URL, Connection ID and Metadata URL, all with copy buttons. The editable fields are name, metadata URL, metadata XML, signing certificate, attribute mapping, and the **Just-in-time provisioning** toggle described as "Automatically create a Routebase user on first SSO login". Metadata XML and the signing certificate are stored encrypted and never displayed, so leave those fields blank to keep the current values.
- **Test** opens a test sign-in in a new tab, the same as in the wizard.
- **Disable** and **Enable** temporarily turn the connection off without deleting it.
- **Delete** removes the connection after confirmation. Users can then no longer sign in with it, and this cannot be undone.
## Enforcing SSO
SSO enforcement is per verified domain. Once a domain is verified, an **SSO required** switch appears next to it in the **Verified domains** card on **Settings → Domains**. Turning it on requires everyone whose email address is on that domain to sign in via SSO.
Existing members who currently use a password get a **14-day grace period**. During it, a banner at the top of the app reads *"Single Sign-On will be required soon. Password login for your account will be disabled in N days."* and carries a **Link account** button to connect their SSO identity. After the grace period, or when an enforced user tries to sign in with a password, they see a **"Single Sign-On required"** page with a **Continue to sign in** button that routes them through SSO.
If **Just-in-time provisioning** is enabled on the connection, users on a verified domain get a Routebase account automatically on their first SSO sign-in, so no invitation is needed. If it is disabled, only users who already have a membership can sign in, whether they were invited or SCIM-provisioned.
## Group role mappings
The **Group Role Mappings** card maps identity provider groups such as `routebase-admins` to Routebase [custom roles](https://docs.routebase.dev/roles-permissions/), so role assignment follows your directory. Click **Add mapping** and fill in:
| Field | Purpose |
| --- | --- |
| **External group name** | Must match the group name your identity provider sends in the groups claim, and matching is case-insensitive. |
| **External group ID** (optional) | A stable provider-side identifier that survives group renames. |
| **Routebase role** | The custom role members of this group receive. |
| **Team** (optional) | Also add matched users to a [team](https://docs.routebase.dev/team-access/). |
| **Priority** | Higher number wins when a user is in multiple mapped groups. |
Users who match no mapping fall back to the SSO connection's default role. Deleting a mapping does not change anyone immediately, because existing members keep their current role until their next SSO login or SCIM update.
## SCIM provisioning
SCIM 2.0 lets your identity provider create, update and deactivate Routebase users automatically, and it syncs groups as well. Your organization's SCIM endpoint is:
```
https://api.routebase.dev/scim/v2/{your-org-slug}
```
Calls are authenticated with bearer tokens from the **SCIM Provisioning Tokens** card:
1. Click **New token**, give it a name that identifies the provider such as *Okta Production*, and optionally set an expiry date. Leaving it blank gives you a non-expiring token that you rotate manually.
2. The full token is shown **only once**, in a copy dialog. Paste it straight into your provider's SCIM configuration, where it is sent as `Authorization: Bearer ...`. After you close the dialog, only the token prefix remains visible.
3. Use **Rotate** to invalidate a token and get a fresh one, shown once as at creation, or **Revoke** to kill it permanently. Provisioning calls signed with a revoked token fail immediately.
Each token row shows its prefix, when it was last used or "Never used", its expiry, and **Revoked** or **Expired** badges where applicable. Treat SCIM tokens like passwords, because anyone holding one can provision and deprovision users in your organization.
SSO and SCIM are independent, so you can run SSO with just-in-time provisioning and no SCIM, or both together.
## Troubleshooting
- **Users cannot sign in.** Check the connection's status badge, which must read **Active**, and the row's last error message, then run **Test** to reproduce the handshake yourself.
- **Sign-ins suddenly fail after working fine.** Your identity provider may have rotated its signing certificate. Connections configured with a metadata **URL** refresh automatically, and if you pasted metadata **XML**, open **Manage** and paste the updated XML.
- **Some Microsoft Entra users fail while others work.** Usually the email claim is mapped to `user.mail` and the failing users have no mailbox. Map it to `user.userprincipalname` instead.
- **Group mappings do not apply.** Verify that your identity provider sends group *names* rather than object IDs in the groups claim, and that the mapping's external group name matches exactly. Matching itself is case-insensitive.
- **A user sees "Single Sign-On required".** Their email domain has SSO enforcement turned on and they tried a password login, so this is enforcement working as designed.
- **New users cannot get in at all.** If just-in-time provisioning is off, users need an existing membership before SSO sign-in succeeds, which means either an [invitation](https://docs.routebase.dev/members/) or a SCIM-provisioned account.
The [Audit Log](https://docs.routebase.dev/audit-log/) records sign-in and membership events, which helps pin down when a failure started.
For a symptom-by-symptom walkthrough, see [SSO Troubleshooting](https://docs.routebase.dev/sso-troubleshooting/). It covers the SCIM error codes, a `curl` recipe to reproduce a provisioning failure, and why group mappings silently fall back to the default role.
## Related
- [SSO Setup Overview](https://docs.routebase.dev/sso-setup-overview/) — concepts, prerequisites, and the guide for your identity provider
- [SSO Troubleshooting](https://docs.routebase.dev/sso-troubleshooting/) — sign-in, SCIM and group-mapping failures by symptom
- [Custom Domains](https://docs.routebase.dev/custom-domains/) — verify and claim the email domains SSO enforcement is based on
- [Roles & Permissions](https://docs.routebase.dev/roles-permissions/) — the custom roles used by group mappings
- [Members & Invitations](https://docs.routebase.dev/members/) — manually inviting users outside your SSO domains
- [Audit Log](https://docs.routebase.dev/audit-log/) — track sign-ins and membership changes
---
## SSO Setup Overview
Source: https://docs.routebase.dev/sso-setup-overview/
These guides walk you through connecting Routebase to your identity provider (IdP) with SAML 2.0. Where your IdP supports it, they also cover automatic user provisioning with SCIM 2.0.
Start here for the concepts and the prerequisites that apply to every provider, then follow the guide for yours.
| Identity provider | Guide | SCIM provisioning |
| --- | --- | --- |
| Okta | [Okta SSO Setup](https://docs.routebase.dev/okta-sso-setup/) | Native |
| Microsoft Entra ID (formerly Azure AD) | [Microsoft Entra ID SSO Setup](https://docs.routebase.dev/microsoft-entra-id-sso-setup/) | Native |
| Google Workspace | [Google Workspace SSO Setup](https://docs.routebase.dev/google-workspace-sso-setup/) | Not offered by Google, so see the guide for alternatives |
| OneLogin | [OneLogin SSO Setup](https://docs.routebase.dev/onelogin-sso-setup/) | Native |
| Ping Identity (PingOne / PingFederate) | [Ping Identity SSO Setup](https://docs.routebase.dev/ping-identity-sso-setup/) | Native |
| Any other SAML 2.0 IdP | Follow the guide closest to yours and pick the **Generic SAML** vendor preset | If it can push SCIM 2.0 with a bearer token, yes |
When something does not work, [SSO Troubleshooting](https://docs.routebase.dev/sso-troubleshooting/) is organised by symptom.
## How the connection works
Routebase brokers SAML rather than terminating it directly. Your IdP connects to a Routebase-managed connection, which in turn issues the token Routebase's API trusts:
```
[Your IdP] --SAML--> [Routebase-managed SAML connection] --OIDC--> [Routebase]
```
Two things follow from this, and they explain most of what the guides ask you to do:
- **You get one ACS URL and one Entity ID per organization.** Both are generated by Routebase and shown in the connection wizard before the connection exists. You paste them into your IdP, and you never invent them yourself.
- **You can swap identity providers without changing anything on the Routebase side** beyond the connection's metadata.
User provisioning is separate and does not go through the broker. SCIM clients talk to Routebase directly:
```
[Your IdP SCIM client] --Bearer token--> https://api.routebase.dev/scim/v2/shows the Entity ID and ACS URL R->>I: Entity ID and ACS URL I->>I: 2 · create the SAML app with those values I->>R: its metadata URL or XML R->>R: 3 · finish the wizard → Draft R->>R: 4 · test sign-in, then Activate ``` Every guide follows the same sequence. Routebase's Entity ID and ACS URL are known before the connection exists, so you configure your IdP once, with the real values, and never enter placeholders: 1. **In Routebase:** run **Settings → Single Sign-On → Create connection** through the Protocol and Vendor steps. The **Metadata** step shows your **Entity ID** and **ACS URL** with copy buttons. Leave the wizard open. 2. **In your IdP:** create the SAML application and fill its Entity ID and ACS URL fields with those two values. Copy the IdP's metadata URL (or download its metadata XML). 3. **Back in Routebase:** paste the metadata into the Metadata step, confirm the Mapping step, and click **Next**. Routebase creates the connection in **Draft** status. The **Test** step repeats the Entity ID and ACS URL and adds a **Connection ID** for support. 4. **In Routebase:** run the test sign-in, then **Activate**. > If the Metadata step says the values are shown *after* this step instead, your organization already has a connection with the same name, such as an abandoned draft. Delete it first, or fill the IdP with placeholders and replace them once the Test step shows the final values. ## What is optional Everything past activation is opt-in and can be added later: - **SSO enforcement** makes SSO mandatory for everyone on a verified domain. Existing password users get a 14-day grace period with an in-app banner before their password login stops working. - **SCIM provisioning** lets your IdP create, update and deactivate Routebase users. - **Group role mappings** assign Routebase roles from IdP group membership. For the full description of the settings page itself, covering every card, every field and every status badge, see [Single Sign-On (SSO)](https://docs.routebase.dev/sso/). ## Screenshots These guides are deliberately text-only. The bulk of each one happens inside a third-party admin console such as Okta, the Azure portal or the Google Admin console. We do not control those screens and they change on their own schedule. A screenshot of someone else's console ages badly and is worse than an accurate field name. The Routebase-side steps are covered visually on [Single Sign-On (SSO)](https://docs.routebase.dev/sso/). --- ## SSO Troubleshooting Source: https://docs.routebase.dev/sso-troubleshooting/ > **Audience:** organization Owners and Admins debugging SSO sign-in failures, SCIM provisioning problems, or roles that do not follow the directory. > > This page is provider-independent. For setup steps, see [SSO Setup Overview](https://docs.routebase.dev/sso-setup-overview/). Start from the symptom you are seeing and work down. ## Sign-in fails ### 1. Find out what the user actually saw The screen or error code narrows the cause more than anything else: | What the user sees | Most likely cause | |--------------------|-------------------| | The **Single Sign-On required** page | Their email domain has SSO enforcement on and they tried a password sign-in. This is enforcement working as designed, so they should use the **Continue to sign in** button. | | A generic "Something went wrong" page from the sign-in screen | An invalid SAML signature, stale IdP metadata, or clock skew. Continue with steps 3 and 4. | | They land back on the Routebase sign-in page with no error | The assertion arrived for a connection Routebase does not recognise. Usually the ACS URL in the IdP still points at a placeholder or at an old connection. | | A redirect loop between Routebase and the IdP | Missing or wrongly formatted NameID. Set the NameID format to email address and the NameID value to the user's email. | | `401` with code `SSO_REQUIRED` | An API call from a session that enforcement blocked. | | `401` with code `MISSING_CLAIM` and `claim: "email"` | The IdP asserted no email. On Microsoft Entra ID this is almost always a user **without a mailbox**, with the email claim mapped to `user.mail`. Map it to `user.userprincipalname` instead. | | `403` with code `SSO_JIT_DISABLED` | Just-in-time provisioning is off on the connection and the user has no membership yet. Either turn JIT on under **Manage**, or invite the user first. | ### 2. Check the connection itself Under **Settings → Single Sign-On**, in the **SSO Connections** card: - The status badge must read **Active**, rather than **Draft**, **Disabled** or **Error**. - The row shows the **last error message** if the previous attempt failed. Read it before anything else. - Click **Test** to reproduce the handshake yourself. If your own test succeeds while a real user fails, the difference is on the IdP side. That user is not assigned to the application, is outside the assigned population, or is suspended. ### 3. Check whether the IdP rotated its certificate A connection that worked for months and then stopped, for everyone at once, is nearly always a signing-certificate rotation. - If you configured a **metadata URL**, Routebase re-reads it. Open **Manage** and save the connection to force a refresh now. - If you pasted **metadata XML**, nothing refreshes automatically. Download the current metadata from your IdP and paste the new XML into **Manage**. Sign-ins stay broken until you do. ### 4. Check the clock SAML assertions are valid for a few minutes. If your IdP's clock is off by more than that, every sign-in fails and the errors look random. Confirm the IdP host is synchronised with NTP. ### 5. Check the verified domain and when it was verified - The user's email domain must appear under **Settings → Domains** as verified. - Subdomains are not covered by their parent. If you verified `acme.com` and the user signs in as `alice@eu.acme.com`, that domain needs verifying too. - **If you verified the domain after creating the connection, sign-ins from it are not routed yet.** The connection captures your verified domains at the moment it is saved. Open the connection under **Manage** and save it again, without changing any field, to pick up domains verified since. ### 6. Read the audit log Under **Settings → Audit Log**, set the event filter to **SSO**: | Event | Meaning | |-------|---------| | `sso.login_success` | The handshake completed. | | `sso.jit_denied` | The user had no membership and just-in-time provisioning was off. | | `sso.enforcement_blocked` | A password sign-in was rejected on an enforced domain. | | `sso.connection_test_started` | Someone ran the connection test. | | `sso.connection_create_failed`, `sso.connection_updated`, `sso.connection_activated` | Configuration changes, with the actor who made them. | Provisioning and role events sit under the **User & Members** filter instead, as `user.jit_provisioned`, `user.role_changed_via_sso` and `user.role_changed_via_scim`. The table shows time, actor, event, result and target. Each entry also carries a structured `details` field with the specifics, such as which attributes were extracted and which group matched. That field is only in the **Export as JSON** download, not in the table. ## SCIM provisioning fails ### What the error codes mean Routebase returns RFC 7644 error documents as `application/scim+json`: ```json { "schemas": ["urn:ietf:params:scim:api:messages:2.0:Error"], "status": "400", "scimType": "invalidFilter", "detail": "Unsupported or malformed filter 'emails.value sw foo'." } ``` | HTTP | scimType | What it means | What to do | |------|----------|---------------|------------| | 400 | `invalidFilter` | Routebase supports only `eq` comparisons, on four attributes. | Filter on `userName`, `email`, `externalId` or `displayName` with `eq` only. | | 400 | `invalidPath` | A PATCH operation names an attribute path Routebase does not recognise. | Restrict PATCH to `active`, `name.givenName`, `name.familyName`, `displayName` and `emails`. | | 400 | `invalidValue` | A required field is missing or has the wrong type. | Check the body against the RFC 7643 user or group schema. | | 400 | `invalidSyntax` | The body is not valid JSON. | Usually the IdP double-encoding the payload. | | 401 | — | The bearer token is missing, unknown, revoked or expired. | Create a fresh token and paste it into the IdP. | | 403 | — | The token does not belong to the organization in the URL. | Tokens are scoped to the organization that created them, so check the `
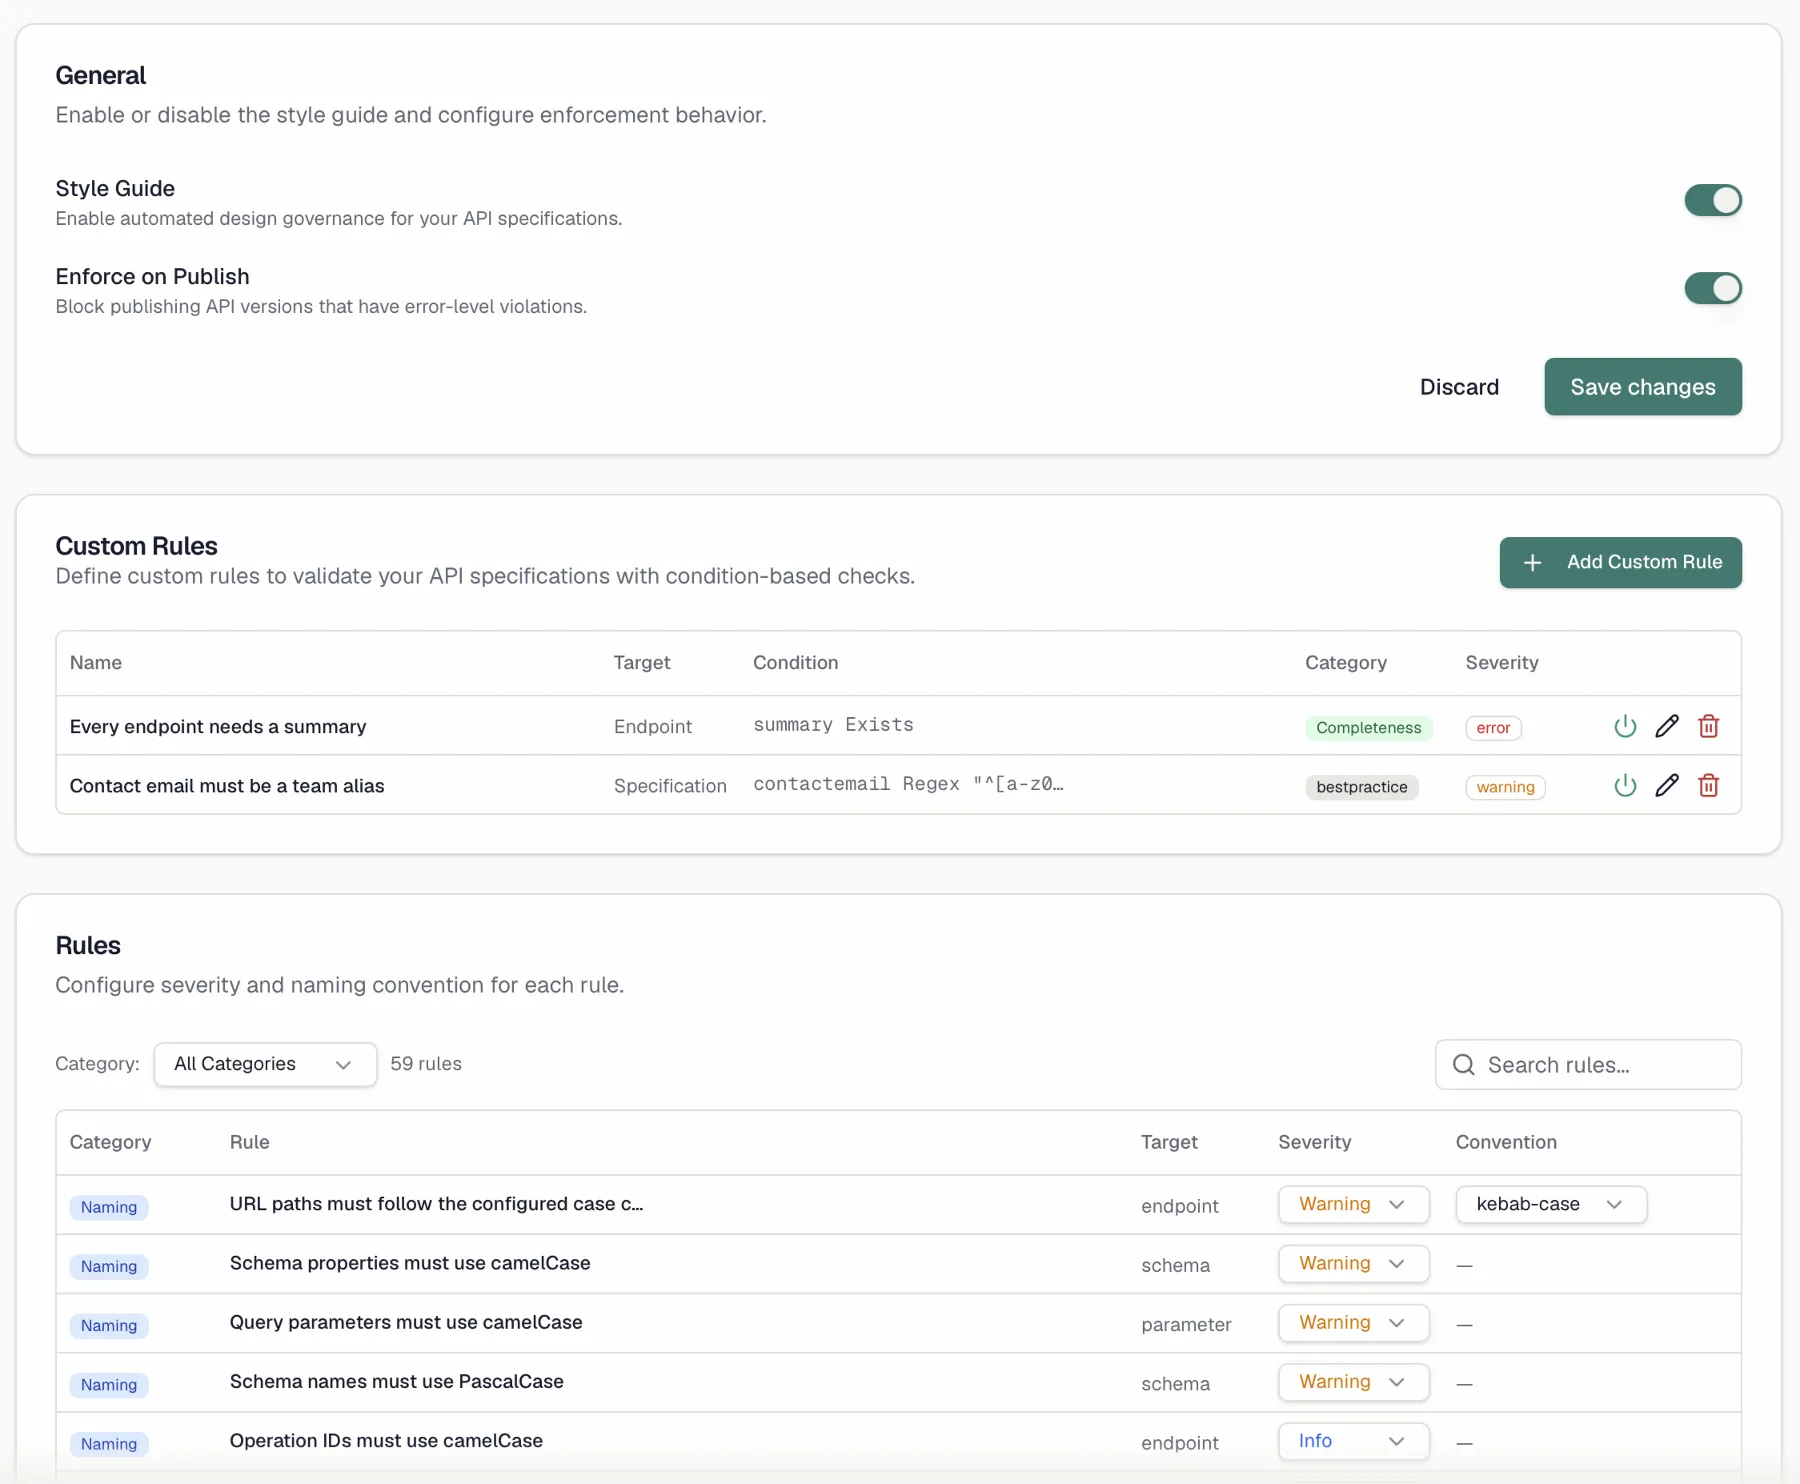
 ## Rules and severities
The **Rules** card lists every rule with its category badge, name, target, and a severity dropdown. Filter by category, search by name, and page through the list. Each rule's severity can be set to:
| Severity | Effect |
| --- | --- |
| **Error** | Blocks publishing when **Enforce on Publish** is enabled. |
| **Warning** | Reported, but never blocks. |
| **Info** | Informational hint. |
| **Off** | Rule disabled. |
Rules you've changed from their default are marked with an **override** badge and can be reset to the default with one click. Rules that only apply to OpenAPI 3.0 specs carry a **3.0 only** badge, and your own rules carry a **custom** badge.
### Naming conventions
Not every naming rule hard-wires the convention it enforces. Where the convention is configurable, the table shows a **Convention** column with a dropdown, and the rule checks whatever you pick there.
The rule for URL paths is the one that matters in practice, because it defaults to **kebab-case** but also accepts **camelCase**, **PascalCase** and **lowercase**. So a team that has always written `/userProfiles` doesn't have to choose between switching its whole URL scheme and turning the rule off. It sets the convention and keeps the check.
## Rules and severities
The **Rules** card lists every rule with its category badge, name, target, and a severity dropdown. Filter by category, search by name, and page through the list. Each rule's severity can be set to:
| Severity | Effect |
| --- | --- |
| **Error** | Blocks publishing when **Enforce on Publish** is enabled. |
| **Warning** | Reported, but never blocks. |
| **Info** | Informational hint. |
| **Off** | Rule disabled. |
Rules you've changed from their default are marked with an **override** badge and can be reset to the default with one click. Rules that only apply to OpenAPI 3.0 specs carry a **3.0 only** badge, and your own rules carry a **custom** badge.
### Naming conventions
Not every naming rule hard-wires the convention it enforces. Where the convention is configurable, the table shows a **Convention** column with a dropdown, and the rule checks whatever you pick there.
The rule for URL paths is the one that matters in practice, because it defaults to **kebab-case** but also accepts **camelCase**, **PascalCase** and **lowercase**. So a team that has always written `/userProfiles` doesn't have to choose between switching its whole URL scheme and turning the rule off. It sets the convention and keeps the check.
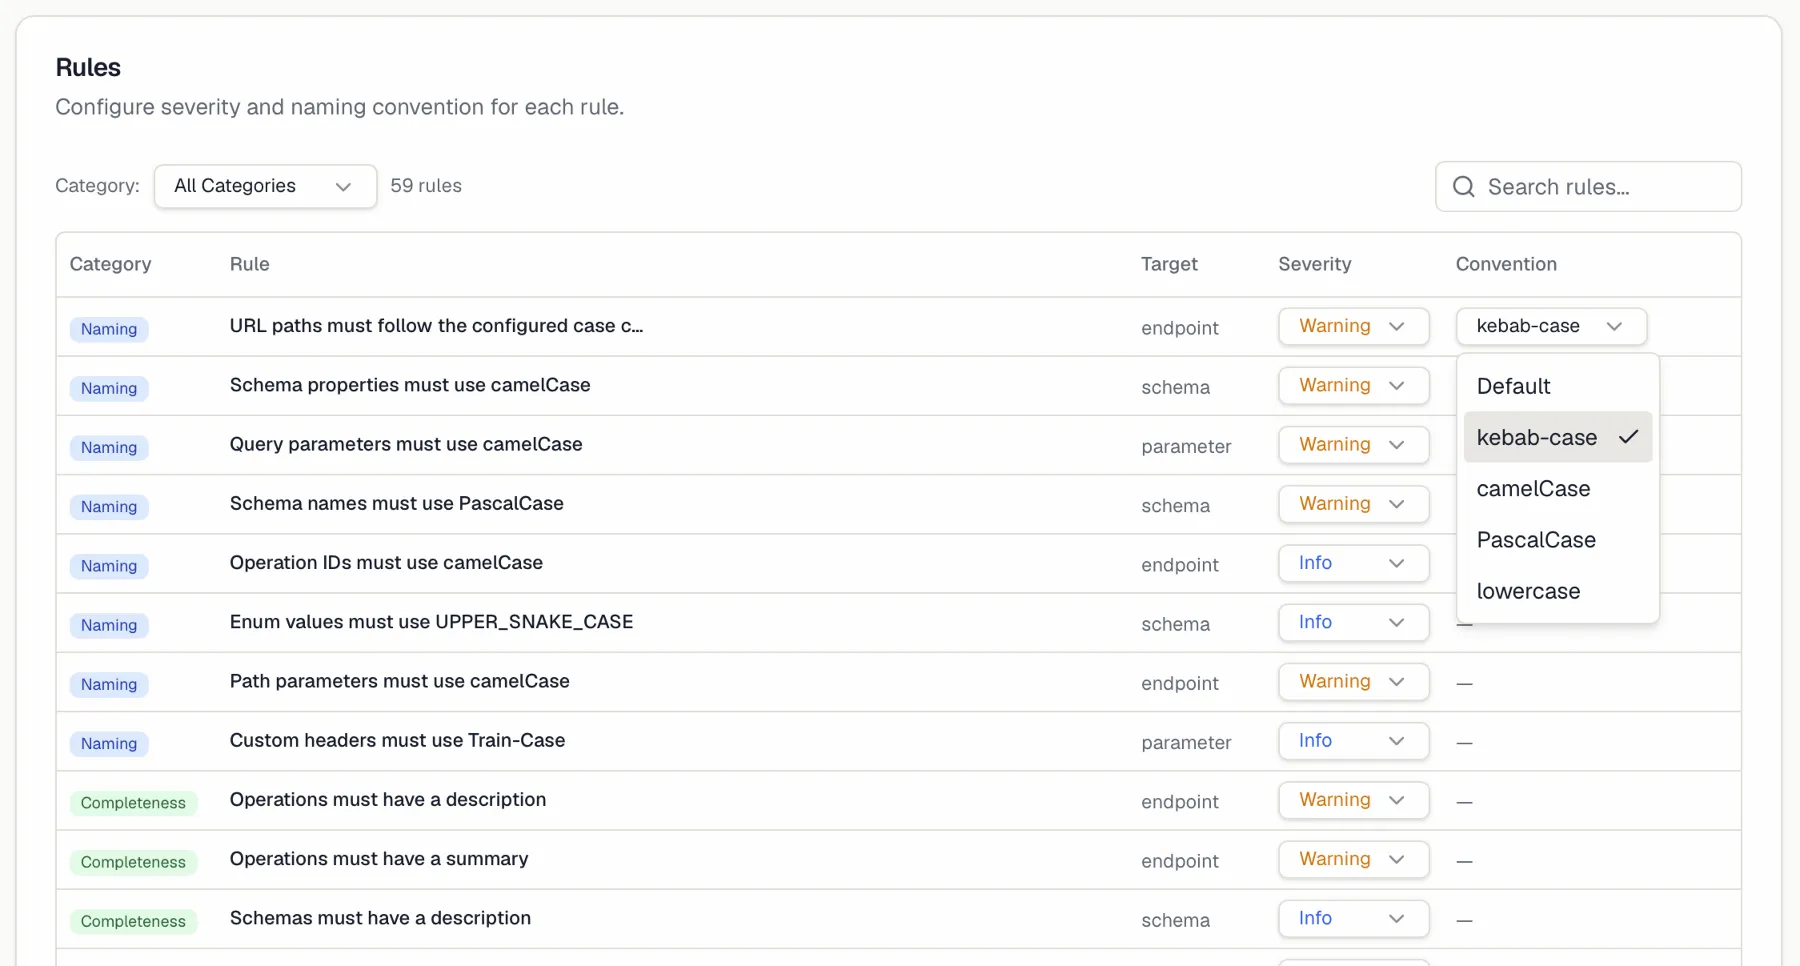
 ### Project-level overrides
Each project can override severities for its own specs, which you do from the project's **Style Guide** tab. The project view adds a **Source** column showing where each severity comes from, reading **Custom** for this project, **Org** or **Default**. Overridden rules can be reset back to the organization default.
## Built-in rules
Routebase ships **58 built-in rules** in five categories. Each rule has a default severity of **Error**, **Warning** or **Info**, which you can change per organization and per project. The tables below list the default.
Rules whose name says "must" are not automatically errors. Severity and wording are set independently, so a rule can be named "must" and default to Warning.
### Naming (8)
| Rule | Default | Checks |
| --- | --- | --- |
| Path parameters must use camelCase | Warning | Path parameter names (e.g., {userId}) should use camelCase naming convention. |
| Query parameters must use camelCase | Warning | Query parameter names should use camelCase naming convention. |
| Schema names must use PascalCase | Warning | Schema names should use PascalCase naming convention (e.g., 'UserProfile'). |
| Schema properties must use camelCase | Warning | Object property names in schemas should use camelCase naming convention. |
| URL paths must follow the configured case convention | Warning | Path segments (excluding path parameters) must follow the configured naming convention (default: kebab-case). The convention is configurable. |
| Custom headers must use Train-Case | Info | Custom header parameter names should use Train-Case (e.g., 'X-Request-Id'). |
| Enum values must use UPPER_SNAKE_CASE | Info | String enum values in schemas should use UPPER_SNAKE_CASE naming convention. |
| Operation IDs must use camelCase | Info | Operation IDs should use camelCase naming convention (e.g., 'getUsers'). |
### Completeness (10)
| Rule | Default | Checks |
| --- | --- | --- |
| API must have a server URL | Warning | The API specification should define at least one server URL. |
| API must have a version | Warning | The API specification should define a version string. |
| Operations must have a description | Warning | Each endpoint should have a description explaining its purpose and behavior. |
| Operations must have a summary | Warning | Each endpoint should have a brief summary. |
| API must have a license | Info | The API specification should include a license identifier. |
| API must have contact information | Info | The API specification should include a contact email for consumers to reach out. |
| Parameters should have descriptions | Info | Each parameter should have a description explaining its purpose and expected values. |
| Responses must have a description | Info | Each response should have a description explaining what it represents. |
| Schemas must have a description | Info | Each schema should have a description explaining what data it represents. |
| Tags should have descriptions | Info | Each endpoint tag should have a description to document the group's purpose. |
### Best practices (20)
| Rule | Default | Checks |
| --- | --- | --- |
| Operation IDs must be unique | Error | Each operation ID must be unique across all endpoints in the specification. |
| Path parameters must be declared | Error | Each {parameter} in the path must have a corresponding parameter definition with 'in: path'. |
| Paths must be unique | Error | Two endpoints on the same method must not address the same route. OpenAPI ignores the name of a path placeholder, so /items/{id} and /items/{itemId} are the same path. |
| Paths must not have empty segments | Error | Paths must not contain double slashes or empty segments (e.g., '/users//profile'). |
| Server URL must match URL-path versioning pattern | Error | When using URL-path versioning, server URLs should include a version prefix (e.g., /v1). |
| Deprecated versions should have a sunset date | Warning | Deprecated API versions should define a sunset date to inform consumers when the version will be removed. |
| Operation IDs must be valid in URLs | Warning | Operation IDs must contain only alphanumeric characters, dots, hyphens, and underscores to be safely used in URLs. |
| Operation tags must be defined | Warning | Tags used on operations must be defined in the specification's global tags list. |
| Paths should not end with a trailing slash | Warning | Paths should not have a trailing slash (e.g., '/users/' should be '/users'). |
| Schema references must resolve | Warning | Every $ref in a schema must point to a schema that exists in this specification. |
| Server URL must not be example.com | Warning | The server URL should be a real API endpoint, not a placeholder like example.com. |
| Success responses should return an object, not a bare array | Warning | Top-level API responses should be JSON objects for extensibility, not bare arrays. |
| Tag names must be unique | Warning | Each tag name must be unique within the specification to avoid ambiguity. |
| Create endpoints should accept an idempotency key | Info | POST endpoints that return 201 Created should accept an Idempotency-Key header so a retried request does not create a second resource. |
| Endpoints should define error responses | Info | Each endpoint should define at least one error response (4xx or 5xx) or a default response. |
| Error responses should use application/problem+json | Info | 4xx and 5xx responses should use the RFC 7807 Problem Details format (application/problem+json). |
| List endpoints should have pagination parameters | Info | GET endpoints that return collections should include pagination query parameters. |
| No unused schema components | Info | Schemas defined in components should be referenced by at least one endpoint or other schema. |
| Published versions should have aliases | Info | Published API versions should have human-readable aliases (e.g., 'v1') for easier consumer adoption. |
| Versioning strategy should be configured | Info | API specifications should have a versioning strategy configured to enable consistent version management. |
### Security (10)
| Rule | Default | Checks |
| --- | --- | --- |
| Descriptions must not contain eval() | Error | Description fields must not contain eval() calls which could be exploited for XSS in rendered API documentation. |
| Descriptions must not contain script tags | Error | Description fields must not contain
### Project-level overrides
Each project can override severities for its own specs, which you do from the project's **Style Guide** tab. The project view adds a **Source** column showing where each severity comes from, reading **Custom** for this project, **Org** or **Default**. Overridden rules can be reset back to the organization default.
## Built-in rules
Routebase ships **58 built-in rules** in five categories. Each rule has a default severity of **Error**, **Warning** or **Info**, which you can change per organization and per project. The tables below list the default.
Rules whose name says "must" are not automatically errors. Severity and wording are set independently, so a rule can be named "must" and default to Warning.
### Naming (8)
| Rule | Default | Checks |
| --- | --- | --- |
| Path parameters must use camelCase | Warning | Path parameter names (e.g., {userId}) should use camelCase naming convention. |
| Query parameters must use camelCase | Warning | Query parameter names should use camelCase naming convention. |
| Schema names must use PascalCase | Warning | Schema names should use PascalCase naming convention (e.g., 'UserProfile'). |
| Schema properties must use camelCase | Warning | Object property names in schemas should use camelCase naming convention. |
| URL paths must follow the configured case convention | Warning | Path segments (excluding path parameters) must follow the configured naming convention (default: kebab-case). The convention is configurable. |
| Custom headers must use Train-Case | Info | Custom header parameter names should use Train-Case (e.g., 'X-Request-Id'). |
| Enum values must use UPPER_SNAKE_CASE | Info | String enum values in schemas should use UPPER_SNAKE_CASE naming convention. |
| Operation IDs must use camelCase | Info | Operation IDs should use camelCase naming convention (e.g., 'getUsers'). |
### Completeness (10)
| Rule | Default | Checks |
| --- | --- | --- |
| API must have a server URL | Warning | The API specification should define at least one server URL. |
| API must have a version | Warning | The API specification should define a version string. |
| Operations must have a description | Warning | Each endpoint should have a description explaining its purpose and behavior. |
| Operations must have a summary | Warning | Each endpoint should have a brief summary. |
| API must have a license | Info | The API specification should include a license identifier. |
| API must have contact information | Info | The API specification should include a contact email for consumers to reach out. |
| Parameters should have descriptions | Info | Each parameter should have a description explaining its purpose and expected values. |
| Responses must have a description | Info | Each response should have a description explaining what it represents. |
| Schemas must have a description | Info | Each schema should have a description explaining what data it represents. |
| Tags should have descriptions | Info | Each endpoint tag should have a description to document the group's purpose. |
### Best practices (20)
| Rule | Default | Checks |
| --- | --- | --- |
| Operation IDs must be unique | Error | Each operation ID must be unique across all endpoints in the specification. |
| Path parameters must be declared | Error | Each {parameter} in the path must have a corresponding parameter definition with 'in: path'. |
| Paths must be unique | Error | Two endpoints on the same method must not address the same route. OpenAPI ignores the name of a path placeholder, so /items/{id} and /items/{itemId} are the same path. |
| Paths must not have empty segments | Error | Paths must not contain double slashes or empty segments (e.g., '/users//profile'). |
| Server URL must match URL-path versioning pattern | Error | When using URL-path versioning, server URLs should include a version prefix (e.g., /v1). |
| Deprecated versions should have a sunset date | Warning | Deprecated API versions should define a sunset date to inform consumers when the version will be removed. |
| Operation IDs must be valid in URLs | Warning | Operation IDs must contain only alphanumeric characters, dots, hyphens, and underscores to be safely used in URLs. |
| Operation tags must be defined | Warning | Tags used on operations must be defined in the specification's global tags list. |
| Paths should not end with a trailing slash | Warning | Paths should not have a trailing slash (e.g., '/users/' should be '/users'). |
| Schema references must resolve | Warning | Every $ref in a schema must point to a schema that exists in this specification. |
| Server URL must not be example.com | Warning | The server URL should be a real API endpoint, not a placeholder like example.com. |
| Success responses should return an object, not a bare array | Warning | Top-level API responses should be JSON objects for extensibility, not bare arrays. |
| Tag names must be unique | Warning | Each tag name must be unique within the specification to avoid ambiguity. |
| Create endpoints should accept an idempotency key | Info | POST endpoints that return 201 Created should accept an Idempotency-Key header so a retried request does not create a second resource. |
| Endpoints should define error responses | Info | Each endpoint should define at least one error response (4xx or 5xx) or a default response. |
| Error responses should use application/problem+json | Info | 4xx and 5xx responses should use the RFC 7807 Problem Details format (application/problem+json). |
| List endpoints should have pagination parameters | Info | GET endpoints that return collections should include pagination query parameters. |
| No unused schema components | Info | Schemas defined in components should be referenced by at least one endpoint or other schema. |
| Published versions should have aliases | Info | Published API versions should have human-readable aliases (e.g., 'v1') for easier consumer adoption. |
| Versioning strategy should be configured | Info | API specifications should have a versioning strategy configured to enable consistent version management. |
### Security (10)
| Rule | Default | Checks |
| --- | --- | --- |
| Descriptions must not contain eval() | Error | Description fields must not contain eval() calls which could be exploited for XSS in rendered API documentation. |
| Descriptions must not contain script tags | Error | Description fields must not contain